Rear pads - Toyota Paseo, 1.5 liter, 1997
Here is my first report! Made for a long time but did not get around to laying out)
In general, the rear pads squeaked.
It took 3+ hours to replace the pads (it took a long time, because it was very interesting), the pads themselves (in my case, Bauer), grease (Litol) and all sorts of tools (hammer, screwdriver, knife, 21 wrench, pliers )
There are few photos, because got his hands dirty quickly and the fotik slapped
The first steps are standard:
1) raise (immediately both sides are better),
2) put on the handbrake while removing the wheels (then it is better to remove it, because the drum will not be removed)
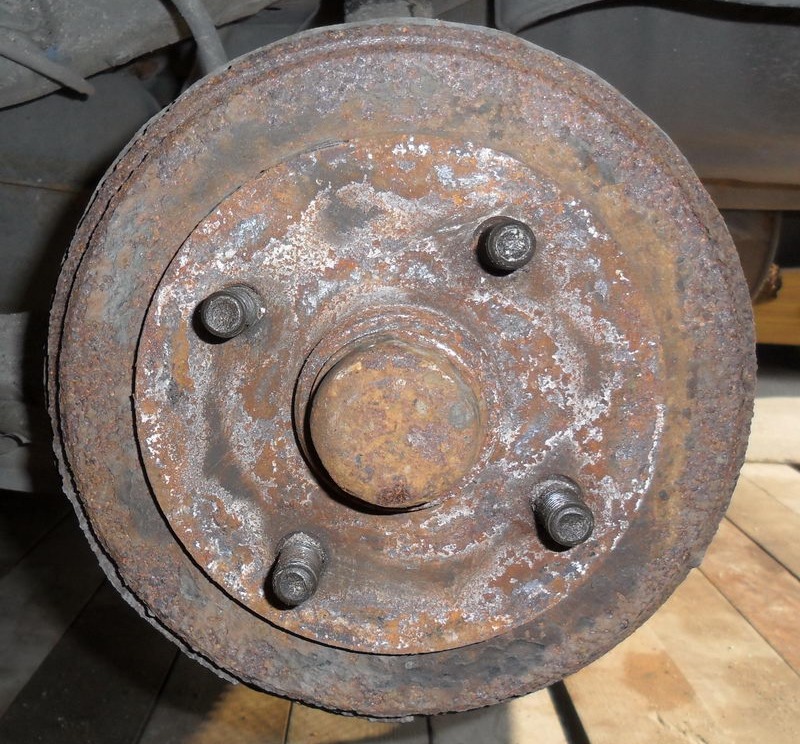
3) remove the wheels and see something like this
Next, put a screwdriver in the junction of the cap and drum
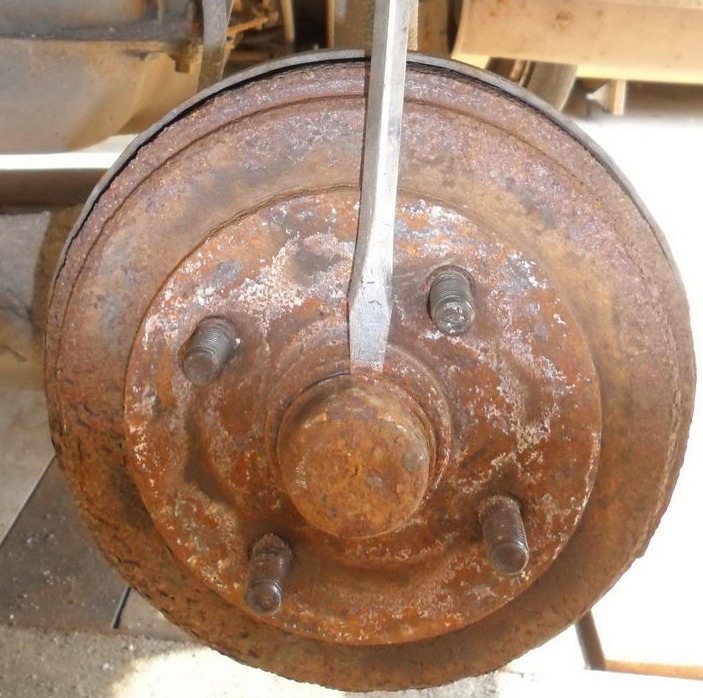
We tap on the screwdriver with a hammer with good force until a gap appears between the cap and the drum. With the same screwdriver and hammer, remove the cap and see
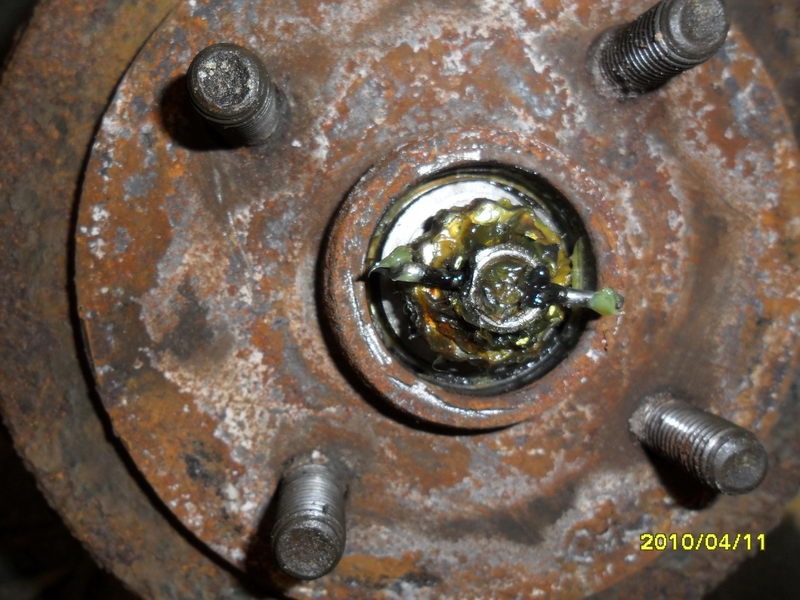
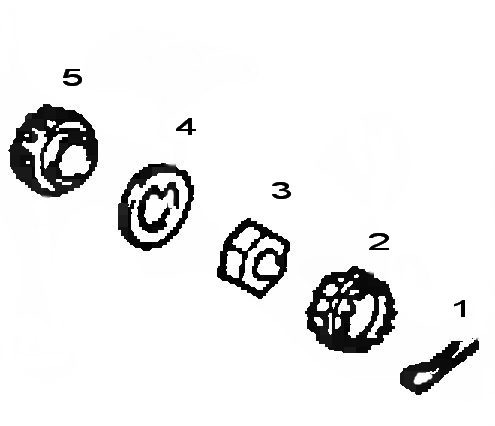
We remove everything in order:
1) stud (bend carefully so as not to break)
2) lock nut
3) nut
4) washer
5) bearing
We remove the drum and see such a muck (the return spring and its holder have already been removed)
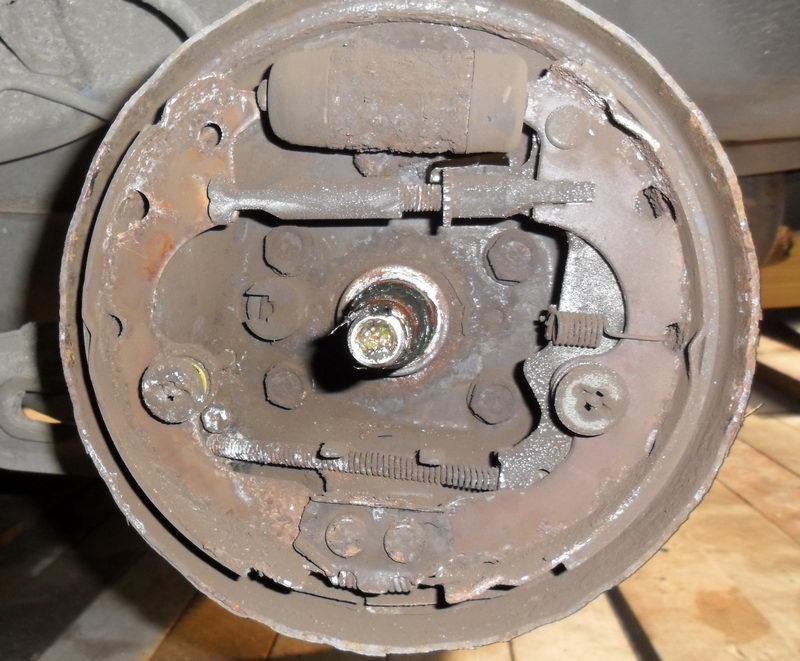
Remove the front brake pad:
1) Remove the pad holder
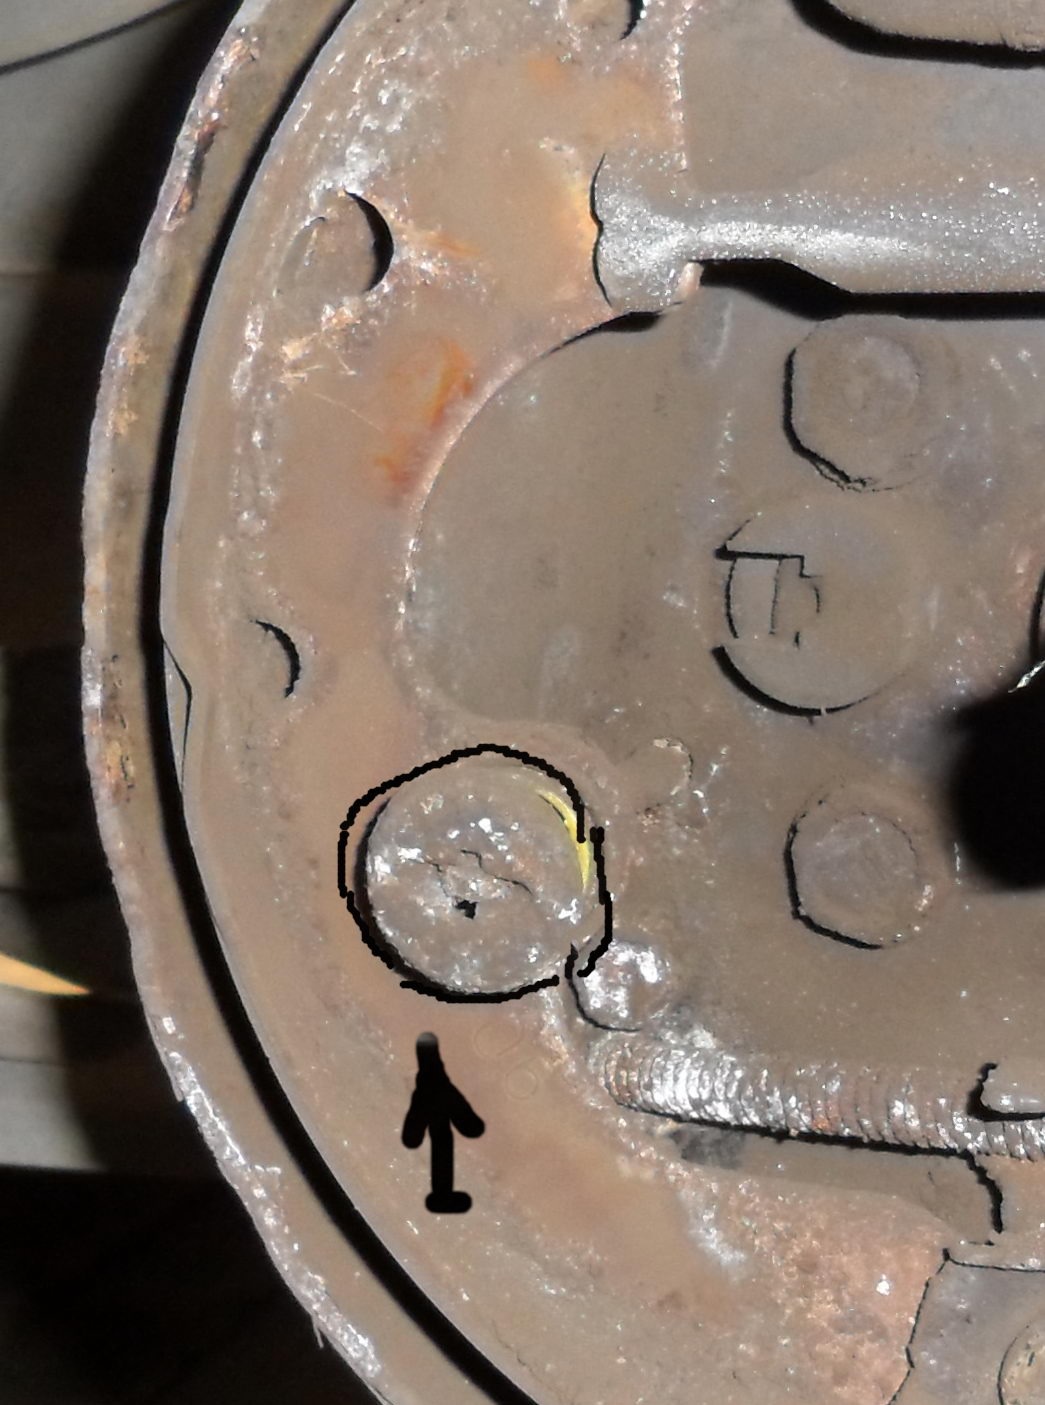
to do this, hold the pin with your hand from behind, press it in front and turn it 90 degrees to the left (right), so that the spring with its seat is in your hand
2) Remove the fixing spring
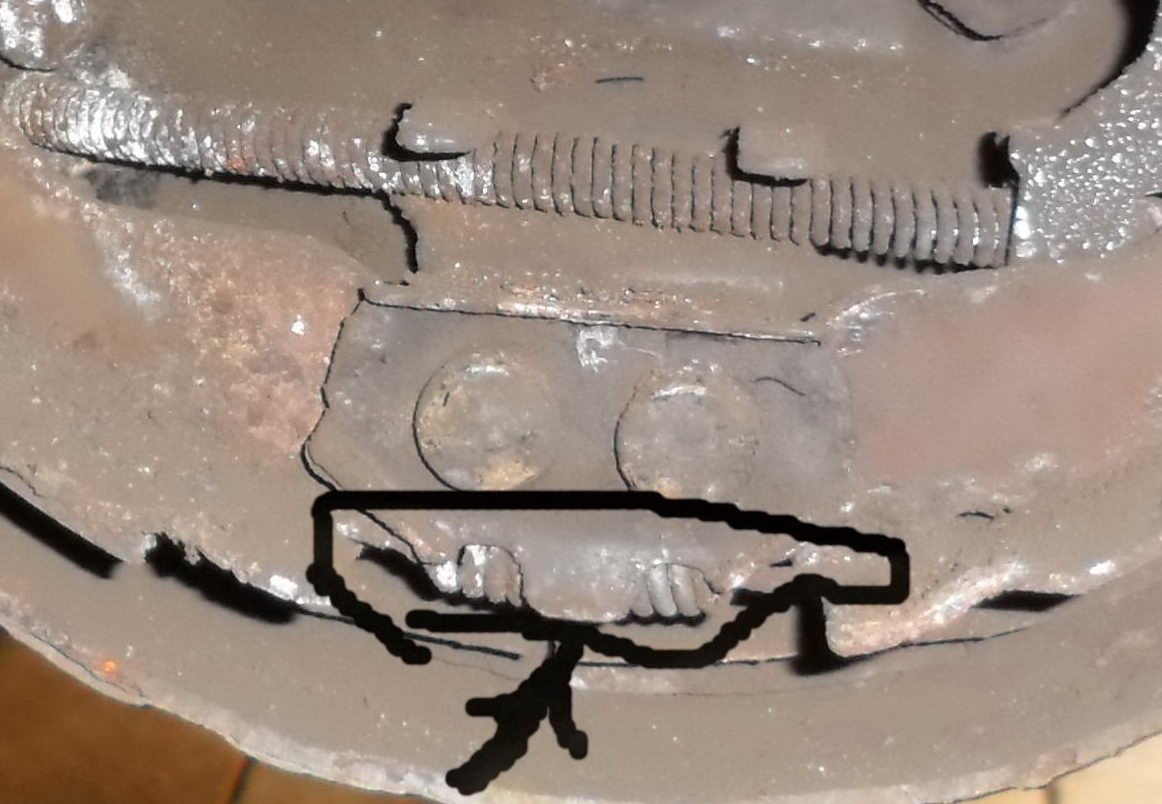
Remove the rear brake pad:
1) Remove the spring
2) Remove the same as the front pad holder
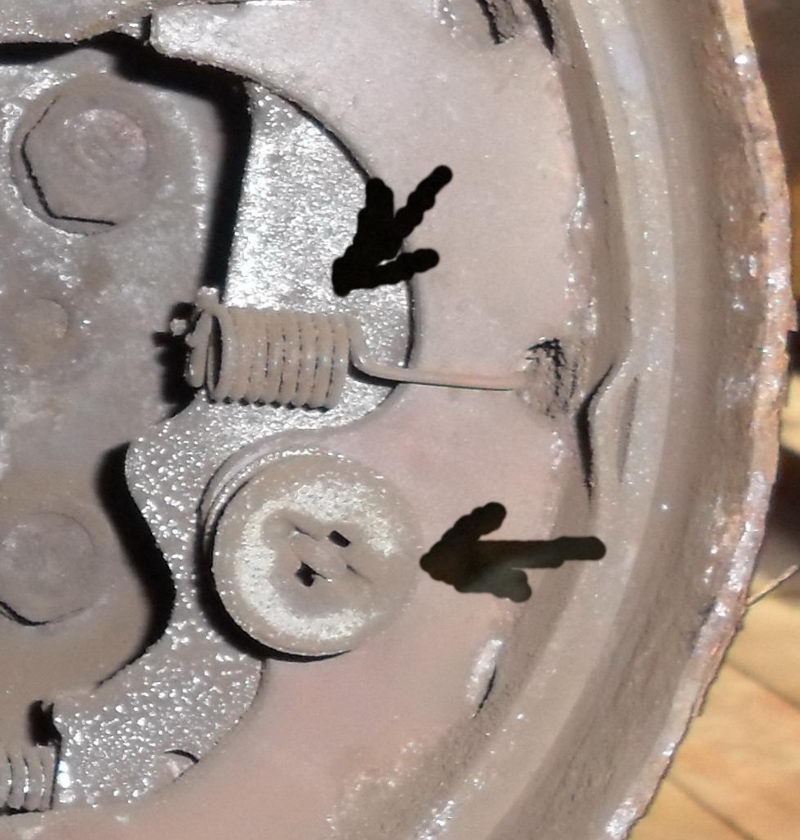
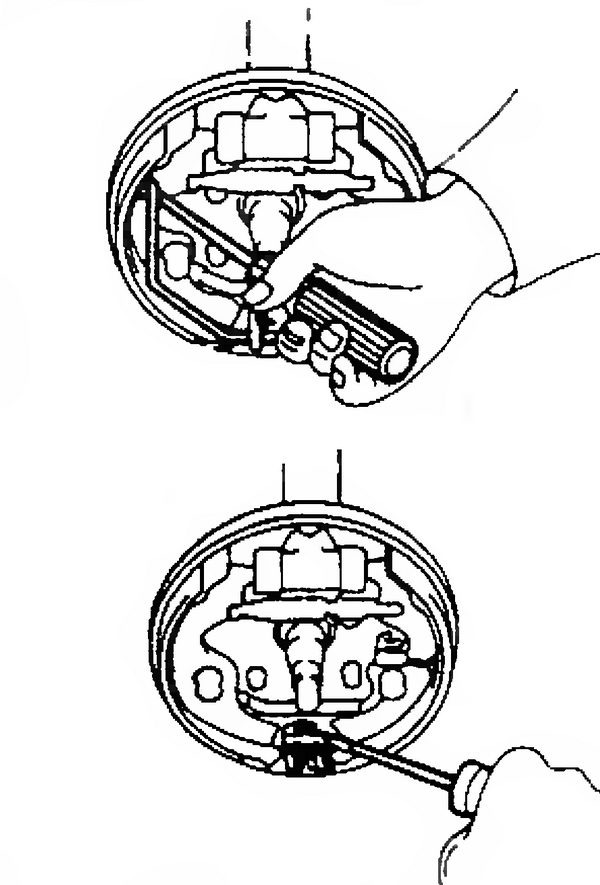
The rear shoe remains hanging on the parking brake cable. There is no further photo, but here is a diagram:
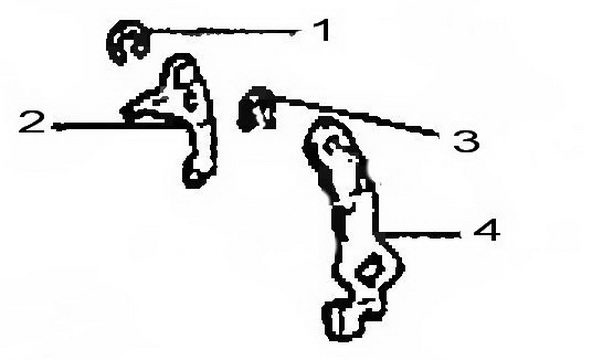
I knocked out the clamps for a long time with a screwdriver and picked with a knife, especially No. 3. :evil: I bent a little, but then I leveled it with a hammer as it should.
Z.Y. No. 3 and 4 sometimes come with a block
Installation is in reverse order!
In the end, fanfare and loud applause become audible and we get
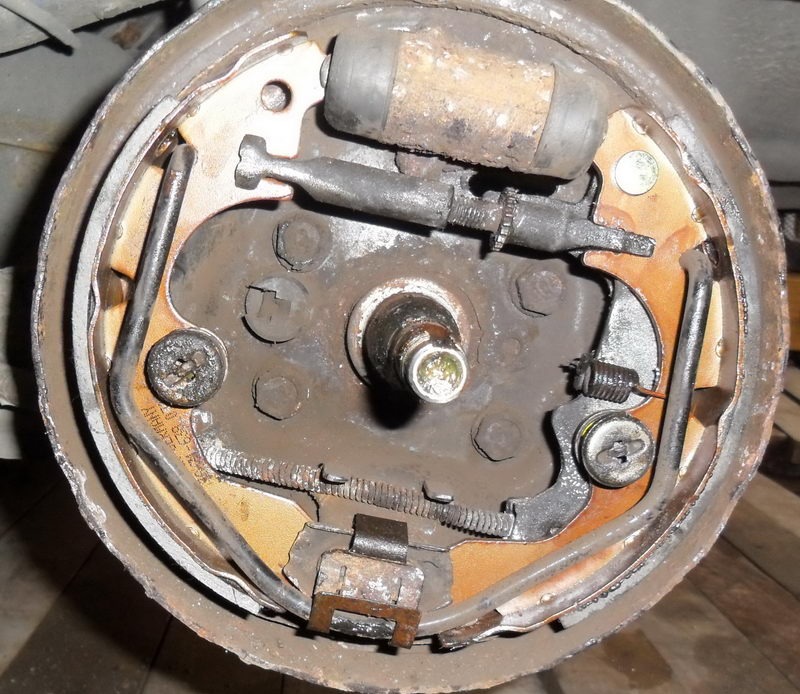
I cleaned and greased all parts that were not replaced. To clean grease and dirt, it is convenient to first use a spray bottle with any detergent, then go through the solvent
Z.Y. When installing the drum, a trouble may occur - do not sit on brand new pads.
To do this, you need to suffer a little - set up the "automatic regulator" (twist a little)
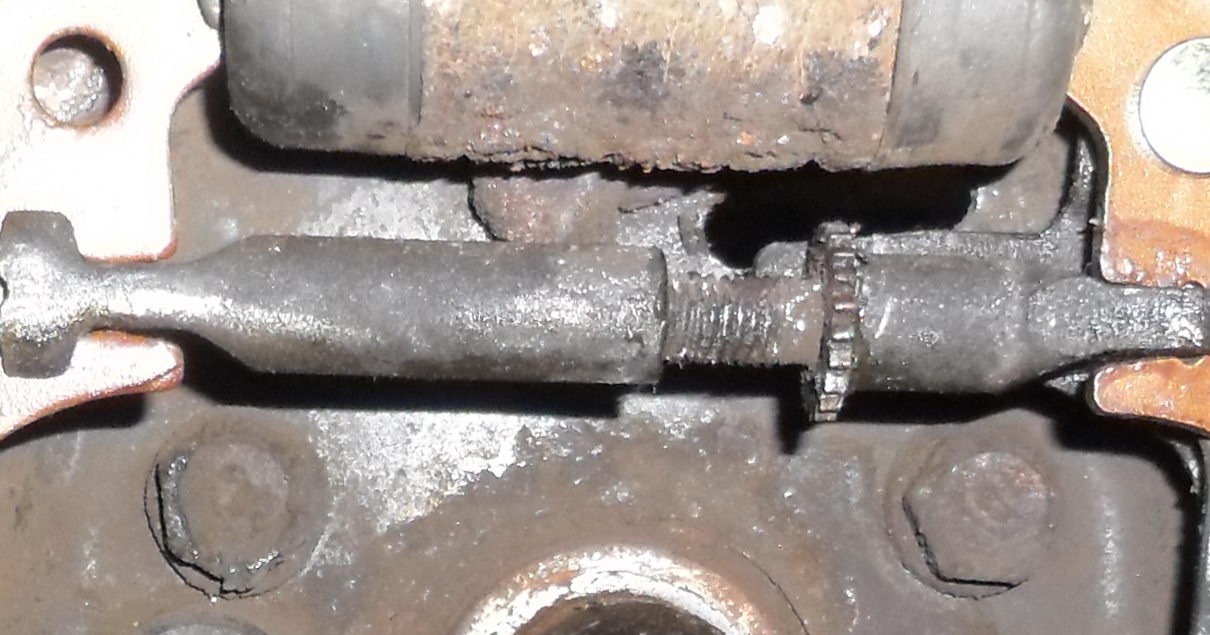
We check the rotation of the drum, check the parking brake (if it doesn’t hold, you can tighten the regulator only from the inside of the hub through a special window with a rubber plug) This must be done with 2 screwdrivers, lifting one click plate, and twist the second gear.
The main thing is not to twist, because. the parking brake will not work.
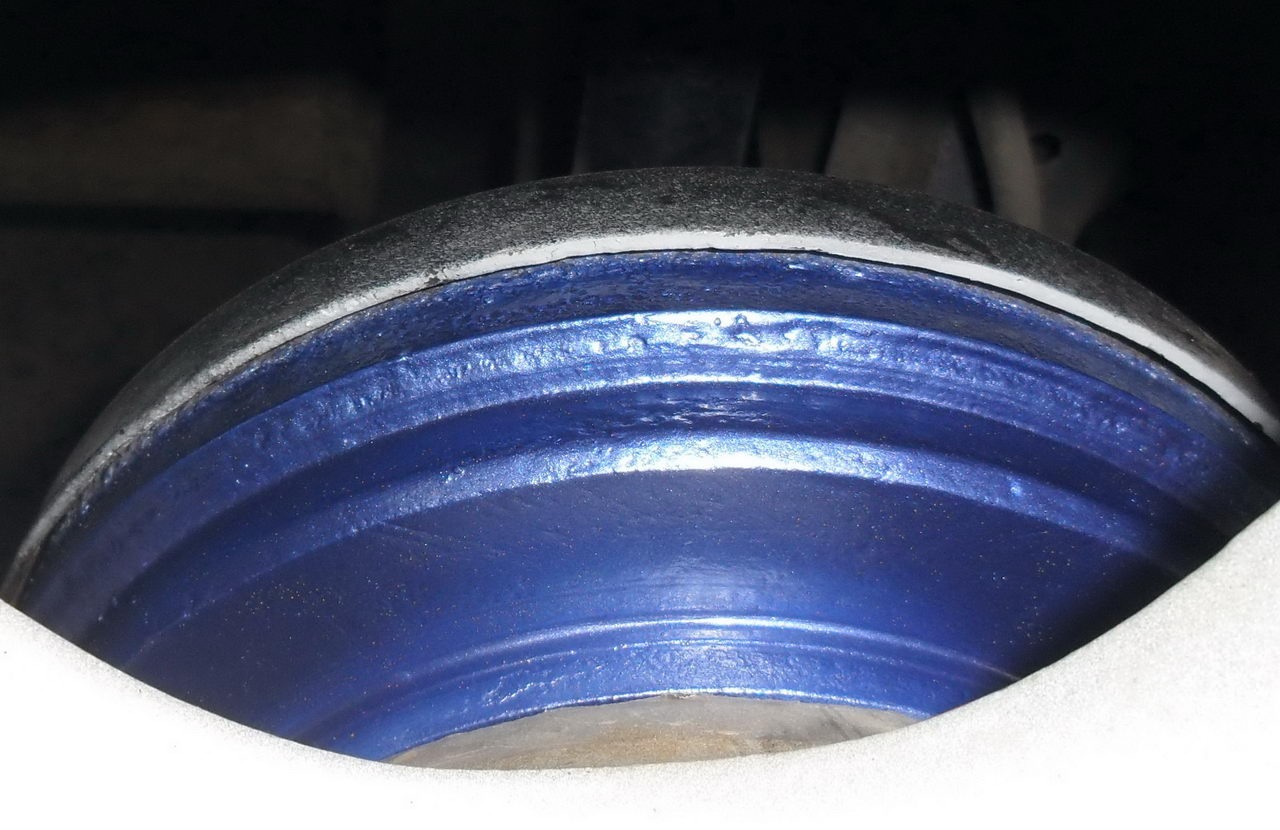
In the end, I sanded the drums with a file and sandpaper, covered with primer and painted in body color
 Issue price: 350 ₽ Mileage: 134,000 km
Handsome!
I respect the boys who are not afraid of work, but rather do everything with their own hands!
I changed the pads myself, but I didn’t know about the window through which you can pull up!
I was about to take it apart to tighten it up. Here, thank you very much.
This is all my friend suggested to disassemble, he has a six :)
I also changed a week ago! a little gemorno, and it is not clear at night, but I was prompted and everything worked out! )