Noise isolation of the engine shield and assembly of the front of the cabin. How it was… — logbook Toyota Carina E 1992
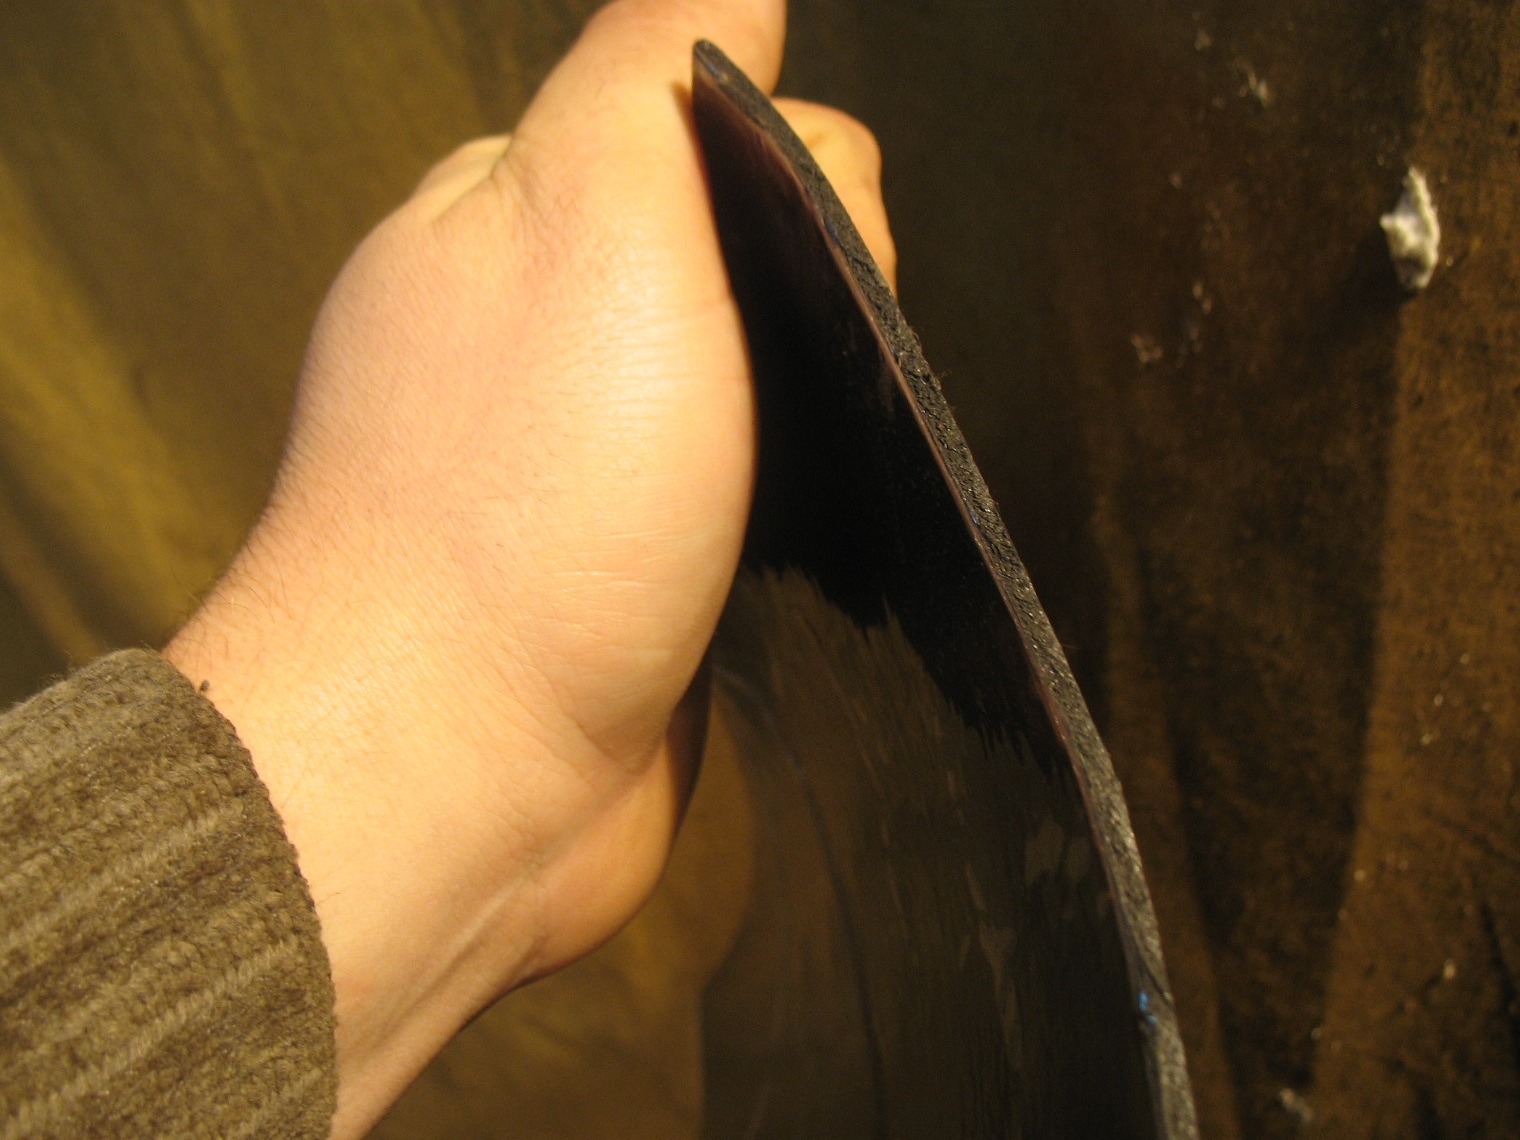
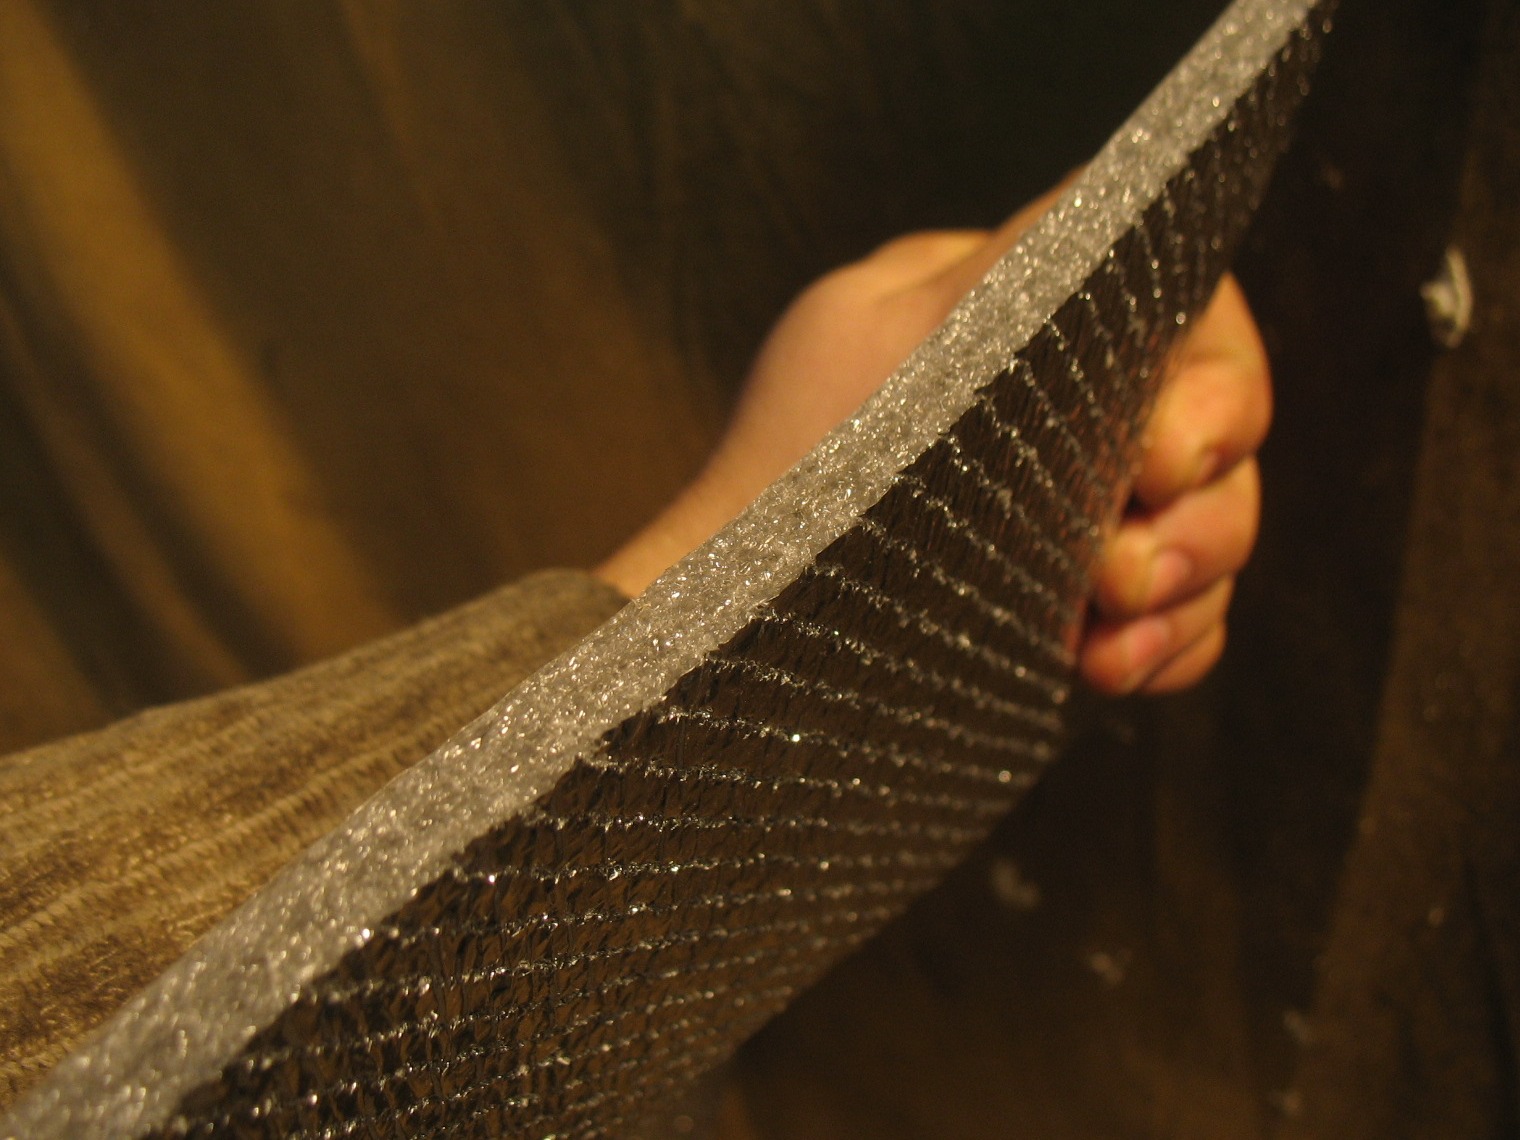
Good day. In the first lines of this report, I must say words of gratitude directly to the executor of this process, namely, my partner in SWAP, my brother Oleg ( Olex) So the process itself It all started quite trite, we decided to flush the heater block, and in order to remove it, we had to disassemble everything. Well, when we looked at what we got, collecting everything back just like that was at least not our way) it was decided to do Shumkov. We chose the options for a long time, because the budget of the event was supposed to hit the total budget of SWAP at a minimum. So we consulted both consultants and the Internet, and in the end the price played a decisive role. I hope not to the detriment of the quality of sound insulation. so we took two sheets of vibration isolation (glued only when heated with an industrial hairdryer, very similar to standard vibration isolation (width 3.5 mm). And on top of the sound insulation, something like foil isolon (width ~ 1 cm)
.
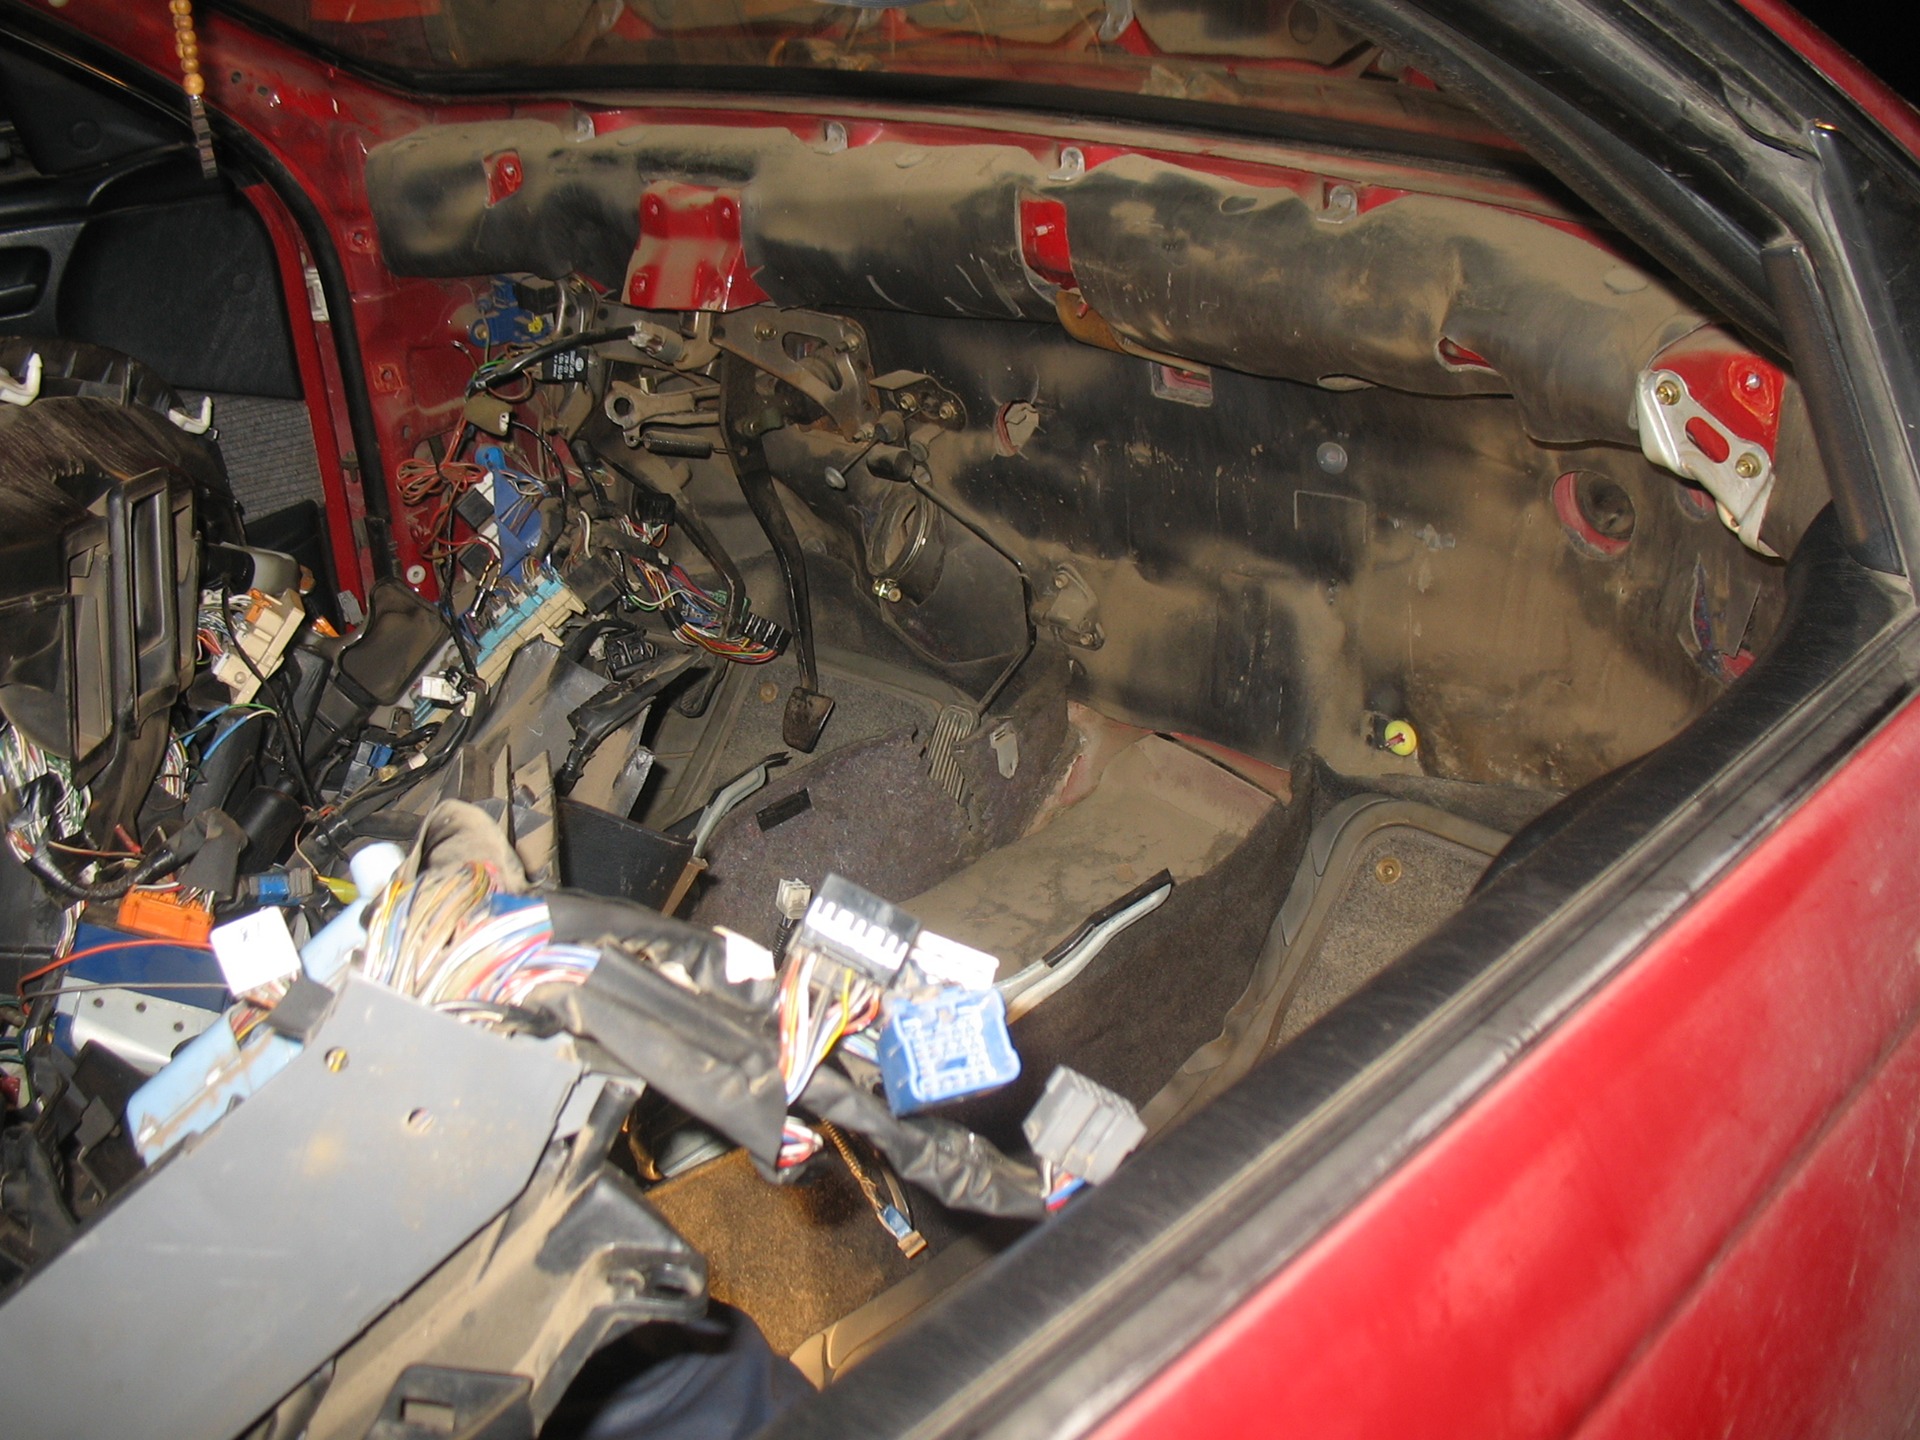
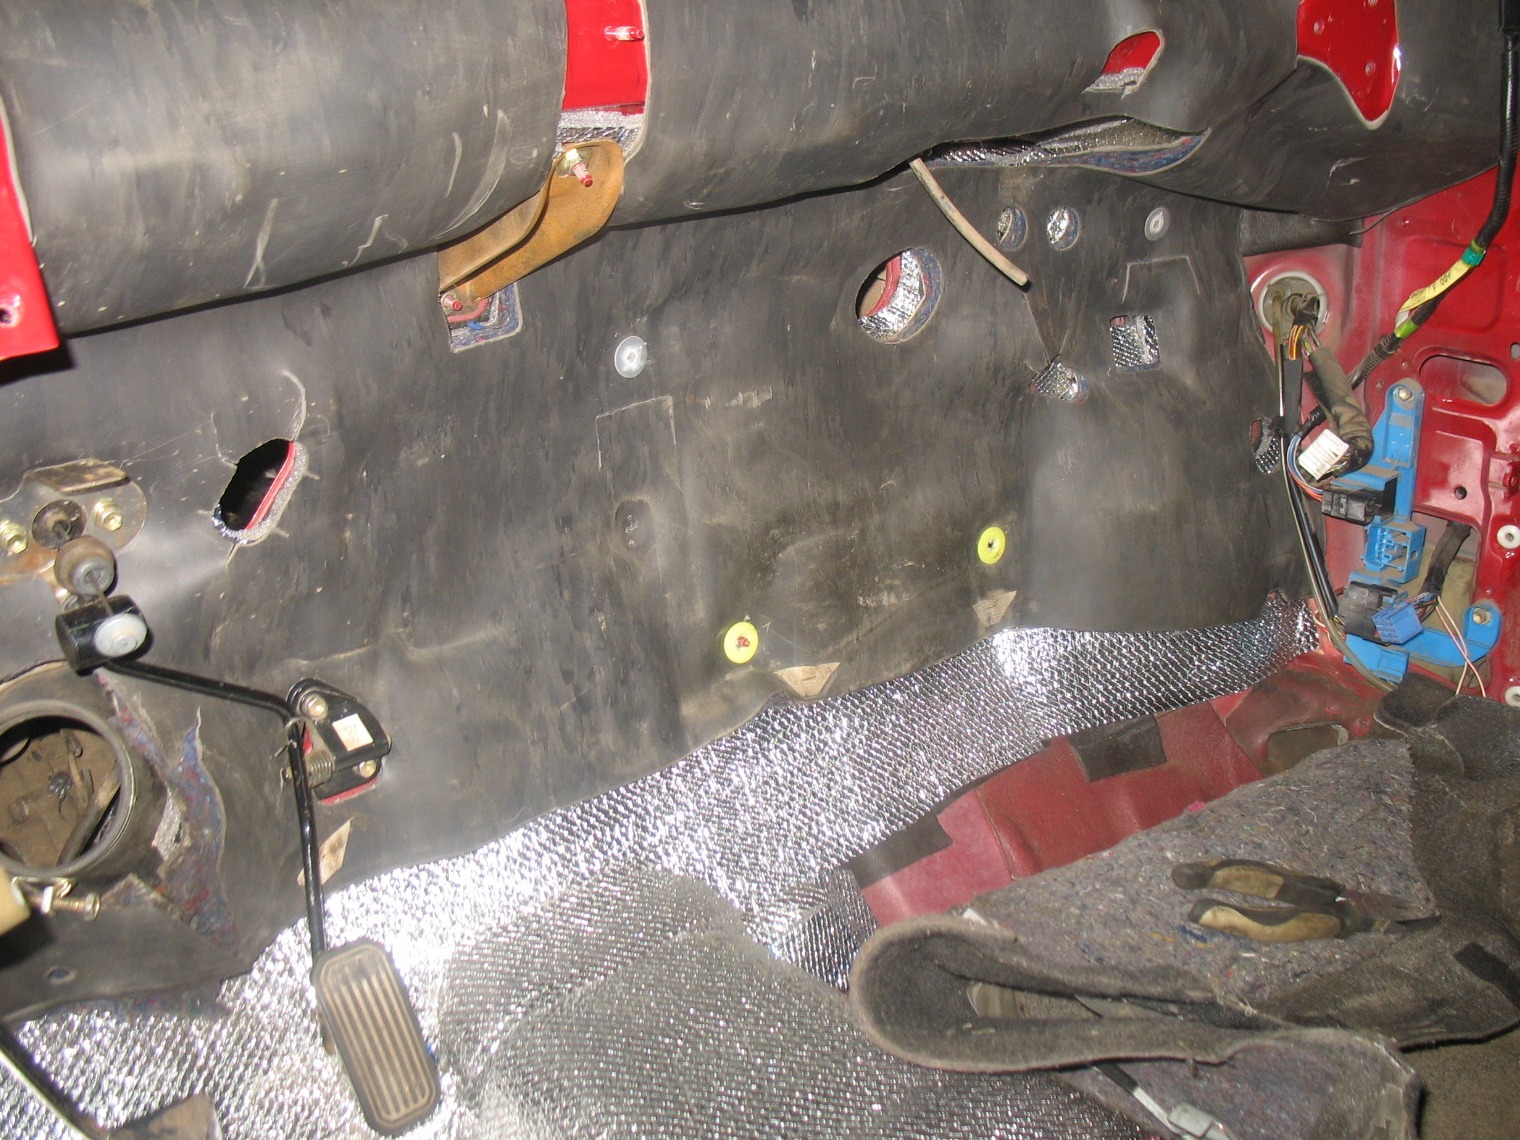
In the photo, the disassembled salon
The first layer, to be honest, did a couple of days. After heating, the material turned from hard and brittle into malleable and elastic, and the interior was filled with the smell of asphalt. The hair dryer heats up to a very high temperature, as, in principle, the vibration isolation sheet itself, therefore, very carefully, Olex burned his fingers more than once, sincerely shouting at the hair dryer everything that he thinks about him. But I must say that it was his attention to detail and perseverance that gave an incredible result. We do not yet know what effect we have achieved, but it turned out very beautifully.
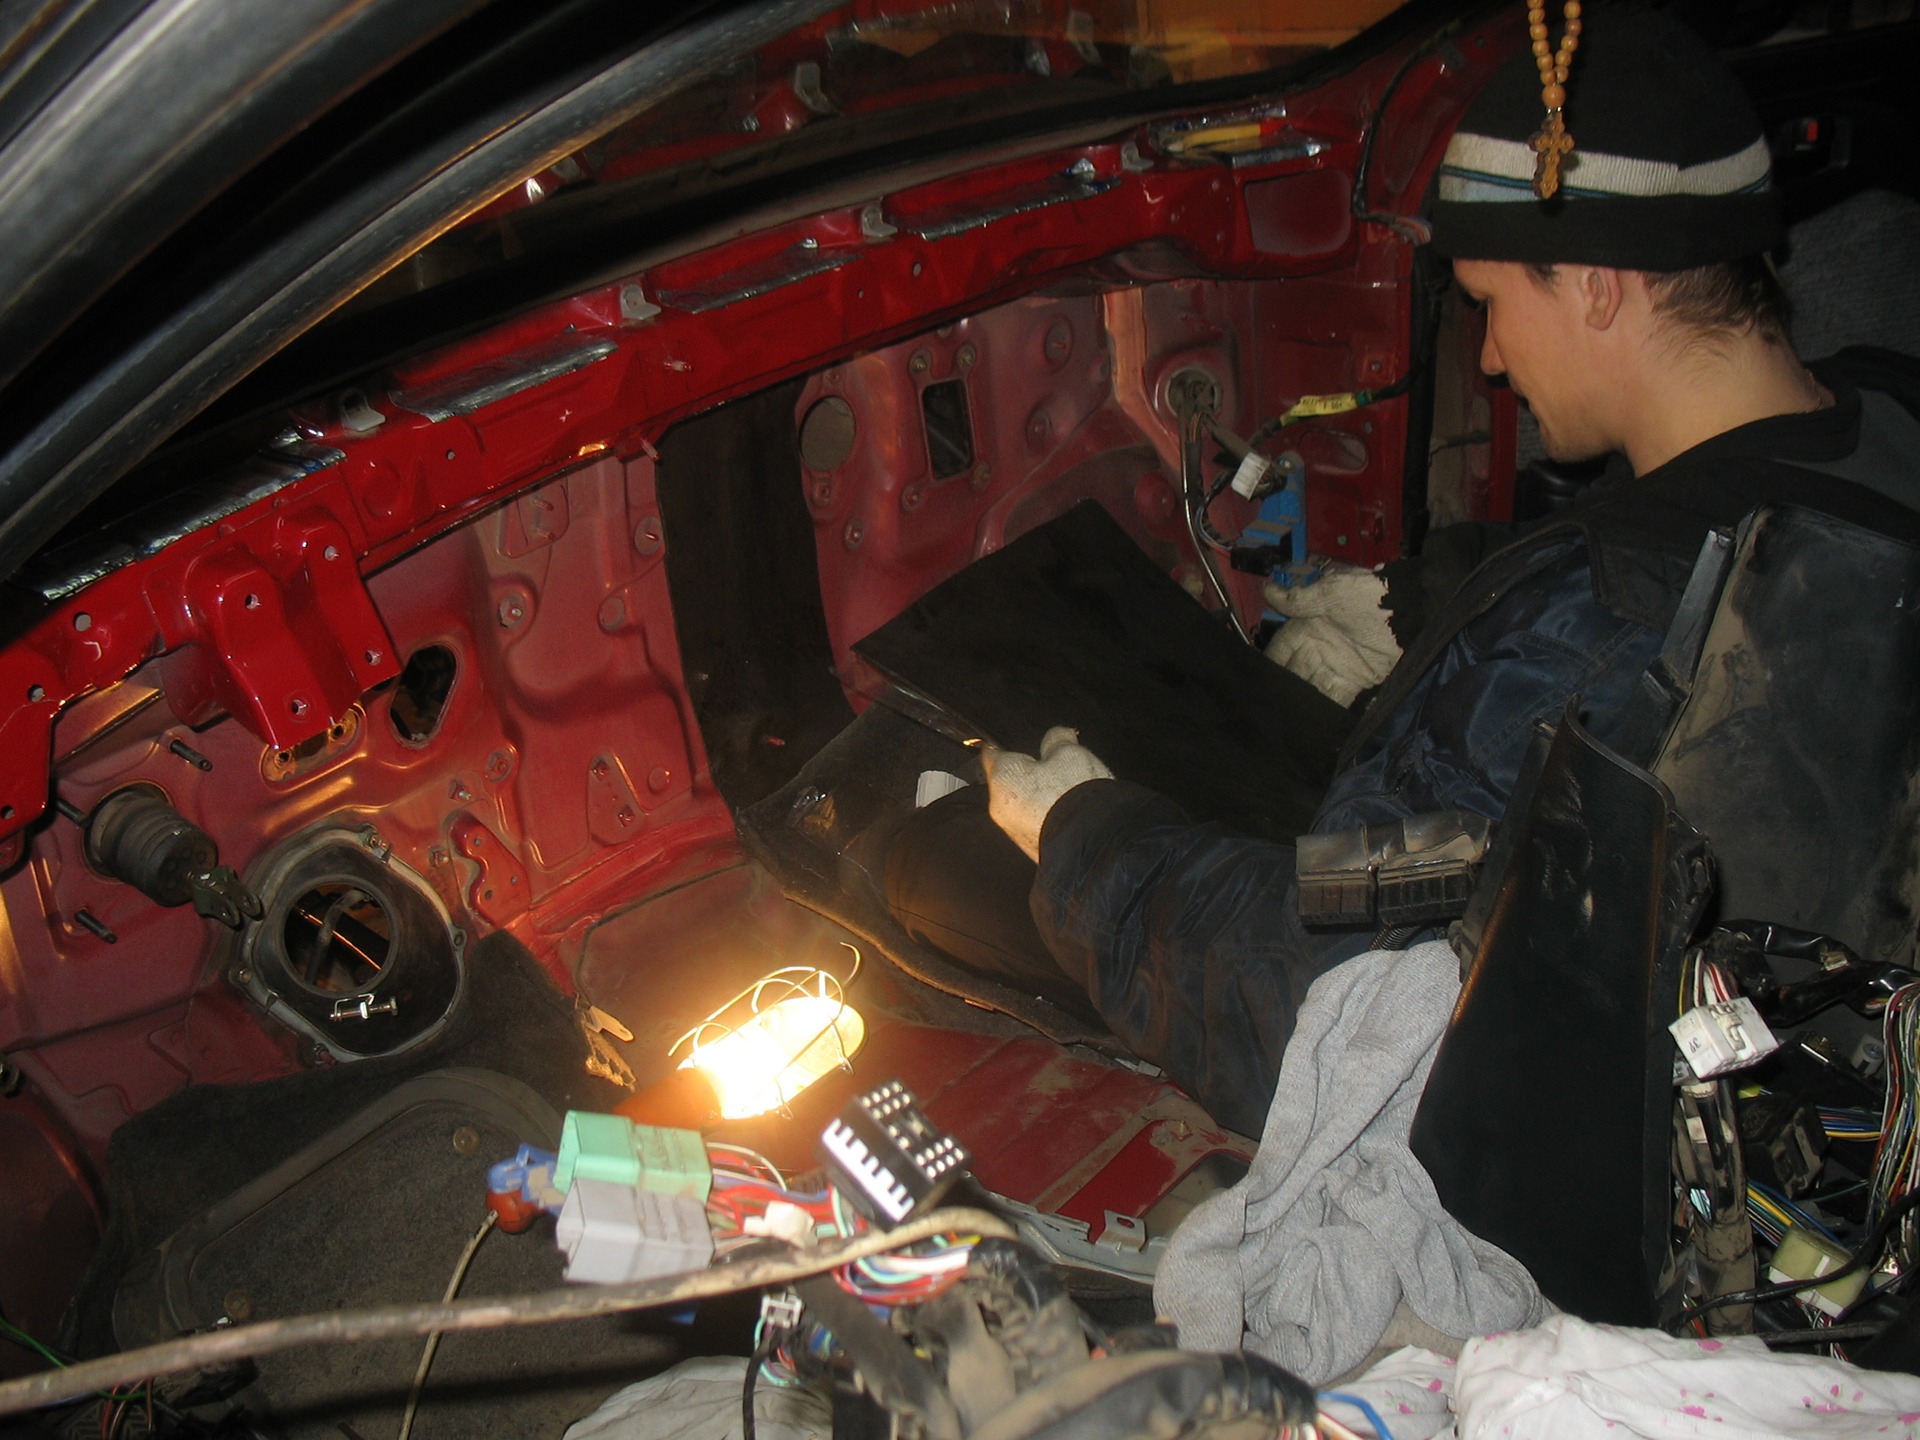
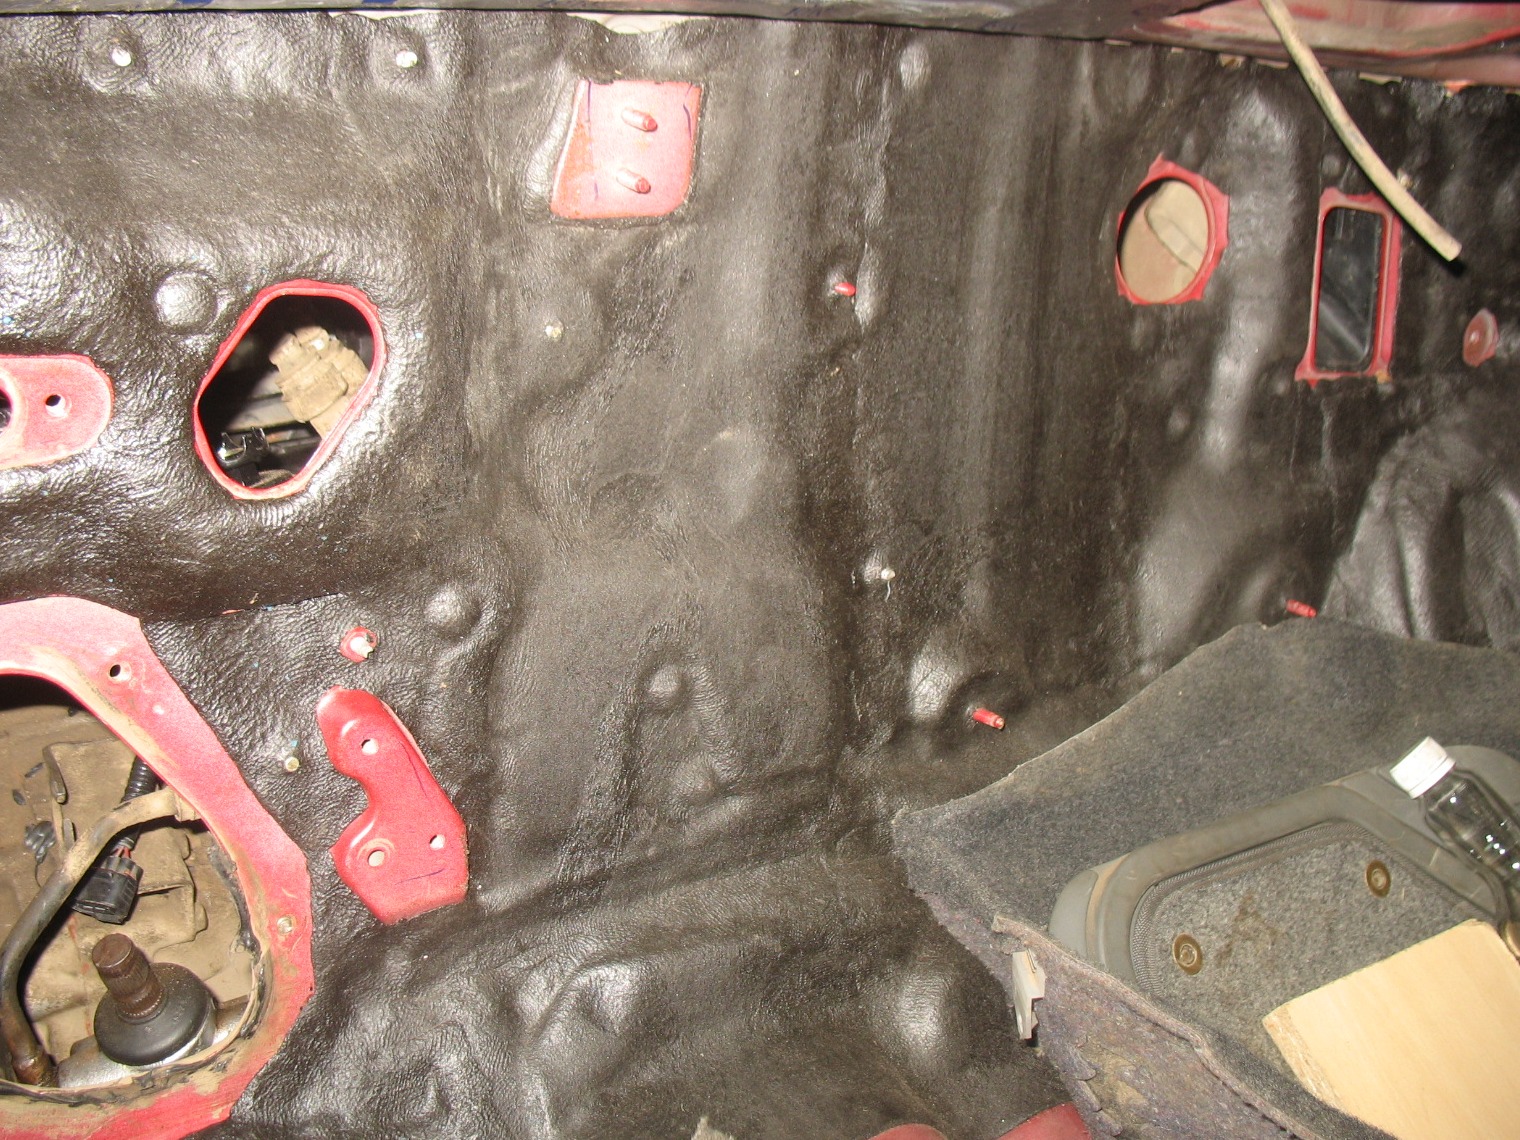
The second layer, a non-critical error was submitted, we decided to mark and cut out all the technological holes for standard sound insulation, but did not take into account the fact that the native Shumka simply superimposed on the engine shield.
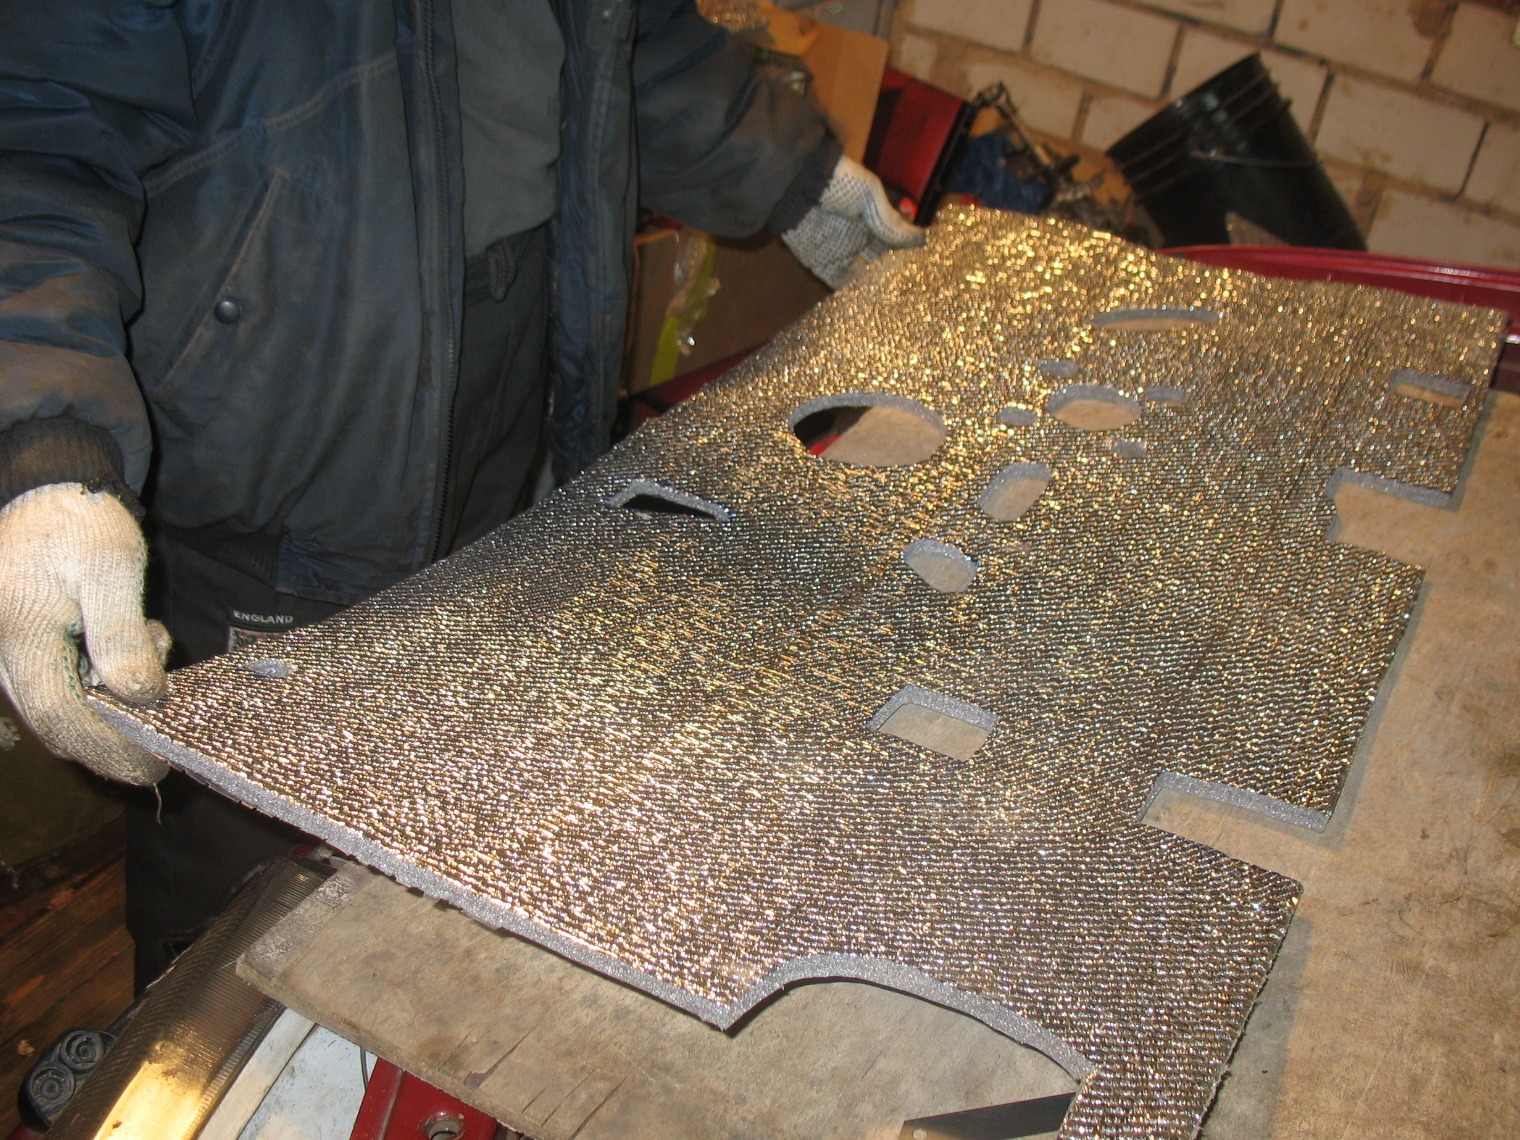
In general, we got a slight offset of the holes, and then only on the right half. Aesthetics suffered a little, but should not affect the deterioration in quality.
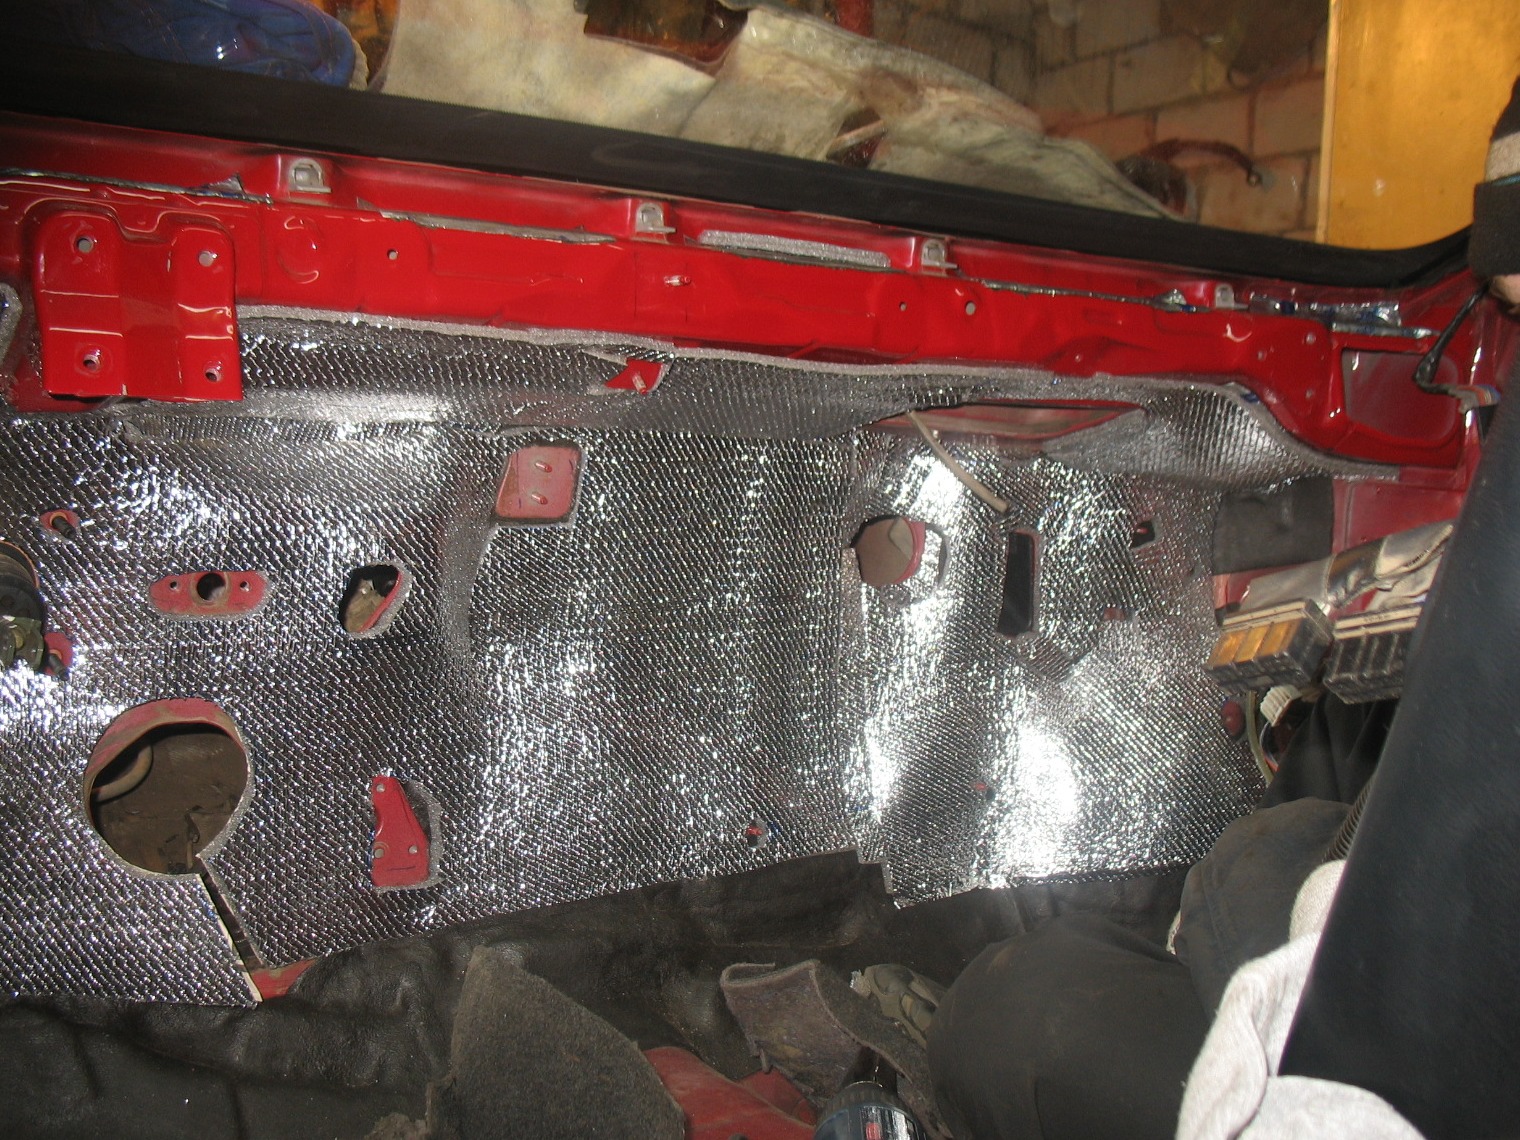
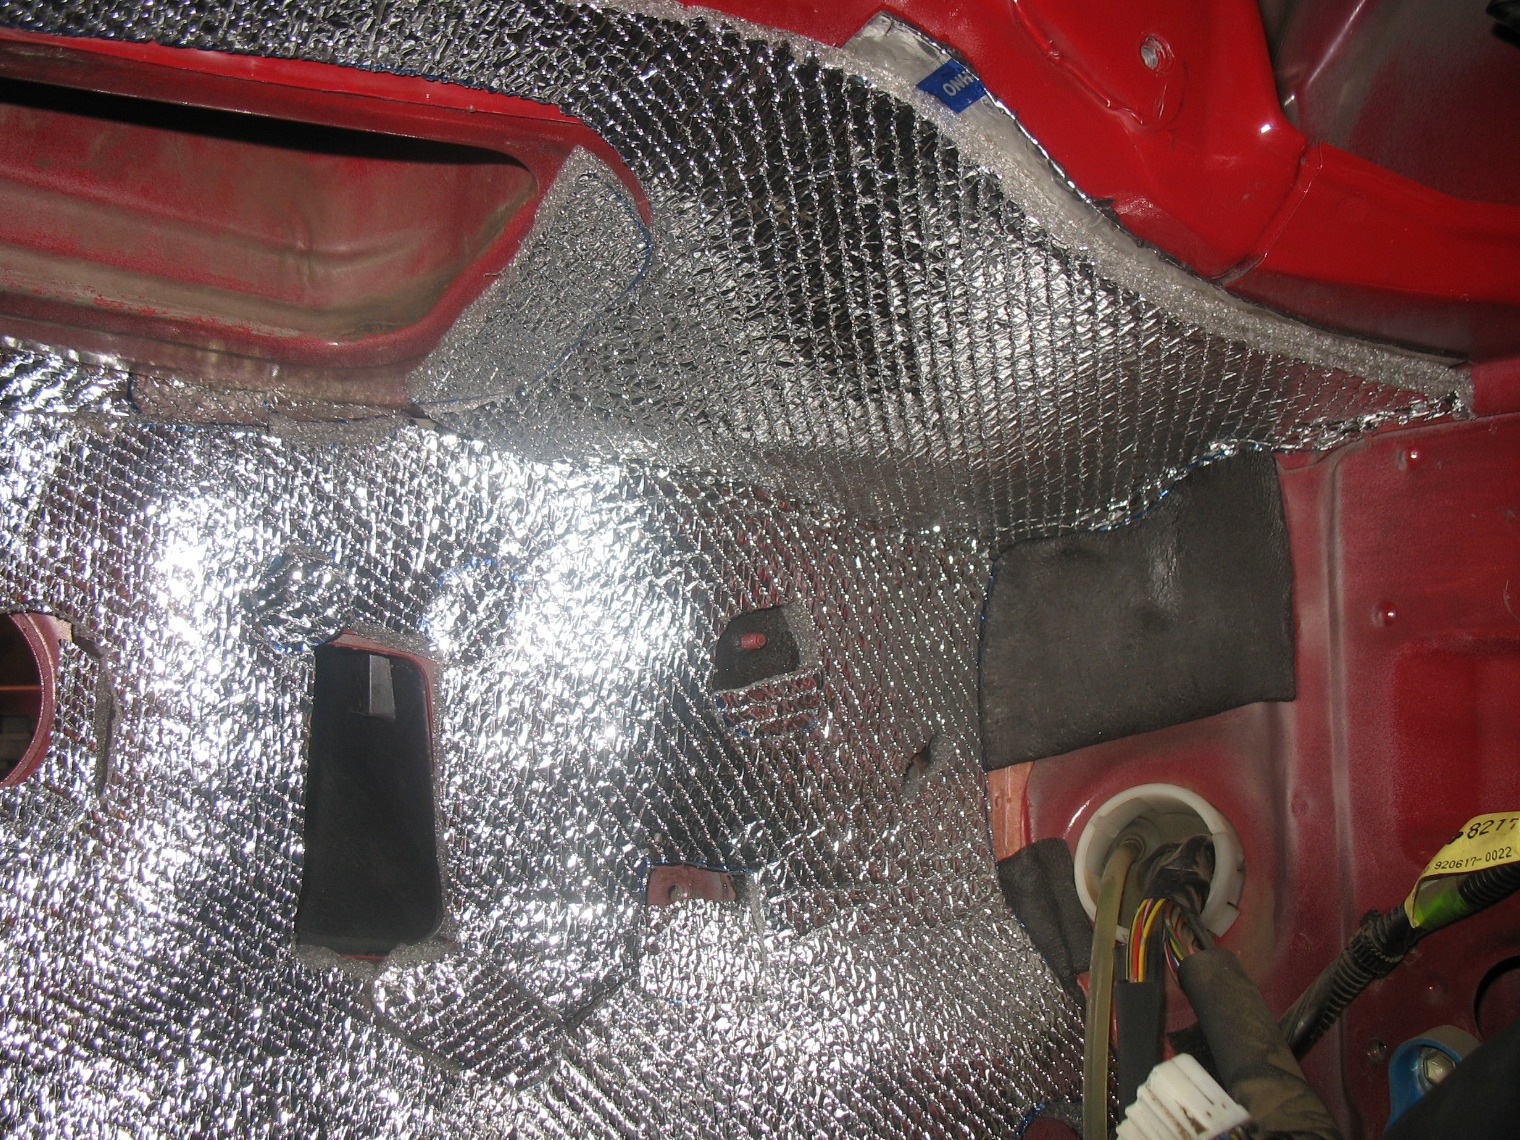
The third layer, it was decided to try to attach a standard soundproofing on top of all this.
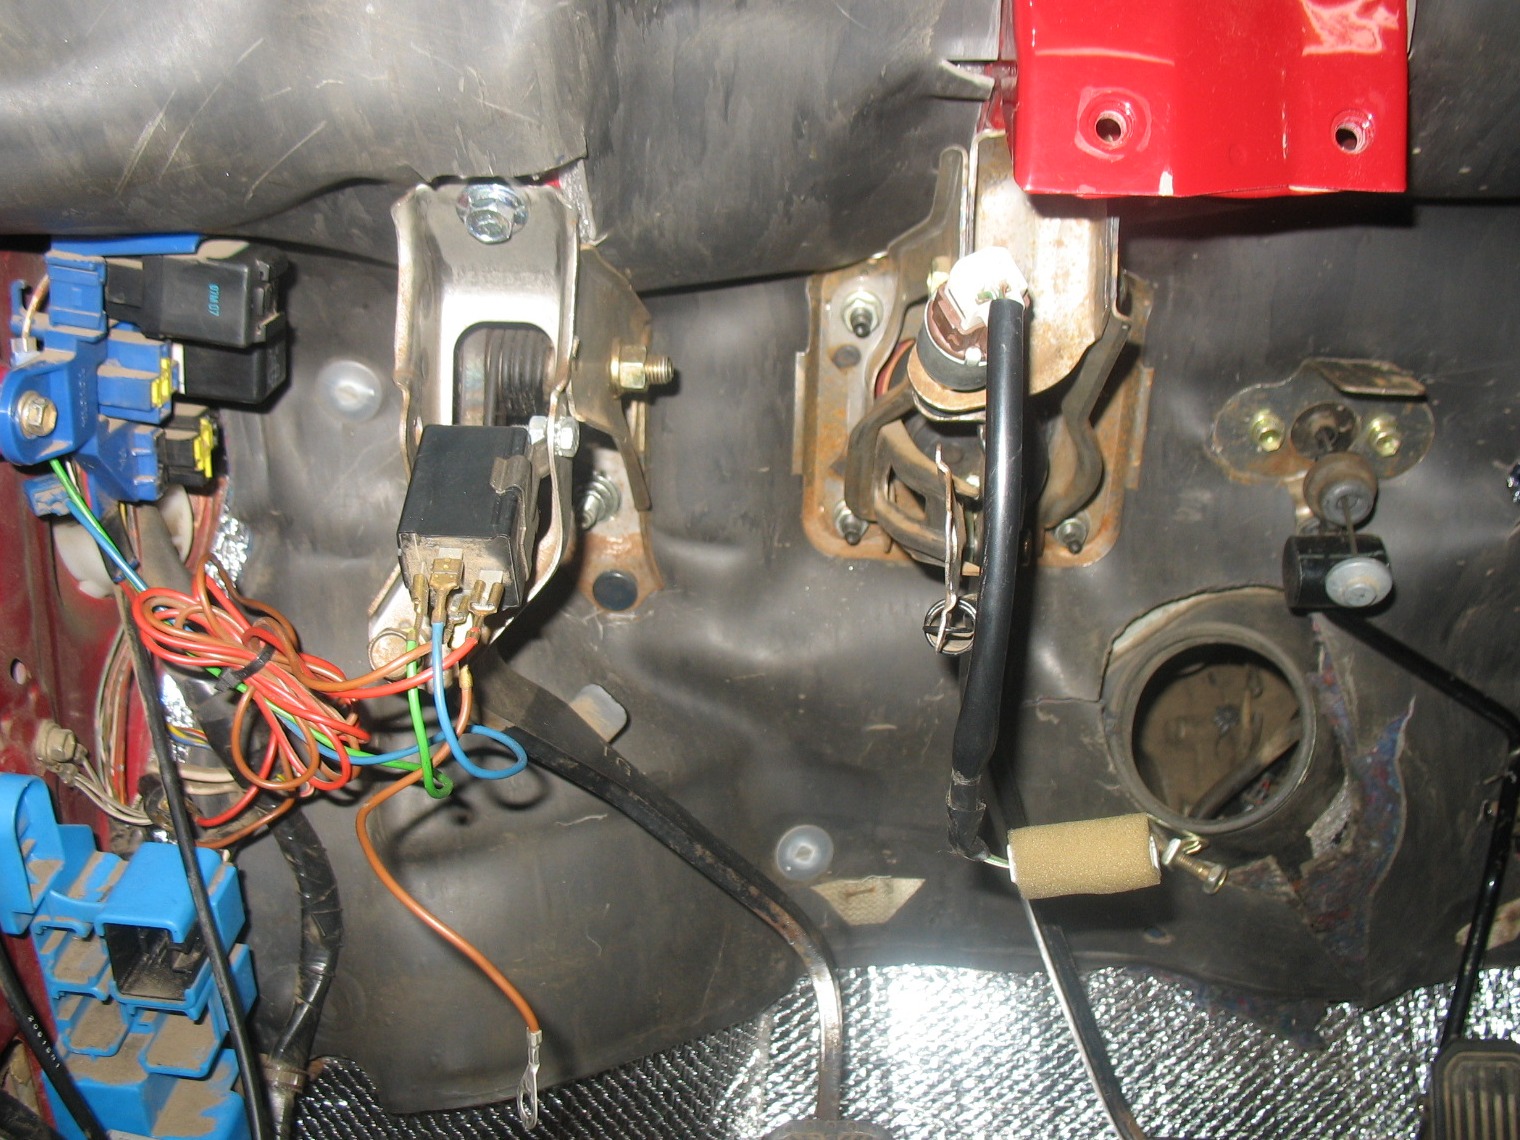
Assembling the interior
We put the heater unit, previously completely disassembled and cleaned, the years take their toll and the foam rubber is already turning into plasticine. Then I will regret that I did not force myself to change the foam rubber on the doors. Oh yes, an air conditioner evaporator is additionally installed, I still hope that my hands will reach the connection of the engine compartment pipes. but more on that in a separate BZ entry.
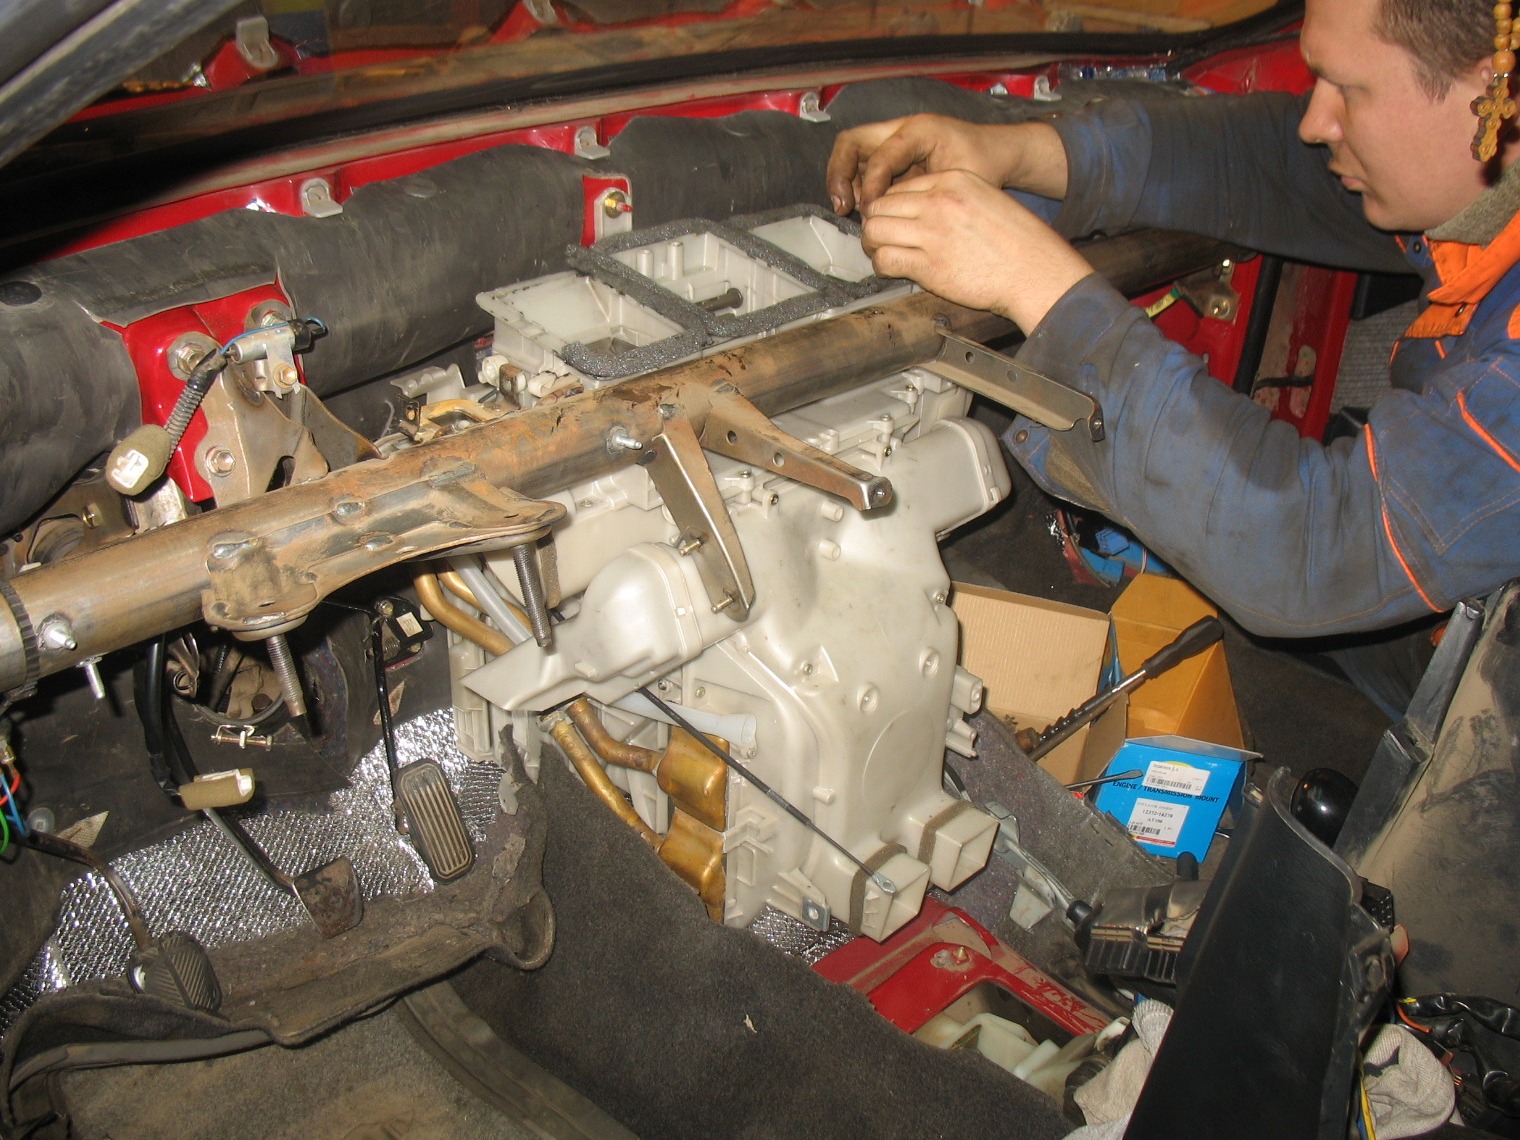
We put the stiffening pipe and start the most difficult thing - we collect the dashboard. By the way, the air ducts from the front panel were also washed, but on these valves, I still changed the foam rubber to what was
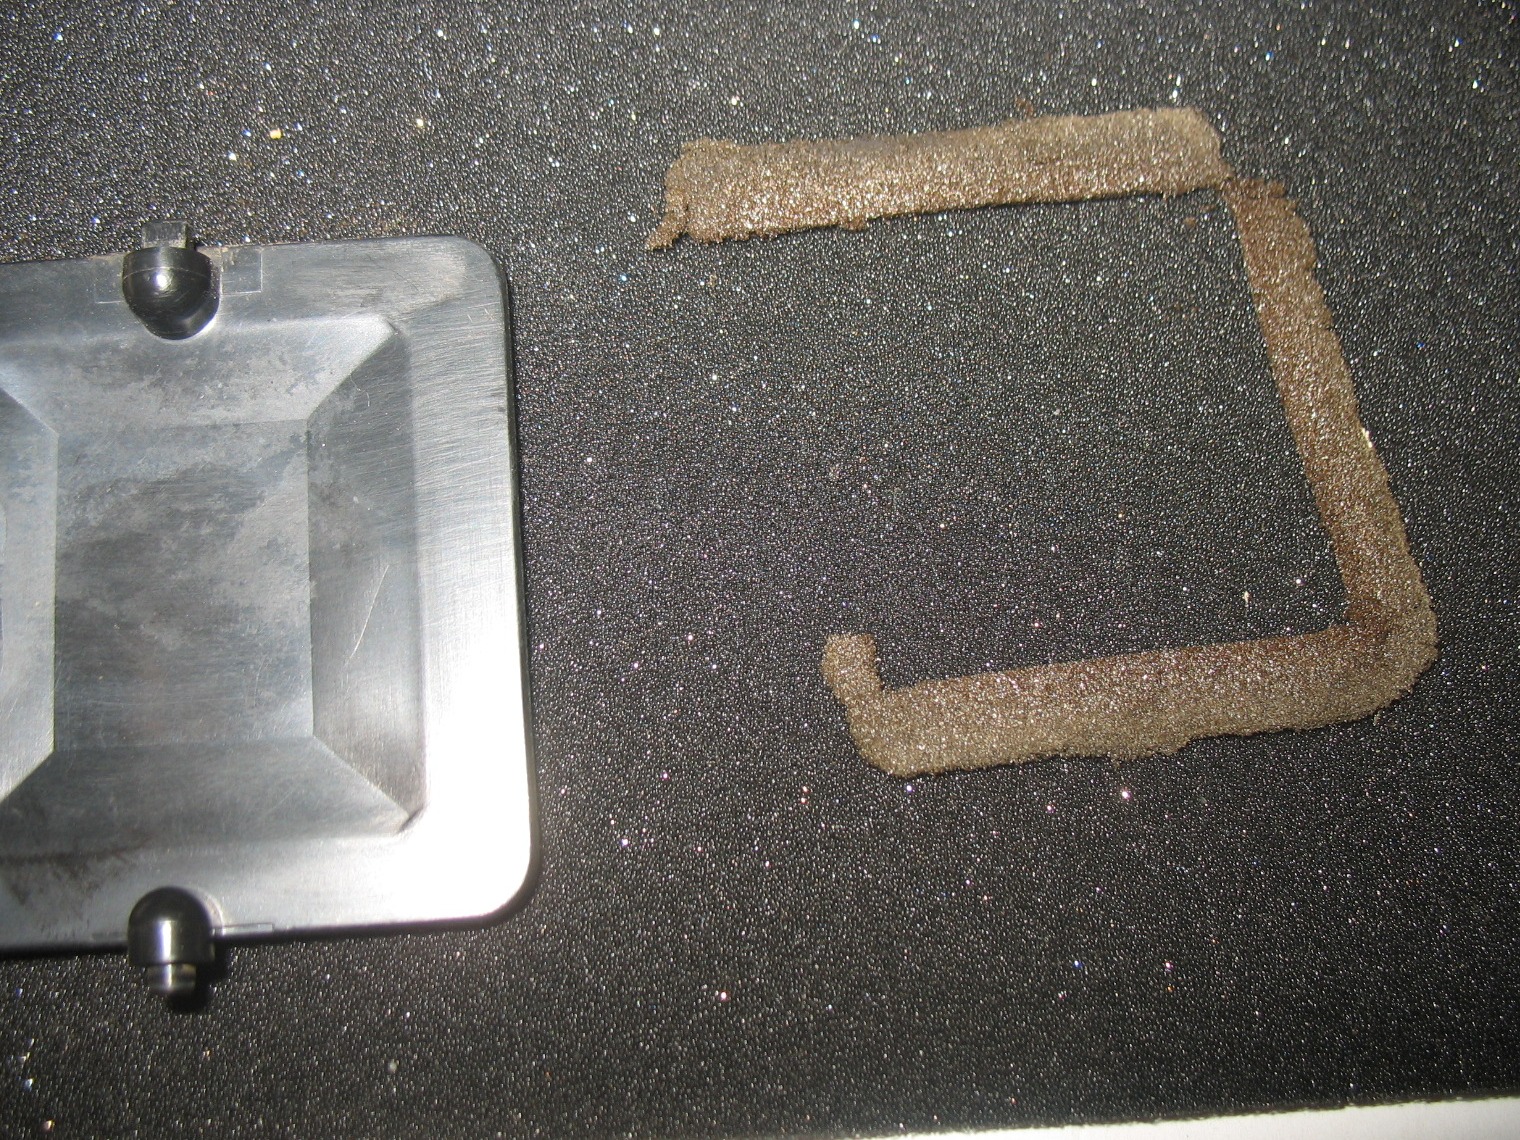
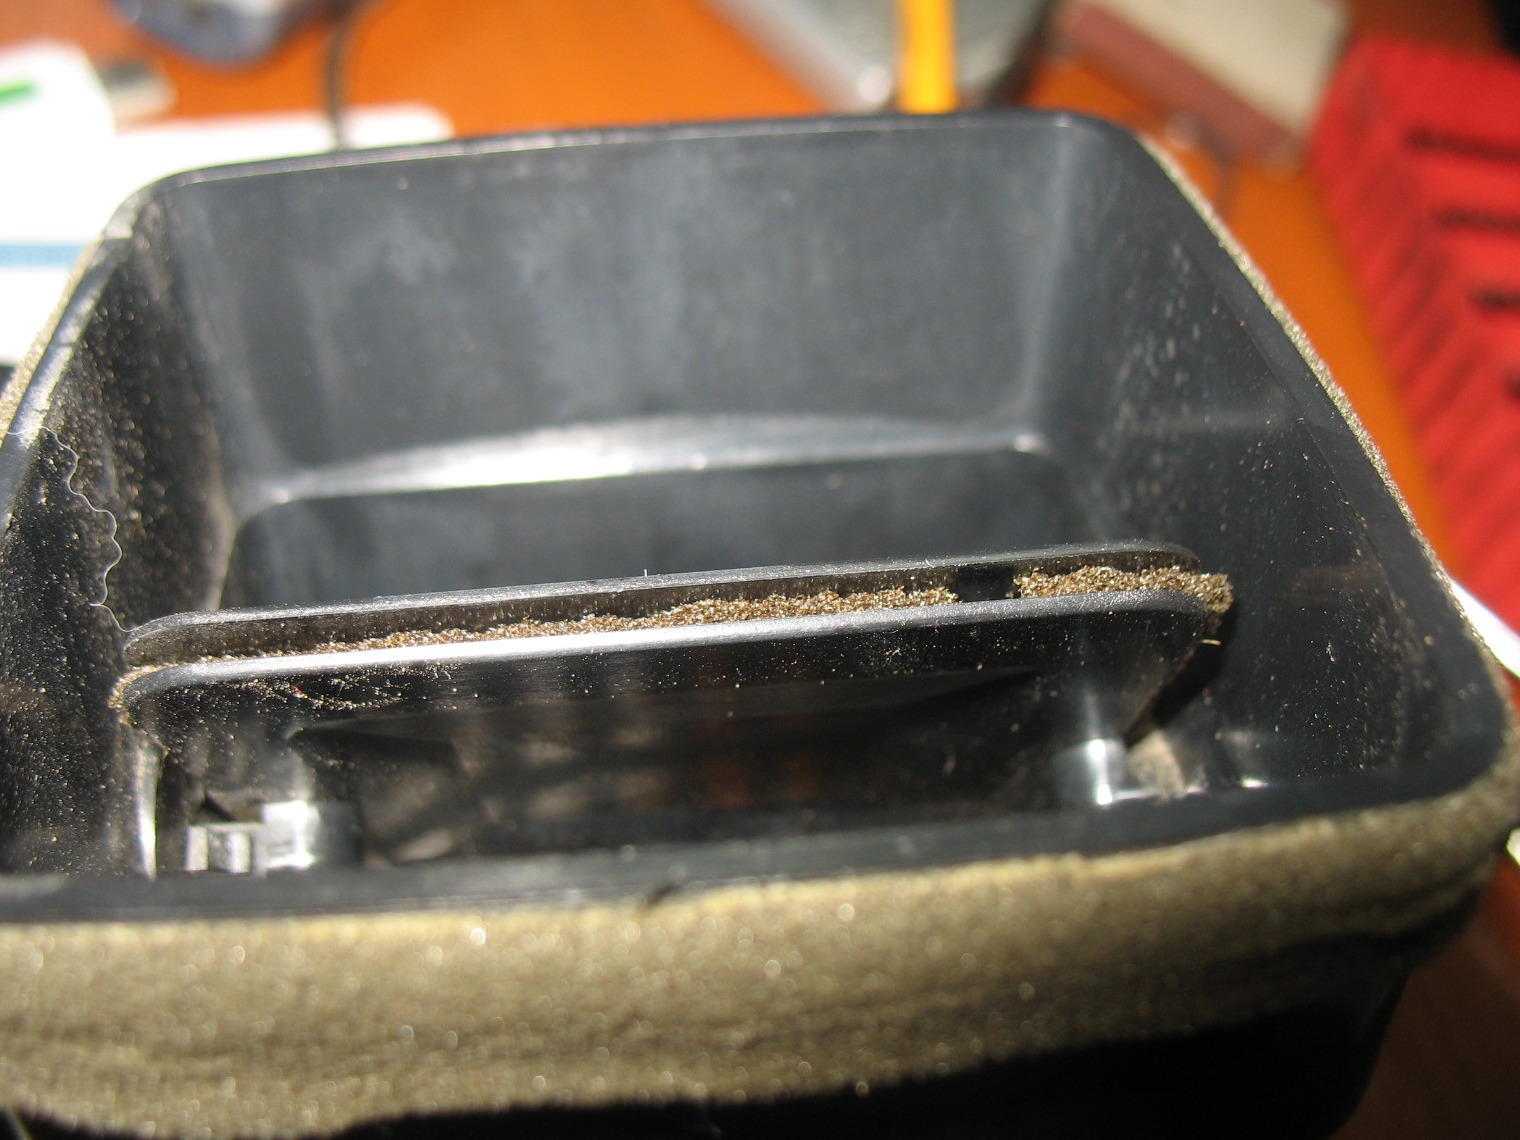
and here's how it turned out
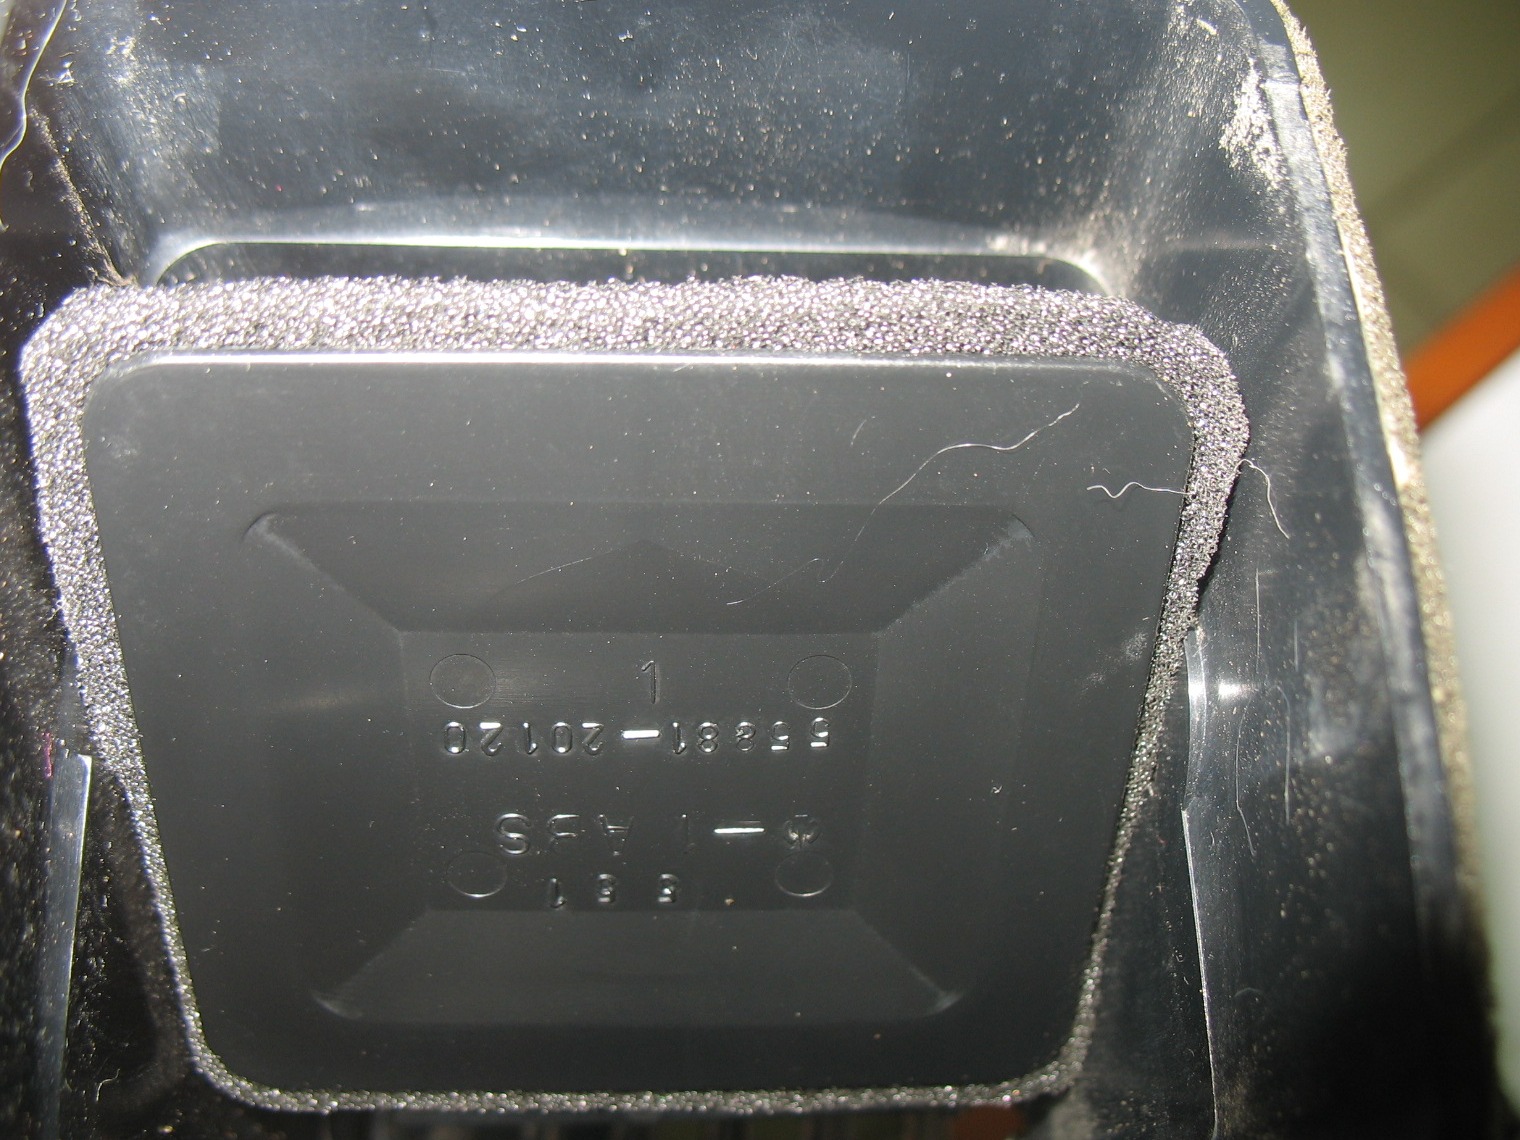
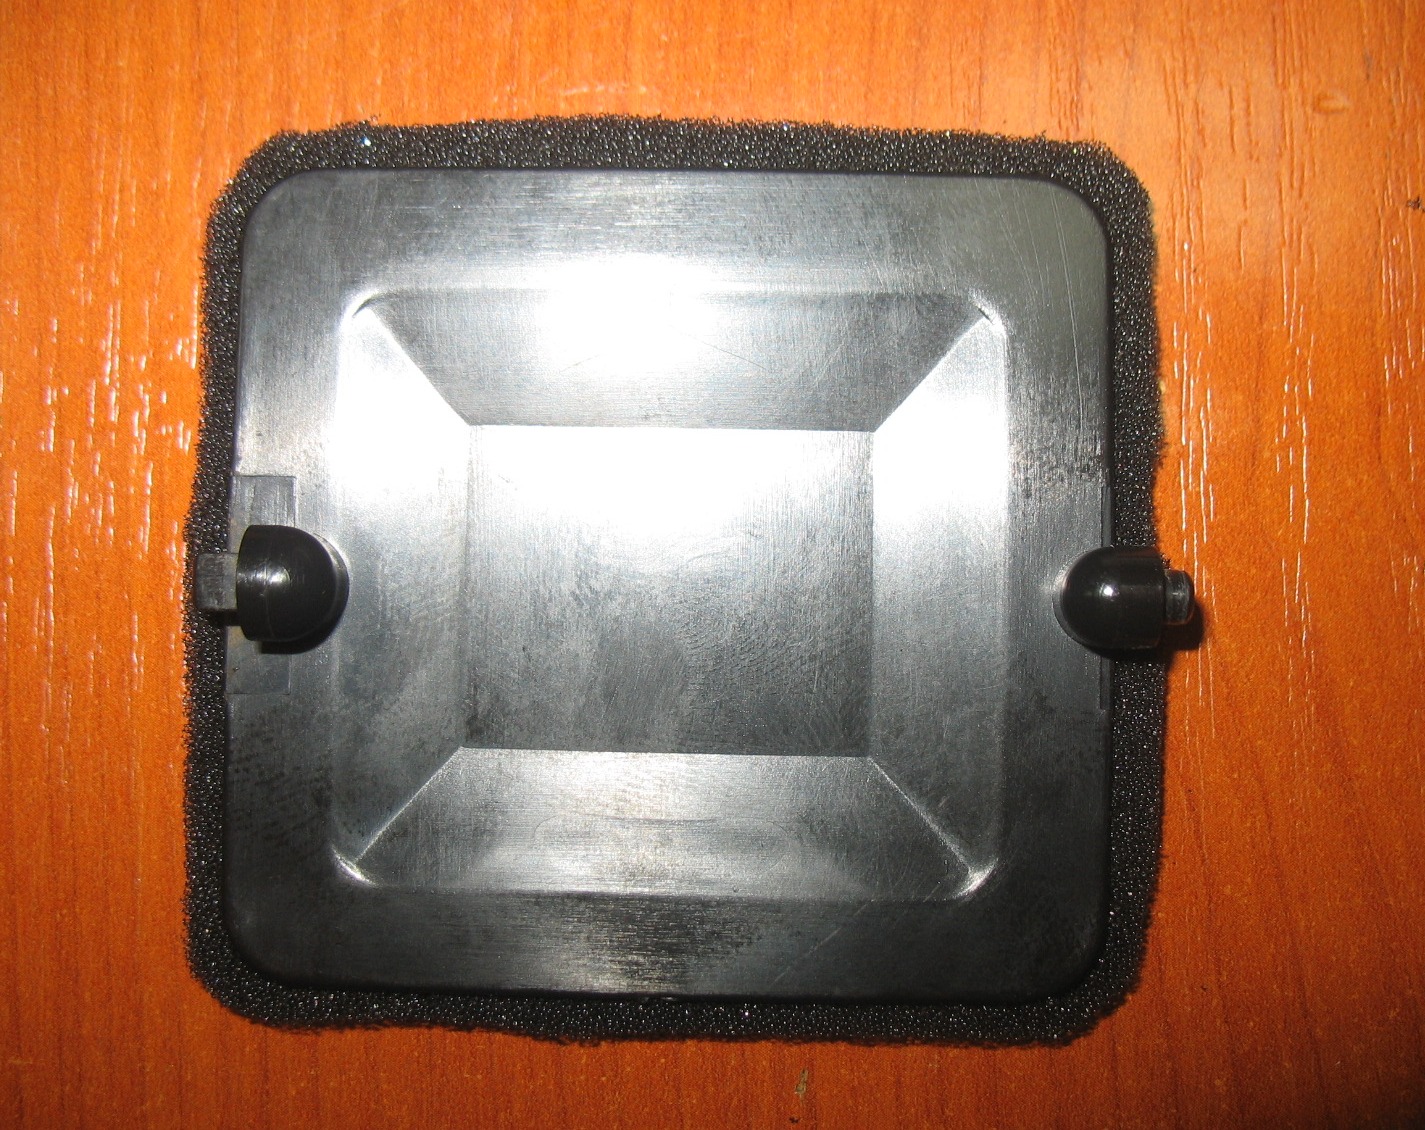
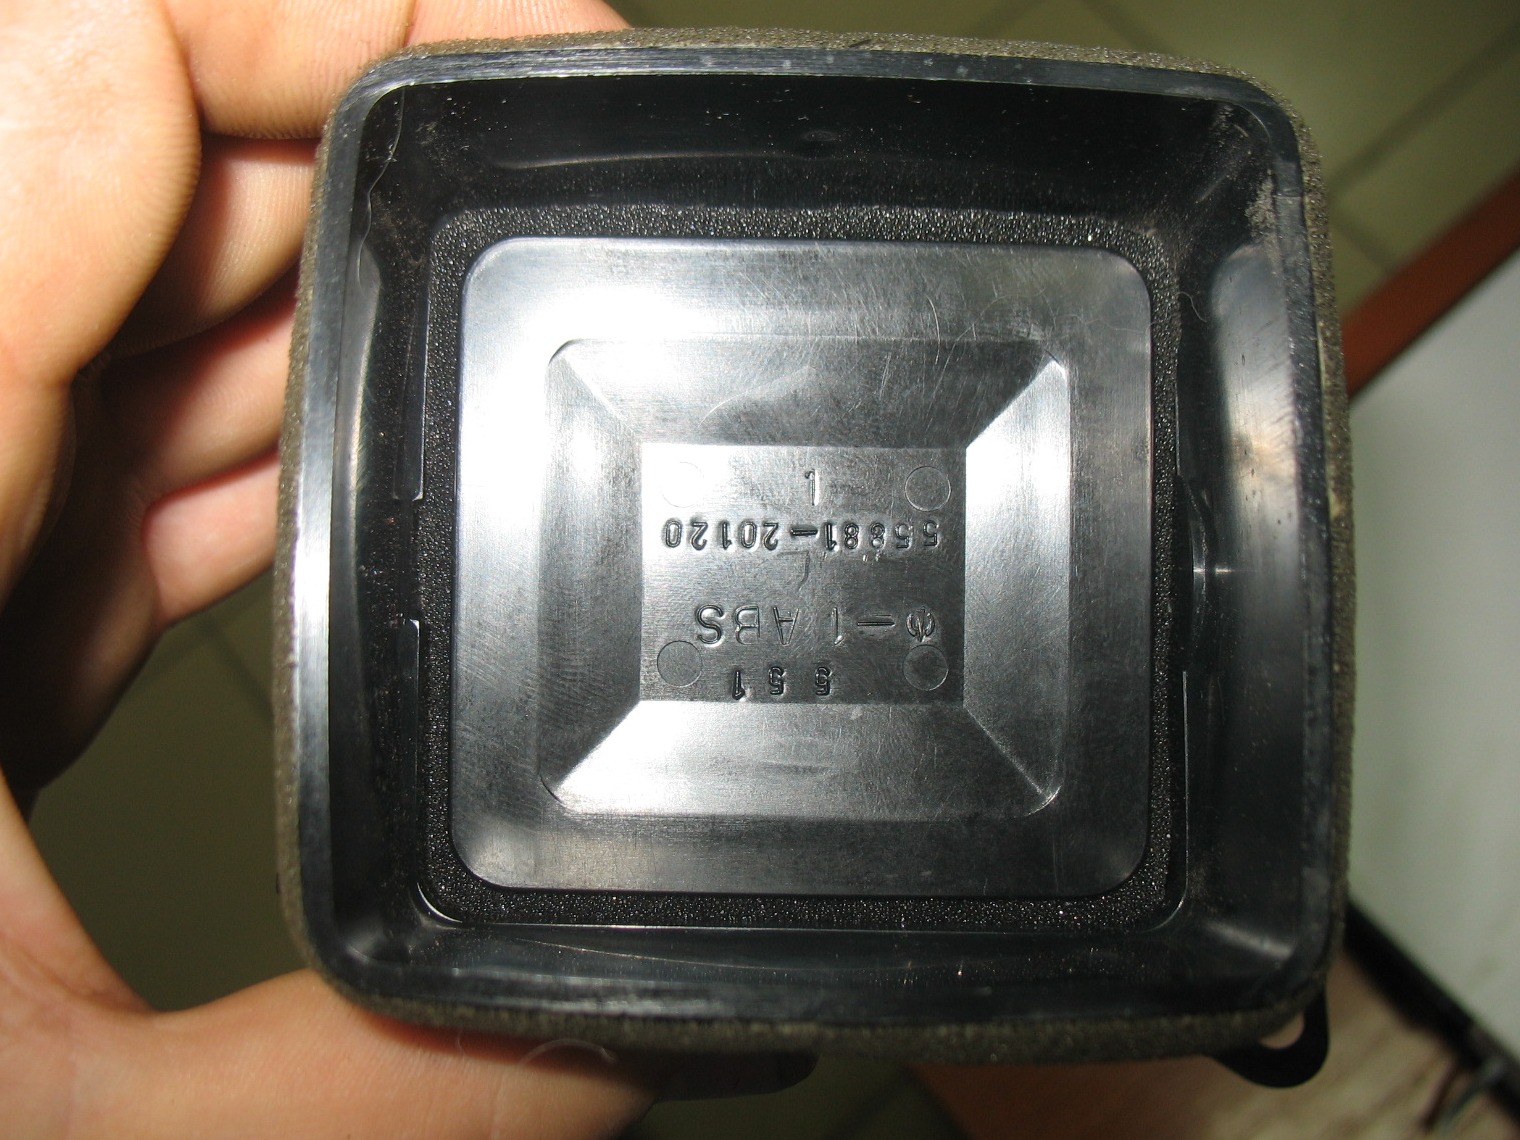
BONUS While Olex glues Shumkov, I decided to do long conceived, put flashlights in the door.
Take off the door trim. Be careful, while I was removing the right trim, I broke the power window button (I hope I will replace it, but for now I just glue it.
Next, we pull the braid out of the body and unwind the tape holding the rubber seal. After studying the braid itself, I found that there are two wires to the door braid block more, namely blue and white-black wires.Having smoked the diagram, I found out these wires are used for heating
mirrors.Since after splicing the wires I still have wires with connectors, I just inserted the missing wires into the door braid block and led them to the mirror, there will be something to do in future.
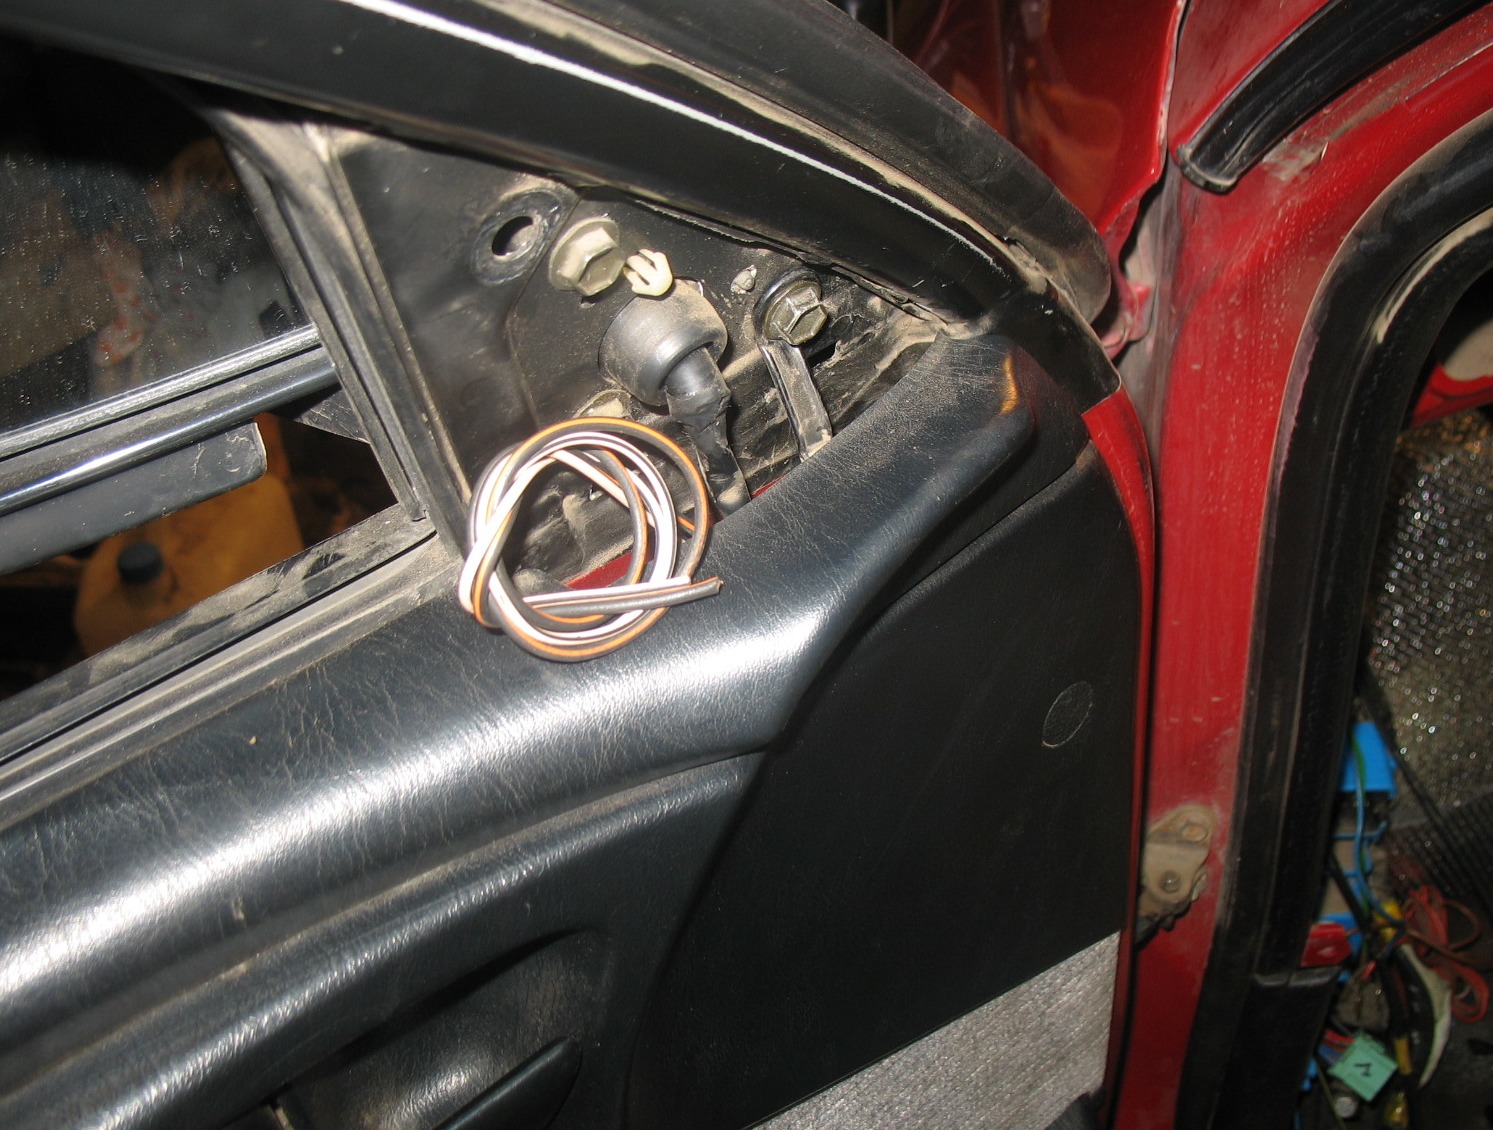
Since I didn’t find any wires on the flashlights in the braid, I decided not to start them in the block for the convenience of connecting. Well, along the way, I updated the door limiter, otherwise my wife swore that the door was kicking her. I didn’t capture the repair process itself, but there the whole difficulty lies only in disassembling the limiter (mine is spot-welded) and making new croutons. I made them from a piece of plastic pipe, pre-heated it with a hair dryer and straightened it.
Work is in full swing! :)
Can you tell me a little more about the Shumka materials? How much does a sheet, manufacturer, etc ...
Hello. As usual, I didn’t remember the names of the materials themselves)
The one that is foil like Accent, but the hard one completely flew out of my head. I'll definitely go to the store and ask and write down if interested. It feels like (they hit the shield with a hammer from under the hood before and after, the ringing went away and the knock became really muffled. But in fact, we haven’t checked it yet, we are getting ready for launch.
For this procedure (gluing the motor shield), I had neither the spirit nor the strength at the time :) Respect for the efforts!