Shumka: episode one! — Toyota Premio, 1.8 liter, 2002
Good day comrades) I hasten to share the joy! I finally got the door shut!
let's immediately begin to describe how everything happened ... You ask - what's the point when so many methods are described everywhere? But no, I'll still share!
I started by gathering information, a friend owns a "tuning service" in (or as it is now called, where they install music, noise, tint windows, pull the interior, etc.) in Novokuznetsk. so I turned to him in the first place) as a result, he suggested that I cover the doors with Vibroplast GOLD, Bimast standart and Bitoplast. We went to the store, bought it and the learning process began))
Here is the set of necessary tools:
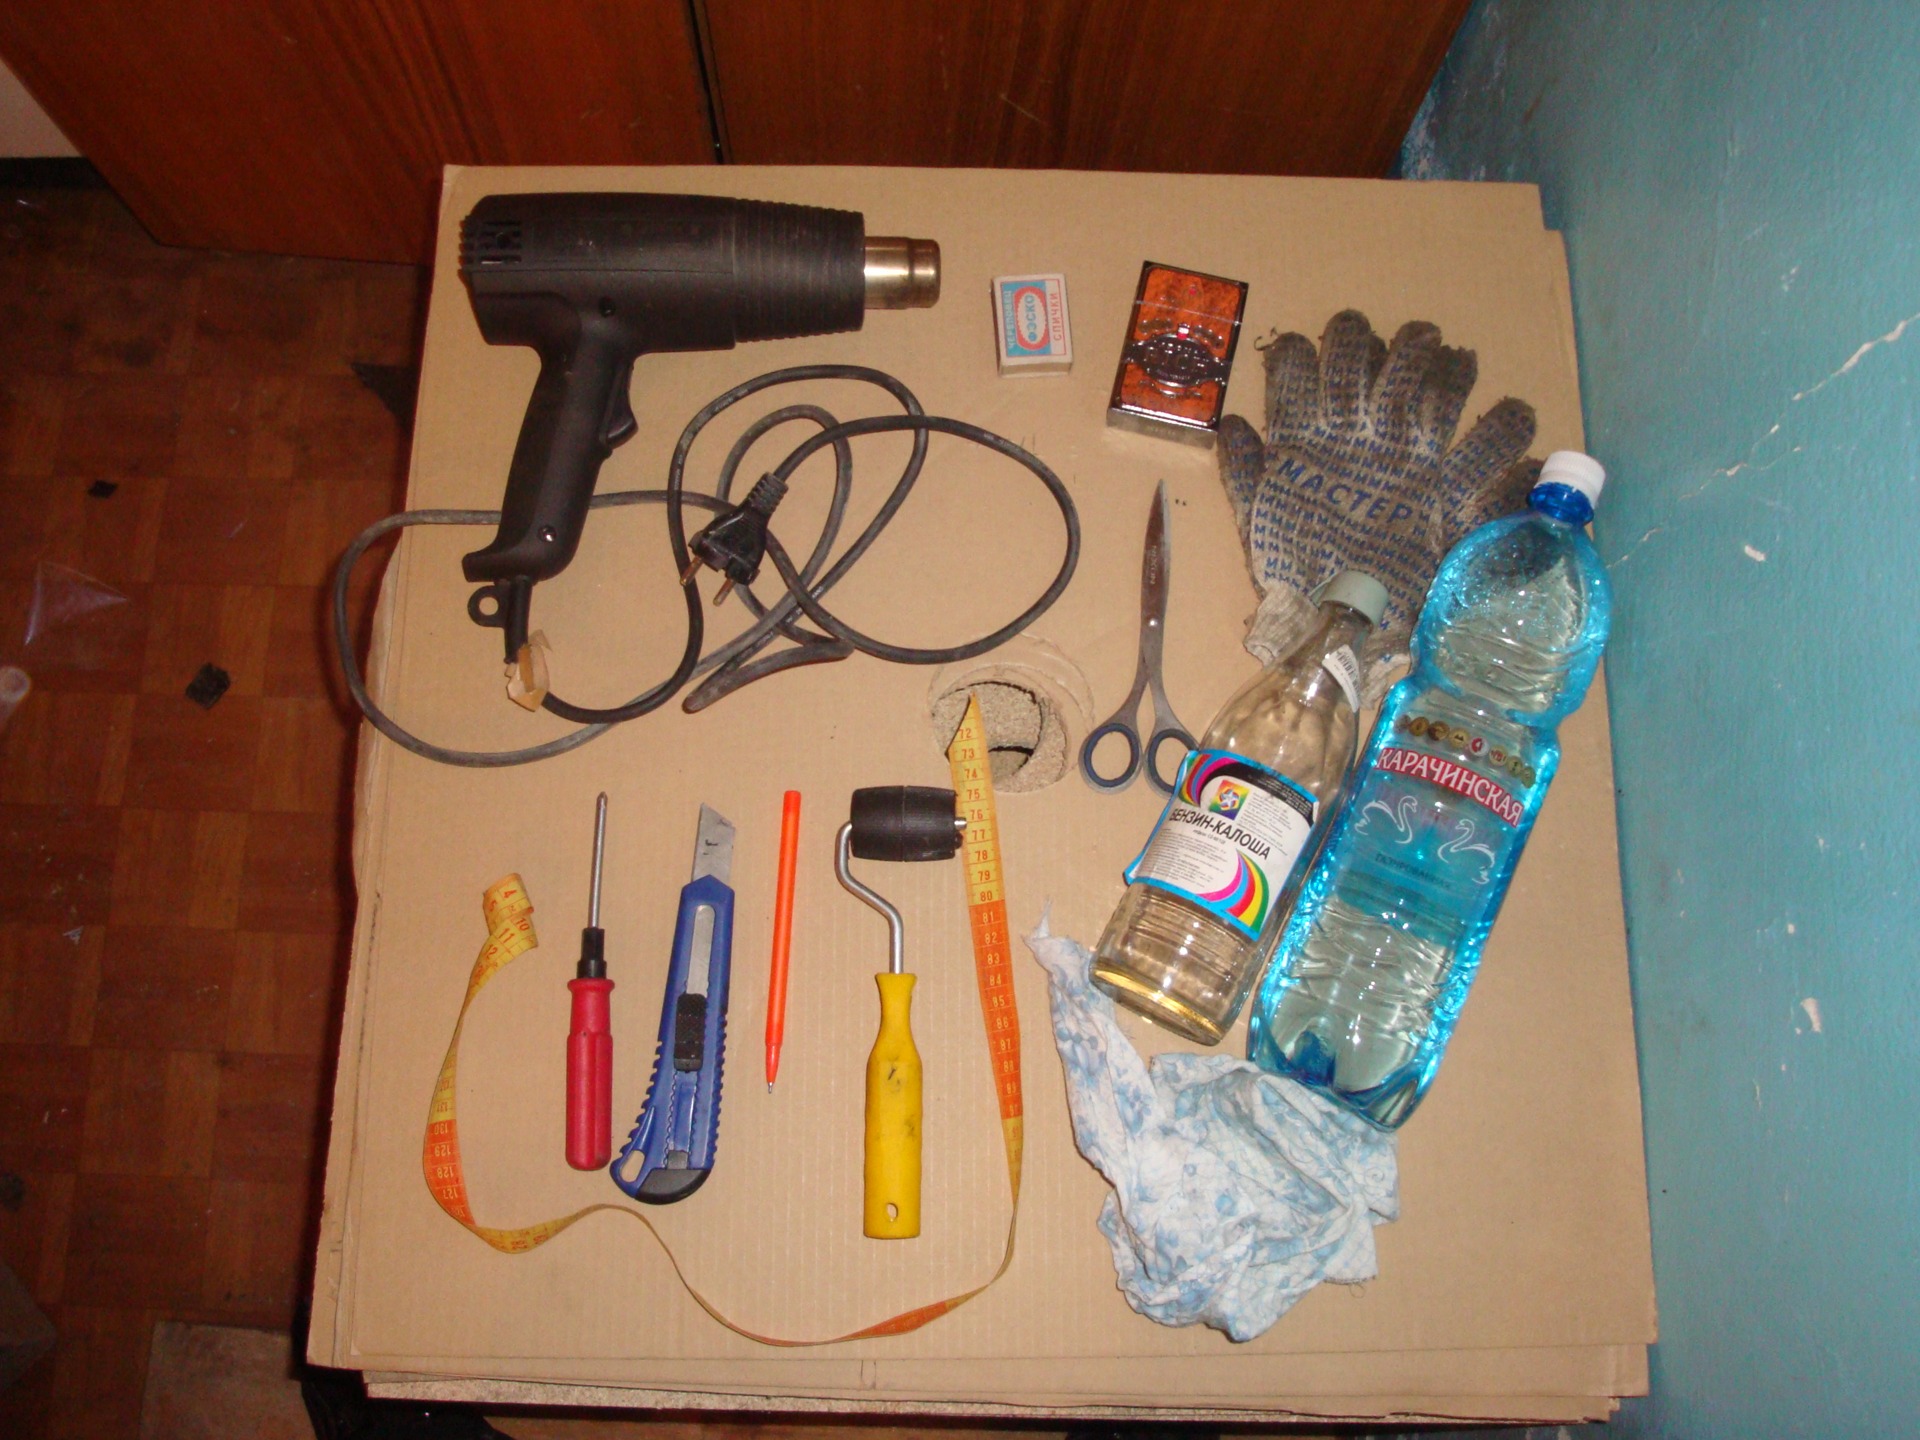
Unfortunately, I did not have time to photograph the materials in their original state, but along the way I will explain what and where ...
Having stocked up on some water, firewood in the oven (in Berdsk 0 'C) and cheerful music, I proceeded to dismantle the doors. Door skins are not difficult to remove, 3 screws and 10 pieces of clips. Having removed the skin, I proceeded to open the virgin protective polyethylene film. Pre-draw on it the places where the holes in the door, the holes for the clips and the fastening of the skin. We remove it carefully, without damaging it, it will still be useful to us.
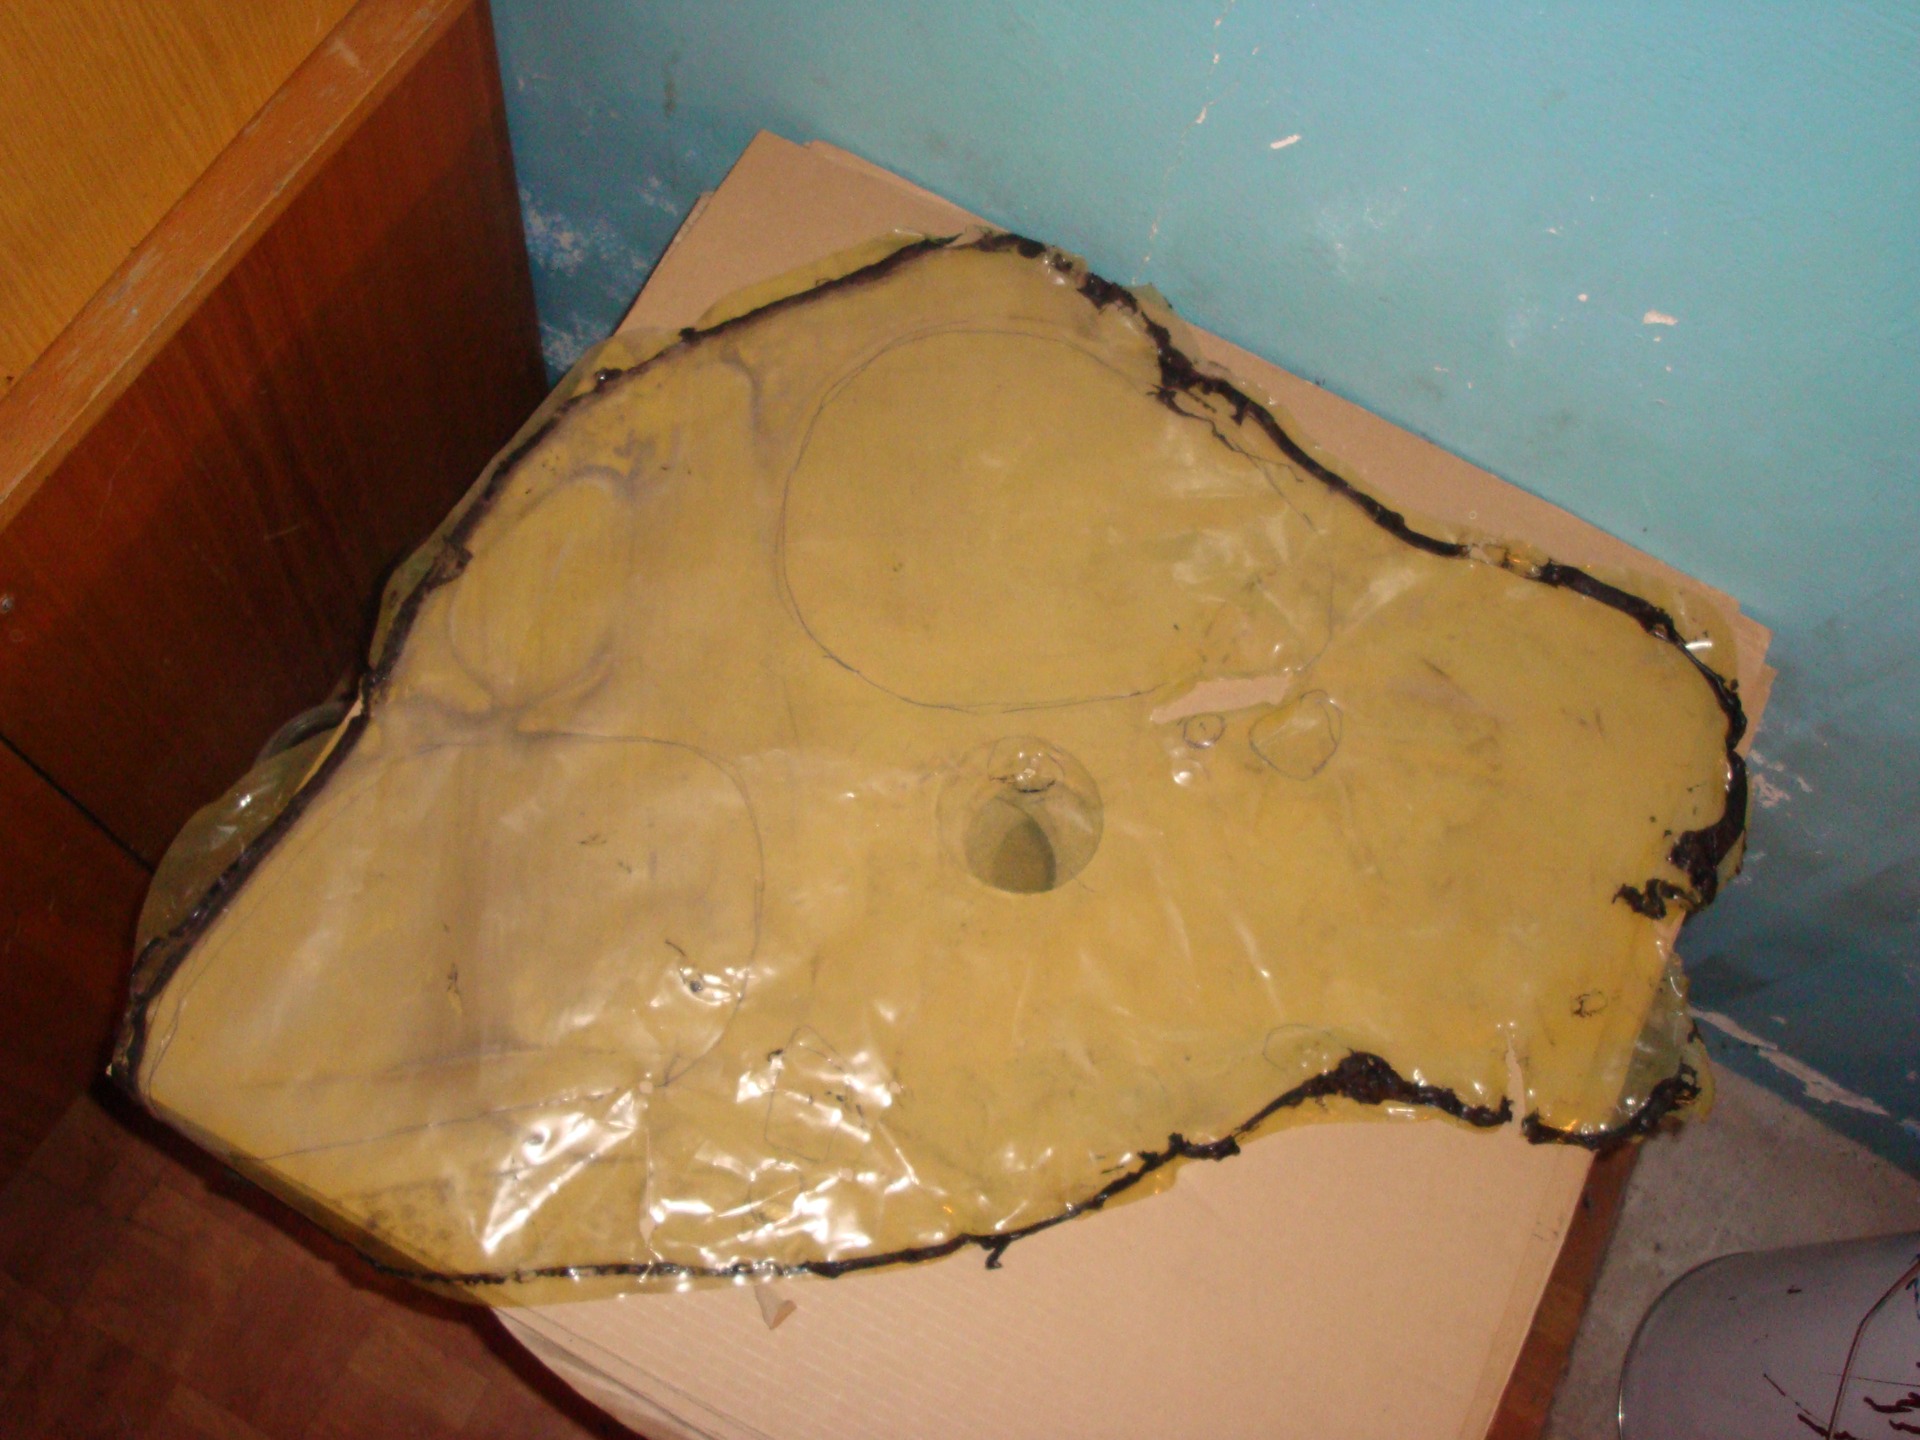
There were traces of sealing rubber on the metal, as well as dust! ) all this is carefully cleaned with a cloth soaked in some kind of degreaser, I used gasoline-galosh.
Then I moved on to the inside of the door. looking inside, I was disappointed with the factory soundproofing (a piece of "vibroplast" on a fabric base measuring approximately 250mm X 150mm), but the most terrible thing is that you need to get to the metal, respectively, you need to clean the entire plane. An industrial hair dryer will help me)))
As soon as we figure it all out, degrease the surface again. Now we have prepared the element for soundproofing)
And so:
1) The inner layer of the door is covered with GOLD vibroplast
2) The outer layer is Bimast standart
3) The lining from the inside is glued with Bitoplast
Point ONCE
Picking up a measuring device (I used a tape) began to measure - how to cut the vibroplast. The more pieces, the better)) why I can’t answer, but I was explained like this))). I started gluing from the bottom corner where the speaker is located. Many people say that it is enough to cover 70-80% of the surface for good vibration absorption, but I tried to cover everything to the maximum. pieces of vibra put tightly to each other
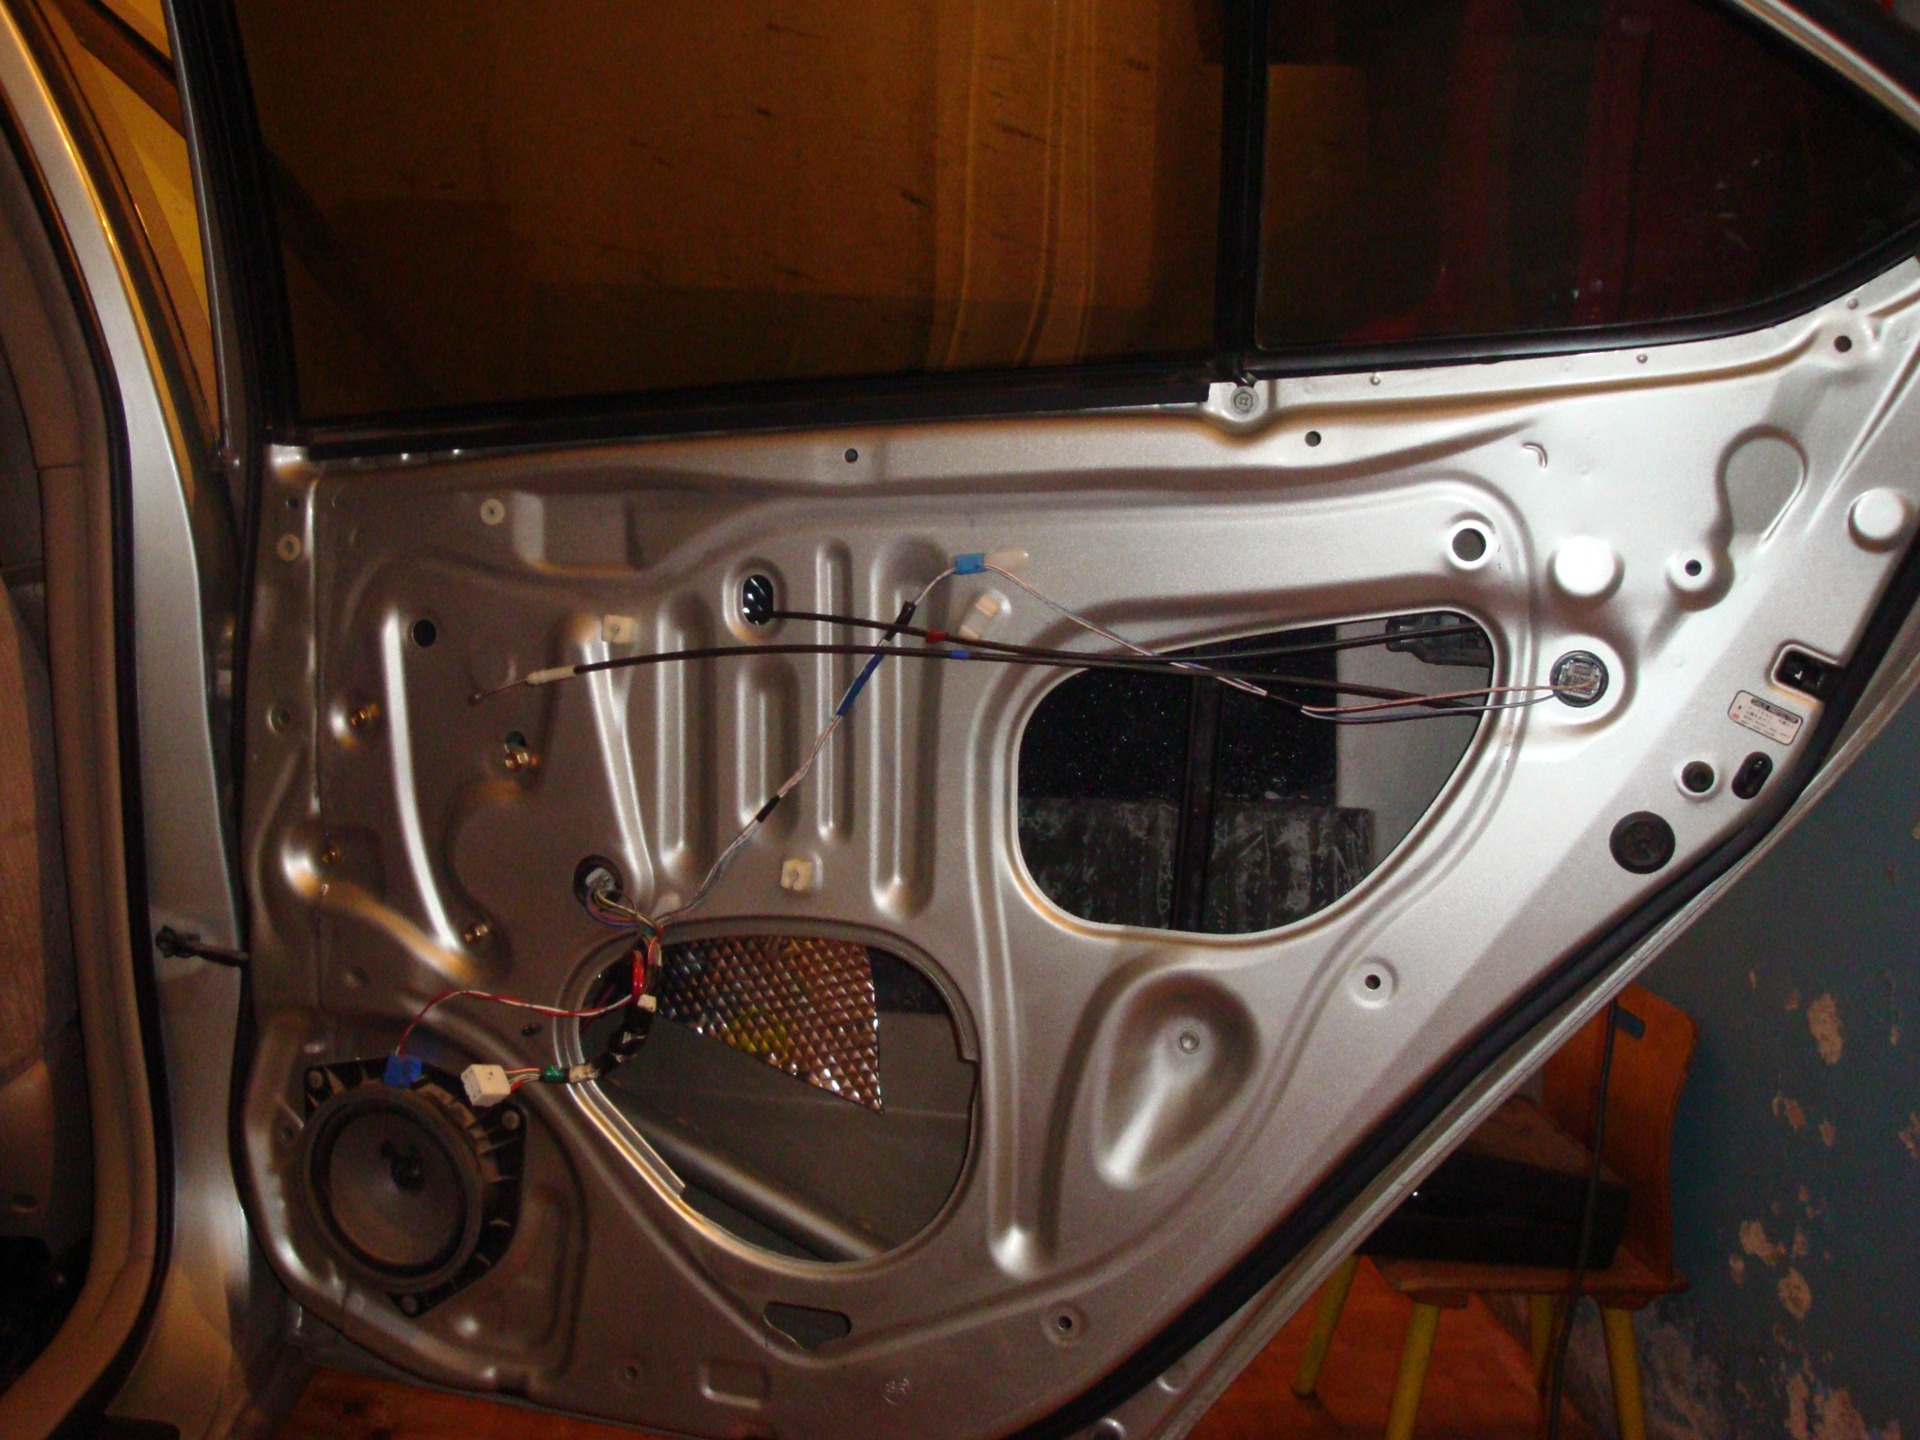
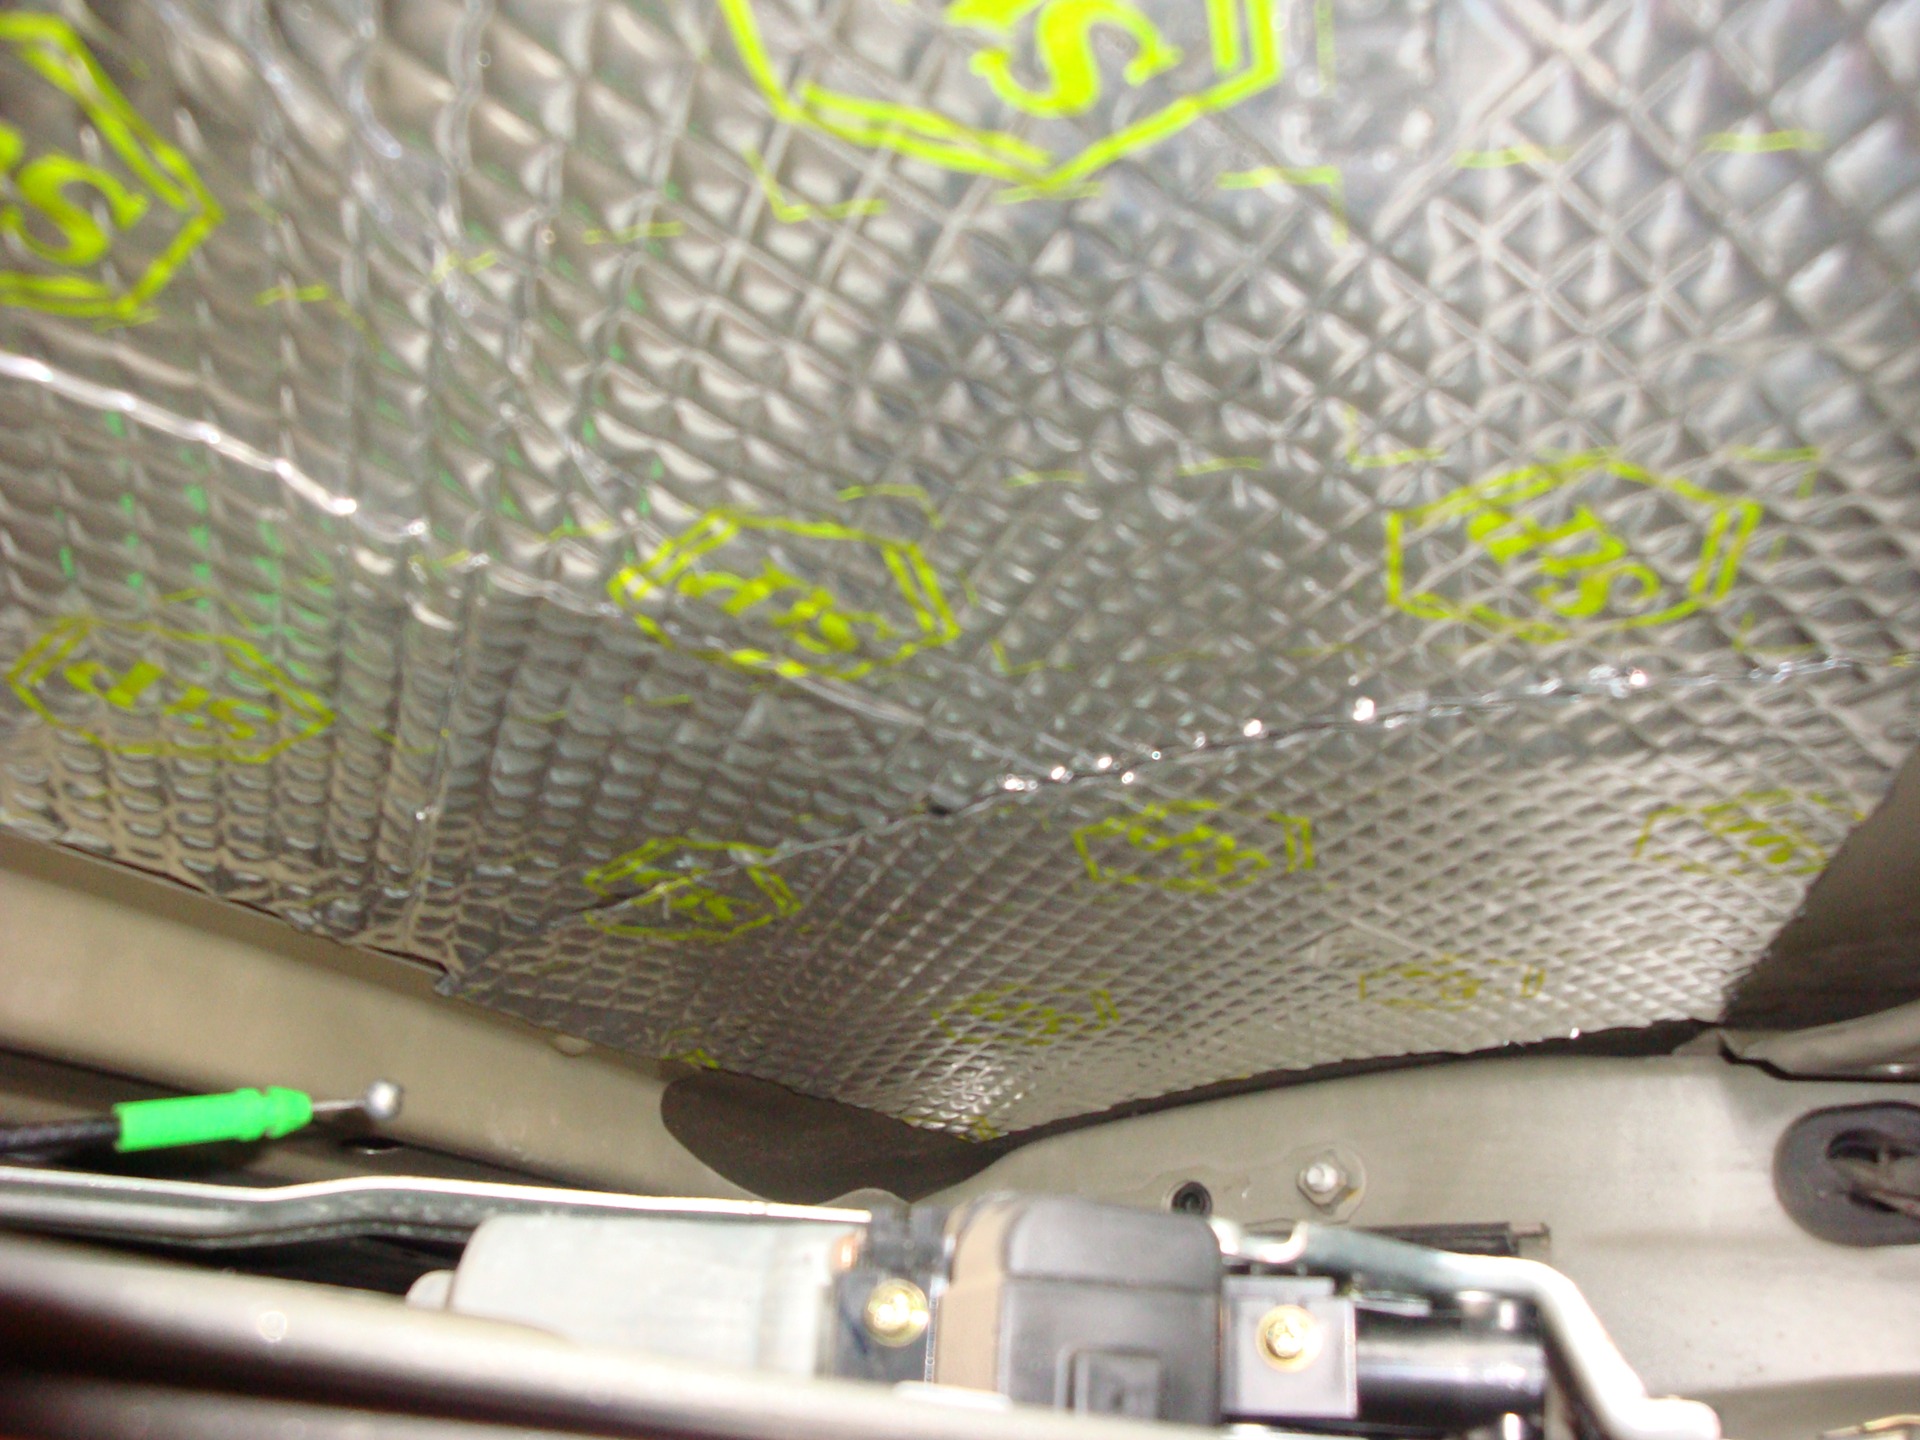
after he covered the entire surface, he turned on the hair dryer) warmed up the
vibroplast and rolled it with a roller, by the way, bought at a hardware store for 25 rubles, it’s really plastic, but it’s enough. And all this is necessary for a tighter fit of the material to the metal, otherwise our winters are cold, it may fall off if you don’t glue it well.
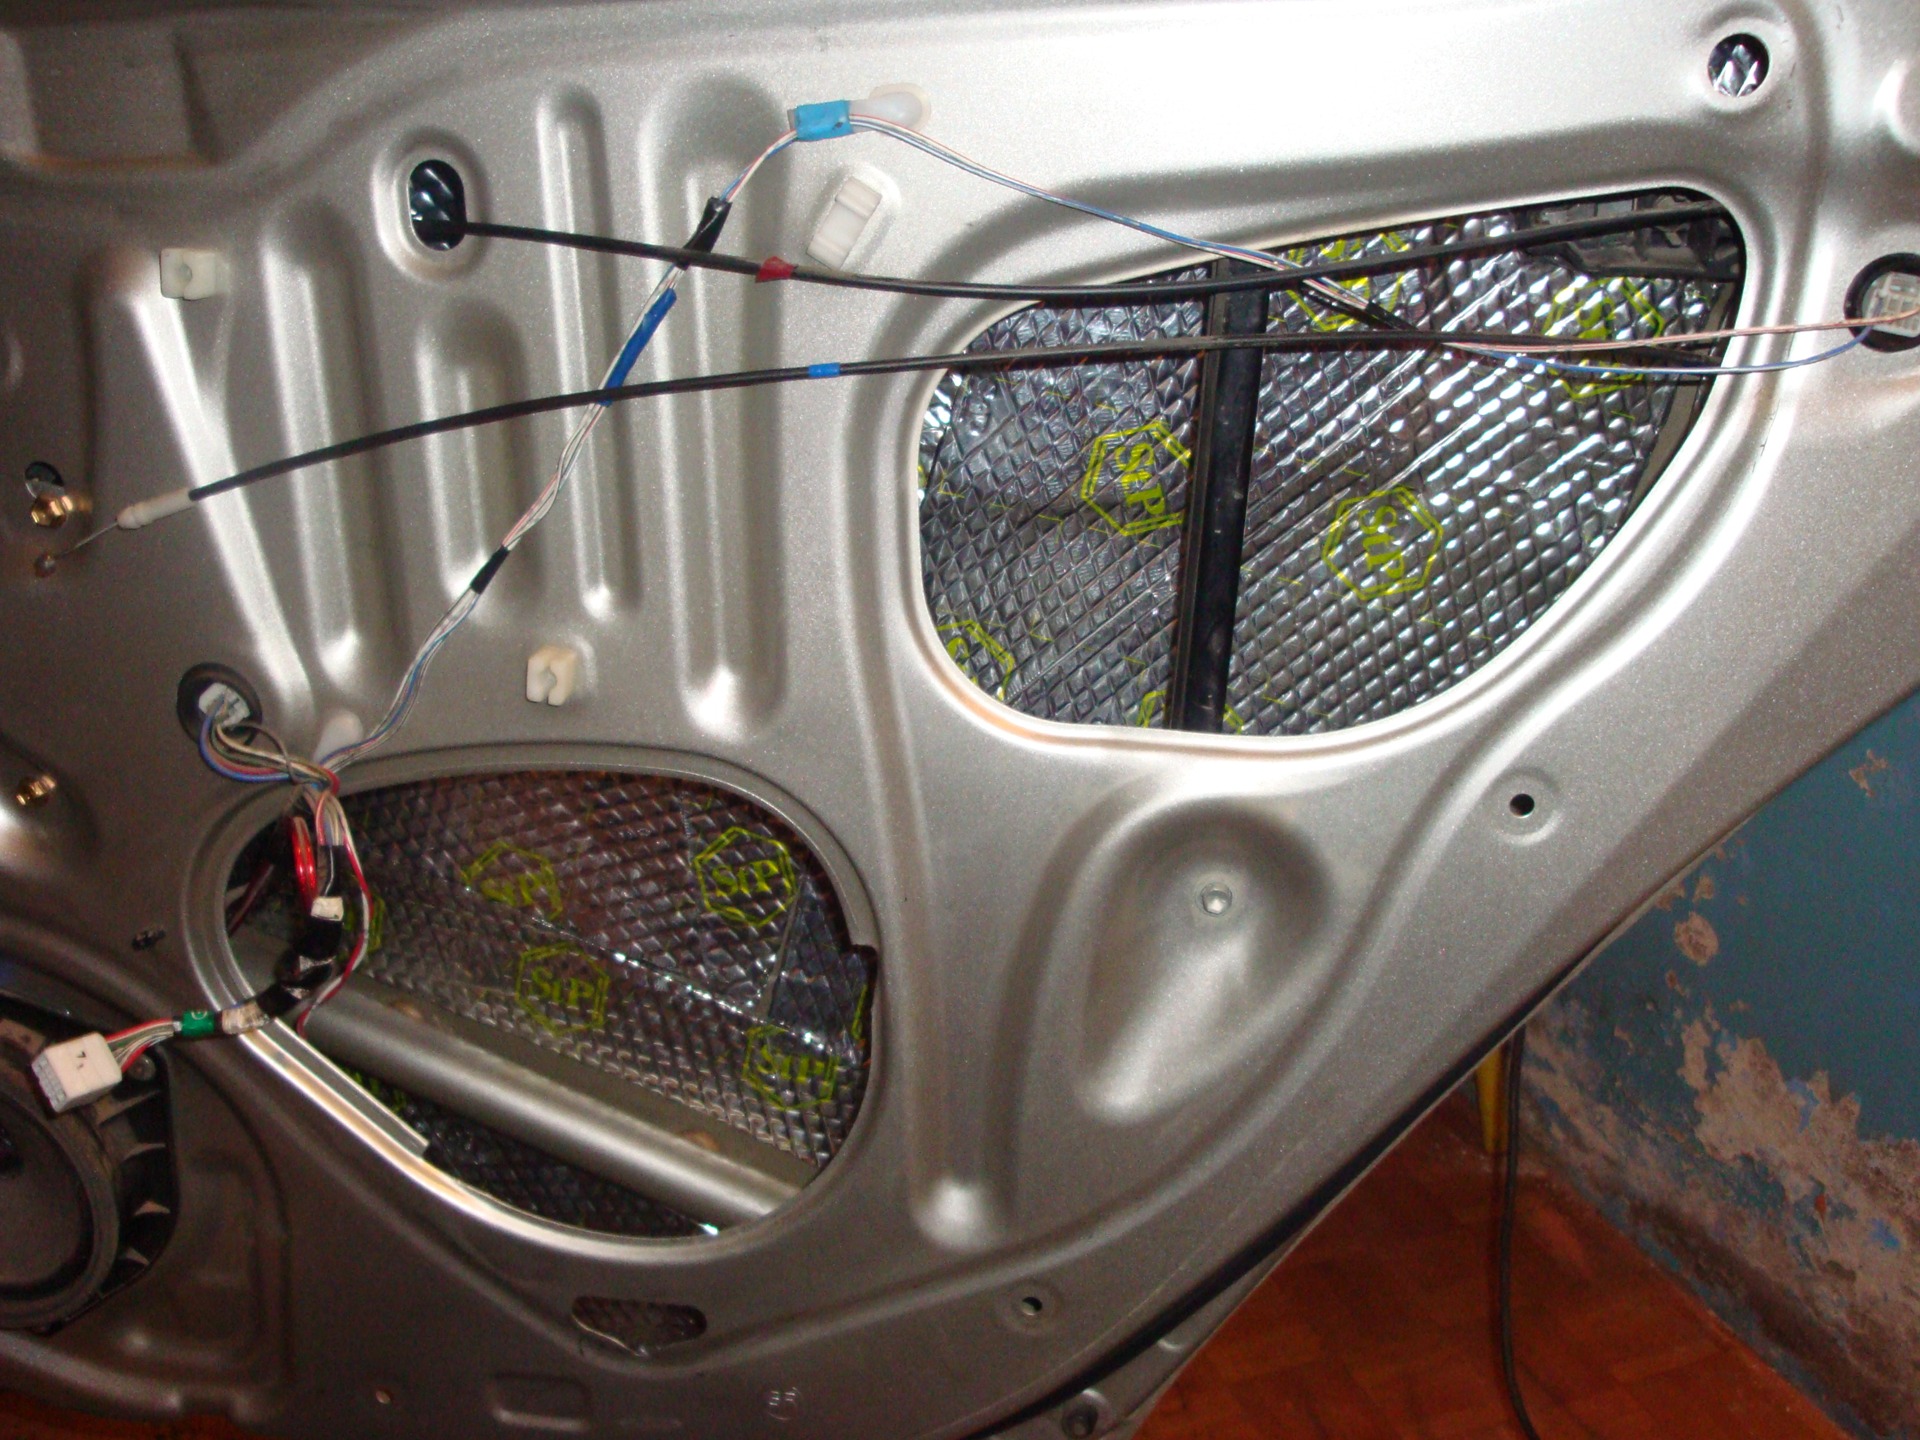
Point two:
Remember that polyethylene, which I carefully removed.
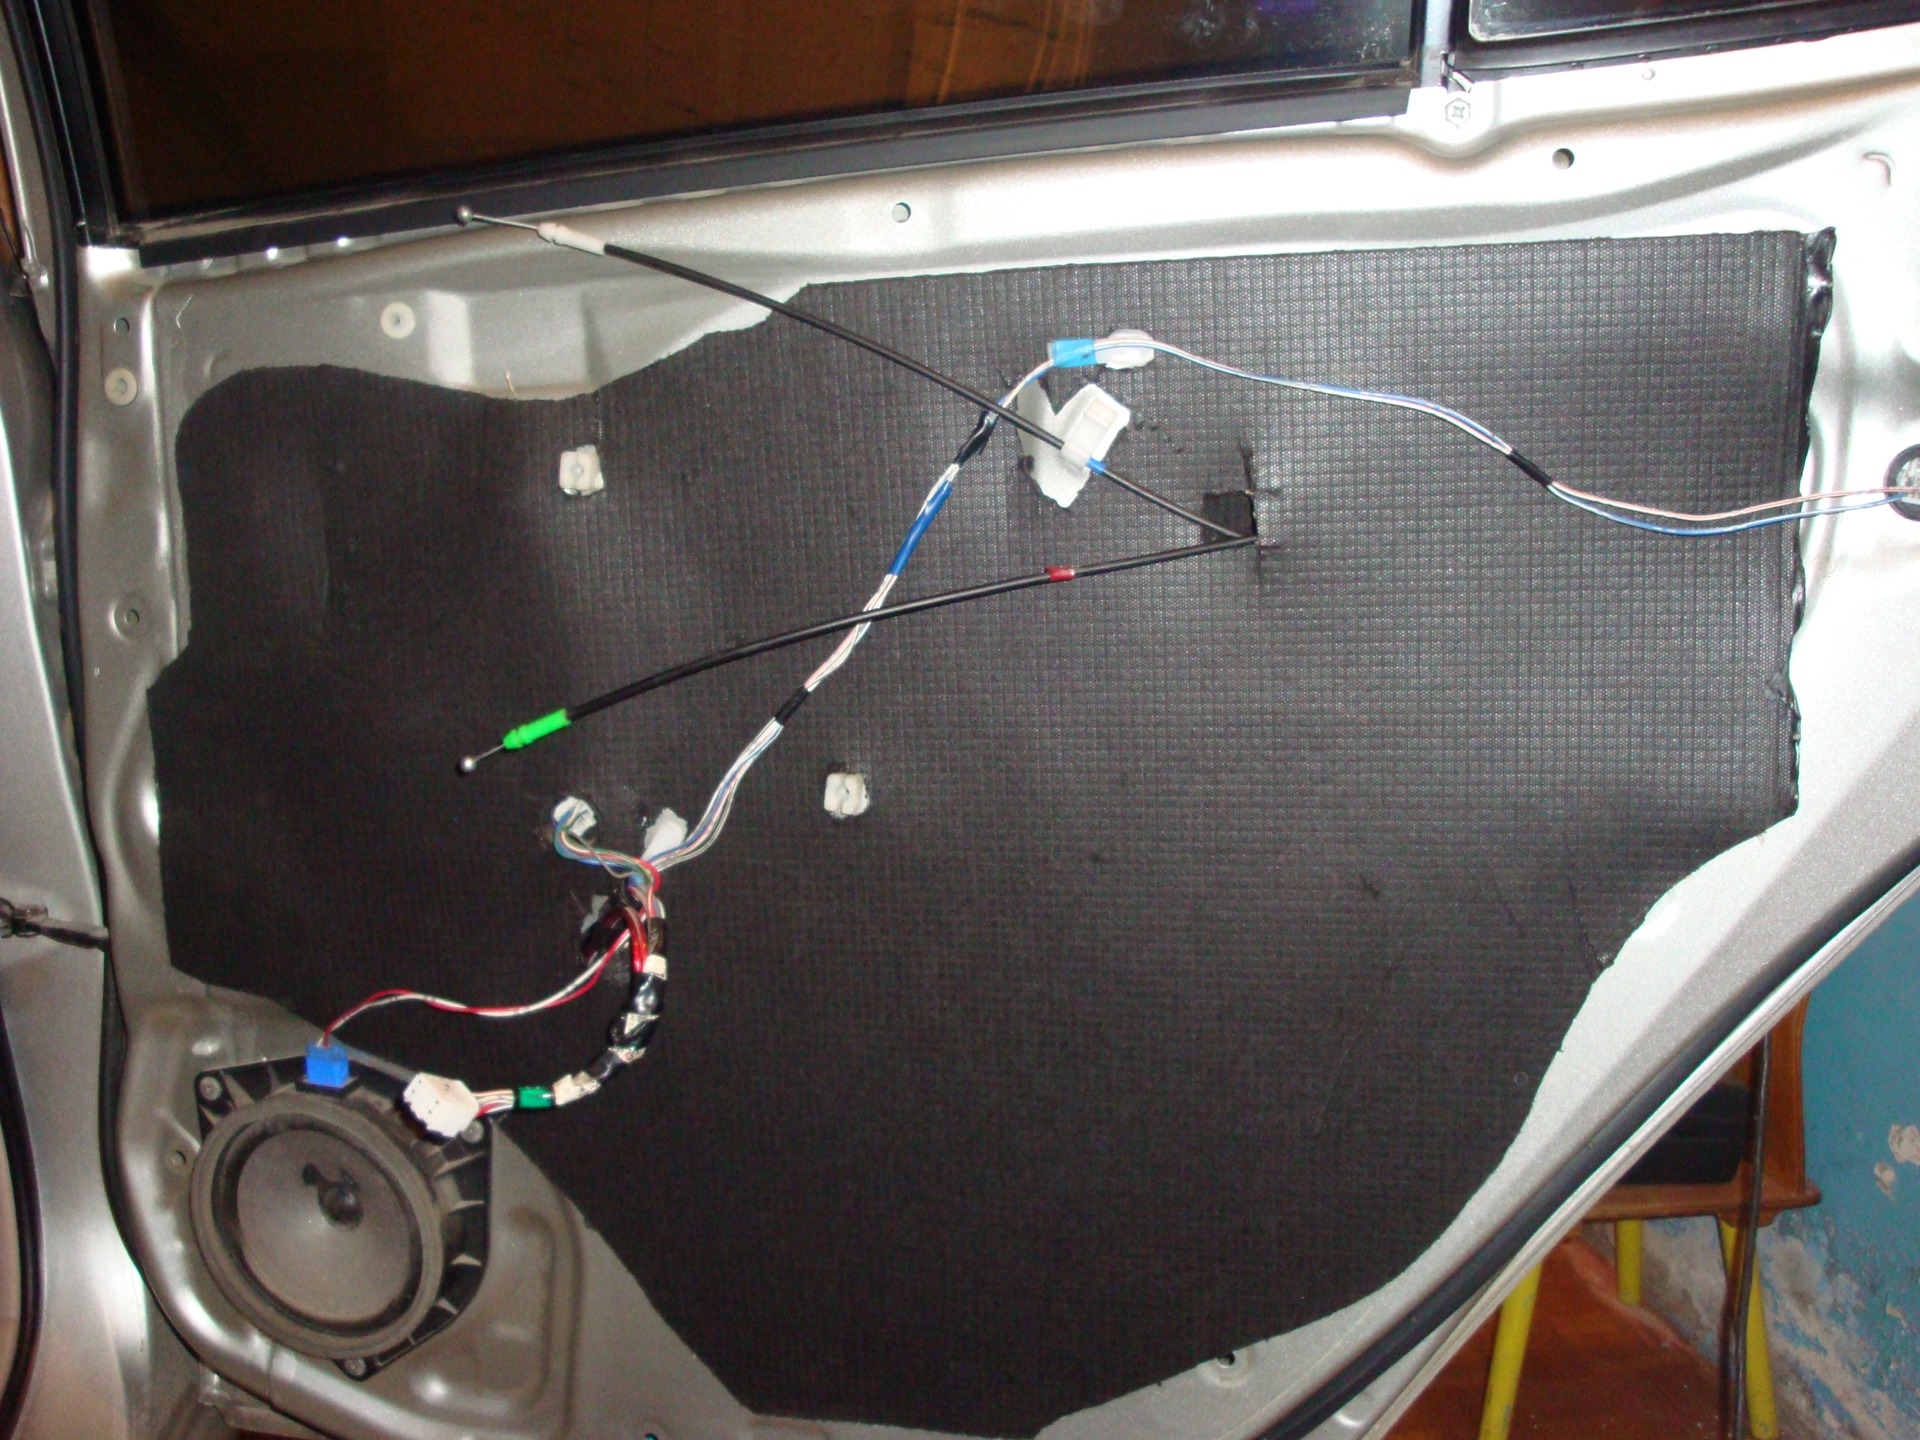
I used it as a template. Putting the template on the bimast, he circled it with a pen and began to cut it out with scissors. Be careful, the material is brittle!
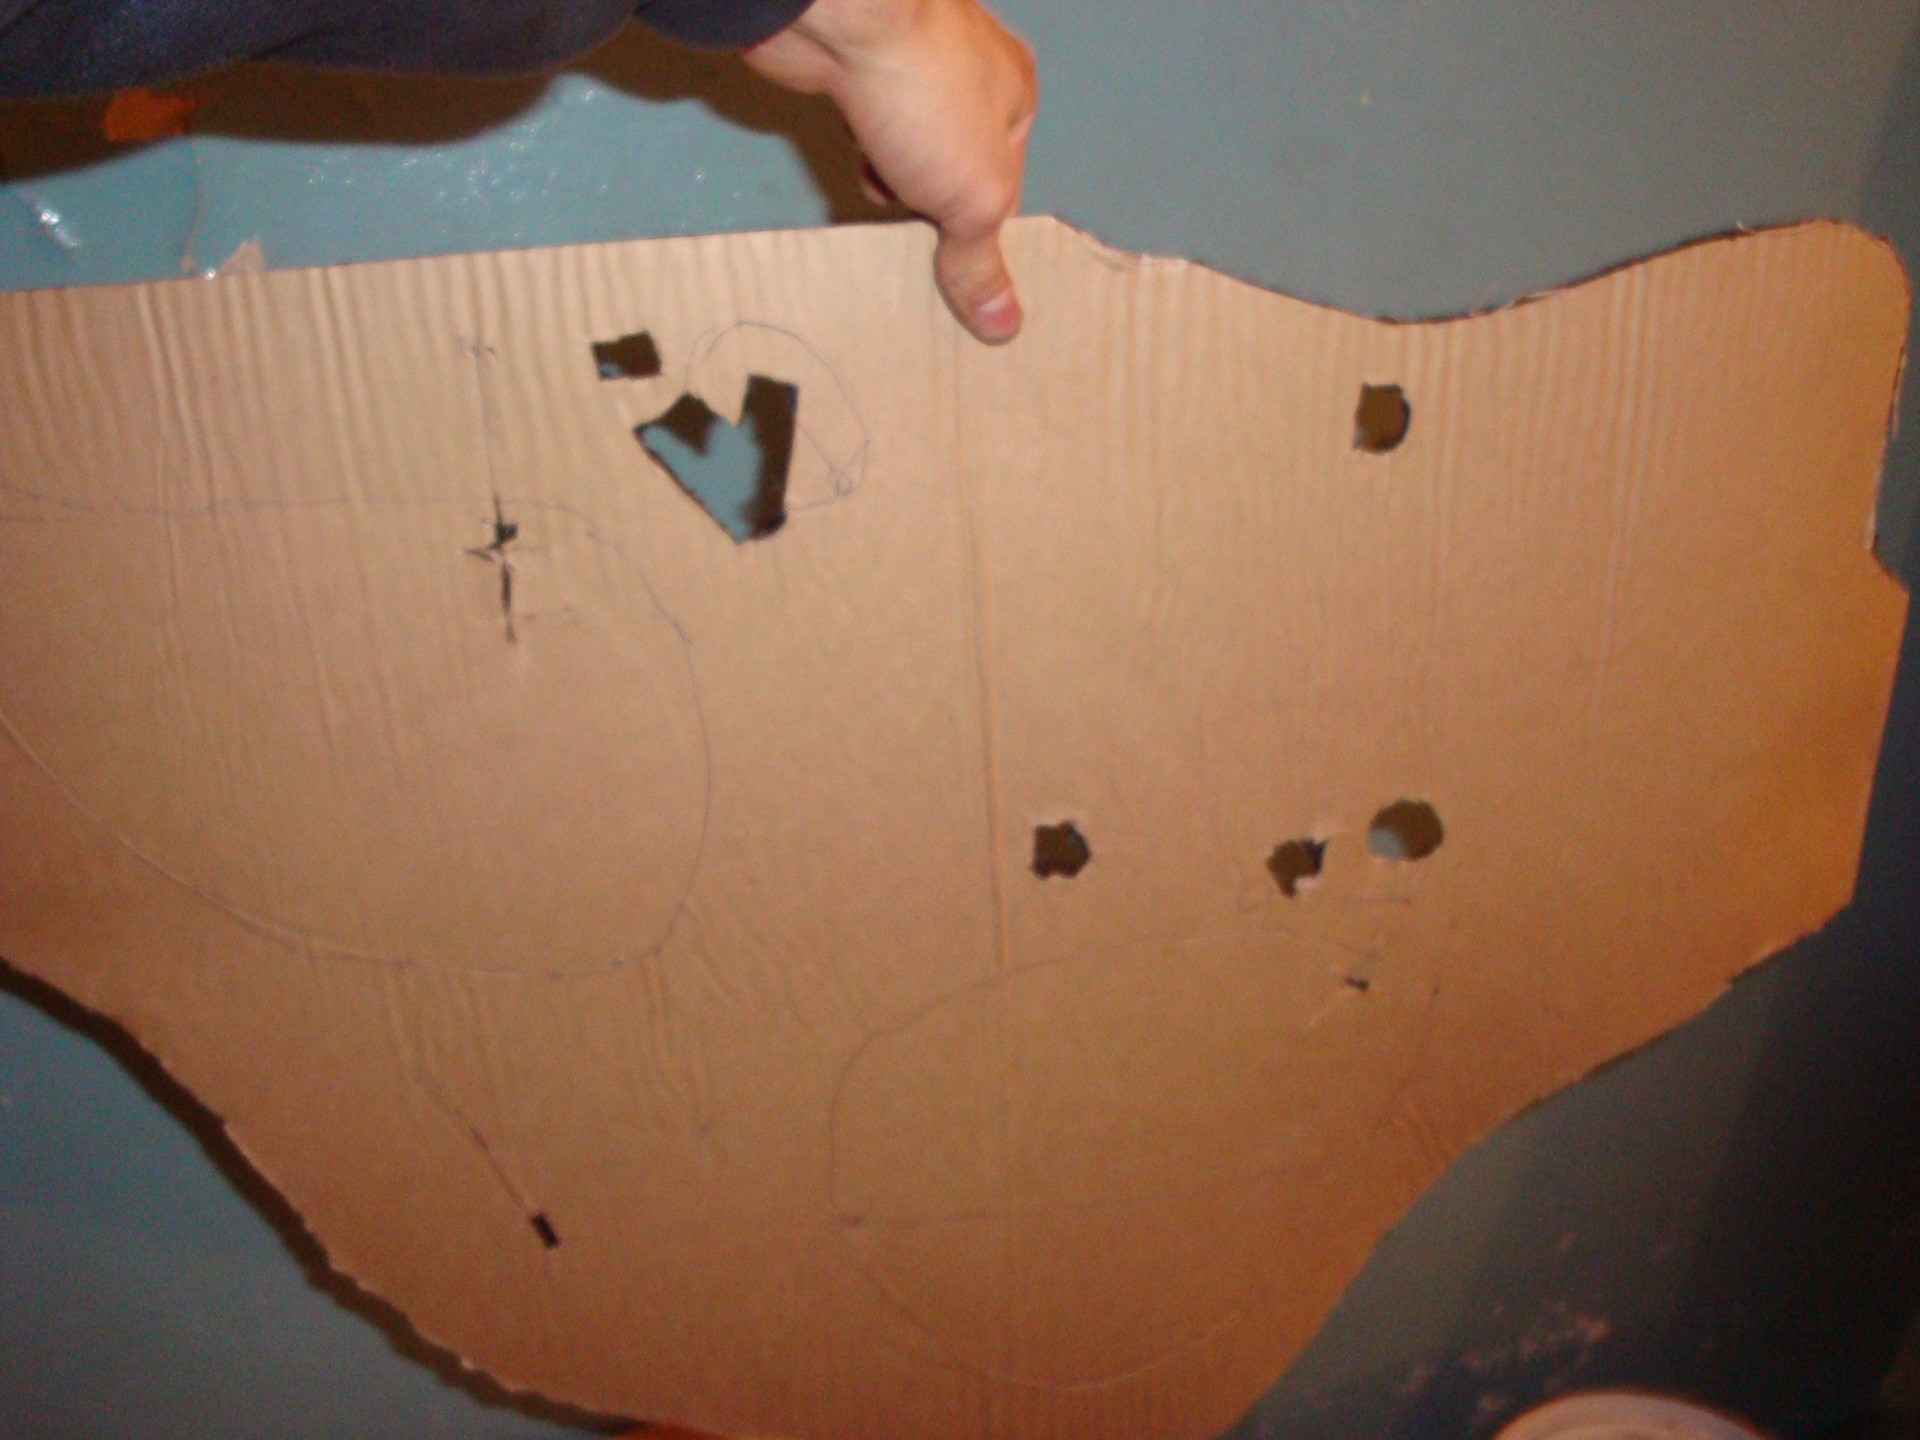
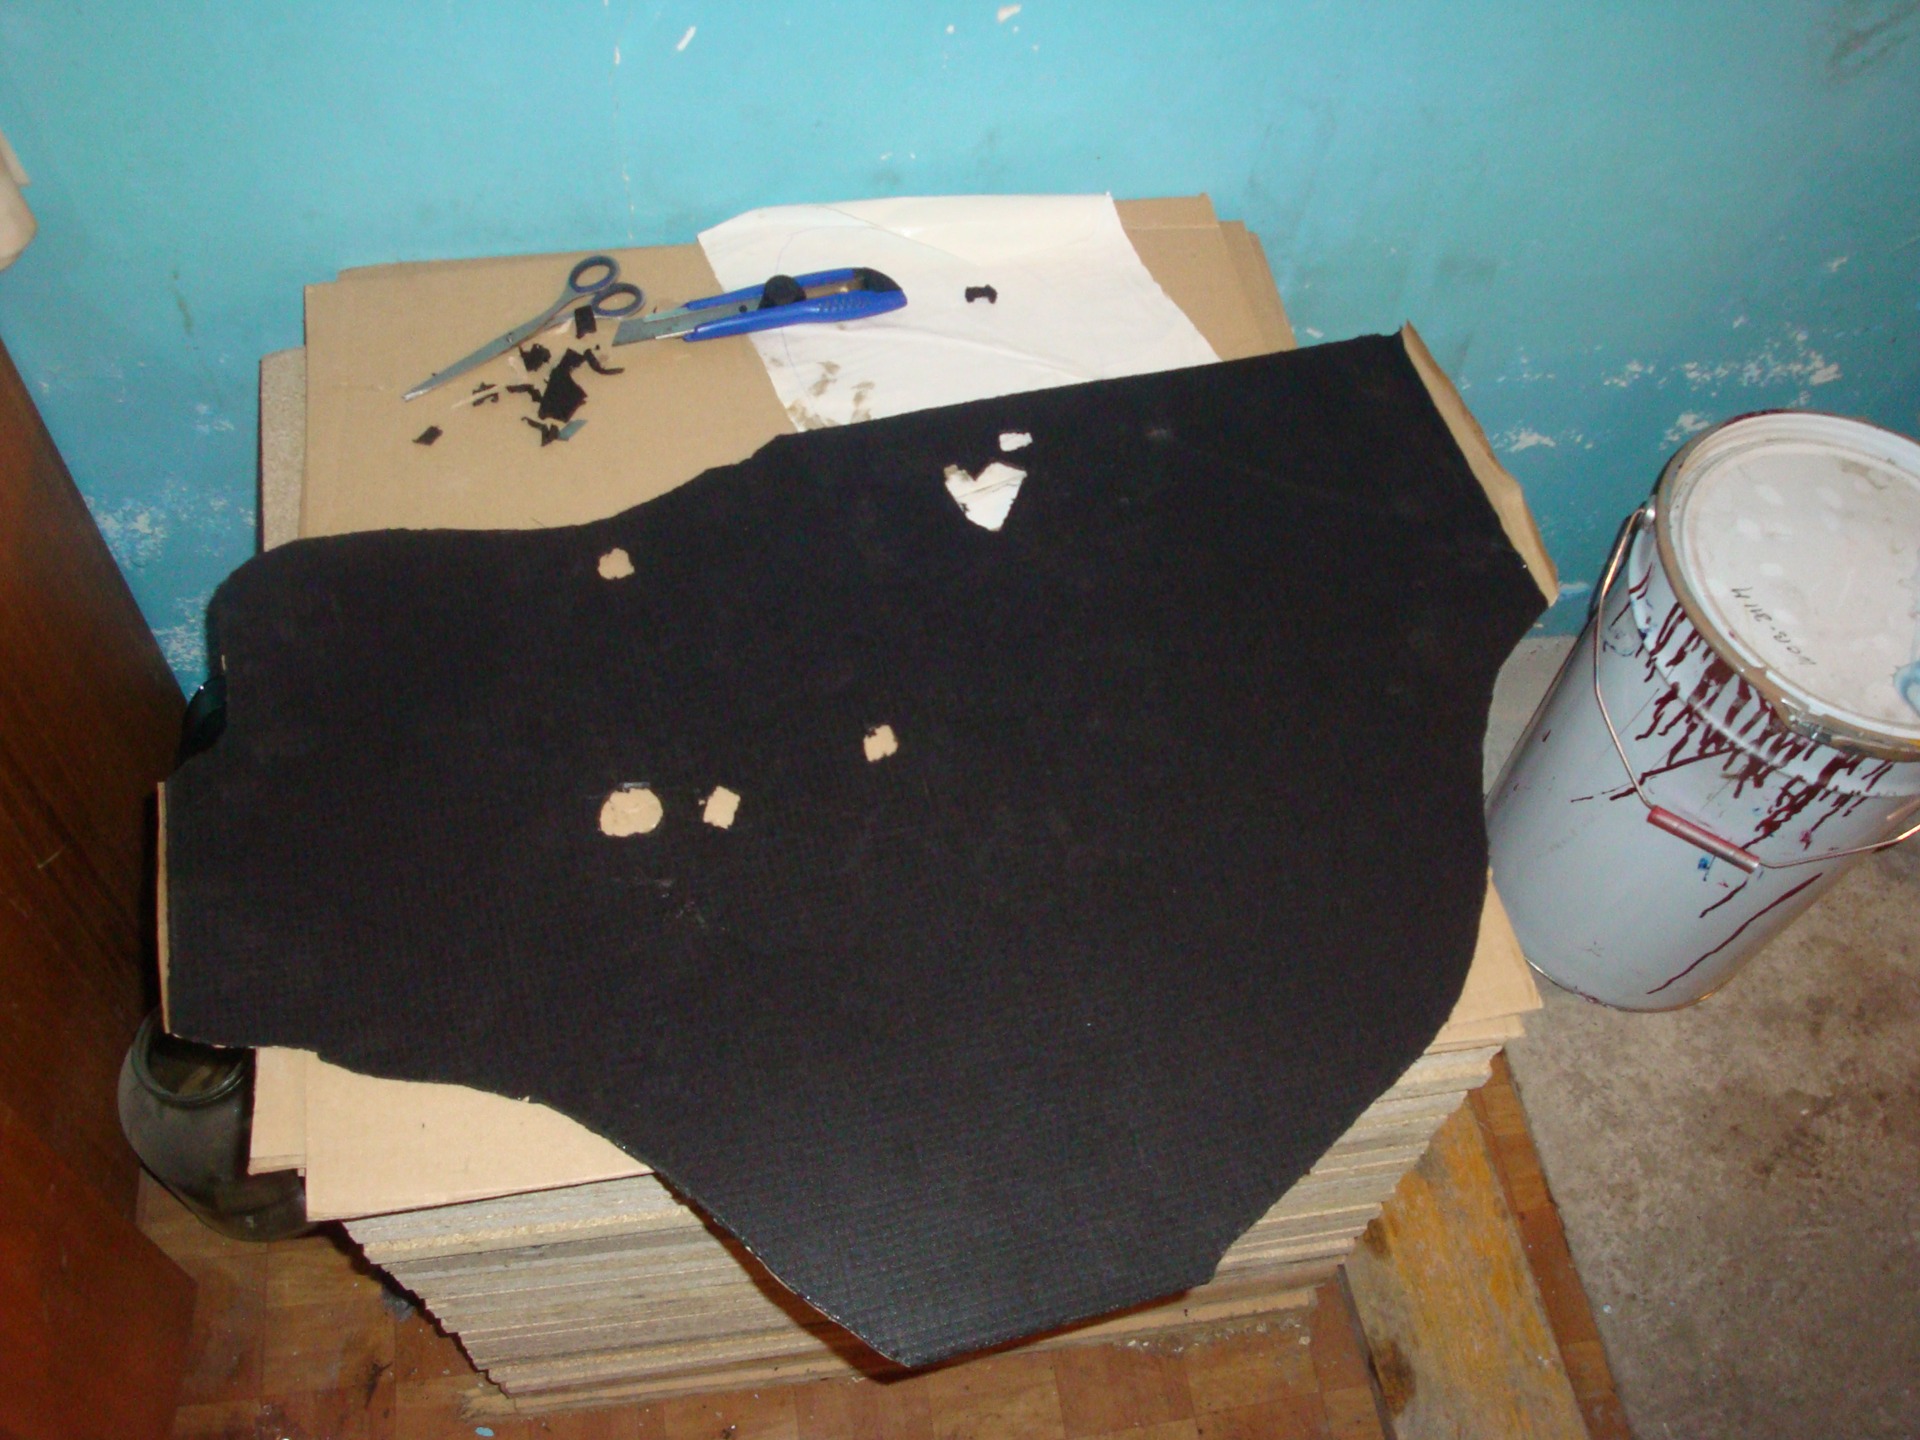
cutting holes for fasteners and wires, removed the protective film from the adhesive surface, leaving it in places where there are technological holes in the door.
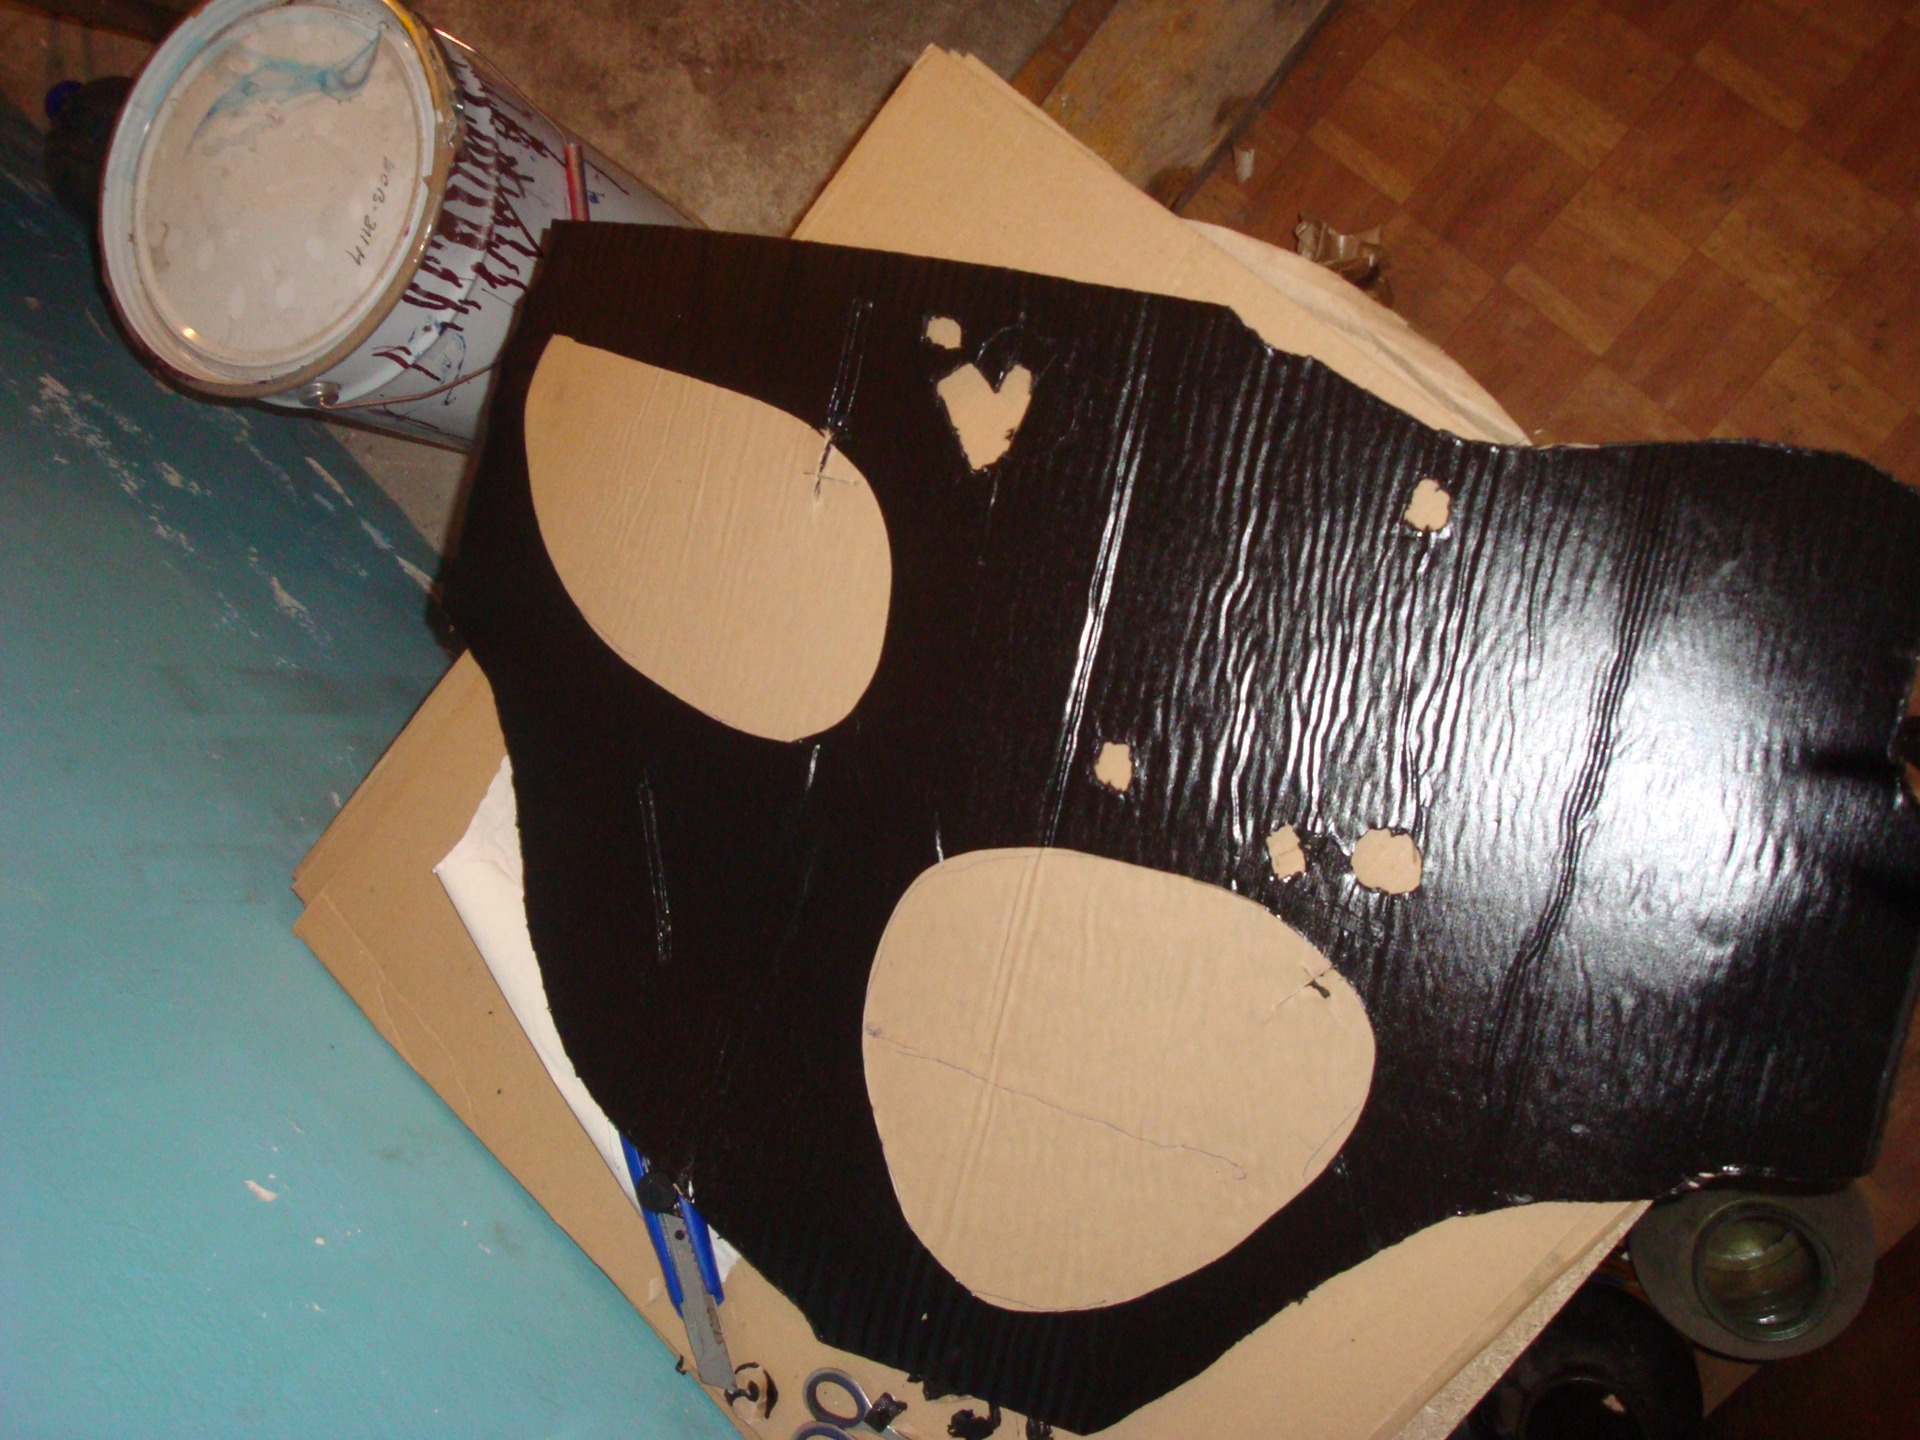
The hardest part is over!
I invited a neighbor in the garage to help, it is necessary to thread the cables and wires through the bimast, since the material is very brittle, I alone did not dare to do this ... The neighbor held the sheet vertically, and I pushed everything I needed. in the end, he leaned everything against the metal and began to roll it with a roller. it is necessary to heat the material before rolling, otherwise it will break =)
Point THREE:
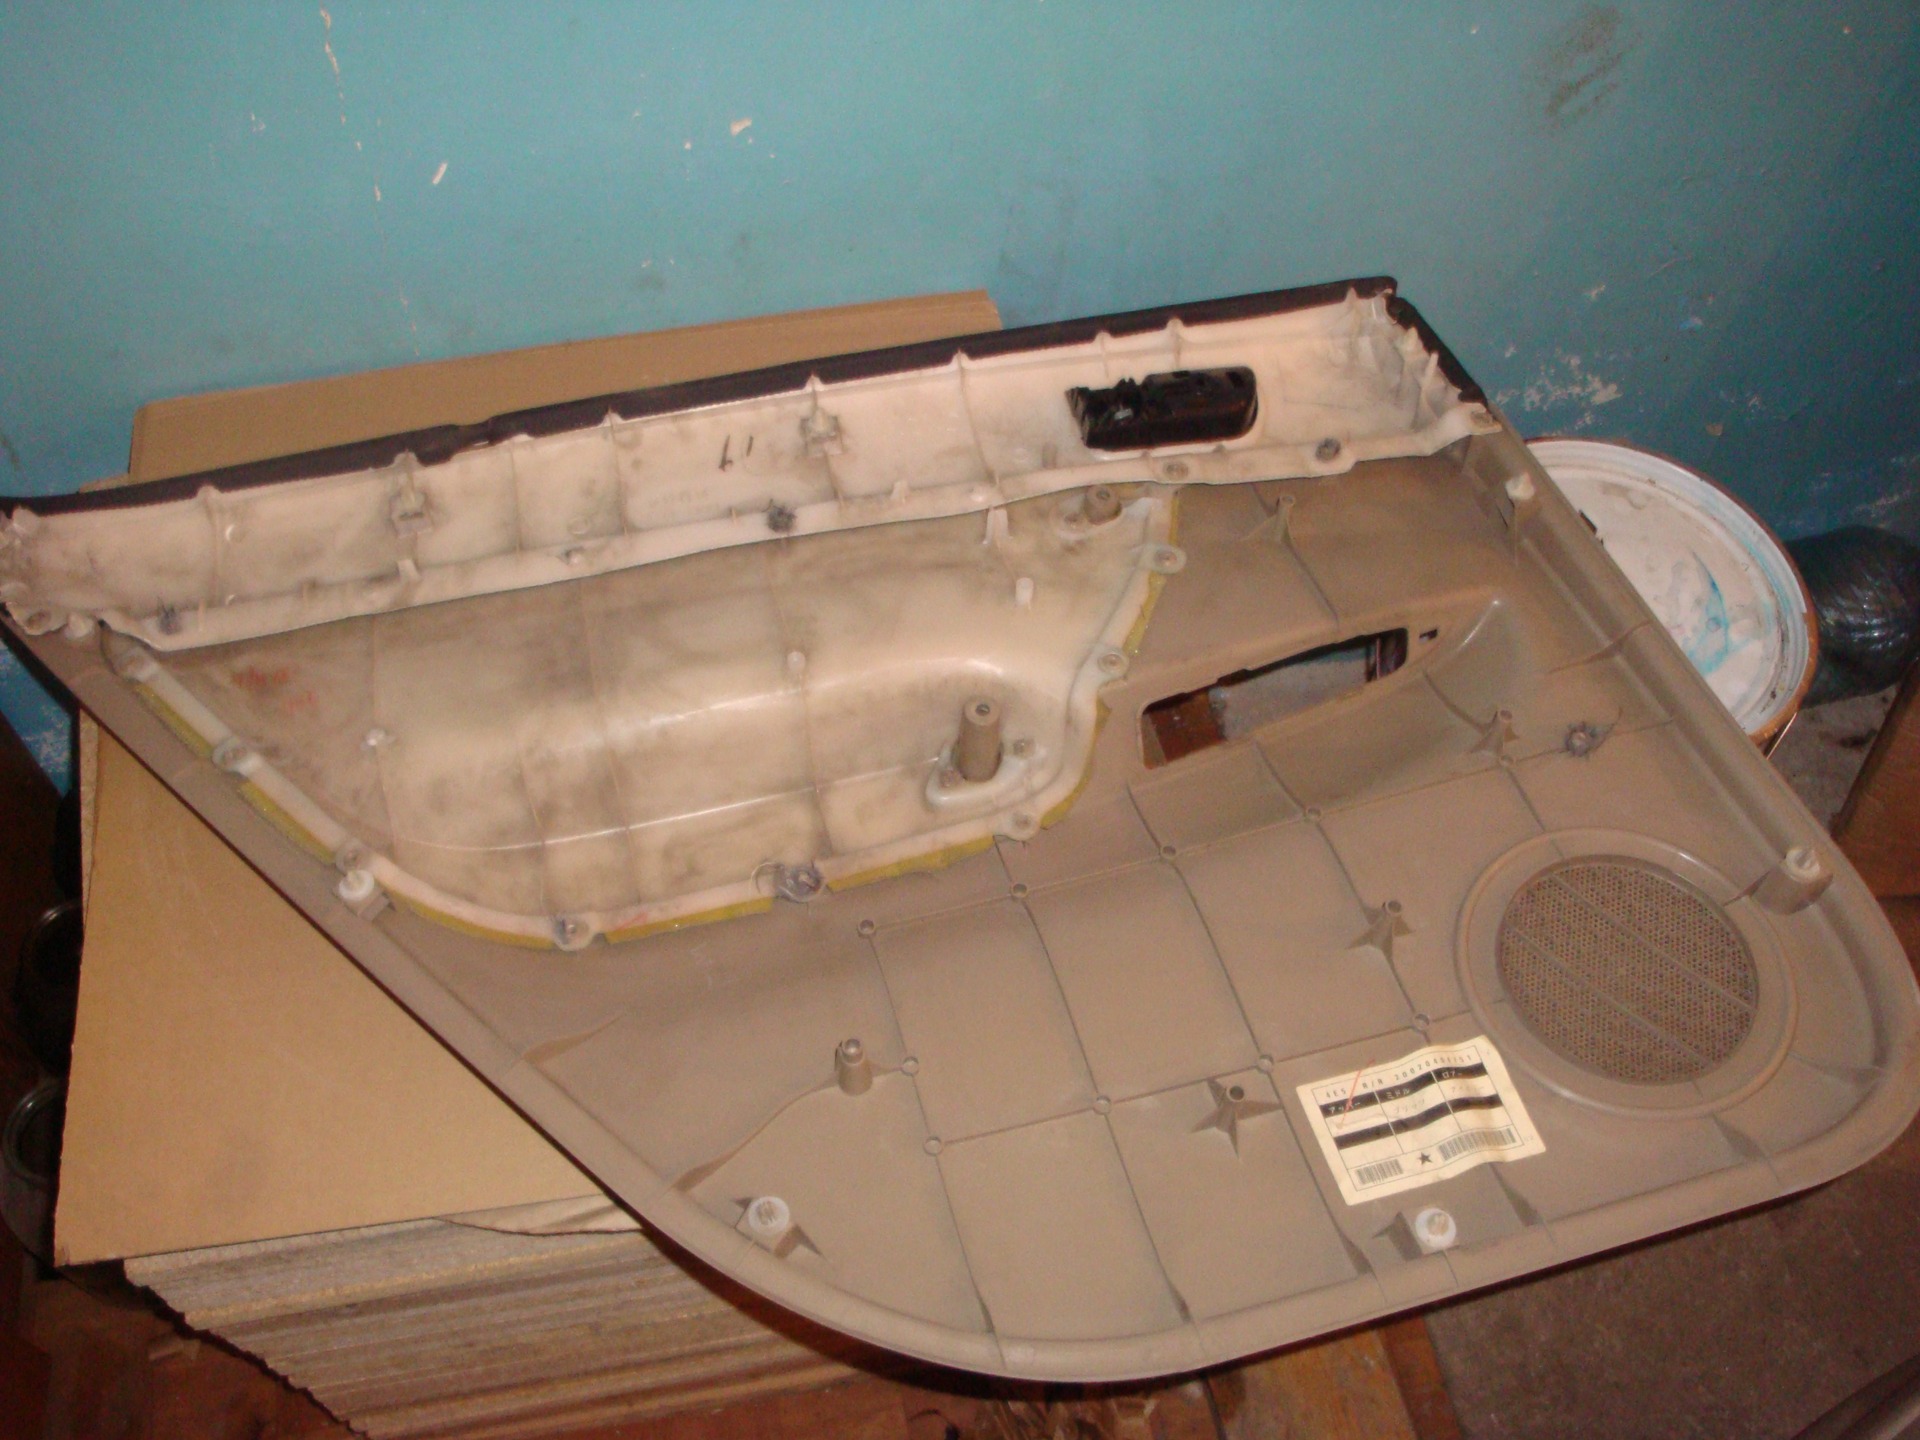
Paying attention to the lining, I saw a small piece of felt there, apparently thermal insulation =)
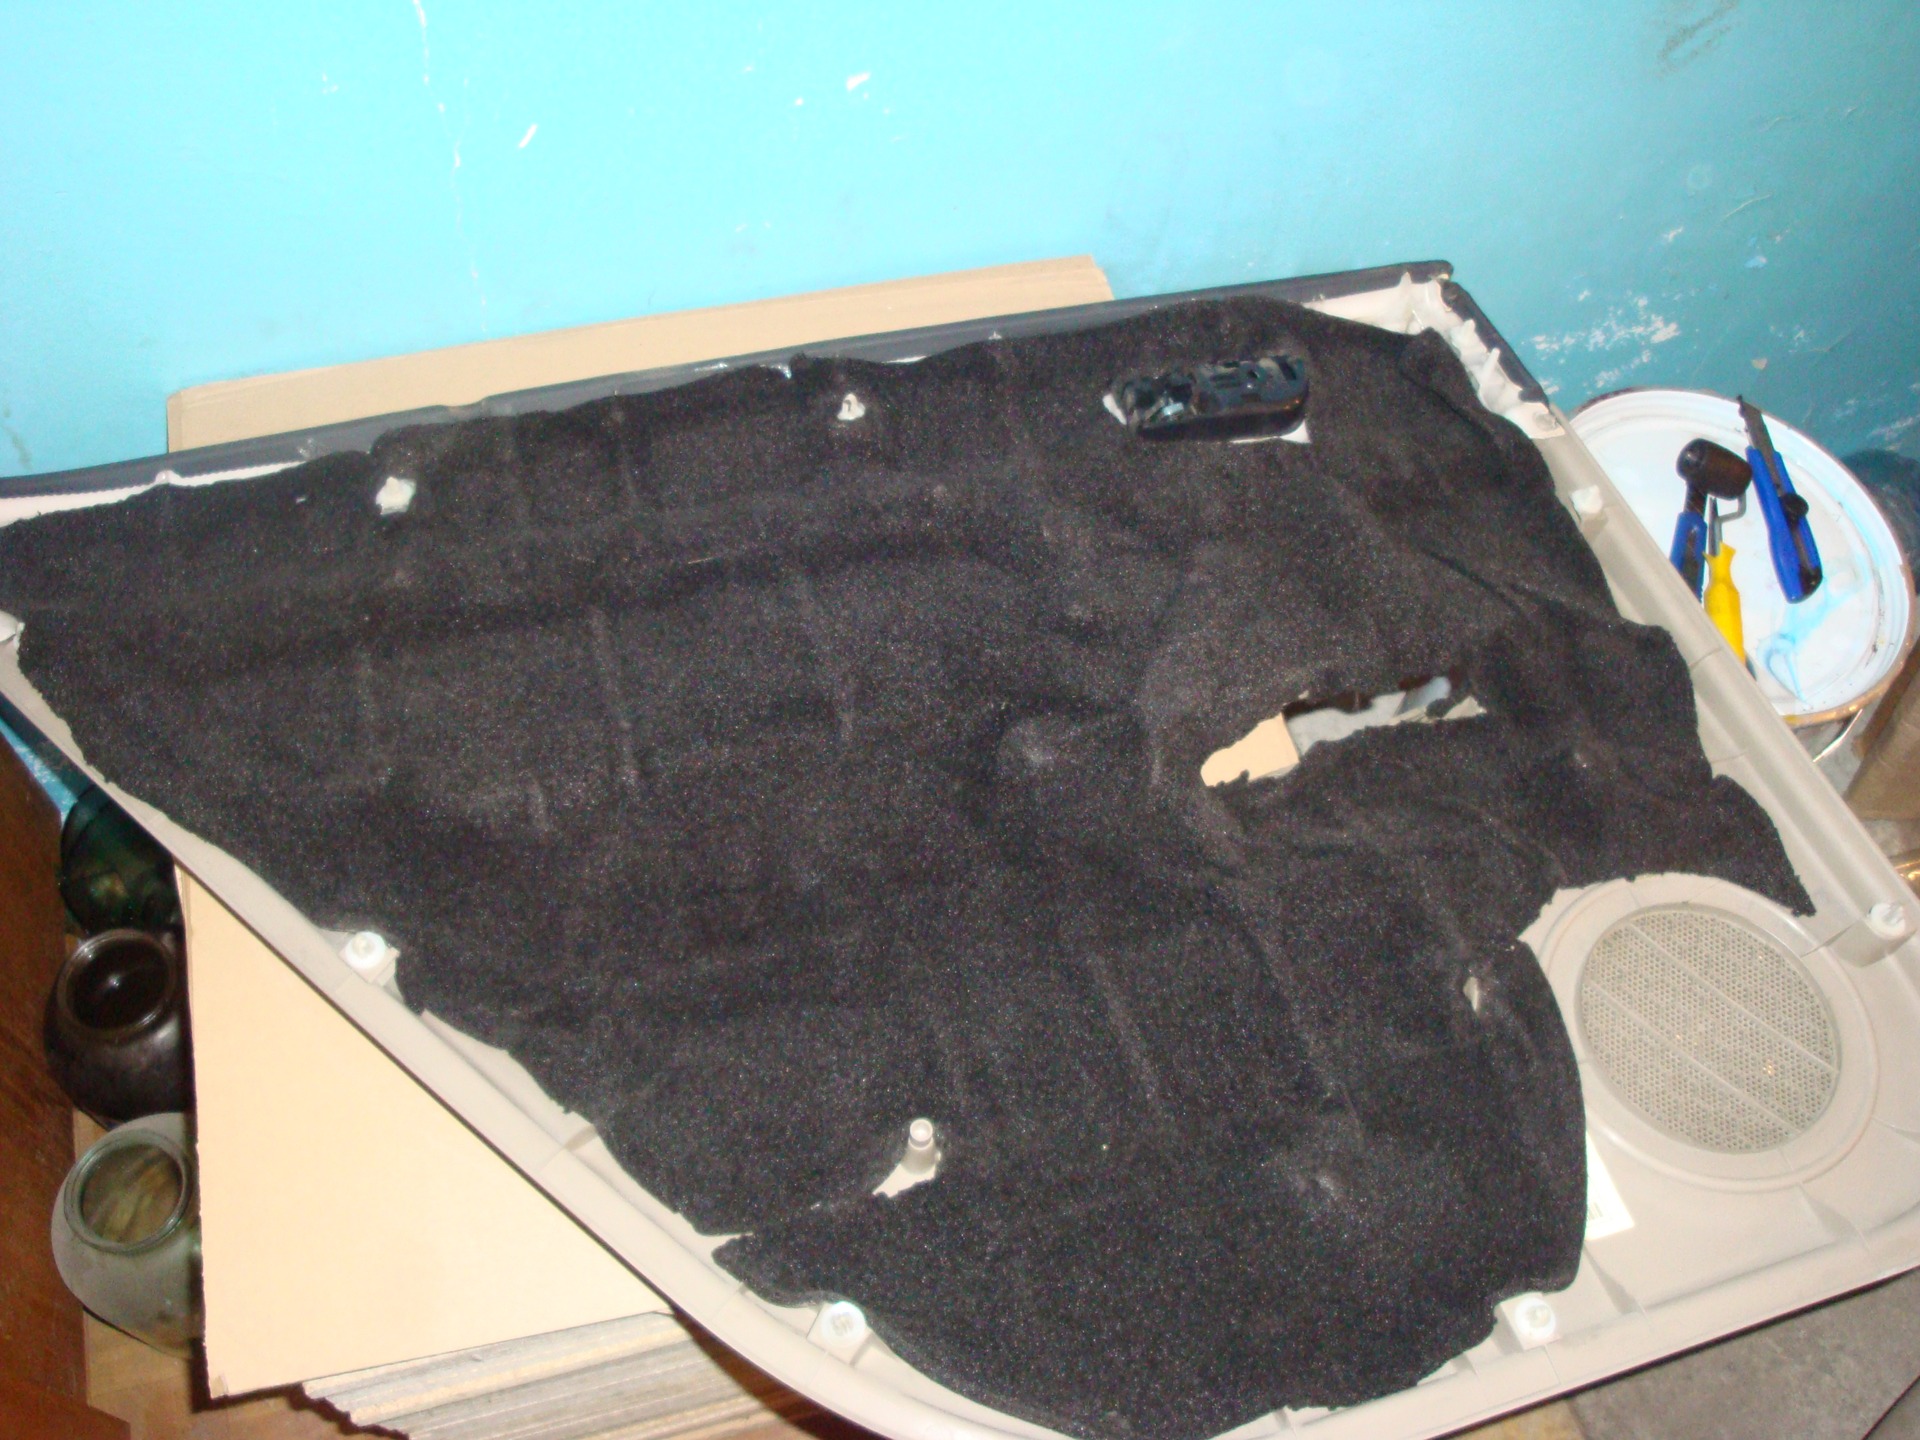
peeled it off and started the process of sticking the bioplastic ... it’s
inconvenient to do it alone ...
There’s nothing complicated here, just don’t forget to strip the clips. =)
Point Four: final)
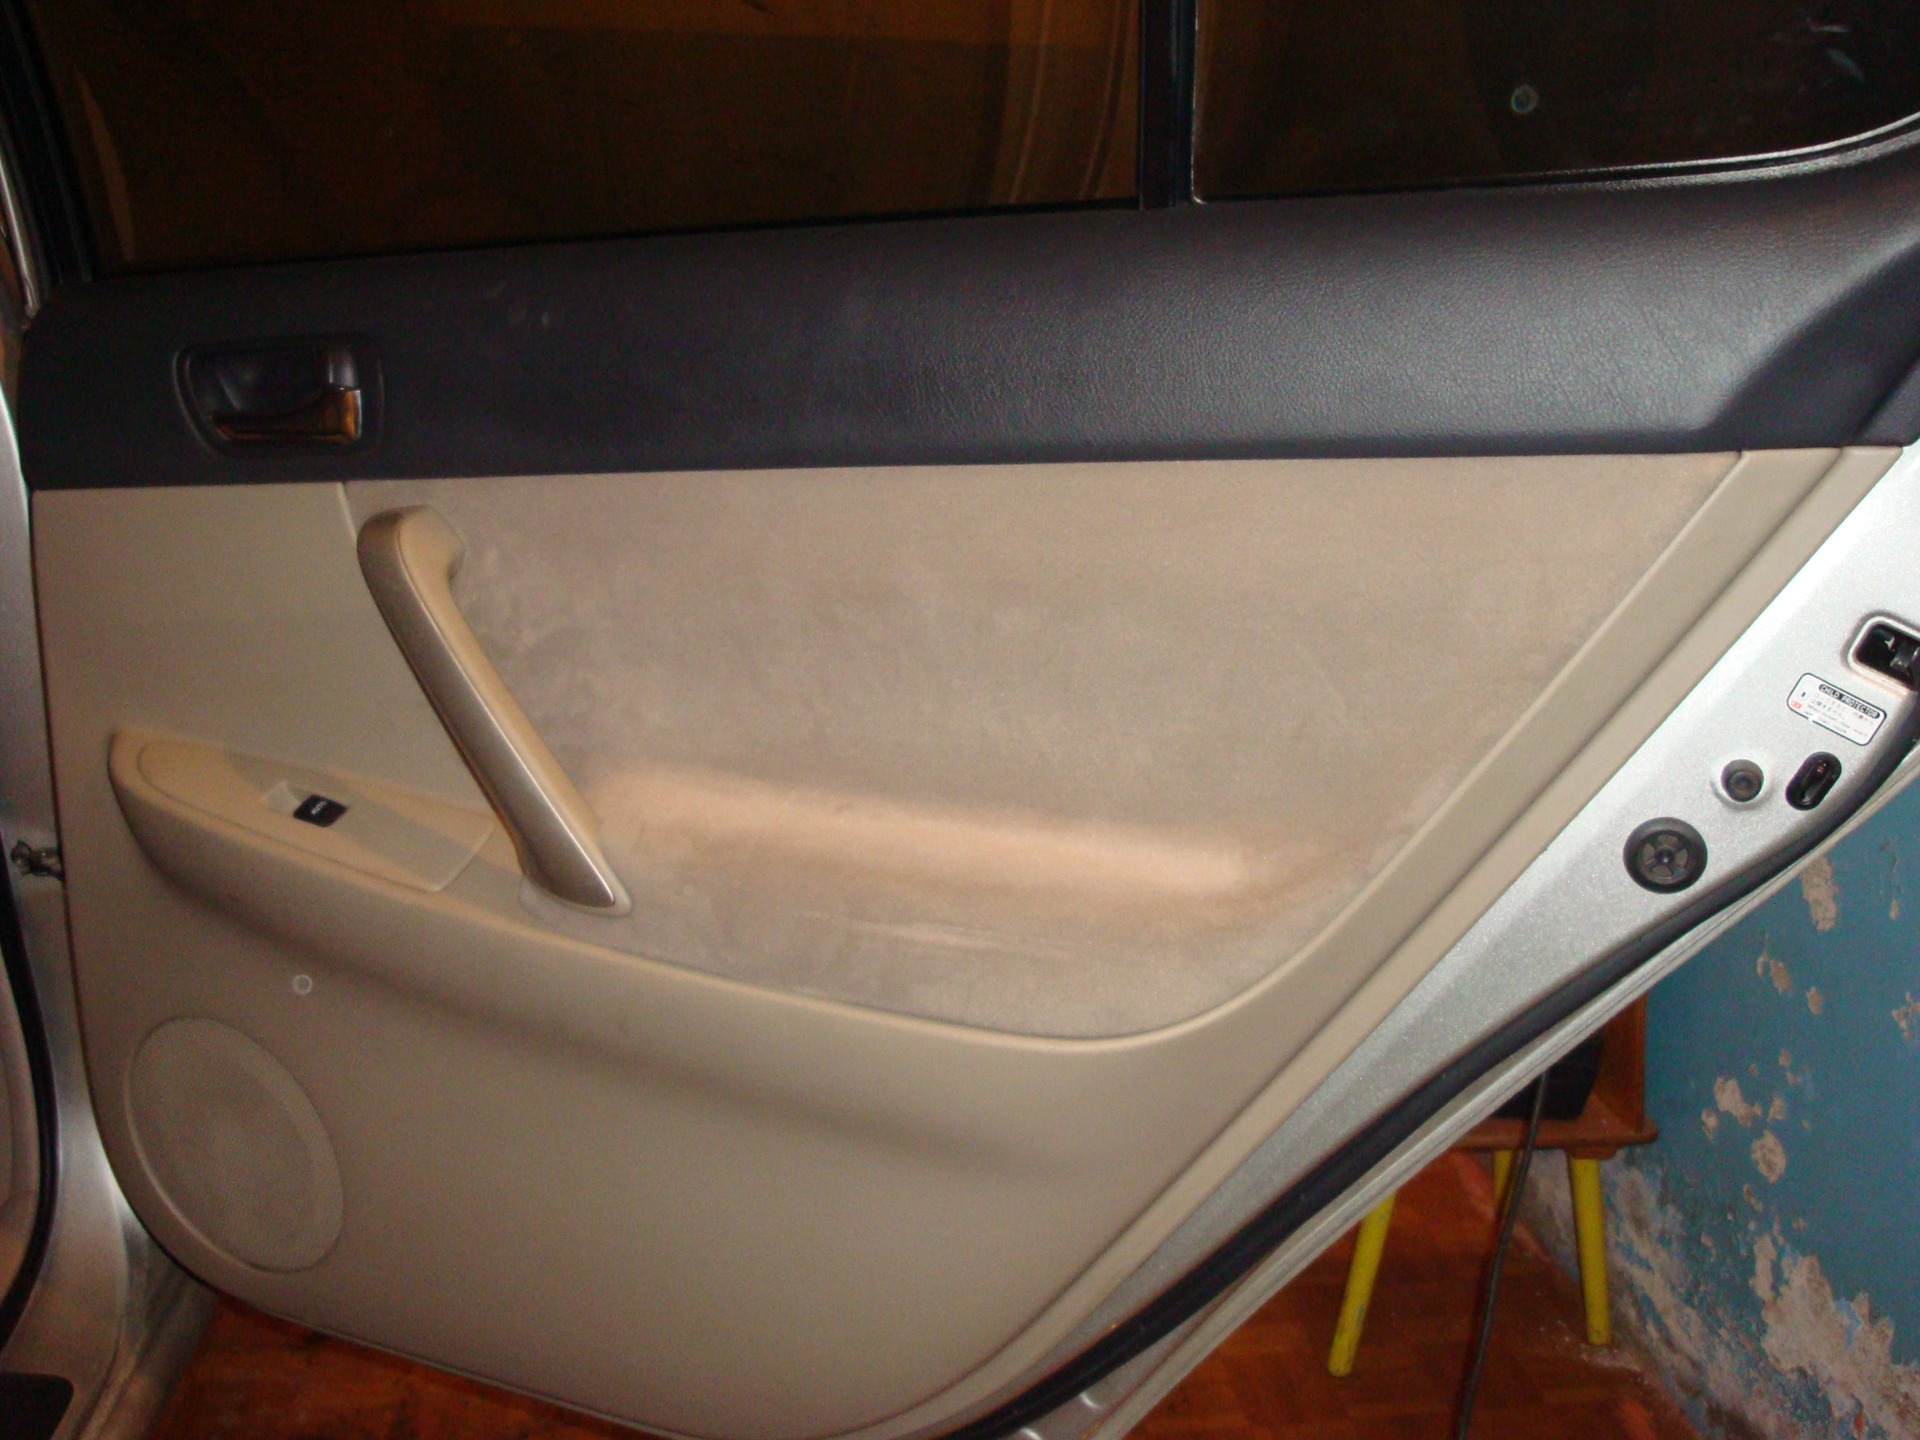
now it is important to assemble everything as it should) for the first time I mixed up the cables in places and my door from the passenger compartment was opened not with a handle, but with a red tongue (which locks and unlocks the door).
In the end, everything fit perfectly and did not even break))
Of course the doors are heavy. according to the description of the material 1 sq.m. weighs 4 kg. I laid out almost 1 sq.m. on the door. I think the load is not very large on the hinges.
While poking around in the garage, a friend drove up to me in a Corolla. He recently showed off here ... bought himself a backlight drive. The thing is funny, I haven’t seen anyone like this yet) it glows in different colors, it flickers, it’s great in general =)
appreciate it!
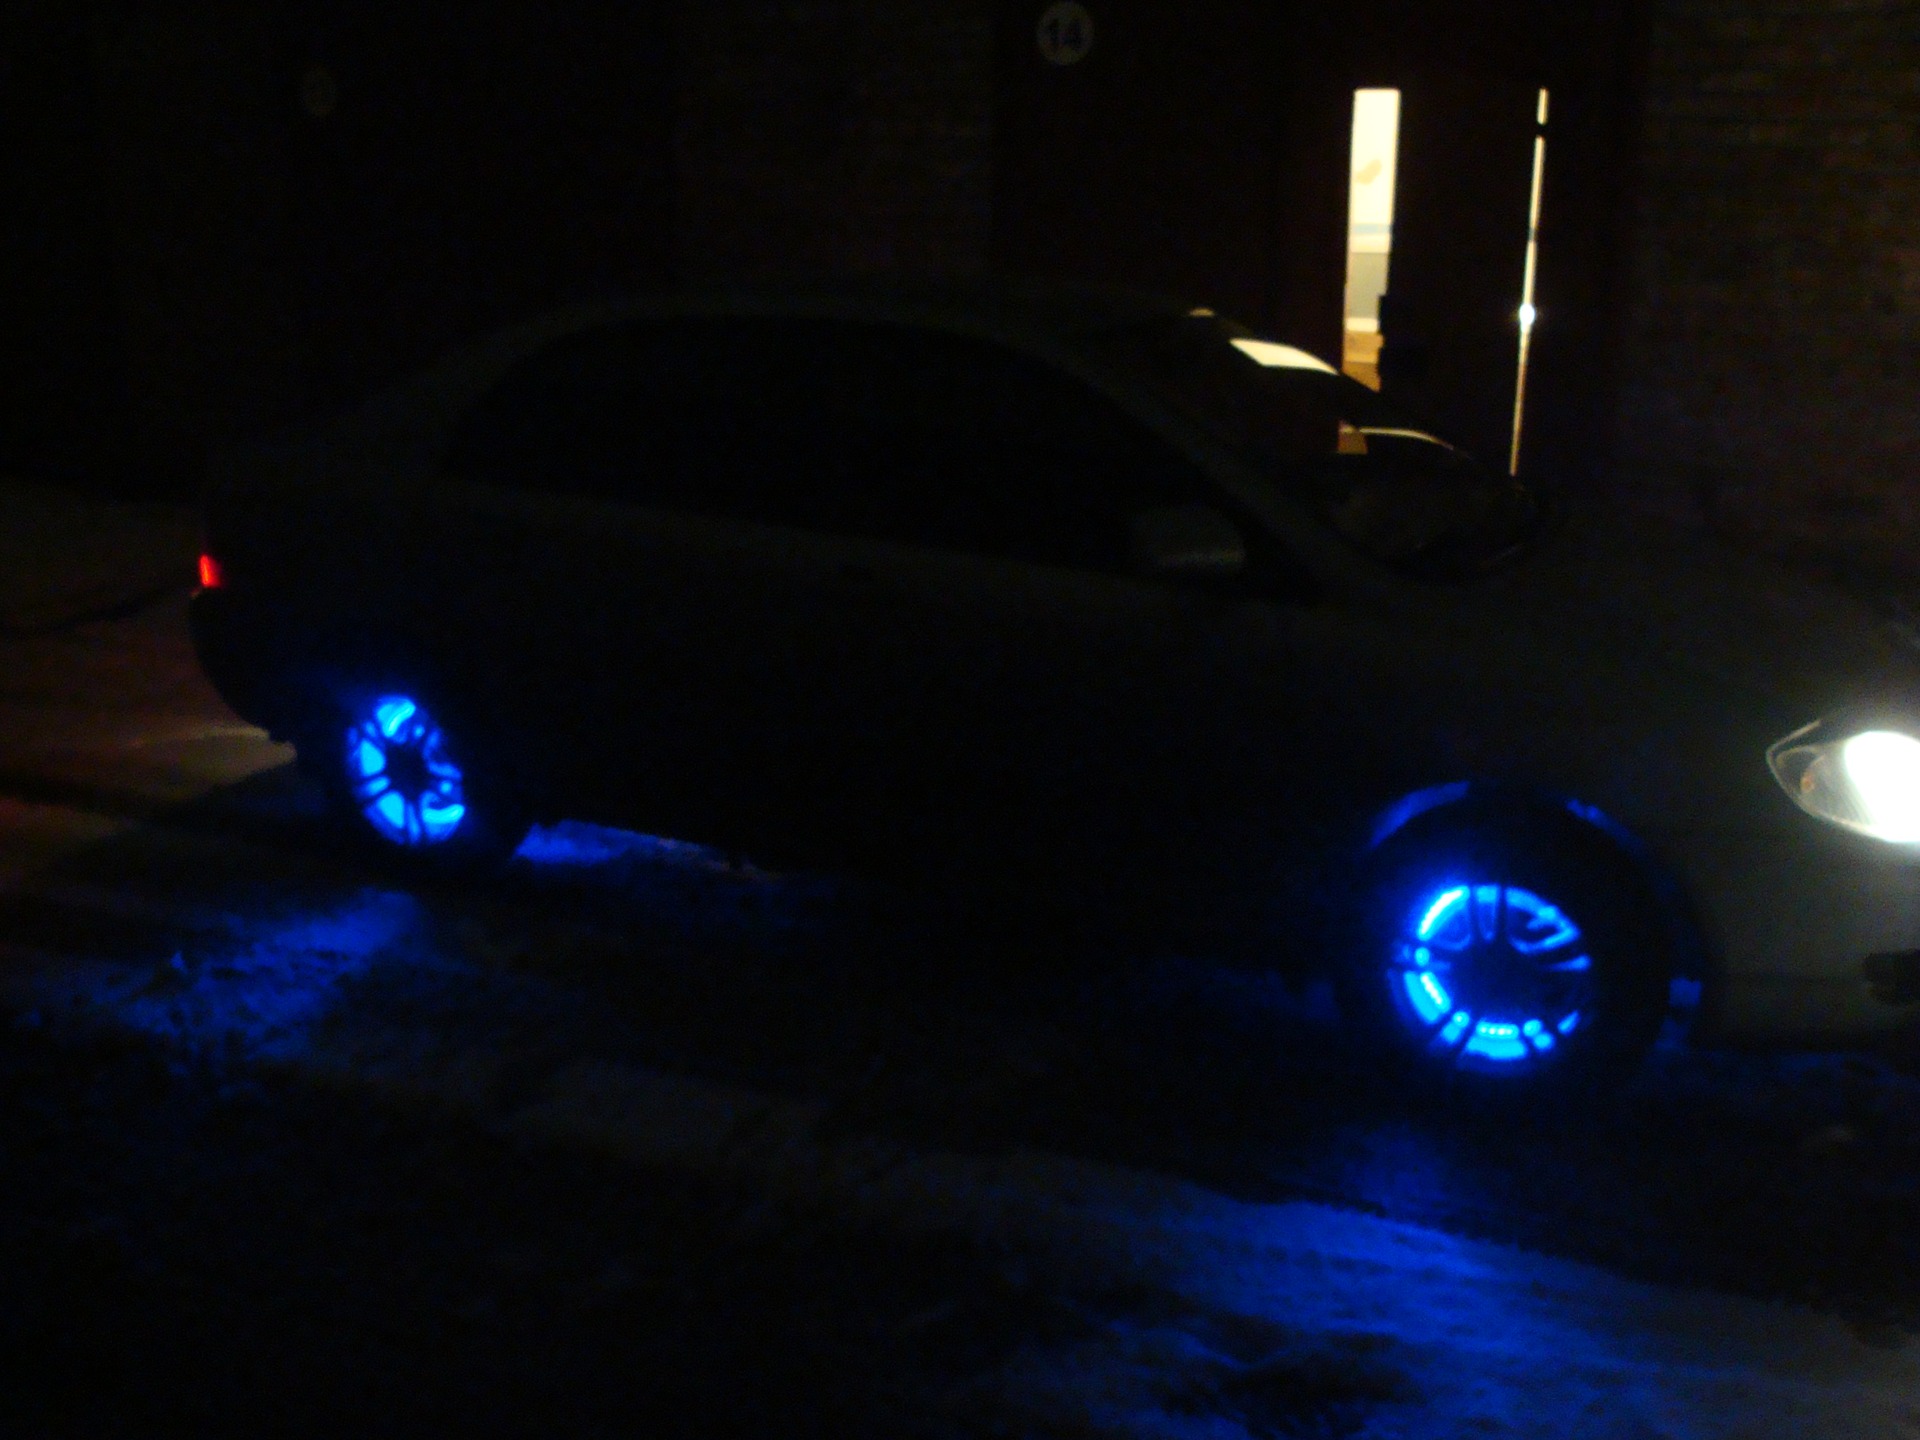
It took 3230 rubles for Shumkov + consumables. + 2 days of time (1 day 6 hours, 2 front doors, 2 days 4 hours - 2 rear doors)
I am writing such reports for the first time, I was just pleased with the work done and decided to share my experience and emotions =)
Thank you for your attention, soon there will be Shumka floor … I think until the new year =)
Issue price: 3 300 ₽Thanks for the report! I bought some material for myself, but my hands didn’t reach ... Laziness mother% -)))
Splen did not stick because in severe frosts and fierce heat it peels off on.er. And what kind of weather do you know about us =)
You have an Audio Service in the forge - a tuning studio. Actually the owner is my friend. lives permanently in Siba. we went with him to the suppliers and bought there).
Splen did not lay because, as they explained to me, it was pointless and expensive.
And where did you get the materials, in the forge? And why I didn’t use splen, I don’t really understand this either)