Second entry =) — logbook Toyota Corolla 1988
After the first experiment with reworking tidy, there were a lot of stocks that just annoyed me after operation.
The first is the color of the glow itself, a bluish color filter, just annoying horror. When the bulbs were on, it hid the yellow tint, but when you install white LEDs, it starts to shine blue.
The second is an uneven glow.
We take our tidy, disassemble and remove all leading creations.
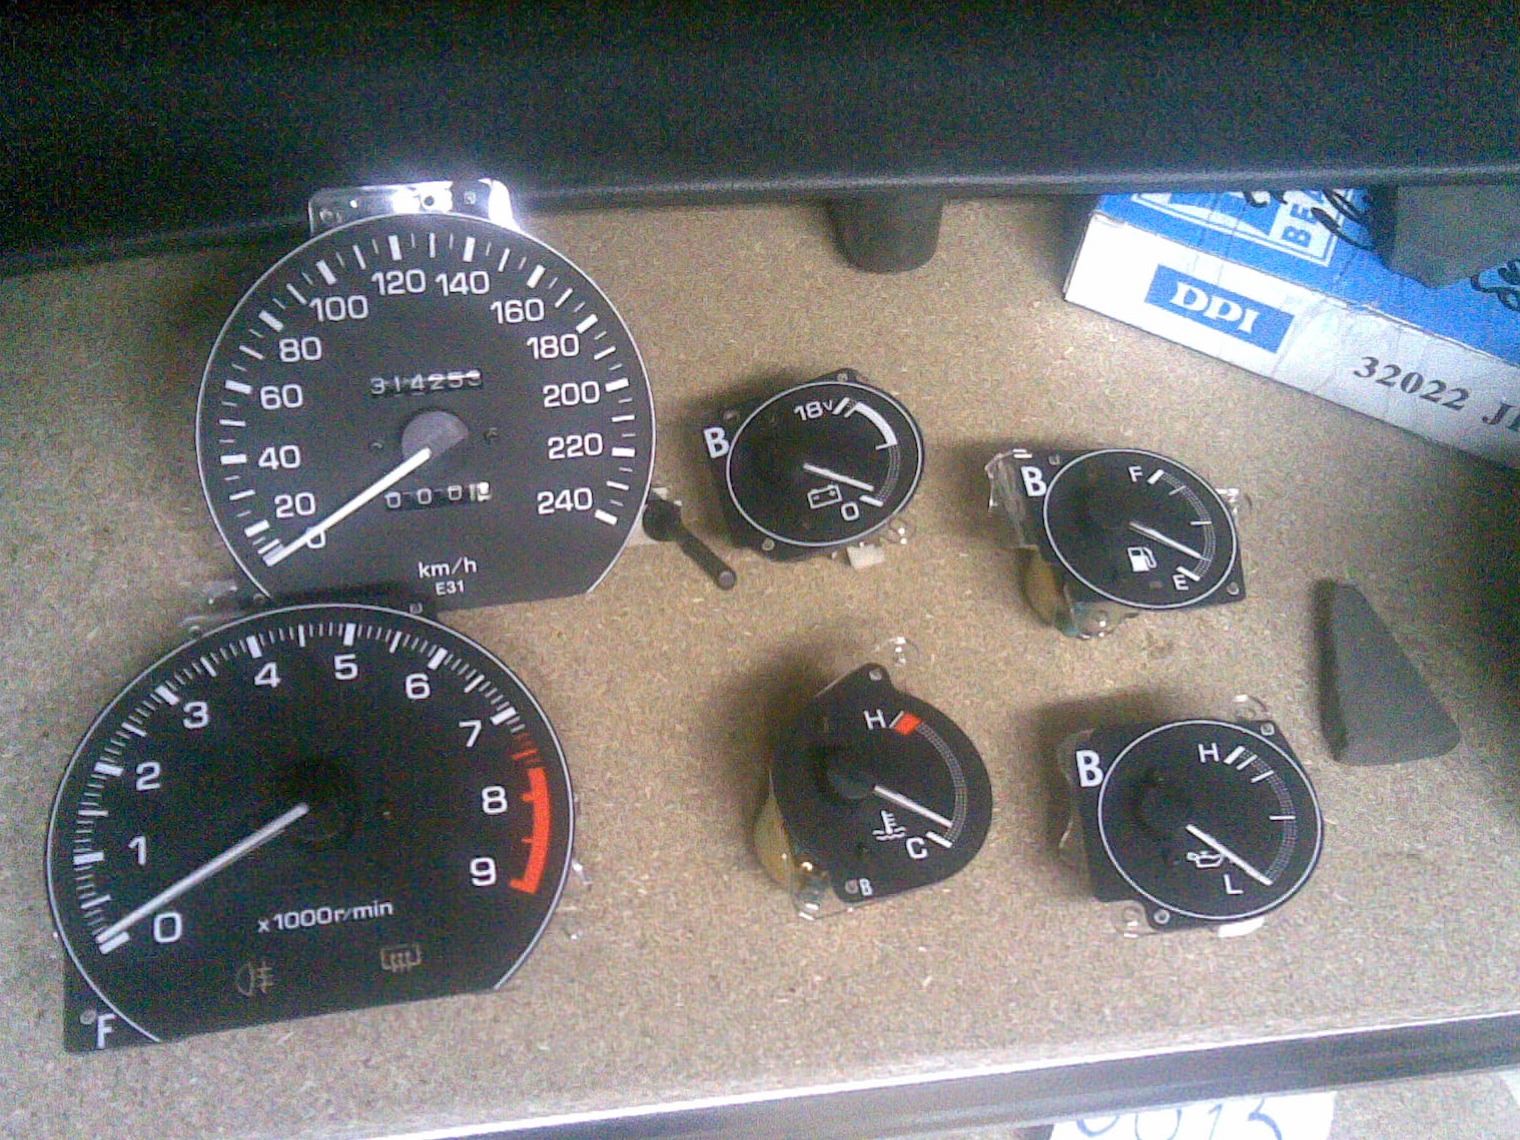
Next, with the help of two screwdrivers and business cards, we remove the arrows, we put the business cards on the dial itself, so as not to scratch it, and slowly raise the arrow. After we unscrew the two screws and remove our scales.
Since I started doing everything at work, I didn’t find anything except sandpaper, but they say that the nail polish remover washes off the coating very well, there is no image before removal, I took a picture after sanding
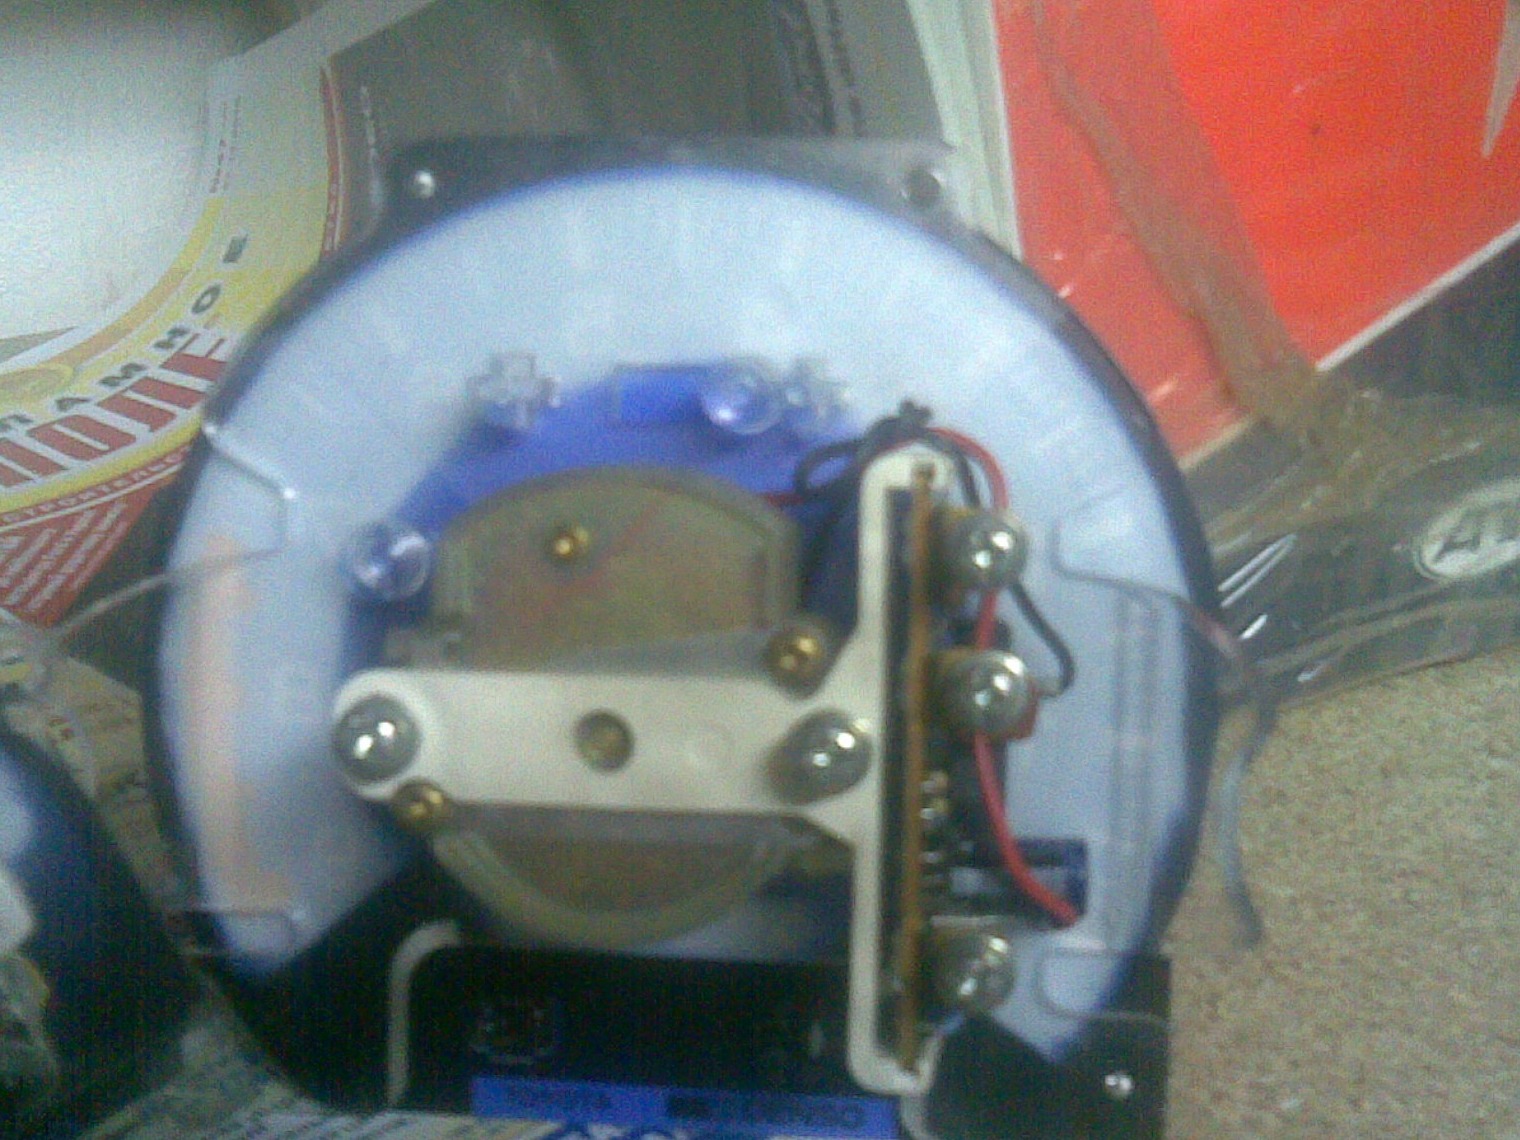
I began to glue the tape with LEDs to the bottom of our tidy, there are tapes that bend in a horizontal plane, they make my work much easier, but they are too large in height, so we solder the mode, we repeat the contours of the devices as accurately as possible.
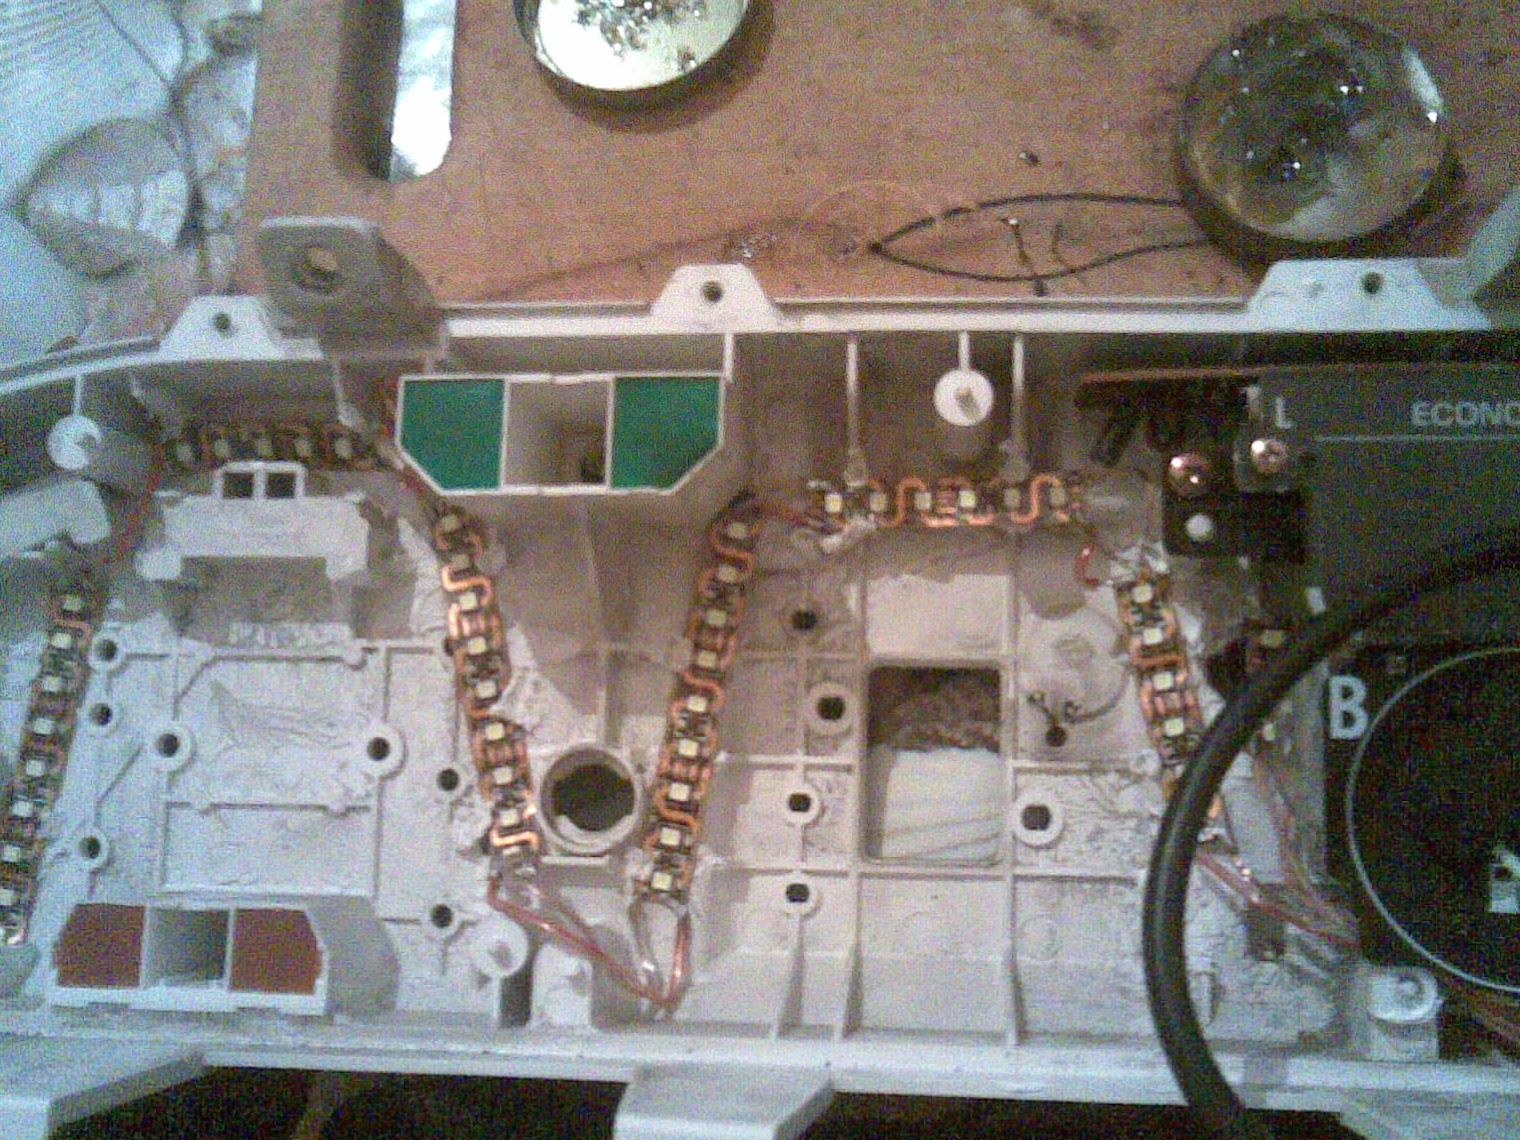
And yet, a lot of ribs interfered with me, they had to be removed.
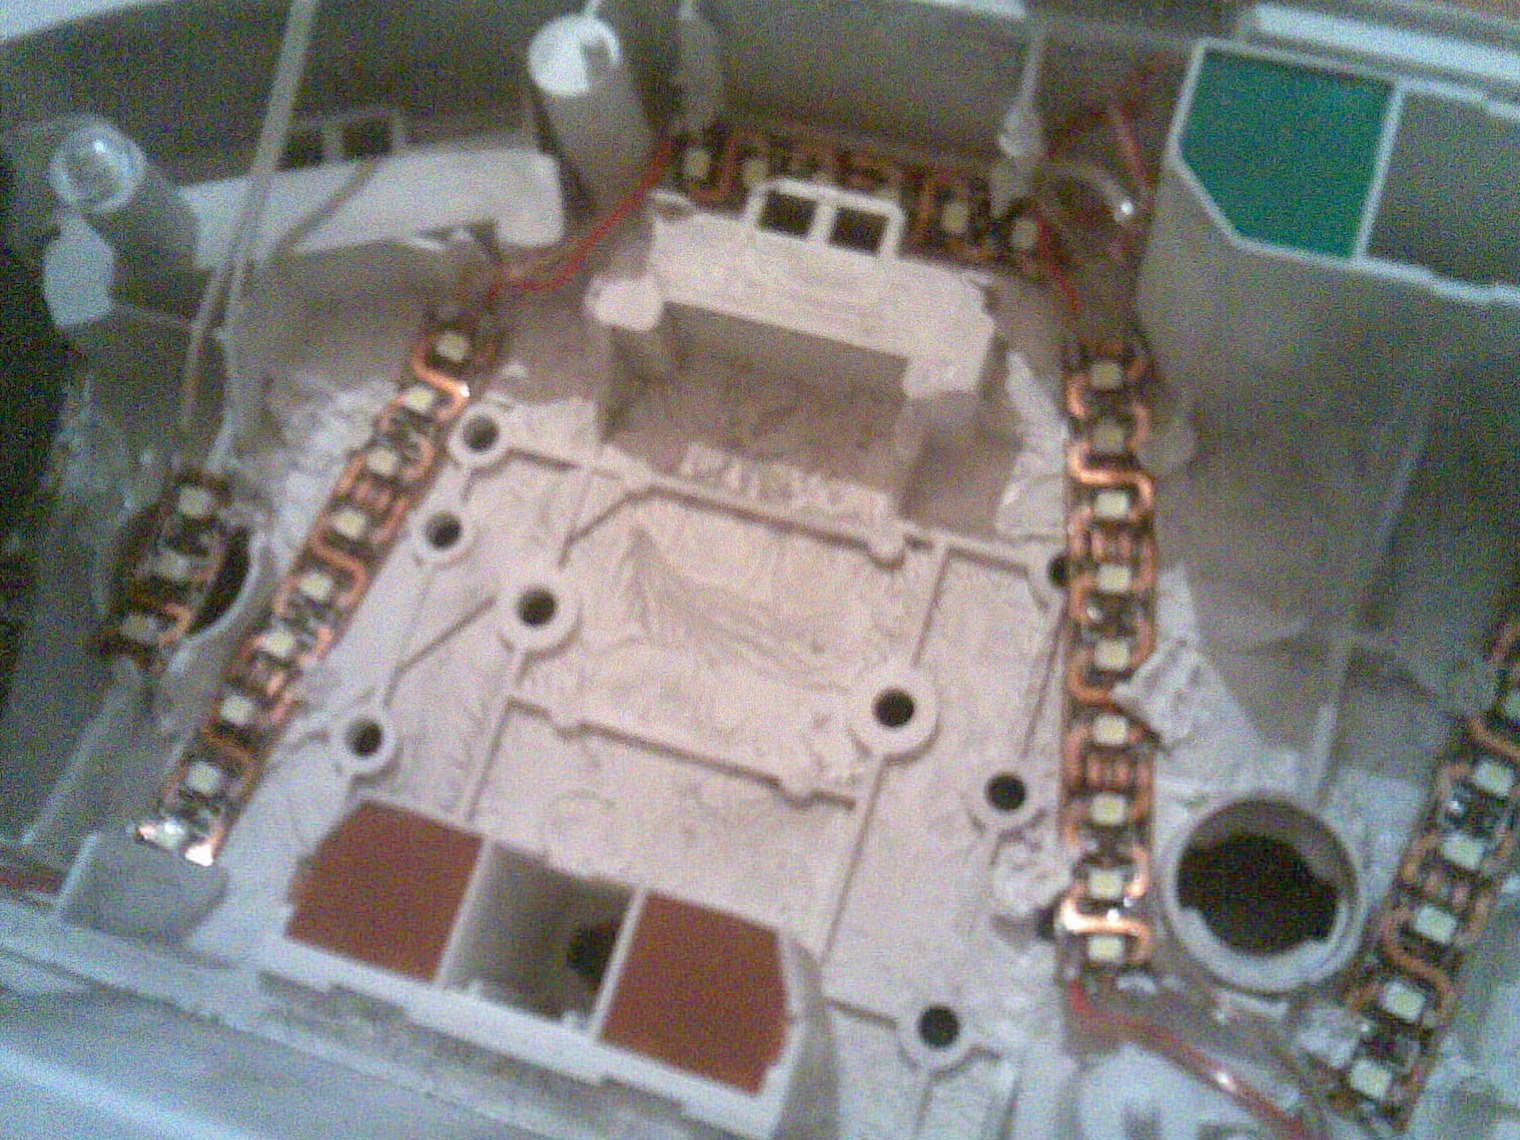
Having sniffed the scent of rosin, after a few hours I soldered and glued everything (the tape has double-sided tape on the reverse side). But we do not stop there.
We take tinting and glue the glass tidy. It is quite difficult to do this, the glass is plastic and very light, it is almost impossible to hold, glue and heat it with a hair dryer, since I have never glued it myself. It didn’t do without small folds, but I didn’t redo it, I couldn’t handle it myself.
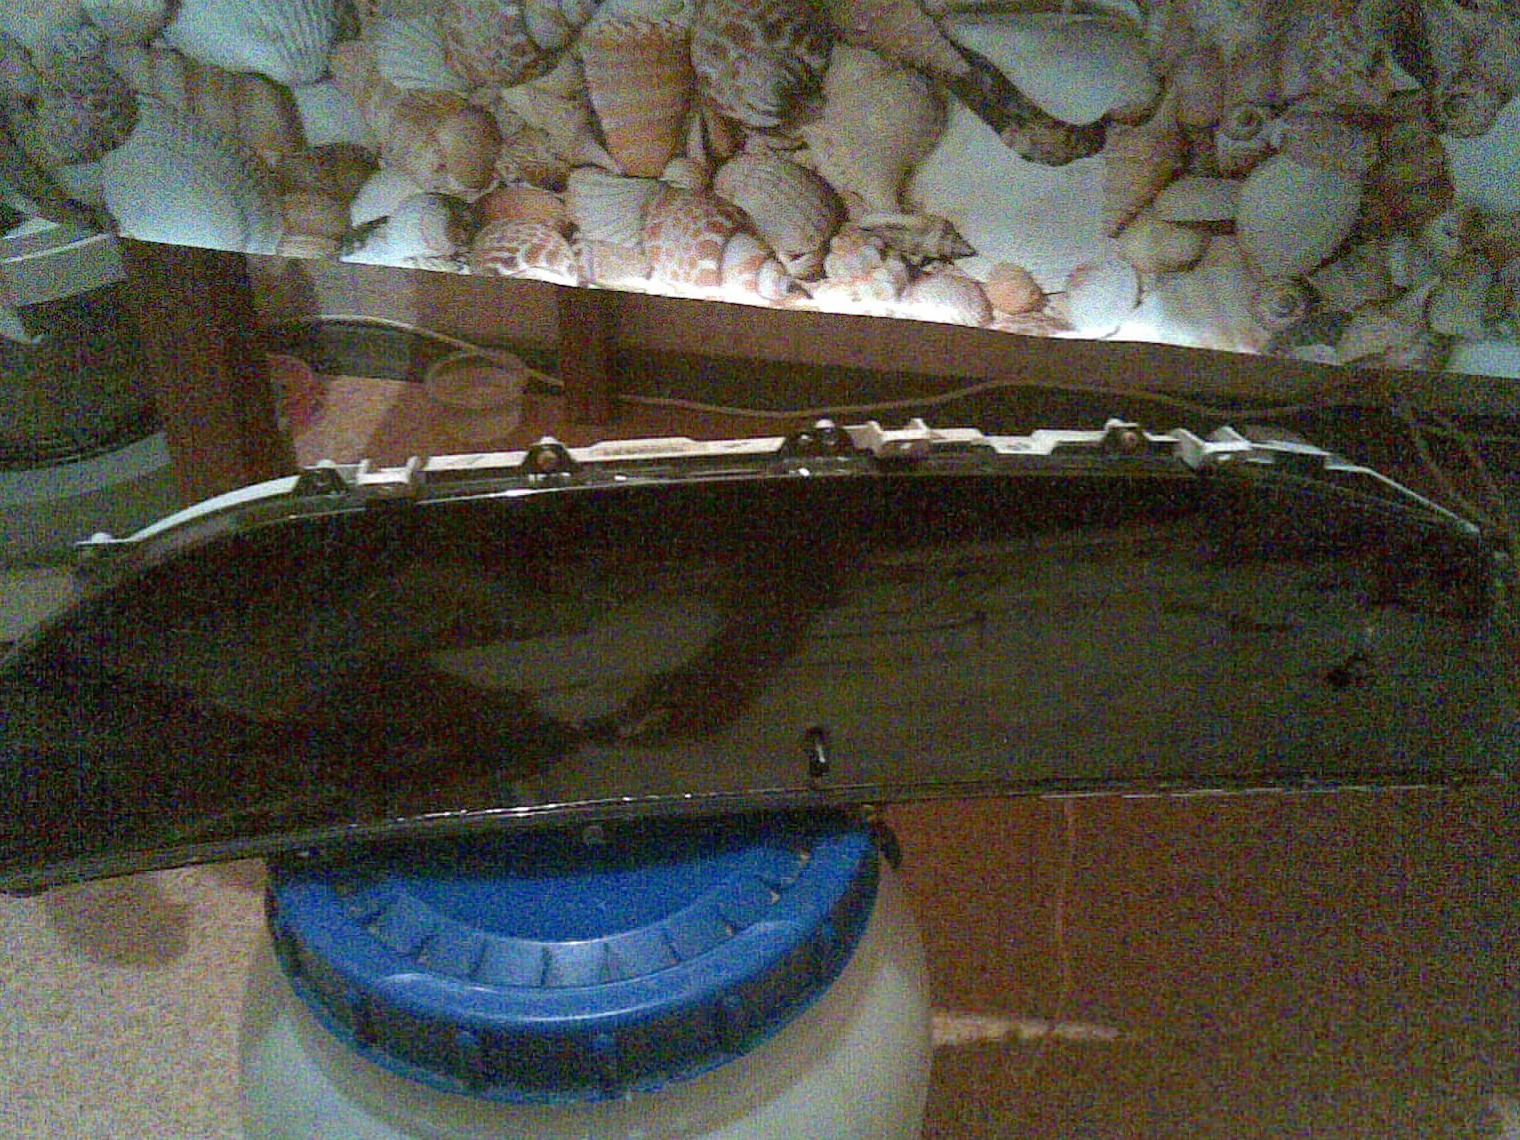
And here comes the main moment! ! !
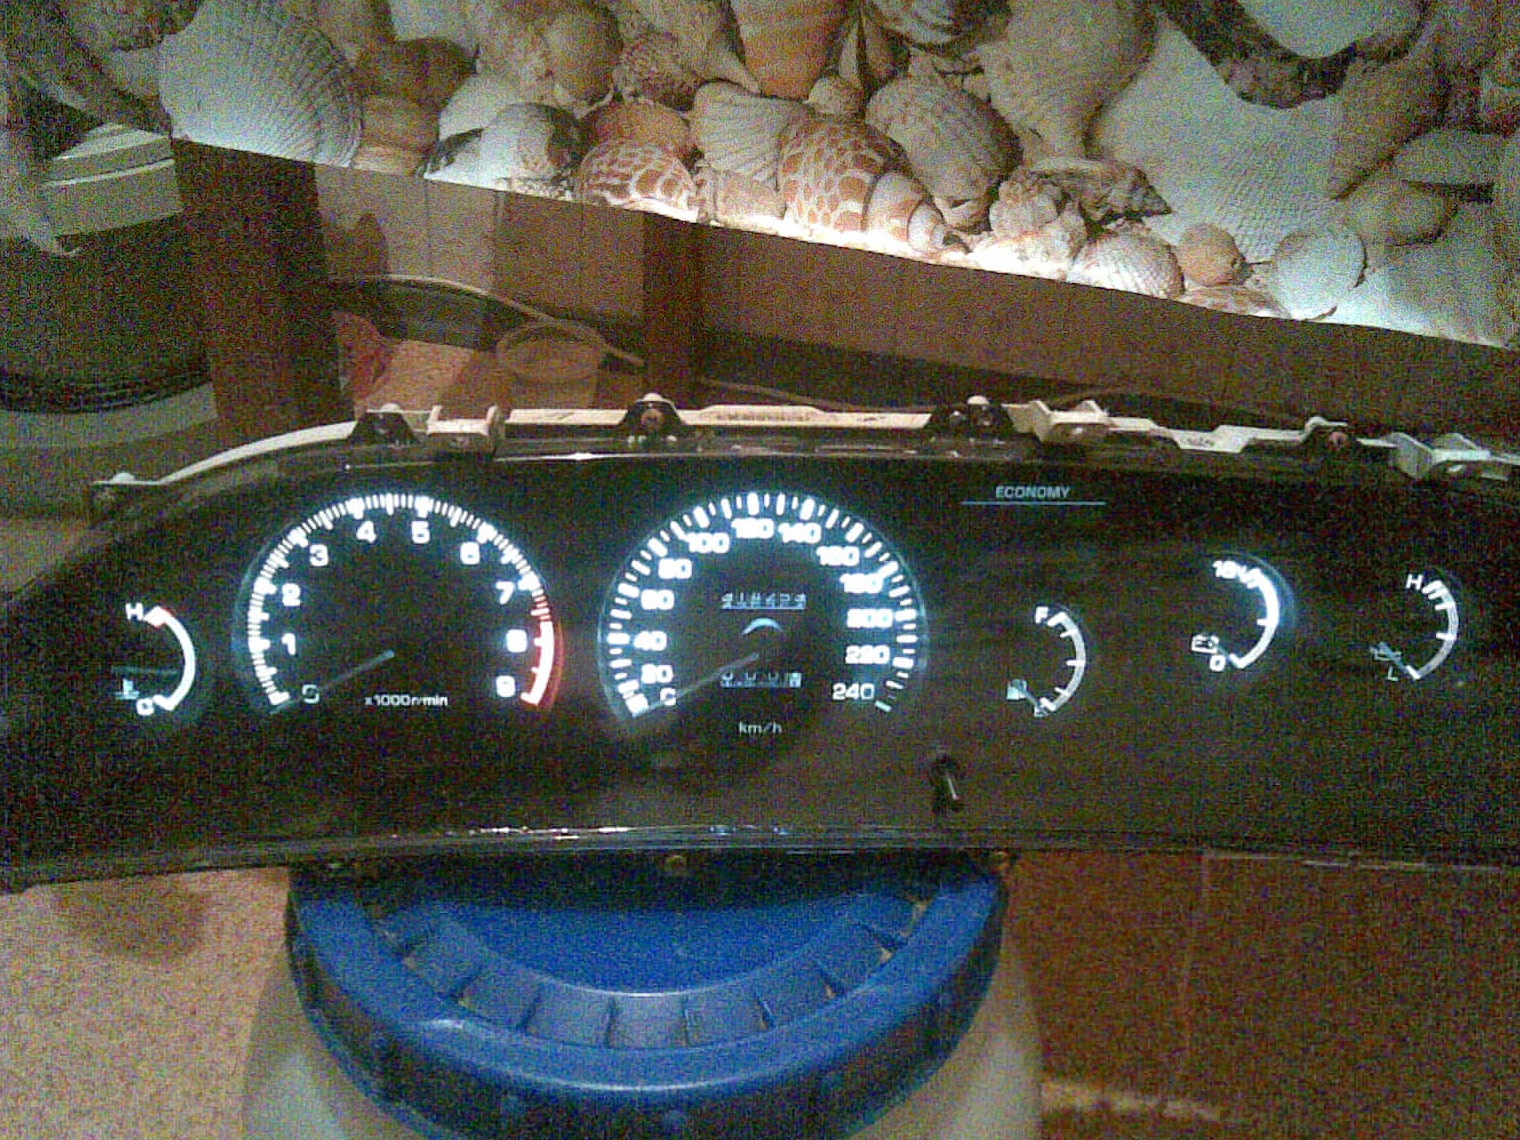
I was very pleased with the color and uniform glow, when the display is off, the dial is slightly visible. I connected everything in such a way that when the key is turned to the first position, it starts to burn.
Well, a photo in the dark
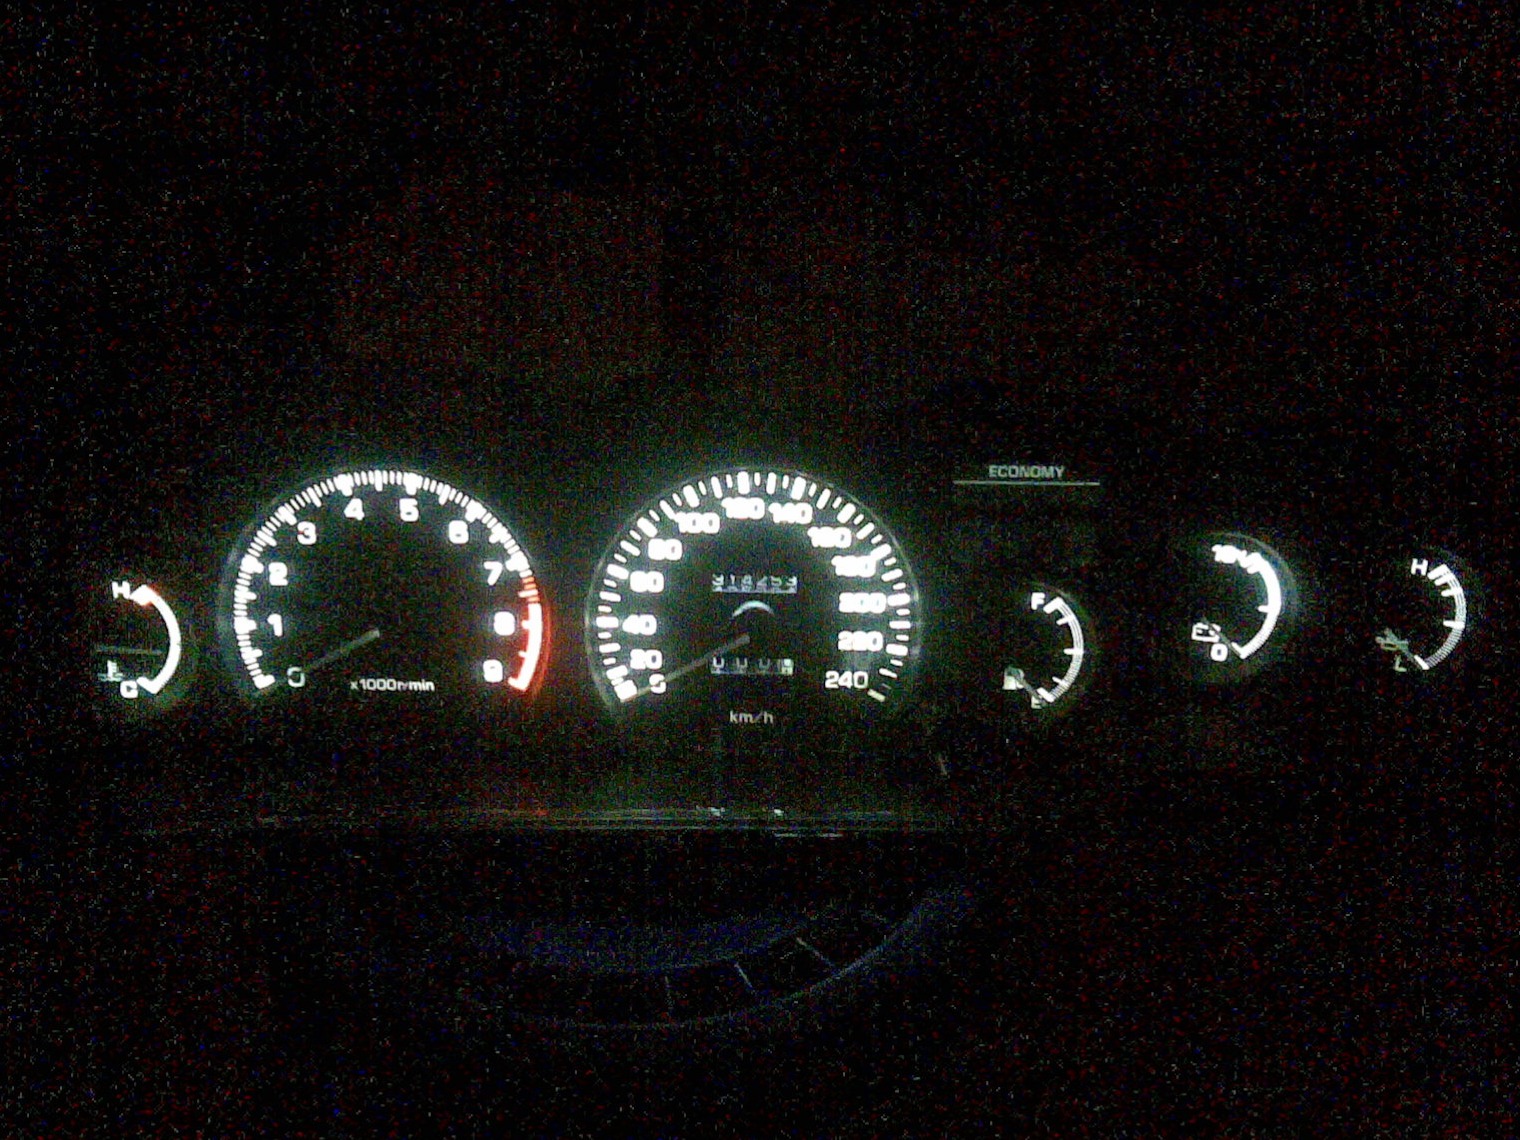
And so let's sum it up:
this time the costs are zero, the tape is old, the hands are the same =) A piece of tinting film was donated, the required length is 65cm.
Cons - no matter how I tried, but the arrows don’t want to shine brightly, you have to buy very small LEDs and graft them somewhere deep there, but that will be another story.
That's for sure) I can imagine how it shines in reality!
here, too, did not highlight his own much! (www.drive2.ru/cars/audi/1…/288230376151817739/#post)
Thank you
very satisfied, in the photo the view is certainly not the same, really better
I came up with a little friend, it’s hard to explain on the fingers, I’d better make a report with photos later
Yes, the arrows need to be completed. I can imagine what the hemorrhagic will be with the installation of small LEDs =)
It turned out great! Little fellow! Well, if you finish the arrows, it will finally be super-duper!
The fact is that when I put on the arrow, it was at the bottom, during the assembly process, it changed its position on its own, in the morning when I went to the garage to put it, the temperature was already in the red zone, I thought that I probably carried the tidy upside down and therefore it became like that . Installed, started, it began to warm up and rise even higher, in general, an ambush =)
I remember it for sure, it goes down completely, and stays in place when you start it cold, I also noticed in the pictures, I think it seems like the tidy is not yet on the car, but it shows the temperature)
I think I'll take some nail polish and paint them red. Right now I ran into a problem, the temperature arrow seems to have been set wrong, it is cold in the middle. You can check for yourself when you get into the car and turn on the ignition on a cold engine, the arrow rises a little or remains in place, otherwise I don’t remember, right now I will have to rearrange it, I would not like to disassemble it again.
Great idea, with tinting! Having ridden a pontic, I also thought about such a decision, the arrows would be brought to mind more :)
The fact that the plates are intended for the wire of light, I understood, the joke is that when there was an uneven substrate, the arrows burned very well, right now I made an even glow, the arrows shine badly =)
and about the LED, you mean to put it under the plate itself, closer to the arrow just ? if you take the second photo, then it is somewhere under the mechanism itself, so that the diode does not shine at the leg of the arrow, but on the largest plate itself. Did I understand correctly?
wow! respect :)
about the arrows - these are the same light filters! they themselves are the light conductor! it is necessary to install one bright SMD LED in under that circle!
He's small and bright! and they will shine brightly for you :)
Thank you =)
Yes, I will buy small LEDs and paint the arrows on top with red nail polish, I hope it will be fine. And they don’t burn brightly because the light falls on the numbers a little differently now, when the arrow burns brightly, then the dial is not even.
As always everything is great. And you didn’t think the arrows would be painted with reflective film or paint like on signs, for example, I think then they will burn brightly?
Film for car window tinting.
The method is the same as with simple glasses - some water, a hair dryer, a spatula, instead of a spatula you can take a discount card or a Visa card =)
In general, the taillights, but it seems to me that I'm starting to get sick, the little one probably has the flu and I got infected from it =( so I hope for the best, the New Year is just around the corner
. And take a closer look, come out in the evening =) although today I might leave work earlier if it sucks
Hurray! Finished off the tidy (almost) It will be necessary to look live, but the pictures seem to be better than it was ... What's next in line?))
I kind of thought so, naschet removal of a little light around the arrow. If possible, I wanted to make mini angel eyes and attach arrows around the light-receiving foot there, so that the arrow burned brightly in any position. I’m not sure that I can handle it, but where ours didn’t disappear =)
Fine. With the arrows, everything is completely solved, but you will have to remove a part of the light guide around the axis of the arrow in order to stick a direct backlight there.
I glued the tint right over the kitchen sink, with a spray gun and fairies. But a few bubbles still had to be expelled. I realized for myself that it makes no sense to use 5ku, in the factory optirons it is a little (one step) weaker.
Late =)
In general, there is no problem with removal and installation, the most important thing is to remember how it was on the fuel gauge, speed, speed, charging and oil pressure, everything is fine then it shows, there is a small nuance with the temperature indicator, when you remove the tidy, then the temperature arrow can take different positions depending on how it lies, so for its accurate reading, you need to connect the tidy to a cold one and insert an arrow so that it shows "0" that's all.
don't touch the arrows! ruin all the evidence. luminous arrows on new foreign cars make a luminous string. like I saw somewhere on eBay, but it will increase the already large measurement error.
Most of all, the arrows were pulled up, but they still couldn’t be properly illuminated, in short, to hell with them =)
but now every time it’s on. ignition, a beautiful view unfolds in front of you =)
I’m also thinking of wrapping the glass with a film, only it’s a pity you won’t see the rings (
My problem with the backlighting of the arrow is that there is no place to install a diode under the arrow, and those that are on the edges do not give a normal glow
you can use fluorescent paint to illuminate the arrow. for example www.drive2.ru/communities…/blog/288230376152326100/