Donor.Swap 2JZ-GTE R154. h_5 — logbook Toyota Mark II 1990
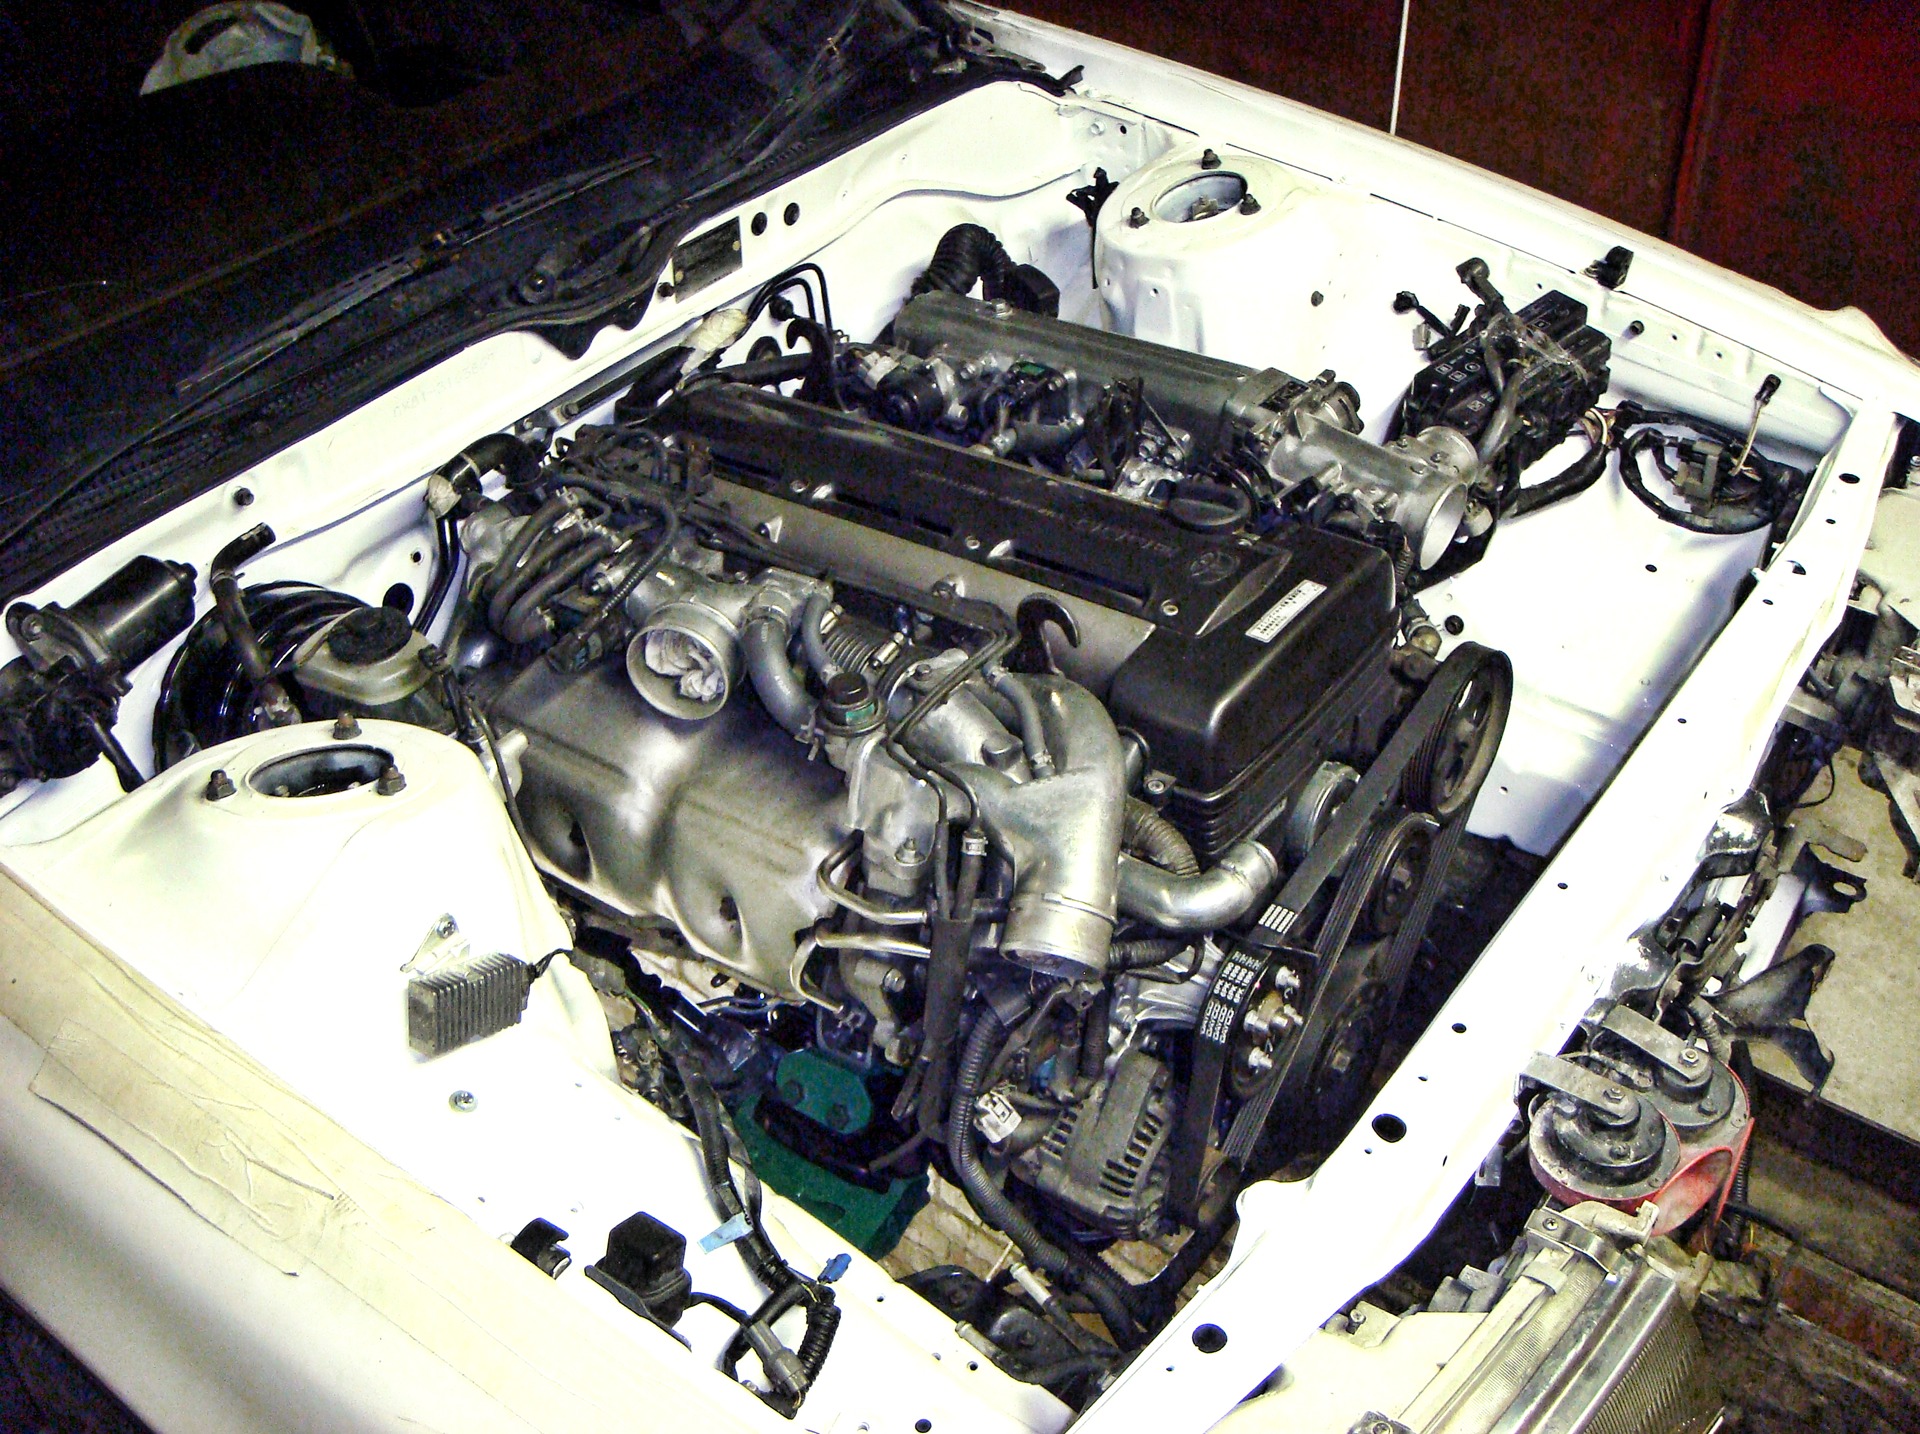
Instead of relaxing and drinking vodka like all normal people, my father-in-law and I spent January 5, 6, 7 and 8 in the garage and in some places in the service) I understood that while the holidays (since I don’t drink father-in-law), I need to crank as much as possible with the car, because when the work week starts, there will be no time for anything again! So we stopped at the service, took the crane and moved into the garage. At first, we spent a lot of time clearing the gate, because a ton of snow fell! Together they dragged the motor, weighing 260 kg, from one end of the garage to the other, screwed the pillows to the beam and set the crane into working position. Then they rolled the car up, lifted it up and shoved the engine under the hood. Before that, we measured the base plates for the engine mount brackets.
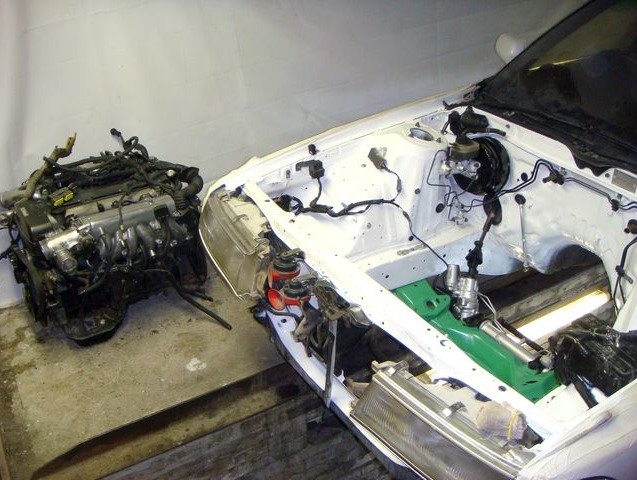
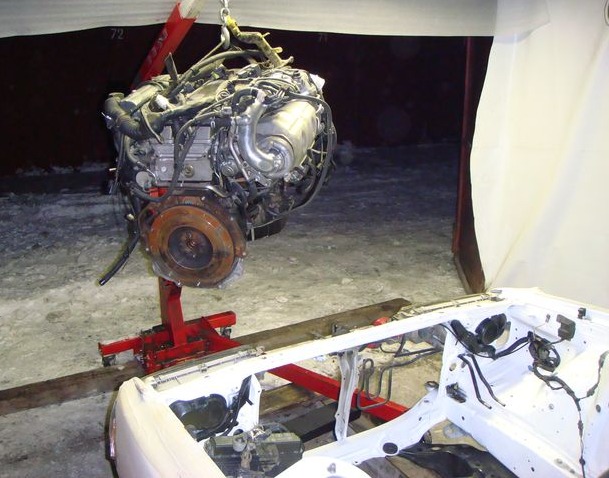
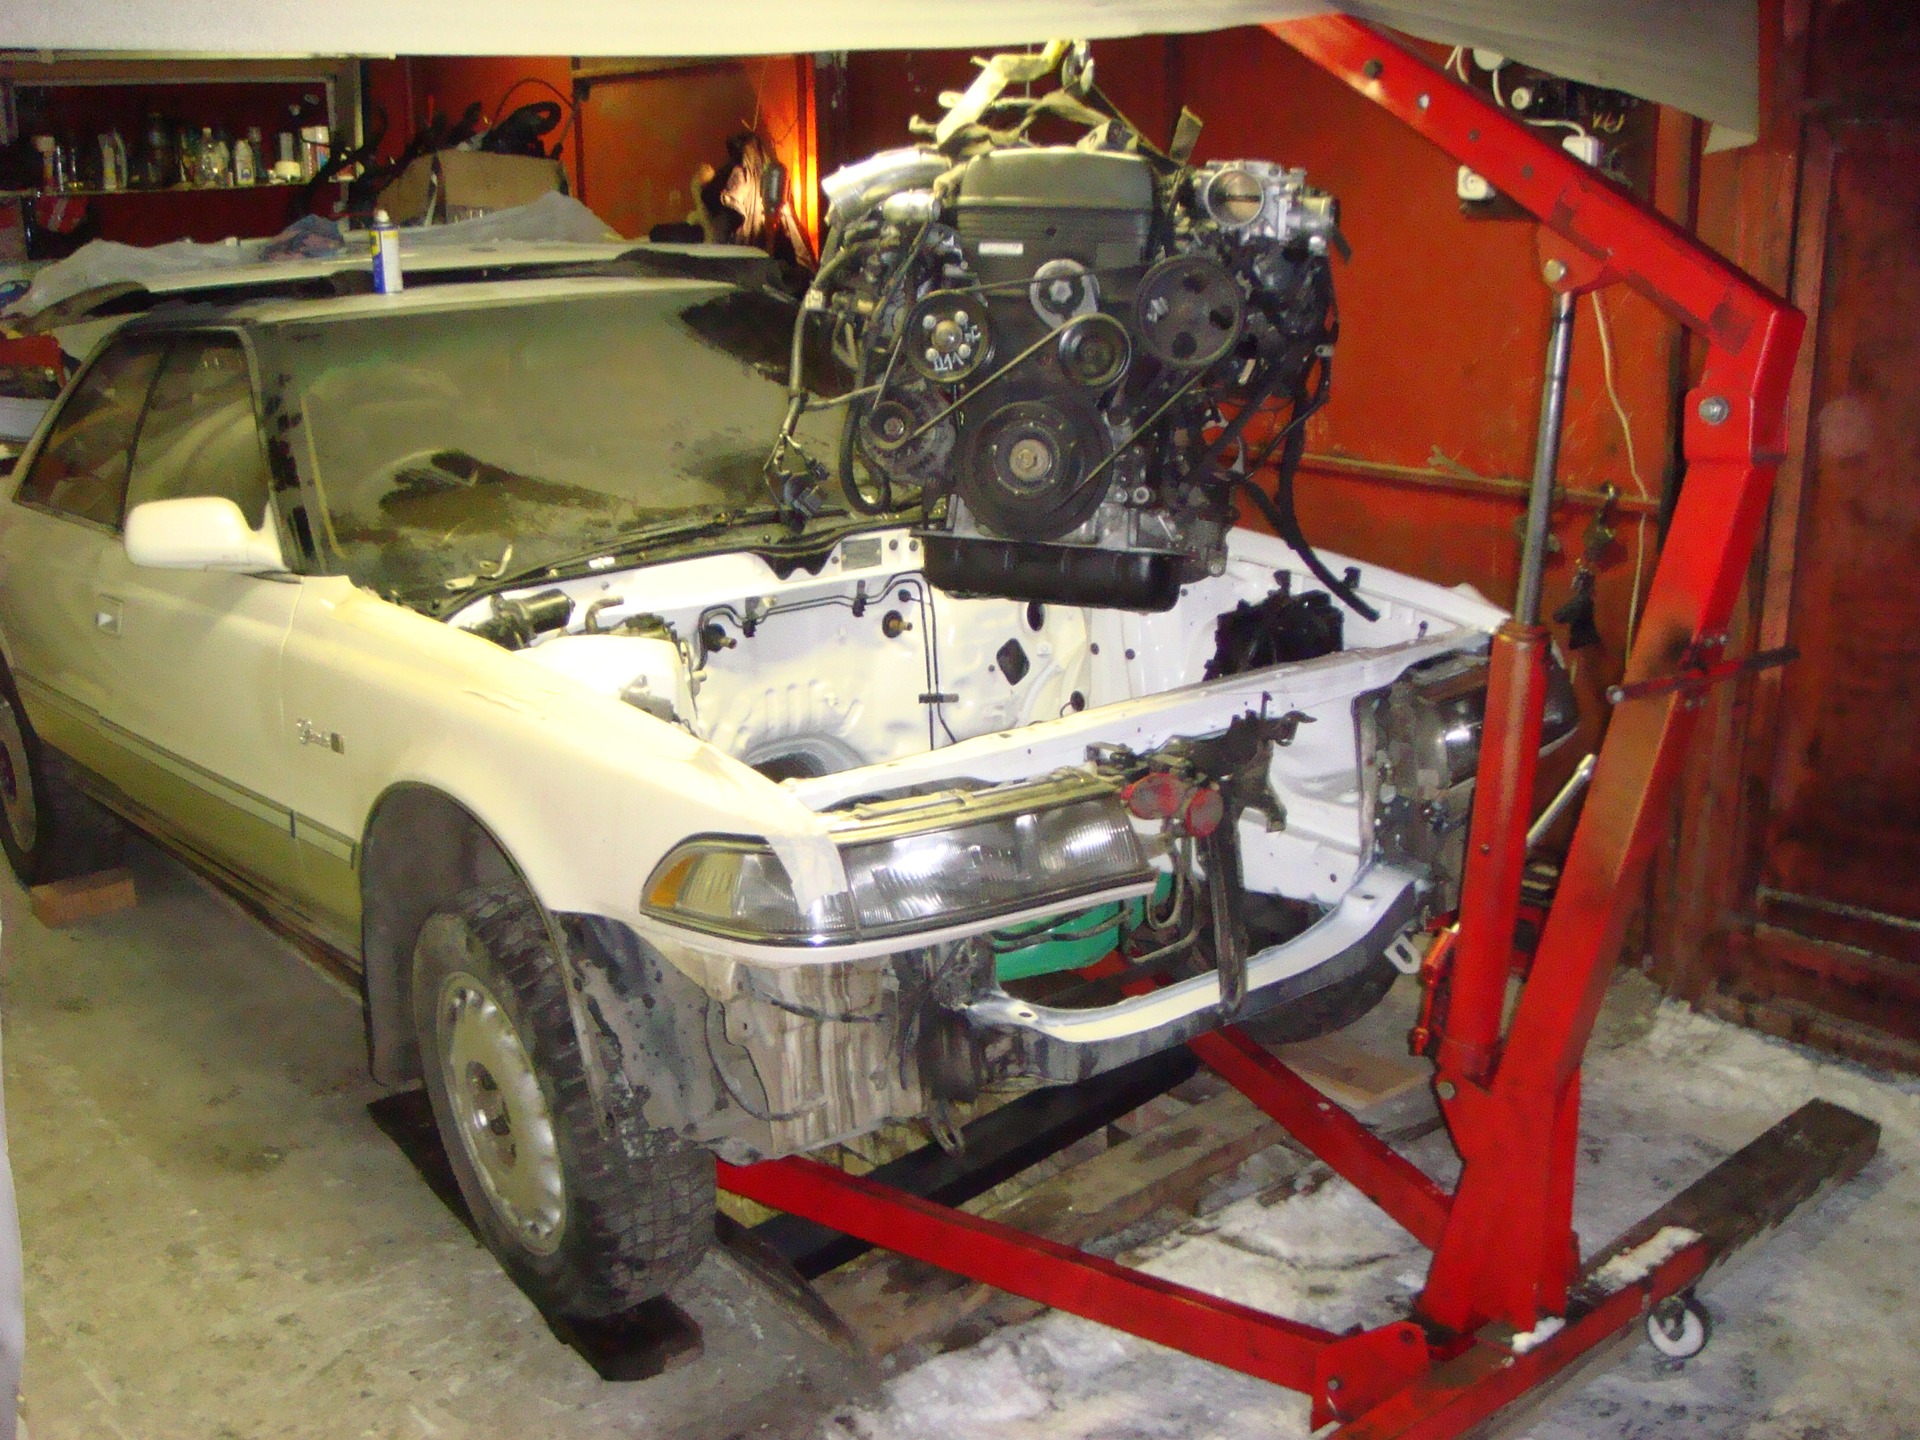
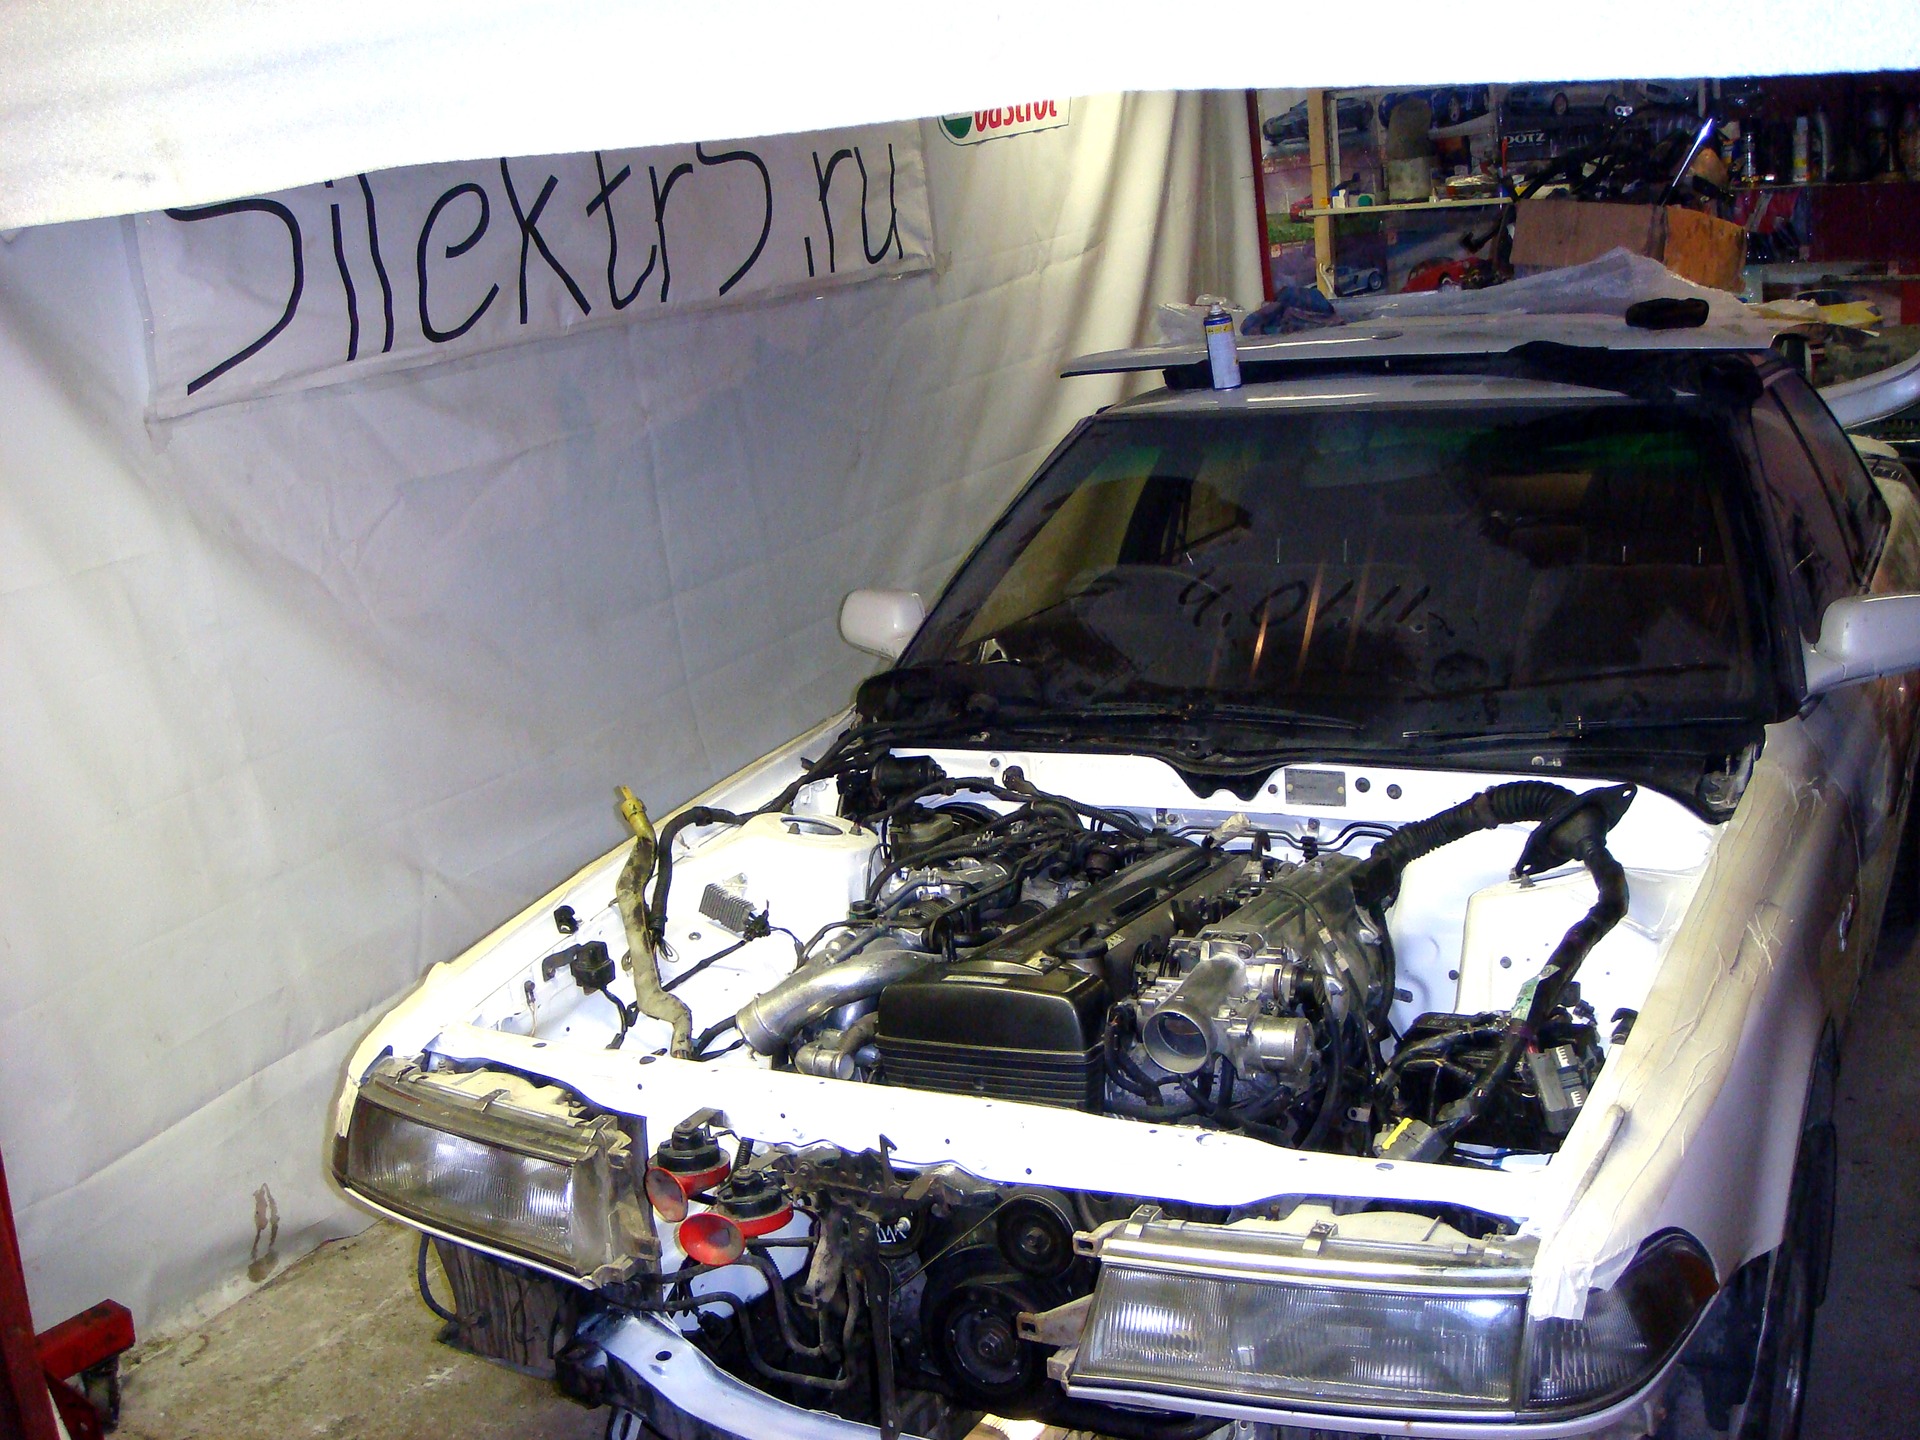
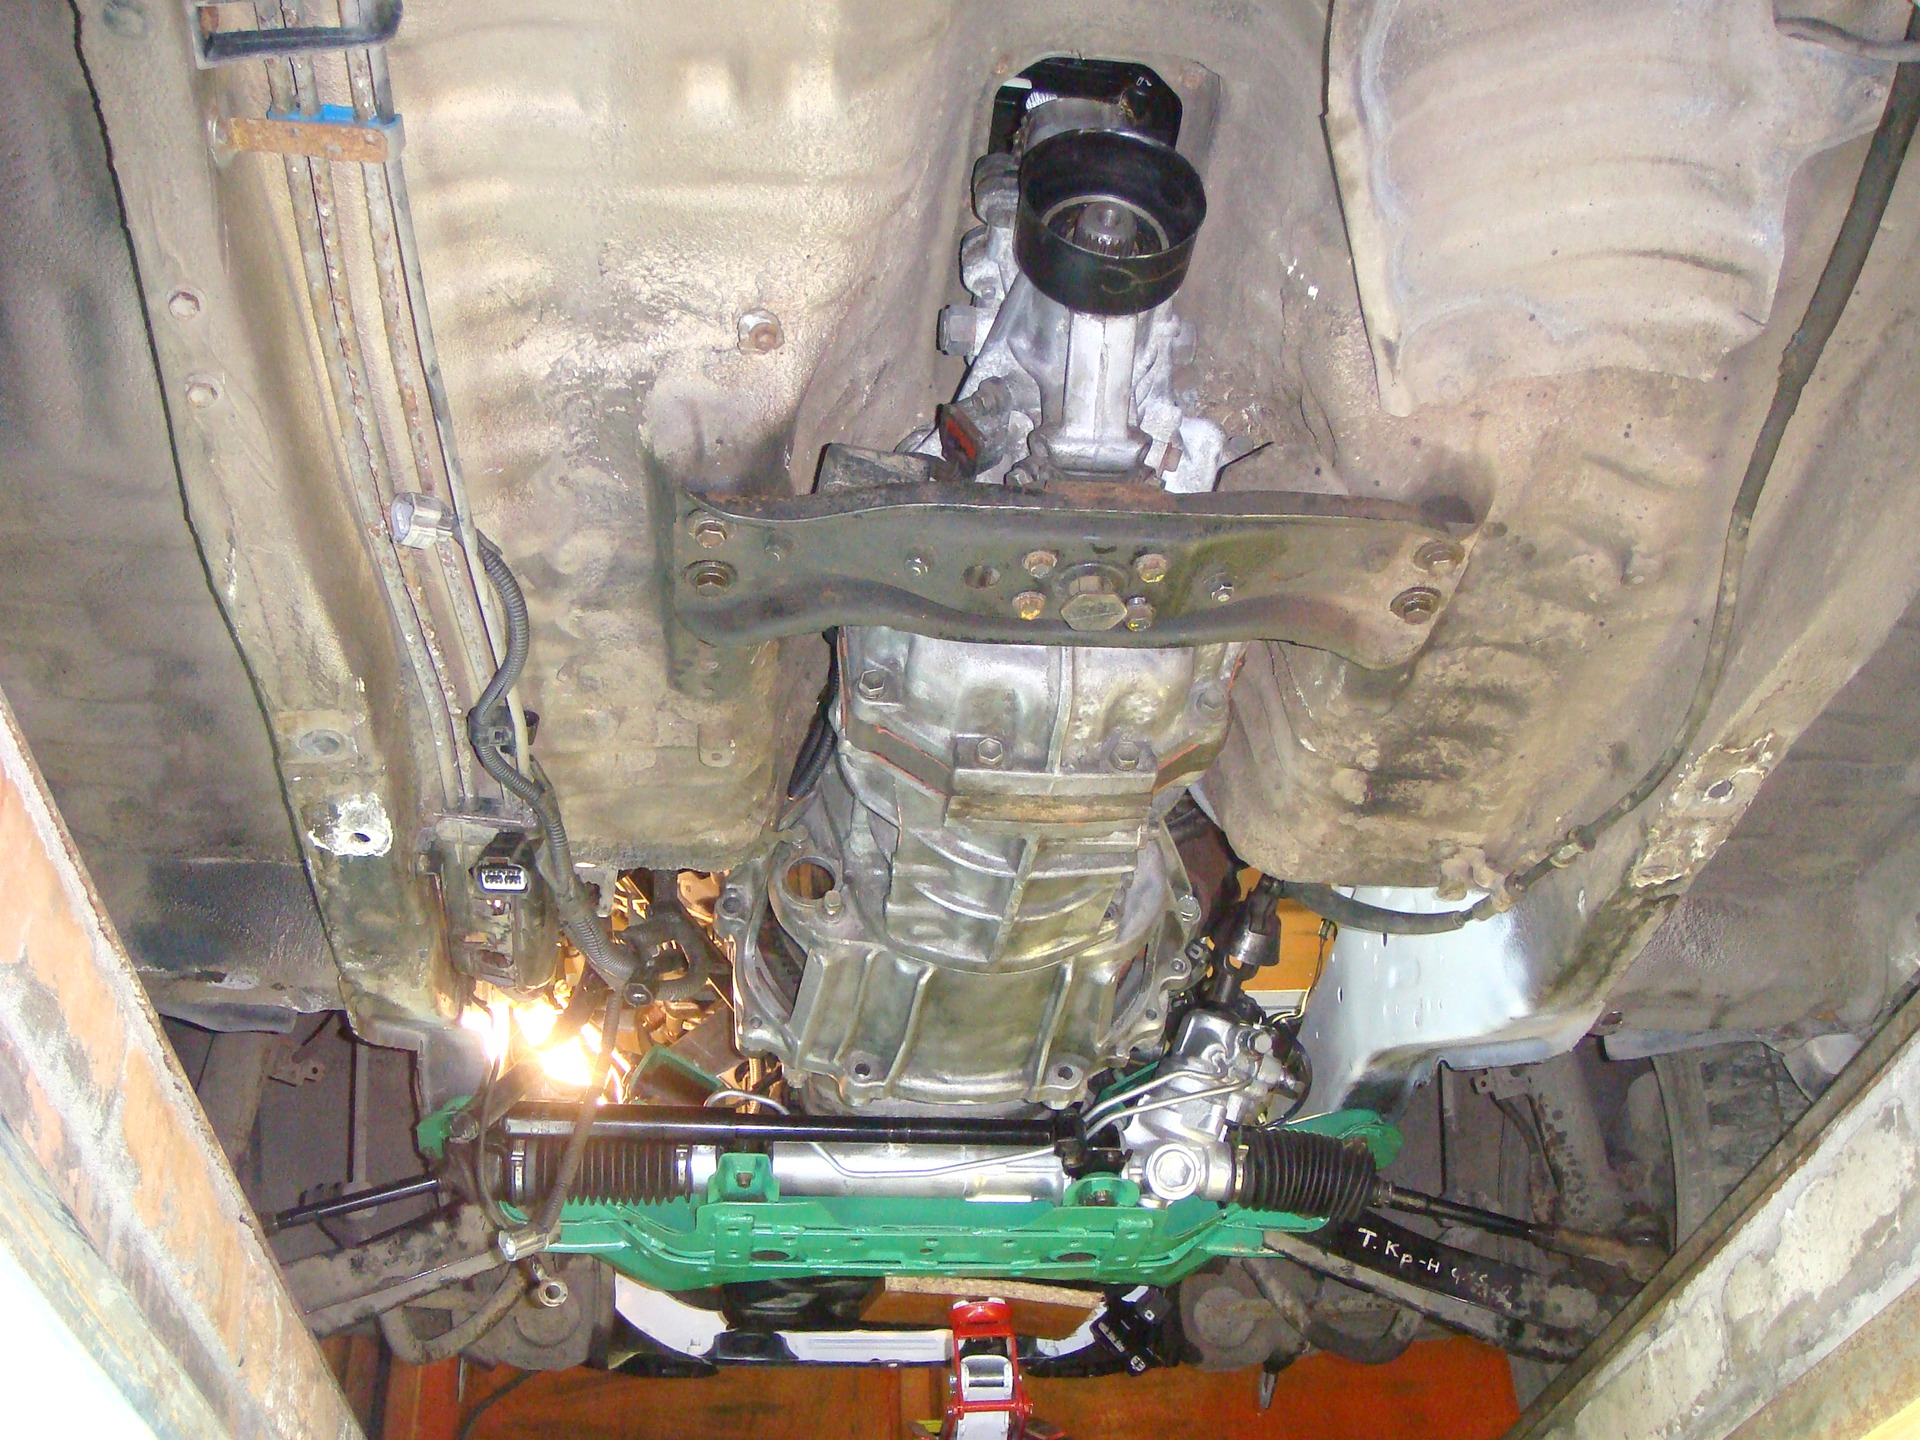
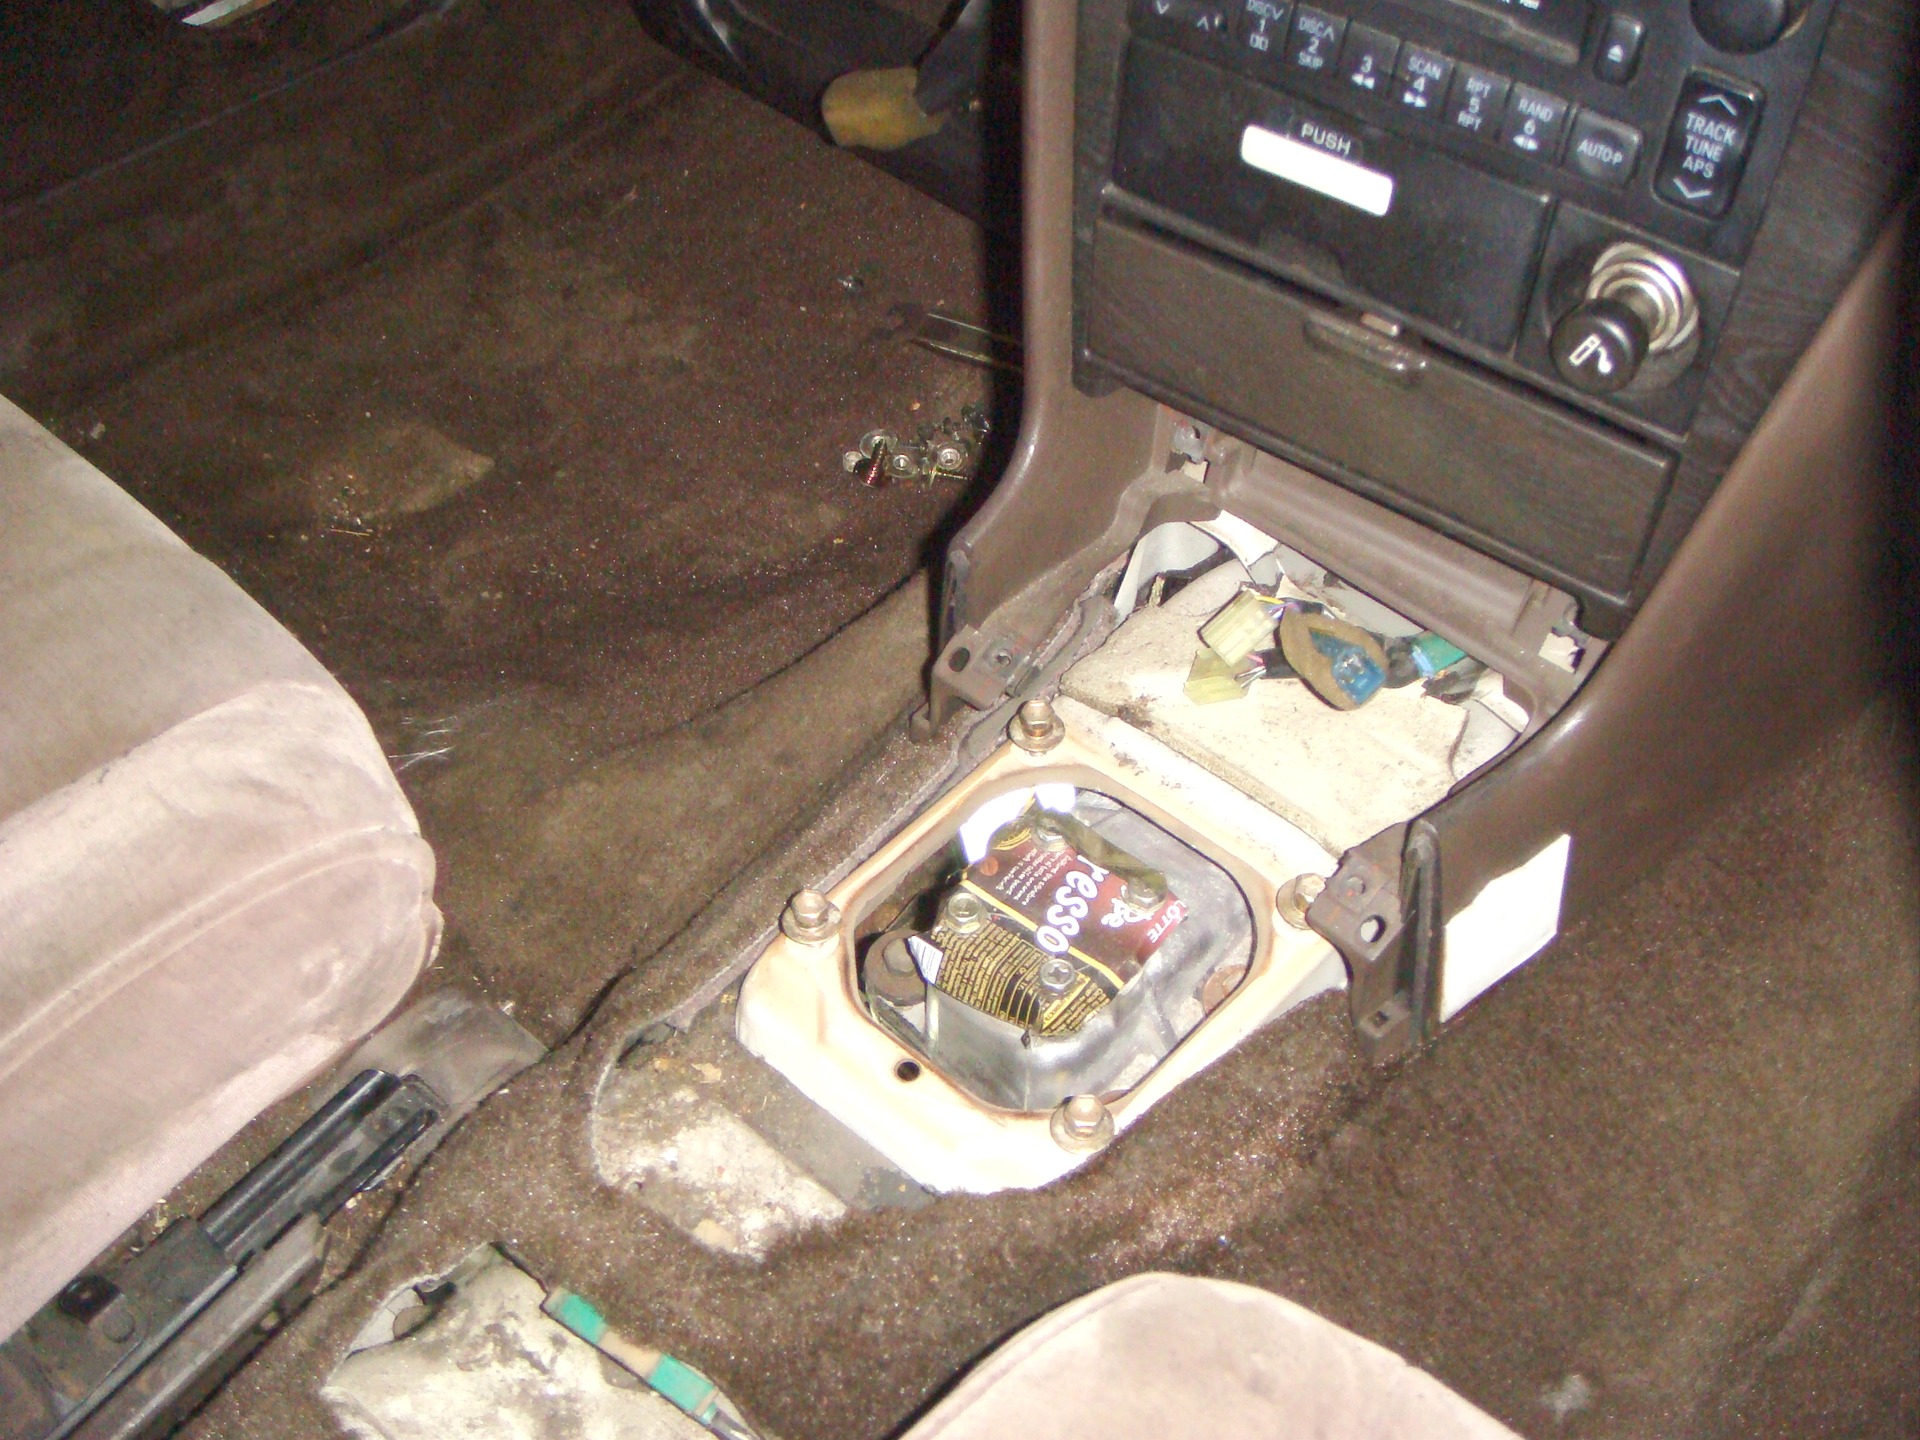
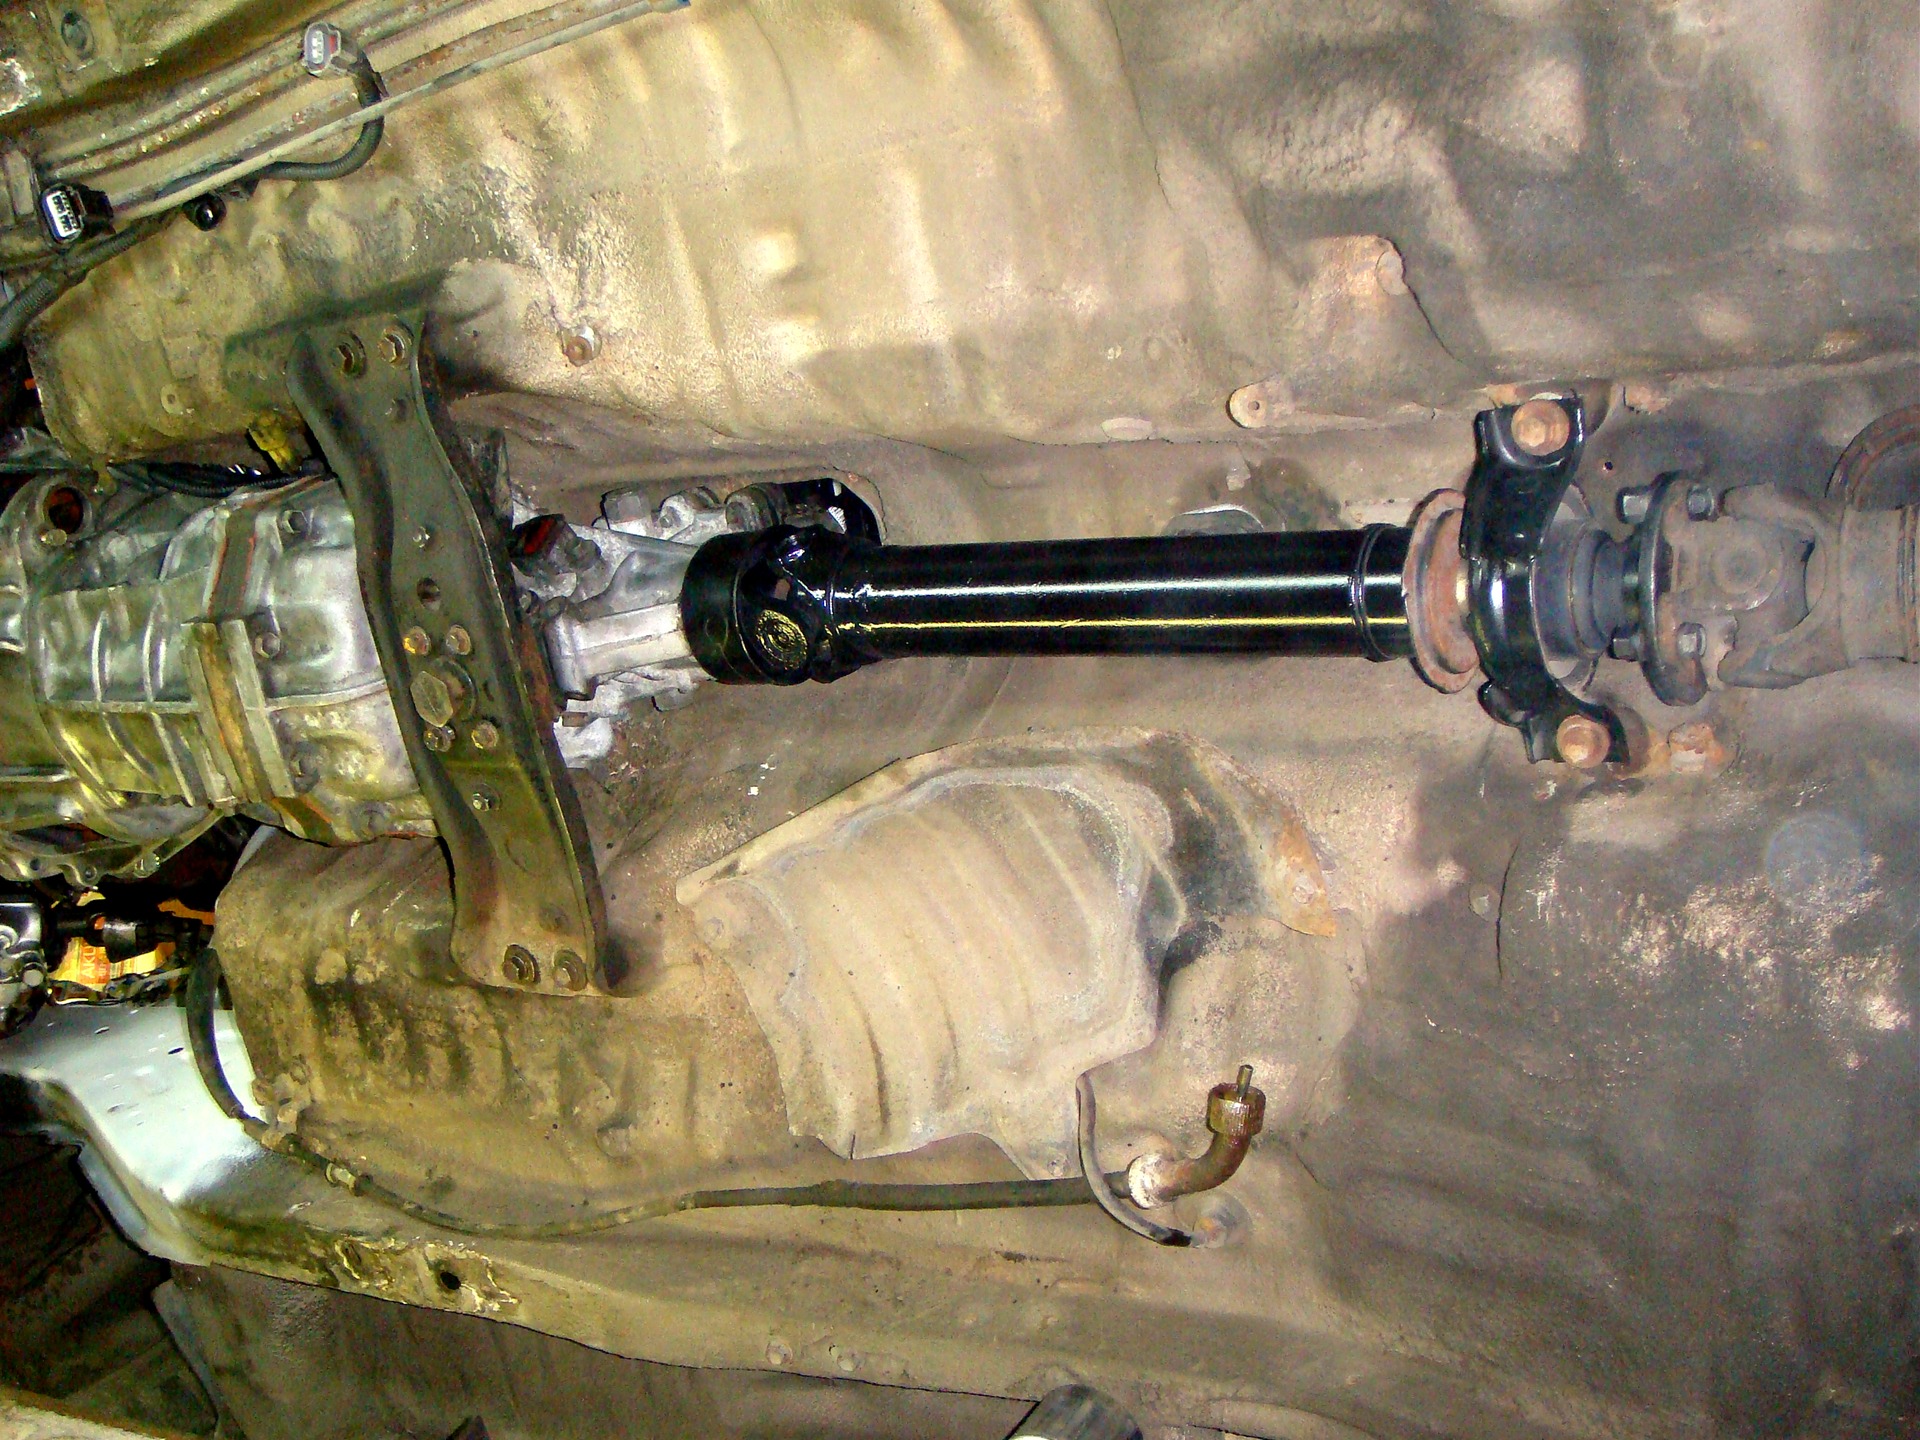
The next day, we made the necessary plates and went back to the garage. The task was the following - it was necessary to clearly set the motor and gearbox so that the supports could be made. The problem is that the r154 box has never been in 81 bodies and, accordingly, the tunnel is not designed for a box of such thickness. This did not stop us and, taking a sledgehammer in our hands, we began real tuning to finalize the tunnel))) We had to remove and install the box several times, but in the end we achieved the desired depth. Then they screwed the box to the motor with a couple of bolts and started trying to put this whole assembly on the car. First, we decided to deal with the rear traverse of the box. The traverse that I was given from 70 Supra did not fit! She is already! Then I grabbed a traverse from the A340E automatic transmission, which was originally on this body and began to figure it out. The pillows of the box seem to be visually the same, but the automatic pillow does not fit, so I made a symbiosis from a pillow from 70 Supra and a traverse from 340 boxes, as a result, the pillows were screwed to the traverse like a native)) Then they began to move the motor as far back as possible to improve the weight distribution of the car and it turned out that the traverse is screwed exactly to its native places on the body, as is the case with the 340 automatic transmission. This pleased us and we began to try on the gimbal. The native from the machine turned out to be a little short, but we still had from 30 Soarer, but it turned out to be too long and had to be shortened by 16 mm. It seems that someone said that the front part of the cardan fits like a native from 70 Supra, but in the absence of this, I had to be content with what I had) The backstage turned out to be strictly in the center of the hole in the tunnel, and the motor was shifted as far back as possible. Then they began to put the motor directly. There is something to pay attention to here. It must be positioned as low as possible to lower the center of gravity and improve handling, as well as maintain the necessary clearances. There is a problem with the vacuum booster. The cold part of the turbine is trying to rest against it. It is also necessary to observe the gap between the beam and the pallet, as well as between the crankshaft pulley and the stabilizer. The motor must be aligned strictly in the center !, and also strictly vertically. After long manipulations and measurements, we still managed to set the motor correctly and didn’t have to straighten or cut anything! It is also necessary to observe the gap between the beam and the pallet, as well as between the crankshaft pulley and the stabilizer. The motor must be aligned strictly in the center !, and also strictly vertically. After long manipulations and measurements, we still managed to set the motor correctly and didn’t have to straighten or cut anything! It is also necessary to observe the gap between the beam and the pallet, as well as between the crankshaft pulley and the stabilizer. The motor must be aligned strictly in the center !, and also strictly vertically. After long manipulations and measurements, we still managed to set the motor correctly and didn’t have to straighten or cut anything!
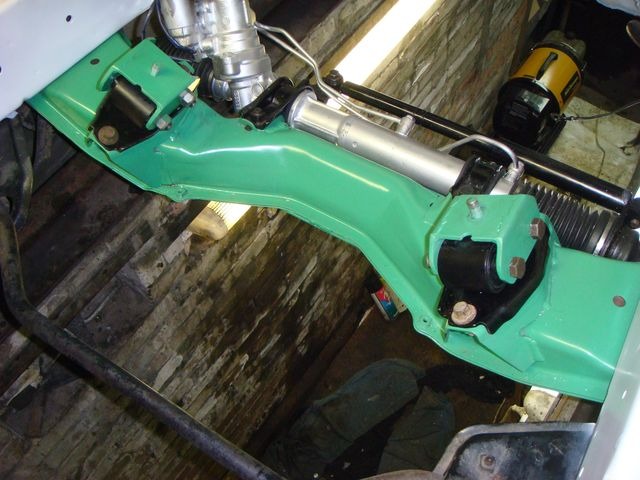
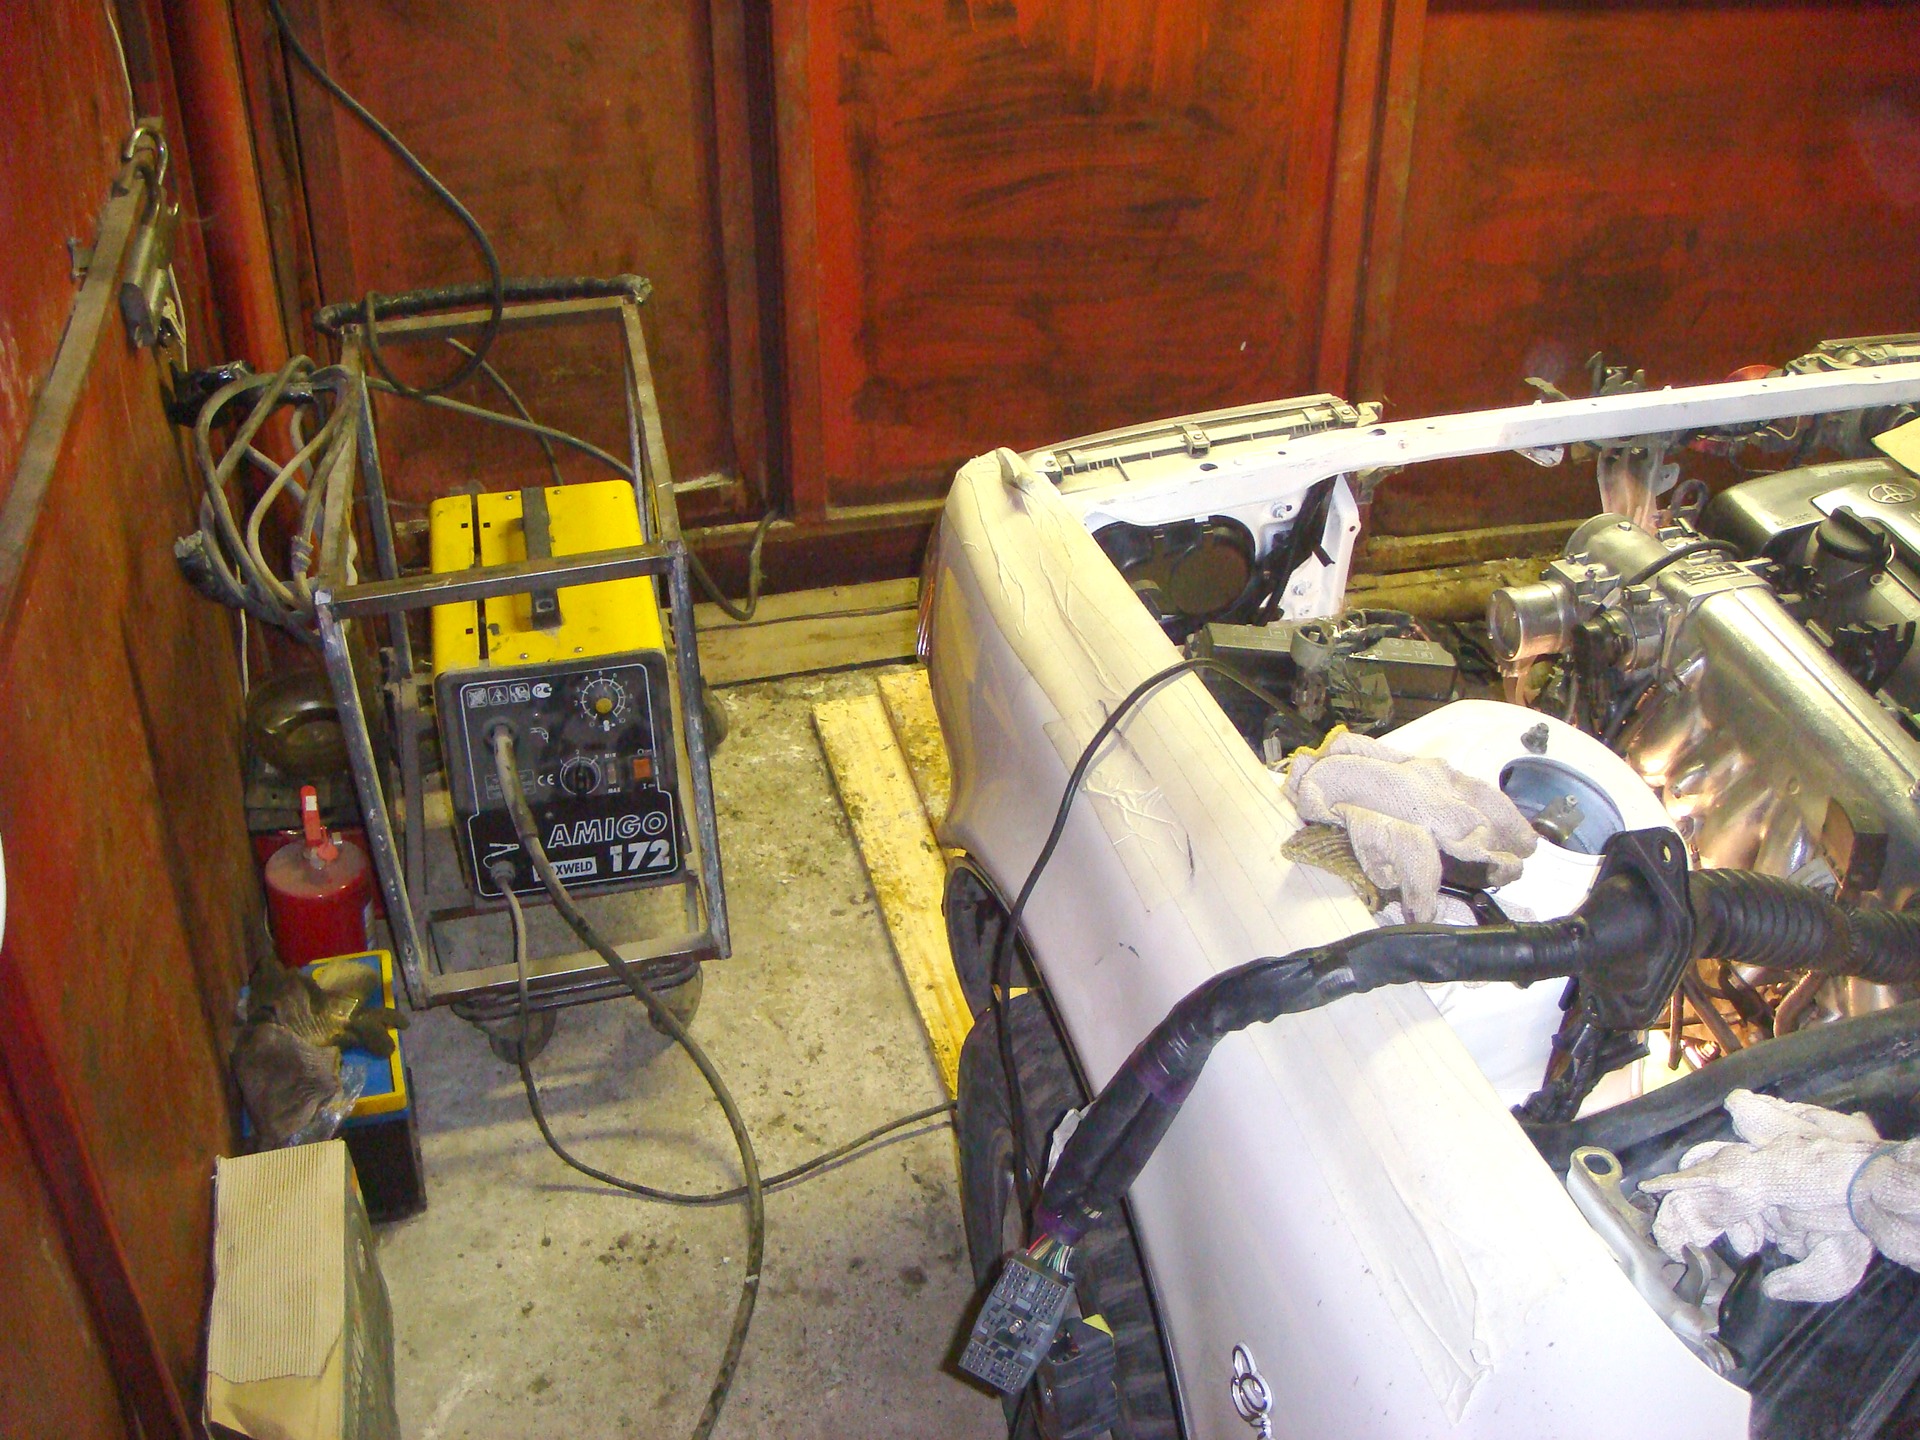
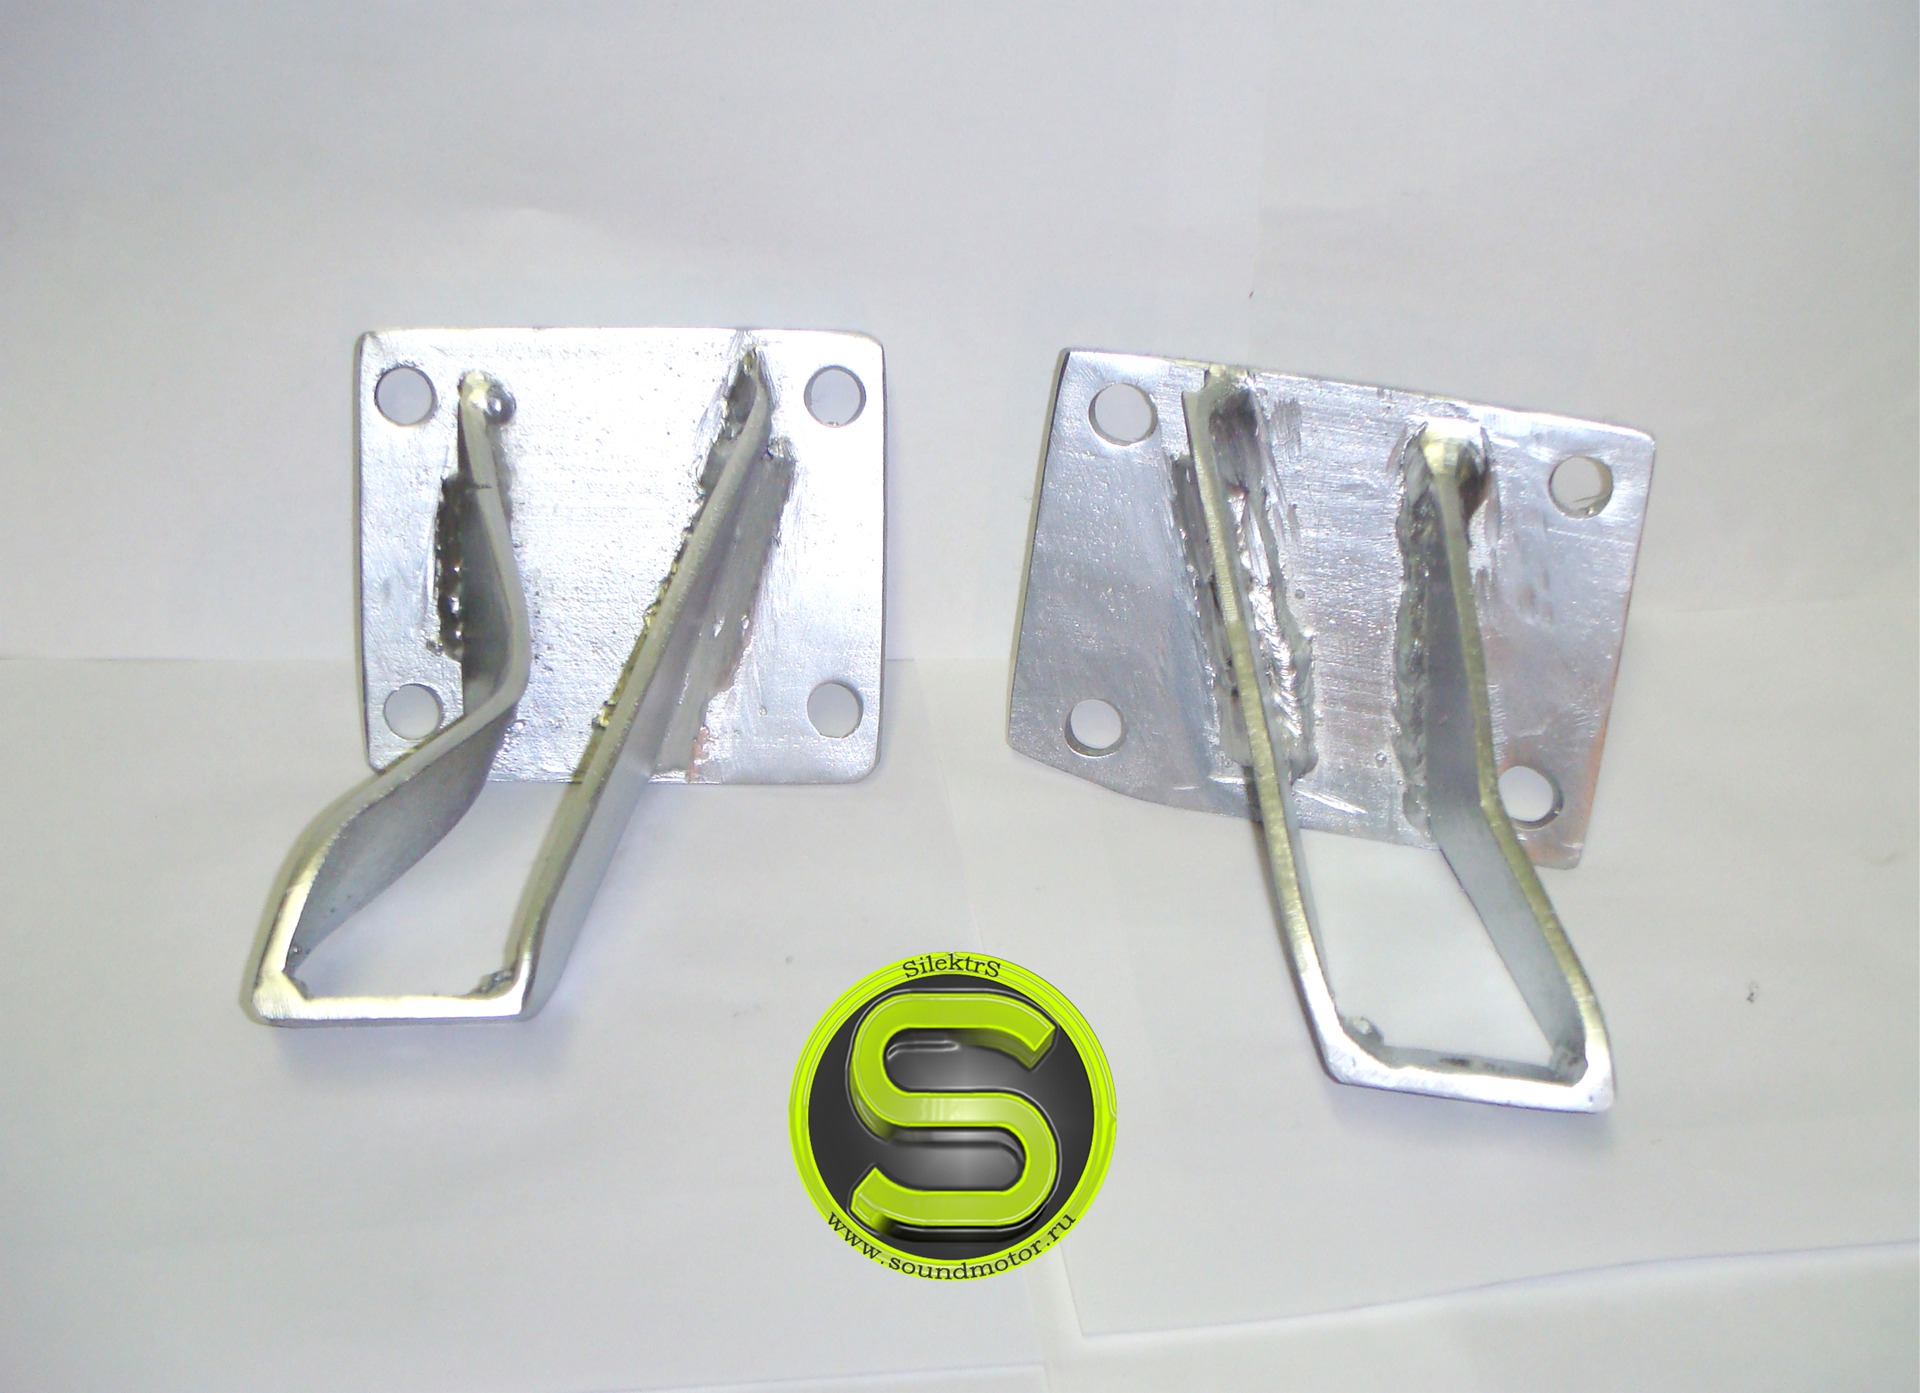
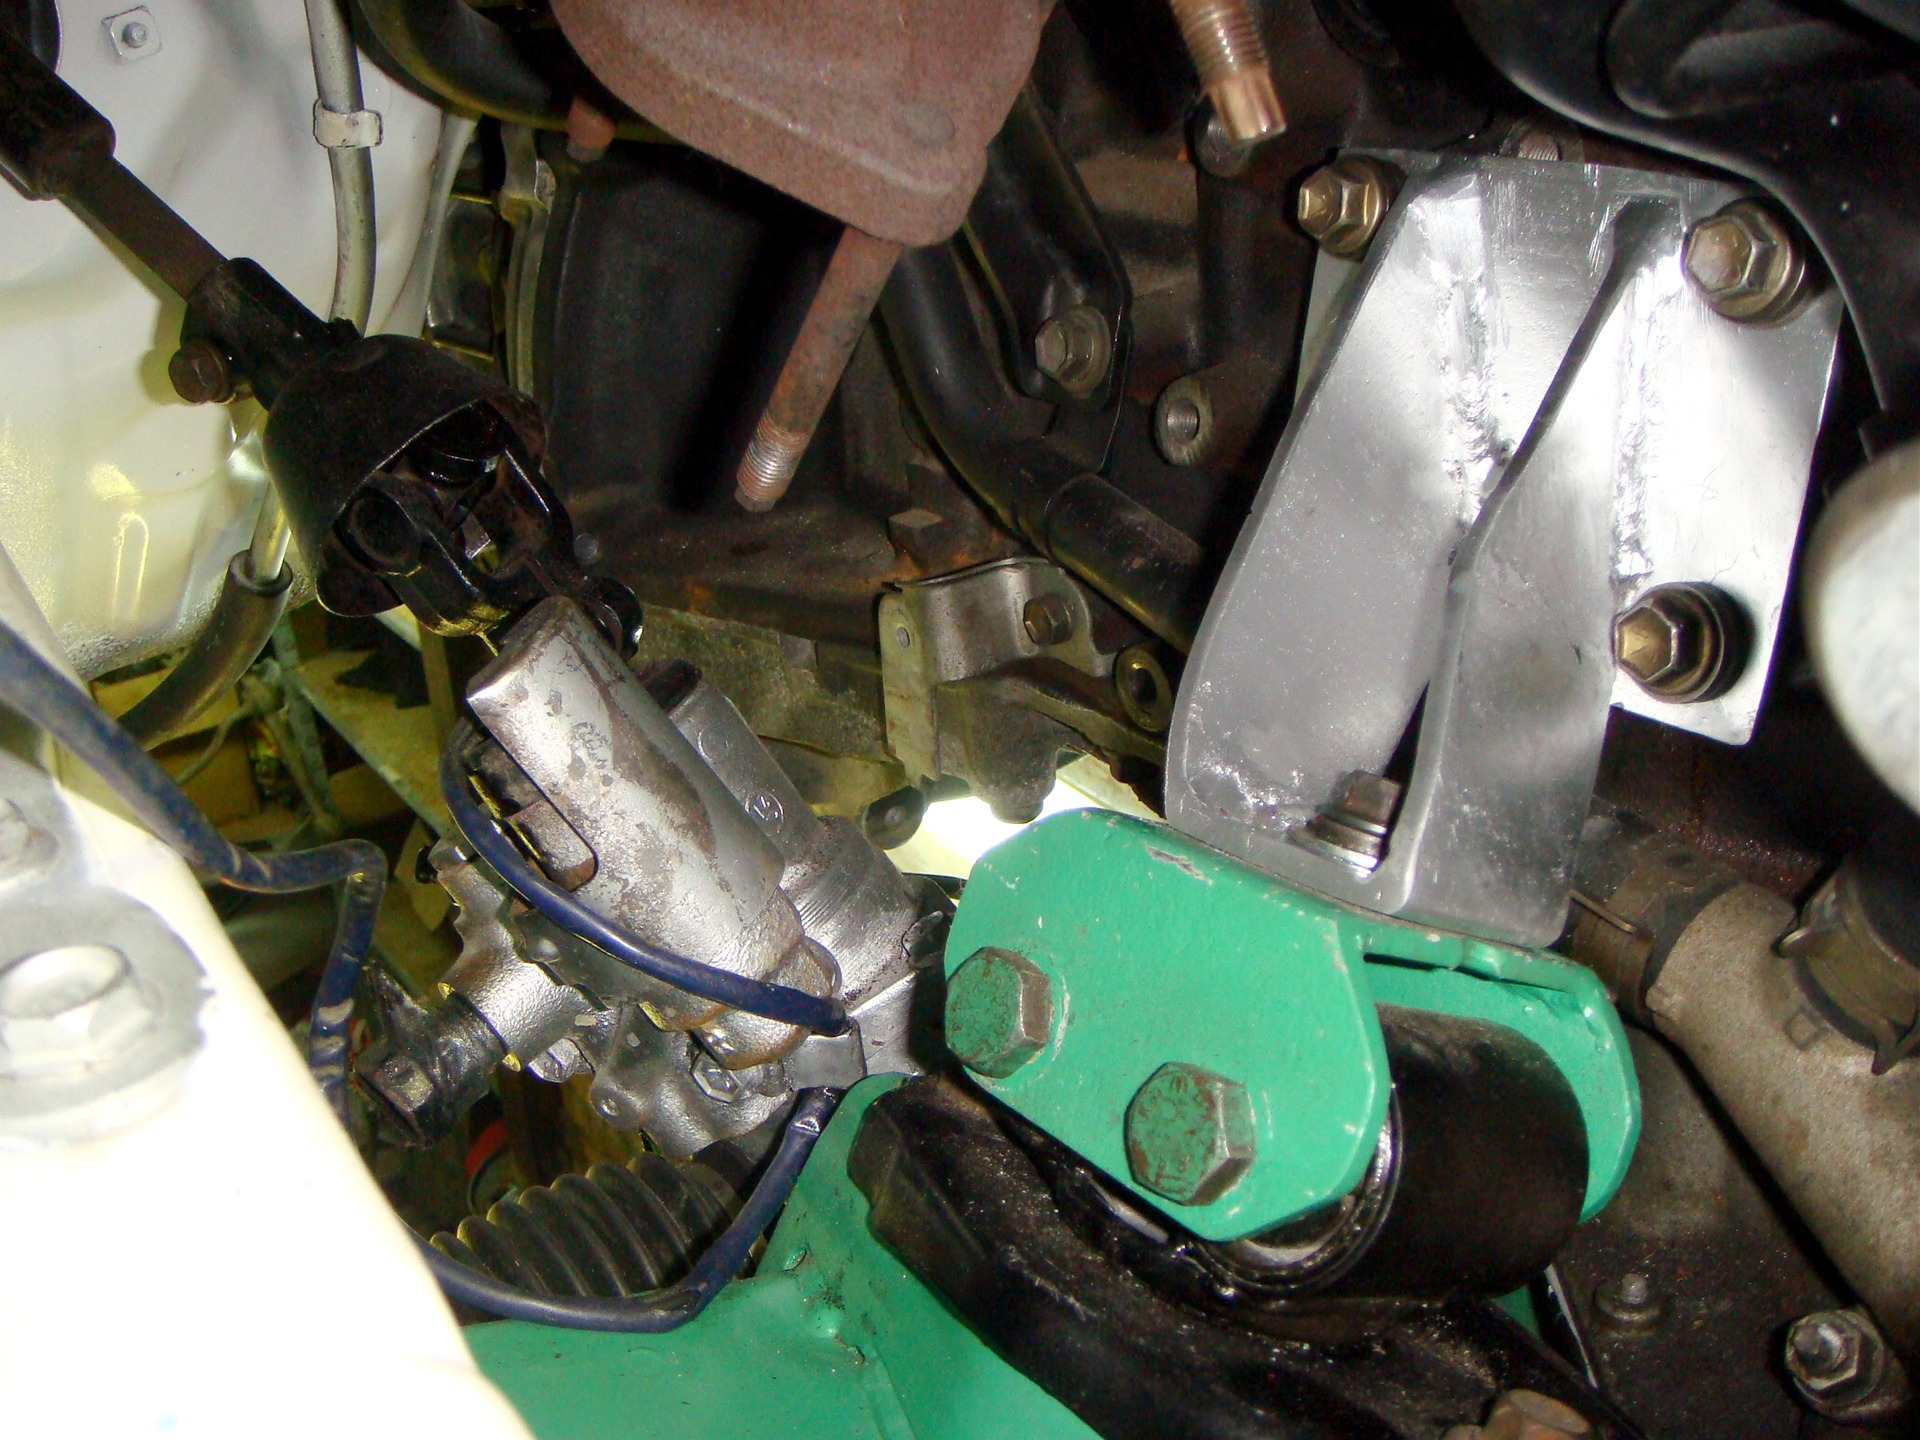
The next stage is the manufacture of engine mounts. Here we had some difficulties in the form of the fact that in the garage, of course, it is not very convenient to do such things and you need a good tool, and we had a half-dead bulgarian, which was eventually burned down and the lack of welding was even depressing! We started by screwing the previously made plates to the block. Before that, I removed the oil cooler and part of the outlet. Then they made base plates that are screwed to the pillows. The difficulty is that the support axis of the pillow turned out to be too shifted forward relative to the center of the plate on the block and, accordingly, the bracket turned out to be very complicated, and you also need to take into account the fact that it must be screwed to the block using a head that needs to somehow crawl to the bolts. After looking at the whole thing, I realized that we can’t do without welding, and we began to think through the options. My father-in-law has a welding machine at work, but it didn’t fit the voltage, because it’s 380 volts, and God forbid, 220 in our garage, and the network is too weak! Then he called one of his friend a tinsmith and he happened to have the device we needed, which he safely gave us for use)) We dragged him to the garage, made adapter plates and started trying to grab, but the network could not stand it and knocked out traffic jams, in the end I had to cook in complete darkness, turning off all power sources and with a low current, which again complicated welding. So we suffered for a long time grabbing and adjusting the plates, finishing and bending to the desired shape! Then he called one of his friend a tinsmith and he happened to have the device we needed, which he safely gave us for use)) We dragged him to the garage, made adapter plates and started trying to grab, but the network could not stand it and knocked out traffic jams, in the end I had to cook in complete darkness, turning off all power sources and with a low current, which again complicated welding. So we suffered for a long time grabbing and adjusting the plates, finishing and bending to the desired shape! Then he called one of his friend a tinsmith and he happened to have the device we needed, which he safely gave us for use)) We dragged him to the garage, made adapter plates and started trying to grab, but the network could not stand it and knocked out traffic jams, in the end I had to cook in complete darkness, turning off all power sources and with a low current, which again complicated welding. So we suffered for a long time grabbing and adjusting the plates, finishing and bending to the desired shape!
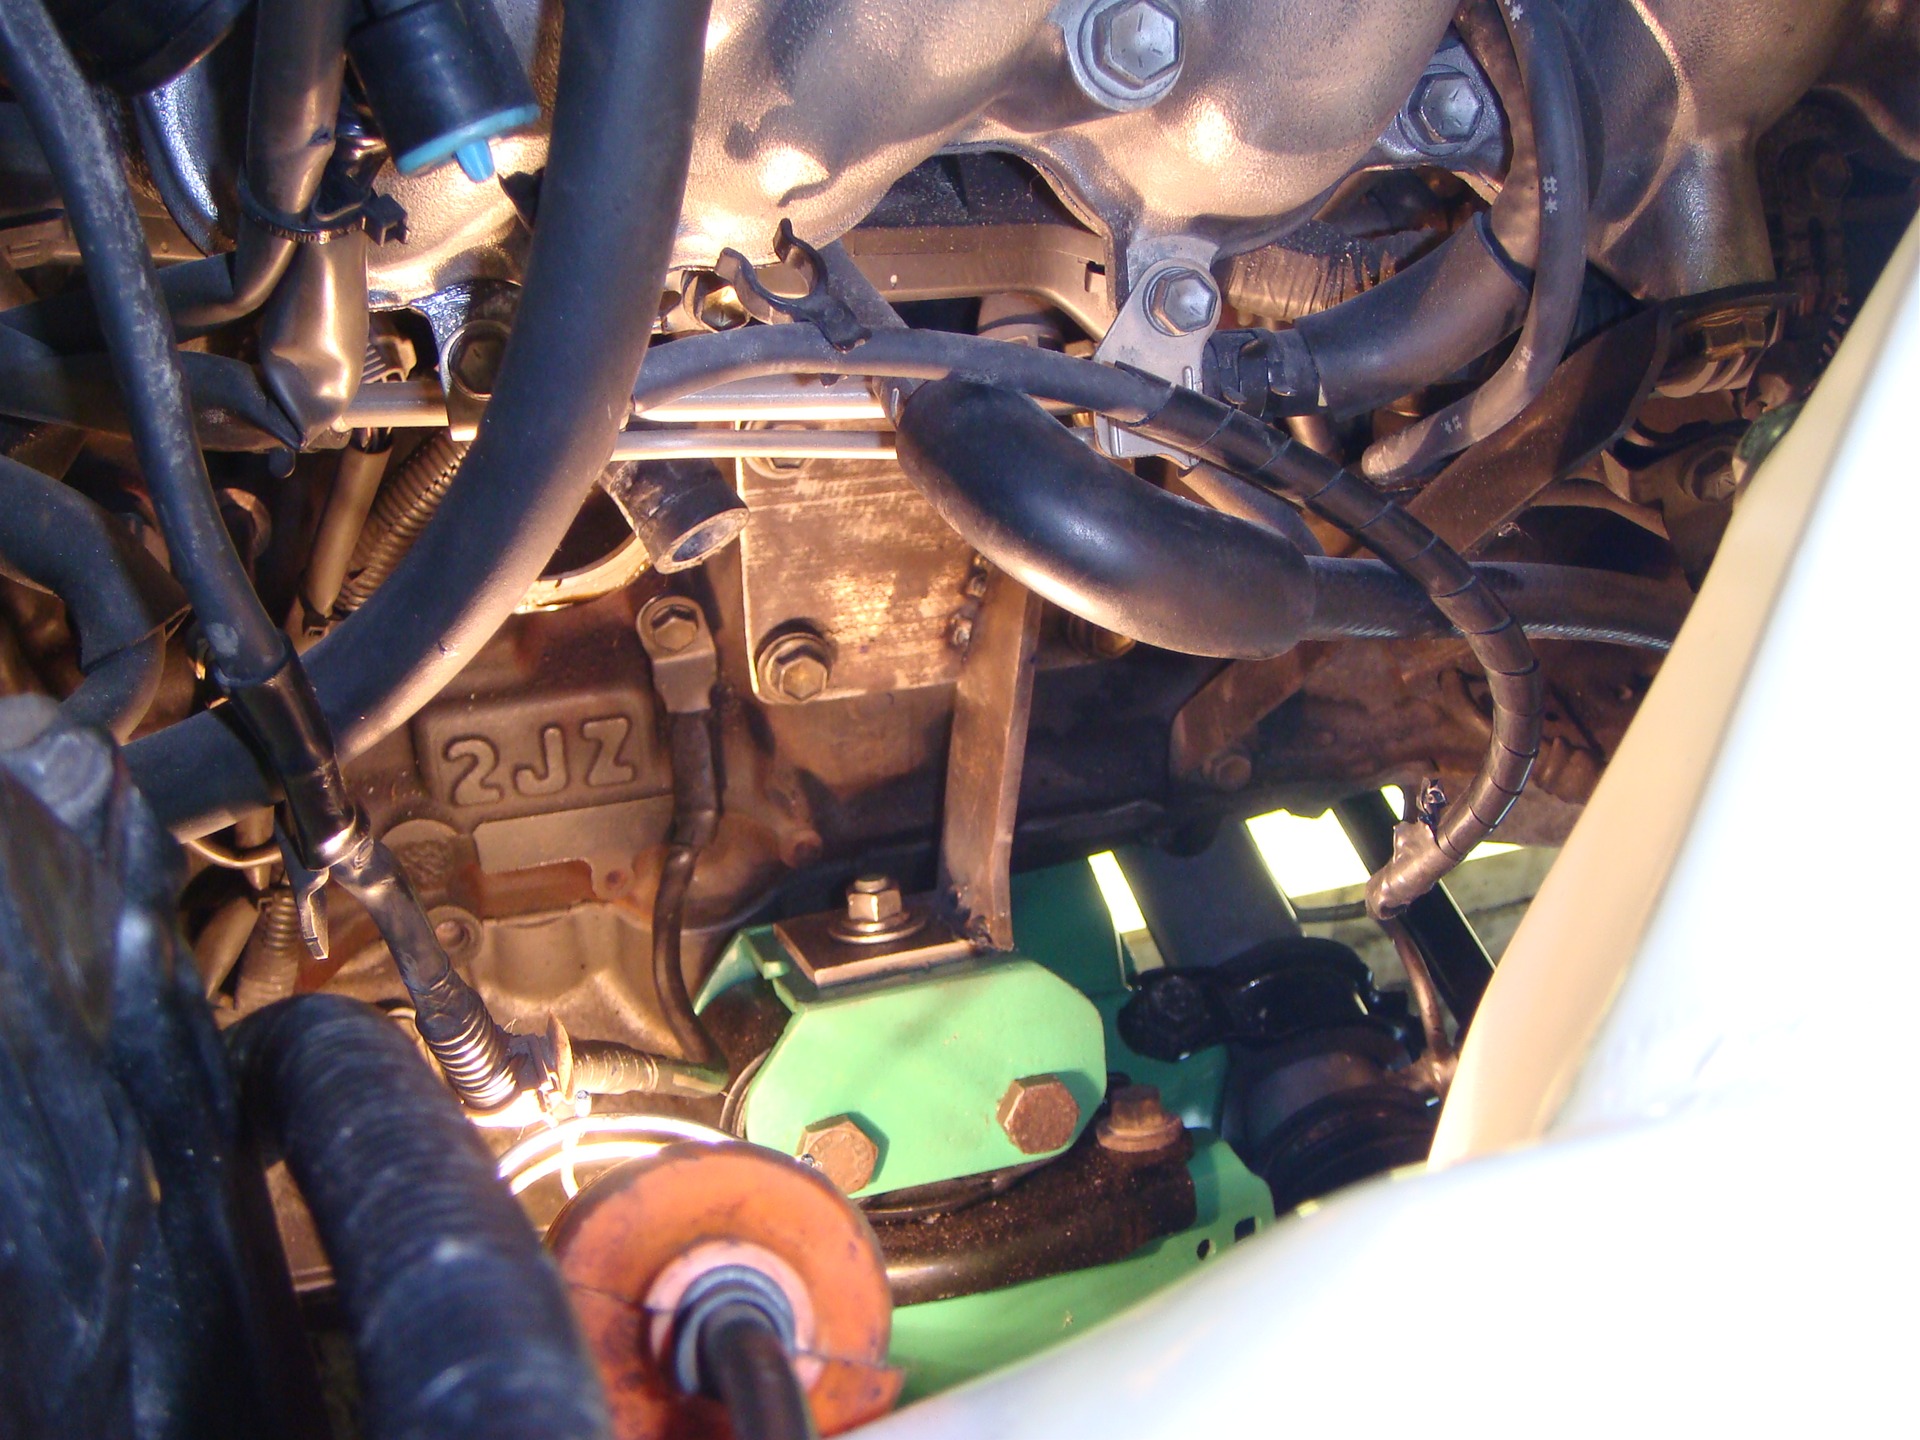
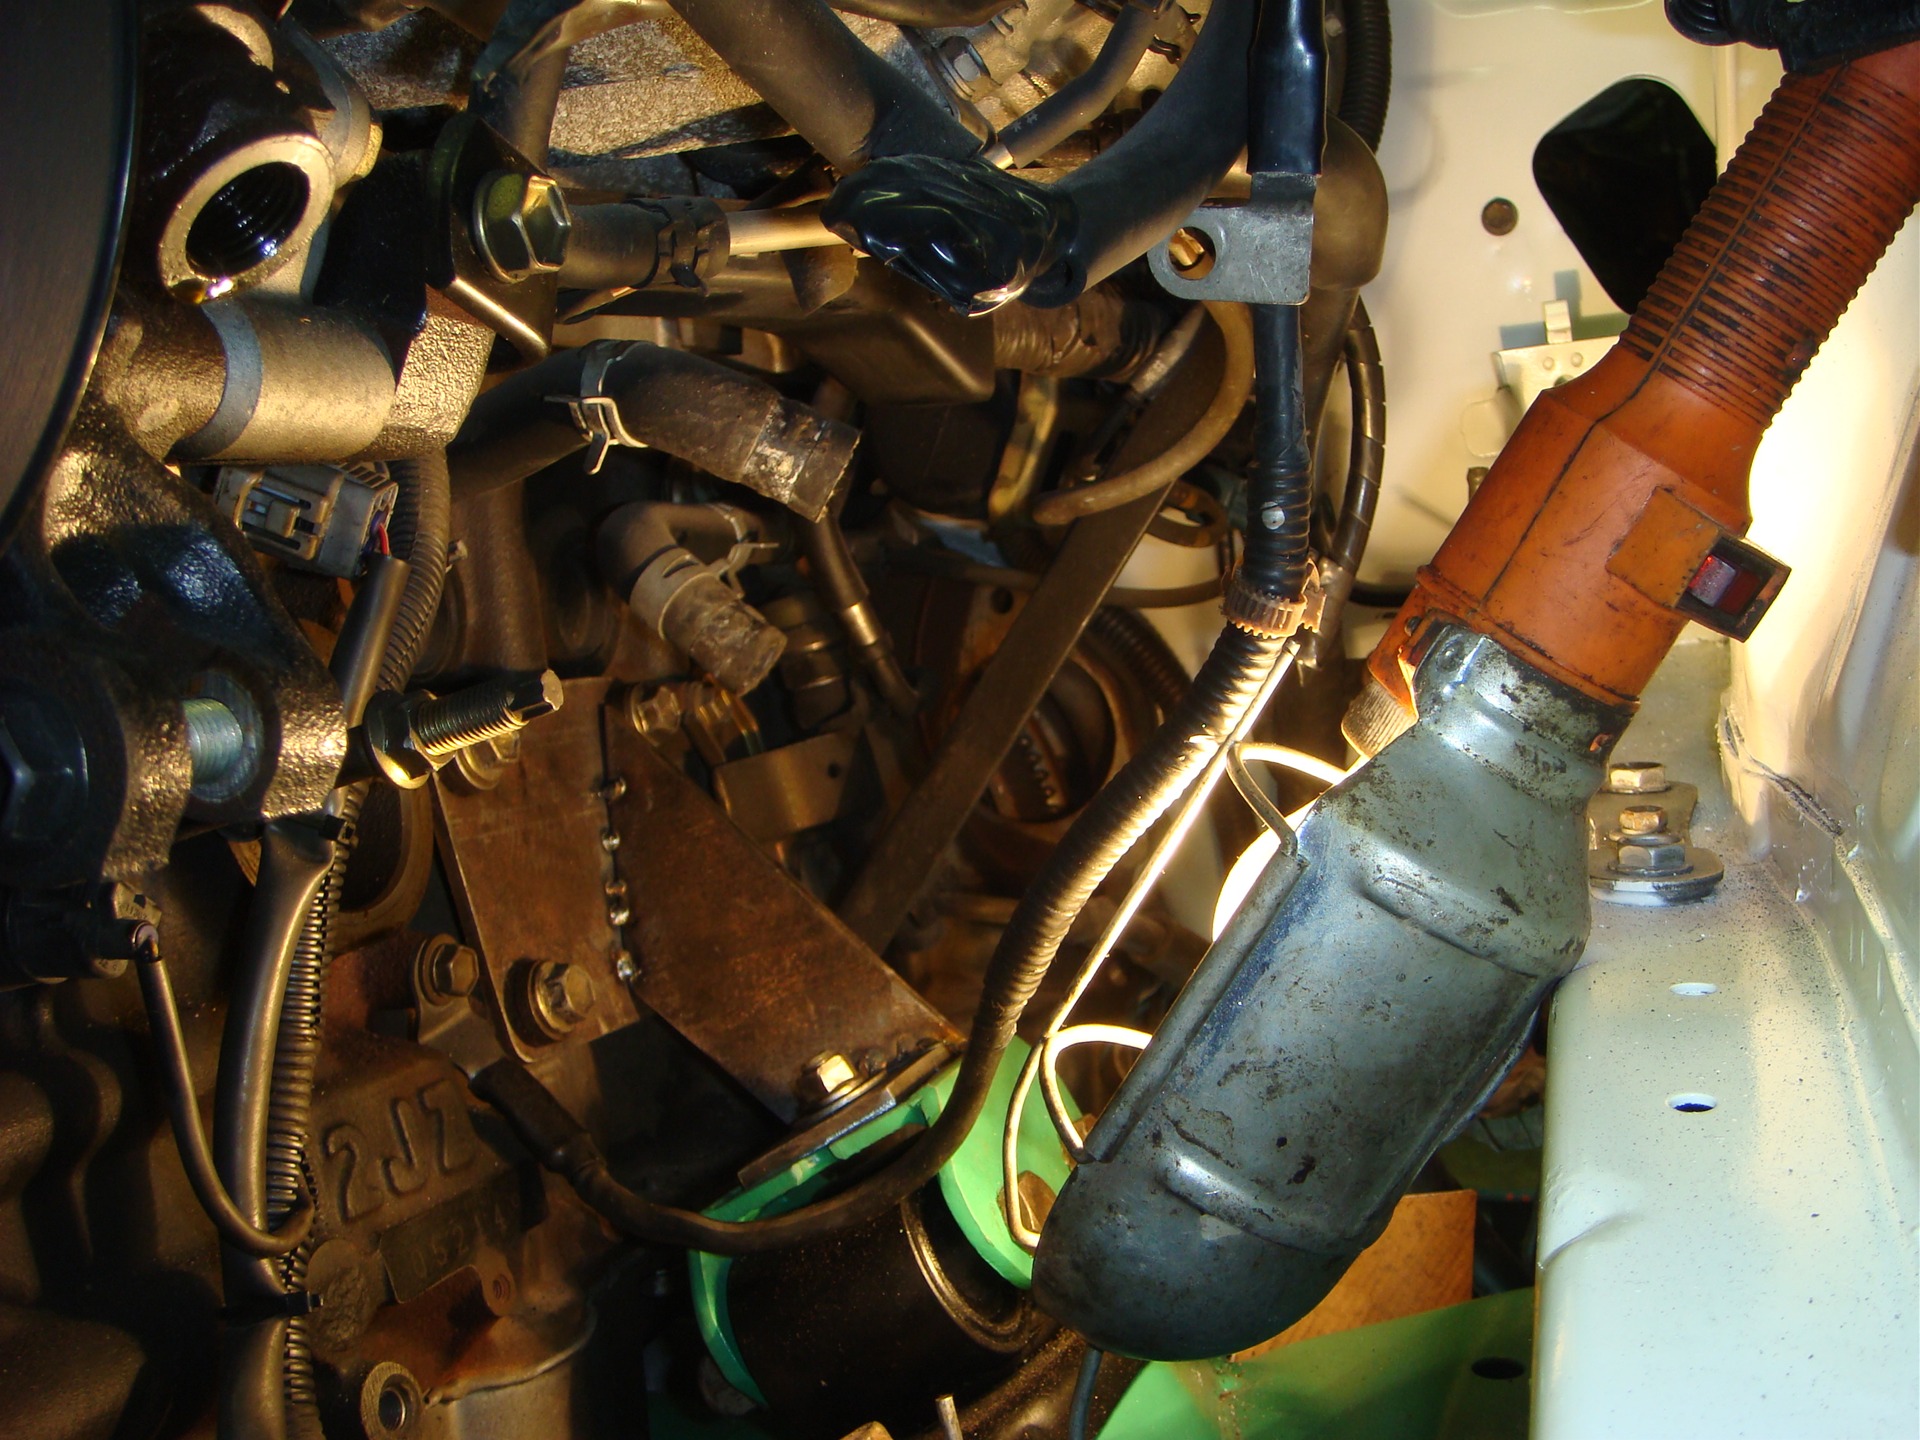
This is how the supports turned out. Unfortunately, the welder cooked very badly and the quality is certainly not up to par! The whole thing was painted and put in its place)
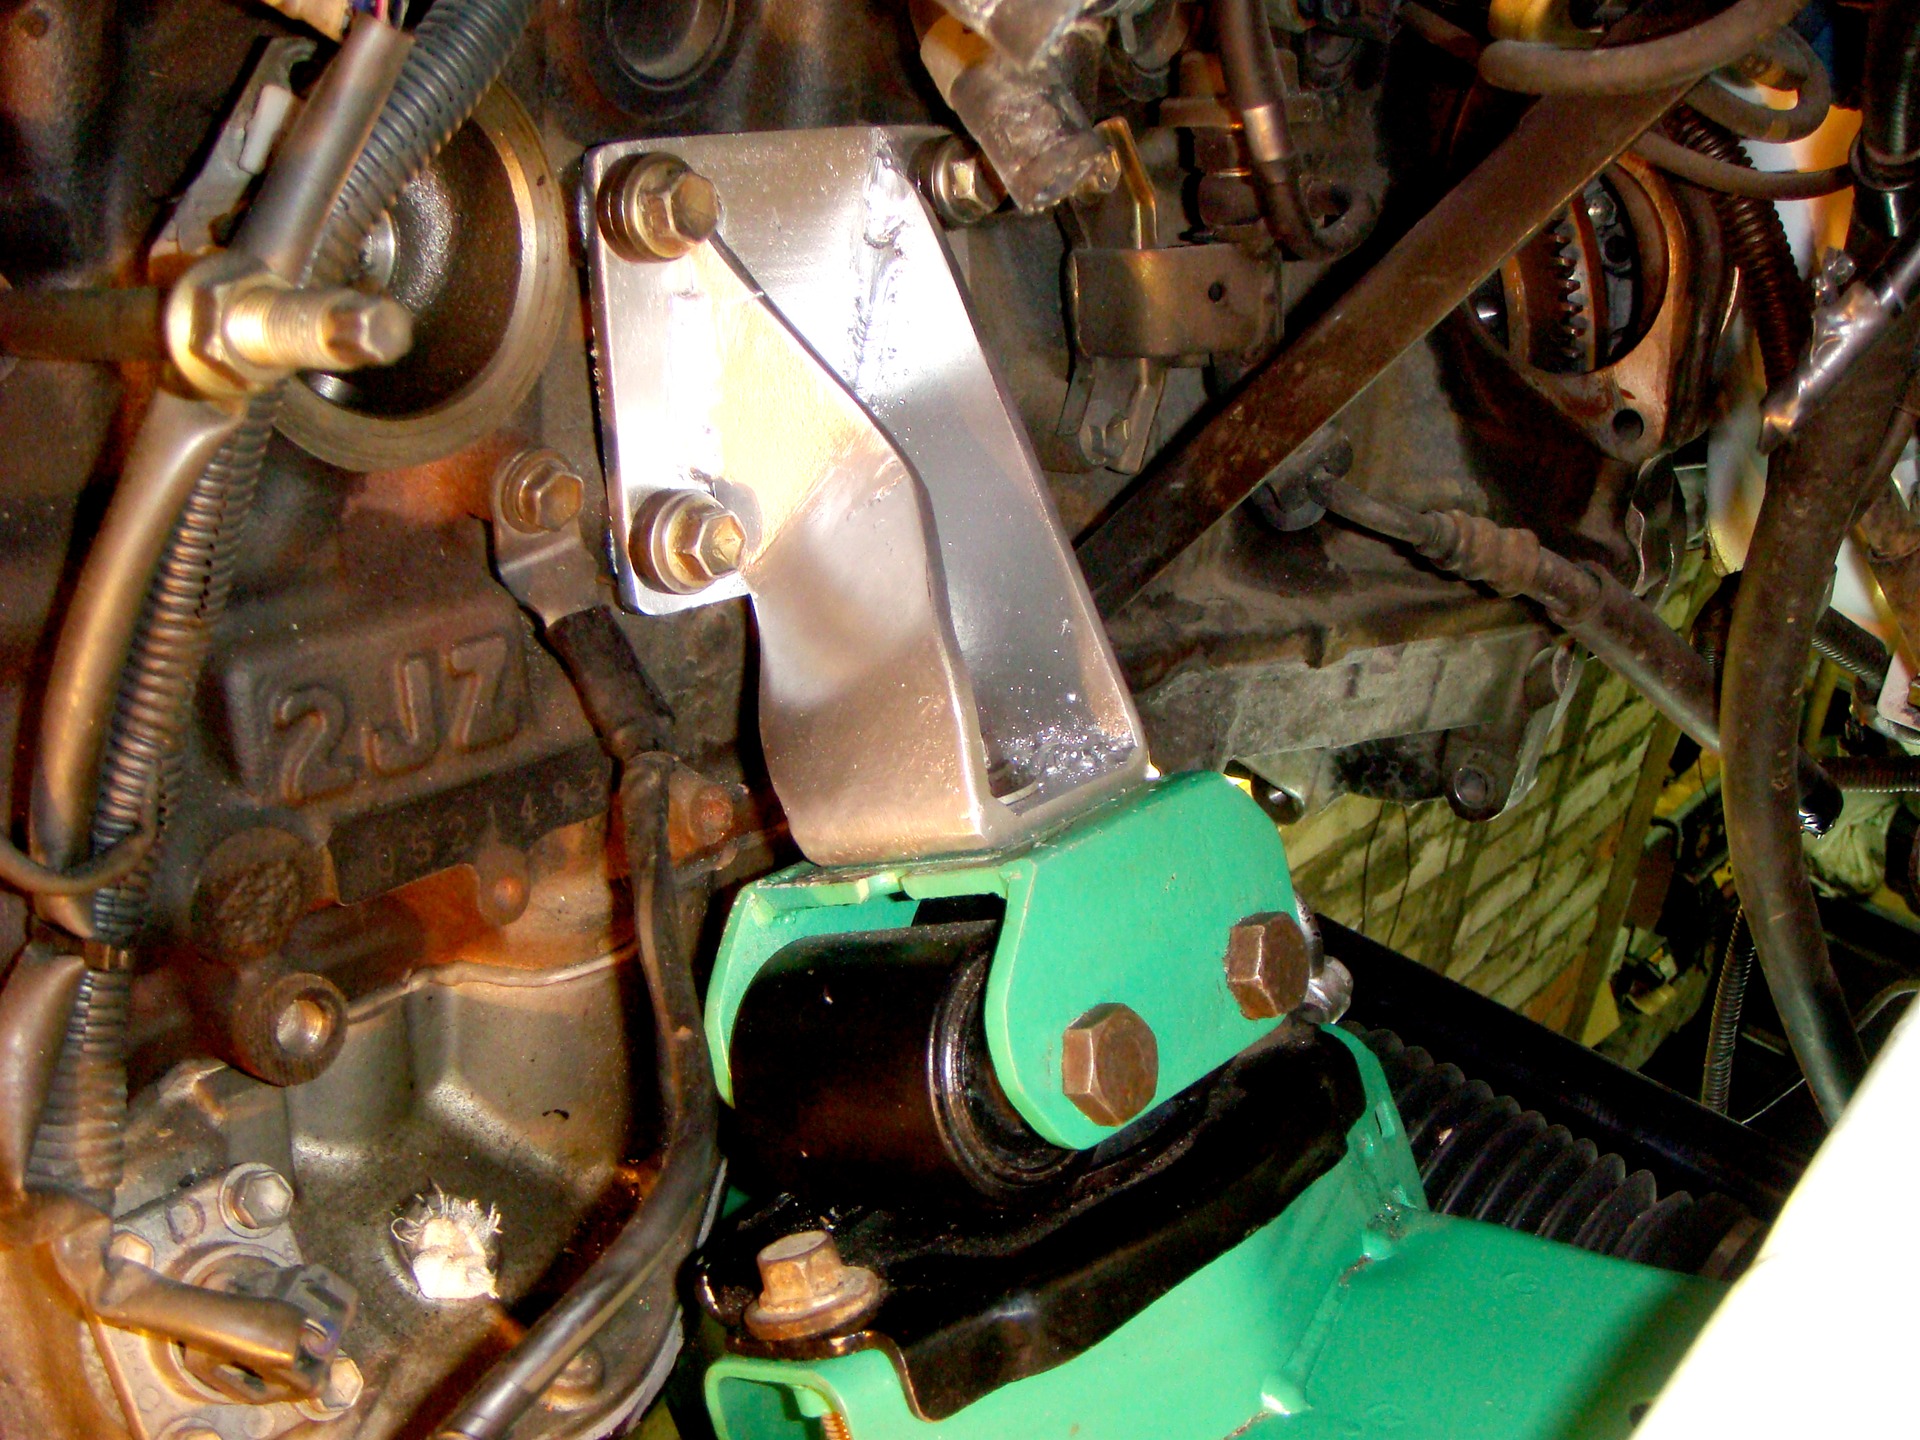
They also shortened the cardan and now it stands like a native) Well, the final photos of SWAPO. The main part is done. The motor and gearbox are in place, although the box will still have to be removed, because the clutch disc has not arrived, and without it I cannot assemble the assembly, and there is still no starter. Now we need to work on the periphery. Electrical, Gur, cooling, intercooler, etc. And prepare the engine to start! Expect the next episodes and wait for updates)) And of course many thanks to my father-in-law for overwhelming help in this matter!
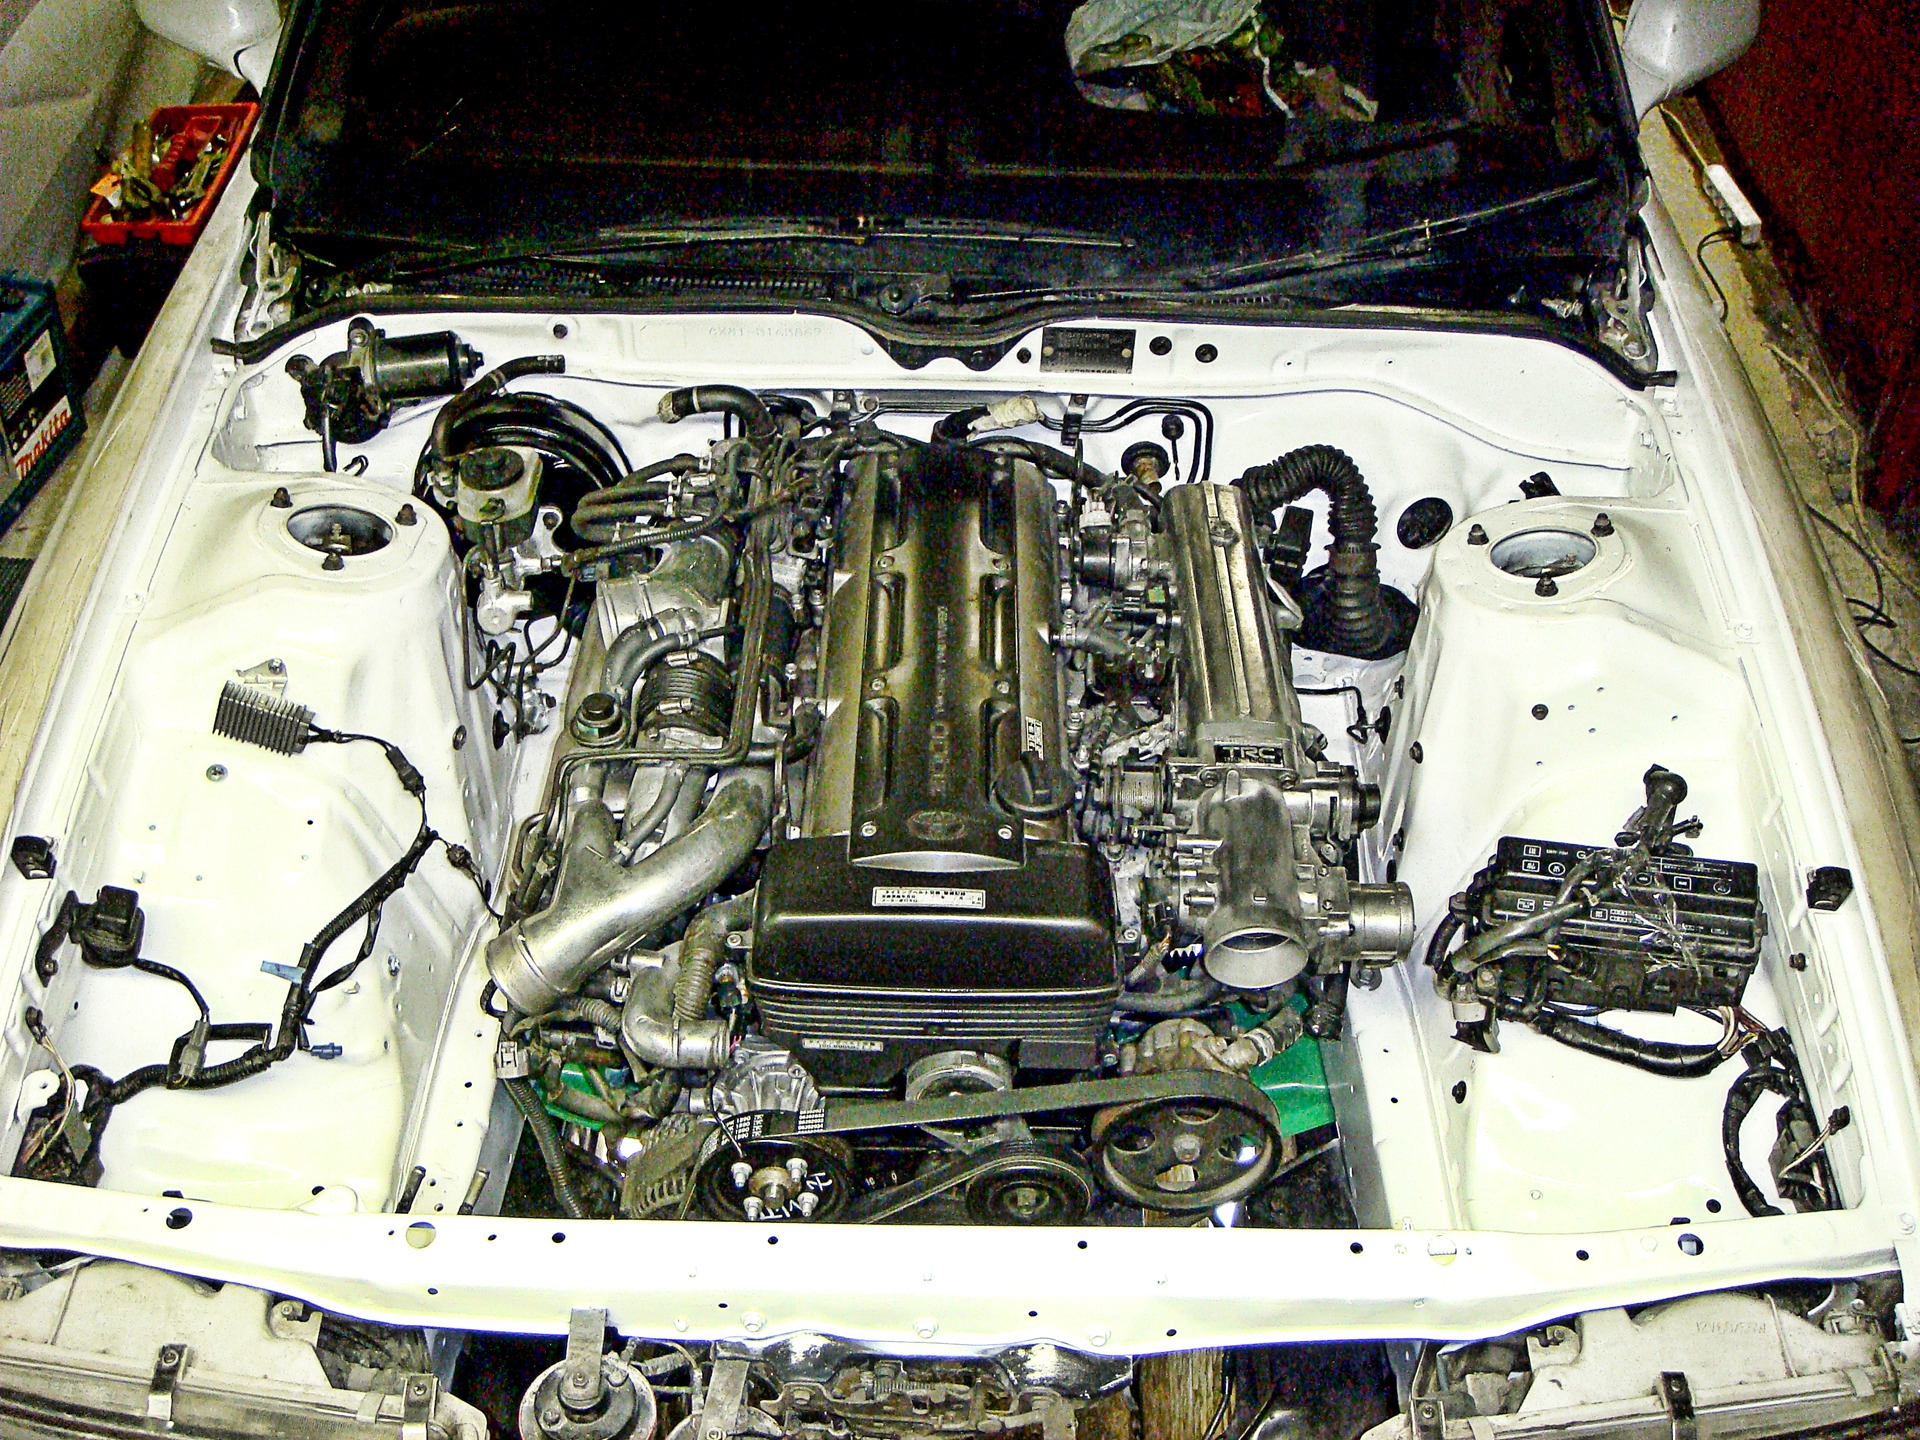
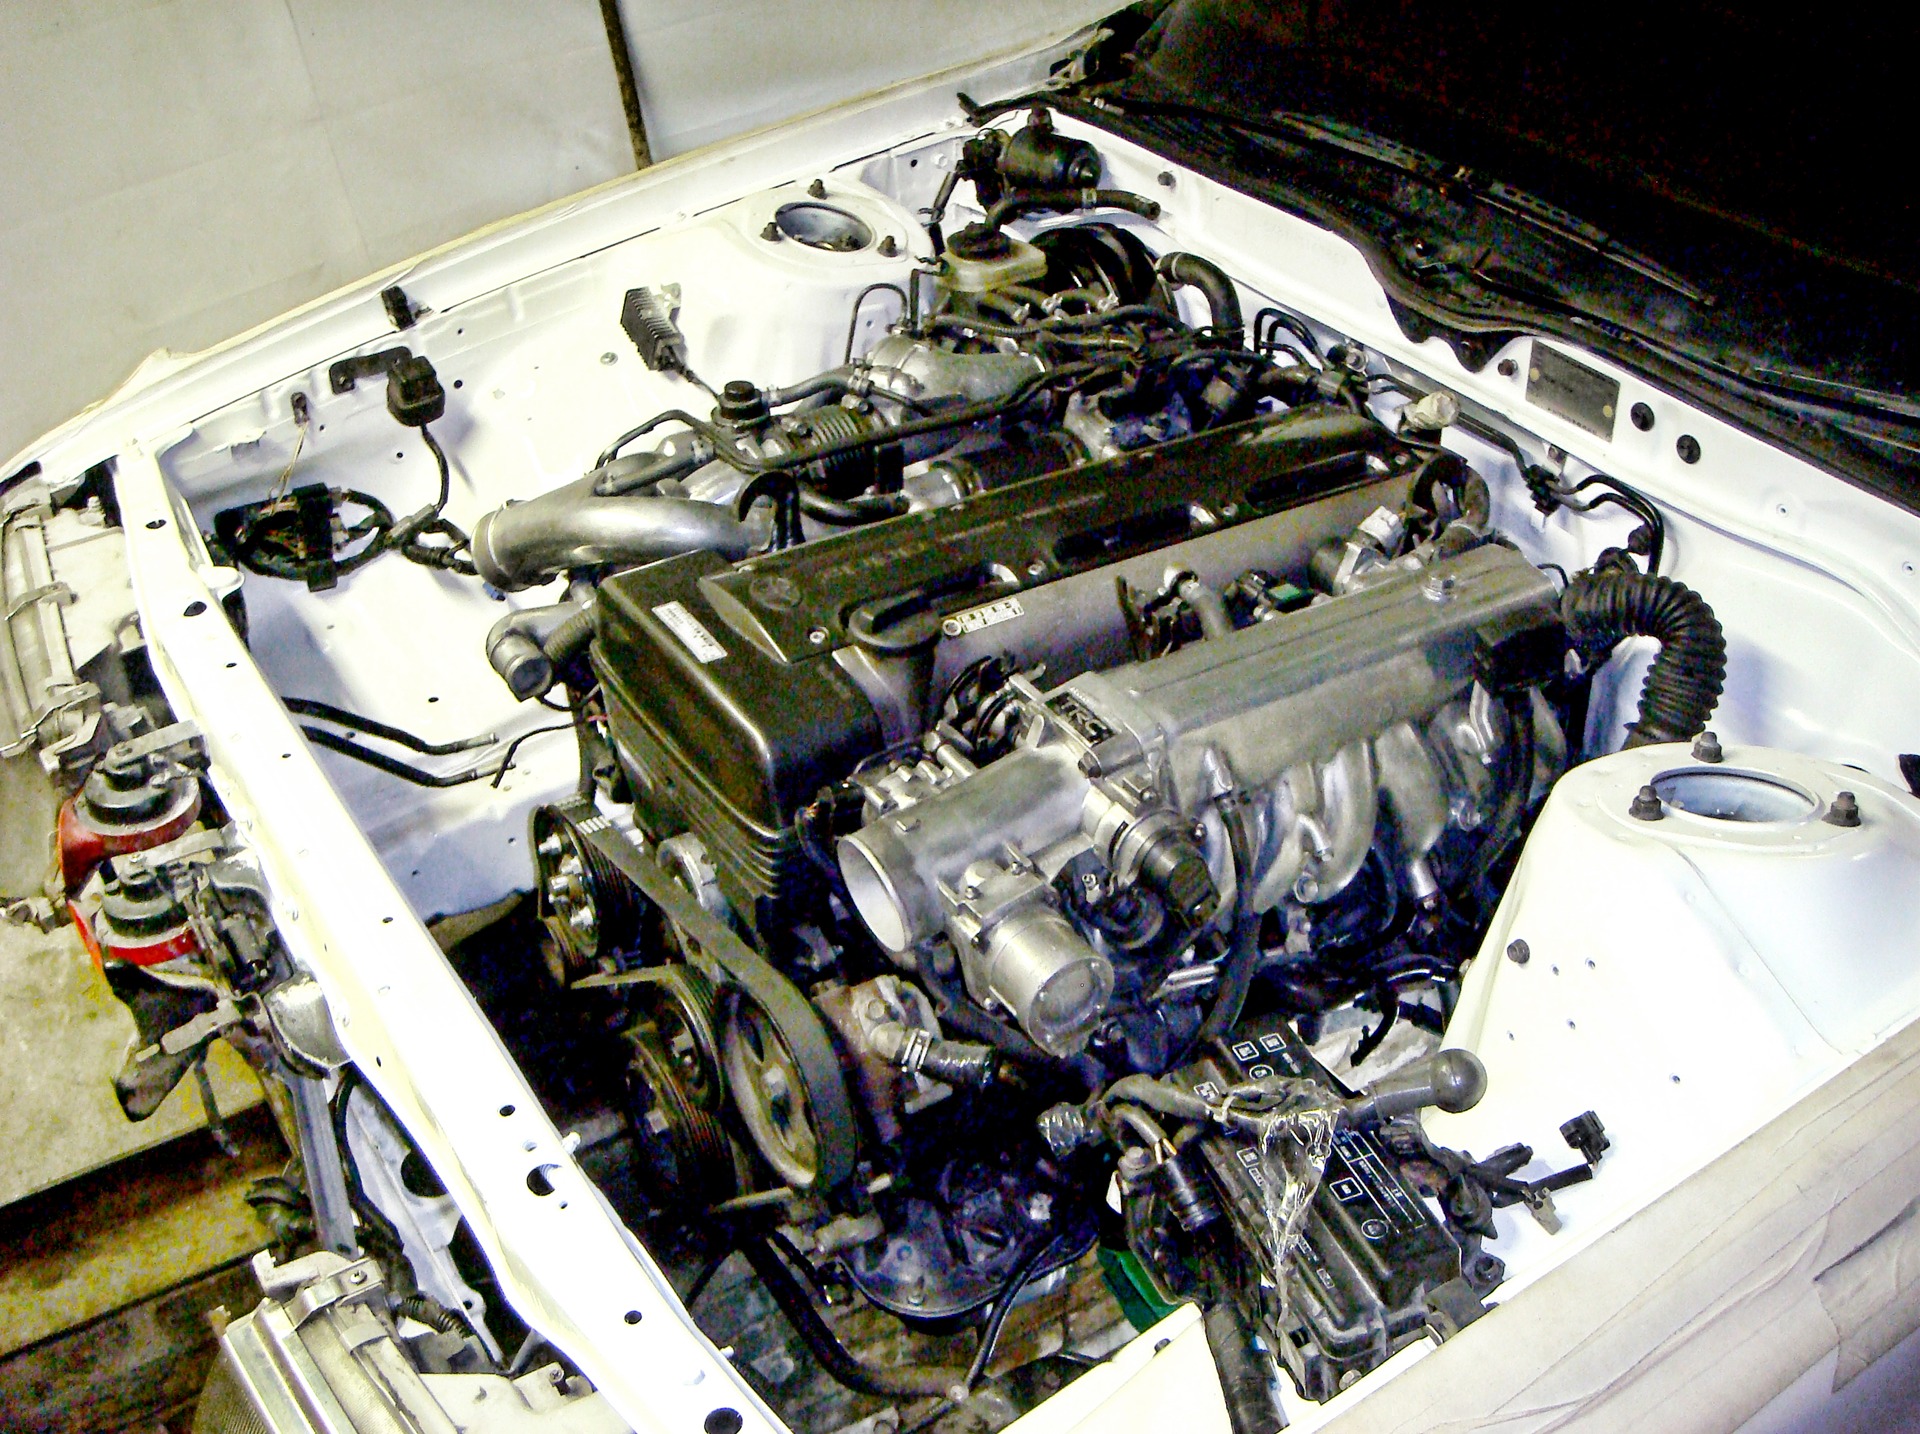
The main thing here is to set a goal in front of you and go towards it) Added a photo.
Great!))) It's great that you can force yourself not to rest, but to do something pleasant.)
but I just can’t get to the garage. I’ll start raking., otherwise the little blue one has been bored for 1.5 years already.-)
by the way, I haven’t heard about this anywhere, so thanks for the valuable information ... sooner or later I also have to put 154
Yes, I had to specifically hit with a sledgehammer on the right side of the tunnel, which is next to the driver, otherwise the box bolt did not pass, and the left one was also knocked. Well, or another option is to cut a piece of the tunnel, as some do. Added a photo.
I wrote about the tunnel above and added a photo to the article. Your box is normal, as it should be short, it stands up clearly)
Yes, about the tunnel in more detail, I will also have it soon, and what kind of tunnel are you building?
Well, if you need it, then I’ll ask you to tell me about the chip!))
If it’s not a trade secret?).
this is the only plan so far!
yes, the cardan was shortened and welded. There is one feature there, so we haven’t done balancing yet, we’ll check it on the go, if everything is ok, then you don’t need to balance)
And how did you shorten the cardan? -)
Did you cook it yourself? What about balancing?
Bortovik is the best, everything is very detailed and read in one breath.
Good luck to you!
I also look forward to leaving in the spring. Drift attributes will be set in stages. First I want to make the car get on the move, then I’ll take care of the suspension, and then the frame) It’s too early to talk about professional competitions, but in amateur competitions it’s not needed.
Excellent work) and most importantly, it does not stand still) I think you will already be doing test runs by spring?) but what about all the drift attributes in the form of eversion of wheels, suspension, frame and all that?))
I had from soarer. stood side by side. I trimmed the edge a little. but Markovsky seems to be looking more towards the vacuum cleaner
well done. but the question is: have you put the cylinder on the clutch yet? here he is in the cold part of the snail and rests on the 2nd jay
I really can't plug it in. The clutch is constantly rotating and it is bolted to the flywheel. how do you make a pillow for it?
I didn’t understand a little how you can put a pillow between the clutch and the box. the clutch is in the box bell!
If you add a pillow between the clutch and the box, it will generally be very tough.
I say because my model has a similar engine and gearbox mount, but when the 4th support is added, vibrations decrease and speeds are cut more clearly.
Yes, the working conditions are very bad! The garage is cramped, unheated, since there is a heat gun. The engine is mounted on two supports and is also supported by a box on a traverse, which is bolted to the body, you can see in the photo.
Krasava) impressive volume of work. many and in such conditions difficult. The photos are very cool. Brackets turned out interesting) The engine is only in 2 places to be attached? Or is there one more on the box?
pancake cleaned my admiration :))) vopschem this one, you're done, your hands grow from the right place, I appreciated it to the fullest!
No, the control unit is the same, I just bribed a scythe and a couple of sensors for installation to it, it will roam between cars!
Igor and autotronic, as I understand it, this is another one. After all, it seems that in your other one you stood like that? How did you show yourself? Do you like everything?)
Well, you yourself understand that you have to be an oligarch or his son so that everything is to the maximum! And we, ordinary guys, have to spin)
It’s clear!)) but I really thought that you would have the maximum in each typewriter!) and besides the proven one. And as I understand it, I liked it very much?-))
He just left for Barnaul on a business trip. So either there was no normal option for the motor, or something else! So generally a reliable guy. One dude from TourerV asked to find a box of p154, I gave him this contact and he already has the box.
))) By the way, something doesn’t work out for me on the motor ... First we agreed, then again. And then disappeared for a month ... before the new year, I sent an SMS, appeared saying that I was wrapped up and again not a soul ... (( It's a
shame, damn it. Well, there are other people, I will look through them.))
This is by no means a claim and not a reproach. Just for information. You never know.))
Thank you for the contact anyway!))
I wrote in the article.
Then they began to put the motor directly. There is something to pay attention to here. It must be positioned as low as possible to lower the center of gravity and improve handling, as well as maintain the necessary clearances. There is a problem with the vacuum booster. The cold part of the turbine is trying to rest against it. It is also necessary to observe the gap between the beam and the pallet, as well as between the crankshaft pulley and the stabilizer. The motor must be aligned strictly in the center !, and also strictly vertically. After long manipulations and measurements, we still managed to set the motor correctly and didn’t have to straighten or cut anything!
Tell me, how does the engine itself fit in the engine compartment? no problem? nothing sticks out? in terms of dimensions, it is quite massive
yes, I think it will turn out like that ...
but first you need to put the engine and box in order to at least start training, and prepare the suspension and boil the body before installing the turbo)
do you have spacers from the front struts or what? I also like)
I think the front suspension is partially installed from s13, coils, adjustable levers.
You have to buy all new stuffing. More precisely, new pistons, rings, liners, it is also necessary to install oil nozzles to cool the pistons, for this they drill oil channels in the block. Measure the block, or sharpen it to the repair size, or, if all the gaps are normal, set the nominal value! I don’t know about the connecting rods, but I think they will also have to be taken from the turbo, although not a fact. You'd better go to someone who has ever done this, he'll tell you better. But you will have a completely new motor! About the box, I remembered, it was placed in the state on the atmosphere of the Supra.
well, 2jz with w58 was offered to me from the supra, the pallet will be installed from the arista. it seems to be the
engine with the korobas assembly ... but I didn’t even think about turbocharged 2 jays in the naked form) it will be over brained ... it will be difficult to find the stuffing from the second turbo jay I think ... although there would be a desire)
and 58 seems to be living with the people for quite a long time) well, she won’t die in a month ... but we’ll shove 154 like that)
Firstly, it seems to me that the w58 box is rather weak for such a project. Then how are you going to dock it with 2 or 1 jay? If you are going to put 2jz-ge, then why make 1.5jz out of it? One and a half is when you have 1jz-gte, and you change the block to 2jz, then you get 1.5jz-gte. And you need to collect exactly 2jz-gte, i.e. you put all the stuffing from the turbo 2 jay and just screw some turbine with a manifold (single turbo), well, it is advisable to change the intake manifold, although the Americans do it with regular ones, everything goes fine. In short, your alteration will be called NA-Turbo. Regarding the supports, I think that there will be 2 jays with standard ones, but with those that 1jz was put in 81 bodies, i.e. JZX81 modification. But they cost more than my custom ones. As for washers - there is such an option, but then you will need several pieces, otherwise, the engine will lie on the beam with a pallet! And it's not at all clear how they will work. I think it will be too hard!
Excellent description and photos full of detailed)) class! I'm closely following the project)
Tell me please 2jz-ge with w58 I'm thinking of putting it on myself, and then making 1.5jz-gte out of it. I see the original supports. but if the relatives are remade and the pillows are left with the relatives. or as the knowledgeable people advise to put Soviet hockey pucks instead of pillows)
about the choice is it worth either 2 or 1 jay to shove atmospheric?
you tsentrol for provarka some kind of clutch? I think to make it additionally, so that it would be stronger and there would be no problems with centering
well, it seems like shortening it by 20 mm or lengthening the machine gun by 75 ... I will measure, try
I shortened the cardan from 30 barn, sort of like 16 cm. I don’t know about 90.
Igor, is it written down somewhere or do you remember how much to shorten the automatic cardan? won't fit MT 90?