Building car audio — logbook Toyota MR-S 2003
I don't know if it was worth it. this is not the right car... to audiophile... although all the cars that did not fall into my possession were glued =) I can't live without quality music. I am not an audiophile. but I can’t stomach the farting of torn diffusers either ...
I wanted to create a manual. maybe a coma would come in handy ... but I know how to teach them ... =) look at the pictures.
=========================================
The whole system looks like:
GU Pioneer P88RSII
In front of the two-strip on the Focal Access 165 A
, in support of the mids, I think to put 16 Hz in the kick panel. set up through the mafon to play the current to the middle ...
Behind the subs are MAC Audio 10 "in 3L of 15 liters each (for now I'm calculating ... this is inaccurate.) one piece behind each seat (tobish two =))
All acoustics are powered by Helix DB4
Monoblock MacAudio MPX 1500 works on the bass register. I think it will be possible to connect with a bridge +)
Switching
Wires Phlips GOLD 24ct
Amplifier power supply
From SoundStream 4Ga battery via distributor for 2 units
Power protection
Fuses 100A
Mystery ===========
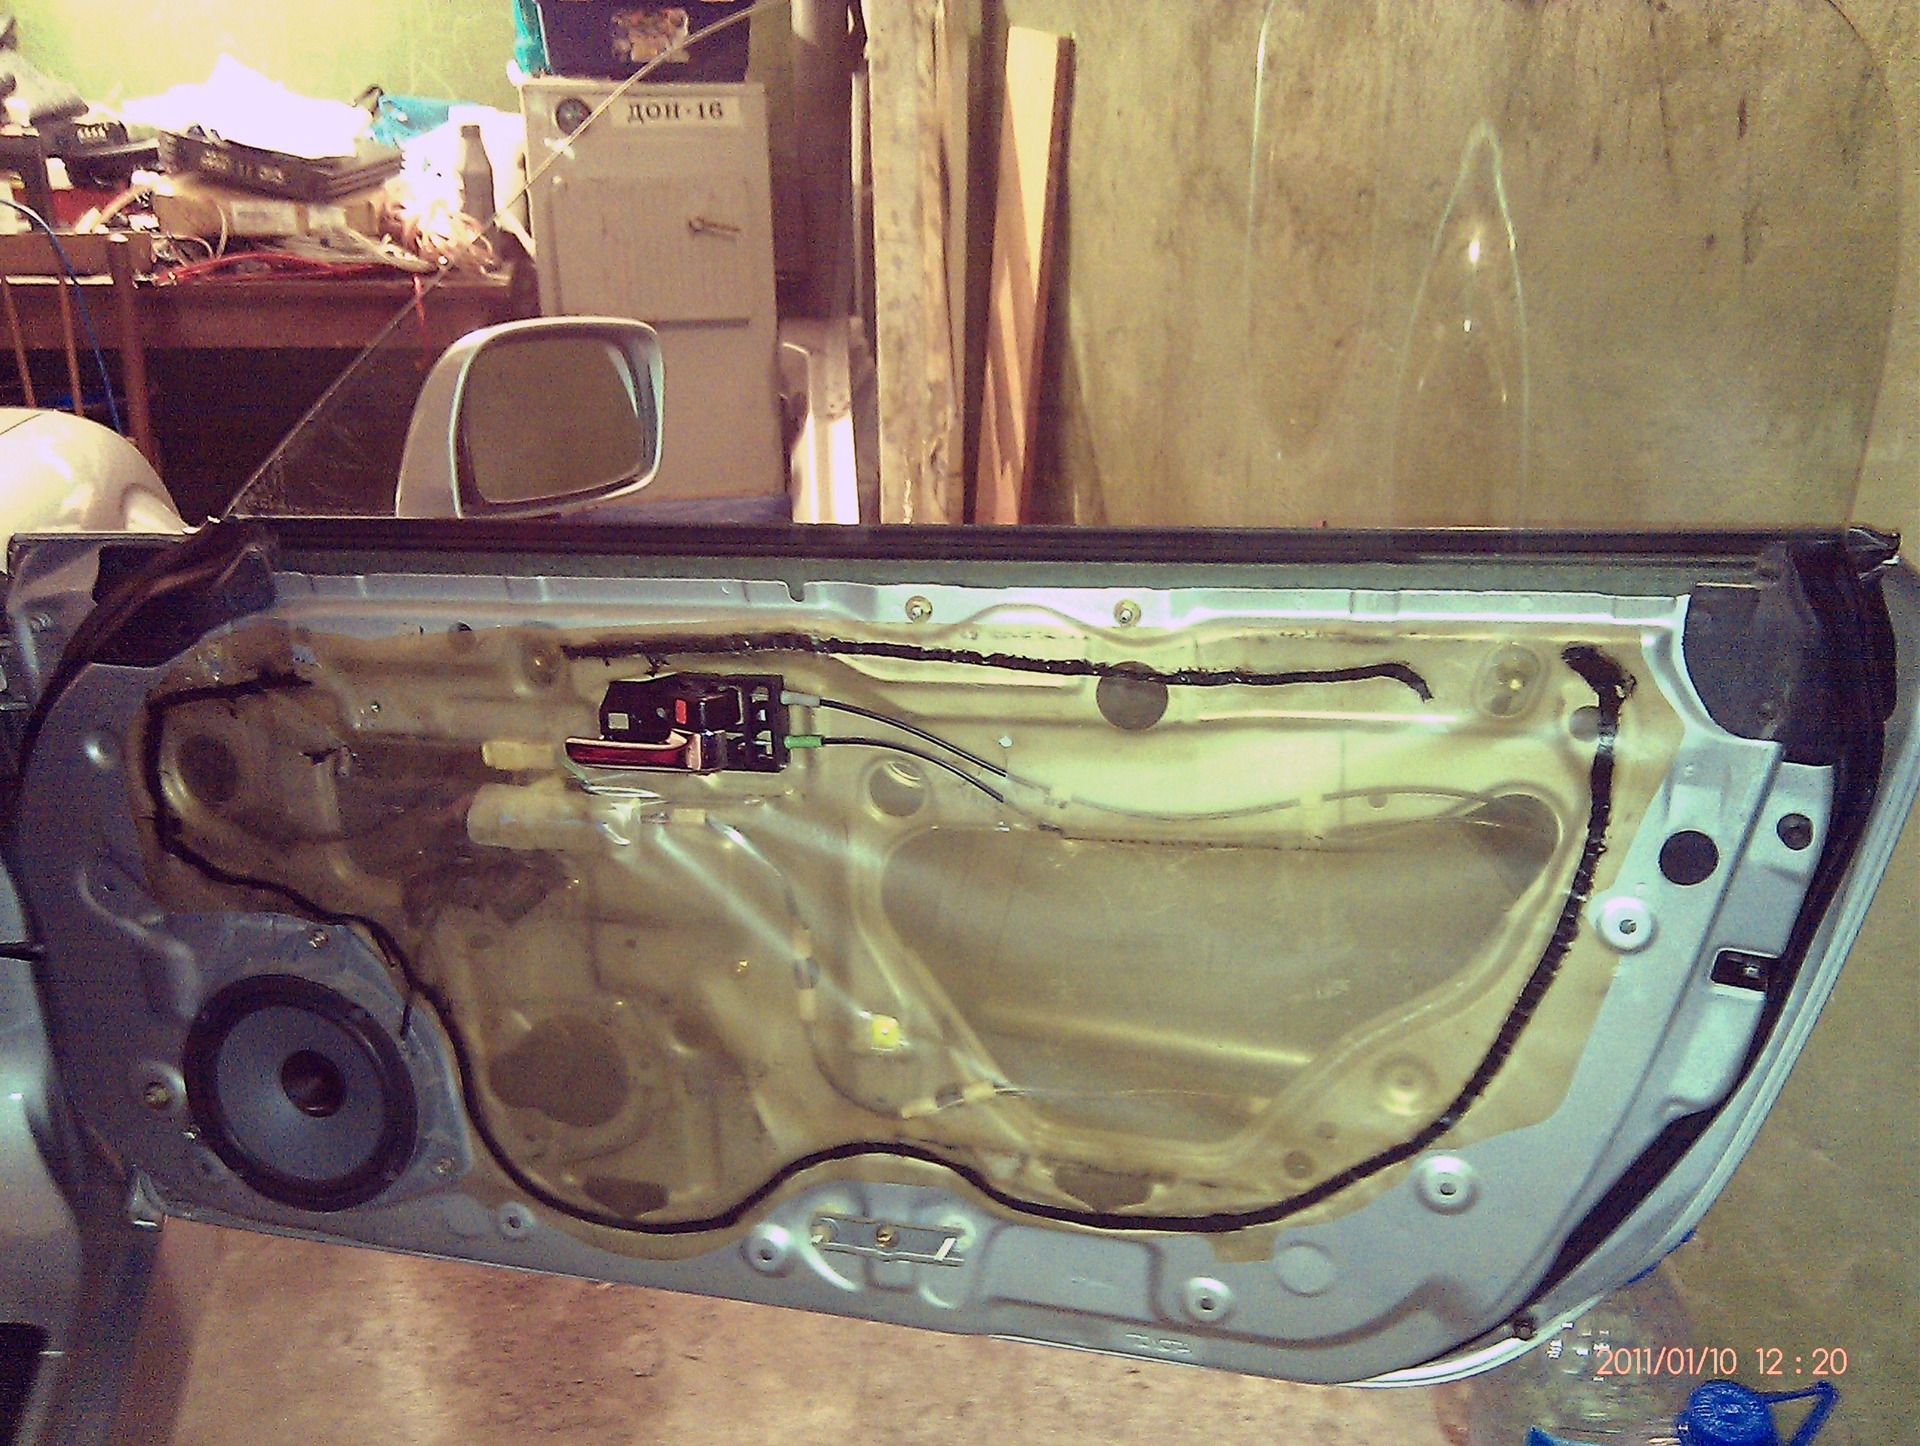
Small comments: The skin rests on 3 self-tapping bolts, two of which are in the handle, everything else is clips ... and more. To remove the trim, you need to pull off the trim on the door handle. she looks weird in a way. I didn’t understand for about an hour I sat in the cold trying to catch up with how to remove it. moved to the right. did not help. although she's a little swayed. In a circular way, he also tried to loosen it to no avail. then impudently averaged)) and realized that this decor pad is held near the "axis" of the door opening handle. looked
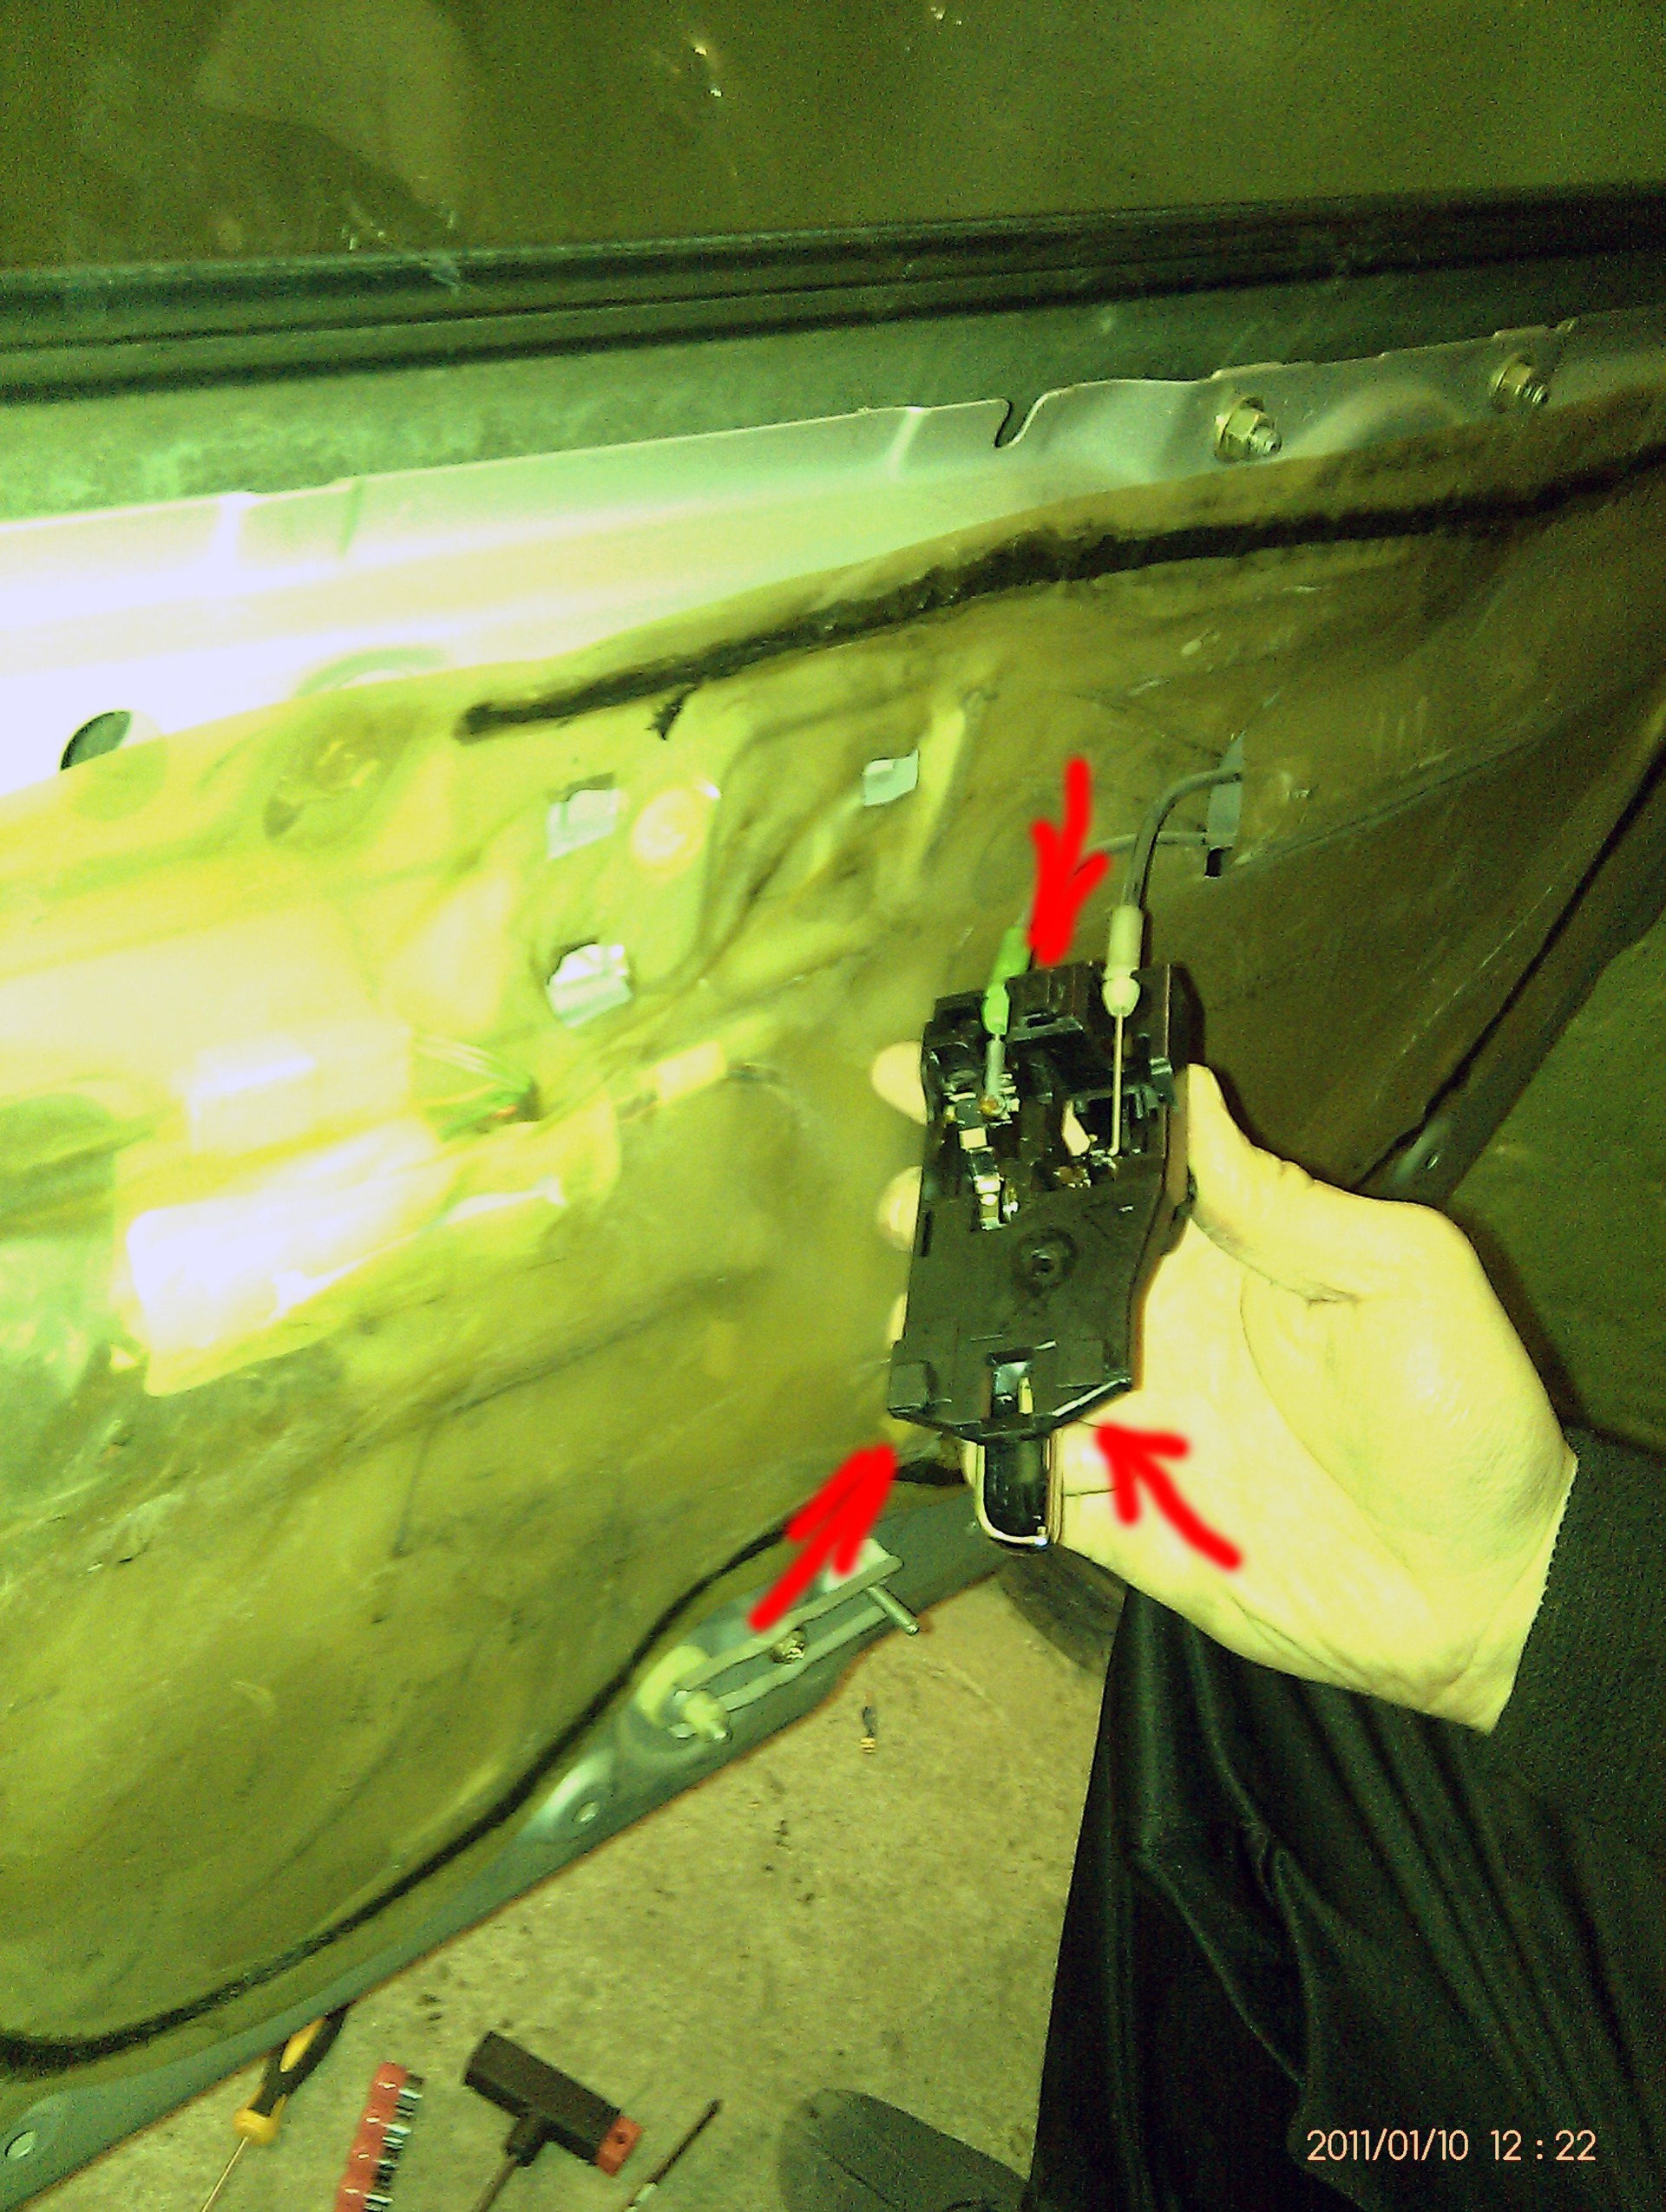
what's the stopper. but she doesn’t want to get off them anyway ...
The door needs to be thoroughly washed inside.
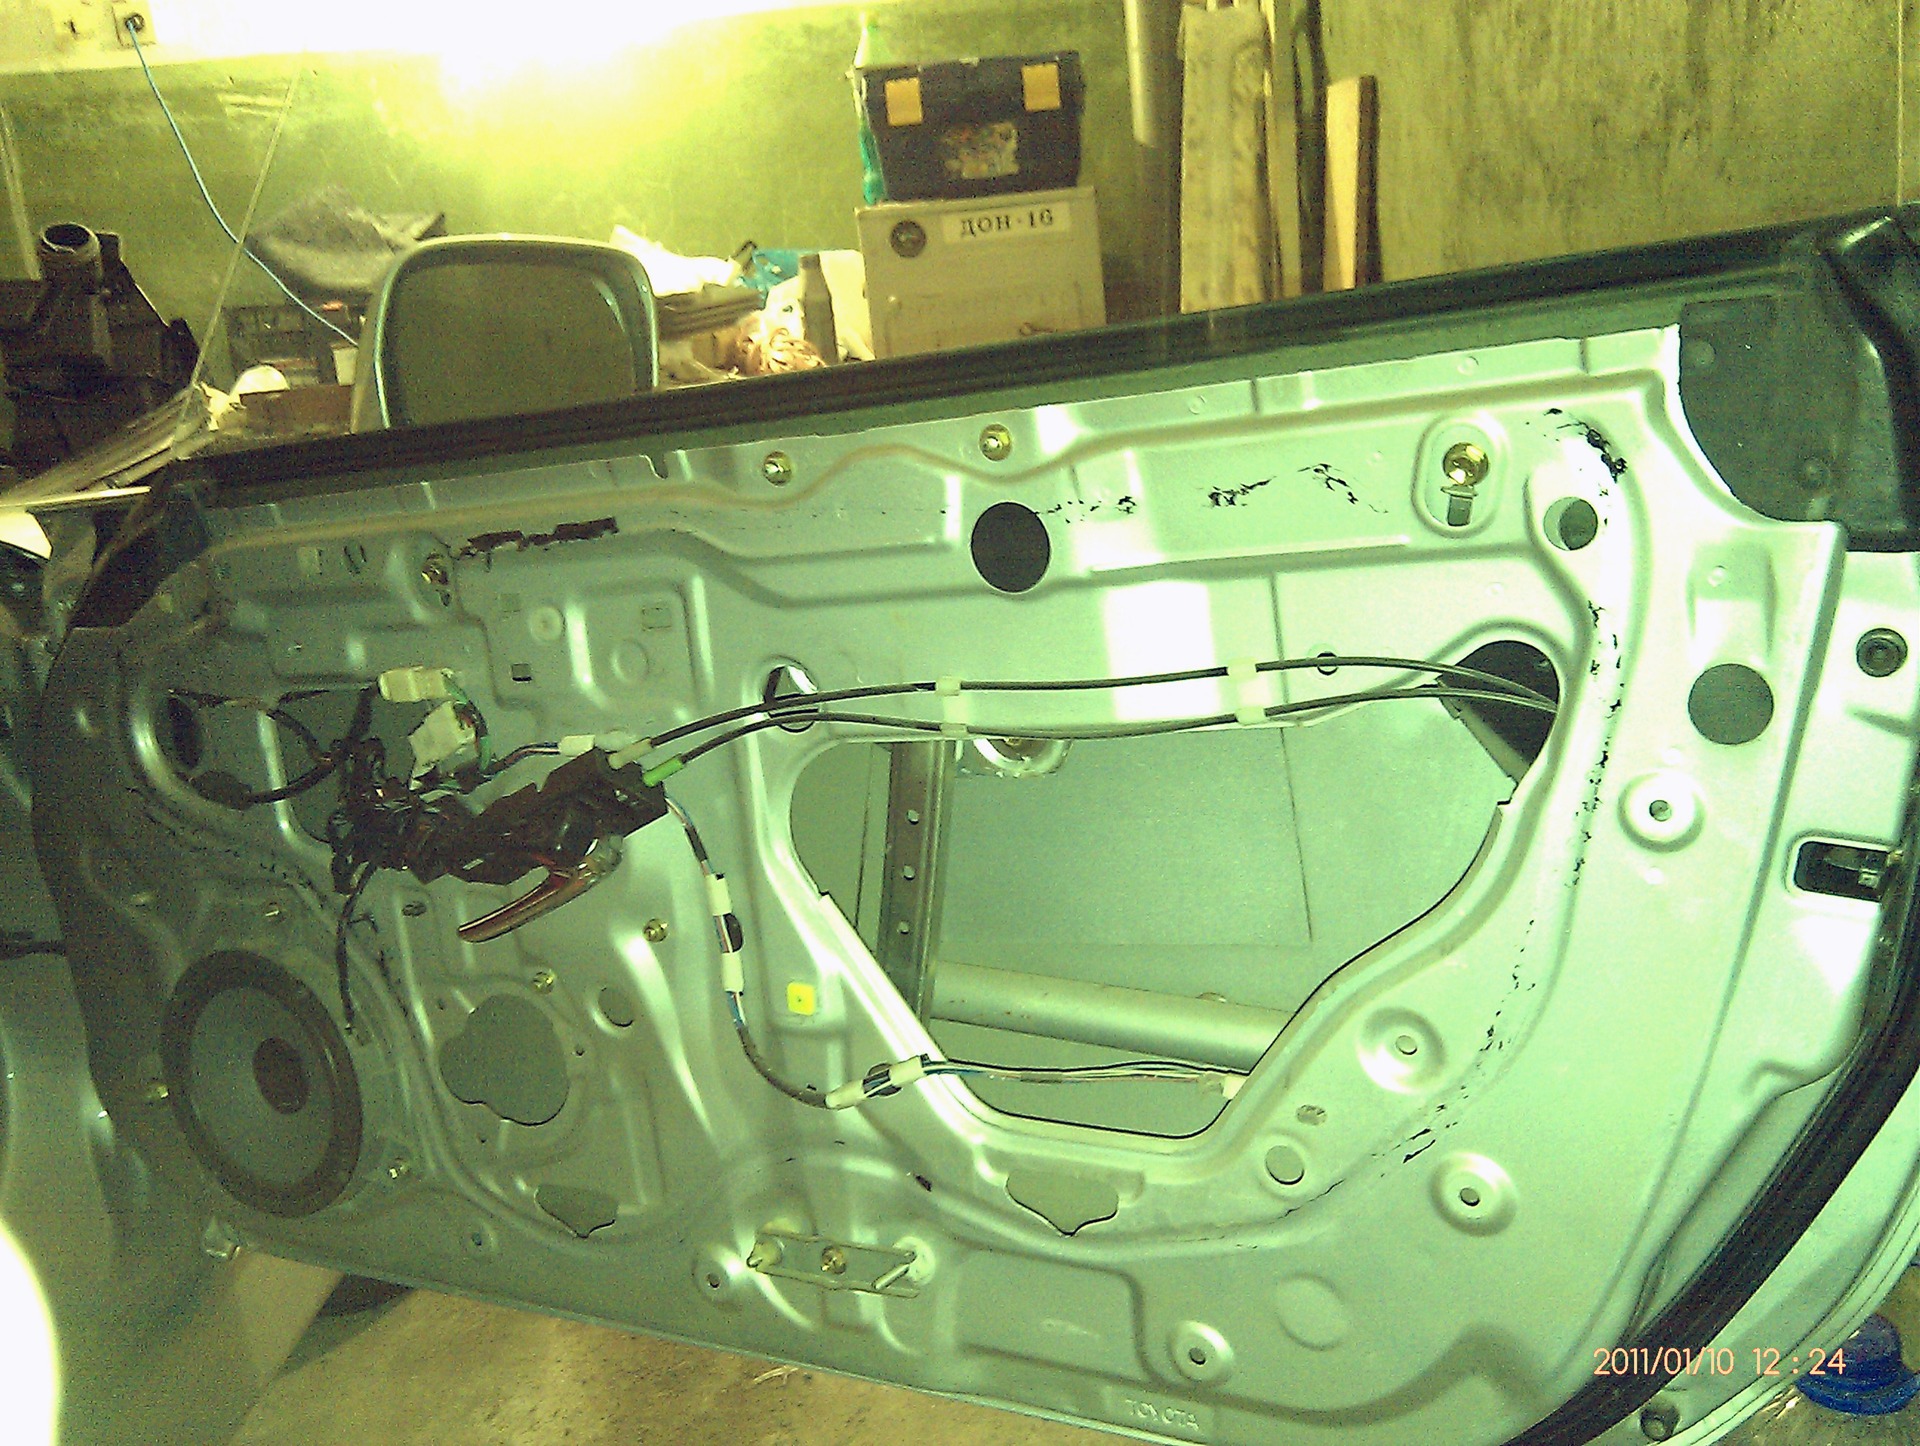
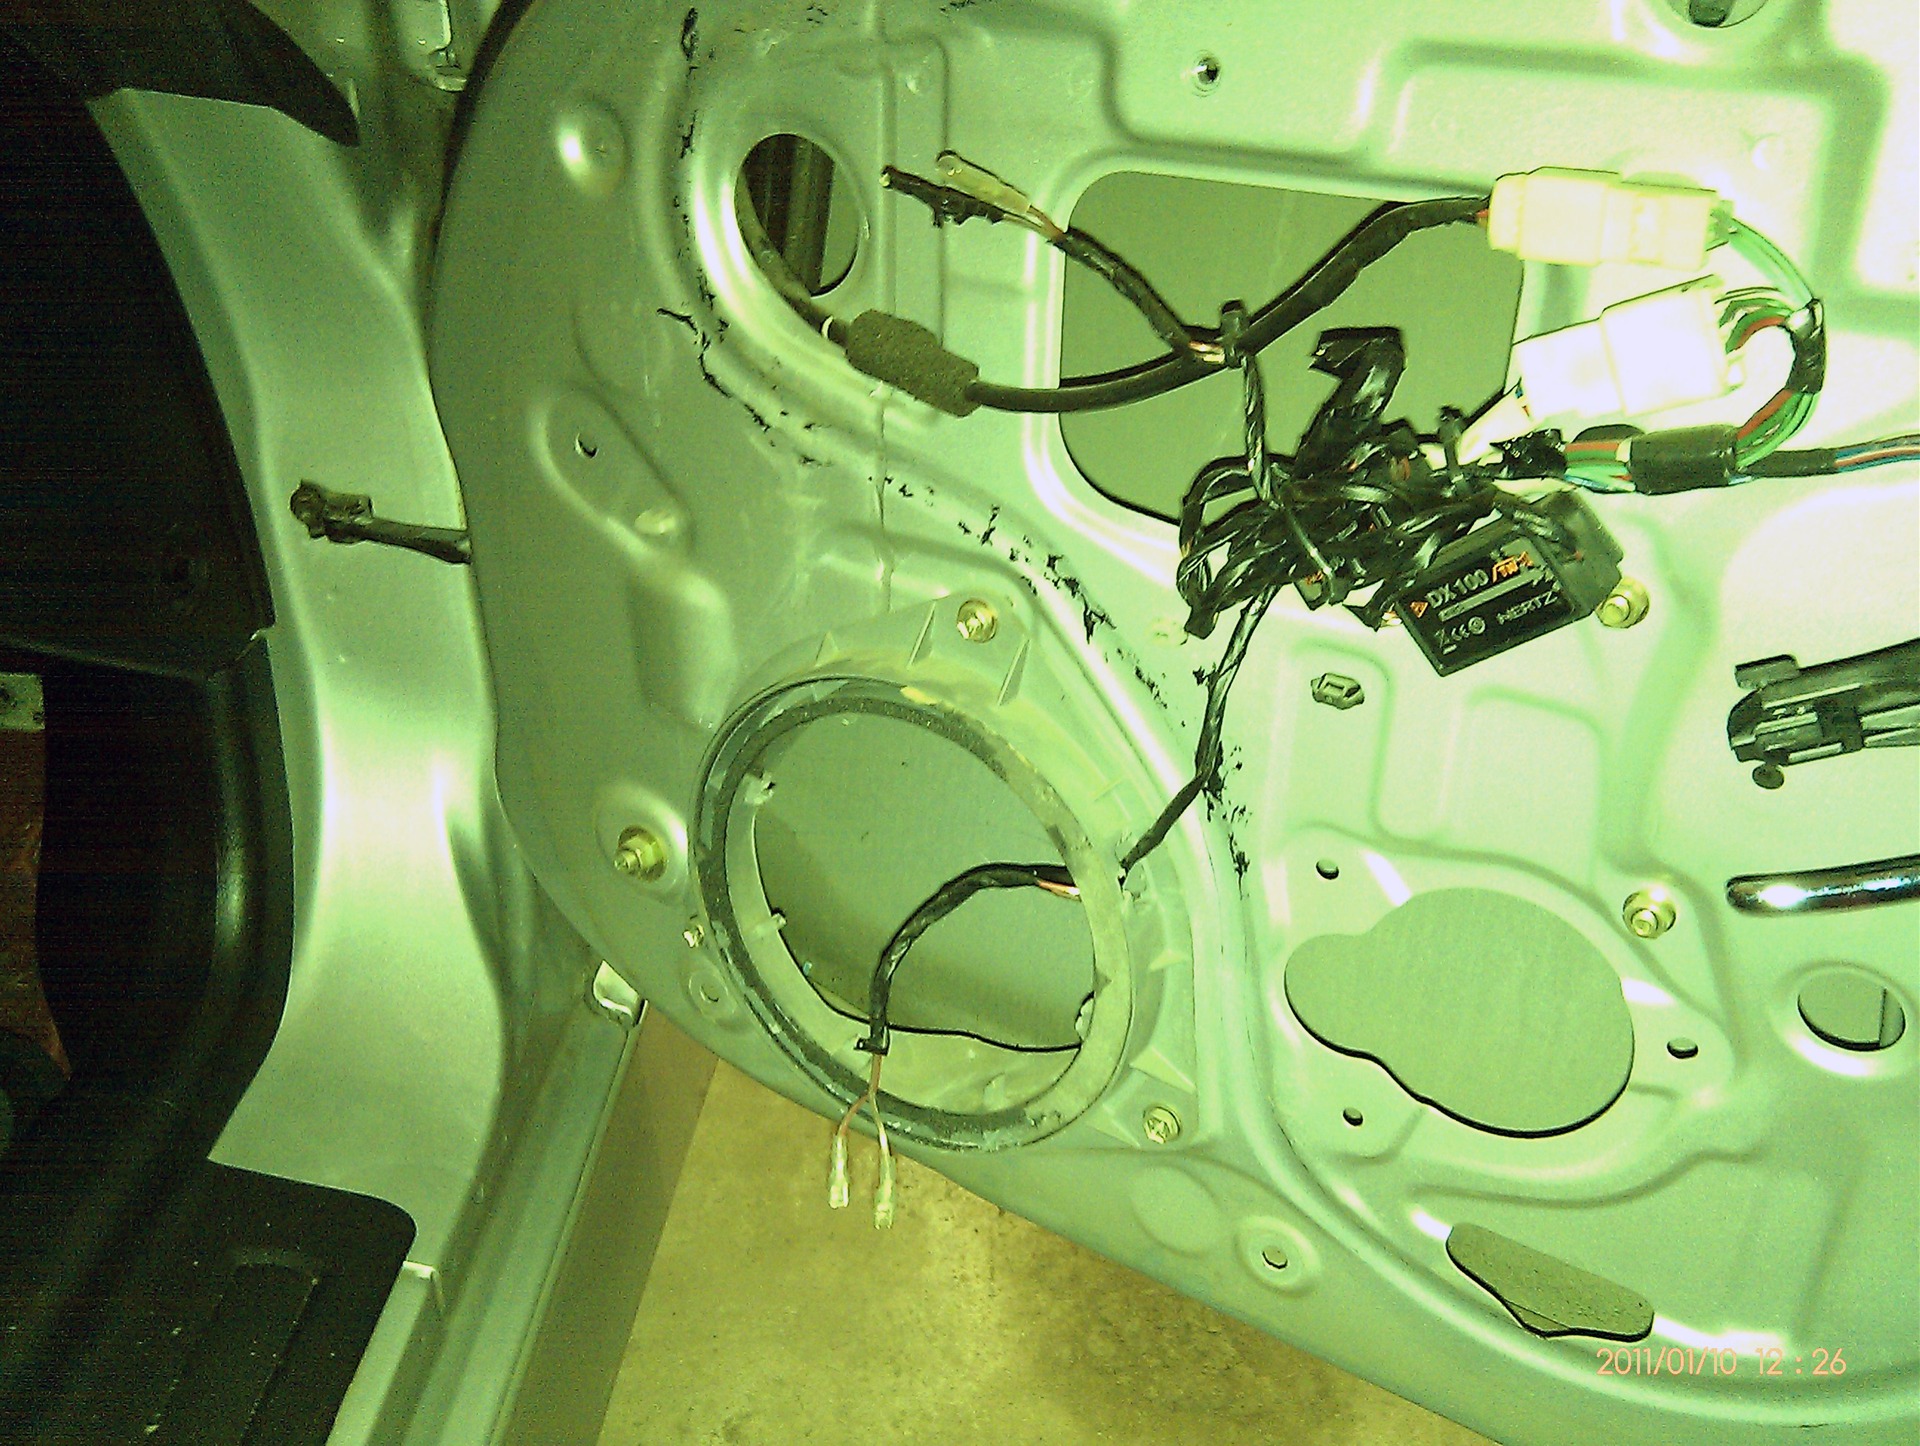
just wash and not wipe. the noise will stick. the question is for how long ... Personally, I took the solvent and walked it well on all surfaces, then wiped everything again with wet suede. (by the way, for some reason, it takes me more time to prepare the door for pasting ... I glue the 3rd car) I didn’t want to make the door much heavier, I glued Vibroplast SILVER.
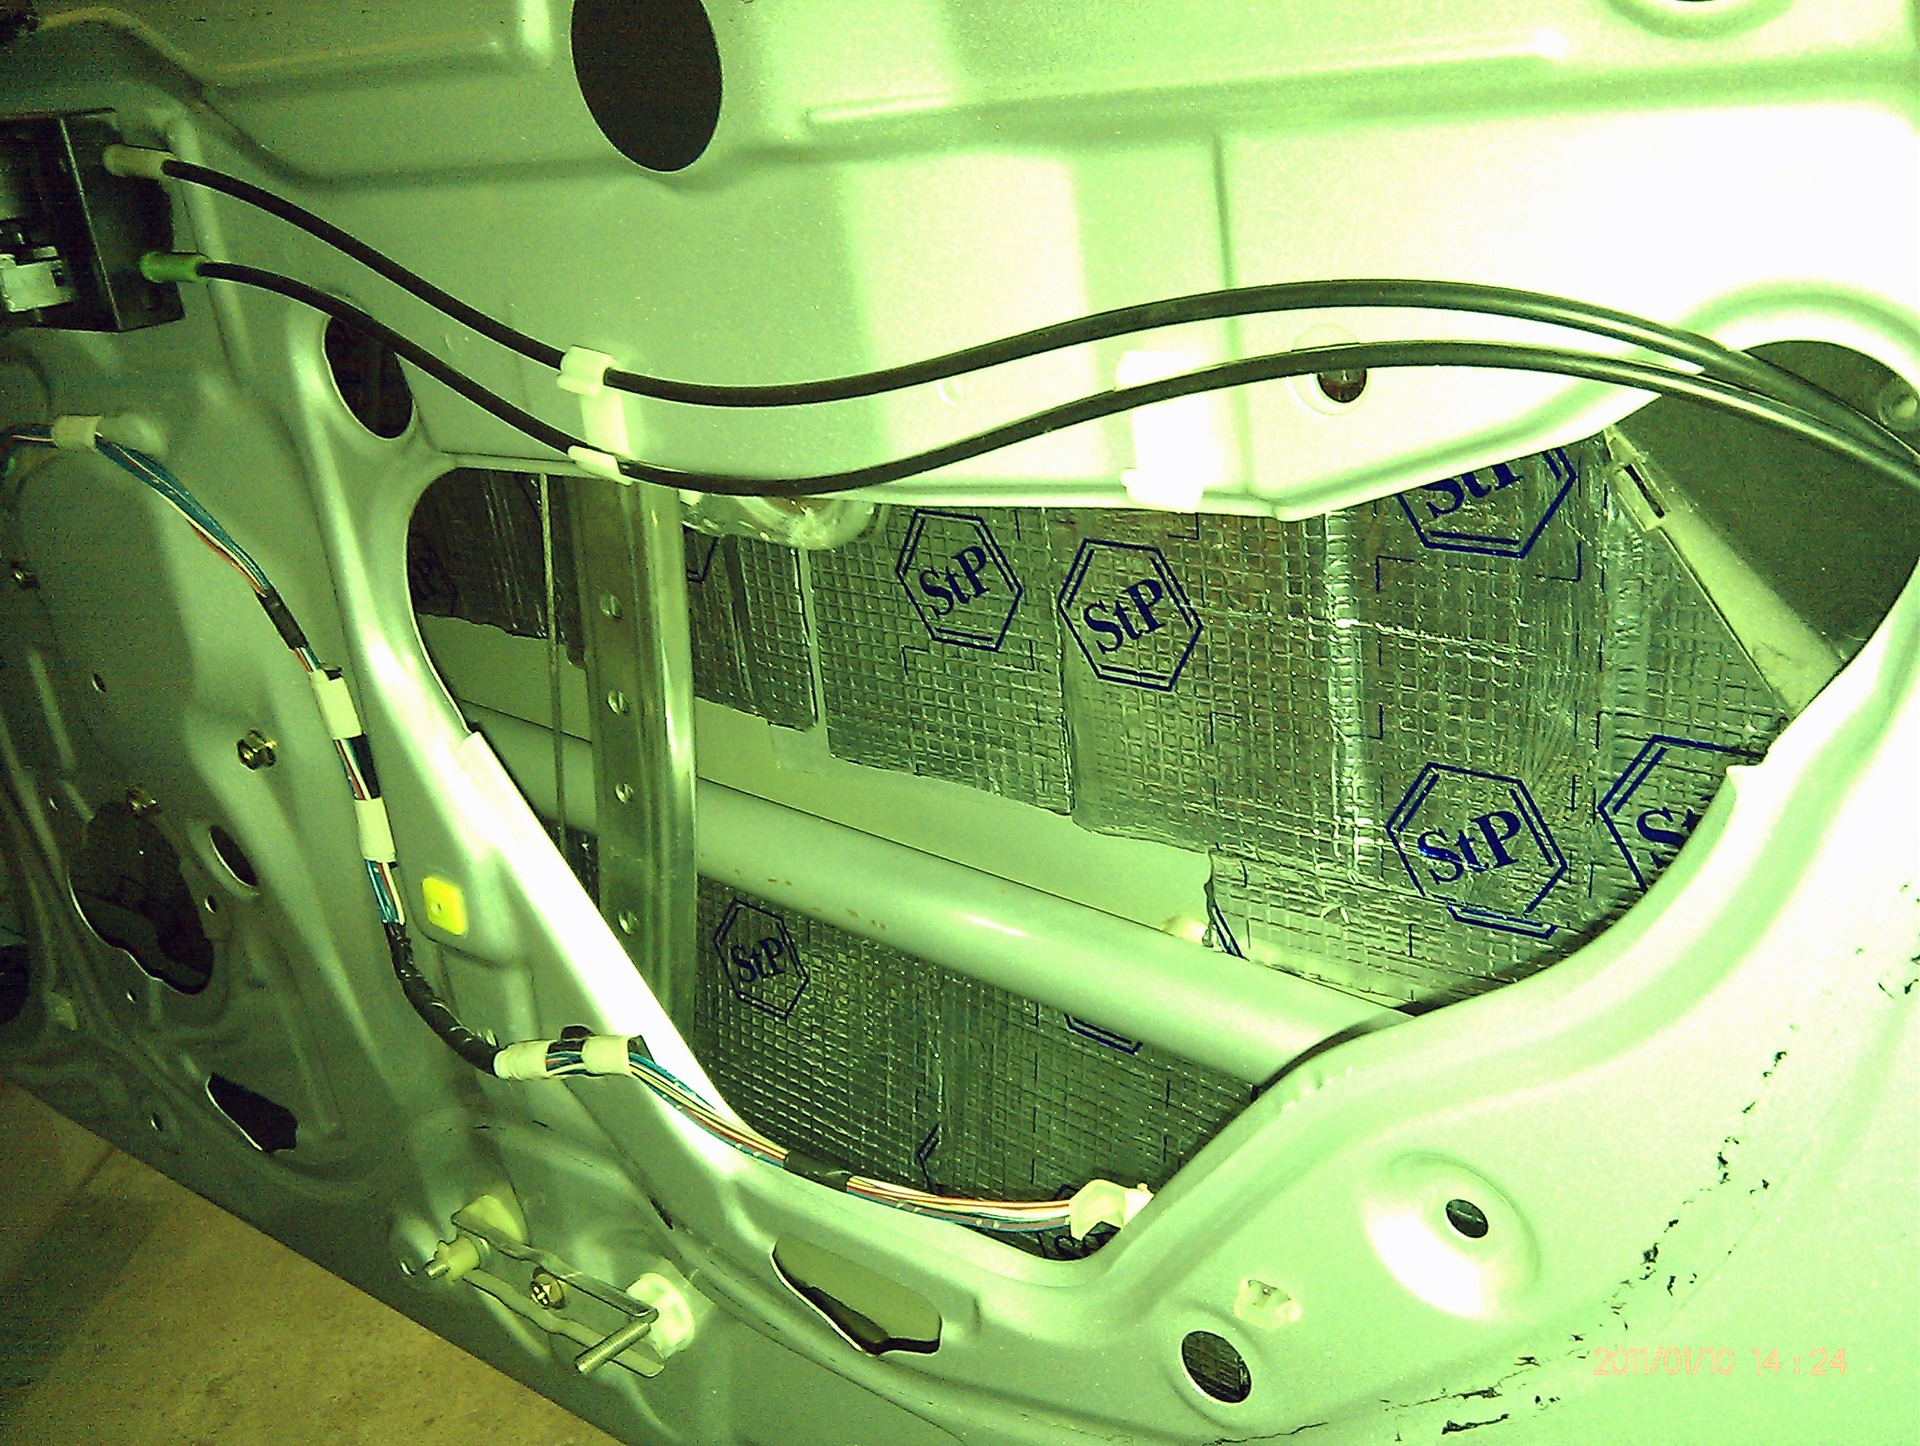
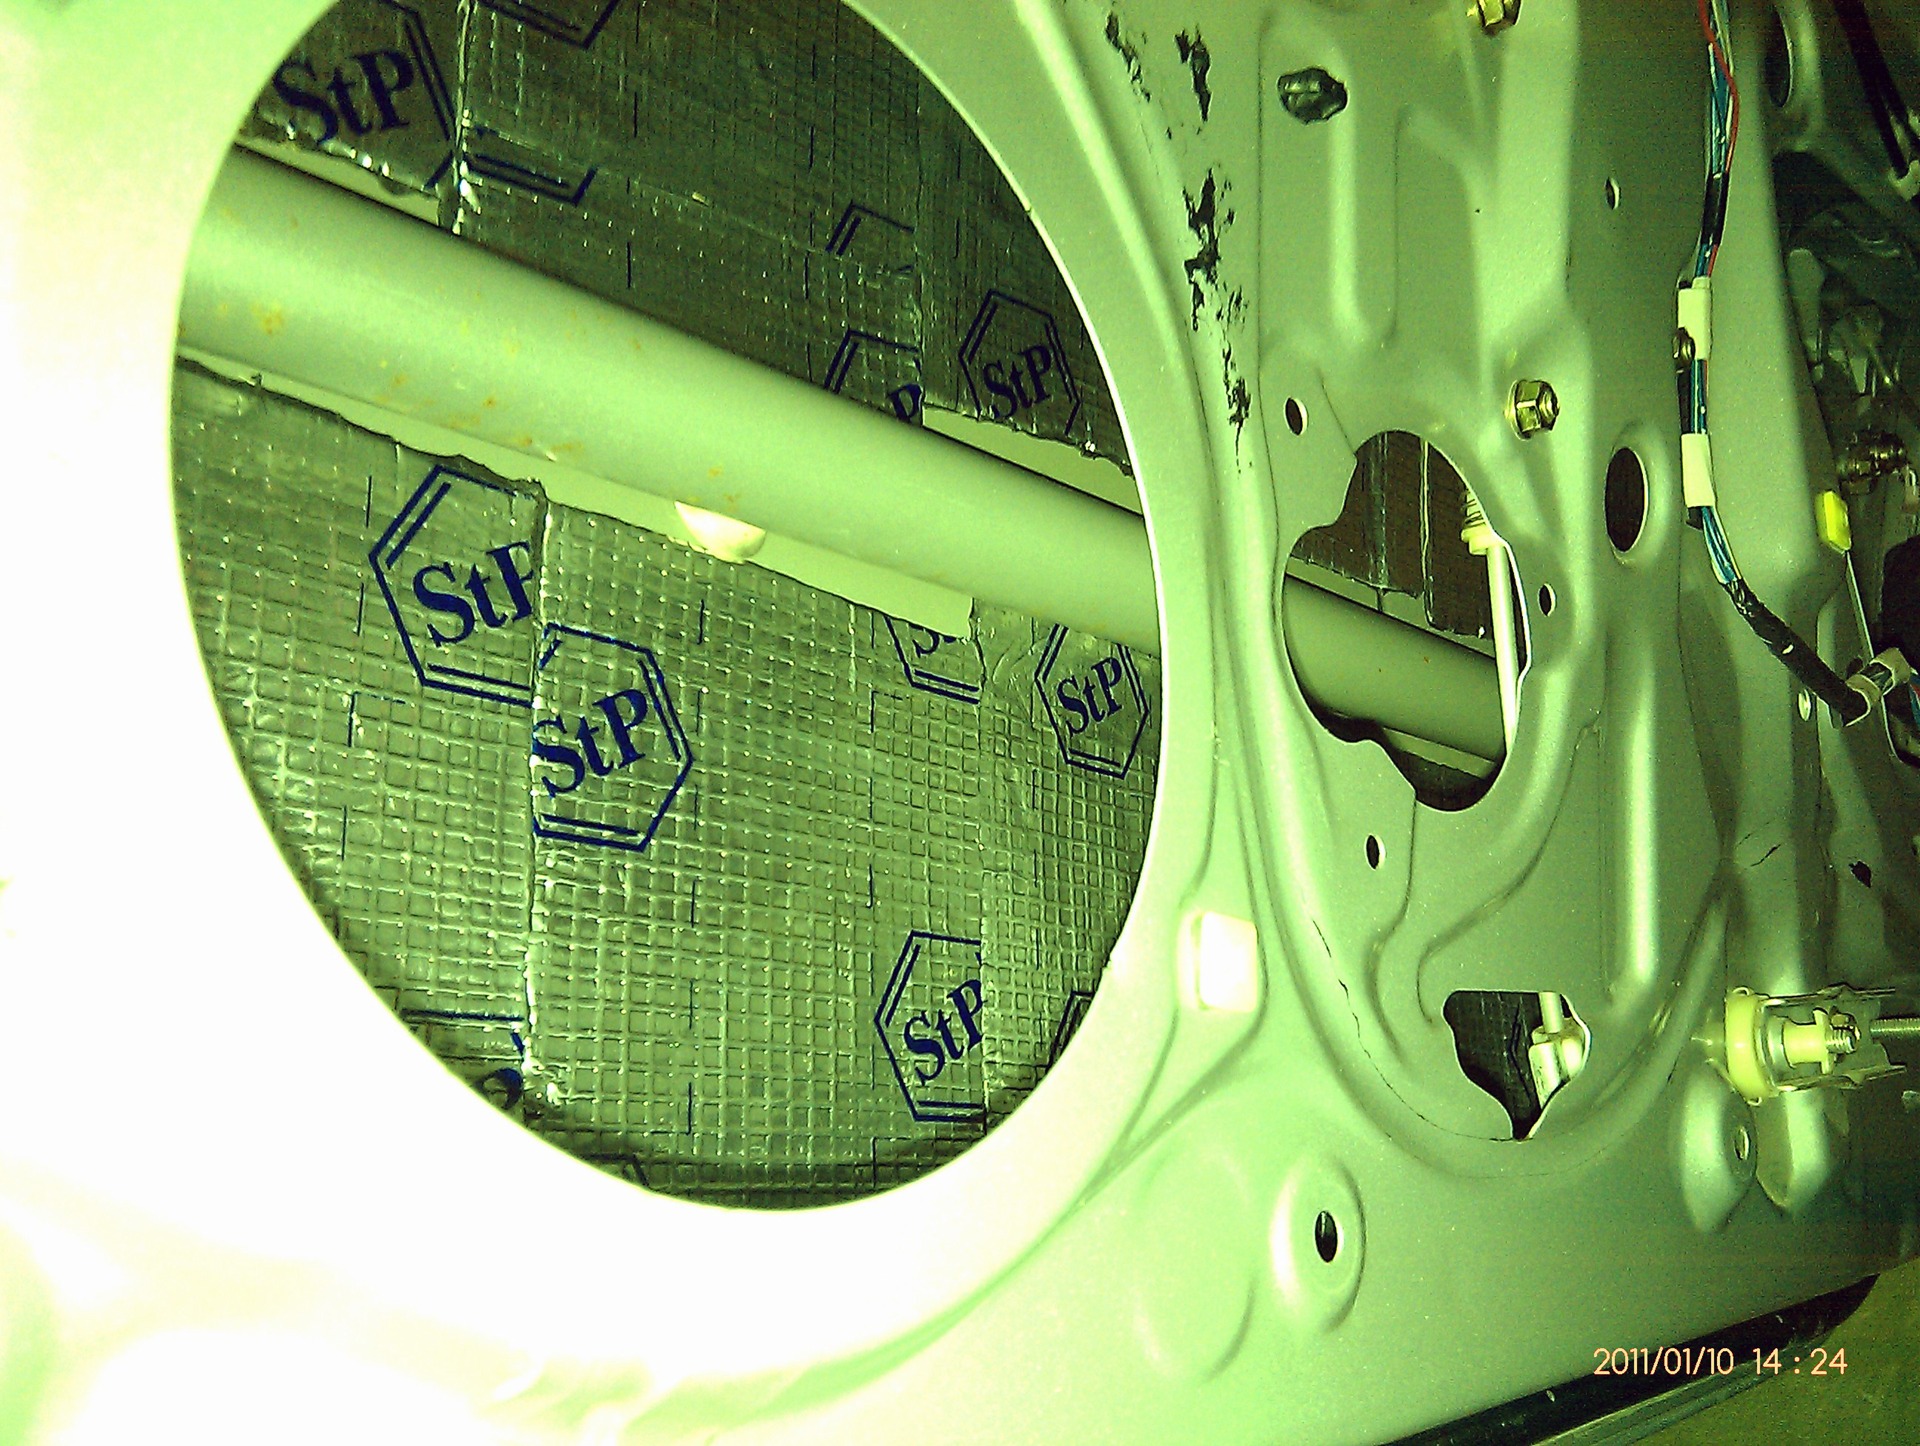
although it is thinner than M2, it is thicker than M1. so to speak, a compromise (according to sound absorption, it is equivalent to M2; it has more aluminum and lead shavings). After vibra glued avtospEn
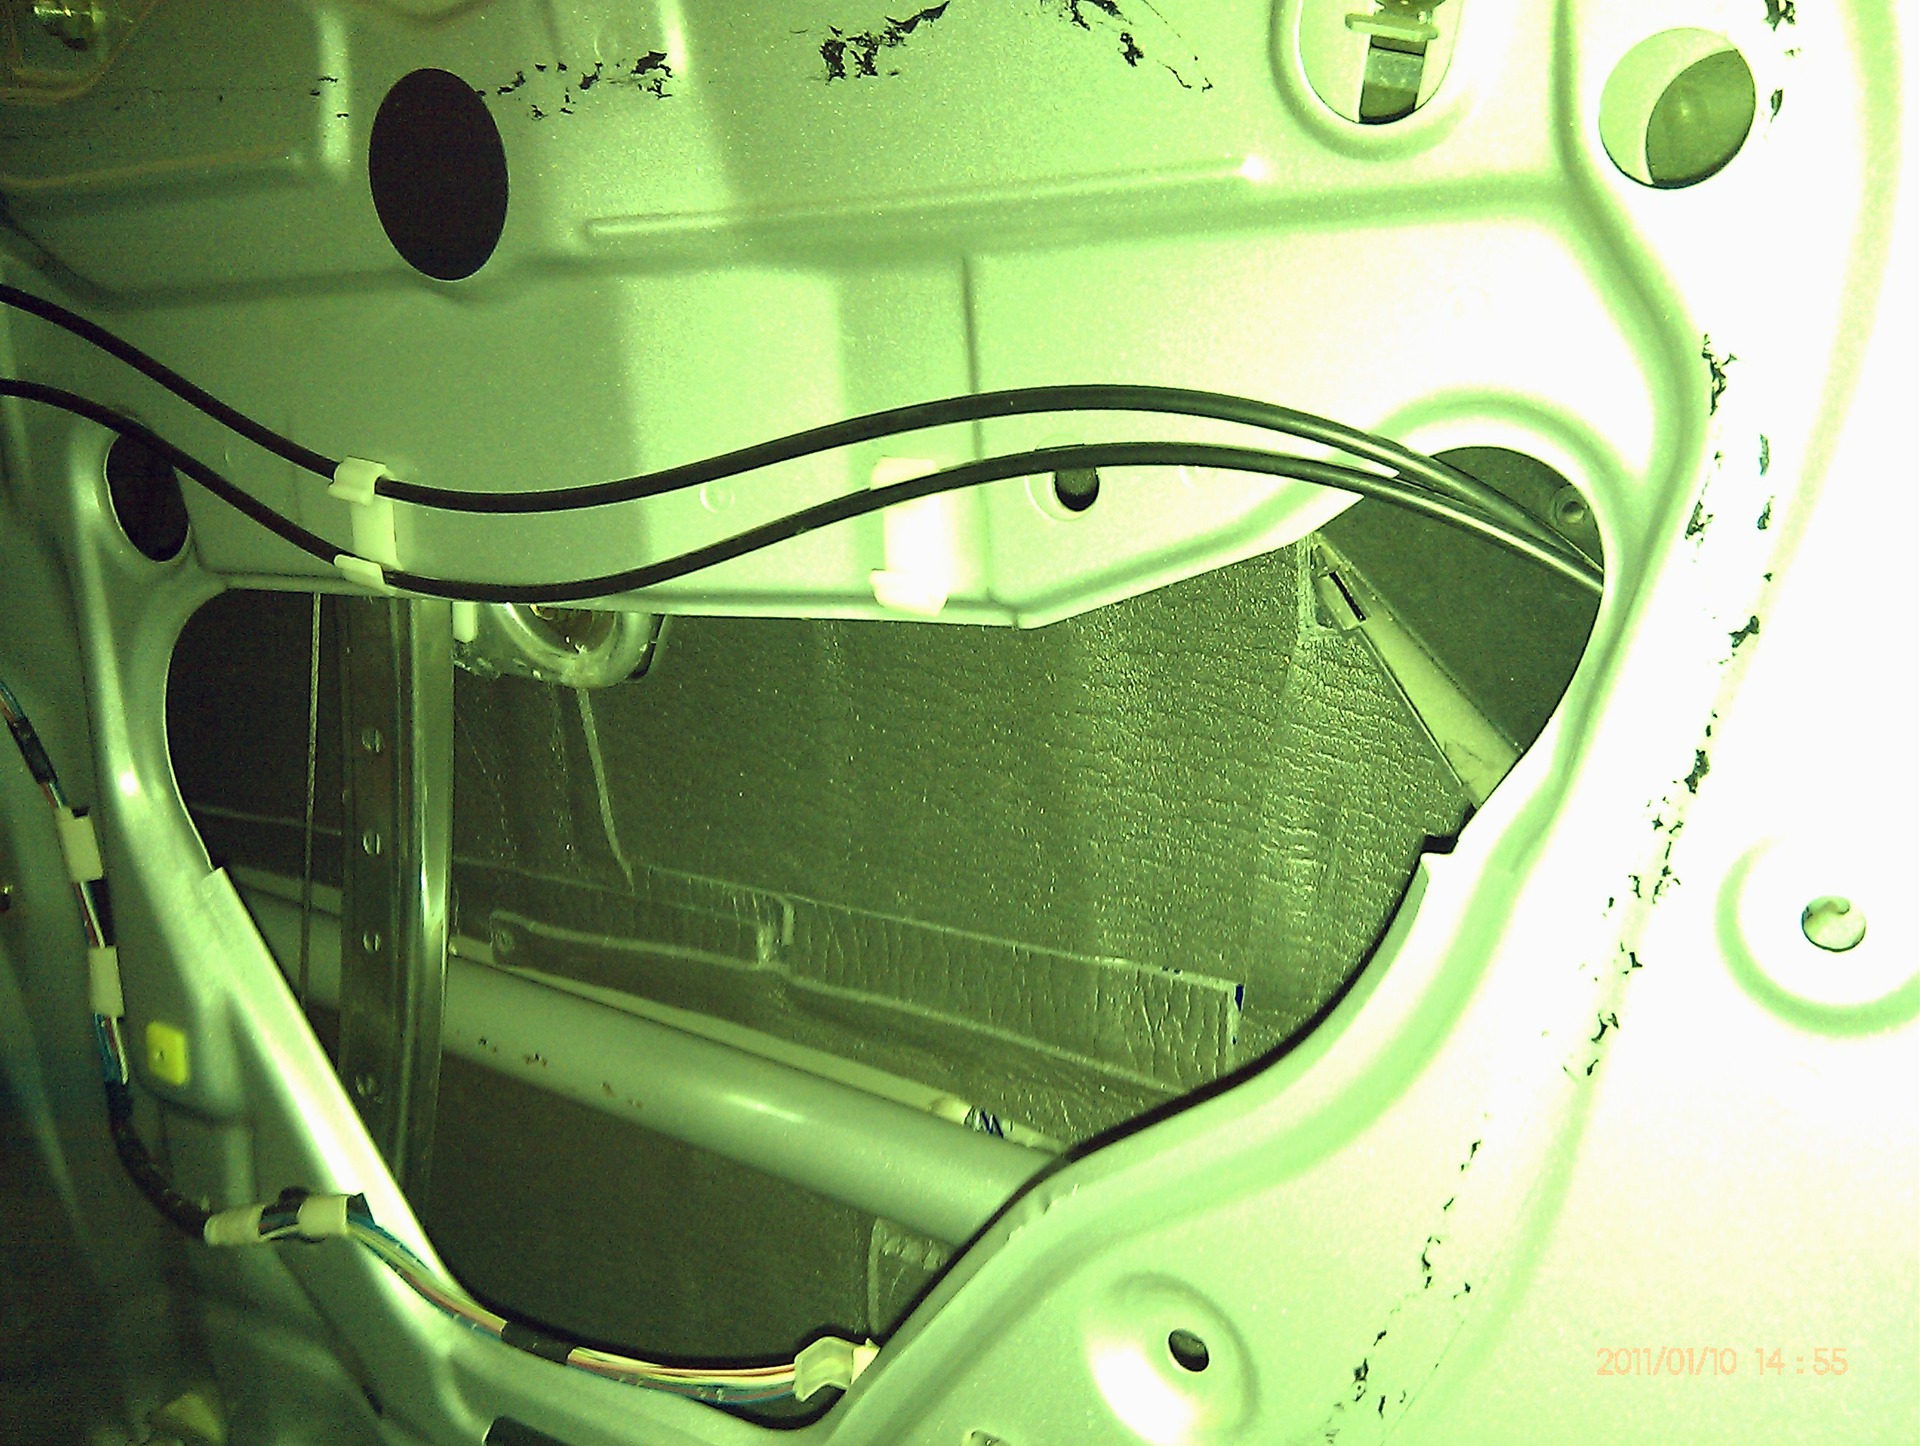
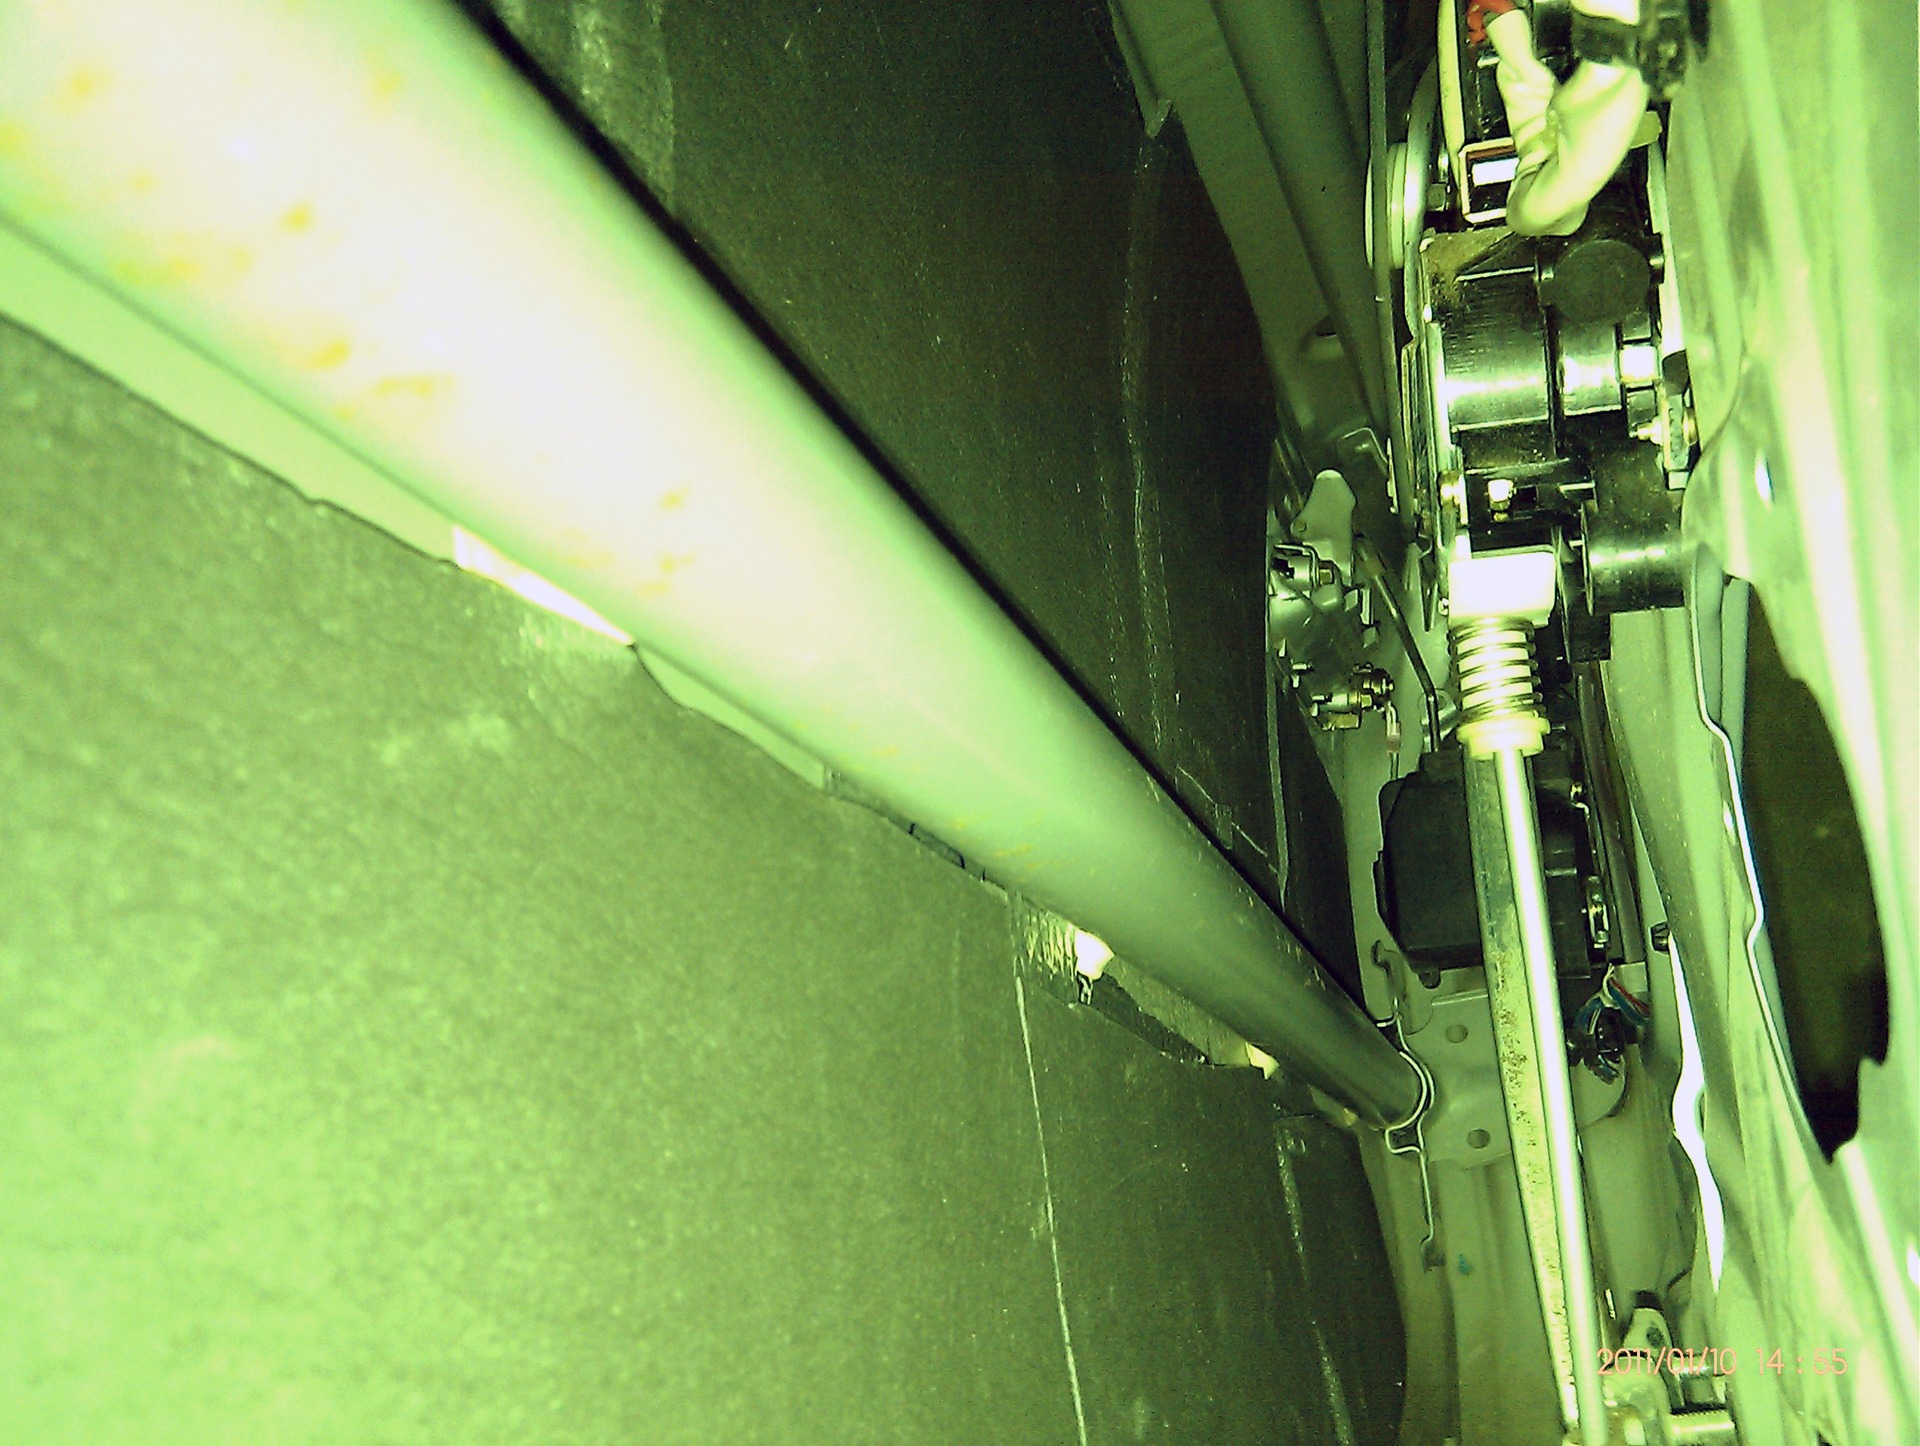
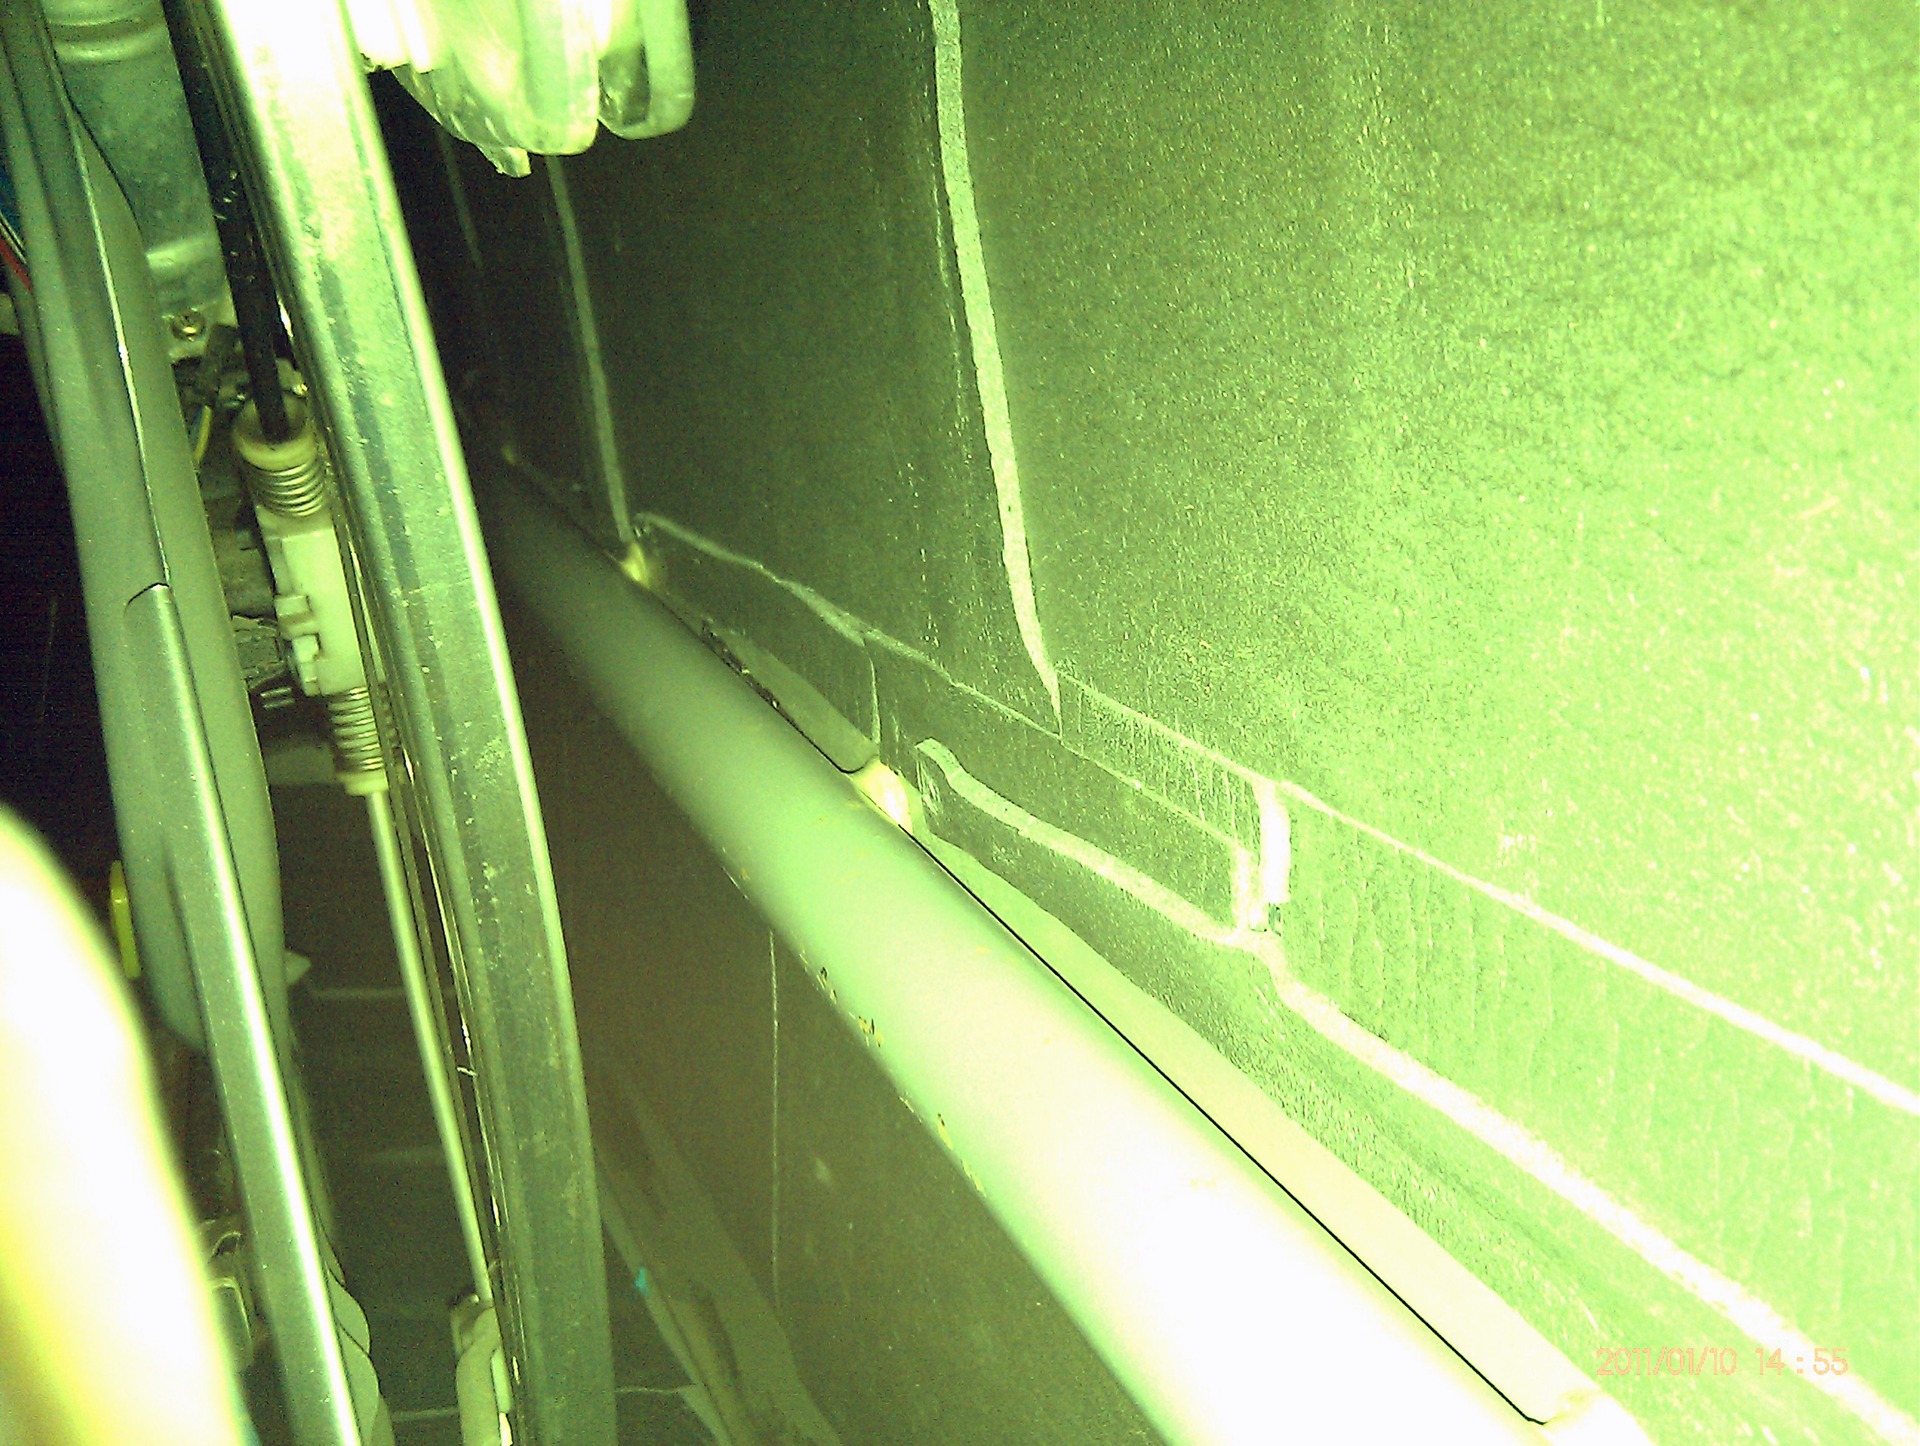
I didn’t take a very thick one either, once I overdid it and the window didn’t go down 8-). glued without much fanaticism =) the main task in soundproofing (not to be confused with vibration isolation) is to paste over as large a surface as possible. and the fewer pieces the better. Ideally, one sheet is better, but this is not realistic. I also decided to seal the outer part of the door with vibra
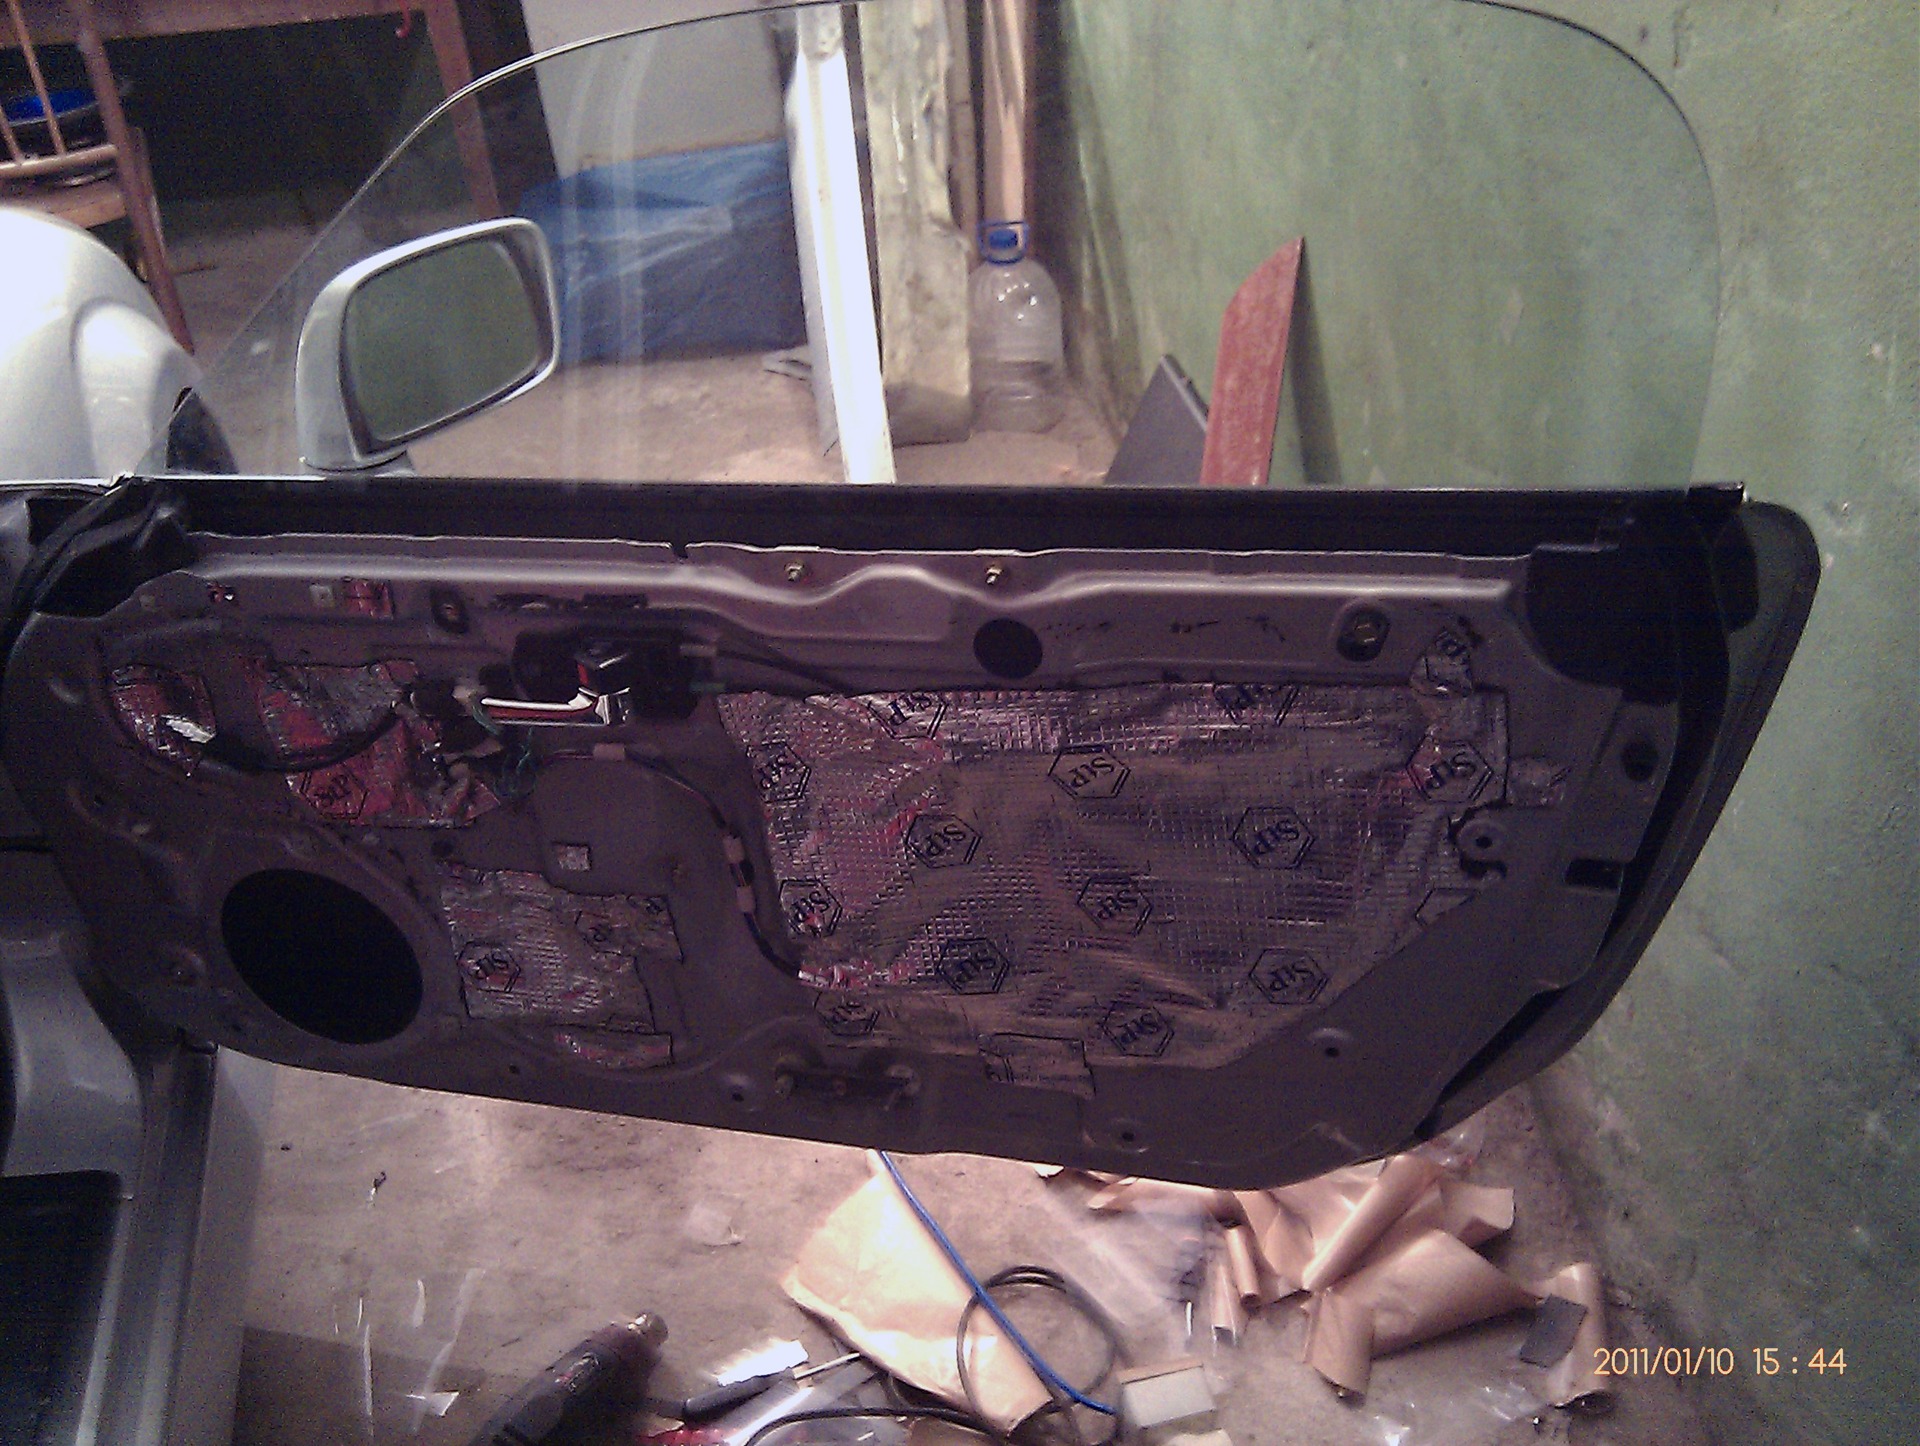
.(imitation ZYa =) well, at the same time, thrust in some places so that they do not hang out and do not rattle! By the way, a very interesting "podium" if you can call it that. At first I thought, after all, to cut it out of plywood ... a tree is a tree. Yes, and this visor is damn dumb like that. closes strongly radiation of waves back. but tried stiffness and decided not to bother. as I understand it, the visor is so that water does not get in))) so let it be. I glued it with an anti-creak
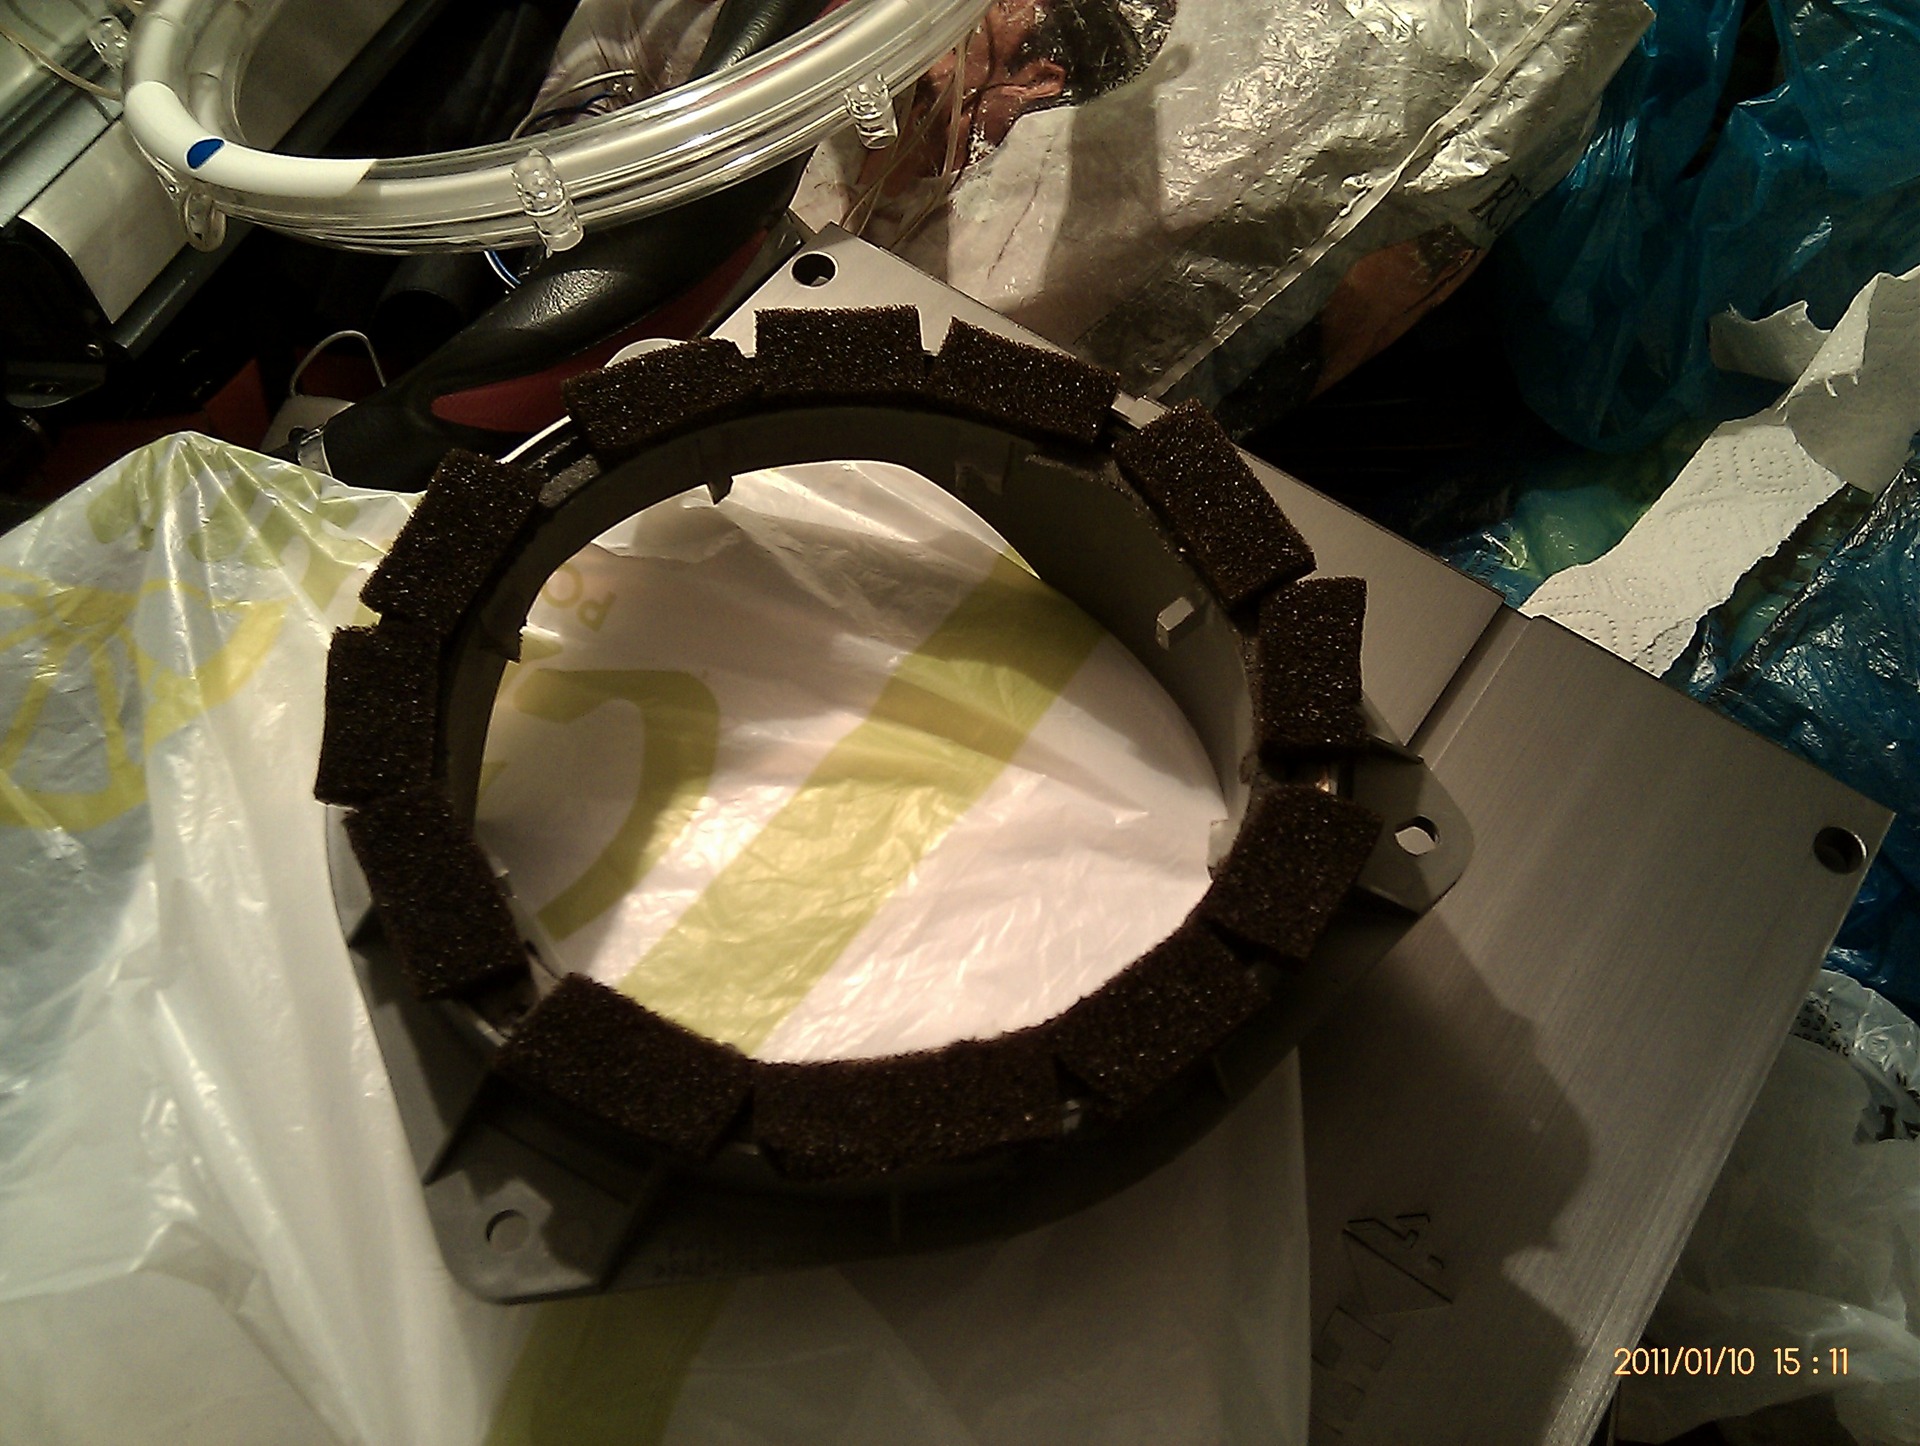
If you don't like it, I'll take it off and put spacers on. ) Fitting speaker. everything is clear =)
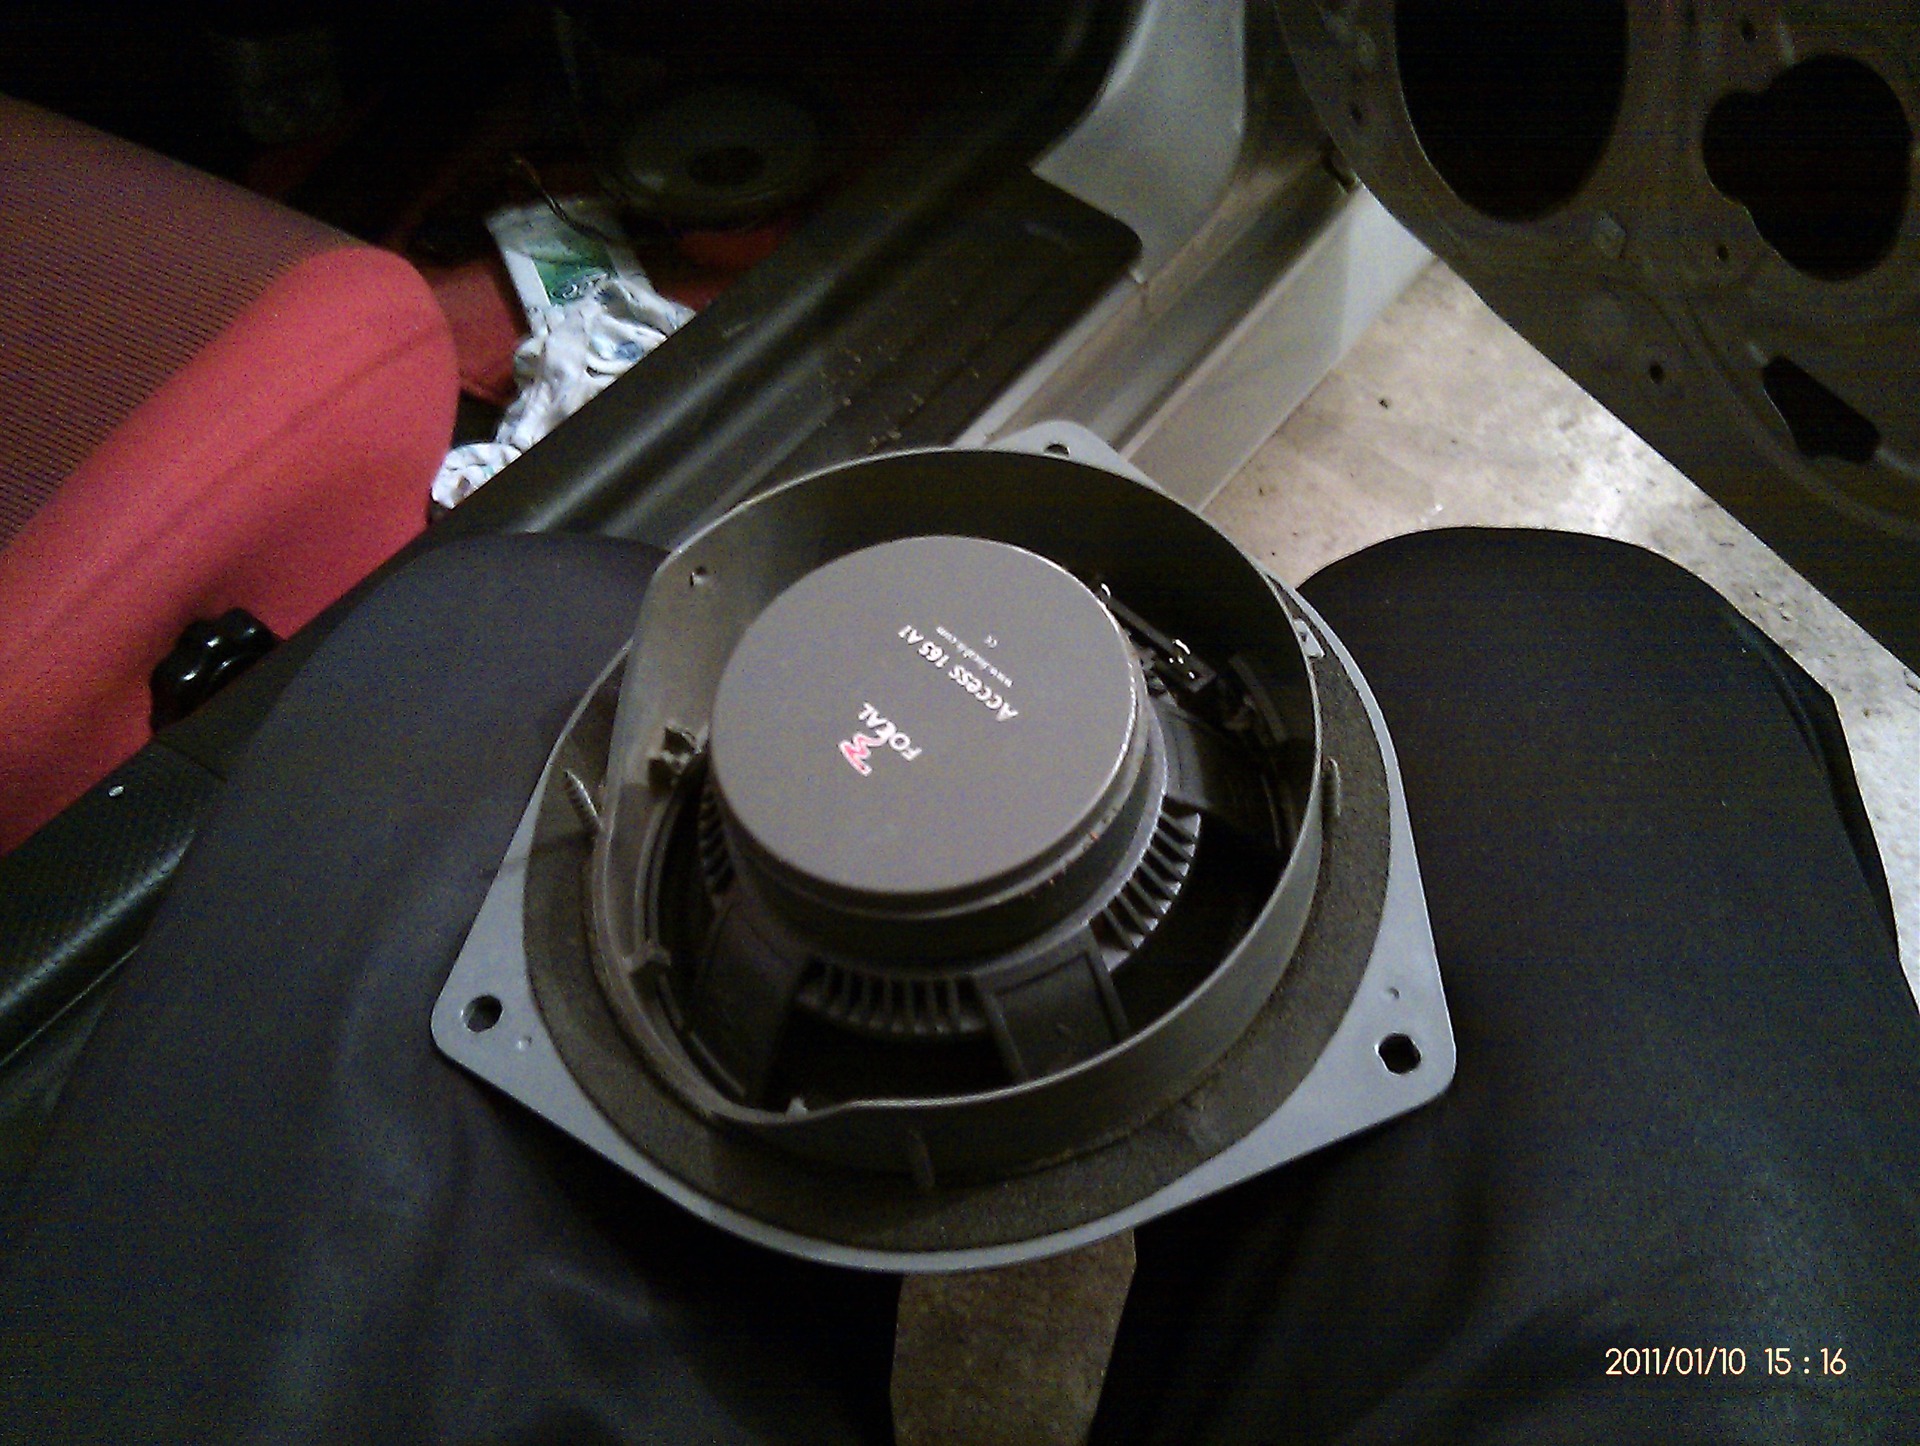
To stretch the acoustic wires through the technological holes and the rubber band in the door. You need to remove the sill and kick panel. there is a window at the bottom through which you need to feed the wire up. at the same time not to sweat. it is necessary to disconnect the chips of connectors 1 from connectors 2
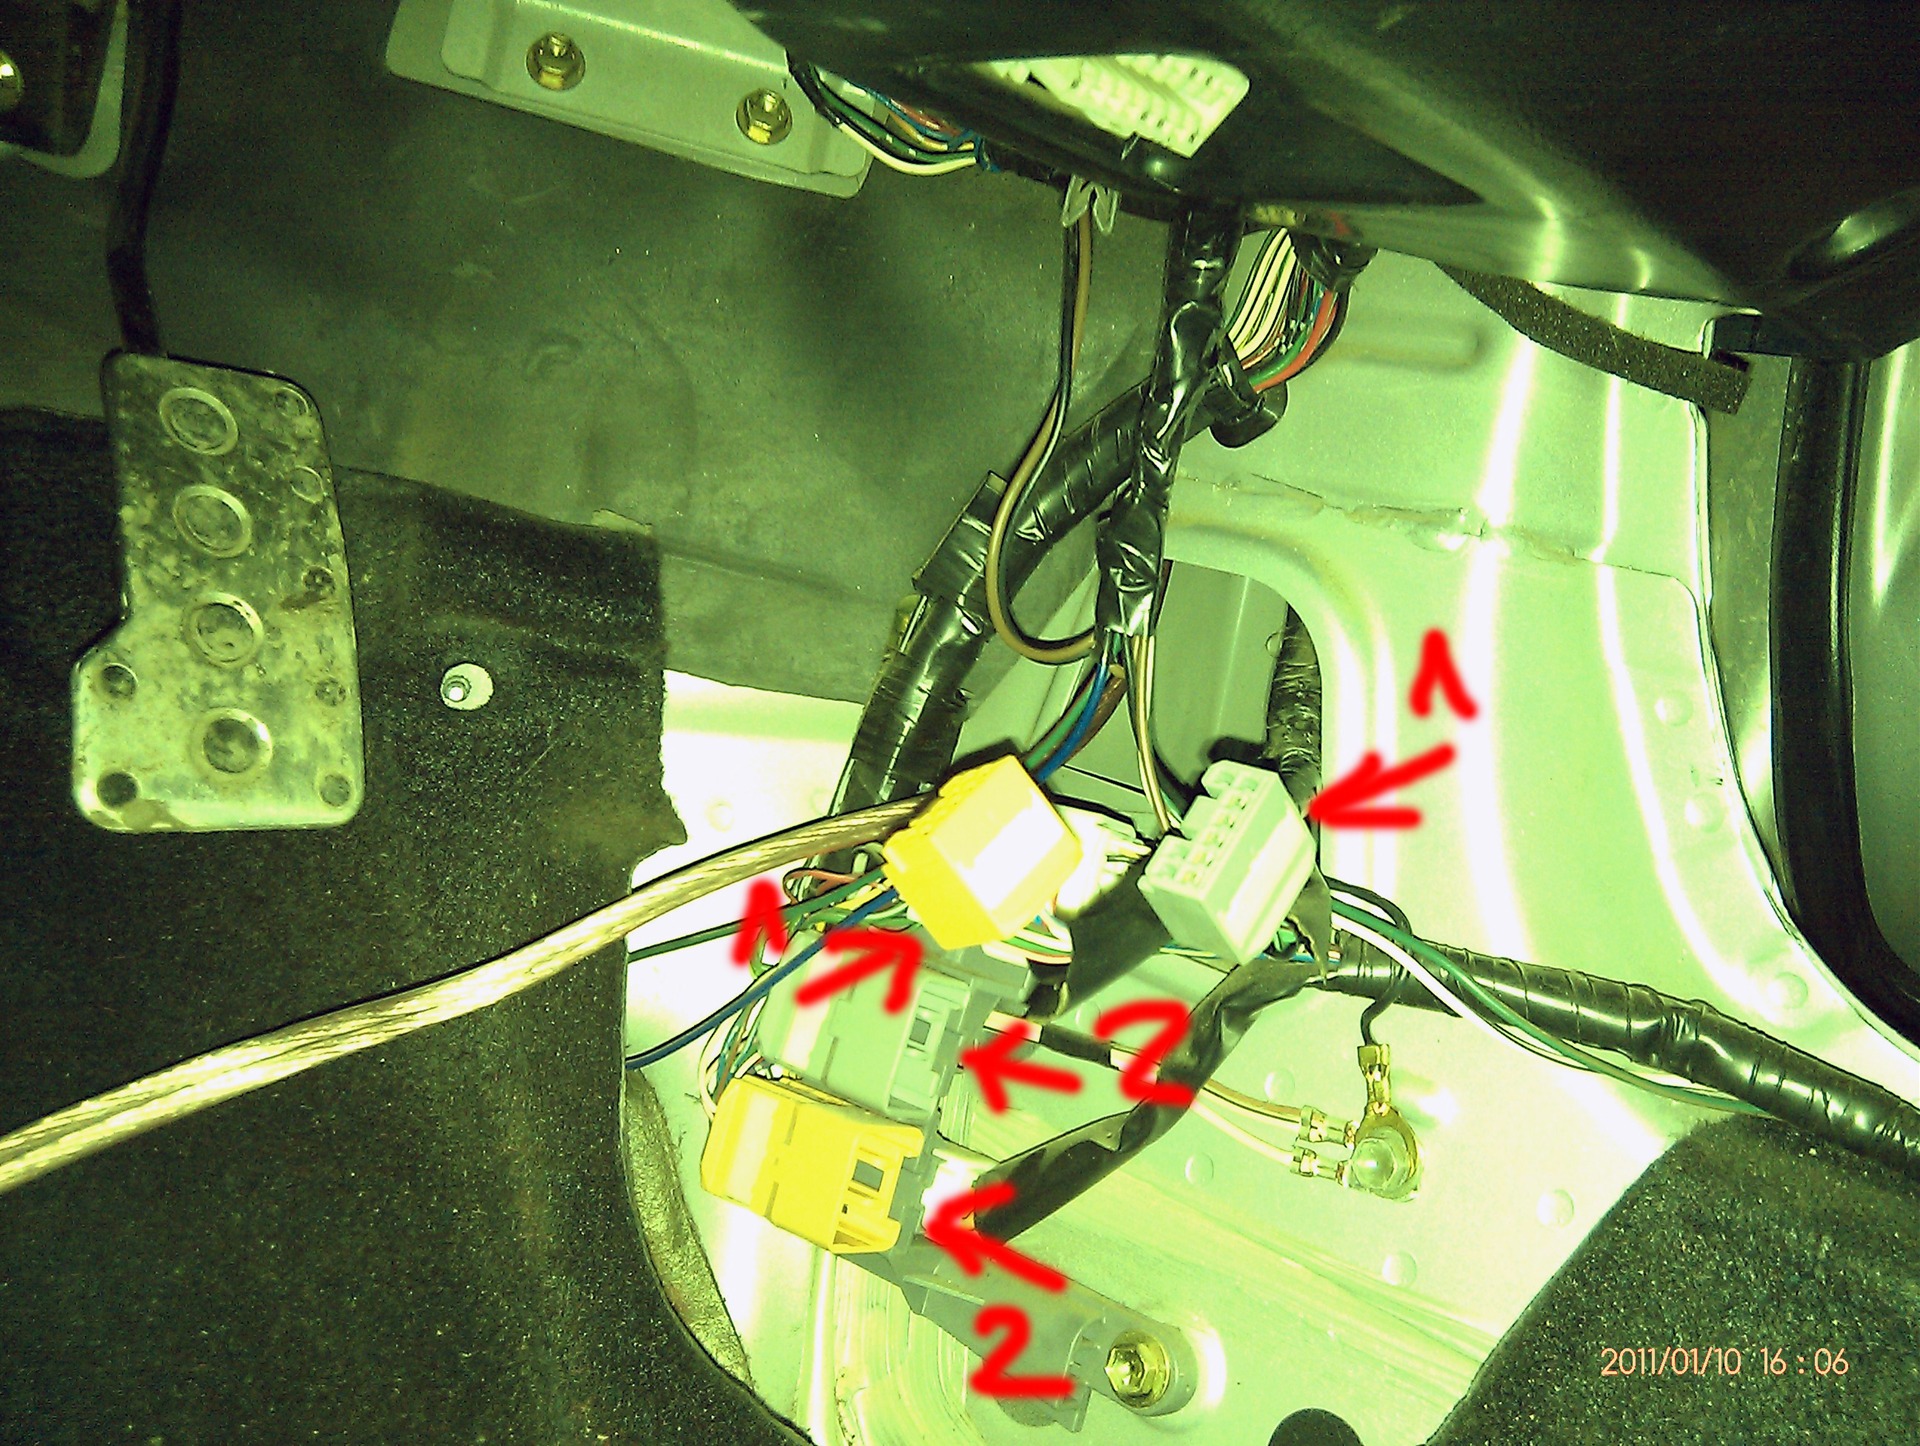
then this corrugation can be pulled out a little for convenience. Interblocks stretch along the driver's side
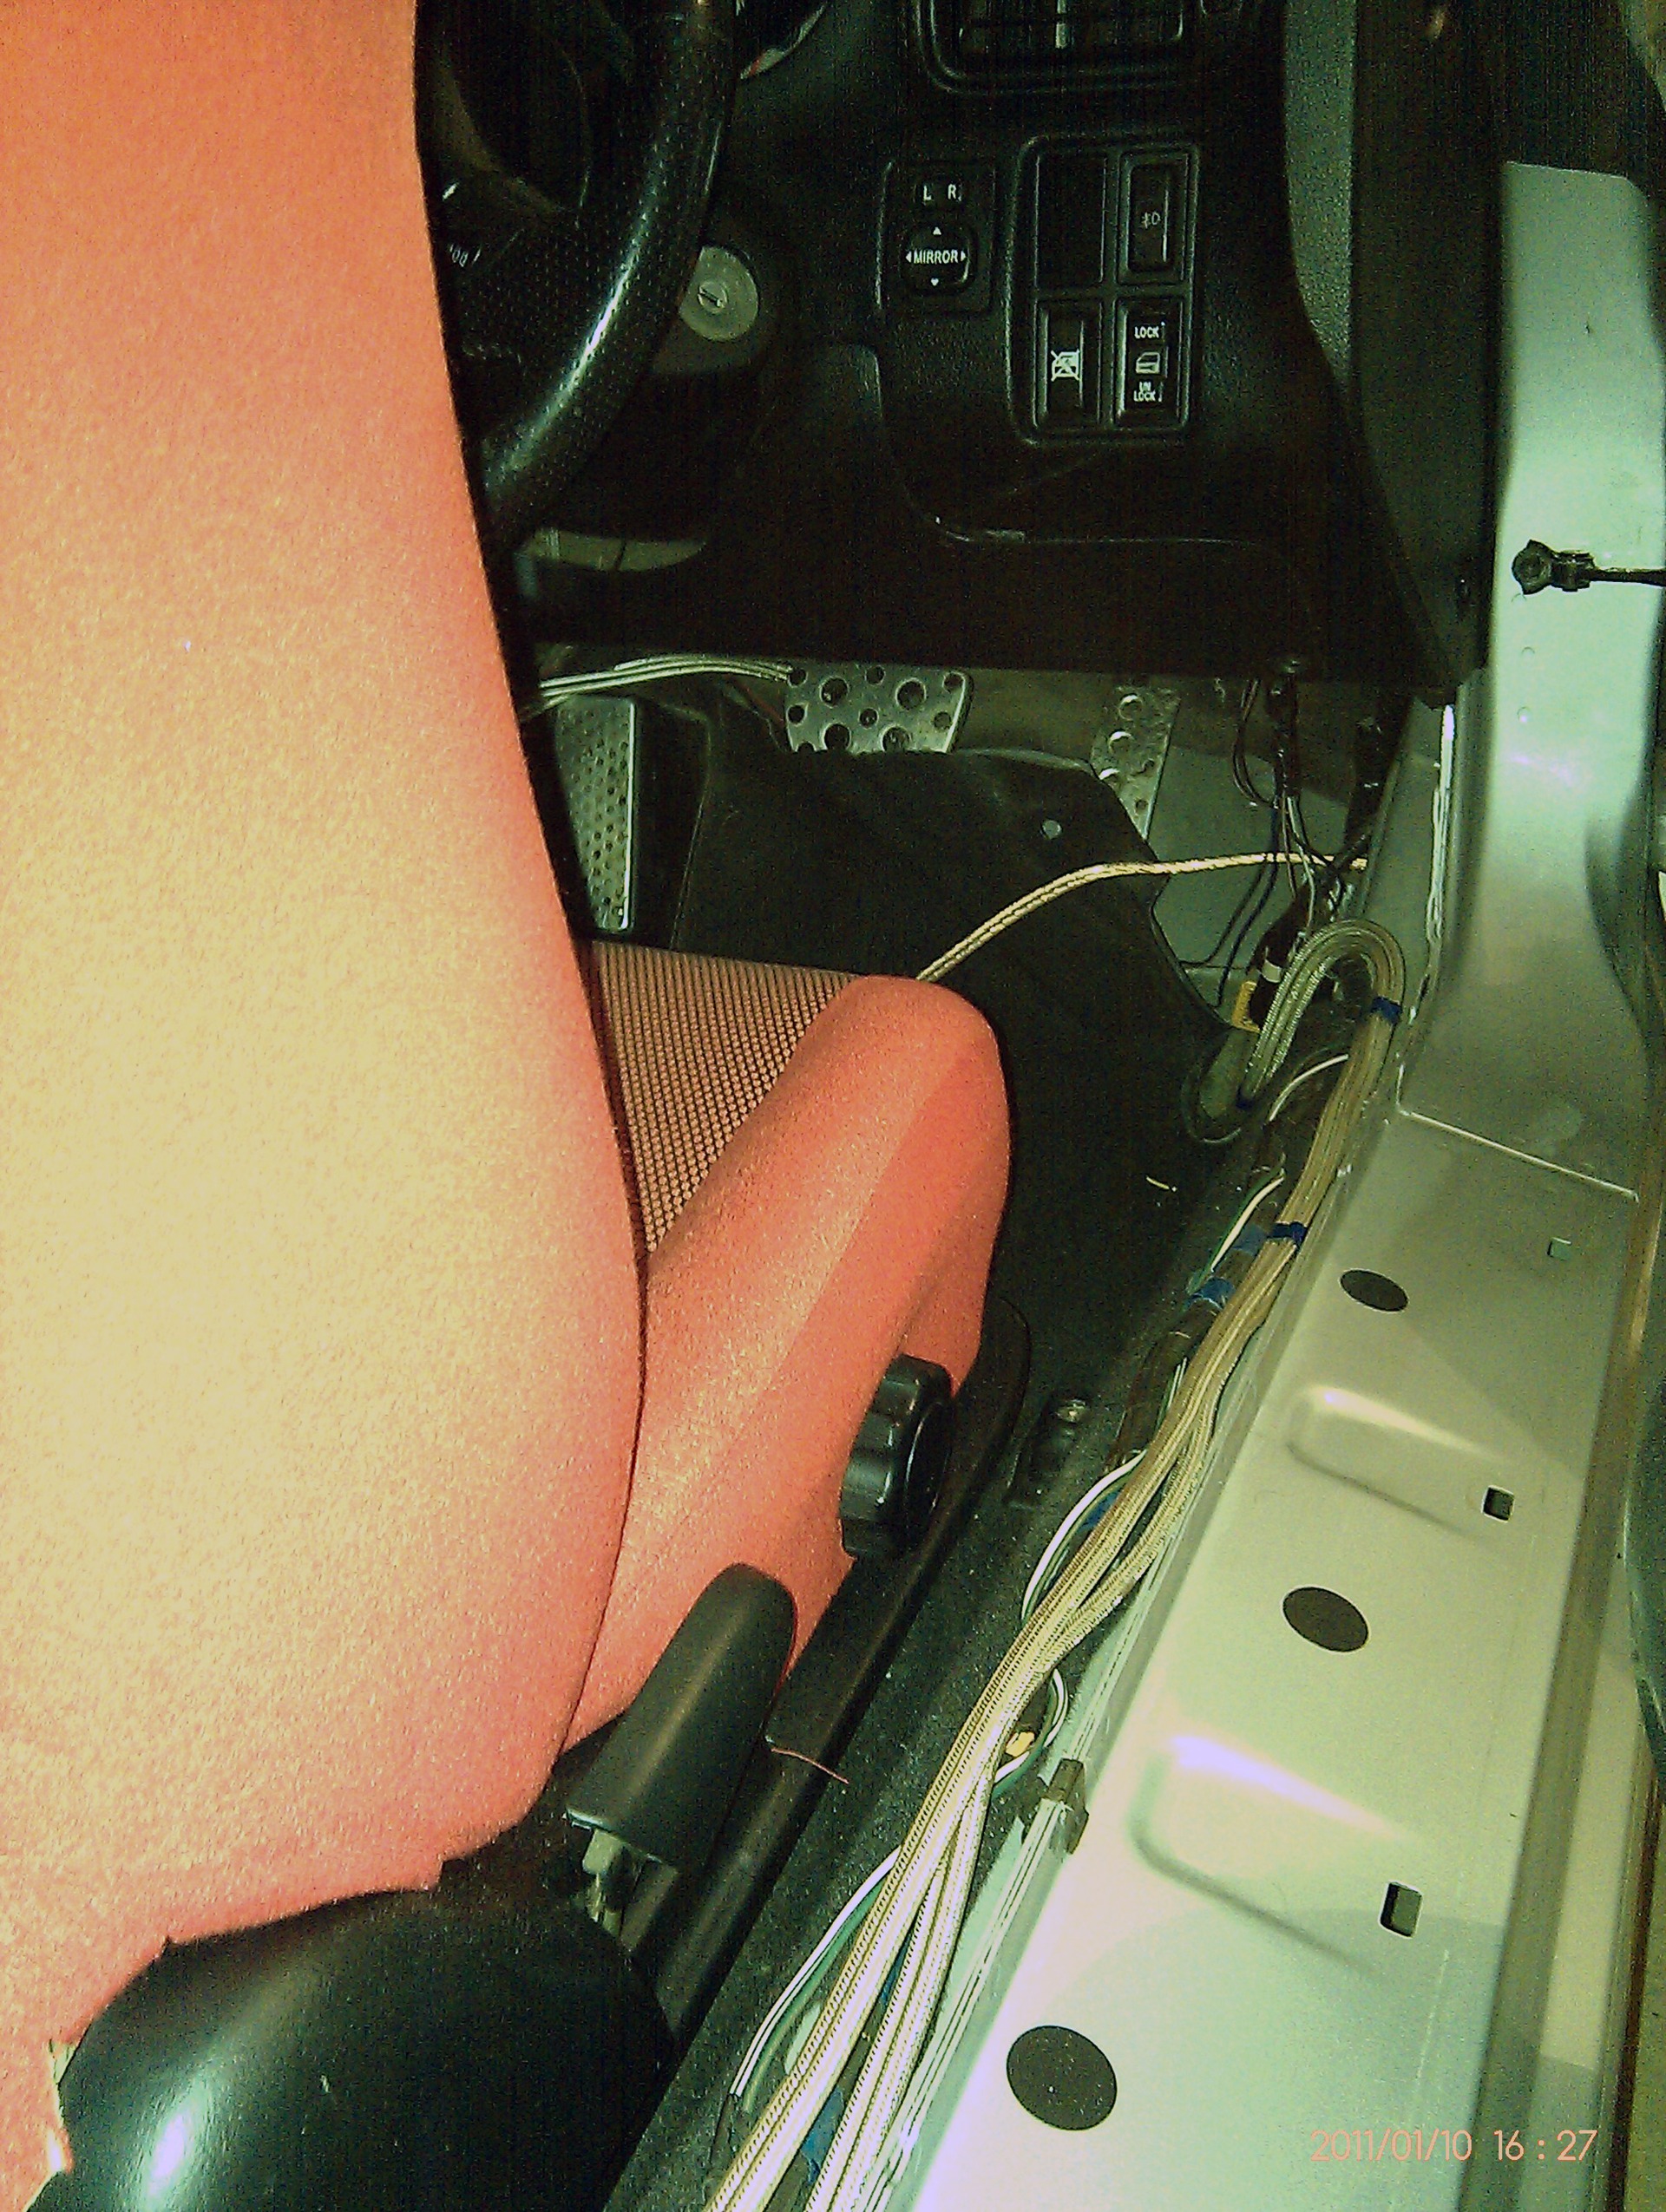
… TO BE CONTINUED…
Excellent report. Not disappointed that I subscribed to you. good luck in the future. We follow.
... at first there were 2)) I double-checked everything. never understood where. then once. found.))) and was left alone. I think tomorrow I'll find where to twist it)))
Oh, how many bolts, nuts and screws - horror, I hope you put everything in the right place!)
Here is a photo in time :)
I just need to assemble the doors. And the photos on the camera's memory card flew :)
And it's still not enough to find where to put it all.
Okay, I'll look and collect.