Project step 3. Bodywork. - Toyota Carib, 1.6L, 1988
In the meantime, the engine compartment was cleared of some incomprehensible and unnecessary pieces of iron. Excessive weight =) Pedals are hard to twist ...
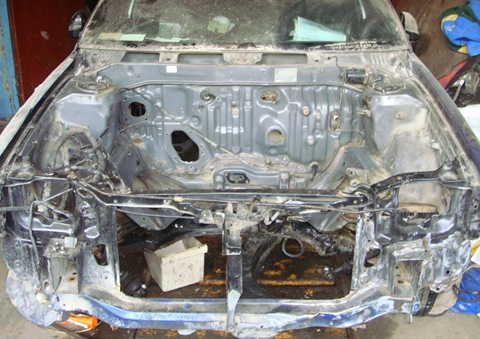
Transfer case
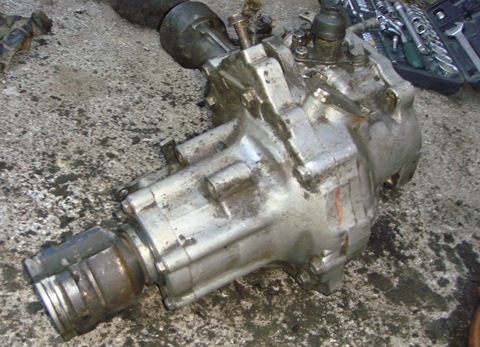
Aisin machine gun. Reliable creature. But dumb.
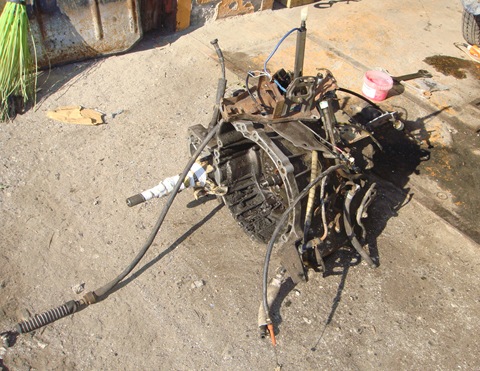
Don't think that everything was so clean. For a very long time I washed everything and everyone from the oily substance. One of the units simply drove the oil unrealistic and, mixing with dirt and dust, settled in a thick thick layer under the hood.
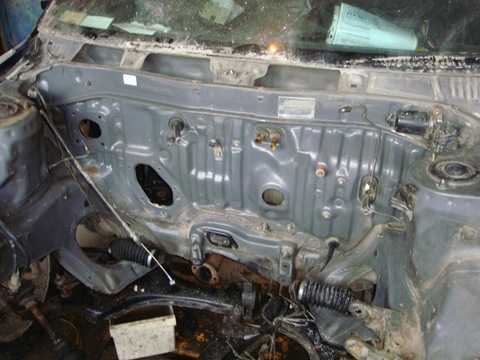
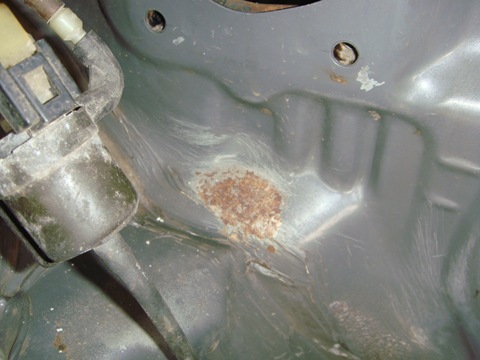
And that's why it was necessary to clear everything. Under the vacuum brake booster, a "speck" of rust was found. So you can't leave if you don't want to get this www.drive2.ru/cars/honda/...rnal/4035225266124051529/
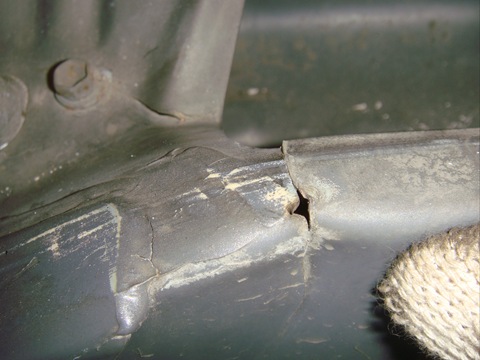
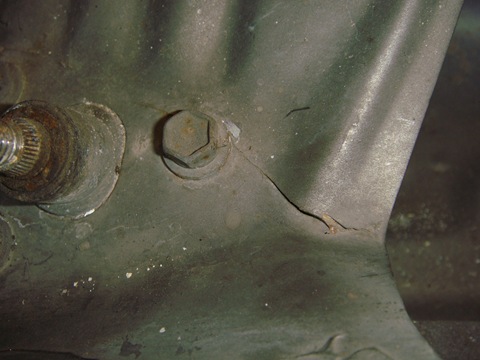
And also the complete picture with a crack on the engine shield is taken away. It is good that it was not the motor itself that burst, but the walls of the cavity under the wiper drive rods, and the bad thing is that there were cracks in there, or one big one.
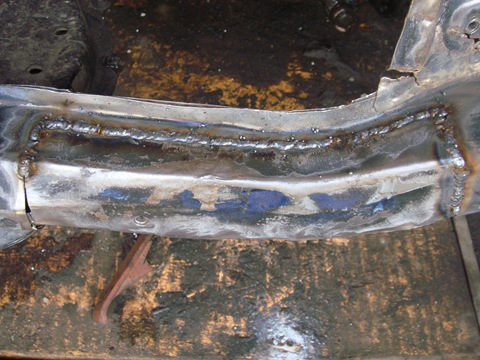
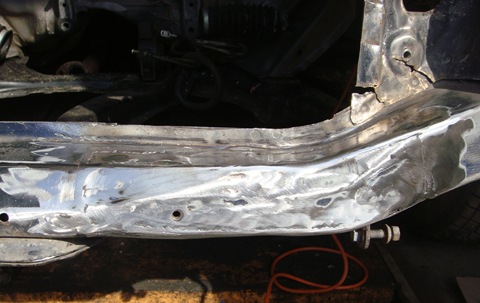
It was decided to start welding with the crumpled lower cross member of the "telly". This is the result of mooring in birch trees for races.
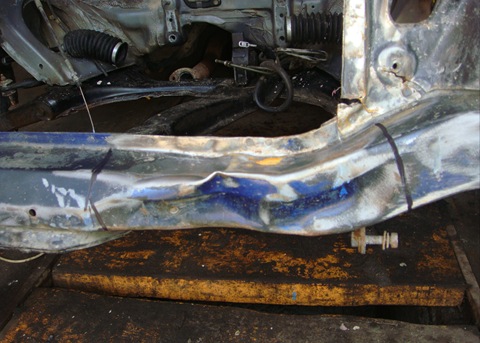
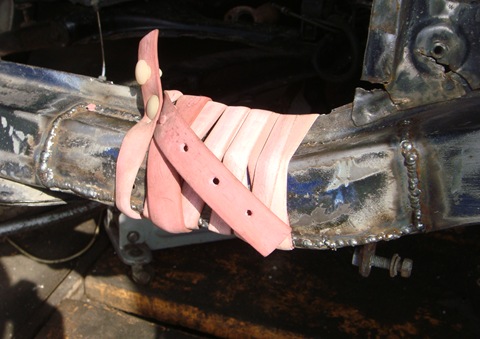
Cut out in pieces. They decided to straighten the front. Throw out the bottom.
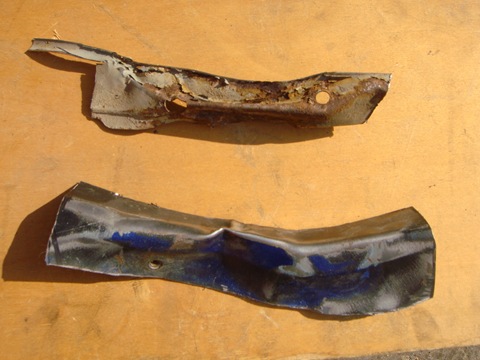
Everything is decent inside.
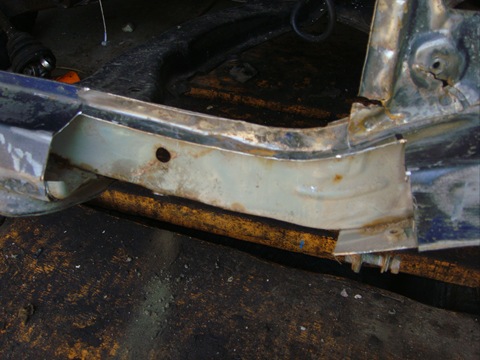
Tapped out for 2 minutes at most
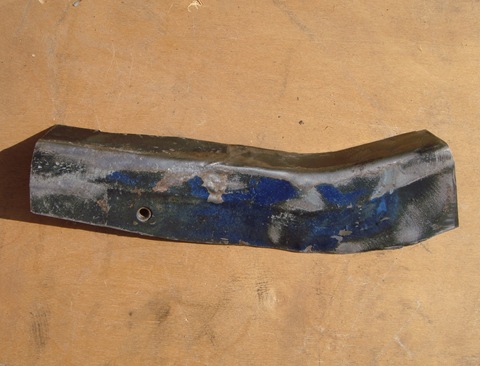
For the sake of interest and improvement, I also tried to fix the lower one. Happened! But they made a new one just in case.
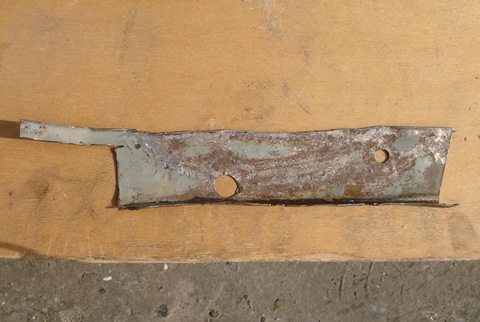
And finally welded
Shl.
Then deal with the cracks and the interior because it's scary there!
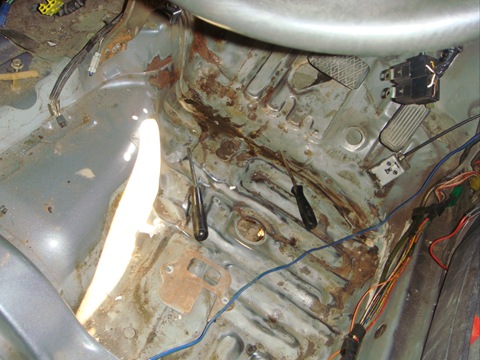
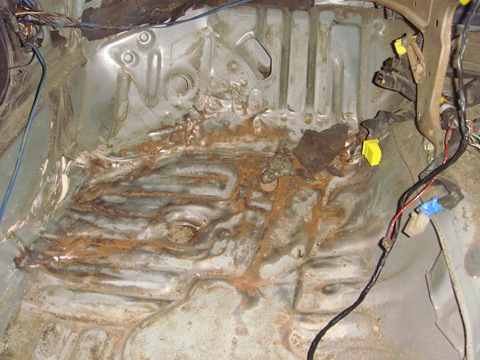
I'm also just learning to cook%)
but I'm a design engineer just
it just turns out that if you weld with a continuous seam, you by itself weaken the metal near the seam.
that is, the seam itself turns out to be weak. having boiled 2 in two - you save 50% of the metal, and then applying an overlay and also scalding it - you strengthen
metal breaks in the most tense places - a continuous seam will not hold there.
and the pad will already be welded where the stresses are lower
I understand that