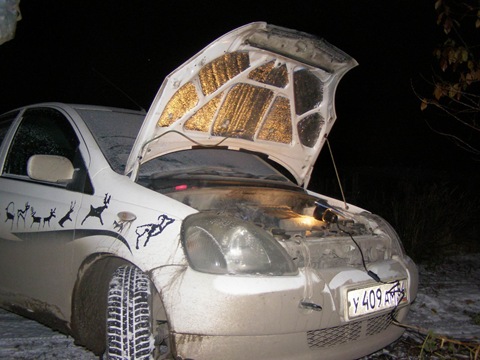
Engine compartment insulation - Toyota Vitz, 1.0L, 2006

Last year I was insulated in winter in an unheated garage and through one place. In the summer, all my insulation fell off nafig. I decided to re-insulate, but this time learn from previous experience.
Material - foil-clad self-adhesive vapor barrier 5 mm (it can be called differently, the manufacturers' imagination is rich). That winter it took me less than 1.5 running meters for everything about everything, glued in one layer and without clips, and in front of the radiator I stuck a regular isolon. This time I took 4 running meters 0.6 m wide, glued it in 3 layers and additionally put it on clips.
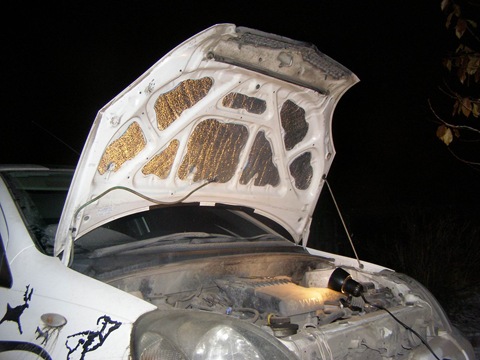
1st layer - in pieces in niches on the hood.
2nd layer - in pieces in niches with joints closed.
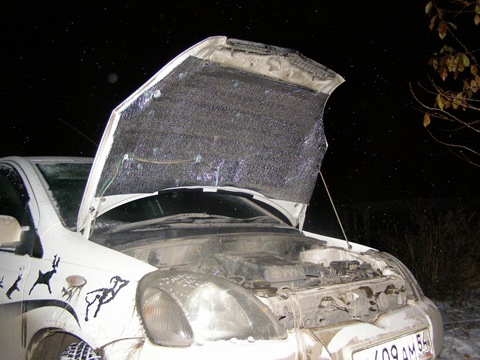
The third layer - a single sheet for the entire hood, glued and stitched with clips from the GAZelle salon - 13 pieces (2 had to be shortened).
In principle, it was possible to stick in the fourth layer, but it became frankly lazy. It is important to cut holes in the insulation under the hood holder and under the alarm limit switch; the washer tube had to be passed from above the insulation, otherwise it freezes over.
Why is all this necessary? The engine heats up faster and cools down more slowly, it is subjectively warmer in the cabin, less noisy in my opinion, steam does not come from the hood and ice does not form. Because of the clips, traces appear in the snow exactly above them, that is, there are thermal bridges ...
Now it remains to add insulation under the engine, otherwise everything inside the hood is clogged with puddles and local road porridge ...

 Price tag: 400 ₽