LightLEDModding or how I decided to do some nonsense =) - Toyota Celica, 2.0 l., 2009
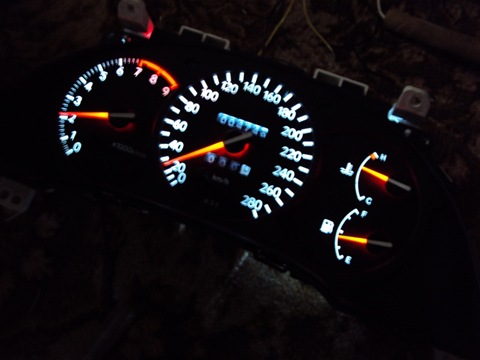
Since I bought the car quite recently, there is no money for significant improvements yet! So, after much torment, I decided to refresh the standard illumination a little after long torment of doing nothing with the touchpad! The dim, ugly and sometimes disappearing backlight was very upsetting! Why not combine business with pleasure!
And now another trip to Mecca (e-shop - electronics). Packed with diode tapes, diodes and resistors! As it turned out later, special glue is needed - the moment is called "epoxylin". physical composition like plasticine, when mixed with a hardener - hardens =)
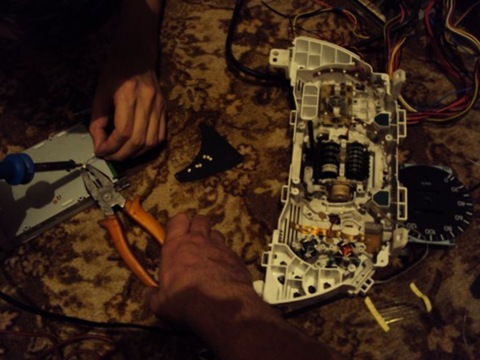
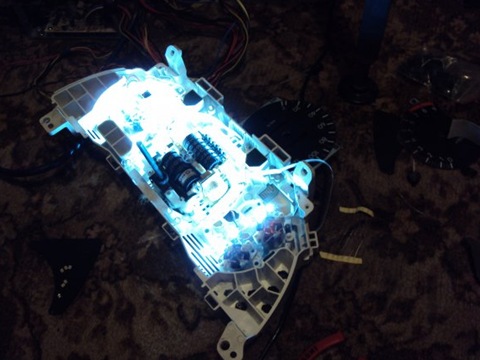
I took off the tidy and the climate unit with the heater and took it home for a more detailed study! This is where this miracle glue helped. Due to problems with the layout, the standard adhesive property of the diode strip will not get off.
The standard color of the scales is a little greenish and not at all pleasing to the eye! I took a solvent, an old sheet and went to the loggia to wipe off the factory flaws))
PS: 25% of the smut consists in removing the factory paint.
Then he unscrewed and threw out the factory light bulbs into the window without any preliminary thought! I glued the strips, connected +12, was delighted and started working on the arrows!
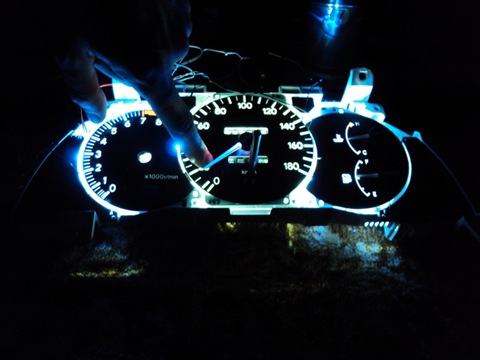
Here's the problem, I had to go to the electrician again. I took planar diodes 2 * 2mm. The biggest challenge is to place them under the arrows. After a lot of effort, I managed to finish with the backlight!
P.S. the tachometer and speedometer arrows change my color from blue to red in direct proportion to the revolutions)))
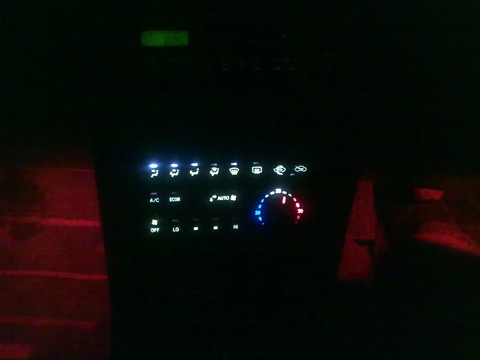
I think it makes no sense to describe the alteration of the climate control unit backlight, since everything is done according to the same principle!
Under the guise of making a backlight in the legs, it lights up both when opening the doors and forcibly (hurrying for girls)
In real life it looks more beautiful! photo on the phone ((
The budget of the operation is about 1000 rubles
 Price tag: 1,000 ₽ Mileage: 200,000 km
Is the brightness adjustable? otherwise, in the dark, your eyes will probably get tired quickly ...
no. is not provided in principle! does not blind so that. I will make the adjustment a little later, I thought to solder the rheostatic, but then it is necessary to embed it into the panel, and issue it according to the factory! IMHO delicate work))
It turned out great. How does the color change with revolutions? And another question: are the diodes connected directly to the old wiring or are there any rheostats?
I placed several diodes of different colors under the arrow, there is a lens, so change it! Yes, from the old power supply, and it is understood that I picked up the resistance ...
hi, great. I also did something like that for myself, only there were no diode tapes on sale, I had to get out of the clusters and then solder ... for a long time and there is not enough space. But about replacing the climate control bulbs, it is interesting to know - what kind of diodes did he cram in, there are thin bulbs on the legs like they are?
Darova! on the illumination of the buttons there again these bulbs go! there diode tapes glued, only longitudinal! small diodes that signal the pressed button were soldered (only a different color, there 3mm round diodes are needed 2.5v without resistance even) and 5mm diodes were added to the backlight of the temperature controller)
Very Effective! Nice to the eyes and began to look a lot fresher! Respectfully!