8. Well, what, what? - Capital! (4A-GE BT) # 3 - Toyota Sprinter Trueno, 1.6 L, 1998
A month later, s / h finally came - the repair piston was waiting for the longest. The block, head, knee rolled to Moscow for processing, after 3 days they were back in the garage :)) - hurray - collect!
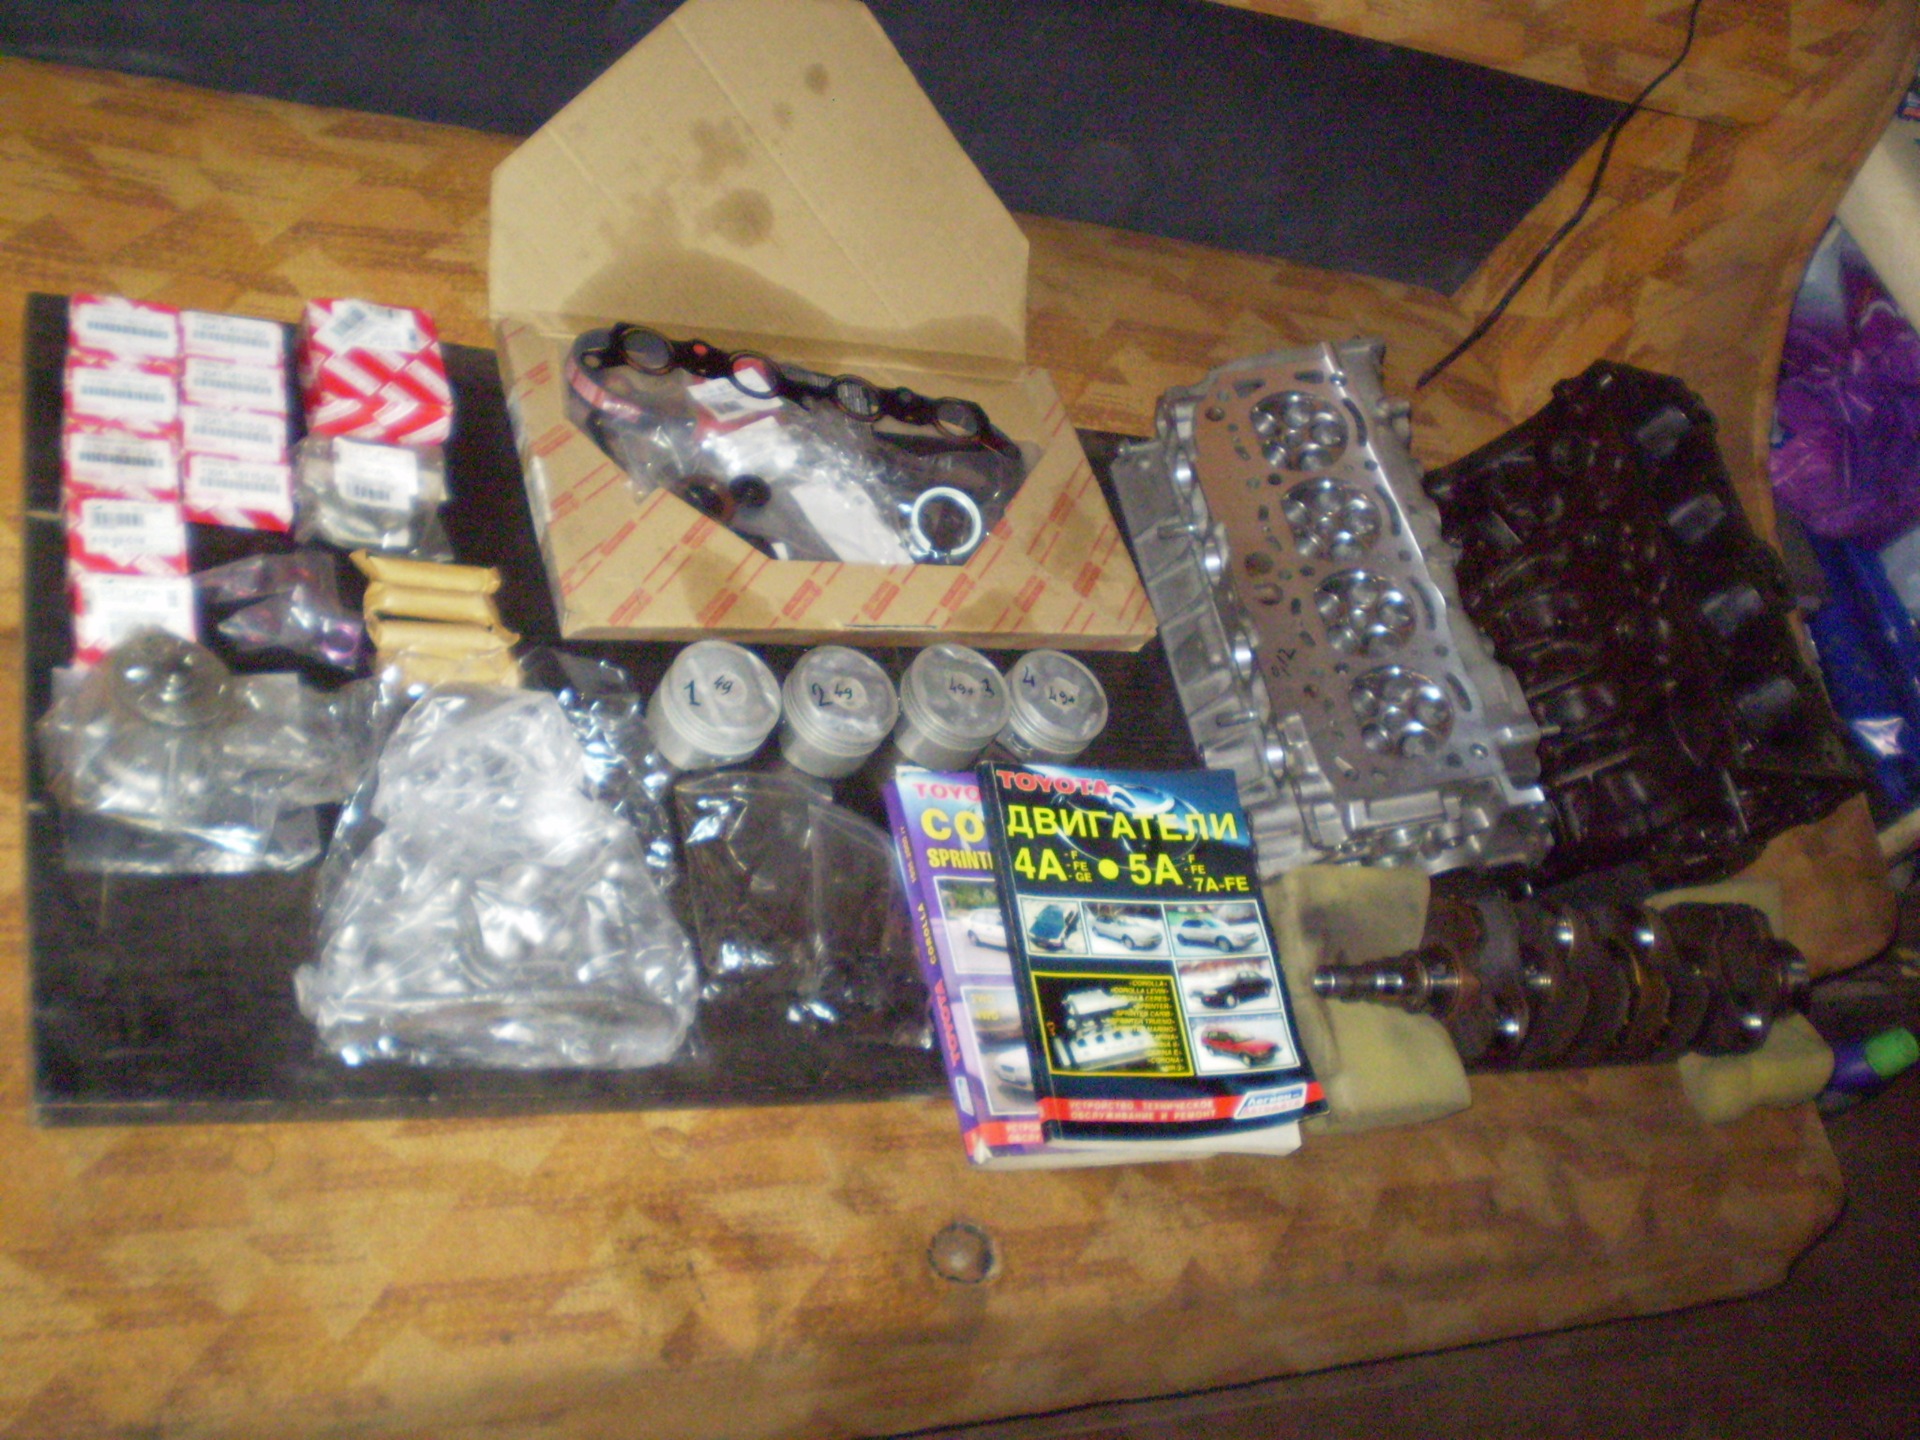
The block decided to paint it with silver thermo paint, and the sump, oil damper, gasket with a block and box - black, sanded the valve cover - and left it unpainted.
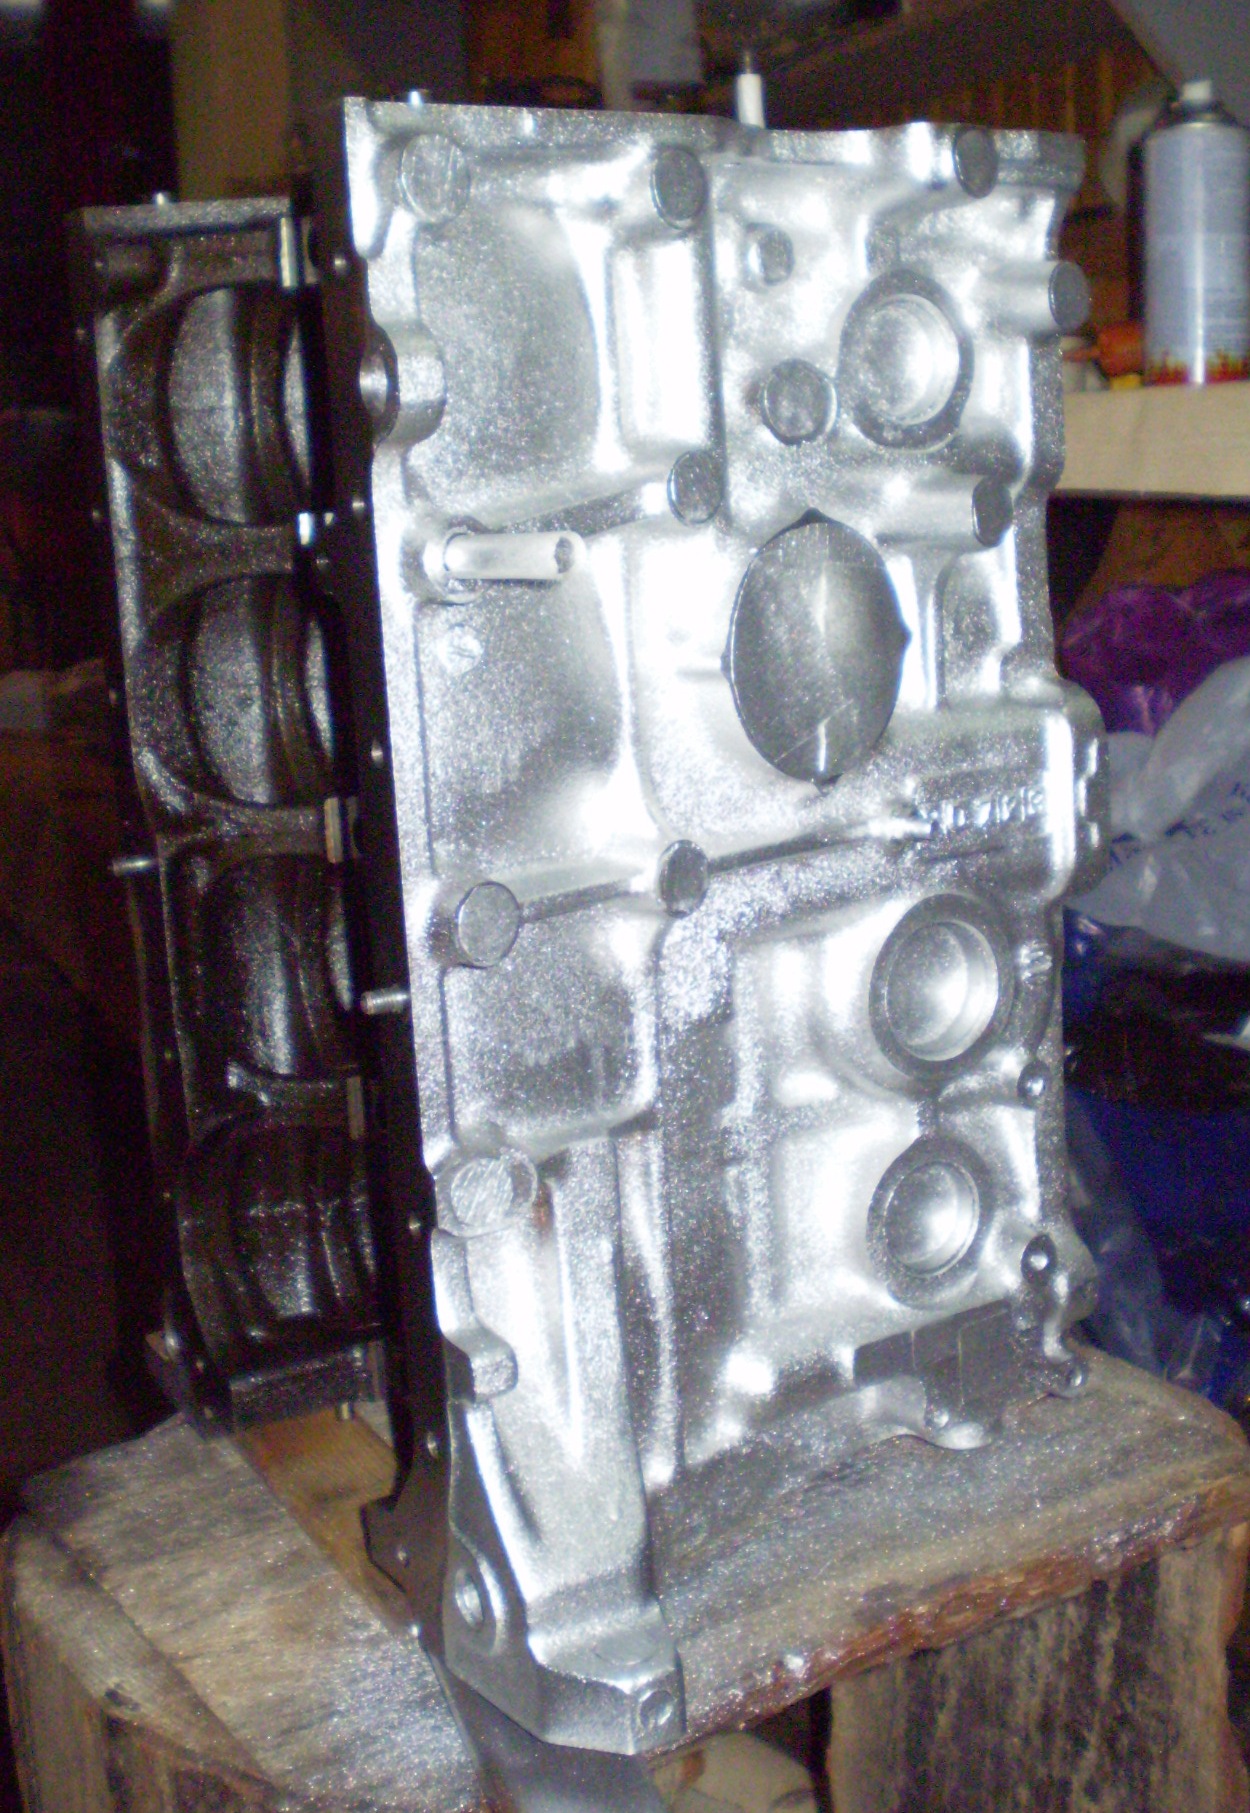
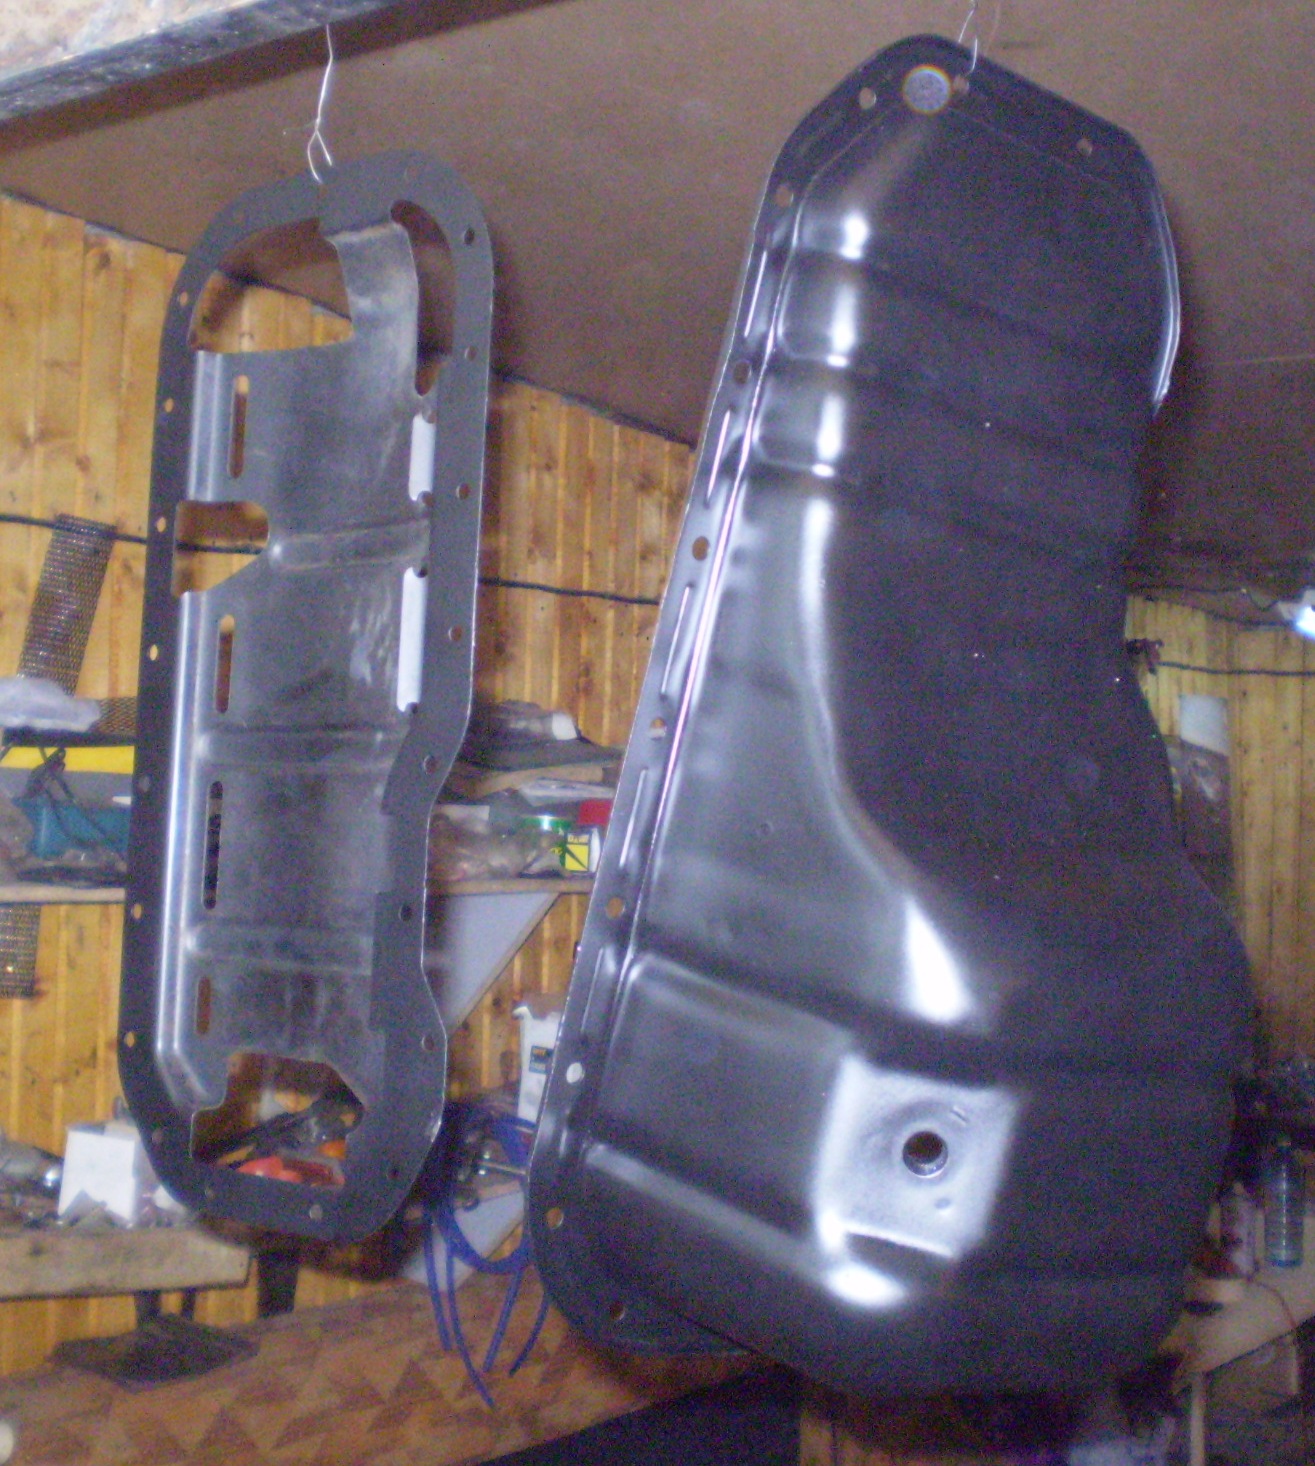
Since it got a little colder - I decided to take work home - replacing pistons and working with my head.
So we "prepare" the piston at home :)
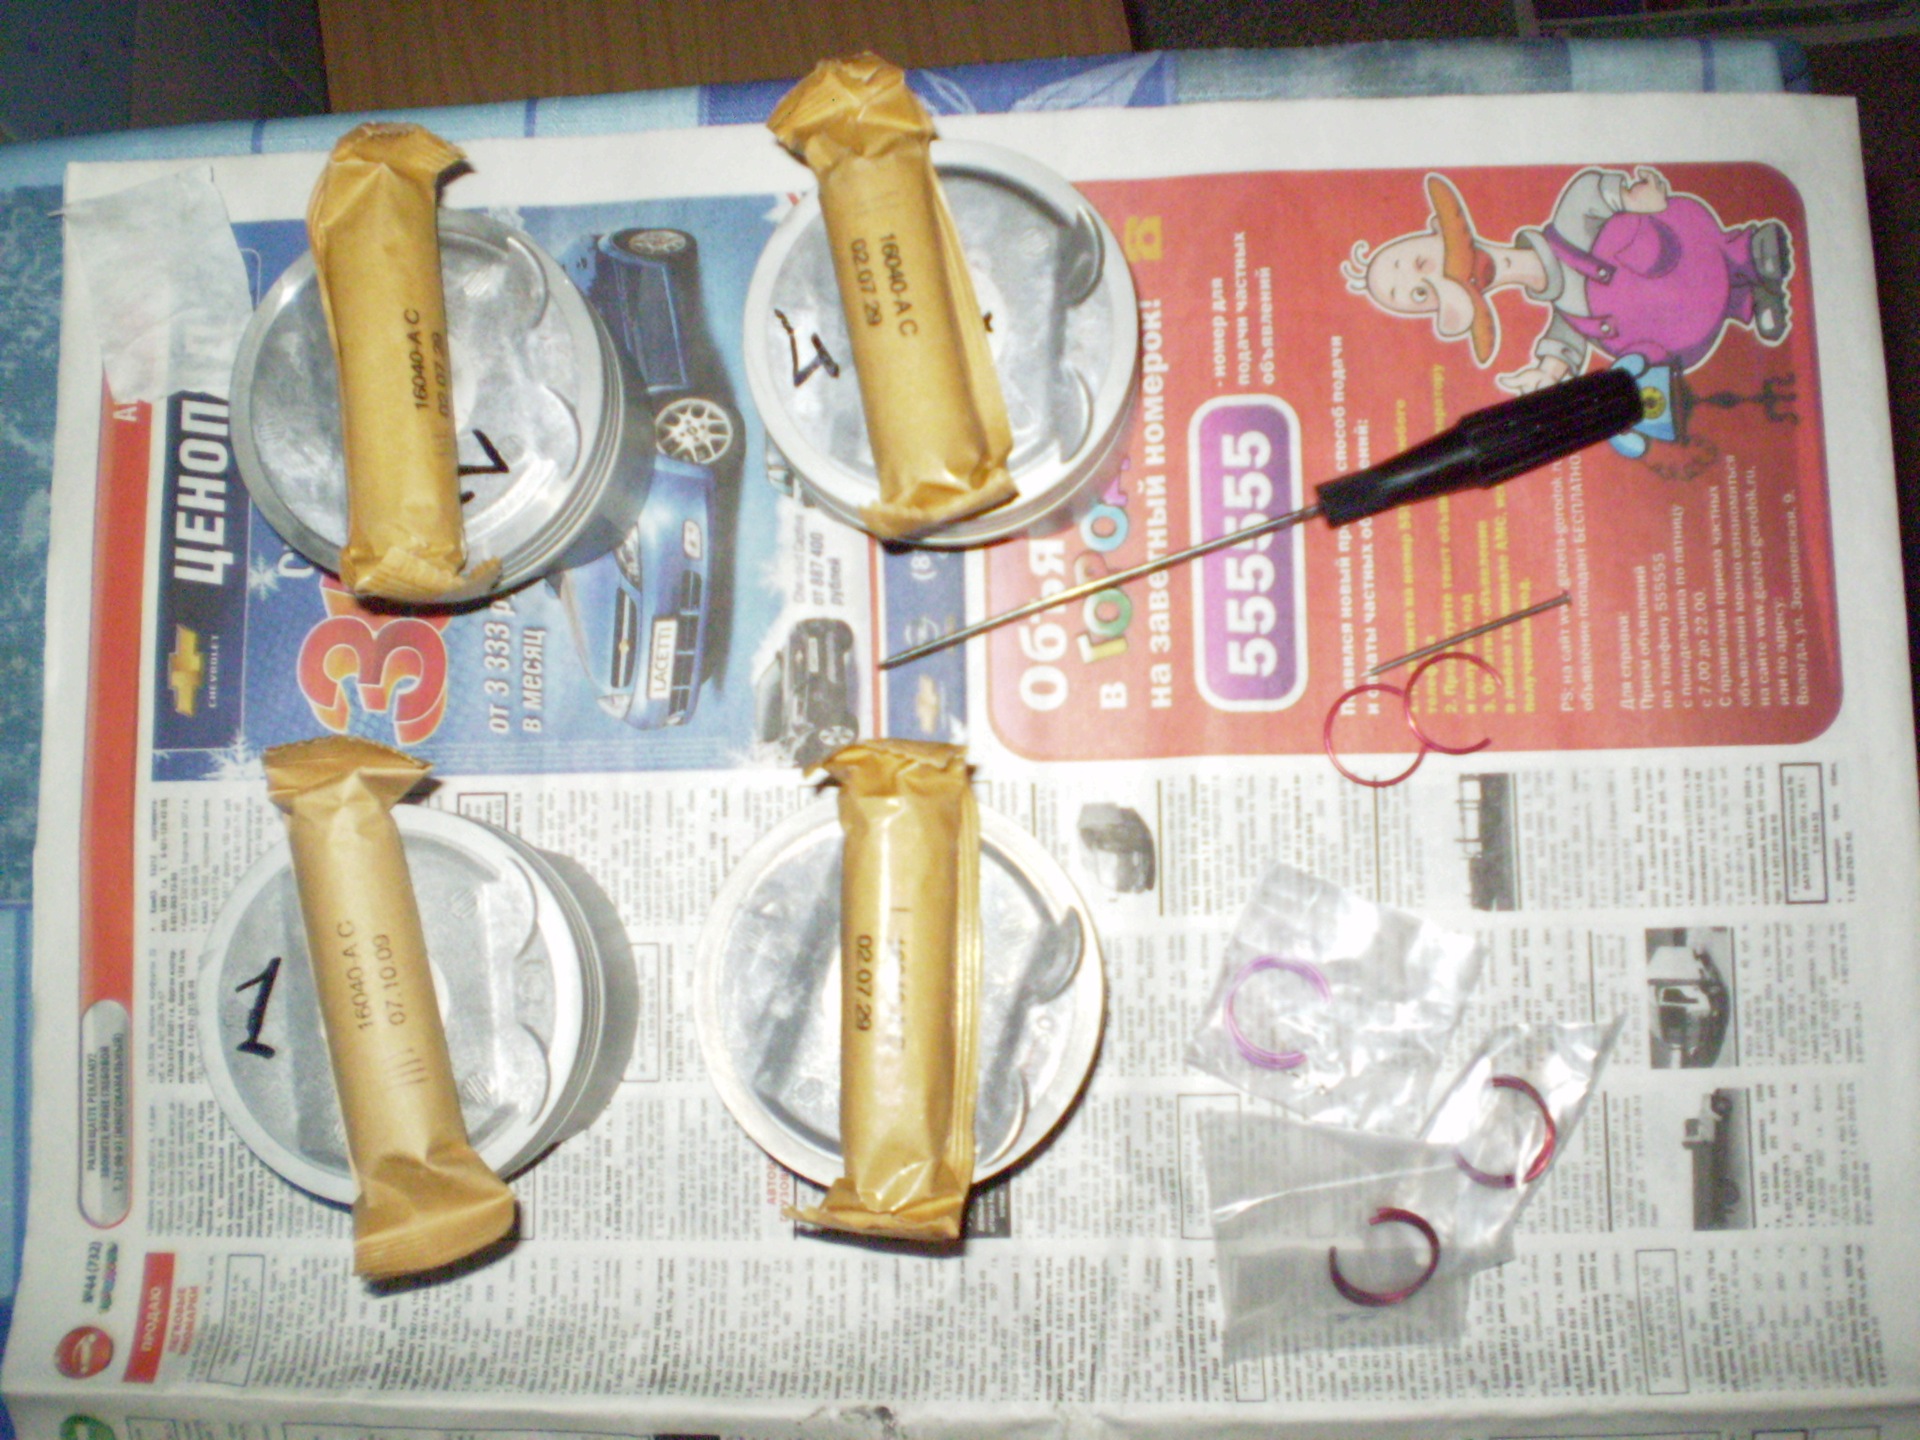
We remove the retaining ring from the old piston on either side - with an ordinary nail.
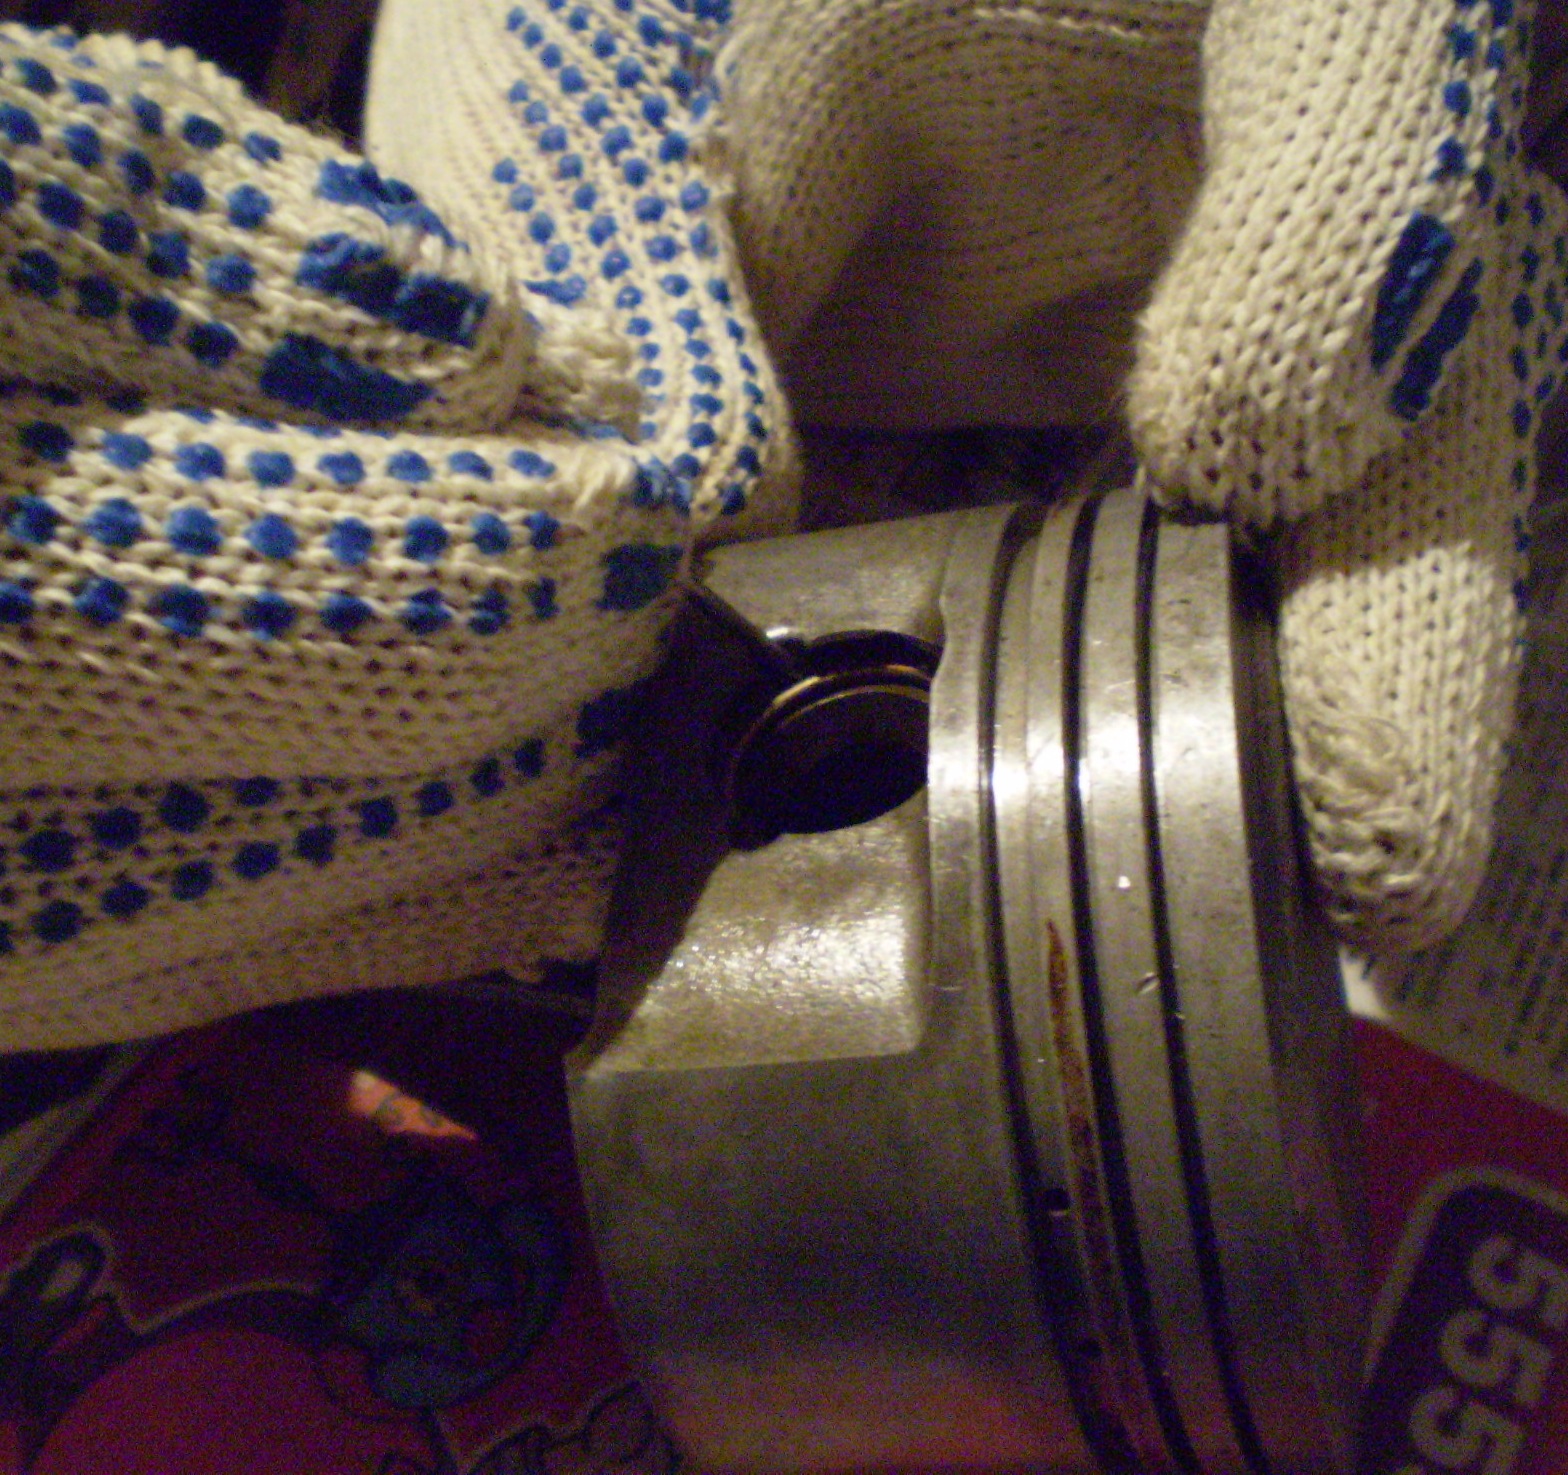
Further, after bringing the water in a regular ladle or saucepan in advance - we use it to heat the piston to condition - by wrapping the piston in a couple of three packages, we lower it into boiling water.
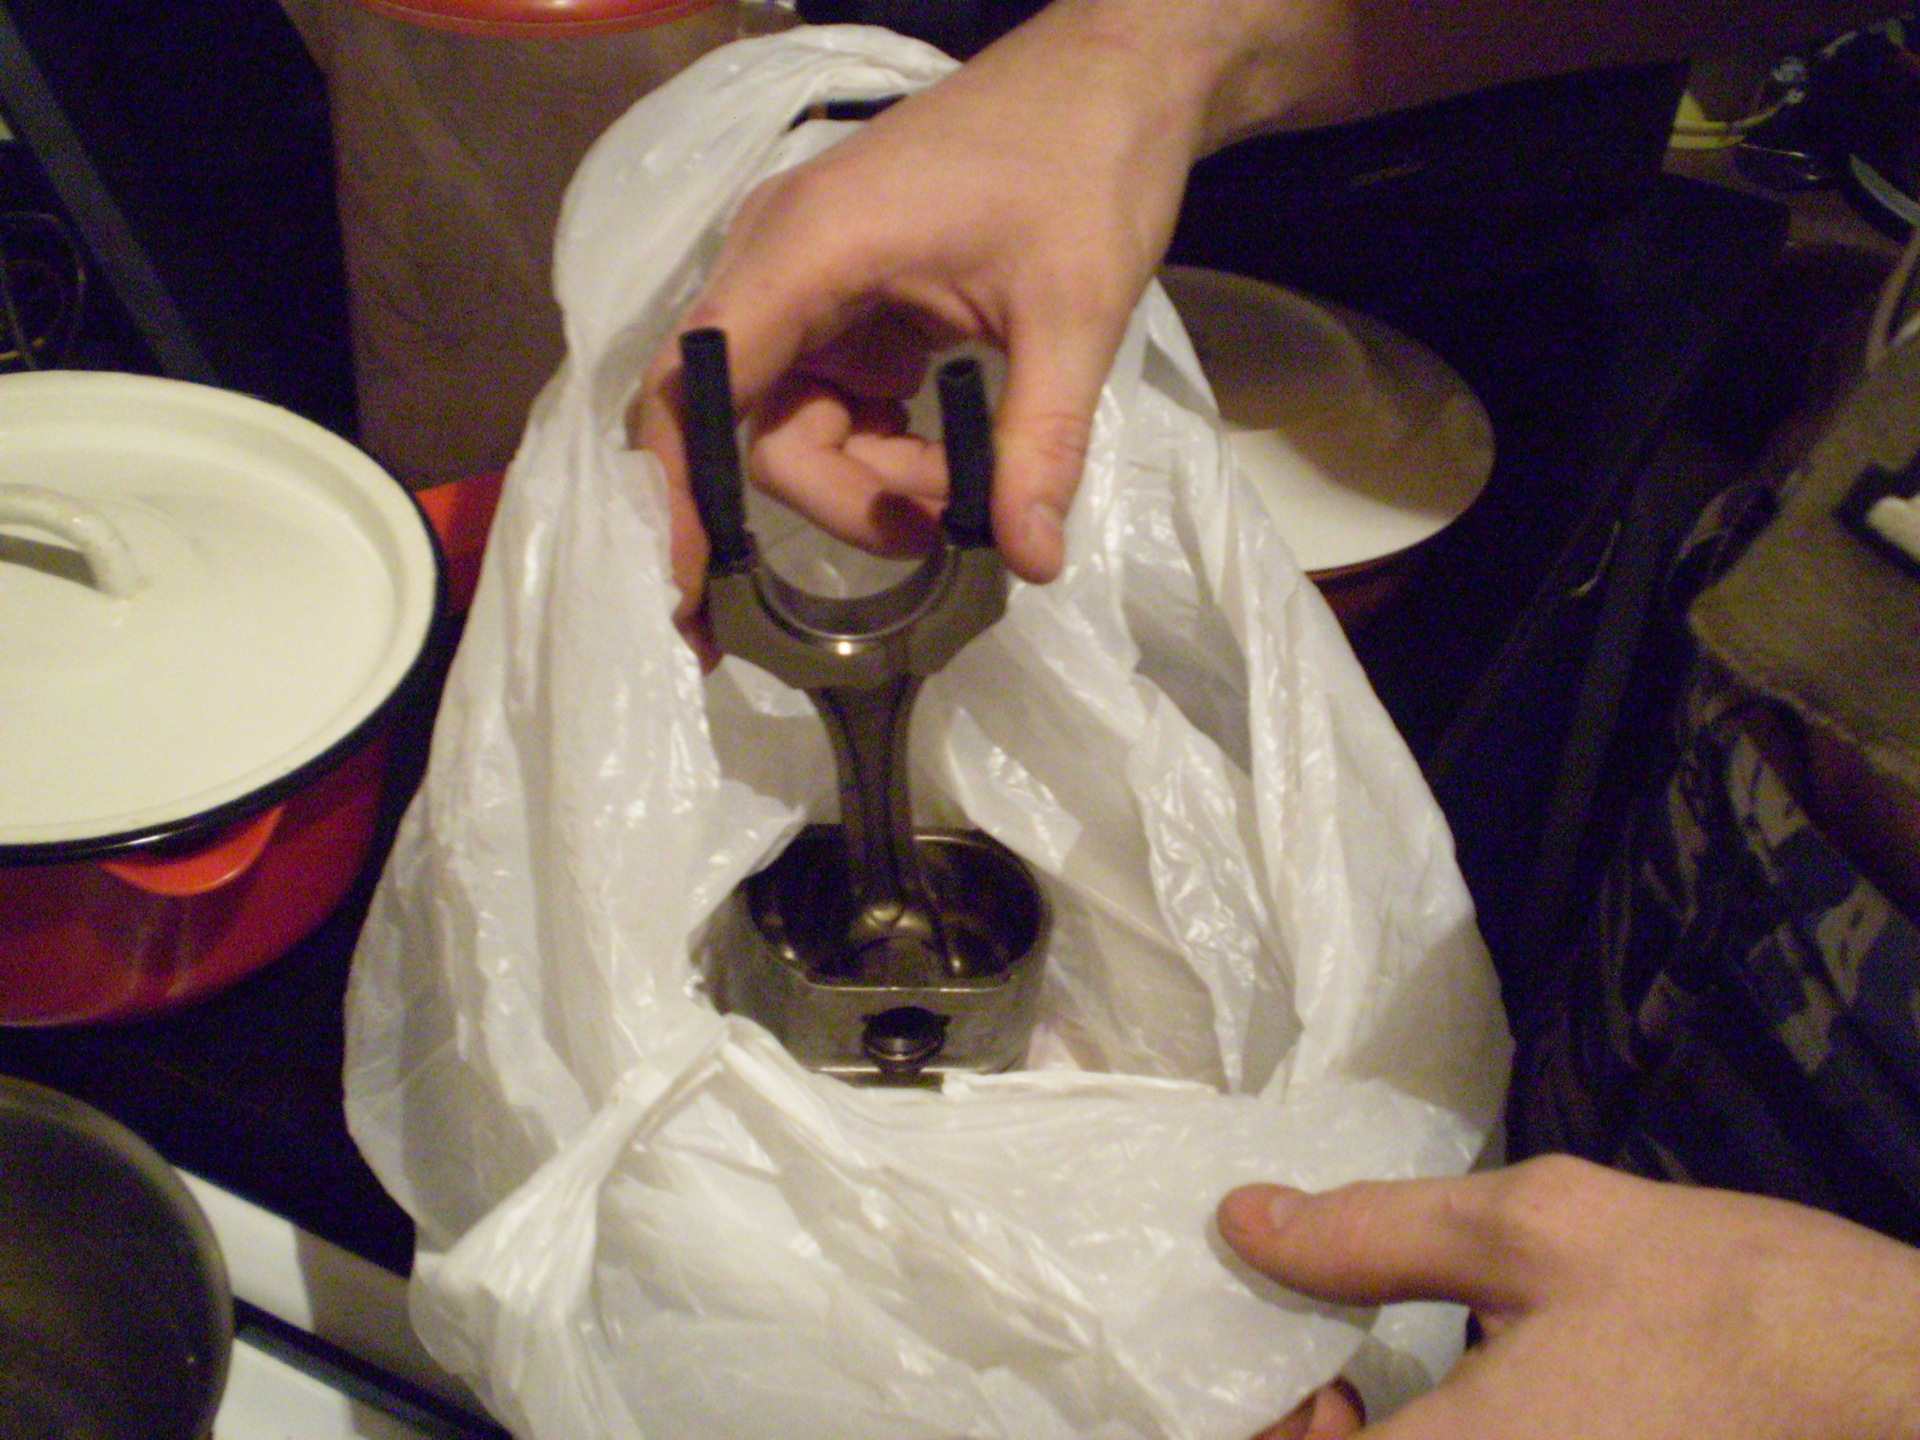
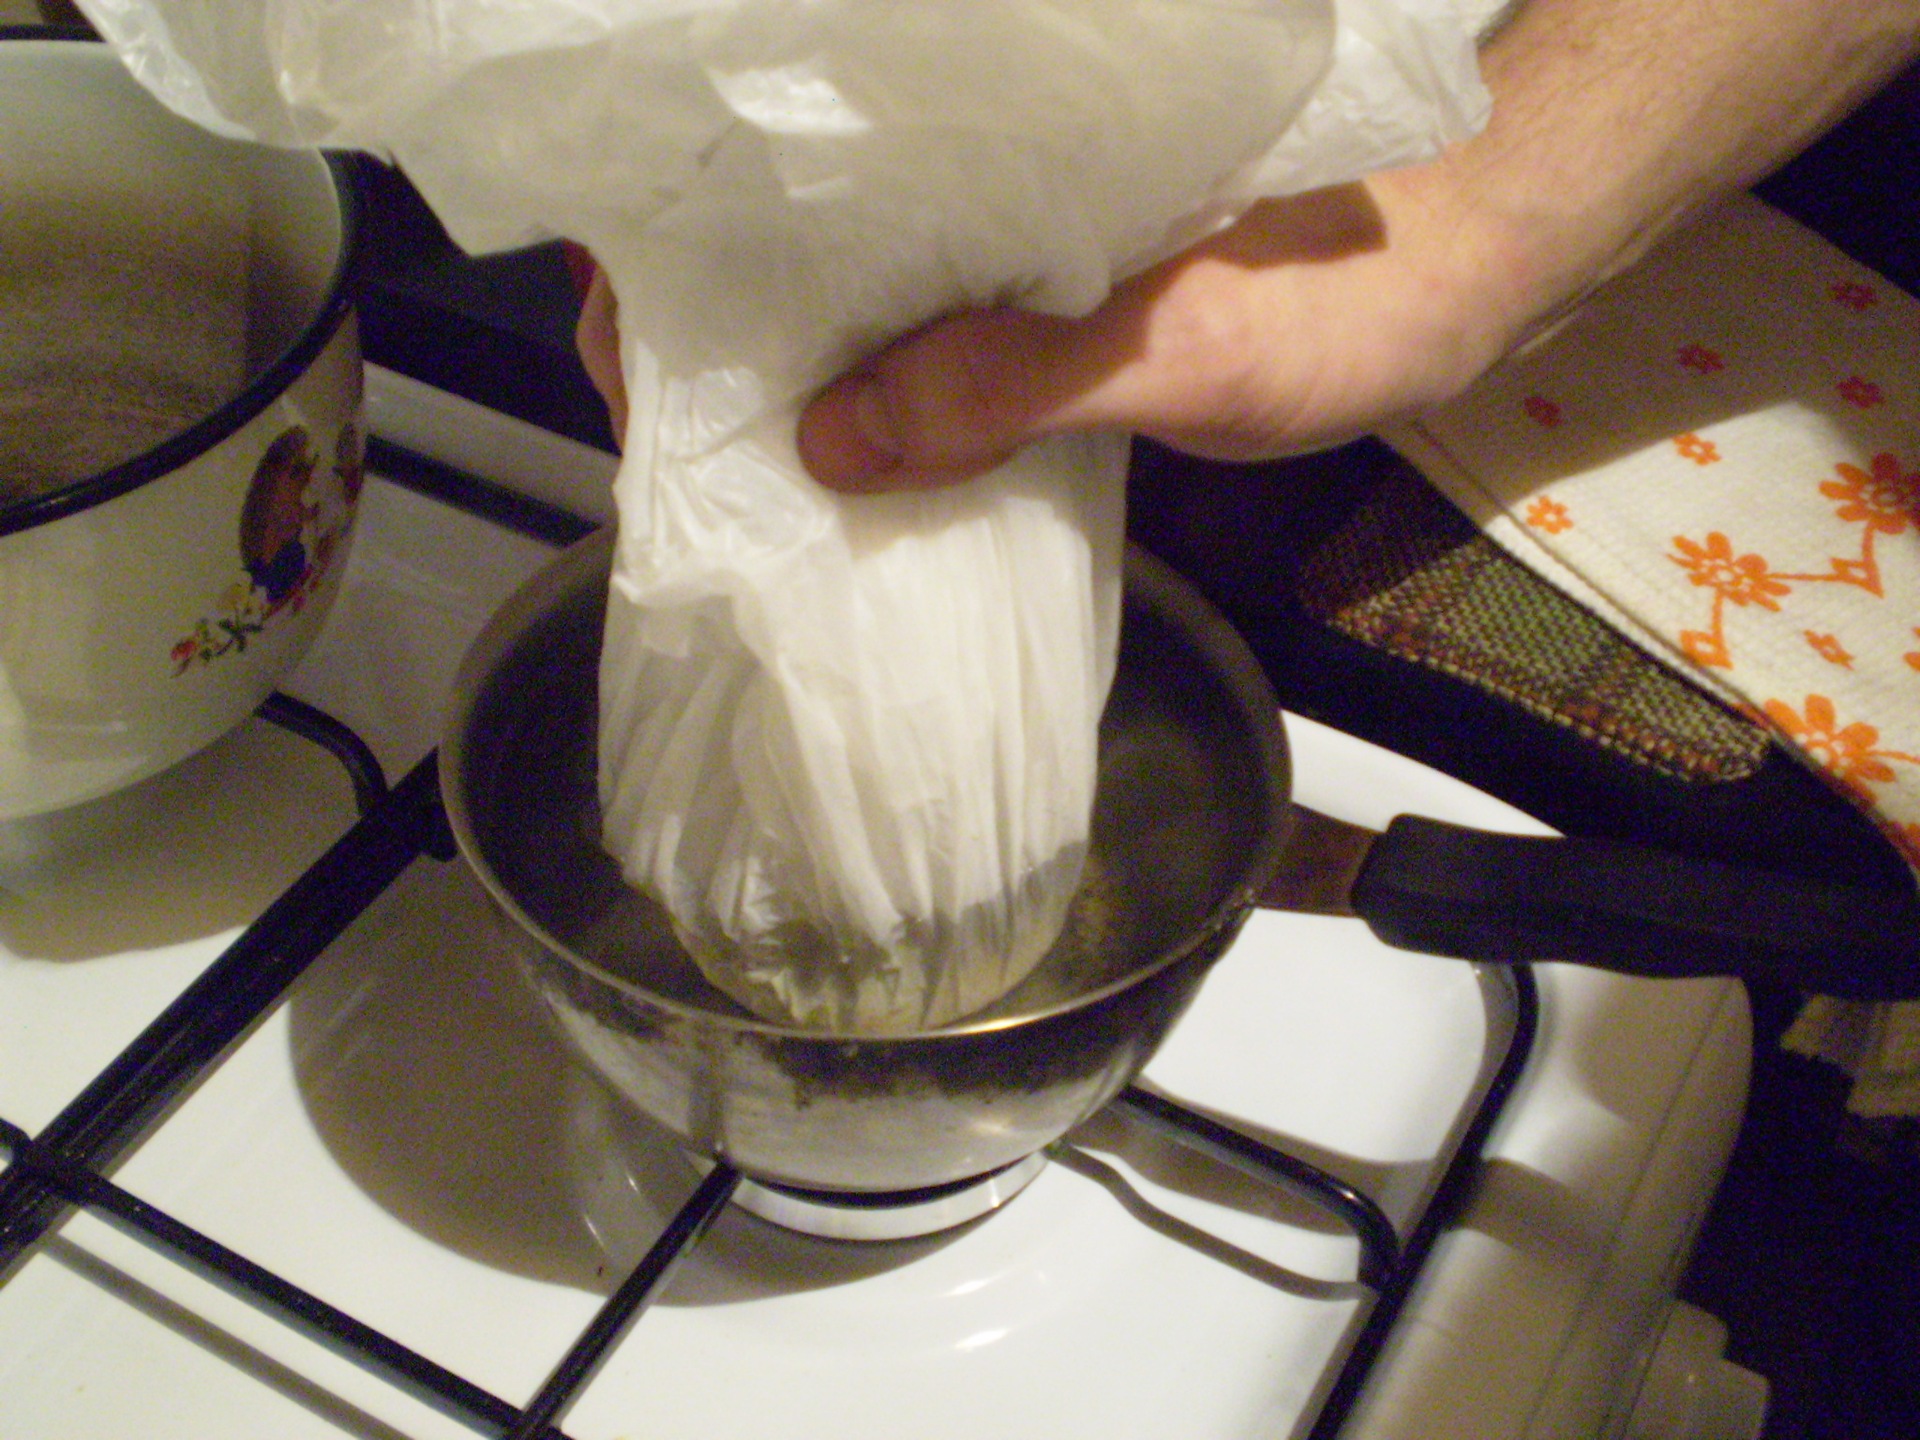
After 3-4 minutes, we take out and disassemble from the side of the standing retaining ring, "helping" ourselves with slight blows of a mallet - through a cylindrical wooden stick.
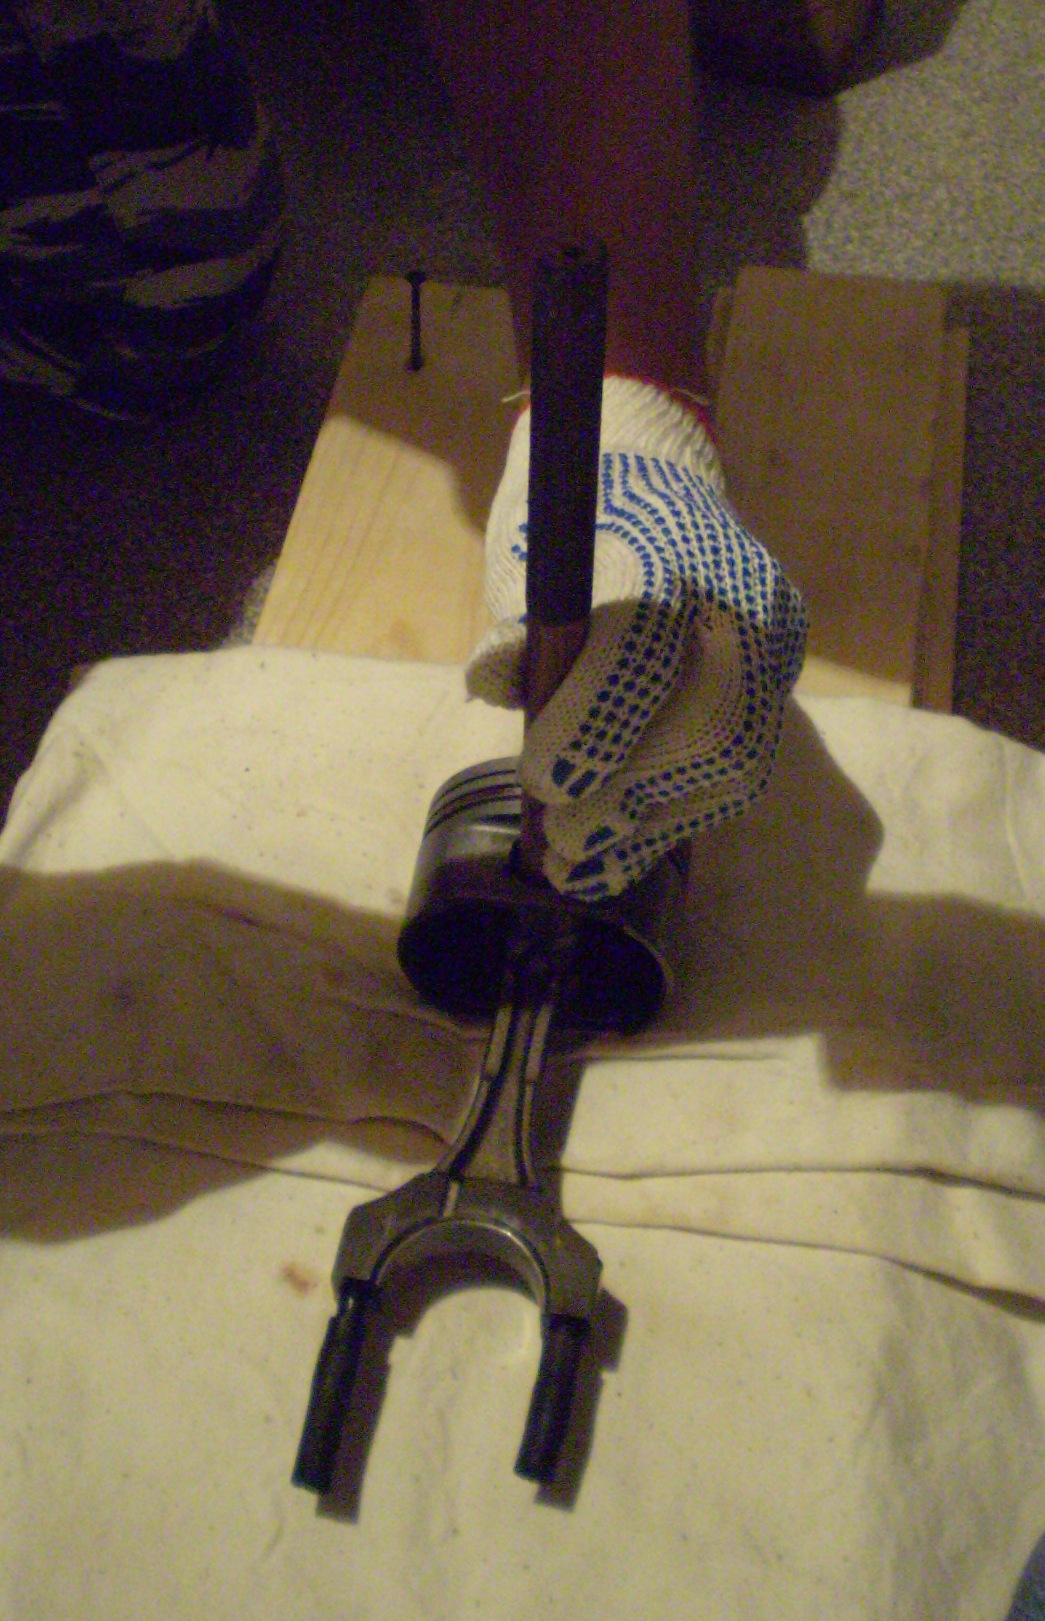
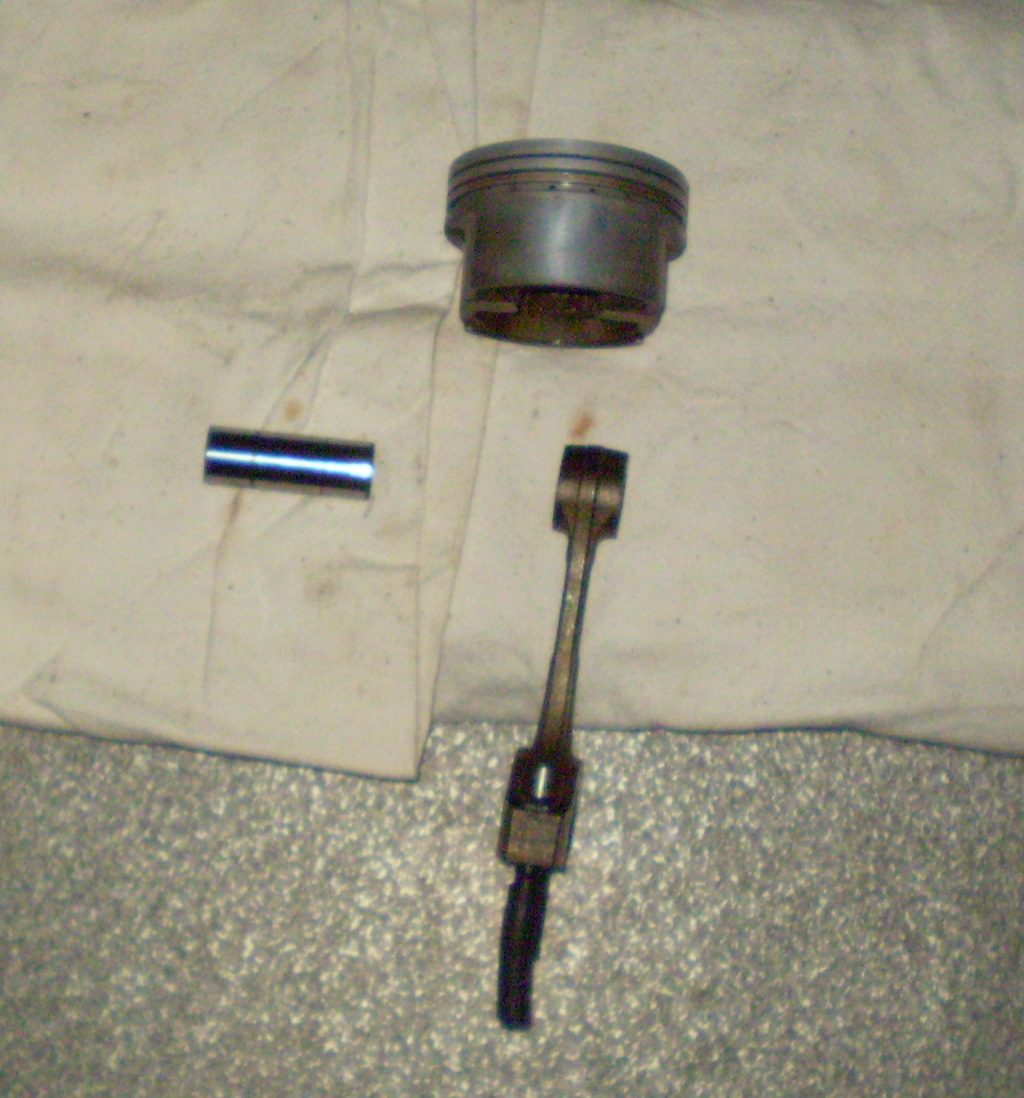
Install a new retaining ring in the new piston, lubricate the adjacent surfaces of the piston, connecting rod and pin and heat it in the same way.
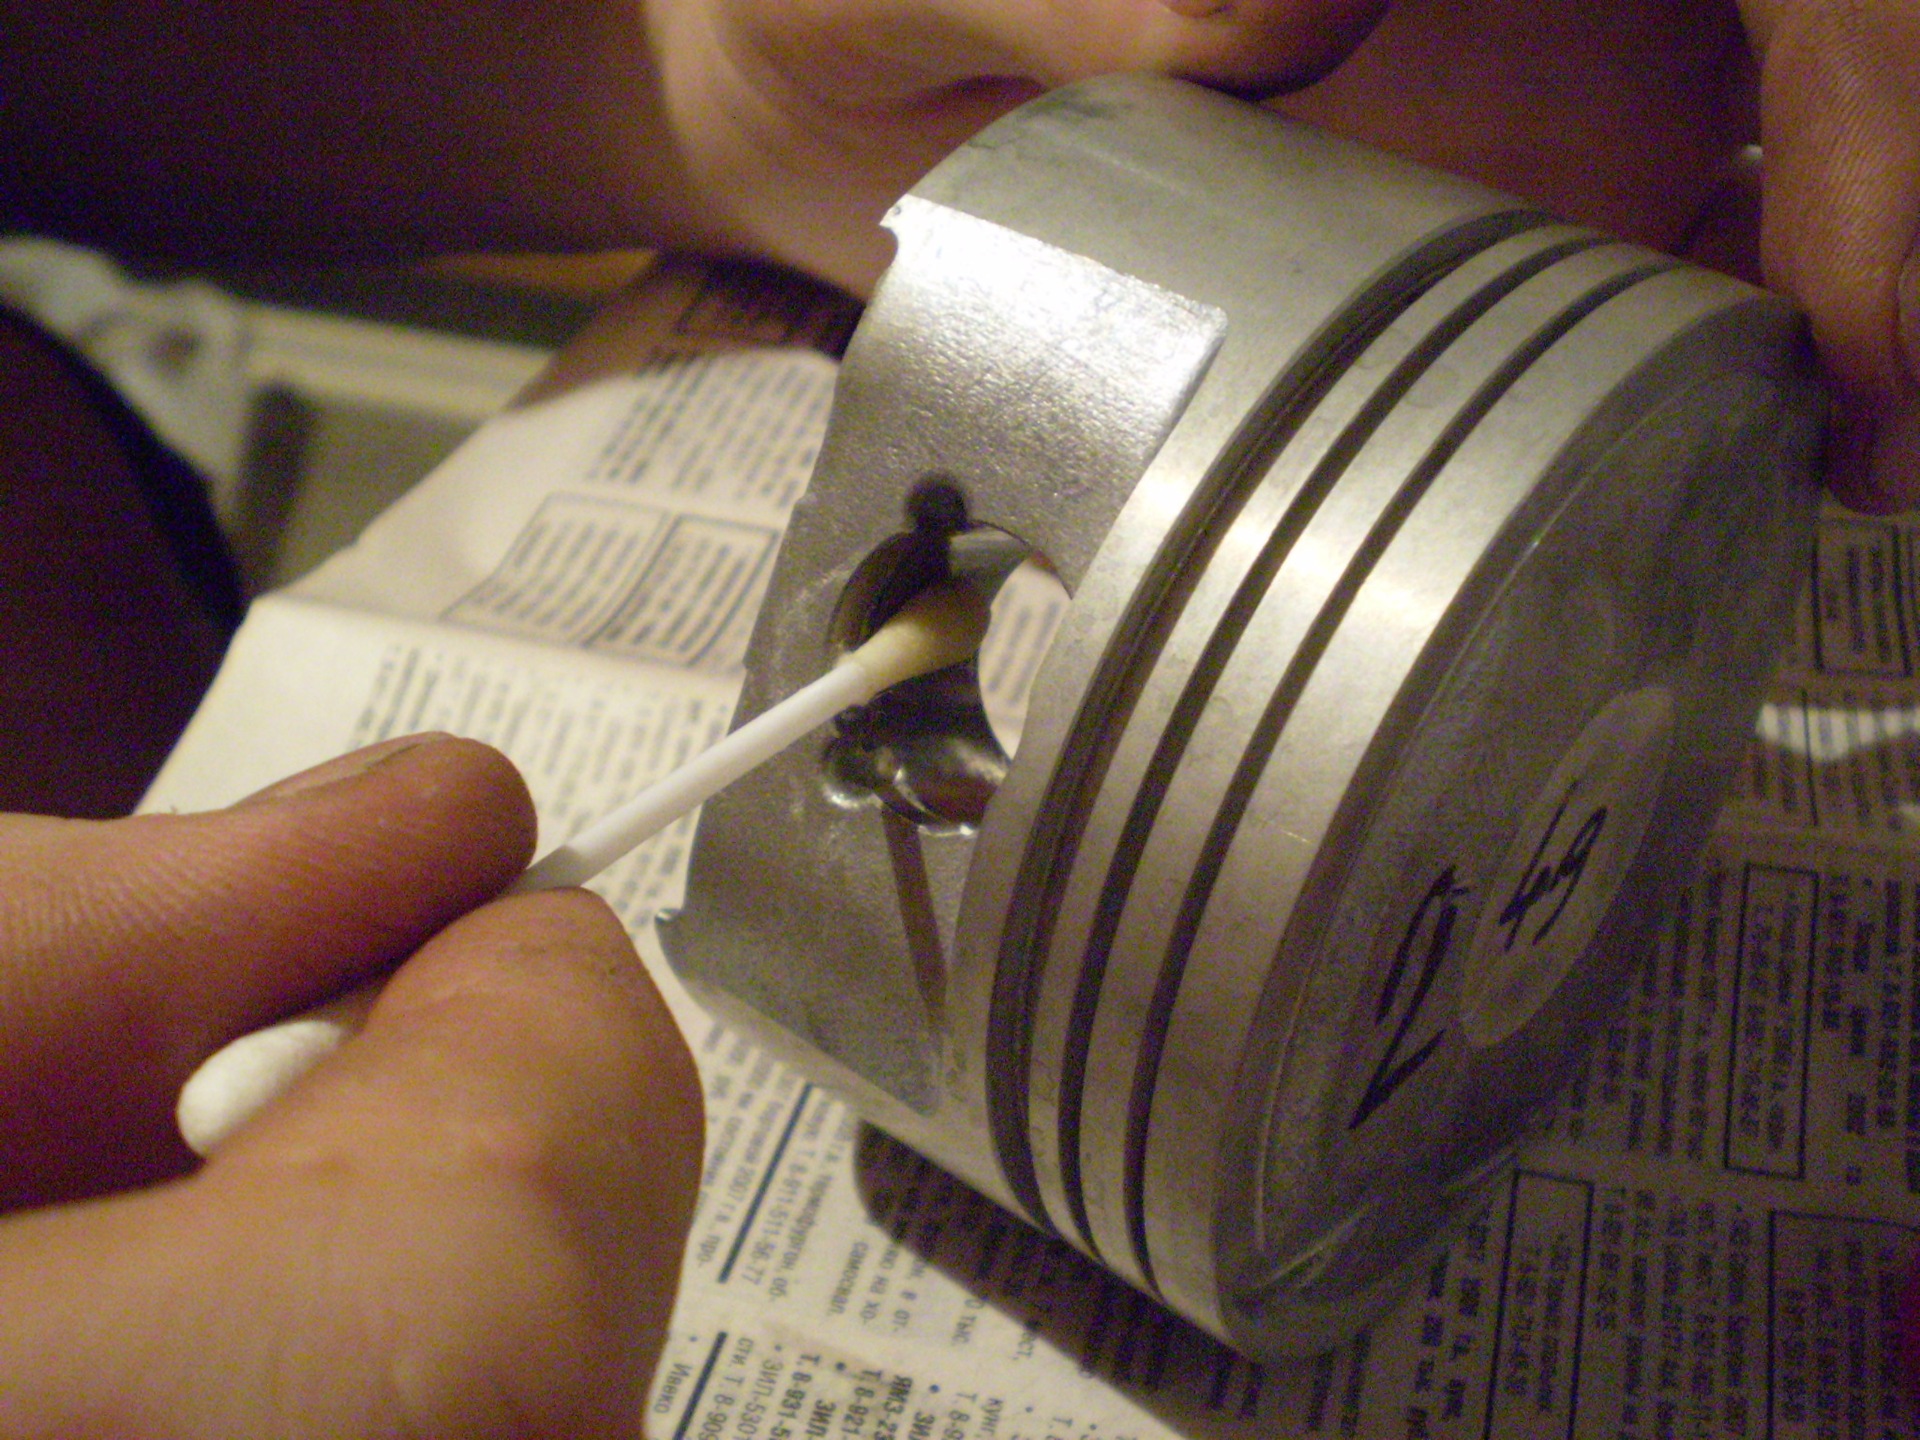
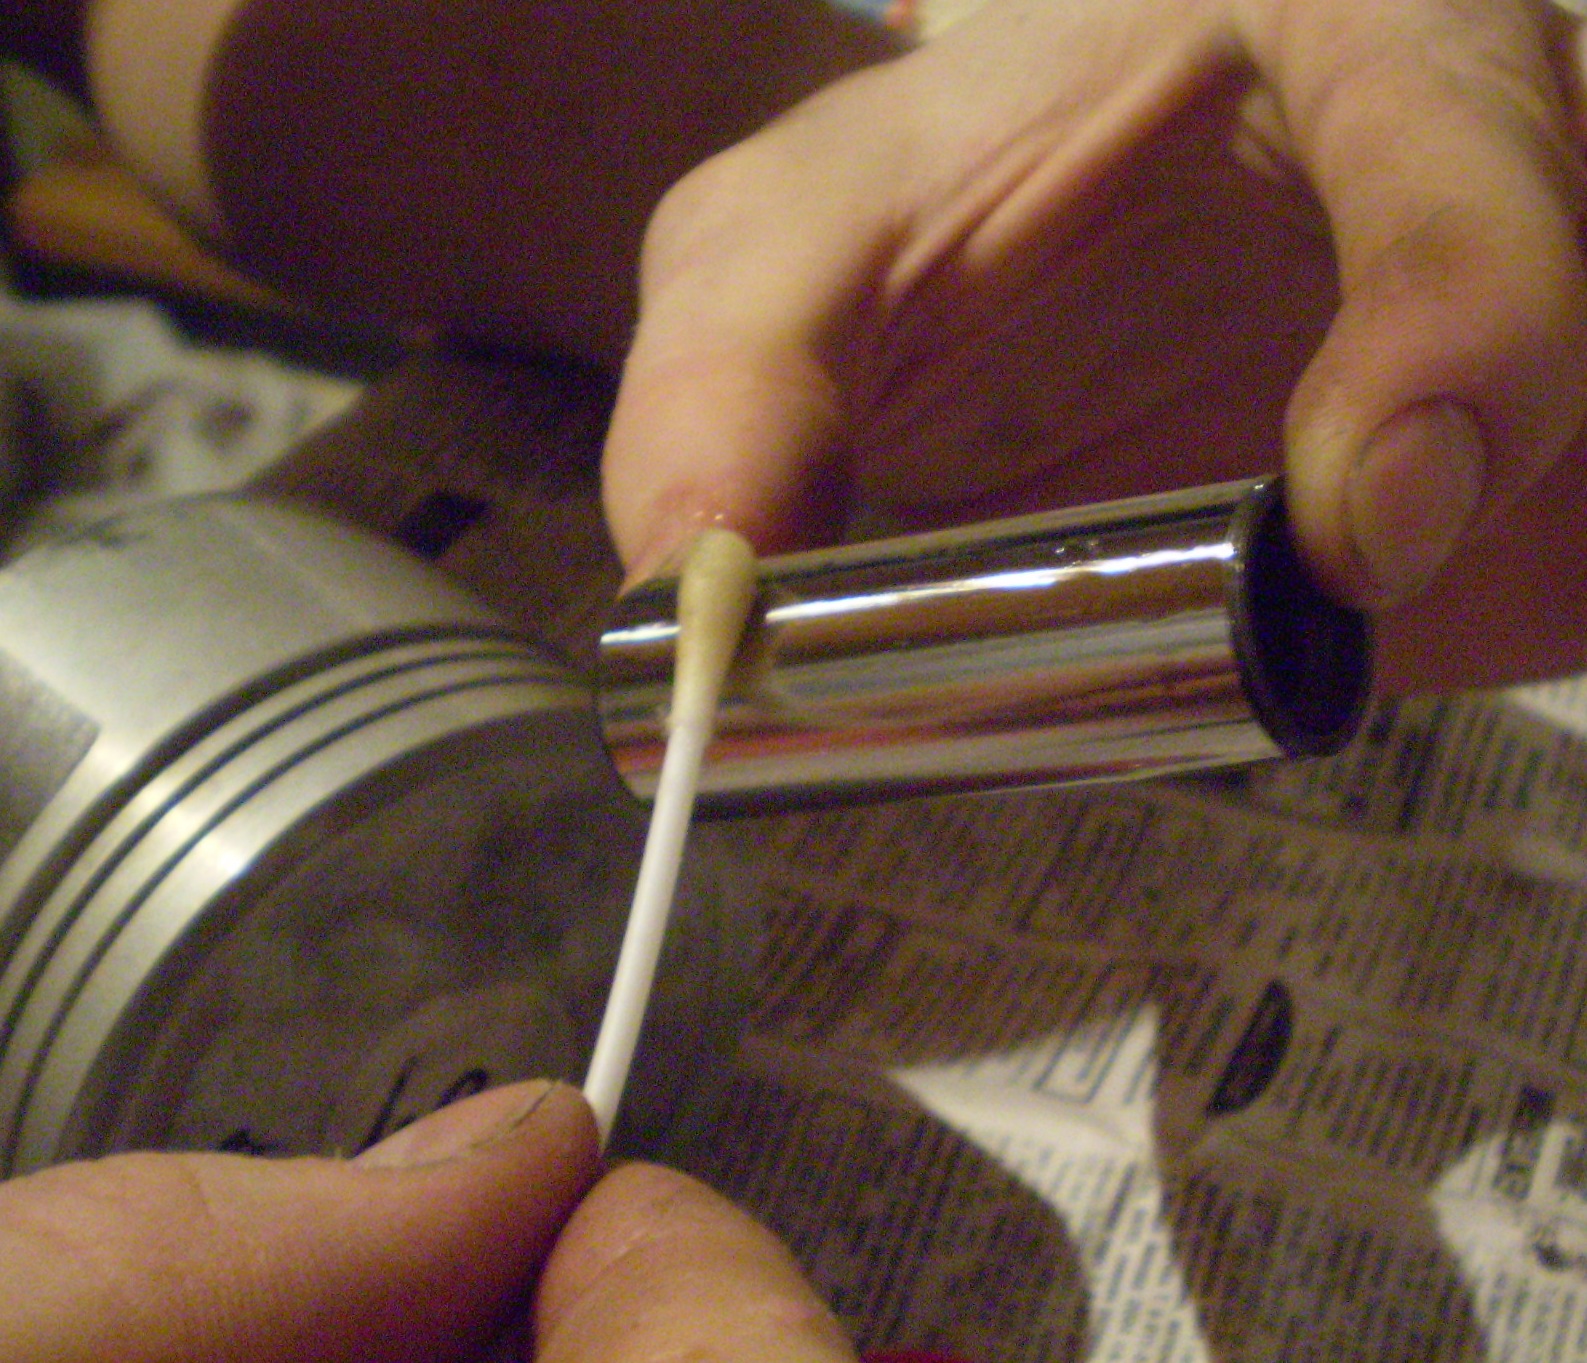
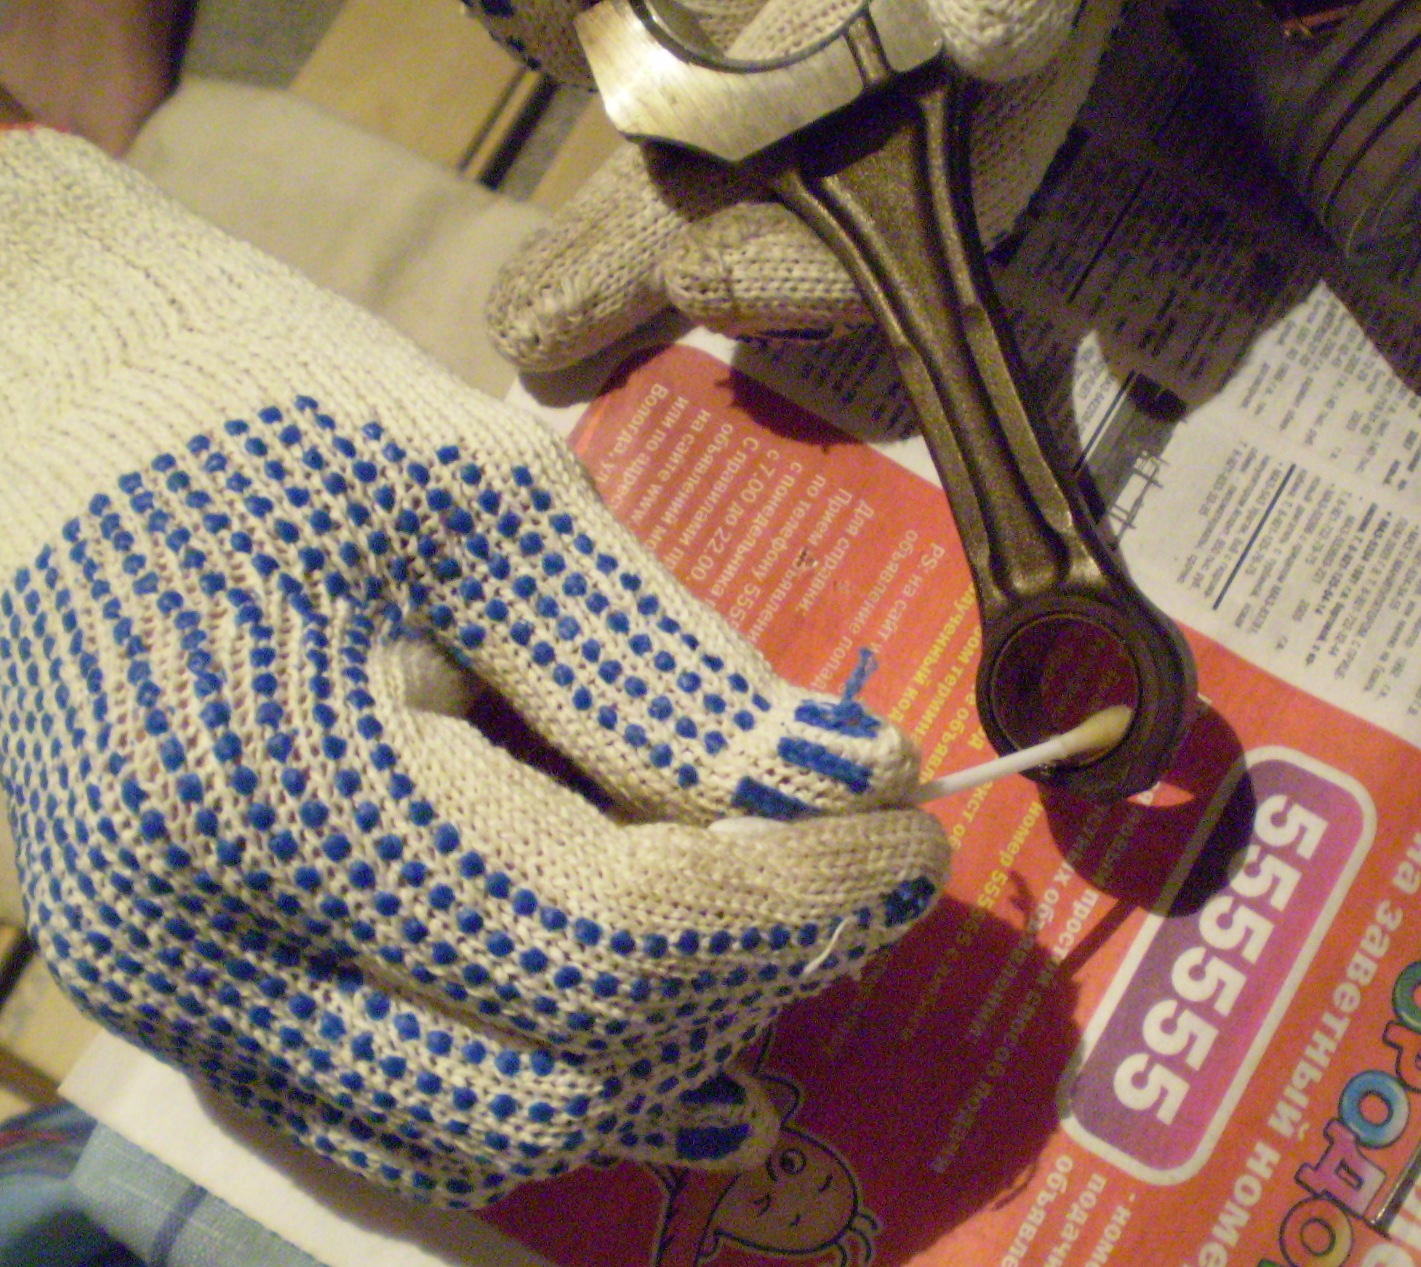
After heating, the finger enters with the effort of the finger, we combine the marks on the connecting rod and piston and connect together.
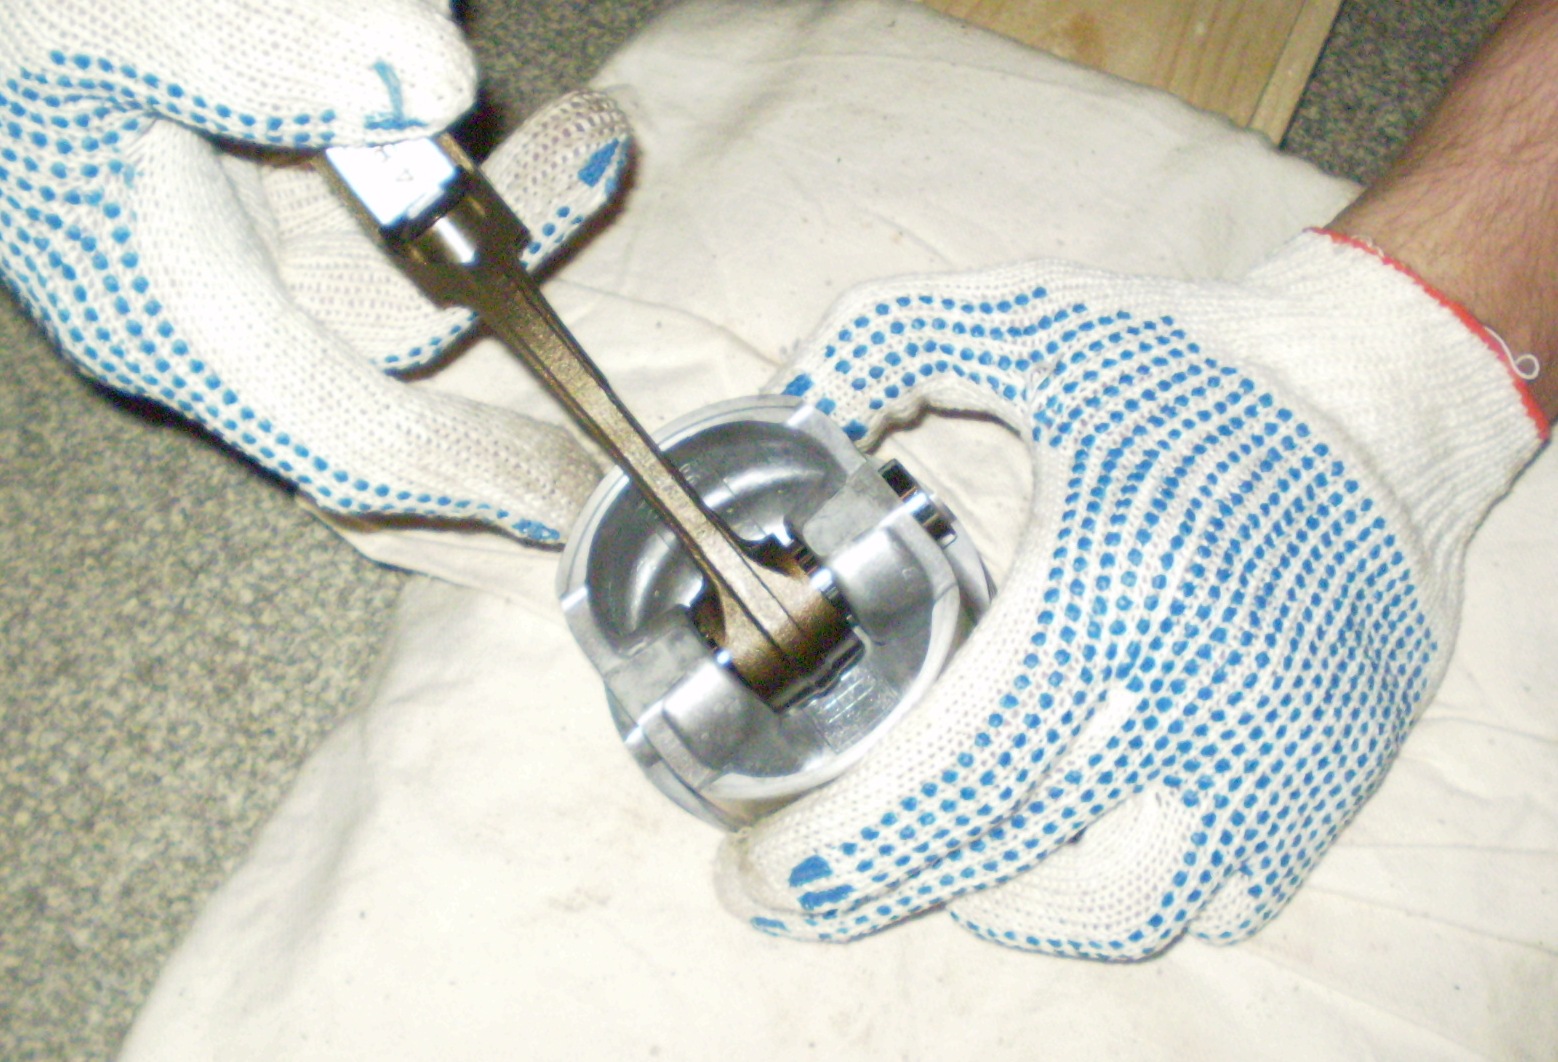
We fix it on the other side with a retaining ring.
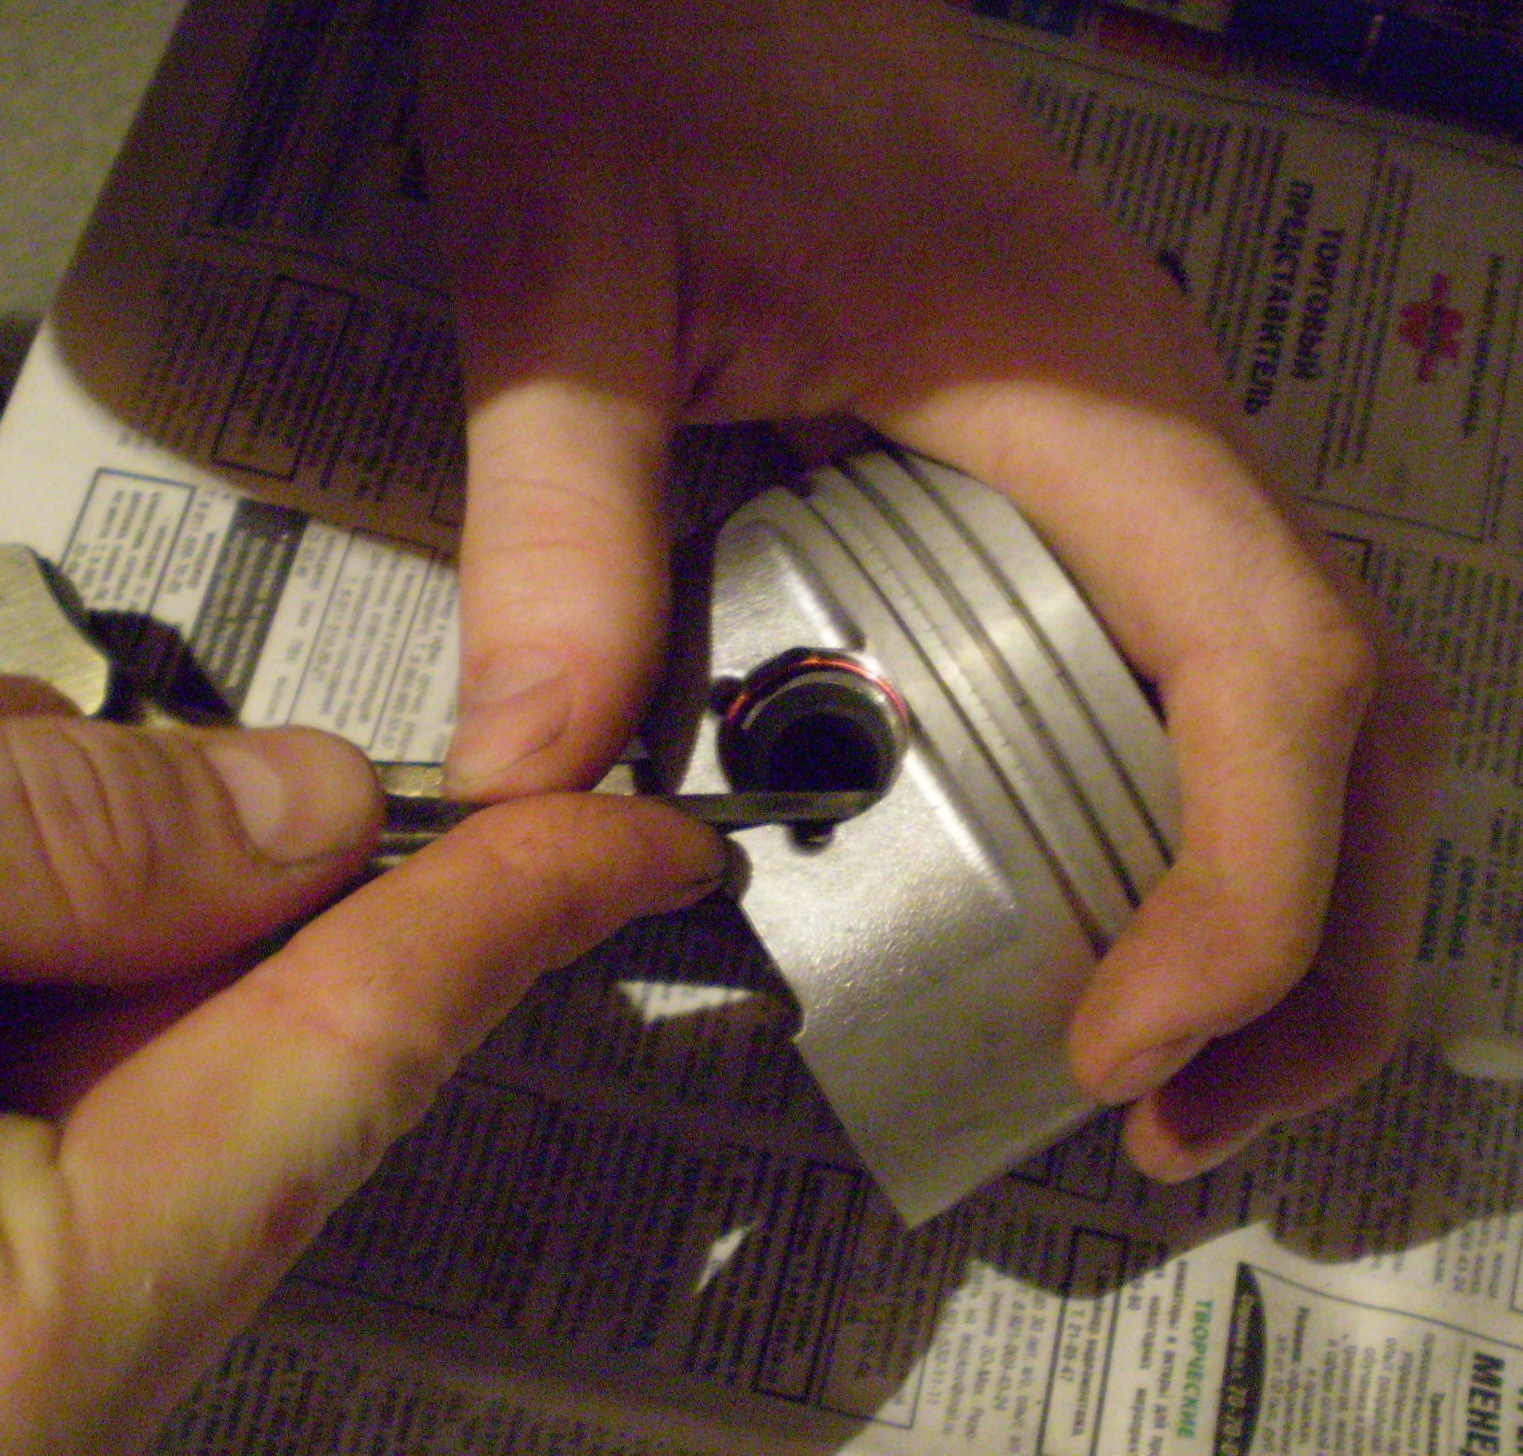
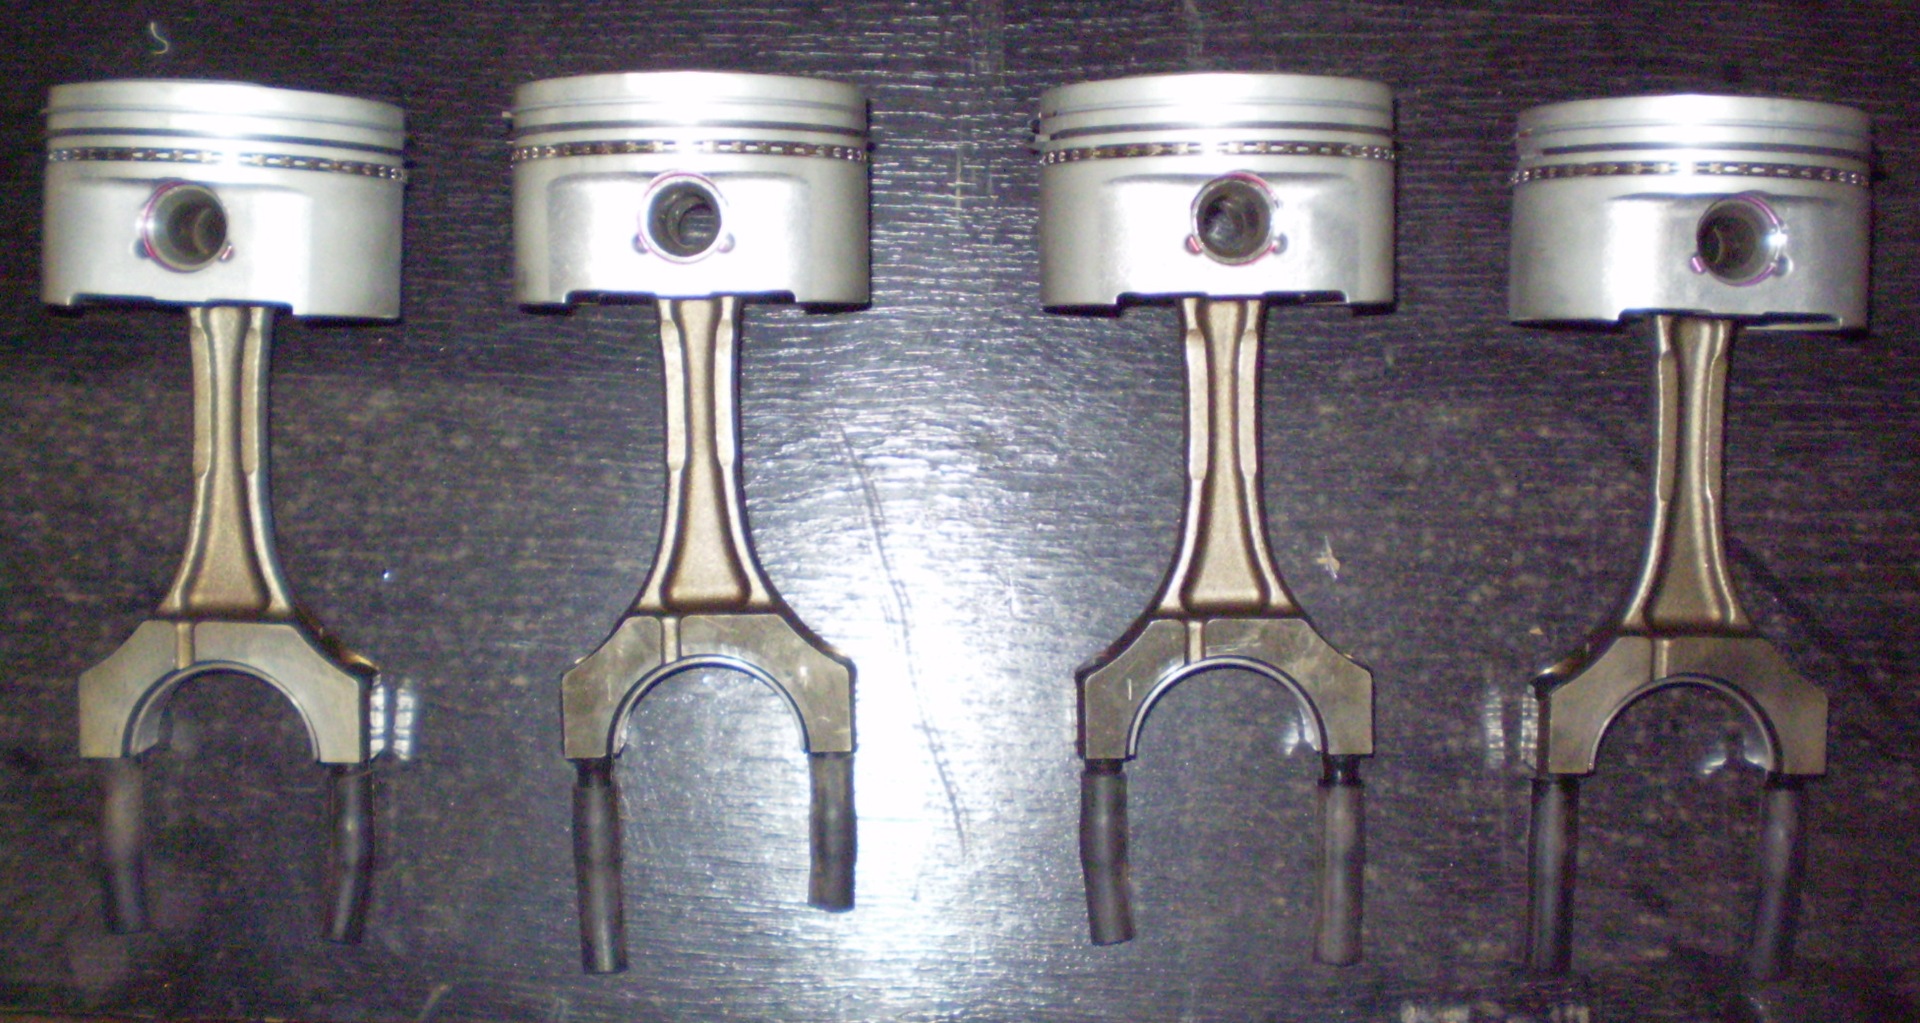
Here one is ready - and so on 4 more times.
Next, we load with rings according to the book - in a certain order, do not forget about the plate-like nature of the oil scrapers.
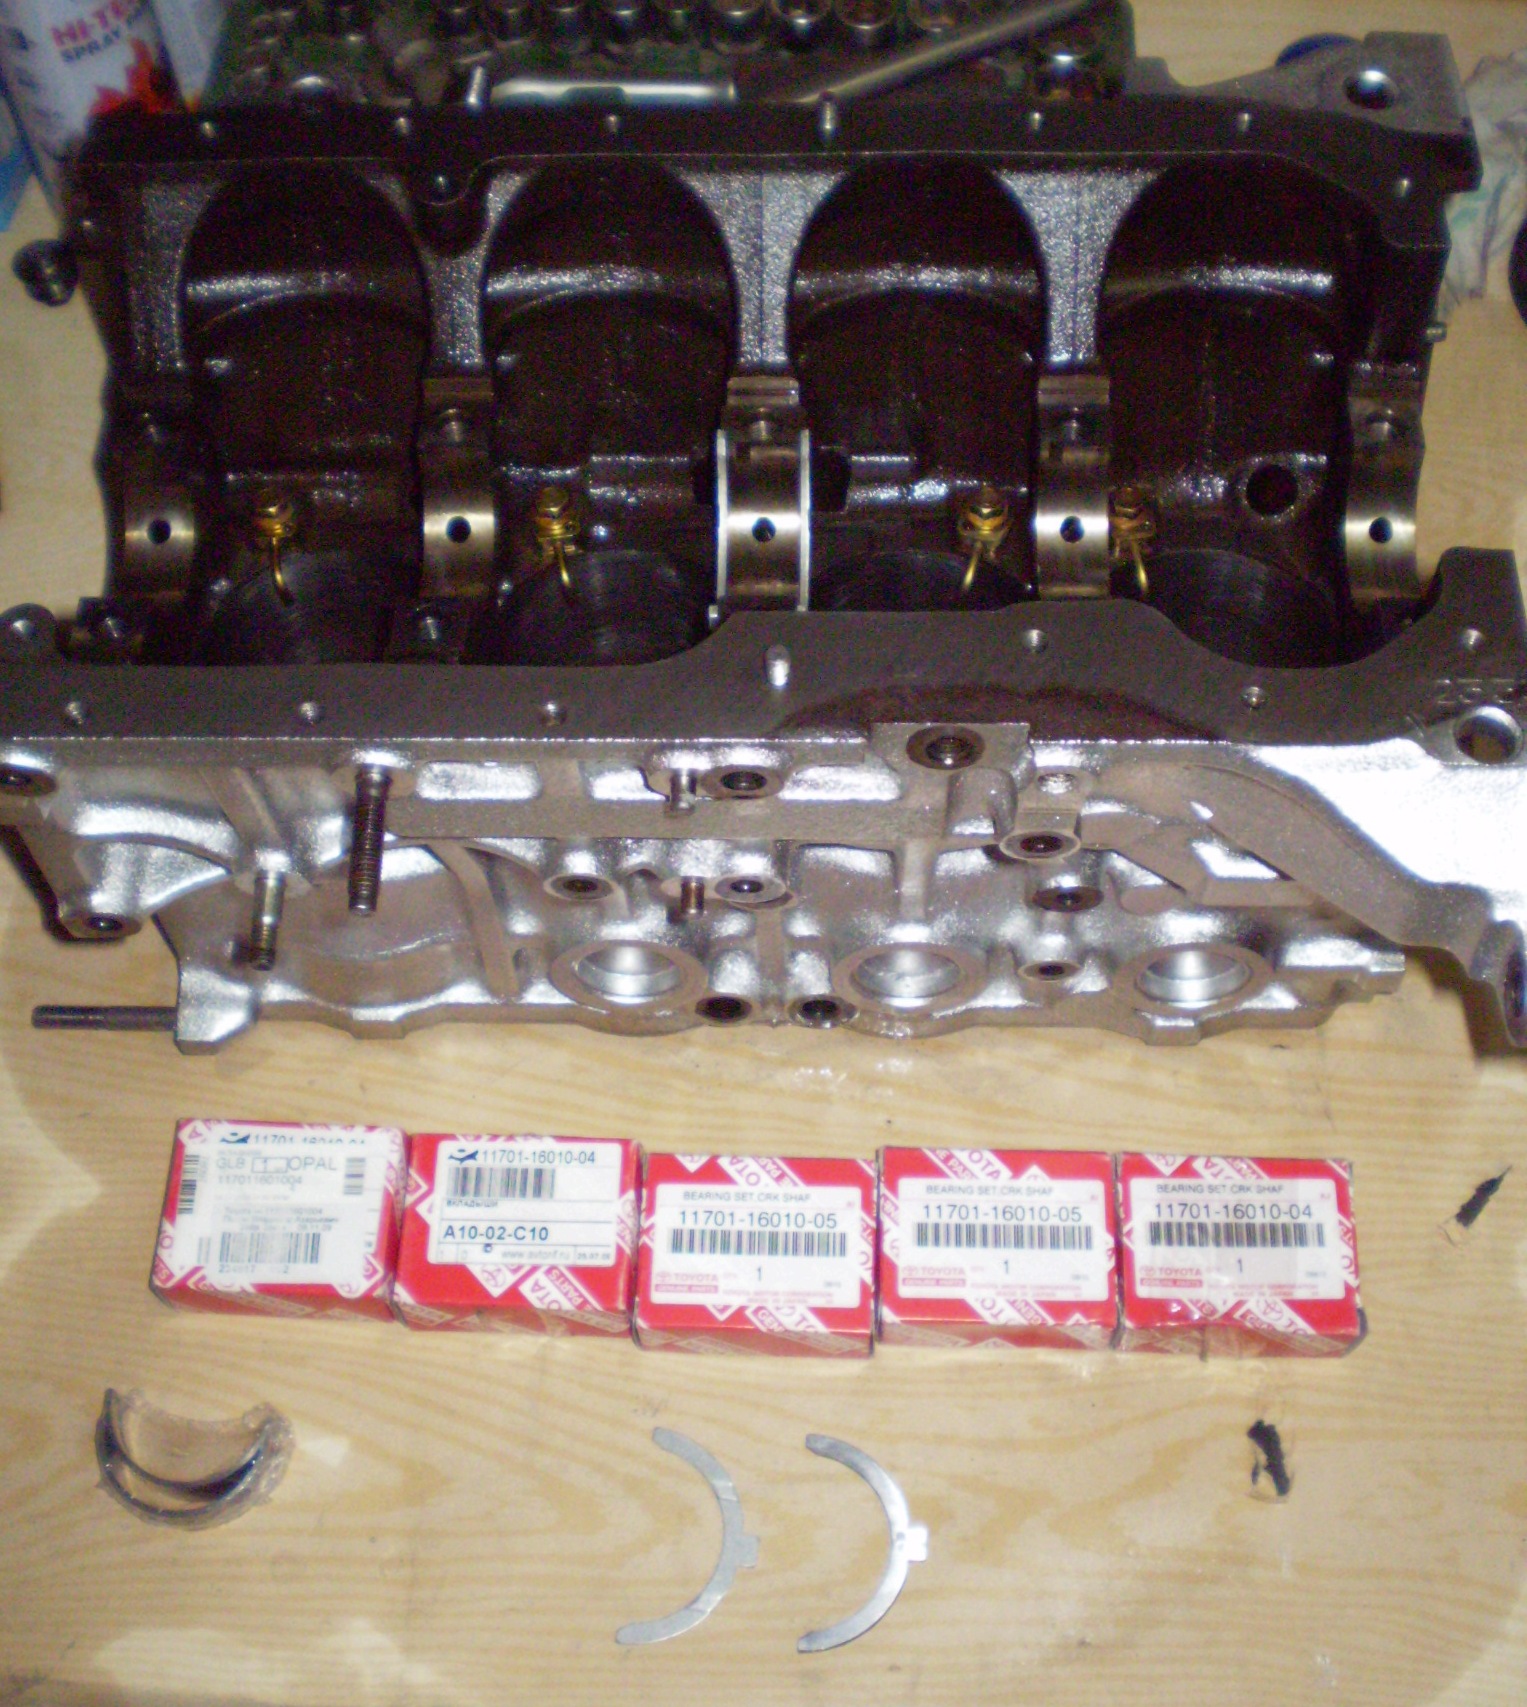
Next, the assembly of the block - we put the new liners and persistent half rings, lubricate them and the knee necks.
We put the knee, upper liners and half rings.
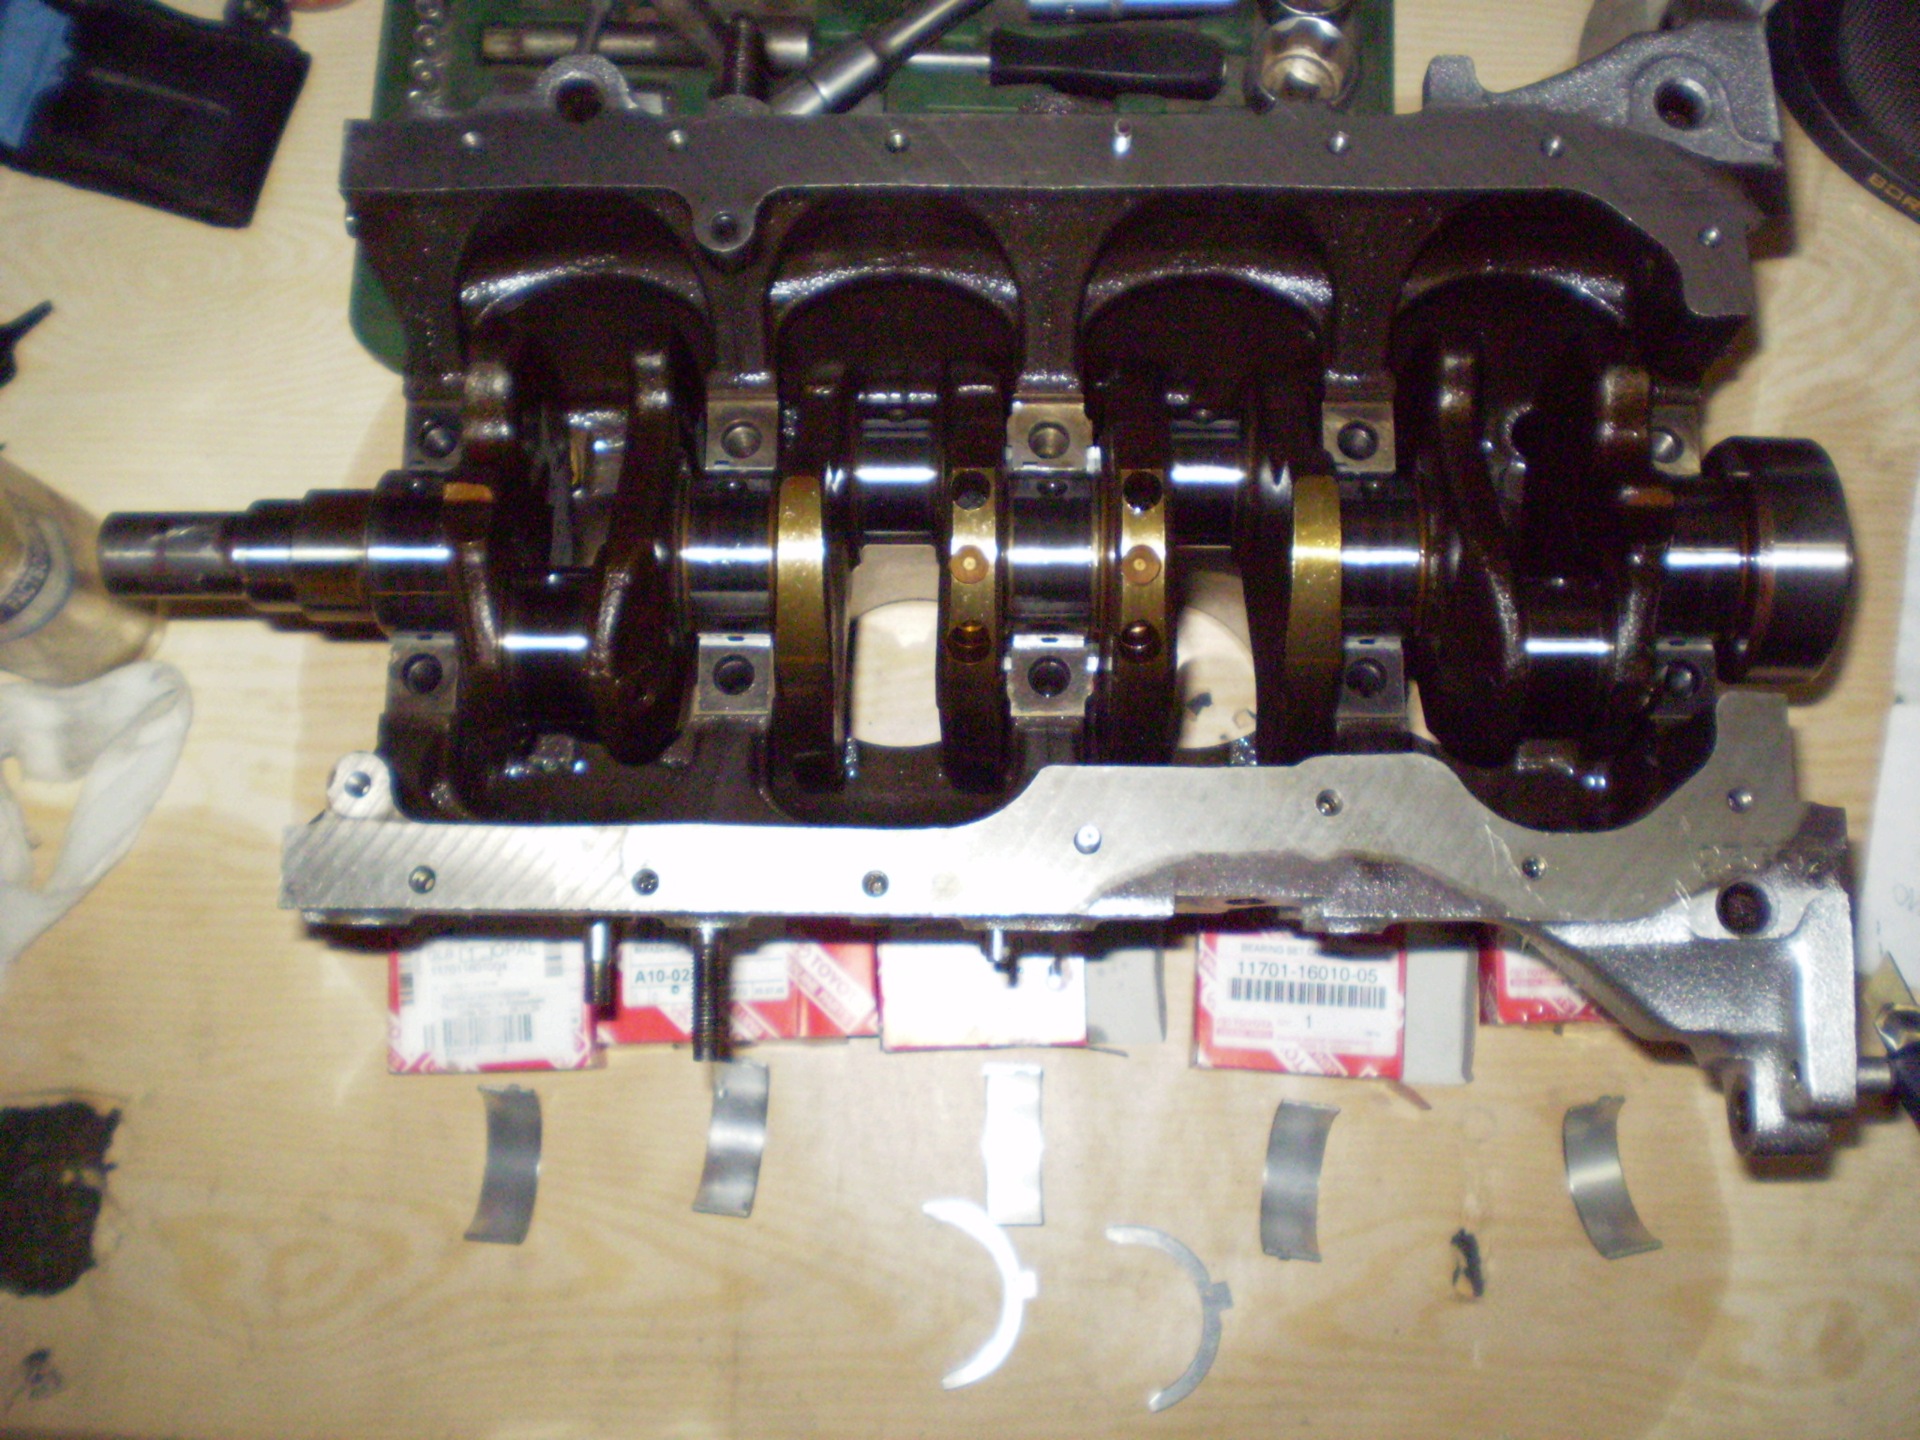
we tighten the covers in a certain sequence with a torque wrench in several passes and then turn it another 90 degrees.
Next, we install the oil seal holder through the new gaskets (we naturally change the knee oil seals) and the oil pump.
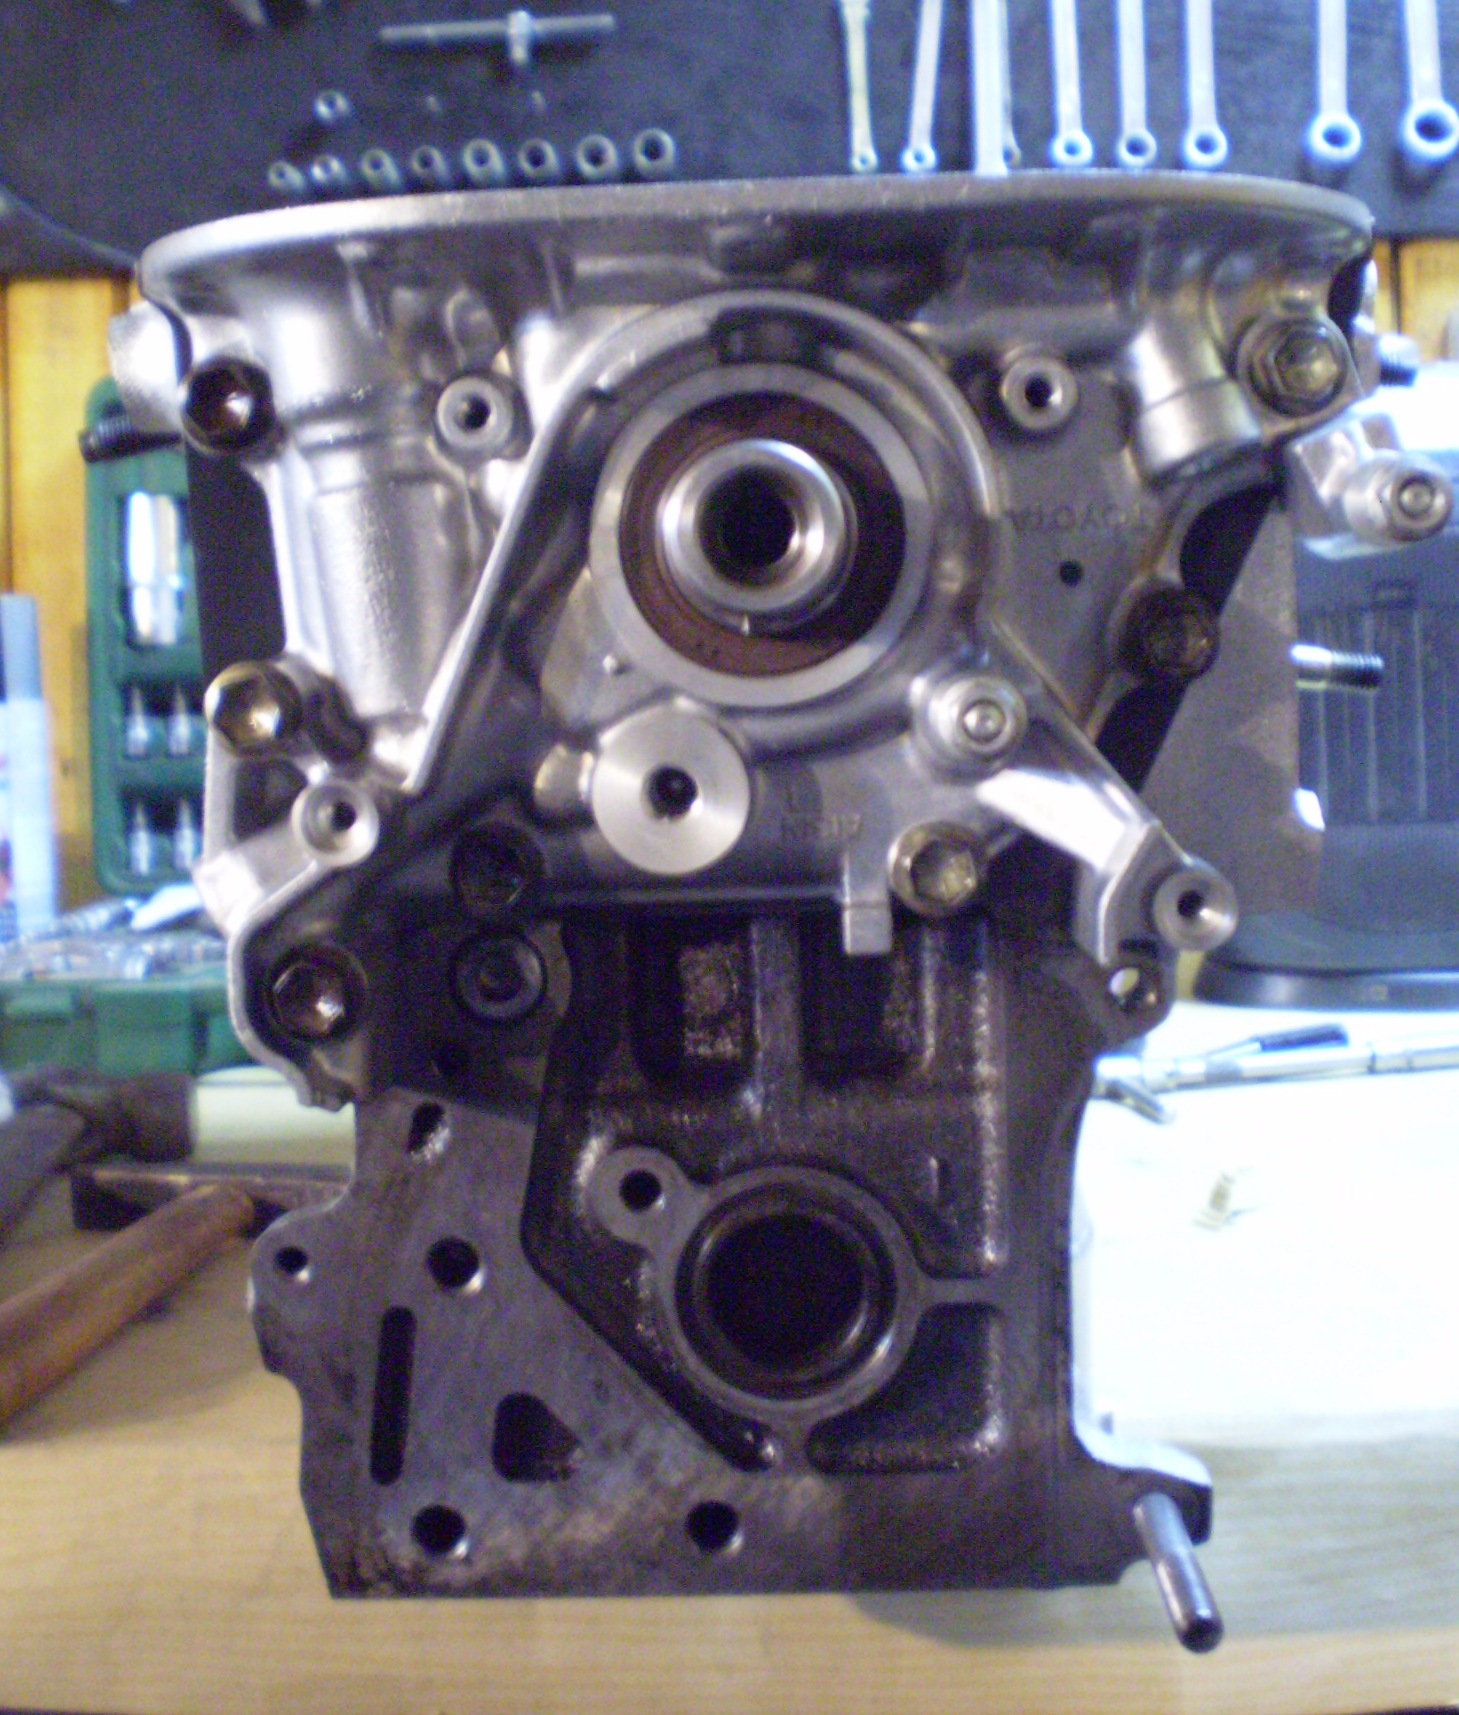
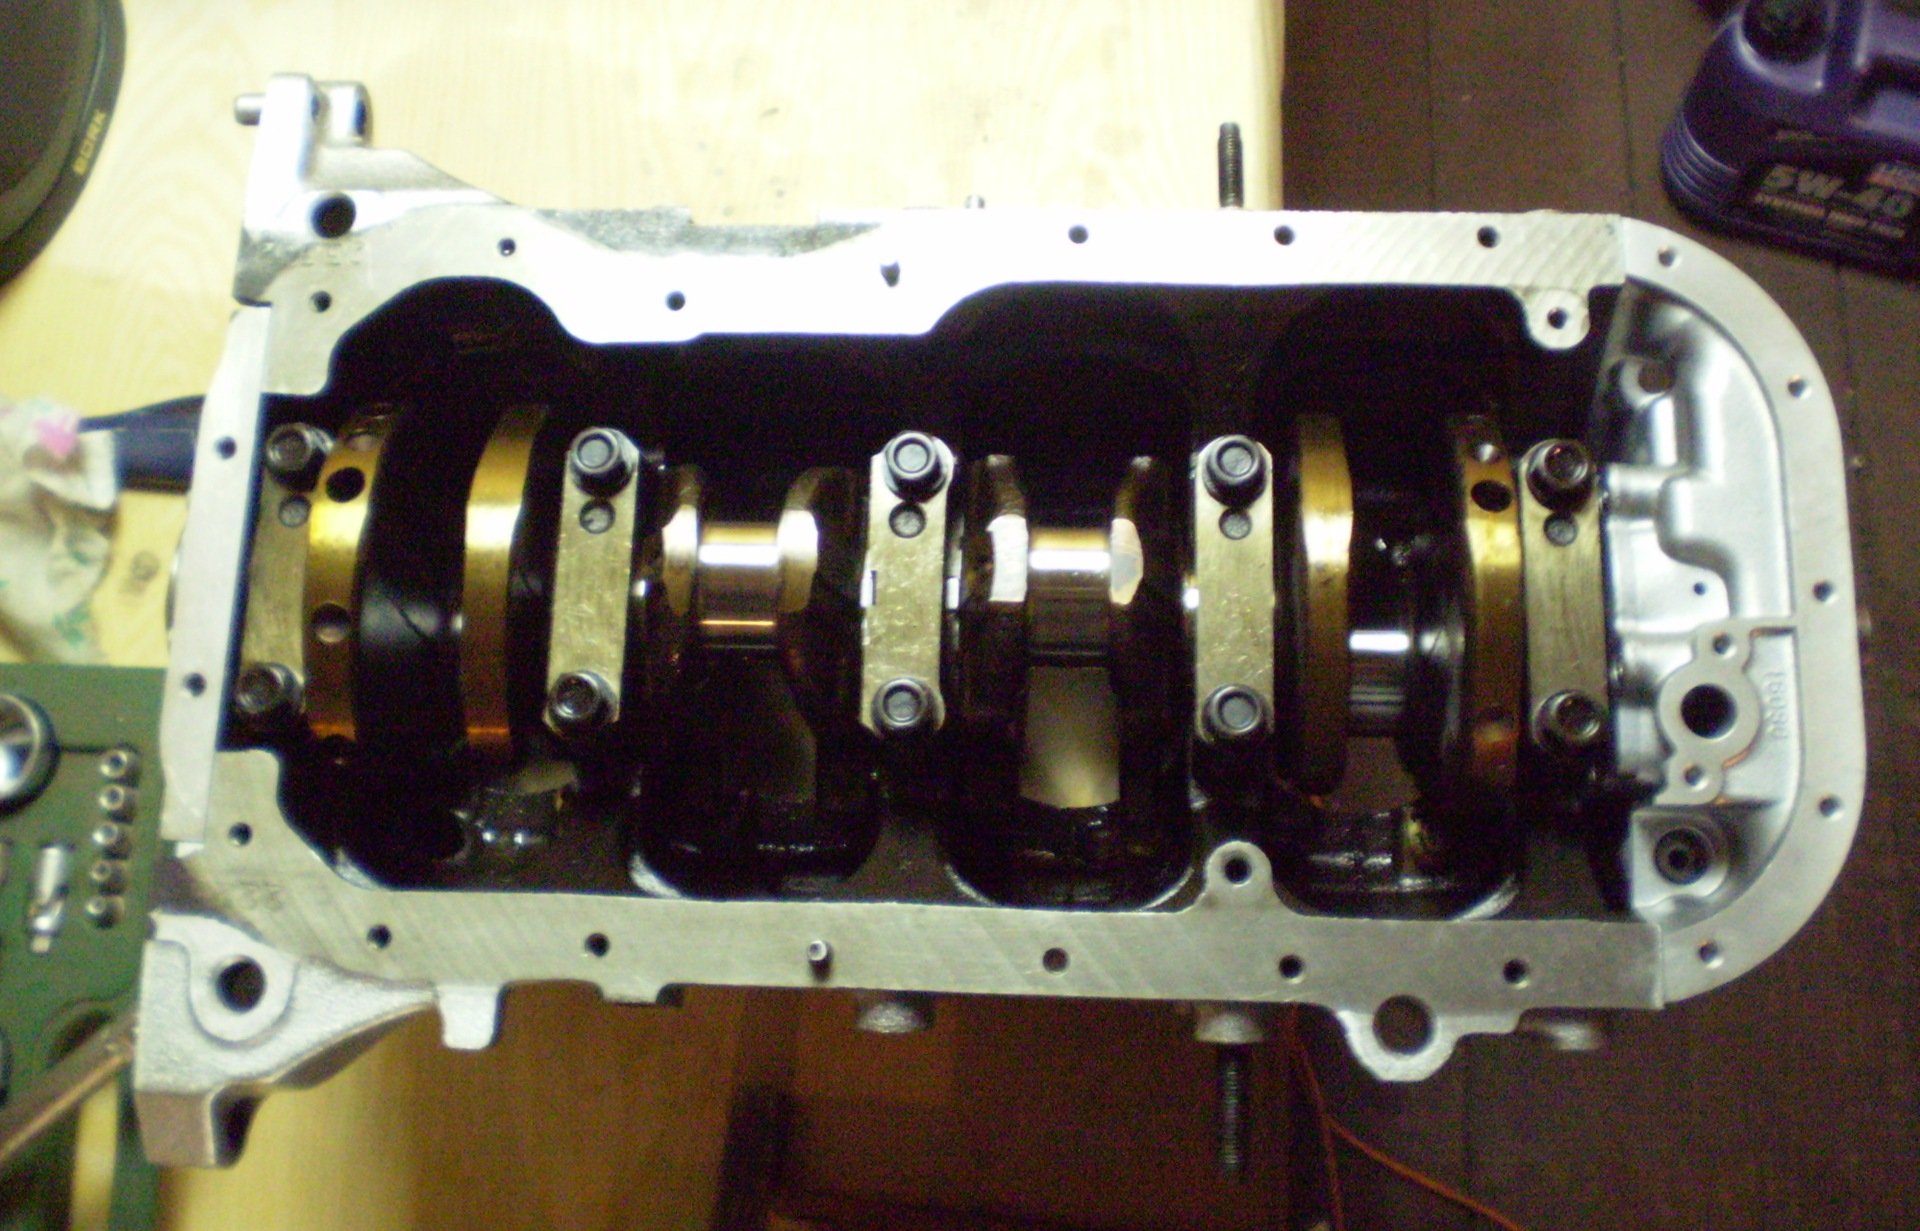
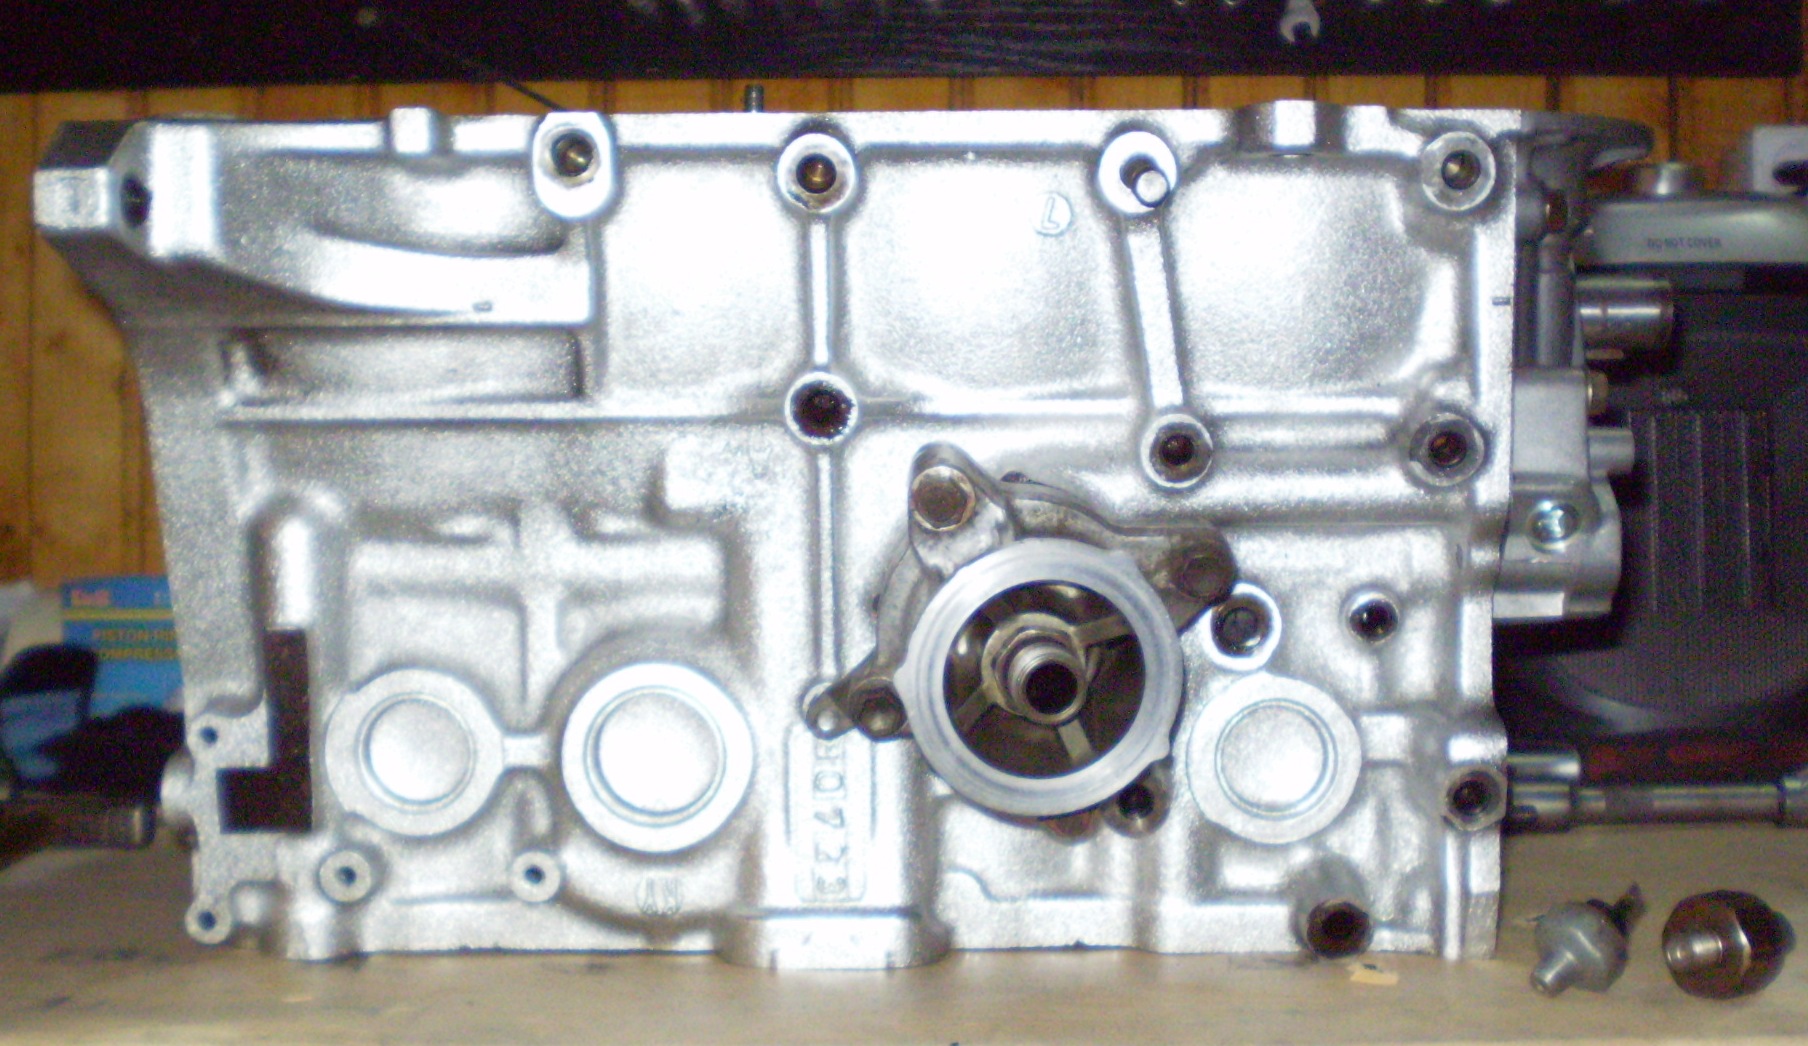
Not forgetting the new gaskets, we install the oil filter spacer, oil pressure and detonation detector.
With the help of a mandrel, we drive new pistons according to the numbering with new connecting rod bushings, tighten the caps.
With the help of sealant - we do the following procedure quite quickly - having degreased the sump block and the oil damper - apply the sealant to the block and install the oil damper, screw the oil catcher with a new gasket, apply the sealant to the pallet and quickly fix it all with a bunch of bolts.
We screw the bottom mount to the block (with which it is attached to the box).
Z
Z-UBARU
09.12.20
I would not have mastered this, it is clear that my hands have not yet curled up in the right way and the oil in my head does not reach the level, Cool and respect