Cleaning the radiator of the stove, WITH AN OPENING! - Toyota Mark II, 2.5L, 1989
Once again, with our Siberian weather, it became very cold in my car, and therefore I decided to deal with this issue specifically.
Previously, we tried to flush the radiator of the stove with all sorts of different liquids, ranging from citric acid, vinegar, plumbing ... and ending with all sorts of company washes, in a variety of ways, from two bottles on a car to a removed radiator and installation with a pressure supply of up to three atmospheres, with pulsation air ...
Yes! after all this, the stove warmed up normally, but not for long, now it again began to warm sucks.
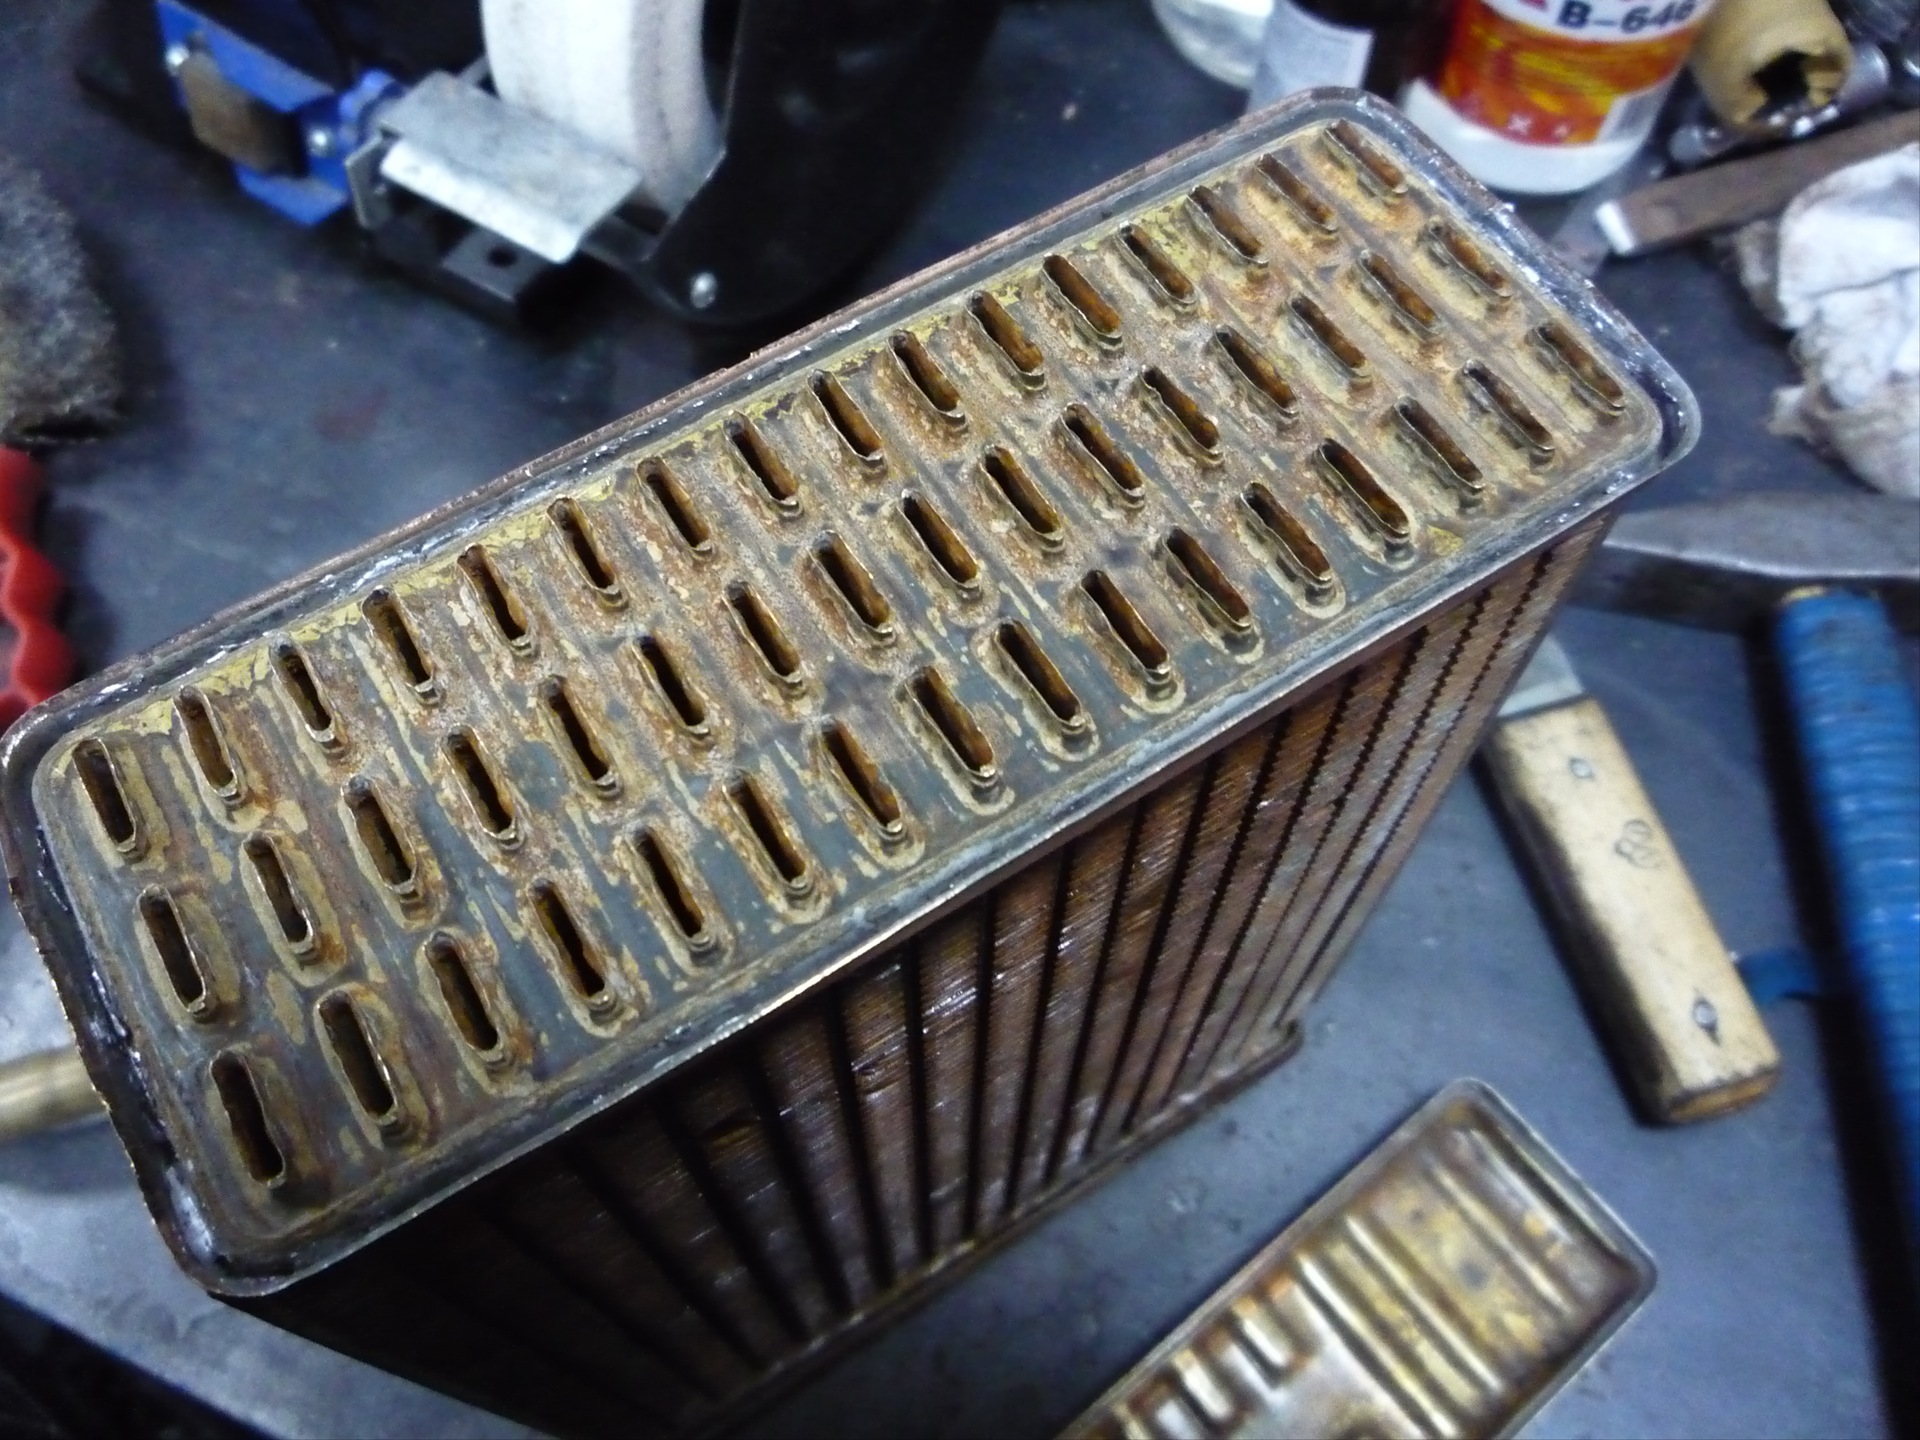
And this time I decided to take more coordinated measures, taking a good gas burner, I sealed off the bottom of the radiator, what we saw there struck not only me alone ...
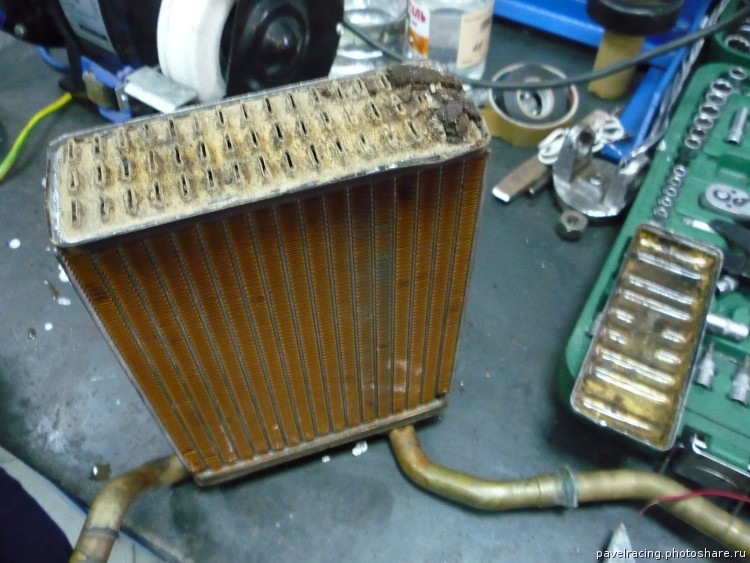
there was about a tablespoon of sand-clay-silt-rusty-scale
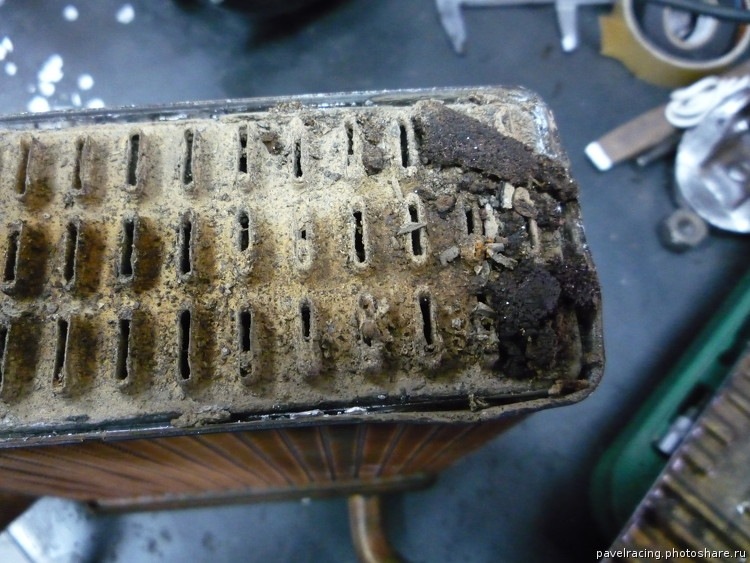
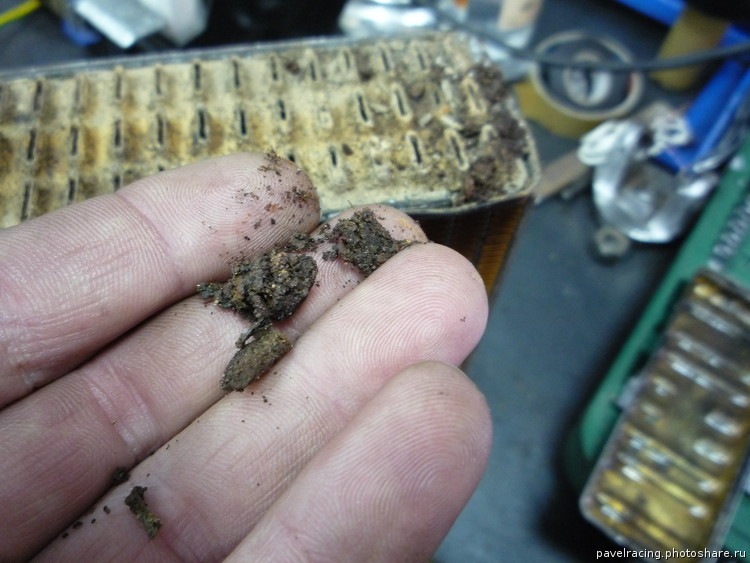
and on these photos, parts from my previous bortovik about the cardan were even lit up :))
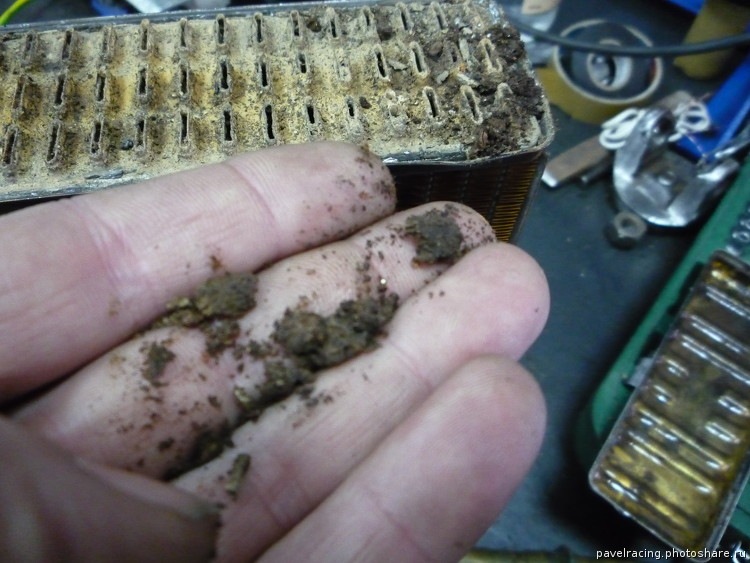
Five channels were blocked thoroughly, as I was able to pierce them with a saw blade for metal, many channels were half clogged.
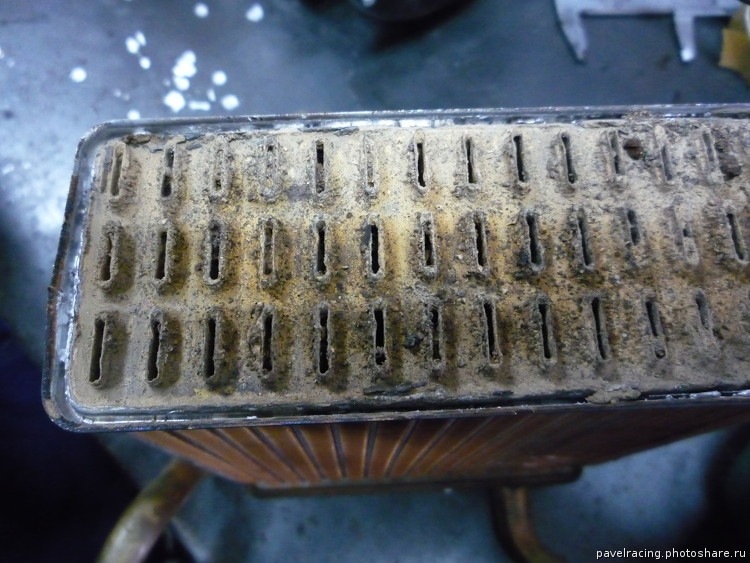
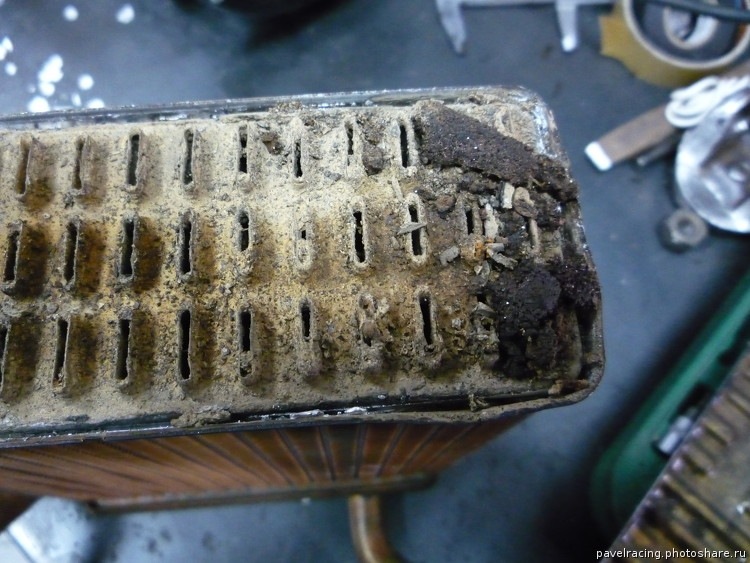
After mechanical cleaning of all channels, we made a test connection of the radiator to the water supply system, water flows through all channels perfectly, some channels had to be cleaned during pouring.
Now I filled the radiator with a concentrated liquid for flushing the radiators, after two days I will wash it and will seal it.
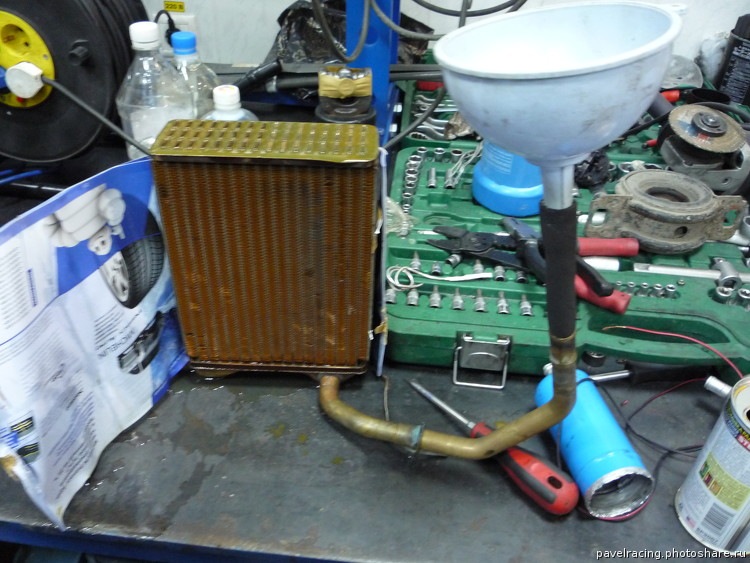
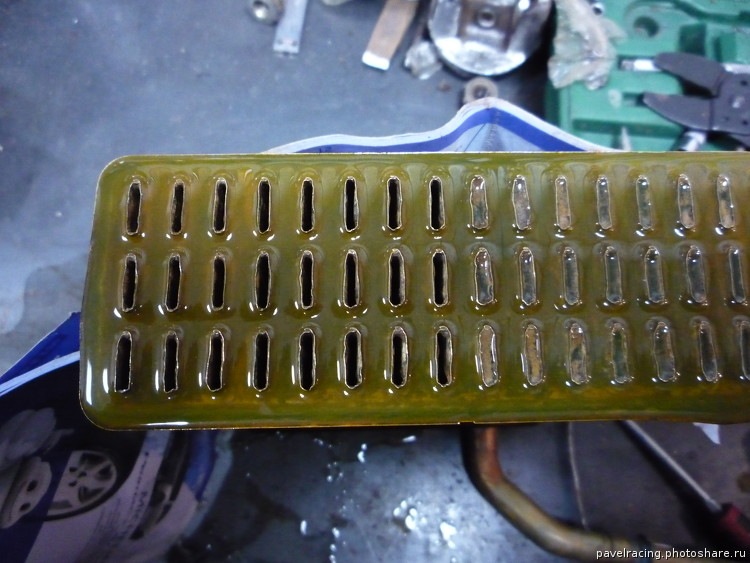
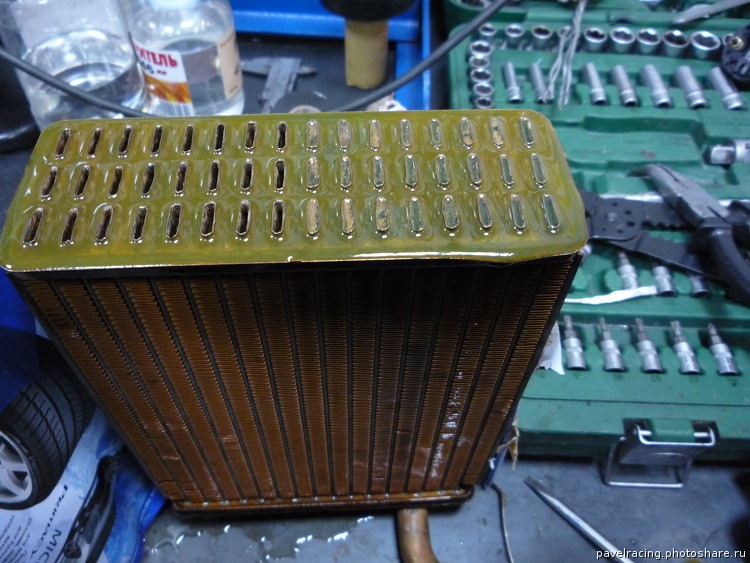
CONTINUED ... IN PROCESS
***************** #################### ************ *******
Two days later ...
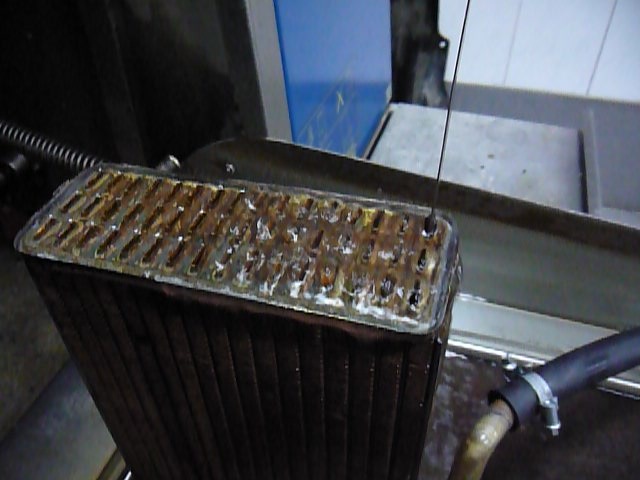
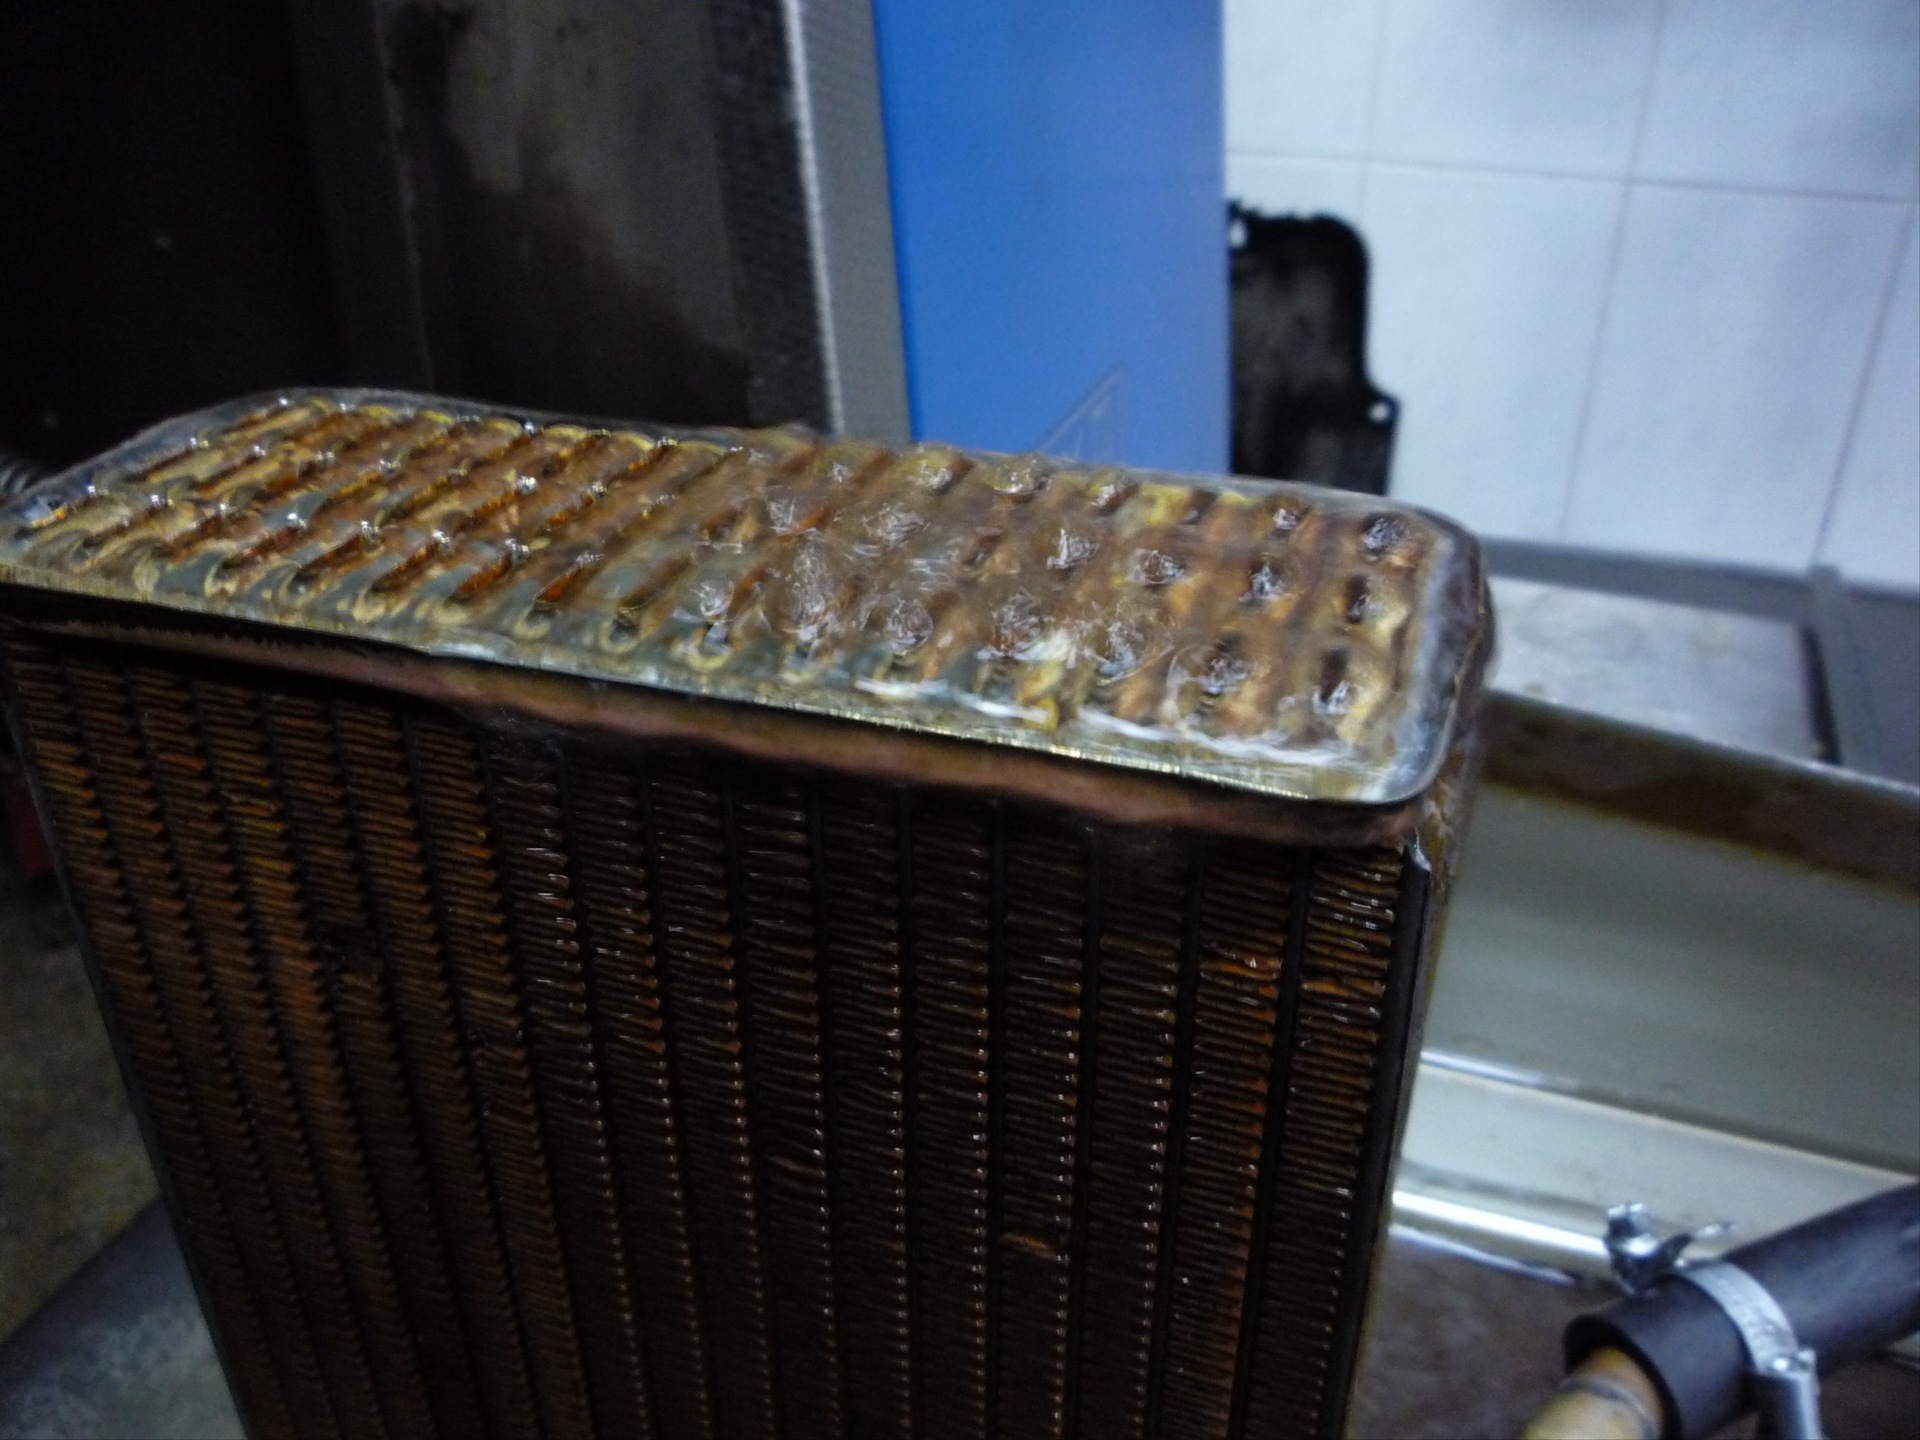
All the byaka was acidified from the walls to the end, it remains to rinse and solder everything into place.
The actual washing in the photo ...
and video
Washed, dried, so that during soldering, the remaining water does not fall on the hot solder and its eruption in all directions does not start
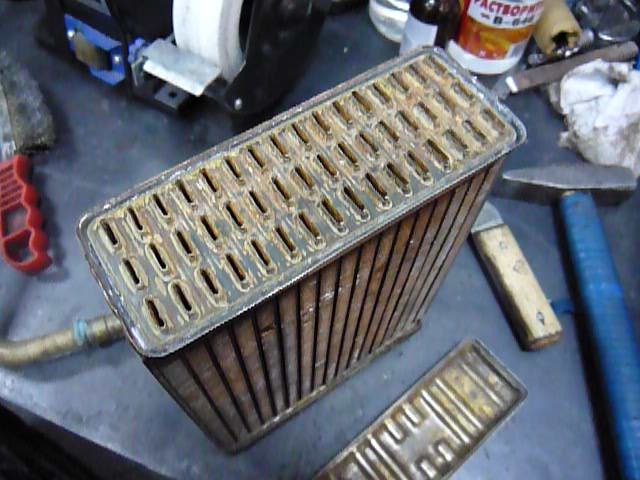
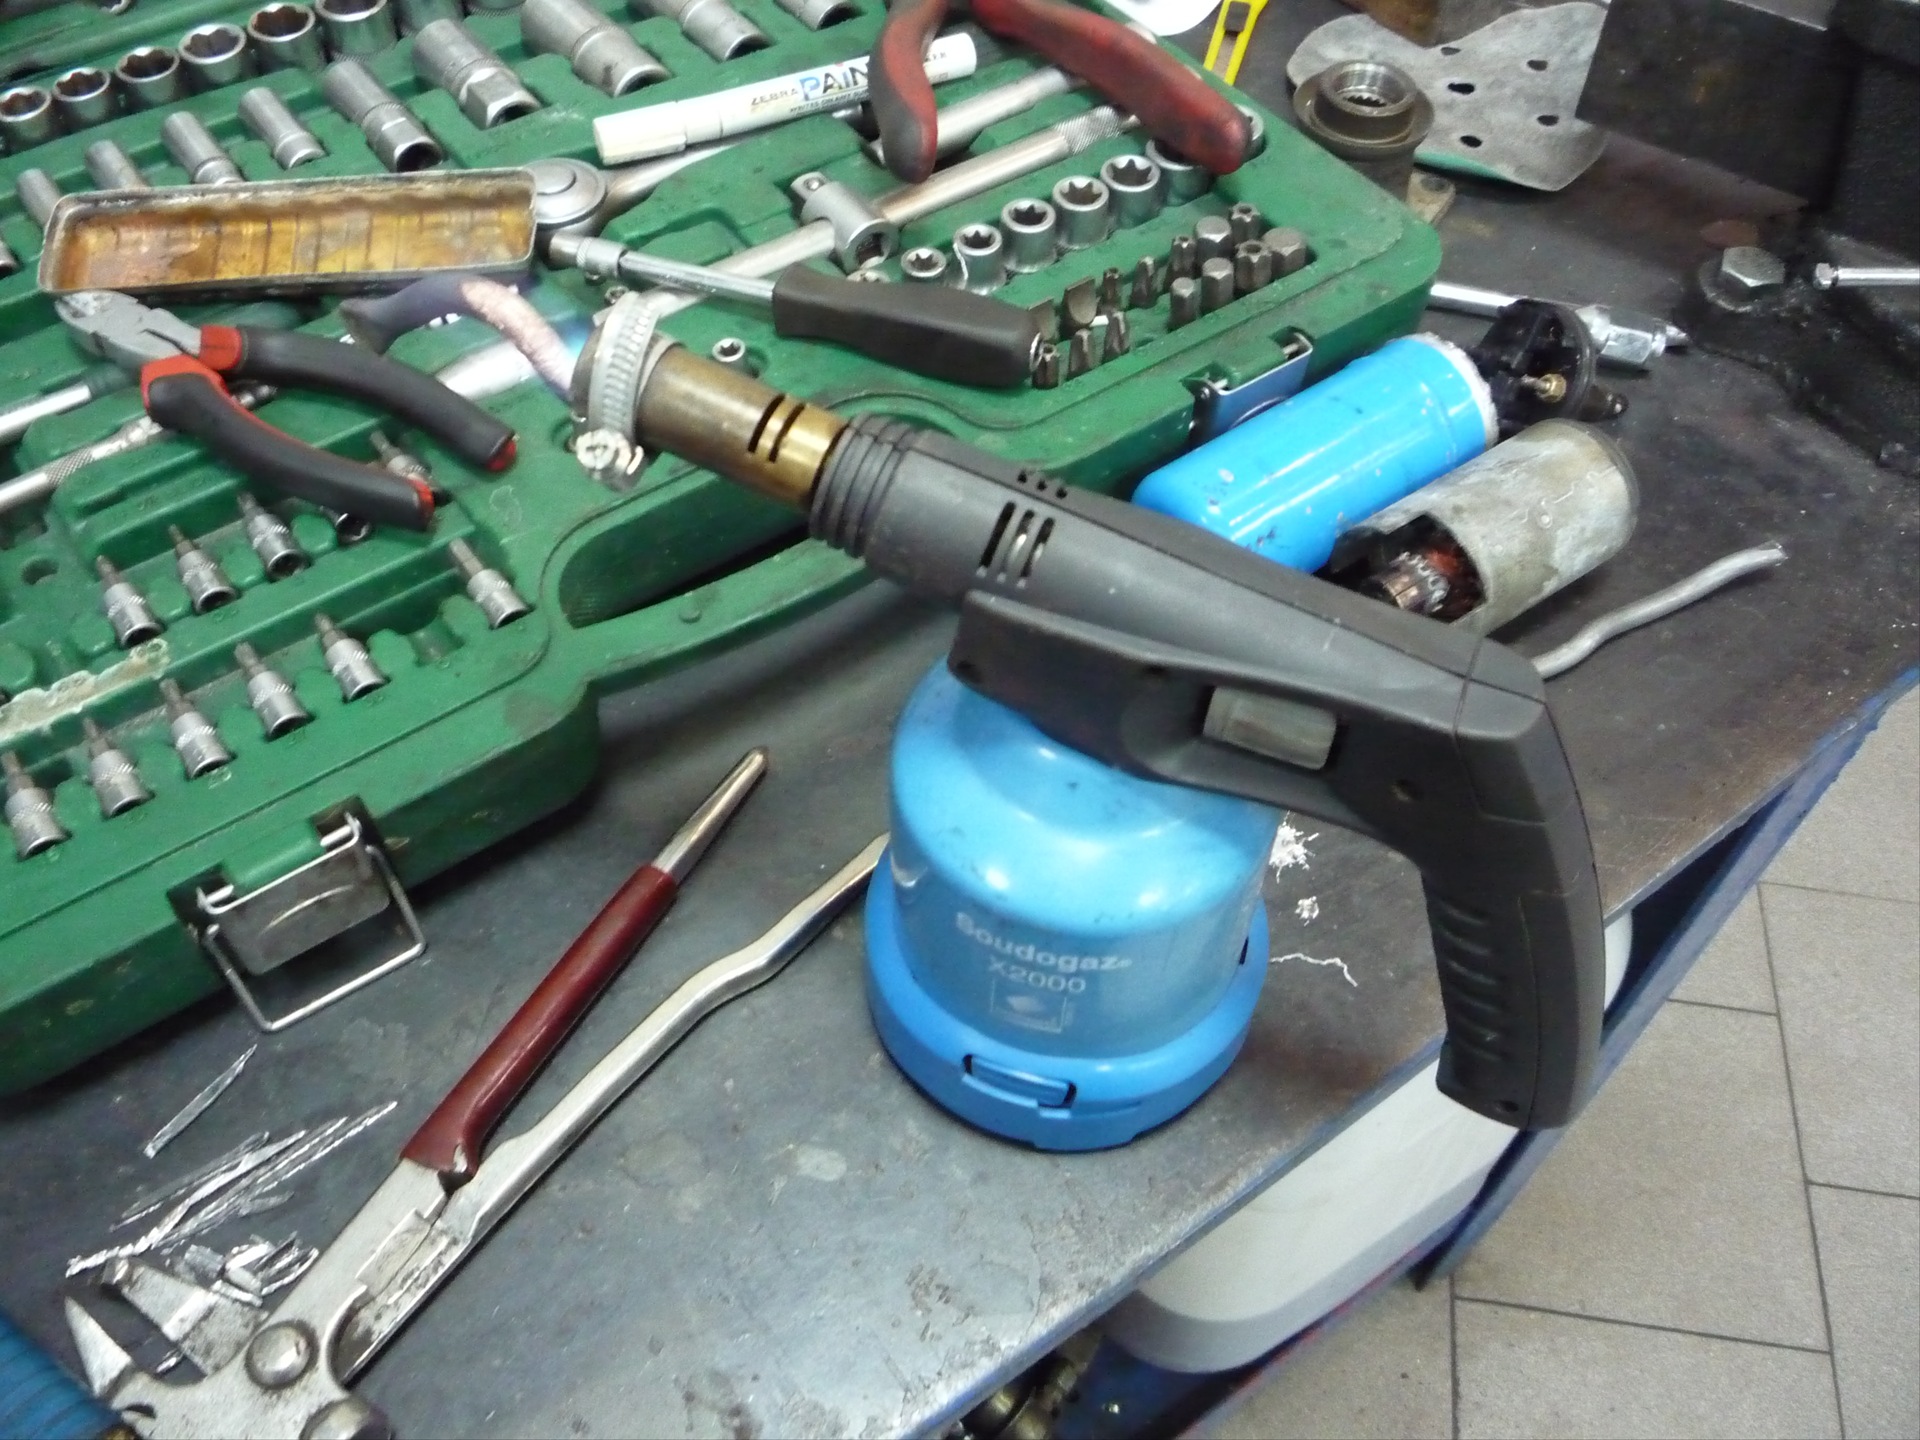
The main tool is a gas burner
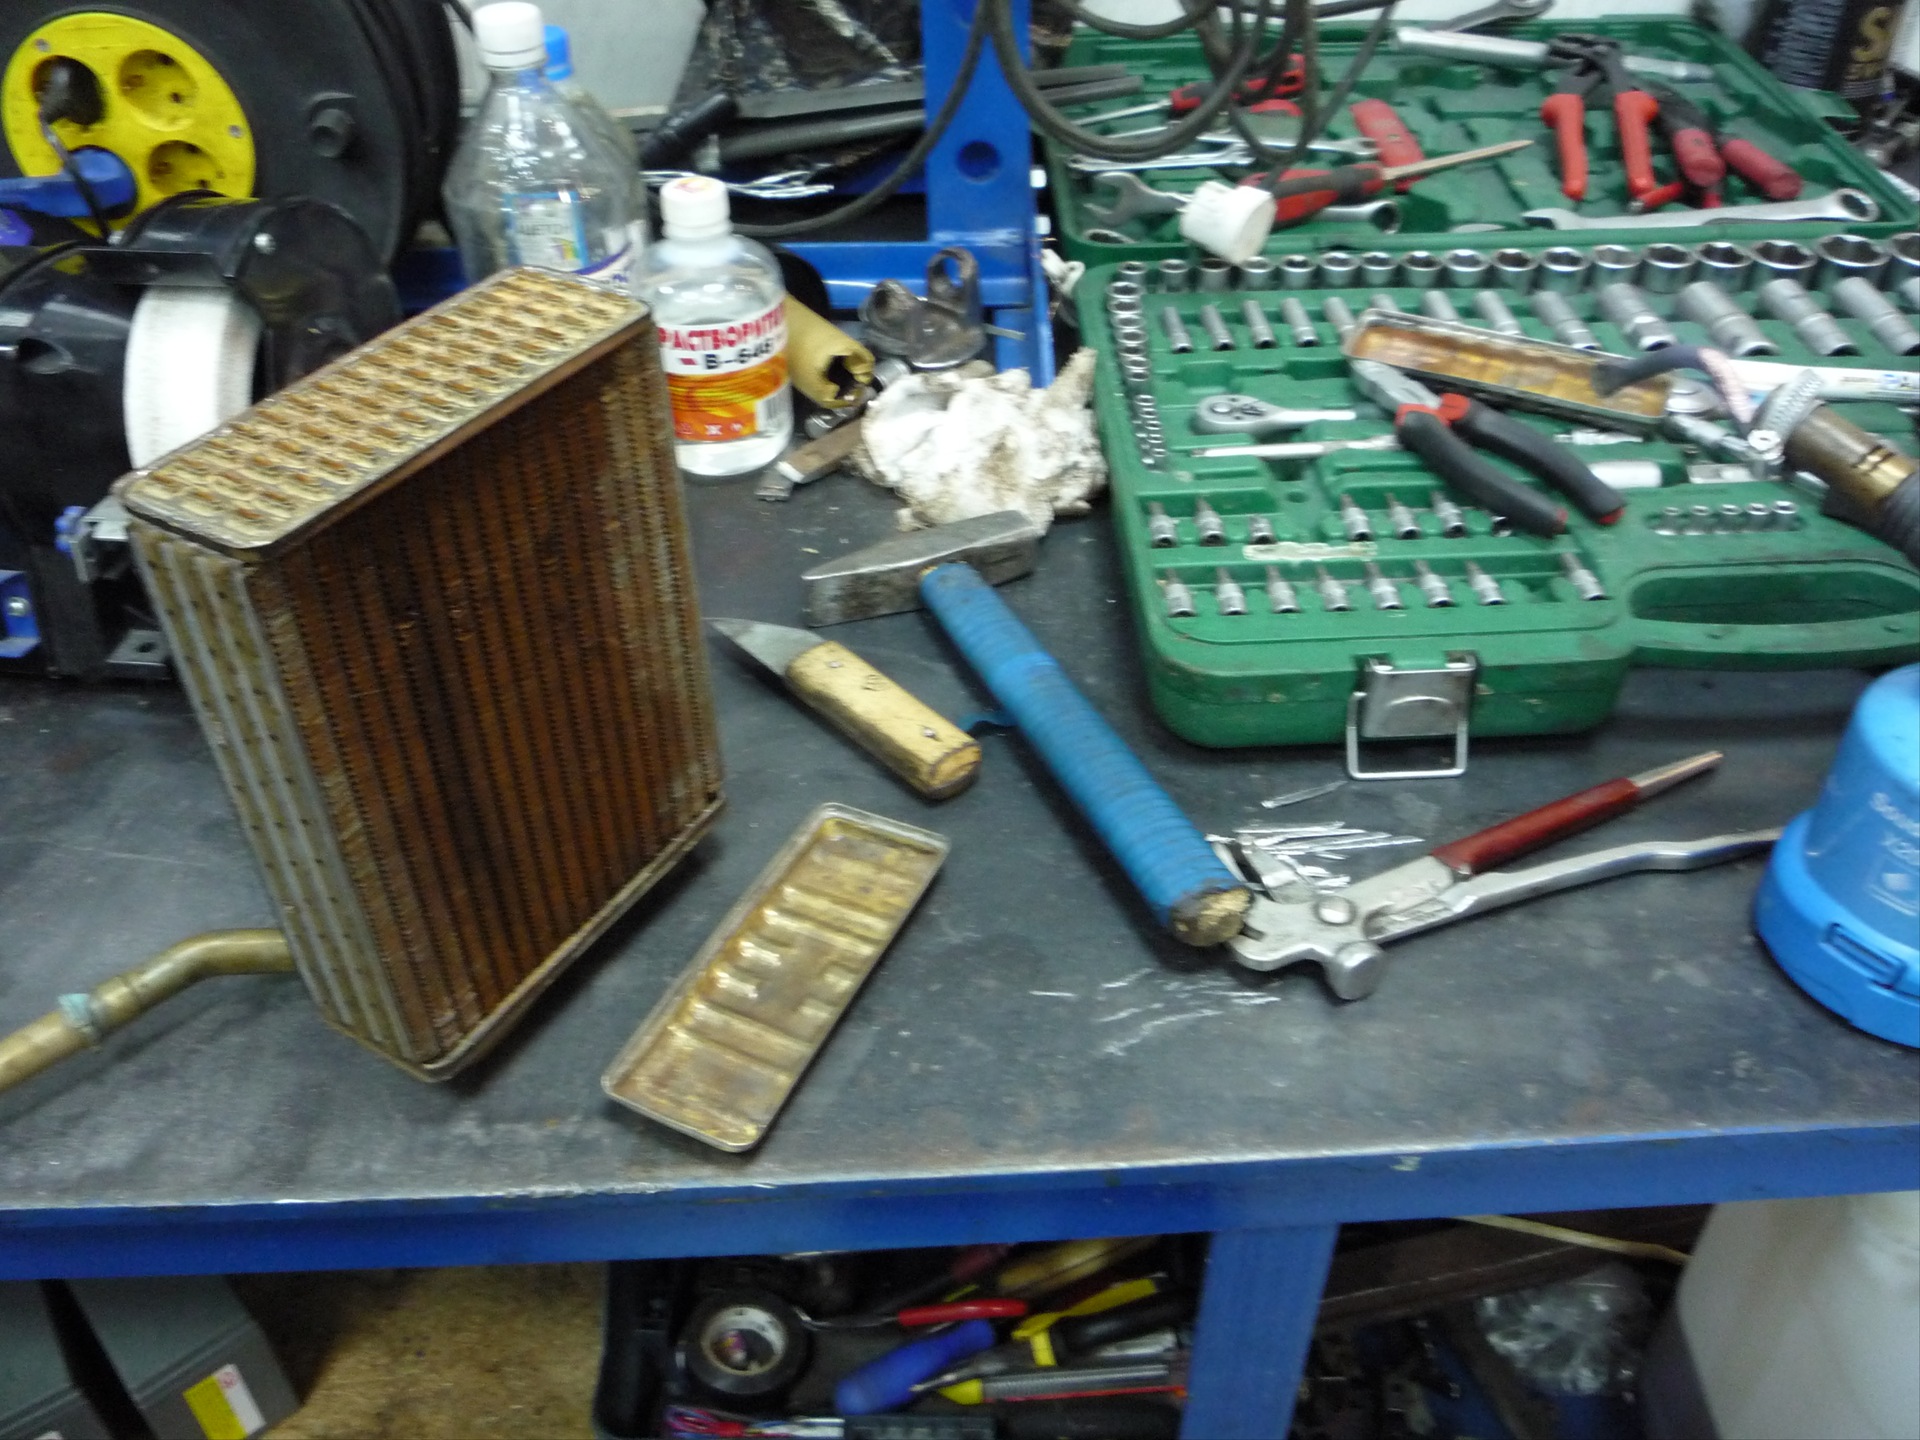
And so, get ready ...
AAA, but there is no process itself, since this is the most puny operation, it is necessary to apply a solder seam very quickly, efficiently and without unnecessary overheating, since I worked with a gas burner, the entire perimeter has to be covered in one pass ...
As a result, something like this should turn out, all the seams are sealed hermetically.
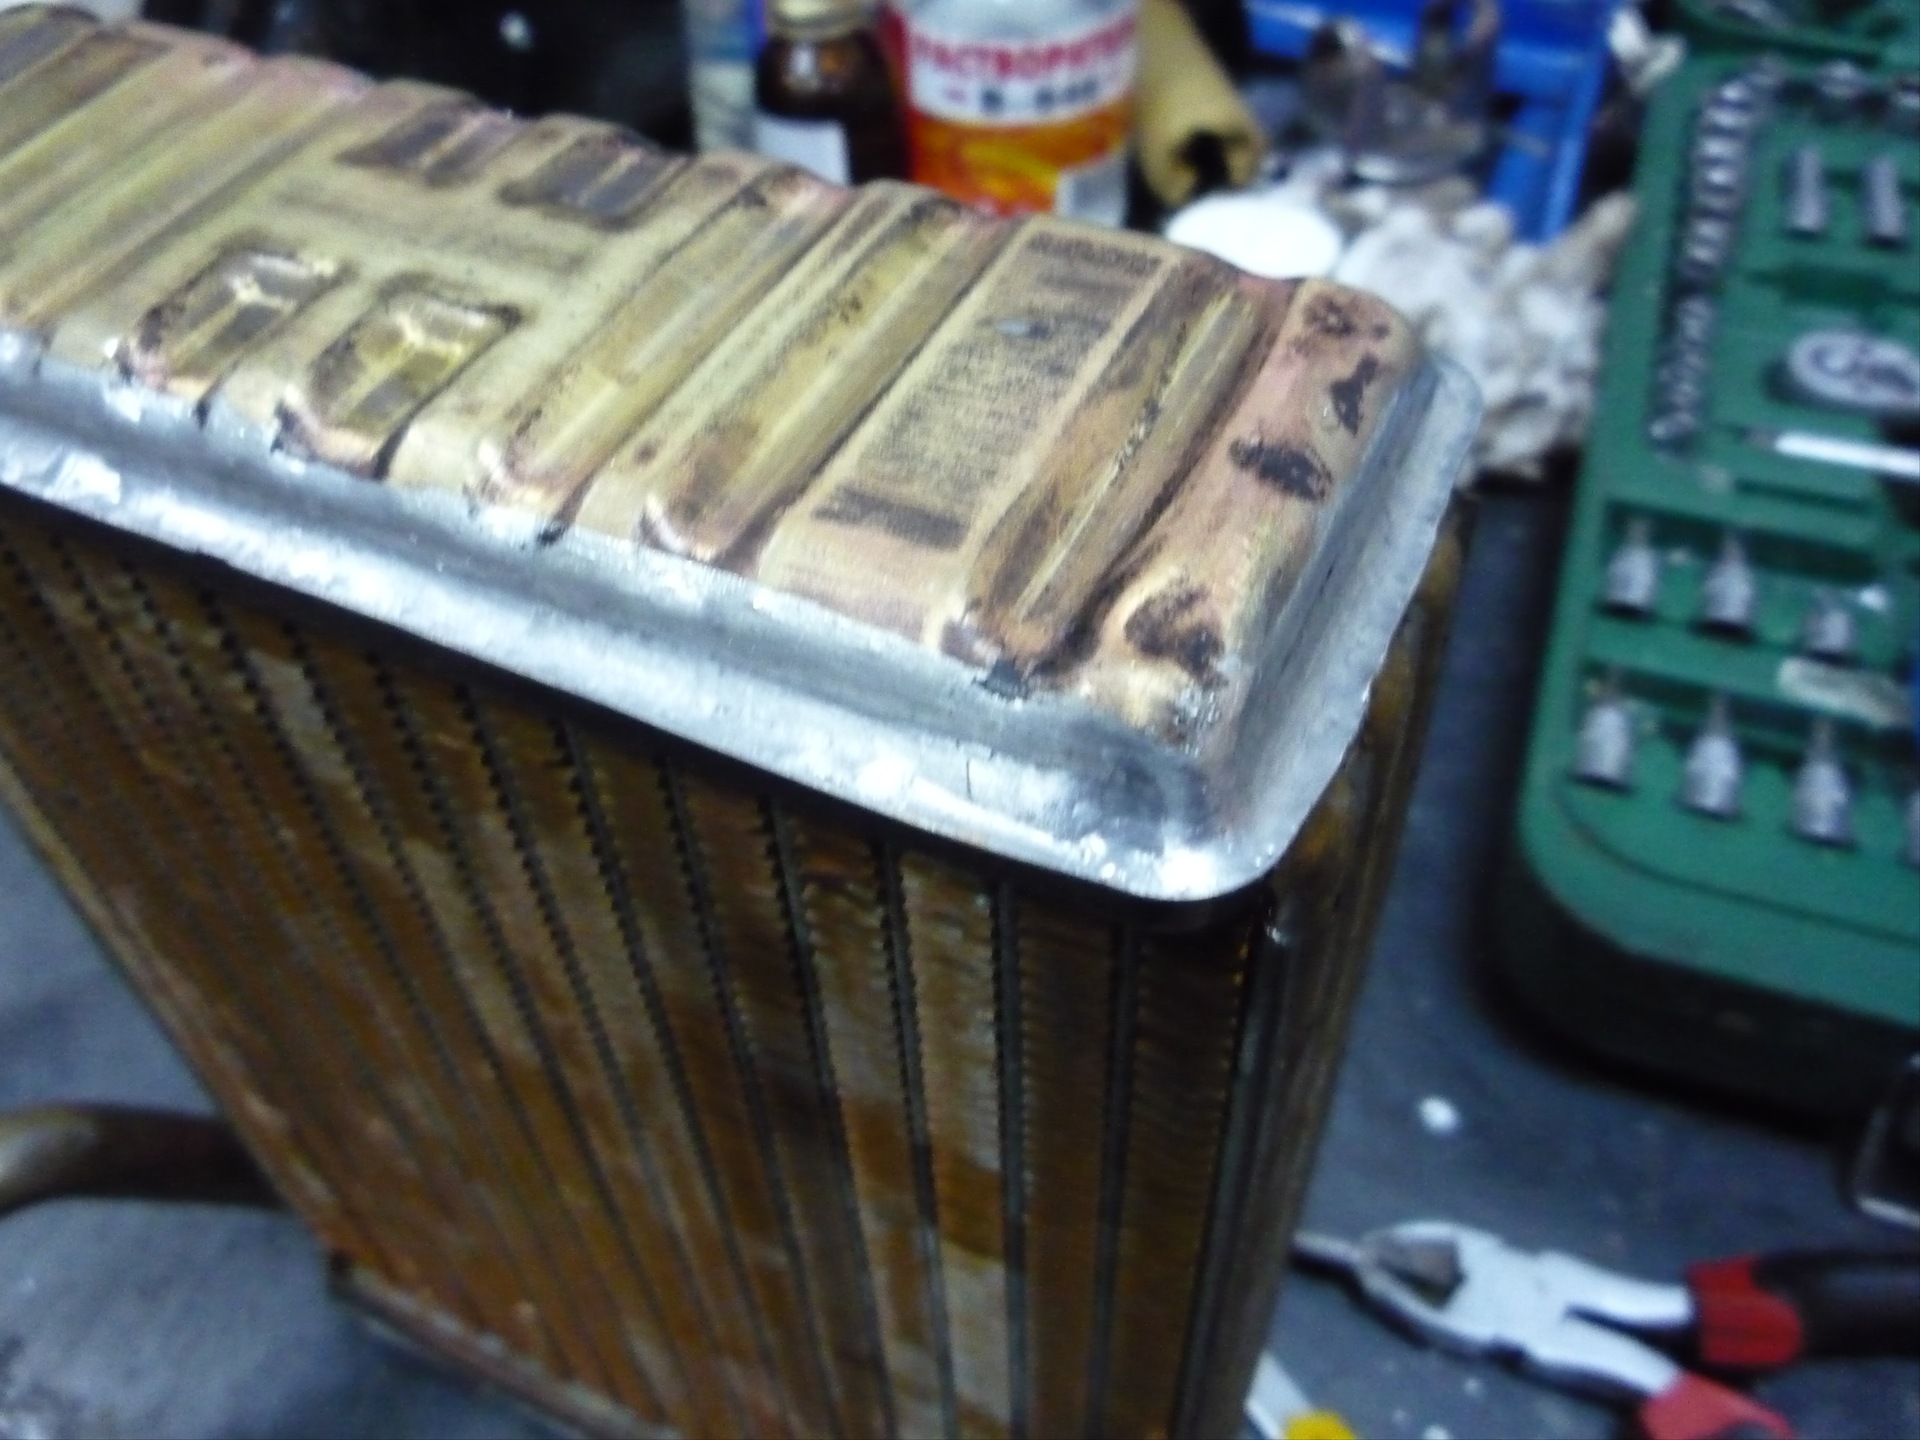
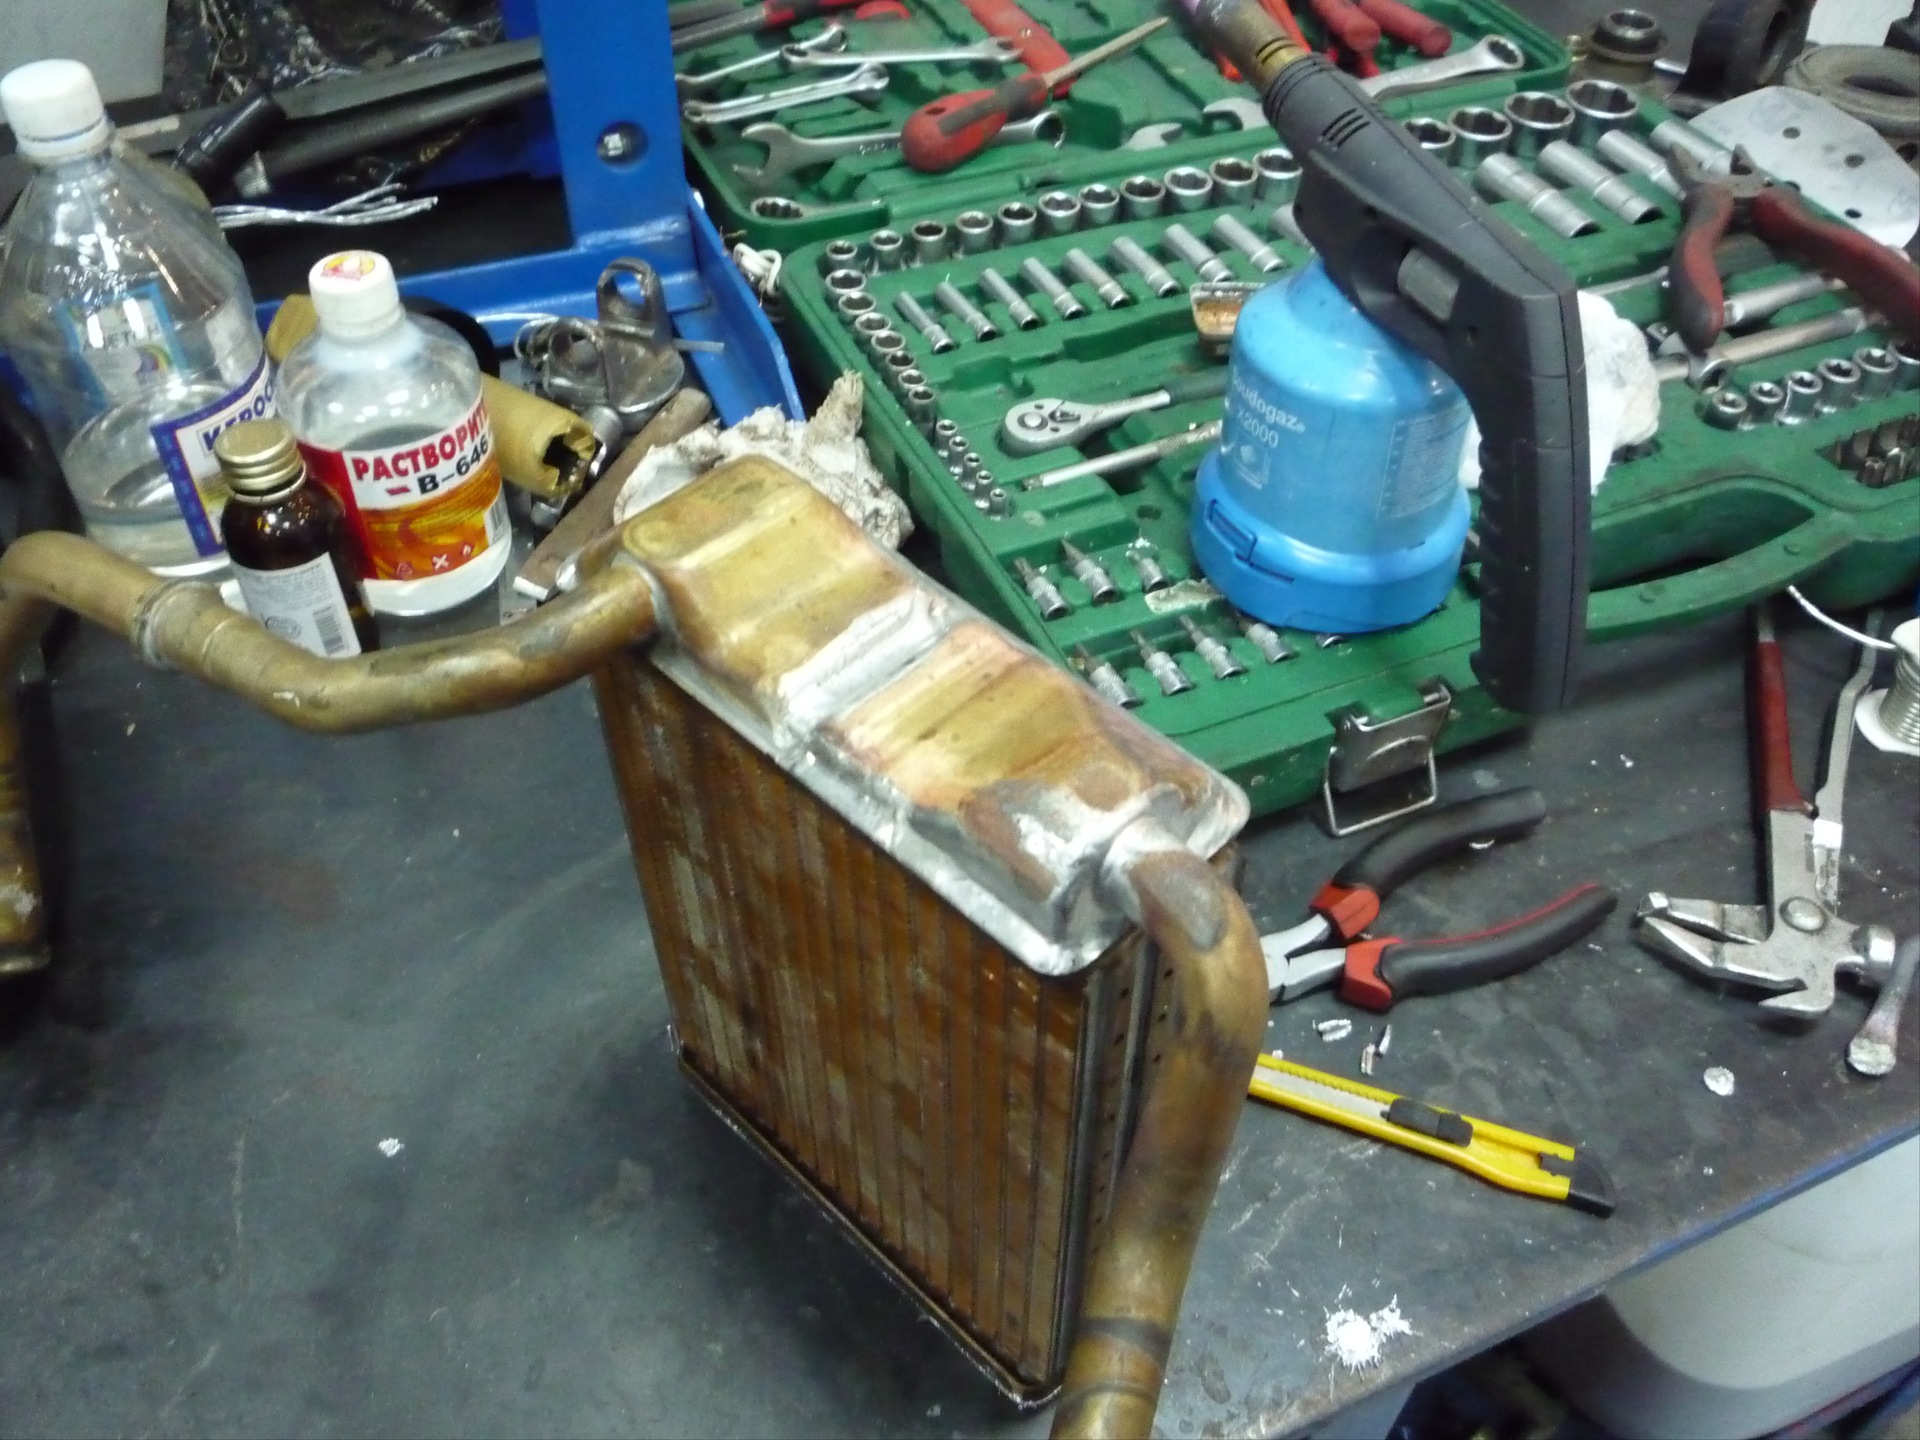
I carried out the check, from the hot water supply, for the first time the upper barrel leaked, which I did not even touch, I soldered, and everything became fine. I'll put it on the car one of these days.
PS When soldering-desoldering, you need to be extremely careful not to overheat the radiator for a long time in general and in places, overheating can lead to the desoldering of one of the channels from the base, the channel is very difficult to solder back, and in the case of my second radiator it is not realistic, which led to its loss.
All photos of my first radiator, it is disassembled, assembled, cleaned without problems and perfectly.
But in parallel, I cleaned another radiator, he was less fortunate, when unsoldering I overheated it, two channels were soldered off, an attempt to solder them back ended in failure, the radiator was damaged.
But there is one plus from the second radiator, we managed to make a video of the opened radiator, and the process of its operation before, during and after cleaning.
We look ...
That's all, thank you all for your attention.
Special thanks to Marat (videographer) and Philip (peeping face in the last video). And actually I am Paul, the one who did all this.
All this byaka is formed when antifreezes with antifreezes interfere. Of course, this will not appear.
Orange antifreeze and distilled water, no problem.
Cleaned well. five
and I'm afraid of doing such a deep autopsy at myself. It seems to be blowing so-so, but at -40 you do not freeze in the car. Give her a newspaper to read and it gets warmer :)
Don't give me a shot! Take it off! Everything is not as complicated as it seems at first sight! I will advise you, tk. changed the radiator in general on the street!
Well molochina and I still can't dare to clean it. The most difficult thing is probably to remove the torpedo and the climate unit?
Krasava, I also changed it, but I took a contract radiator and washed it with all sorts of means for 3 days, just in case
Stas444
Last winter, after changing the coolant, the stove on the crown 151 stopped heating. Fixed it in an hour with the help of 2 liters of Coca Cola! Now I don't drink this muck! And I would not advise you! You should have seen what shnyaga flowed out of the stove! Who is interested in writing in more detail.
At home, I cleaned the kettle from scale with a sprite))))) in May, too, in sorik, I will wash the cooling system completely in the country.
Last winter, after changing the coolant, the stove on the crown 151 stopped heating. Fixed it in an hour with the help of 2 liters of Coca Cola! Now I don't drink this muck! And I would not advise you! You should have seen what shnyaga flowed out of the stove! Who is interested in writing in more detail.
it turned out well, I also had to remove and eventually change the radiator, but now it's very hot.
Damn, and there are no pictures of the collective farm? Show, or tell in more detail. It's also a trouble with the stove, I'm afraid to unsolder (or rather I'm afraid then I won't be able to solder it normally), but I can't find a new one on sale for 90 ticks. And it's already chilly outside.
cool.
I didn't bother with it too much - I put the radiator of the stove with Hyundai SantaFE ... it becomes 90 with some collective farm. But now it's not just heat - devils in hell would envy such a furnace :)
this is a kick-ass ... and such shit in all spare parts for bush cars, and in mine too ... It's probably easier for me to buy a new one, I don't have such skill. And it's better to give it up.
antifreeze = antifreeze
yesterday on the bank of red antifreeze it is written like this, on the can of antifreeze the same gost, just a color for detecting leaks. There are differences g11 g12 and so forth, the additives are more durable.
I recently performed exactly the same procedures! This is the most effective method!
Excellent report! I am looking for a sharer, a radiator in my hands, but it was hard for me ... I had to disassemble everything, this is PPC ...
Perfectly done! The best way of cleaning, but does not forgive mistakes, he himself recently removed the heater retic, which he changed to a solid brass one two years ago. I re-soldered the input-output tubes ... When removing it, it turned out that the soldering was holding. But the transition hoses were "blown away". Now I am looking for tubes, I want to completely make pipes out of pipes, like on your radiator - this is the most problem-free design.
Krasava, Good report ...
1. Can I use a regular soldering iron (or a large copper soldering iron like an ax) to solder the radiator barrels? and the risk of overheating will be less, probably?
2. and about solder, be sure to special. You can't take solder with ordinary tin and rosin? describe in more detail ...))) And then there is no experience, but you need to clean the radiator. If you remember, six years have passed ...
The review is good and easy to understand, I especially liked the soldering iron tip on the gas torch. I saw how the coppersmith was soldering the main radiator - he immersed it in a bath of water to a depth of about 1 cm from the bottom edge of the plate into which the honeycombs (tubes) are soldered - this is less likely to overheat. Assembly and soldering were carried out in the same bath. The bath is welded from metal, resembles a narrow and high box, the immersion height is regulated by pads on the bottom.