Tidy - Toyota Camry, 2.0L, 1987
Good day to all! Now all the same about the tidy. I decided to make it somehow more expressive and therefore decided to paint the edging of the devices with metallic gray, make a diode backlight, replace the broken glass of the instrument panel.
Previously, there was a backlighting of the dial on the back and front, in front, probably so that you could see the arrows, it seems like nothing, but somehow it did not impress, you still pay attention to it most of the time while driving.
Having disassembled the tidy, I realized that it would not be possible to put the diodes so easily, because there it was specially made so that the numbers burn evenly, that is, where the bulbs stood is most covered with white paint and the further from the bulbs, the thinner the layer. I think everyone understood, here's a photo:
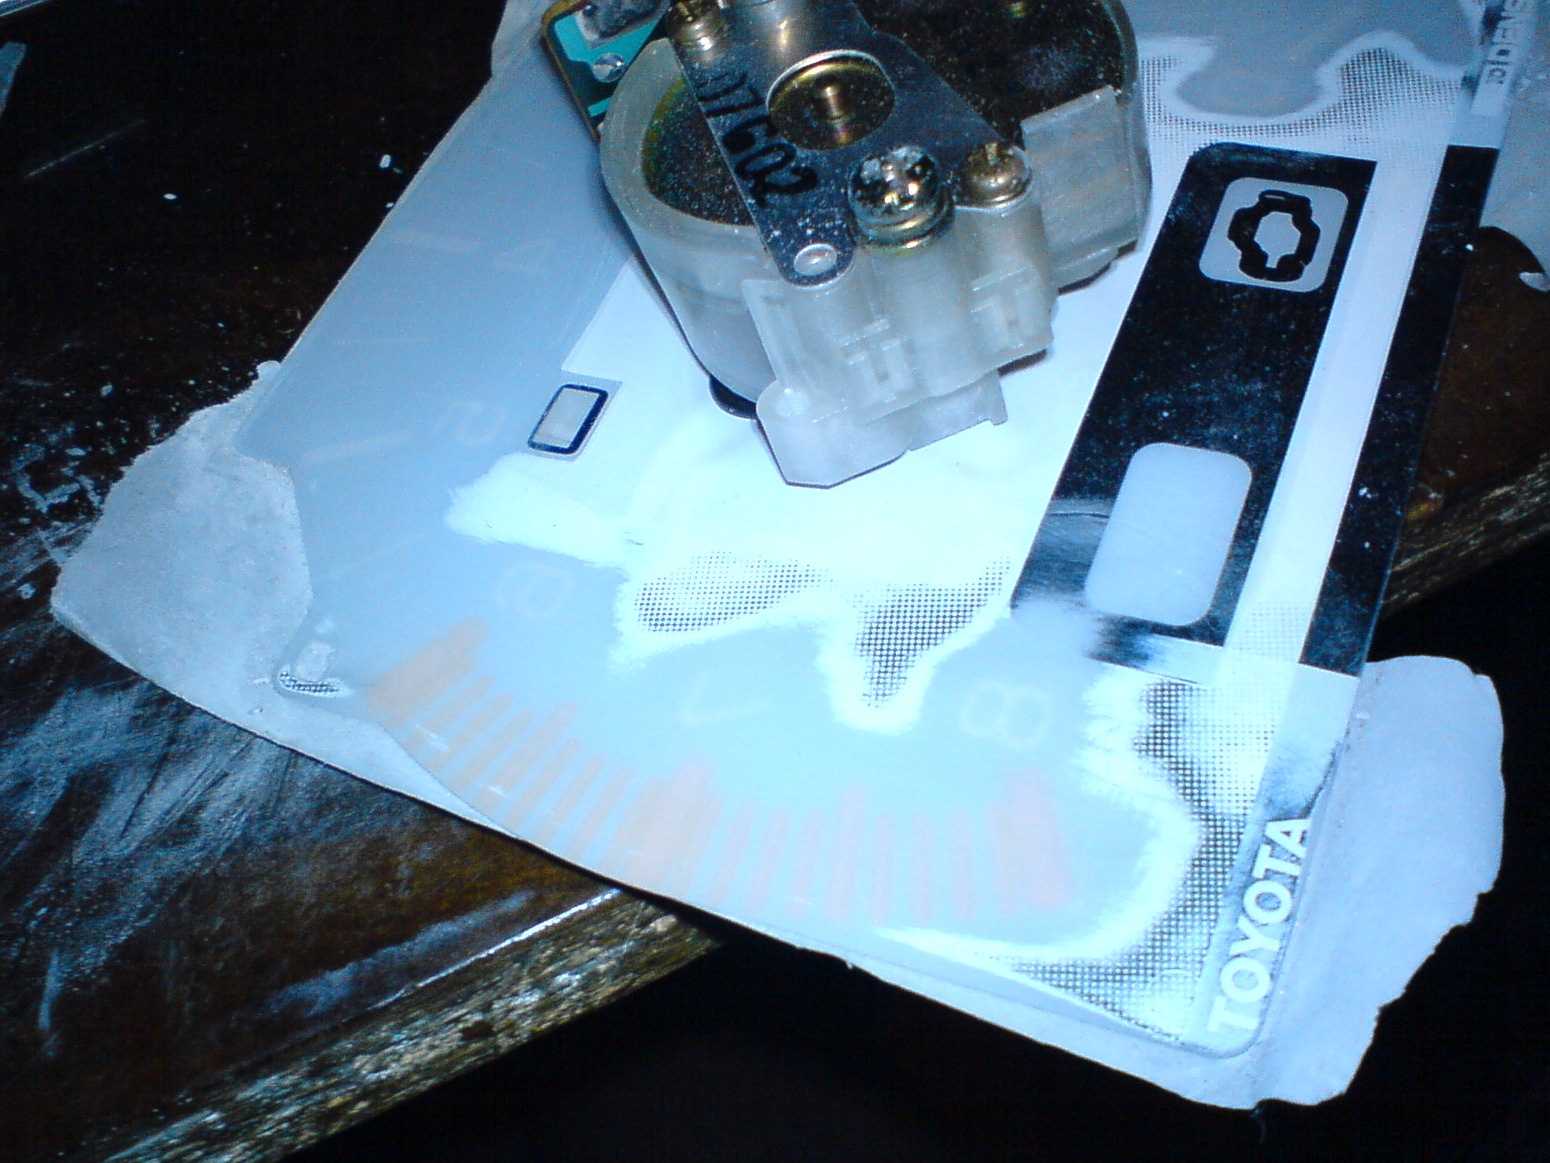
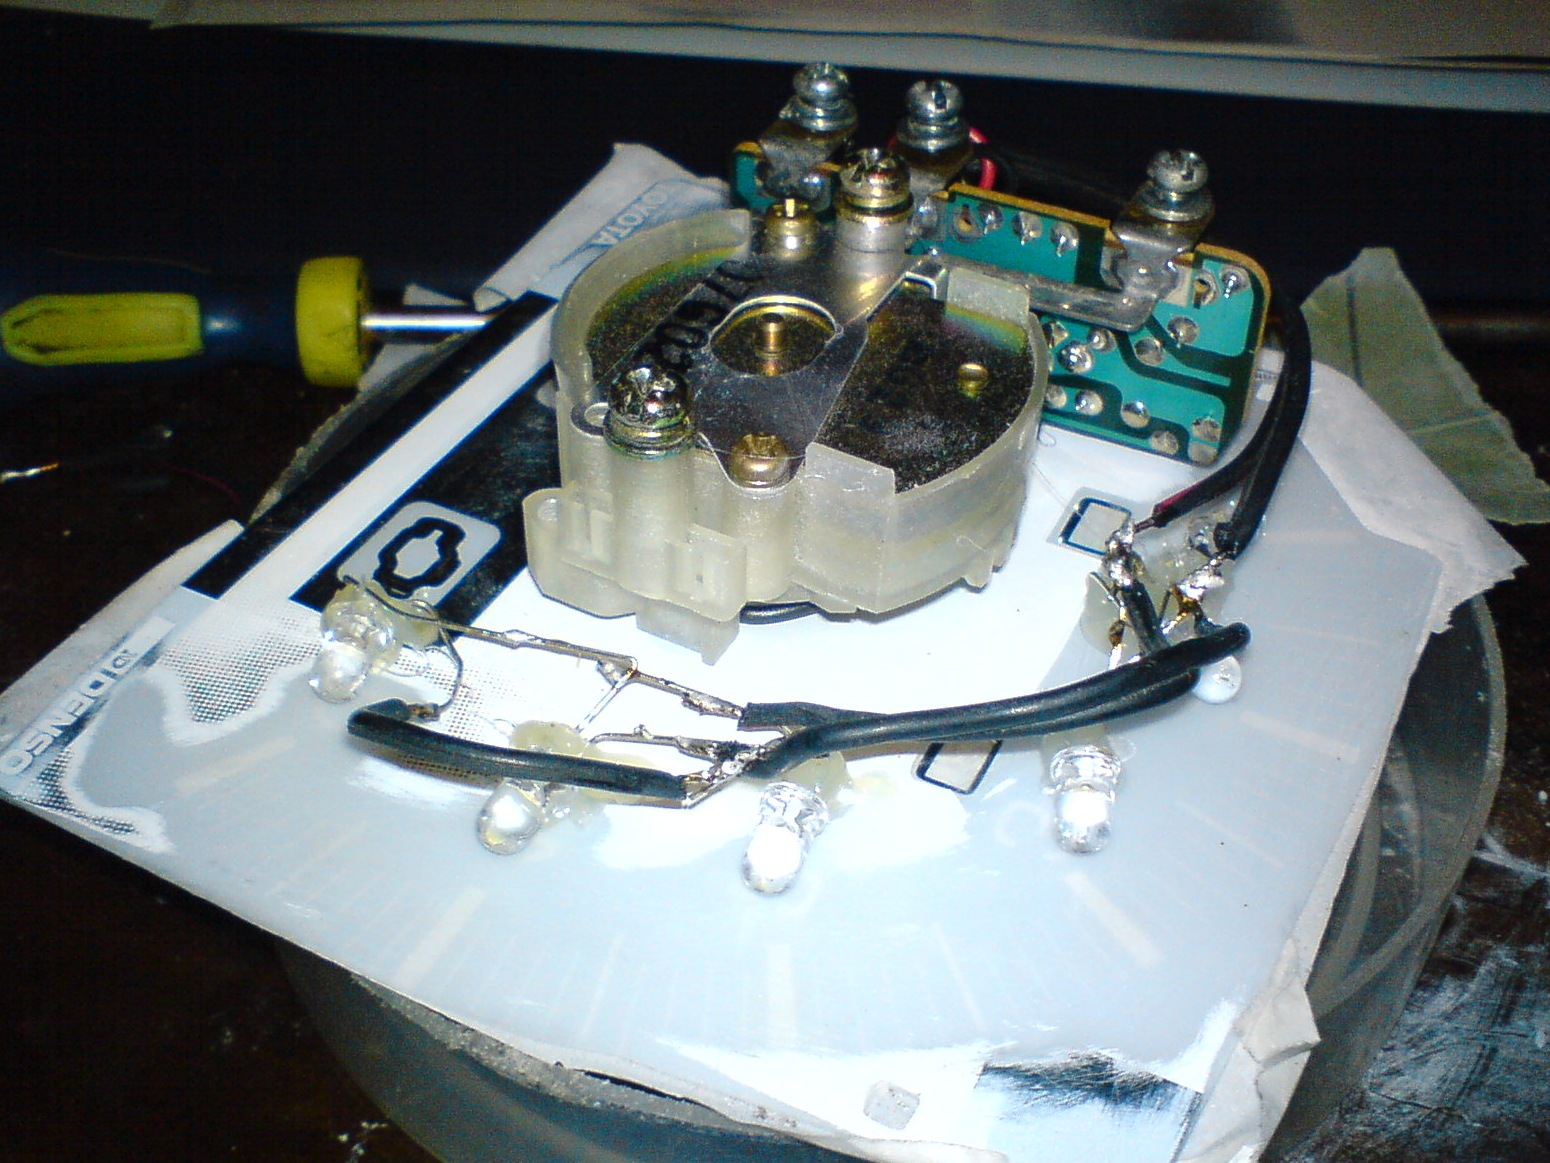
I cleaned off this paint and began to glue the diodes on the hot glue opposite each digit, so that they would also be evenly illuminated. Then he sang everything, checked.
Painted the instrument frame:
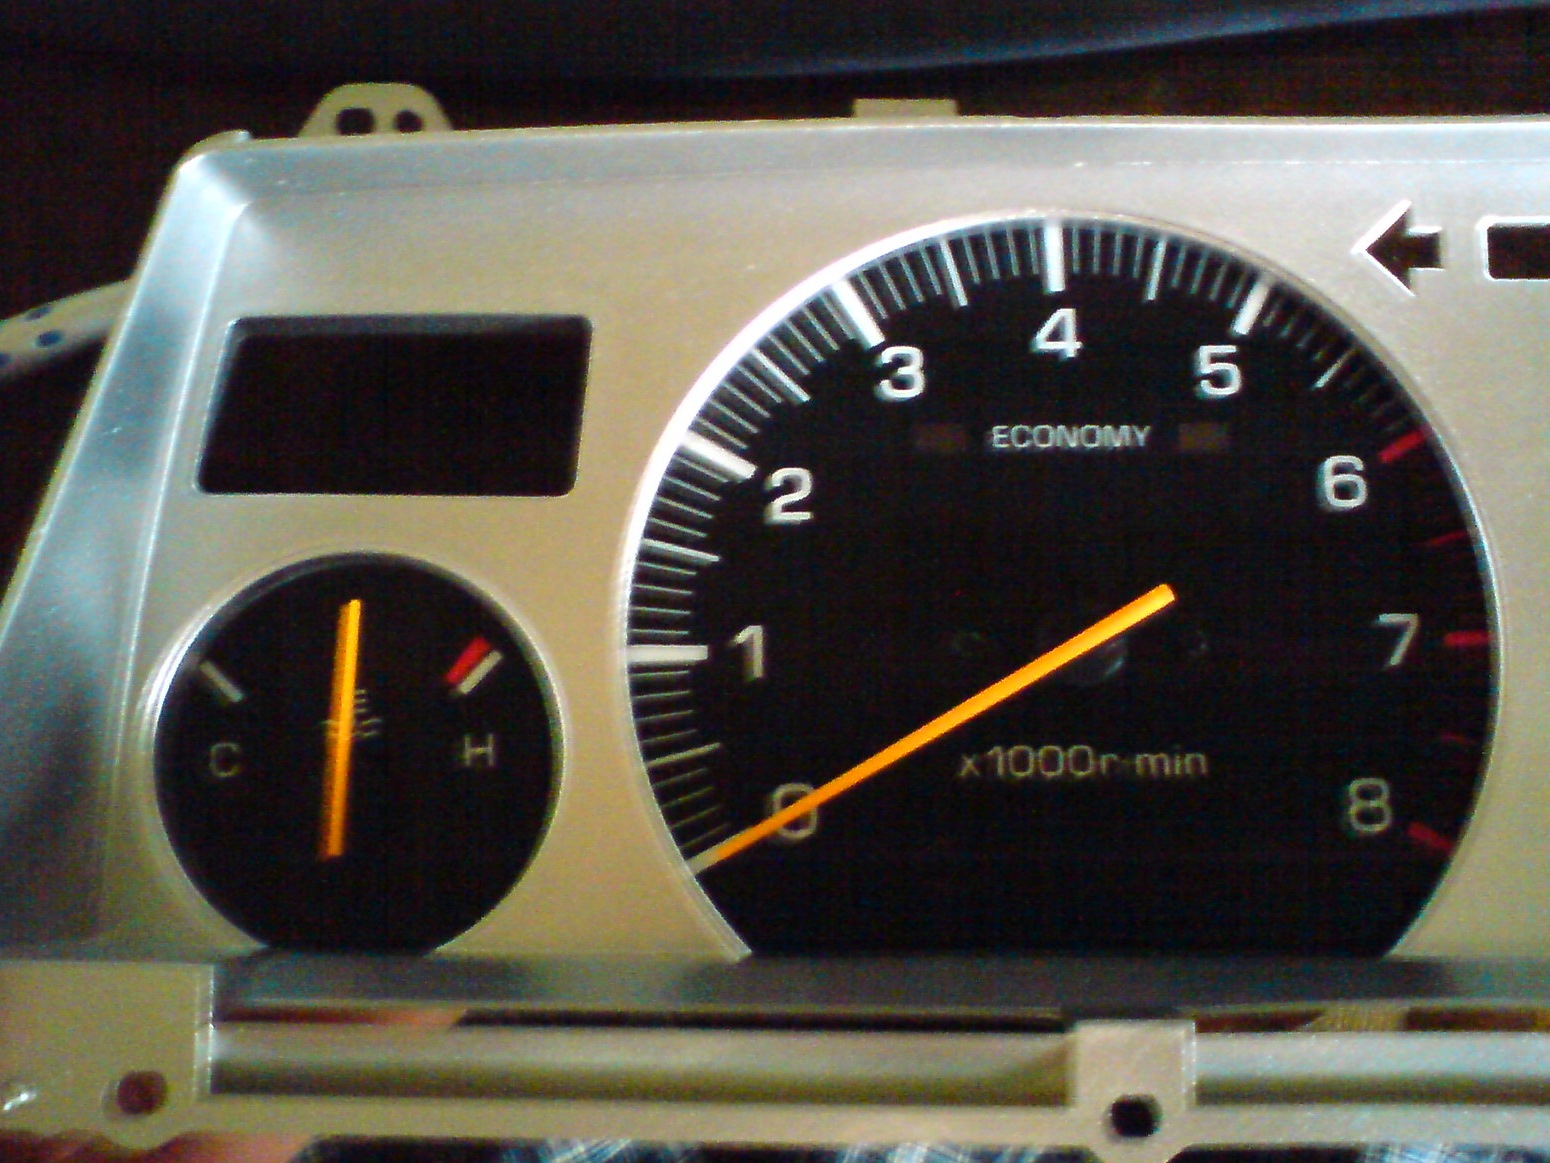
It remains to find a piece of plexiglass 2 mm thick. I found only a large piece on the market, a new one, but the price of 1500 is a lot for me, but they don't cut it. Found at the grandfathers on the market, it was used. at., slightly scratched, well, I think at home polish and will be like new. But it’s not polished, big scratches disappeared, but it became cloudy. Threw away. I am looking for a normal piece, I don’t even know where to look.
There was one more problem with the backlighting of the arrows, I will think of something to be highlighted in the back.
So far, the photo is what happened:
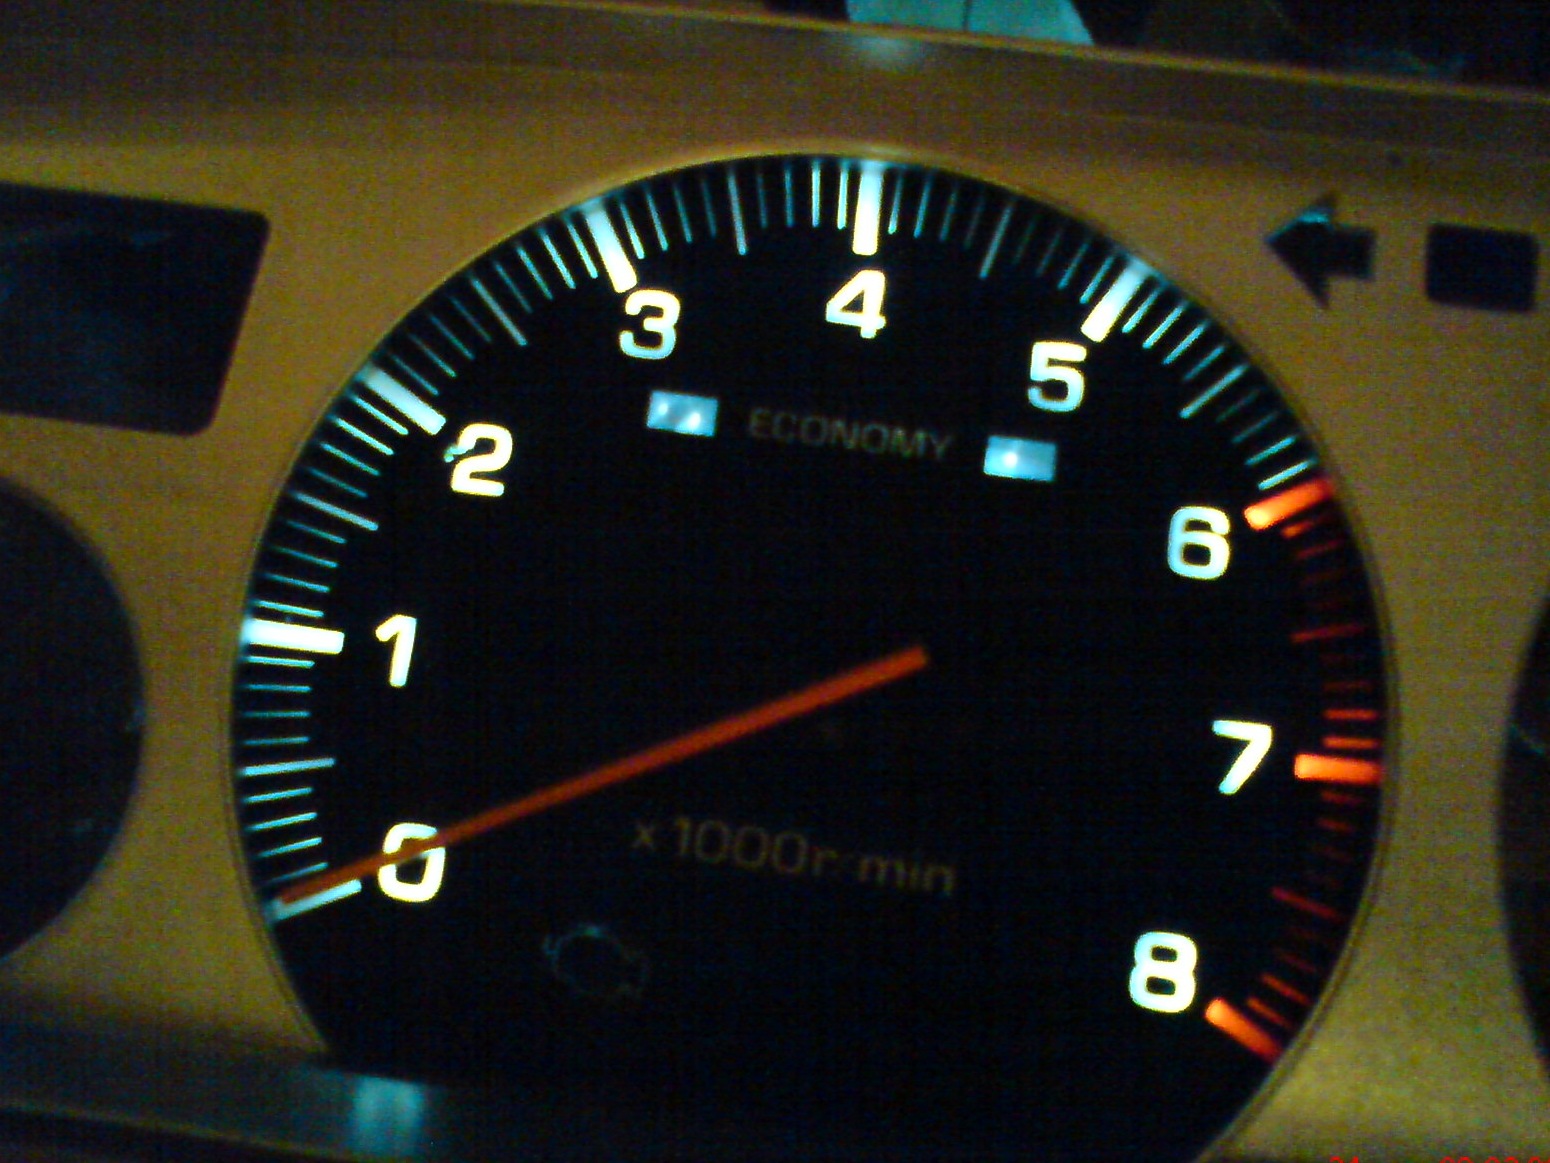
the light is on in the room, the arrow is visible.
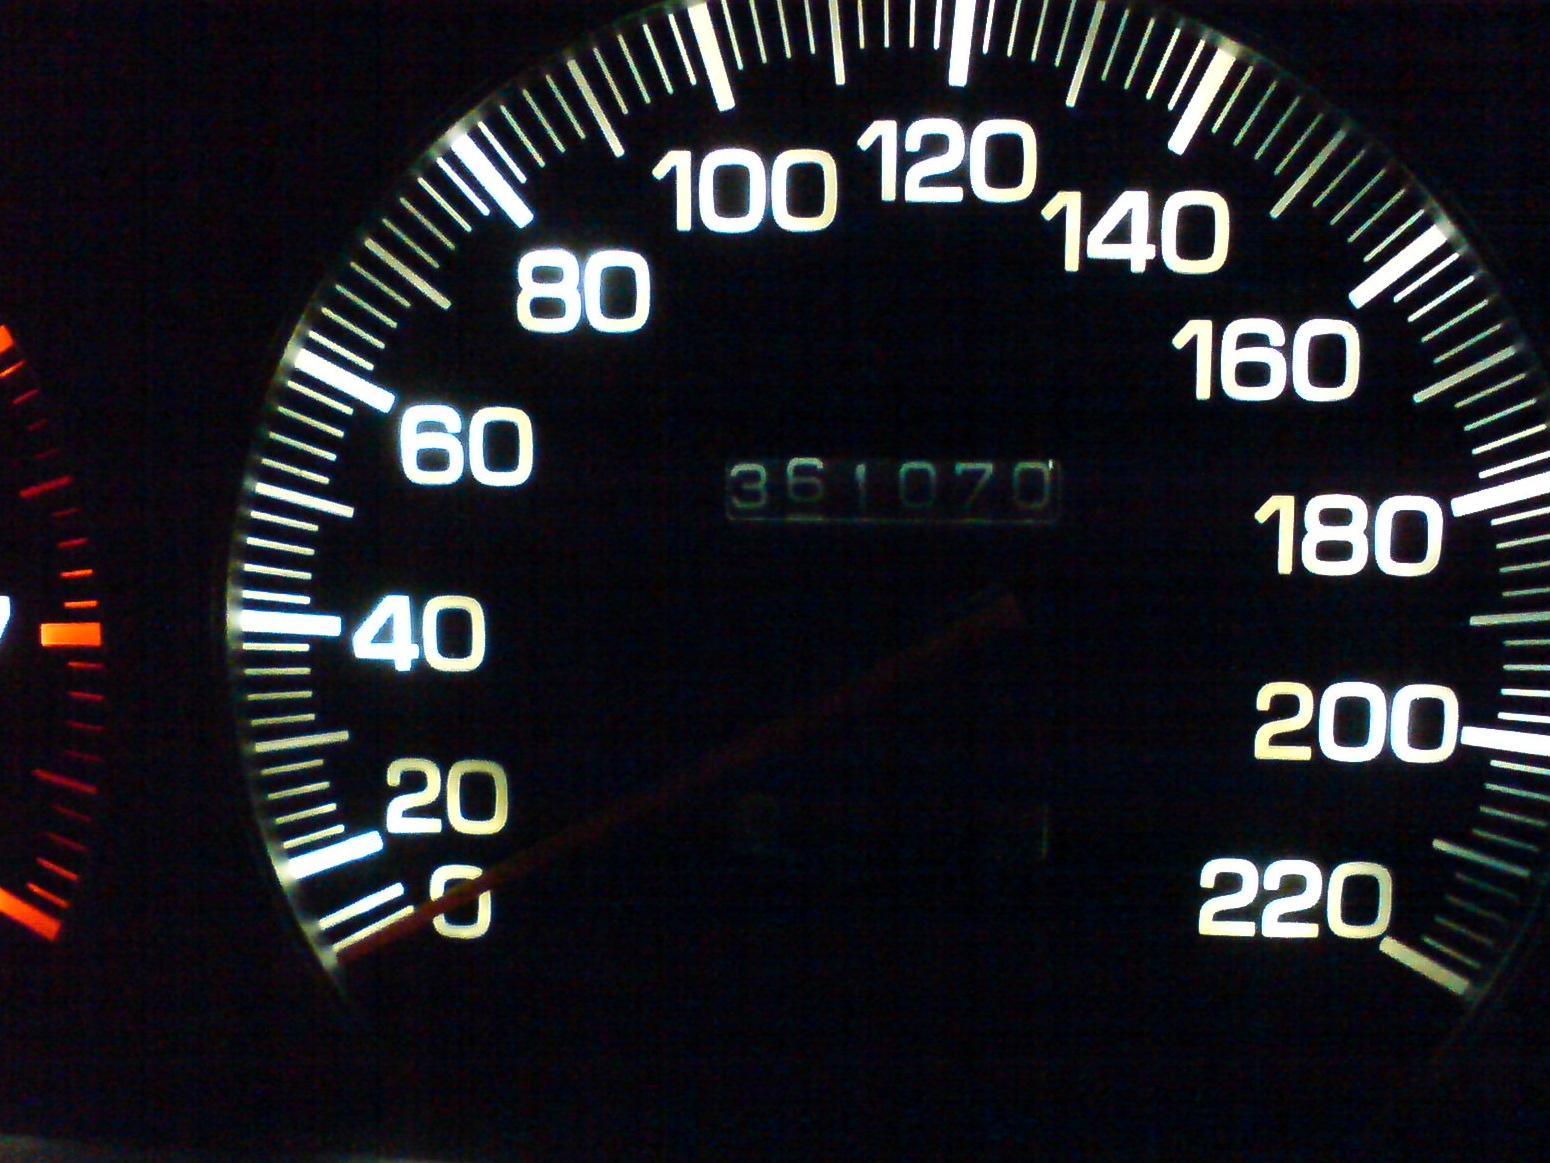
and so it is no longer visible.
Perhaps I'll leave the backlight in front, or get confused by the illuminated arrows, I don't even know. I would have made them from plexiglass, but there is a certain weight distribution, mine can lie.
Expenses:
Paint - 160 rubles.
LEDs 25 pieces - 125 r.
Hot glue - 20 r.
...
To be continued ... Price tag: 300 ₽
I do not know! My brightness is adjustable, and there I will pick up a resistor in place. While the problem is in the arrows. I don’t want to buy for 200 rubles per arrow, like Dima's!
The highlighting of the arrows is the hardest thing to do, so I'm thinking of abandoning this idea. Spread it out, it will be interesting to read!
Handsome! I've been struggling with the tidy for the second year! I also soldered LEDs, 20 pcs per speedometer and tachometer, but the desired result did not work!)) I made a speedometer and a tachometer in blue, and the temperature and gasoline are red! Recently I stopped at light green I started to mess around with the arrow lights! I'll add the results later!))
All the same, I made the arrows and illuminated them, made the balancing of the arrows so that they would not lie, but I have not checked them on the road yet.