Tidy - final version - Toyota Carina, 1.8 L, 1996
Well, finally, thanks to my friend Denis, nakoneets then, I feel like a human again, 2.5 months without tidying, and now it is ready + a bonus went to the air ducts on the central panel, the next step is to remake the illumination of additional devices and diodes in the side air ducts
backlight itself
It was:
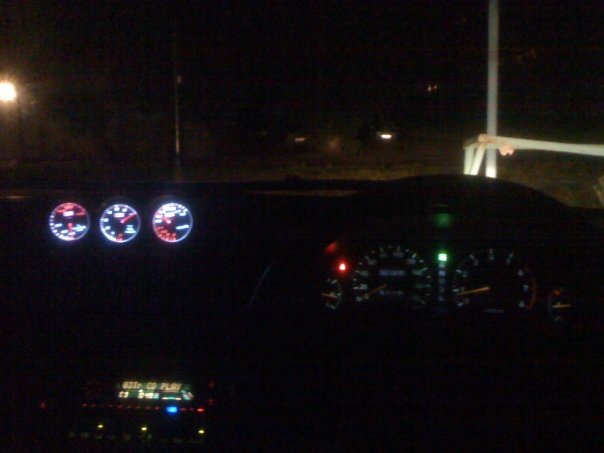
IT IS!
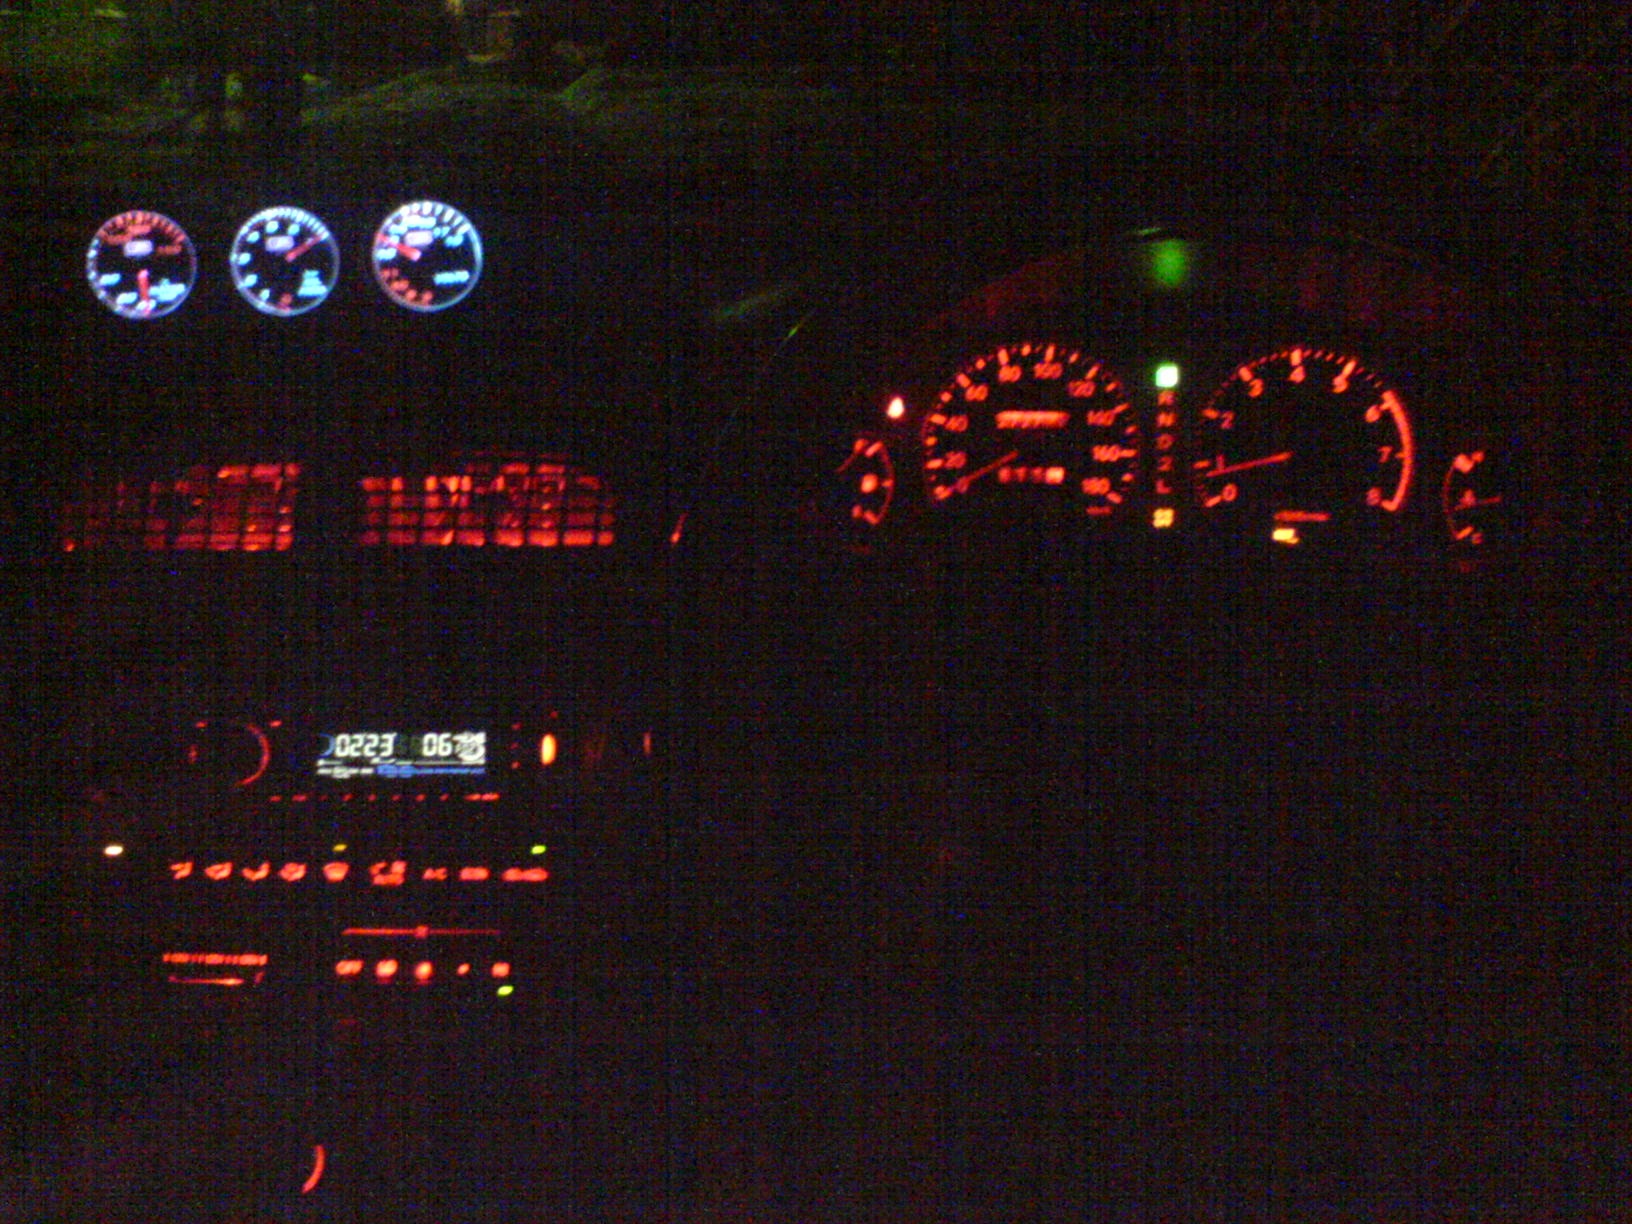
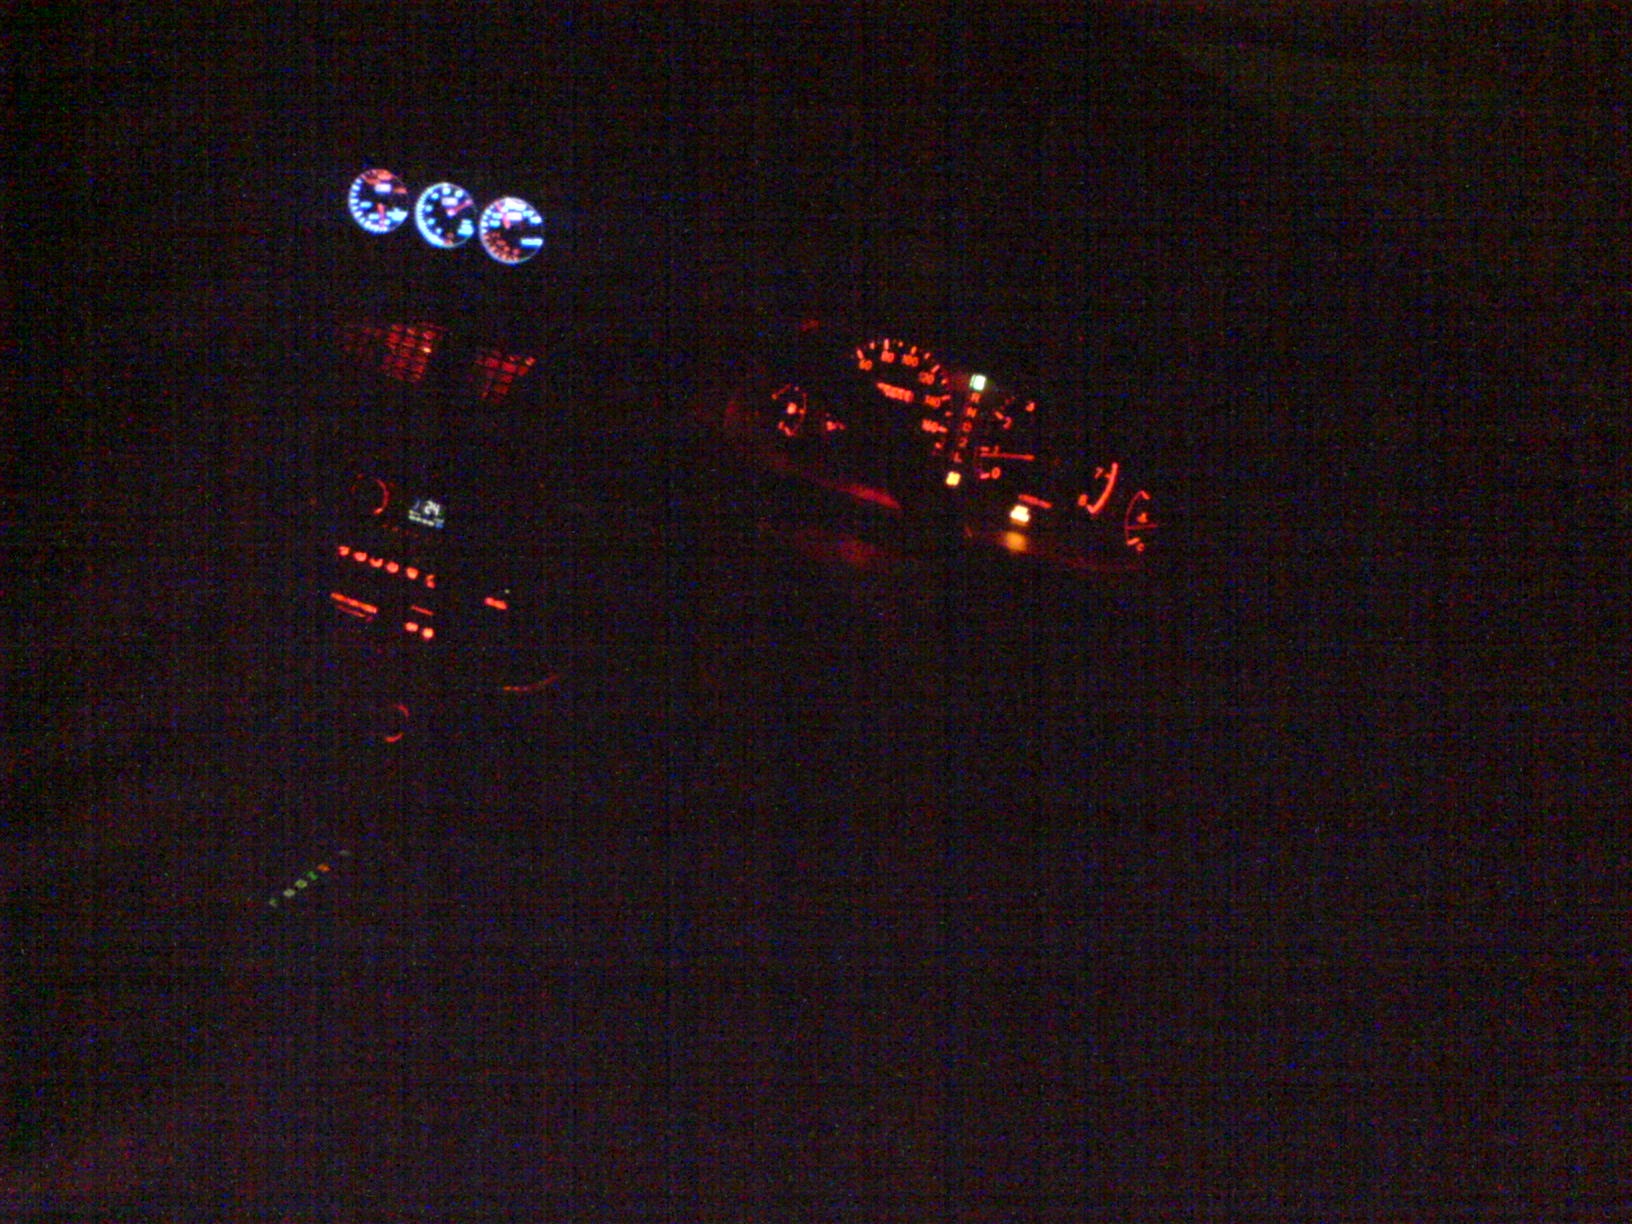
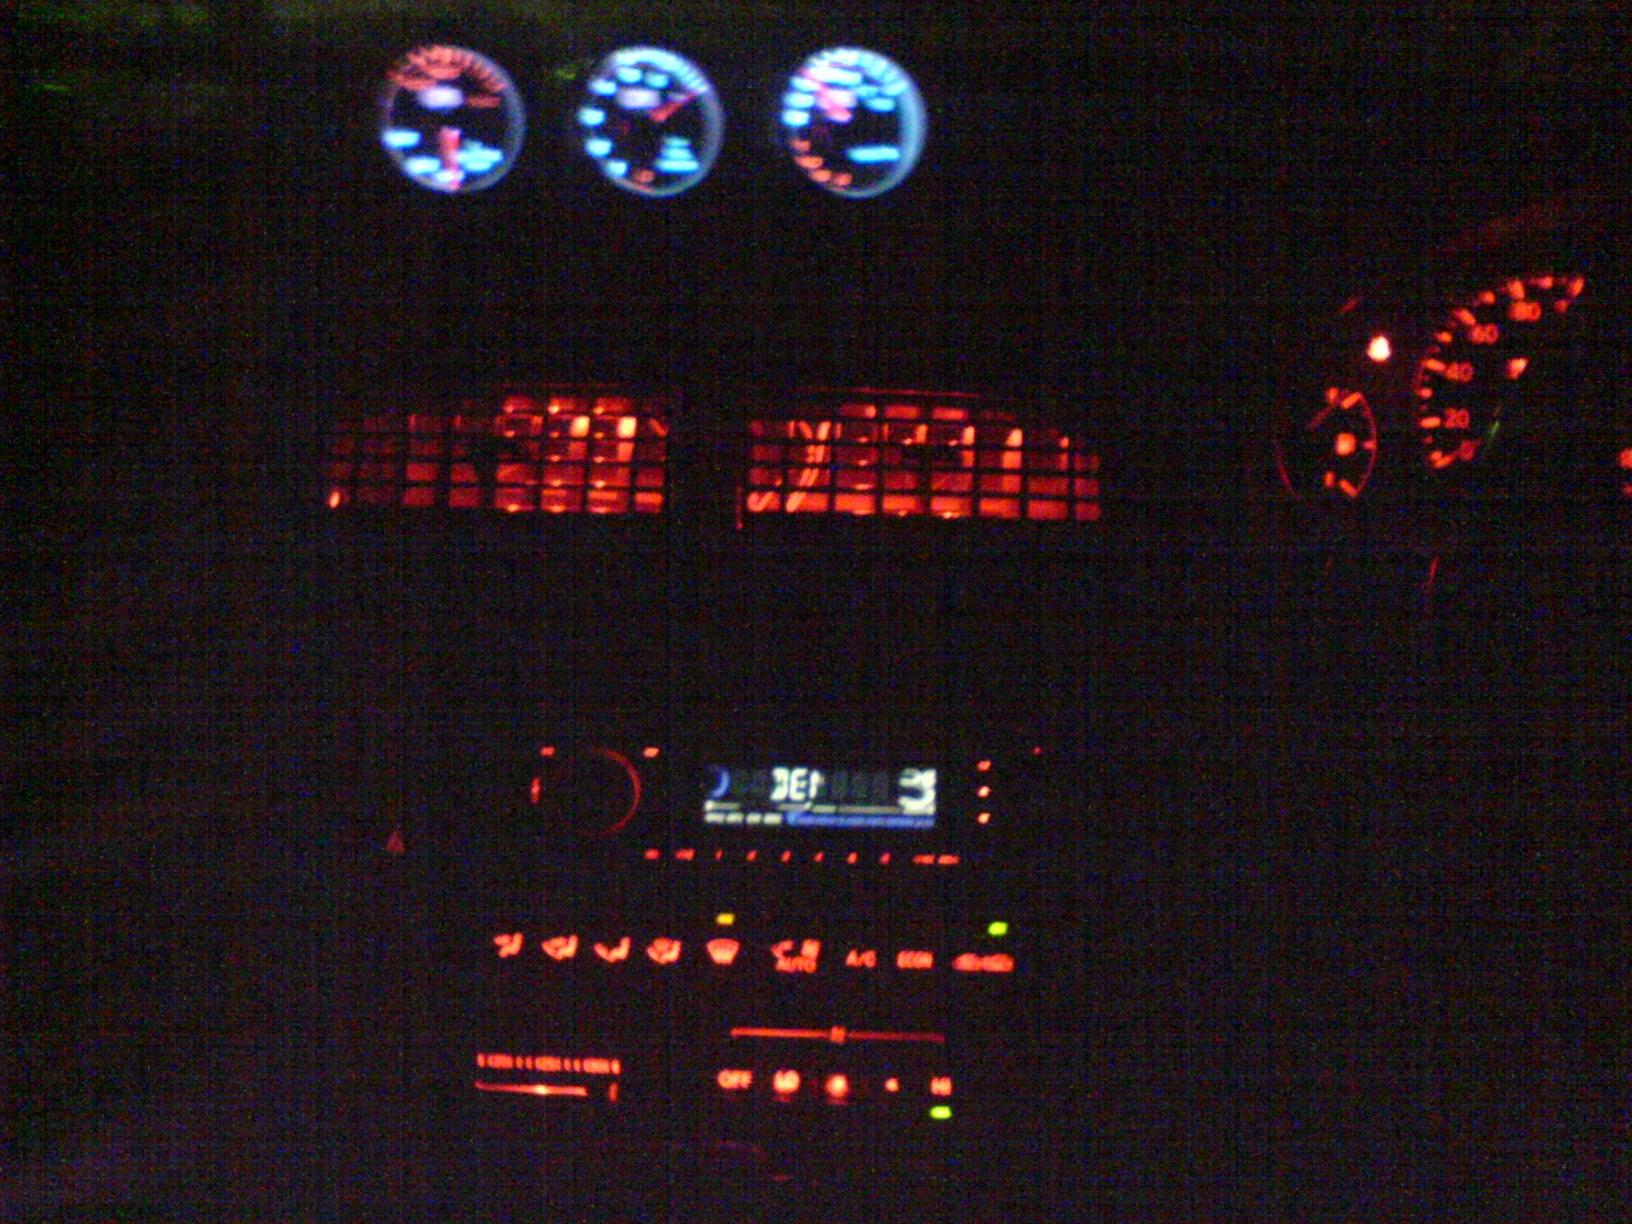
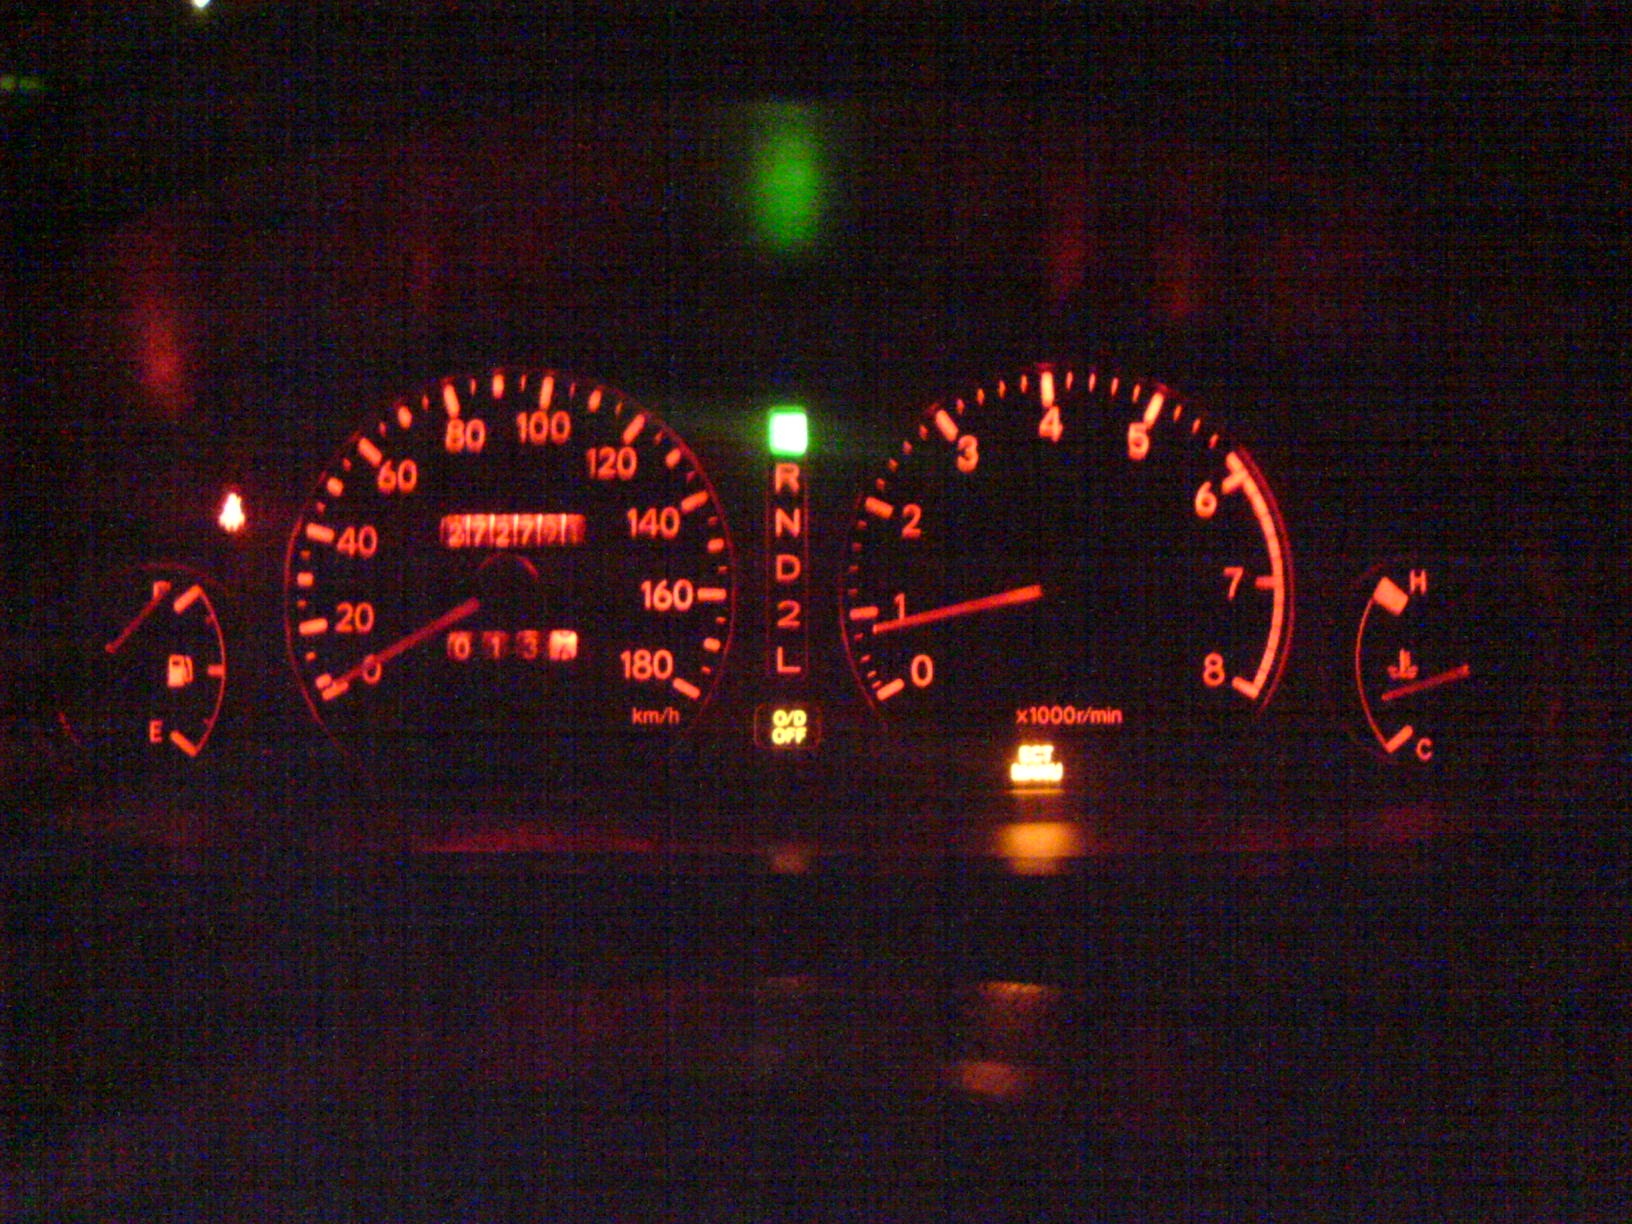
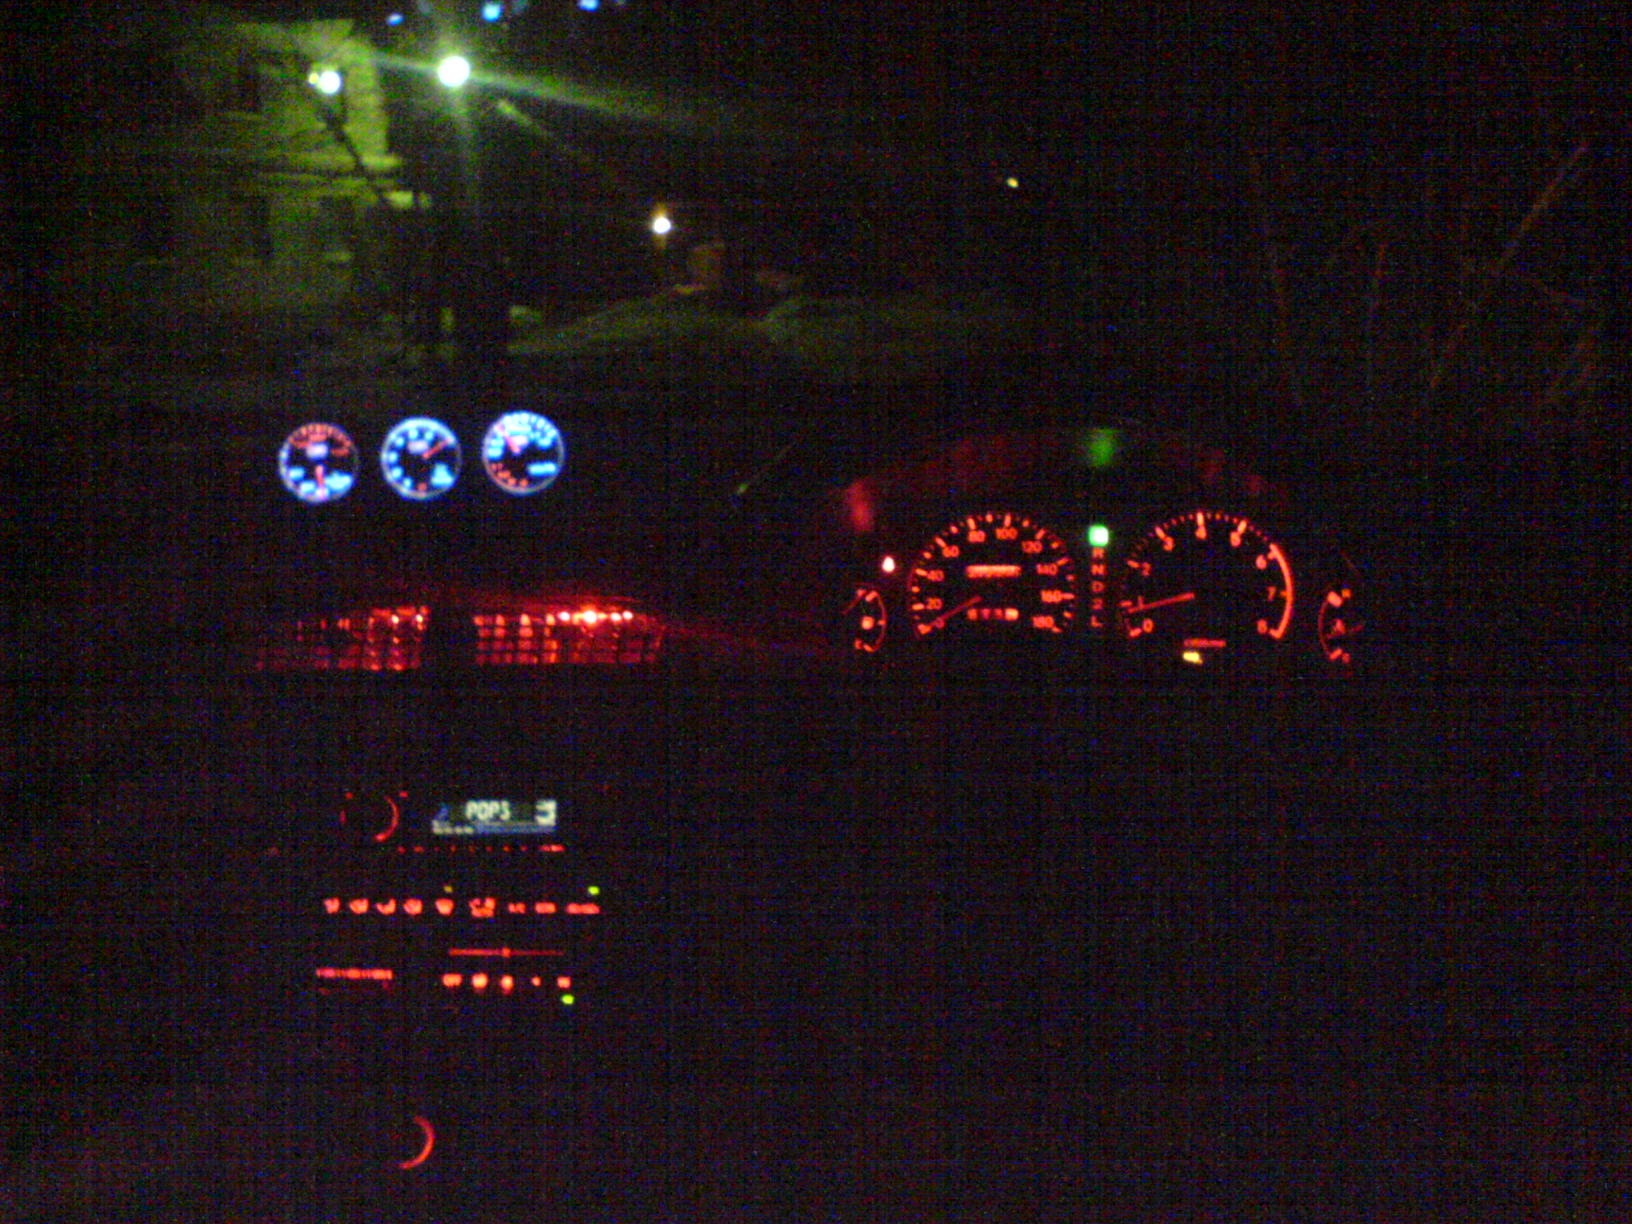
a little viscera, such a crap was sho PPC, but the overall effect is simply stunning =)
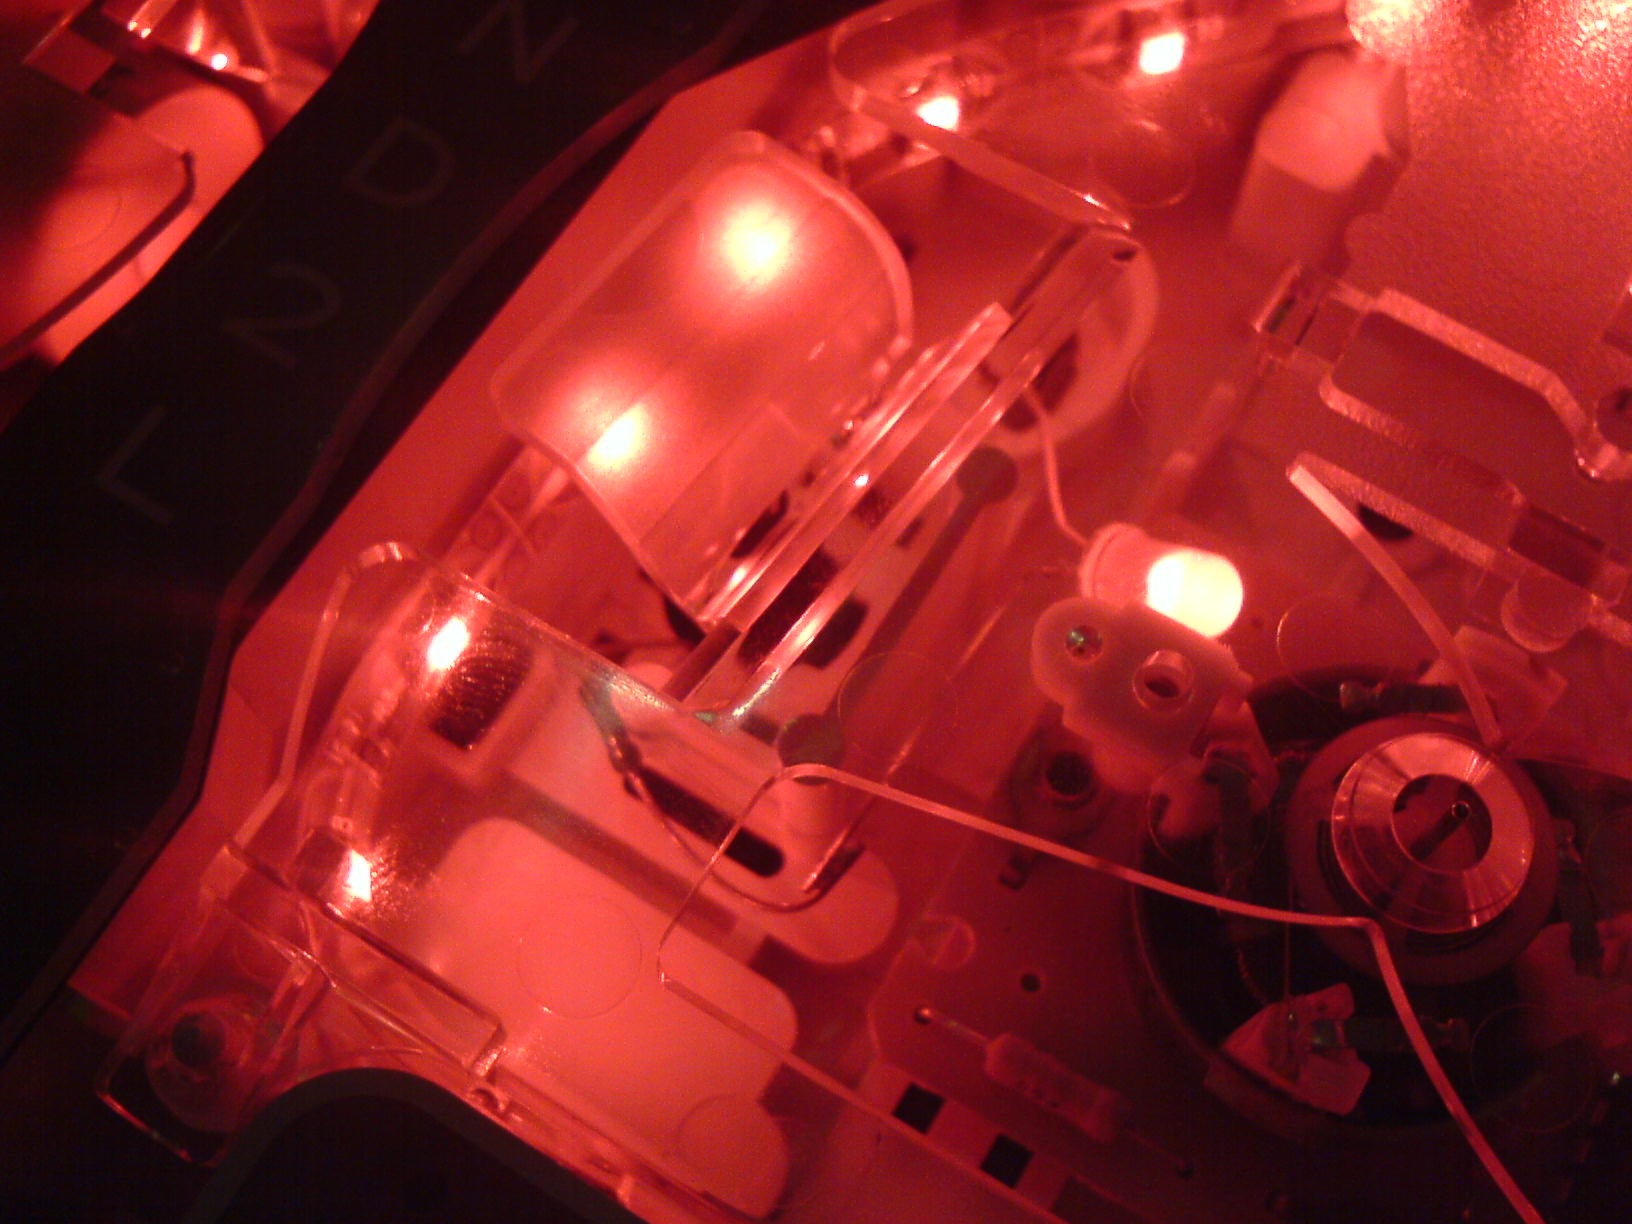
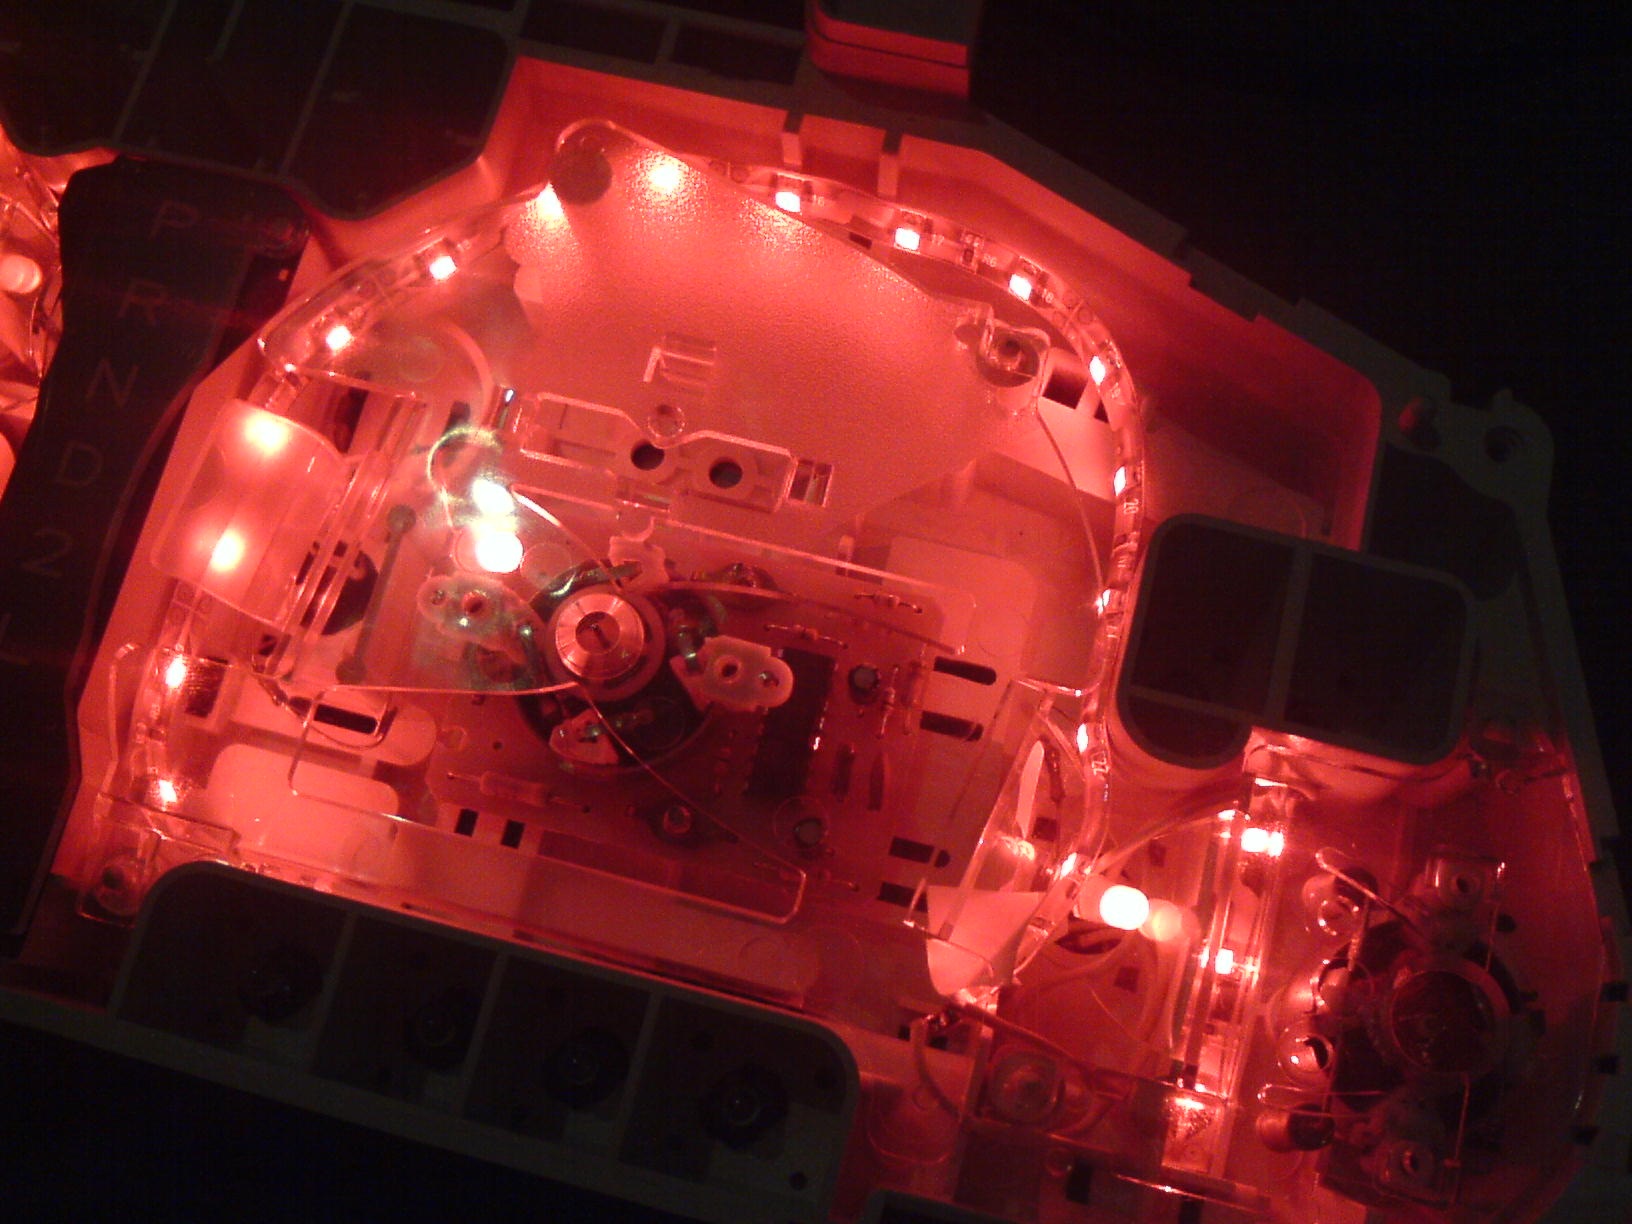
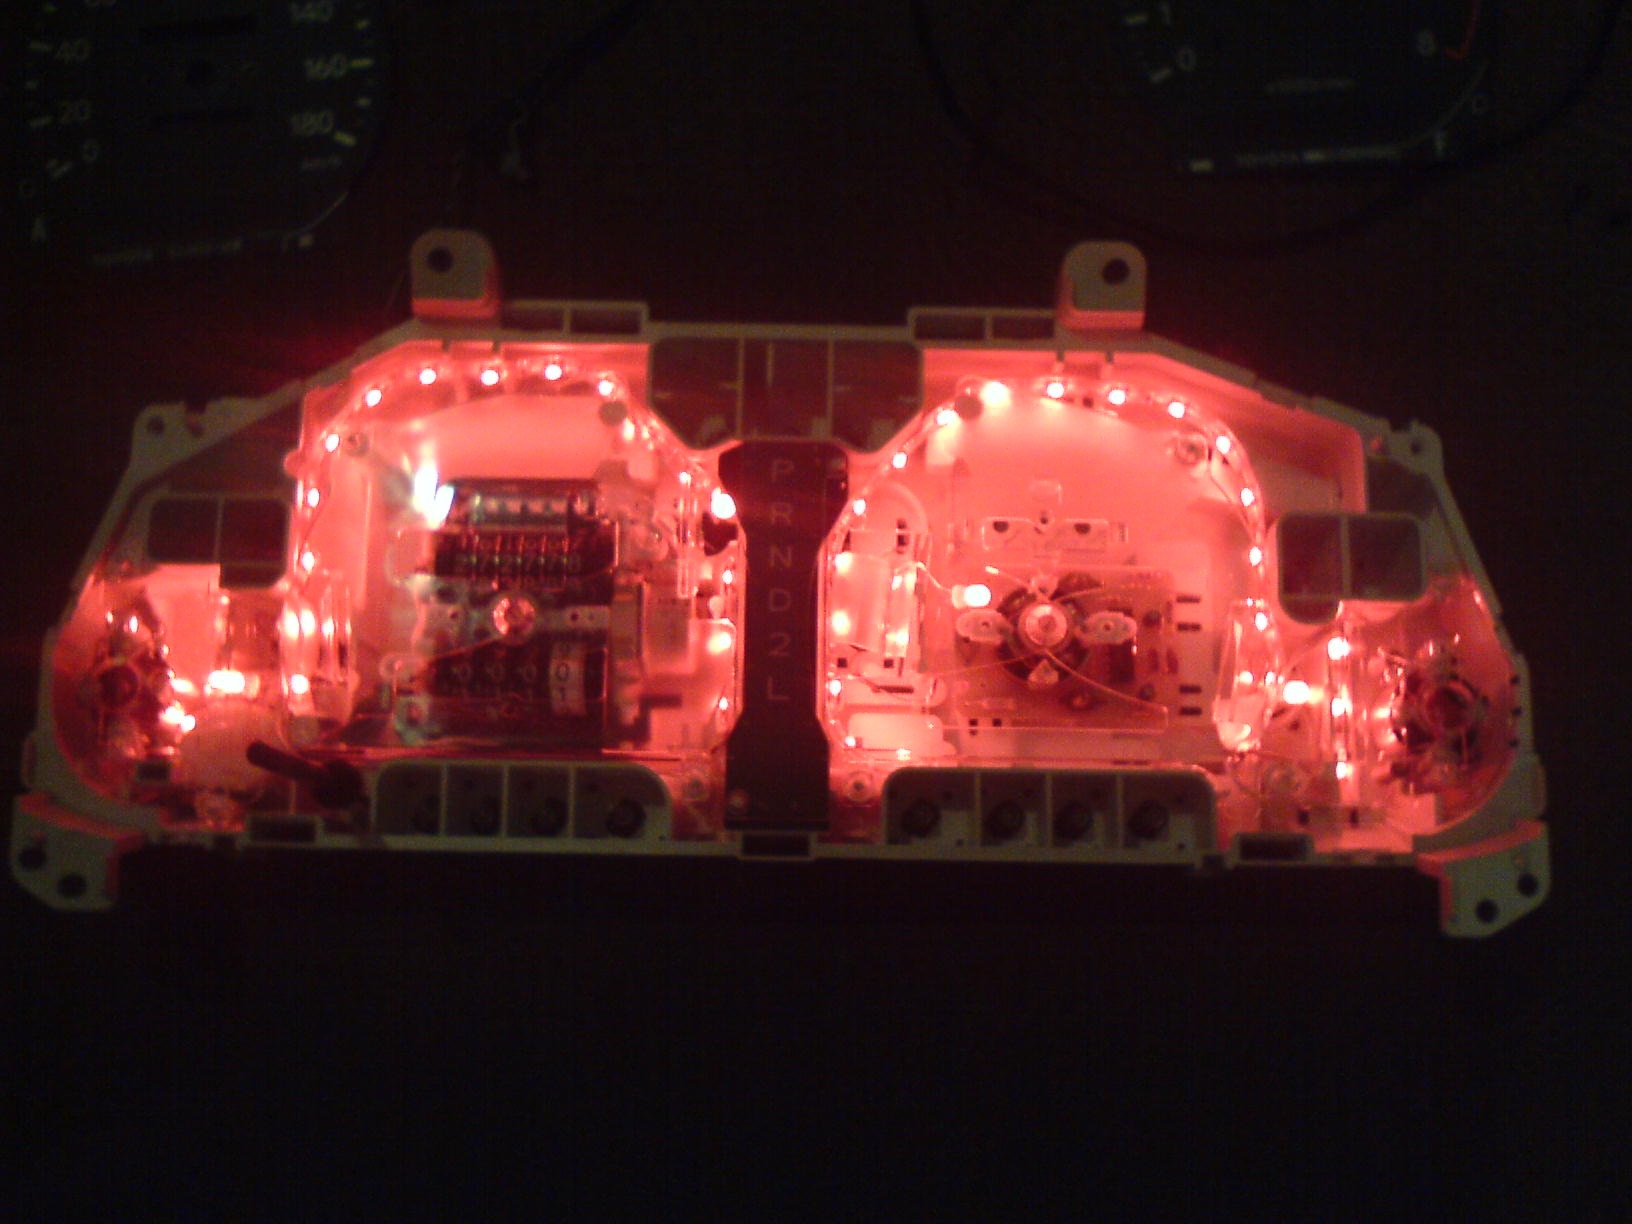
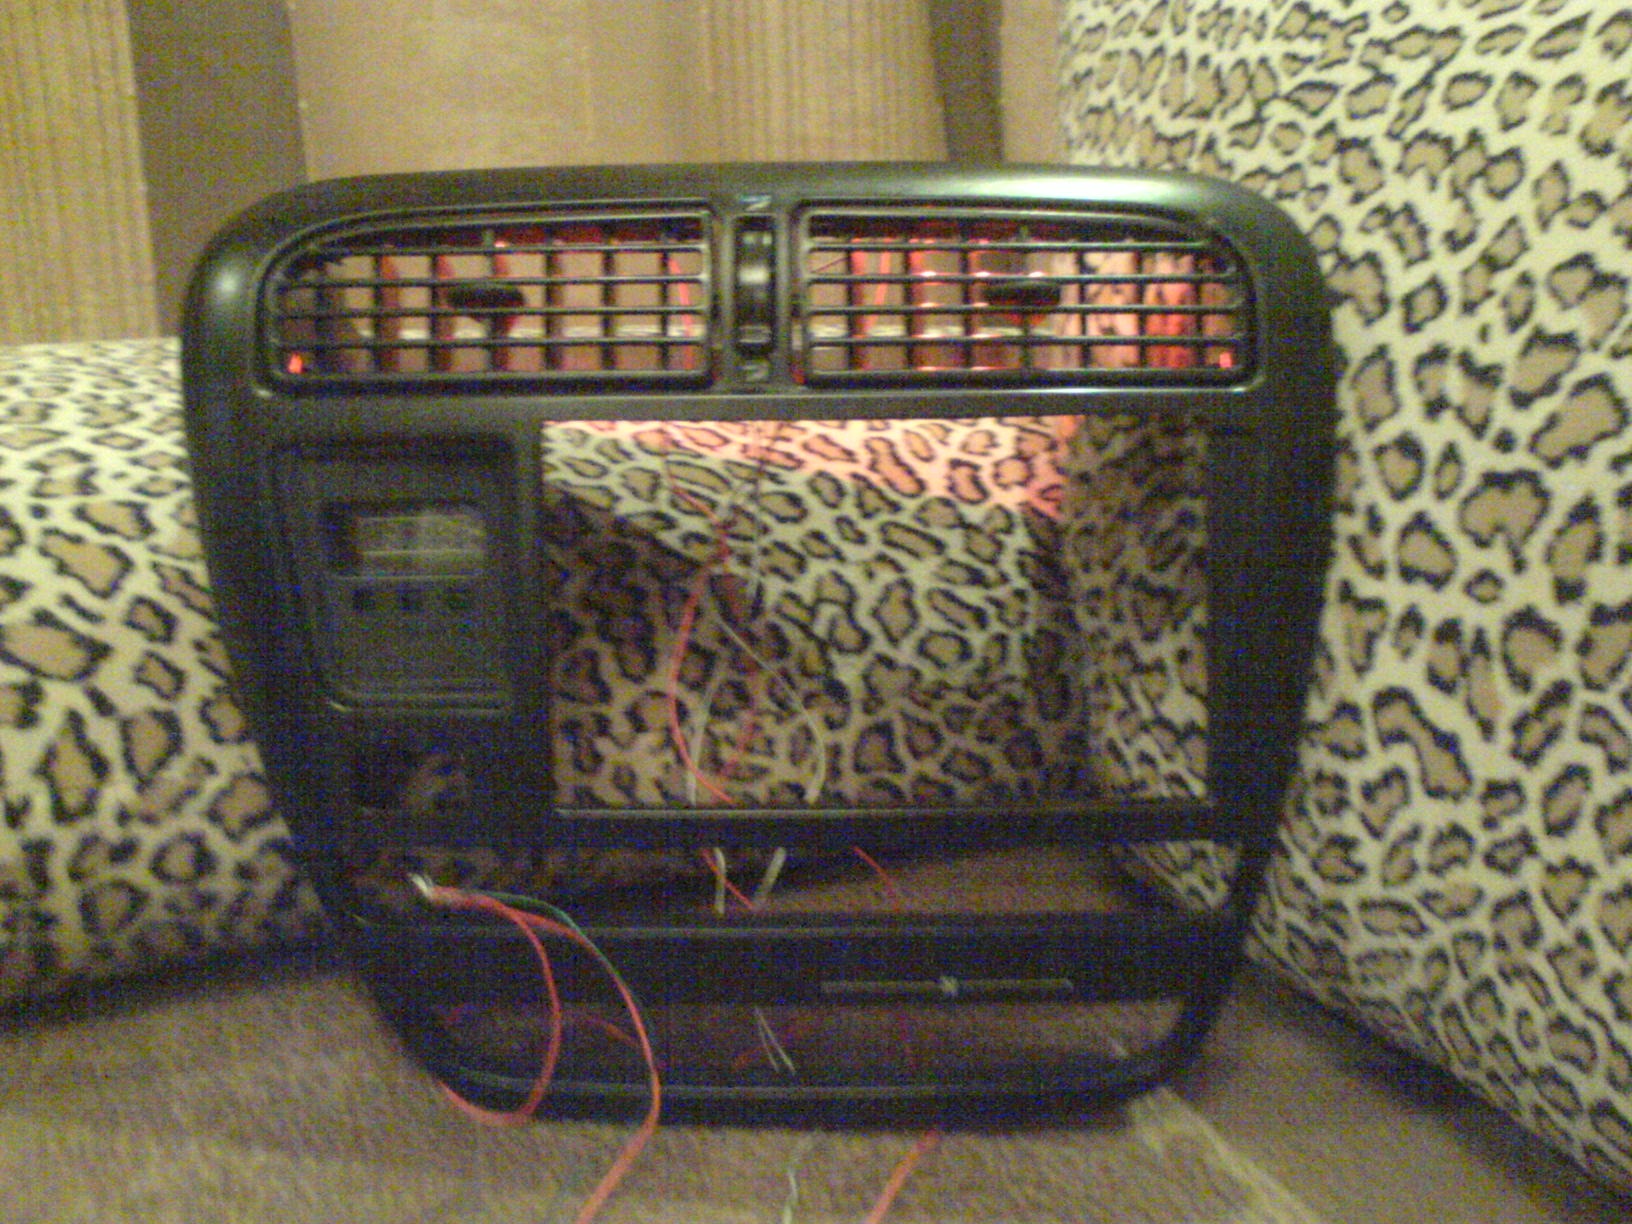
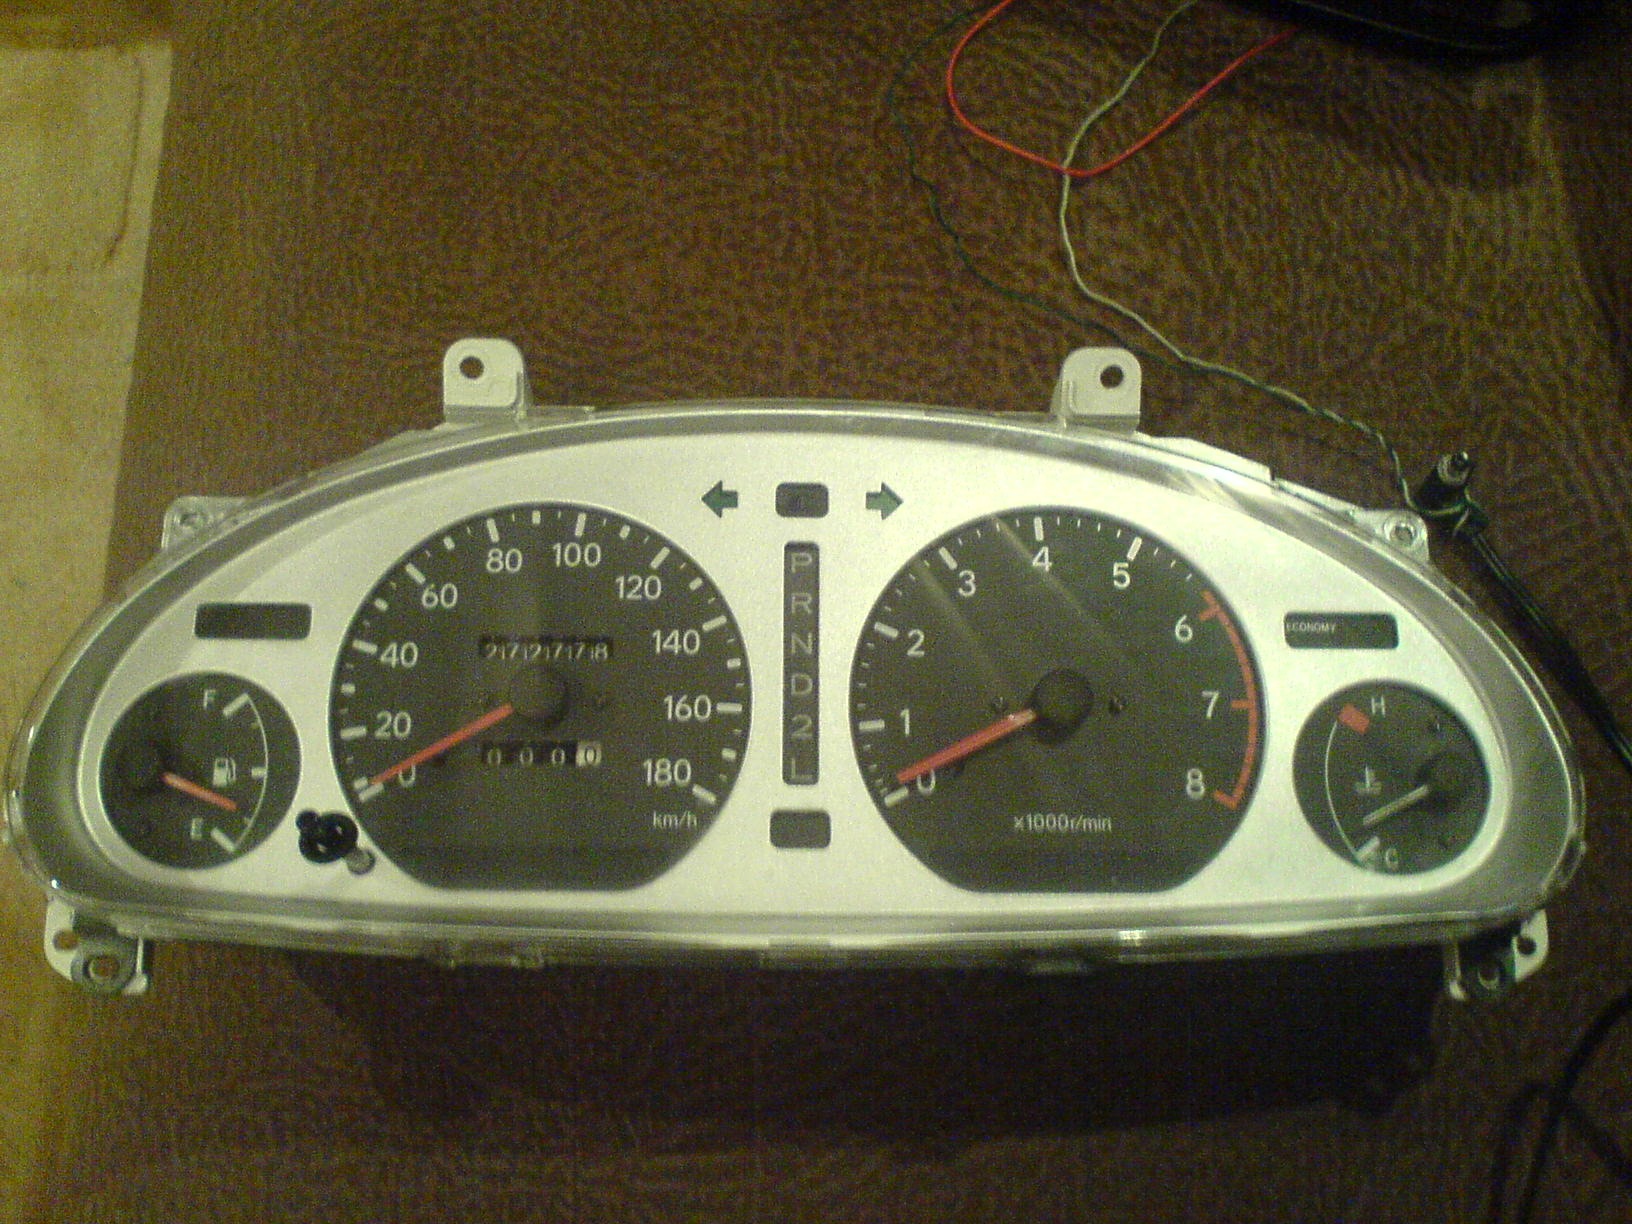
the photos are so far, I will soon get to the camera and tomorrow I will update
Price tag: 1 000 ₽I was on a penny when I took off the tidy all my hand tore to blood, it is removed through the central air ducts
yeah) recently I decided to check the oil in the box, so blah, in order to get the dipstick, you need to remove some kind of jar, in short, until the dipstick got all smeared,
you're lucky) and I have to wipe the dust there, I need to disassemble half of the tidy)) so I haven't installed it yet)
I have it arranged so that nothing will be visible, but how the dust accumulates - wipe with a cloth, the console is removed in 2 seconds, with one movement of the hand =)
yes great) I also thought to put it in the air ducts, but the landing that the whole inside becomes visible ... but I want aesthetics :)
thanks =) well, if the arrows of a different color could be made, we would do =) there is unrealistic = (
everything is perfectly done! it looks not very bad =) only in my arrow if you make a different color, it will be just super =)
well, that diode tape to help, close those diodes, or unsolder and put the tape everywhere =)
There are, of course, guys who also organically do tidying, but basically - whoever can)
I remember dismantling the tidy, I looked that it was impossible to get to the diodes and they had to be soldered and put them back together)