Body kit. part 2 - Toyota MR2, 2.0L, 1990
After installing the bumper, the search began for the rest of the aesthetic details, namely the parogues, the rear bumper and large wheels.
Noname pairs (similar to welside) were bought on a yacht, a second-hand Tom`s rear bumper was found in Krasnoyarsk, Kales' wide wheels ZEIT / R 18x8.5 / 9.5 off 45/38 are also from a yakhi.
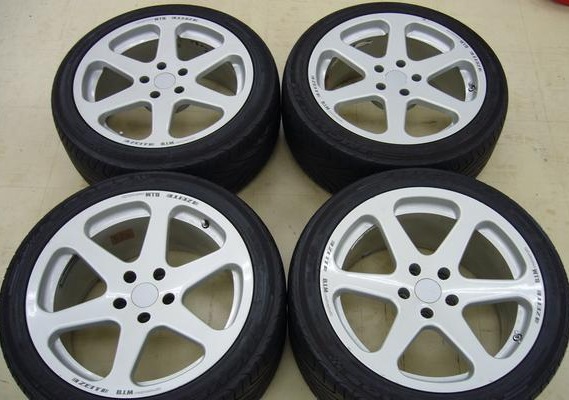
the wheels came with tires 245/40/18 front and 275/35/18 rear O_o, when I saw them live, I did not believe that they could be crammed into the arches (the native size of the wheels is 14 inches). All the same, the wheels climbed, the rules had to buy 15mm spacers in front and 20mm in the rear, front "shortened" springs and digest the spring support cup on the front struts 2 cm up.
Now the wheels are standing :) but sticking out :(
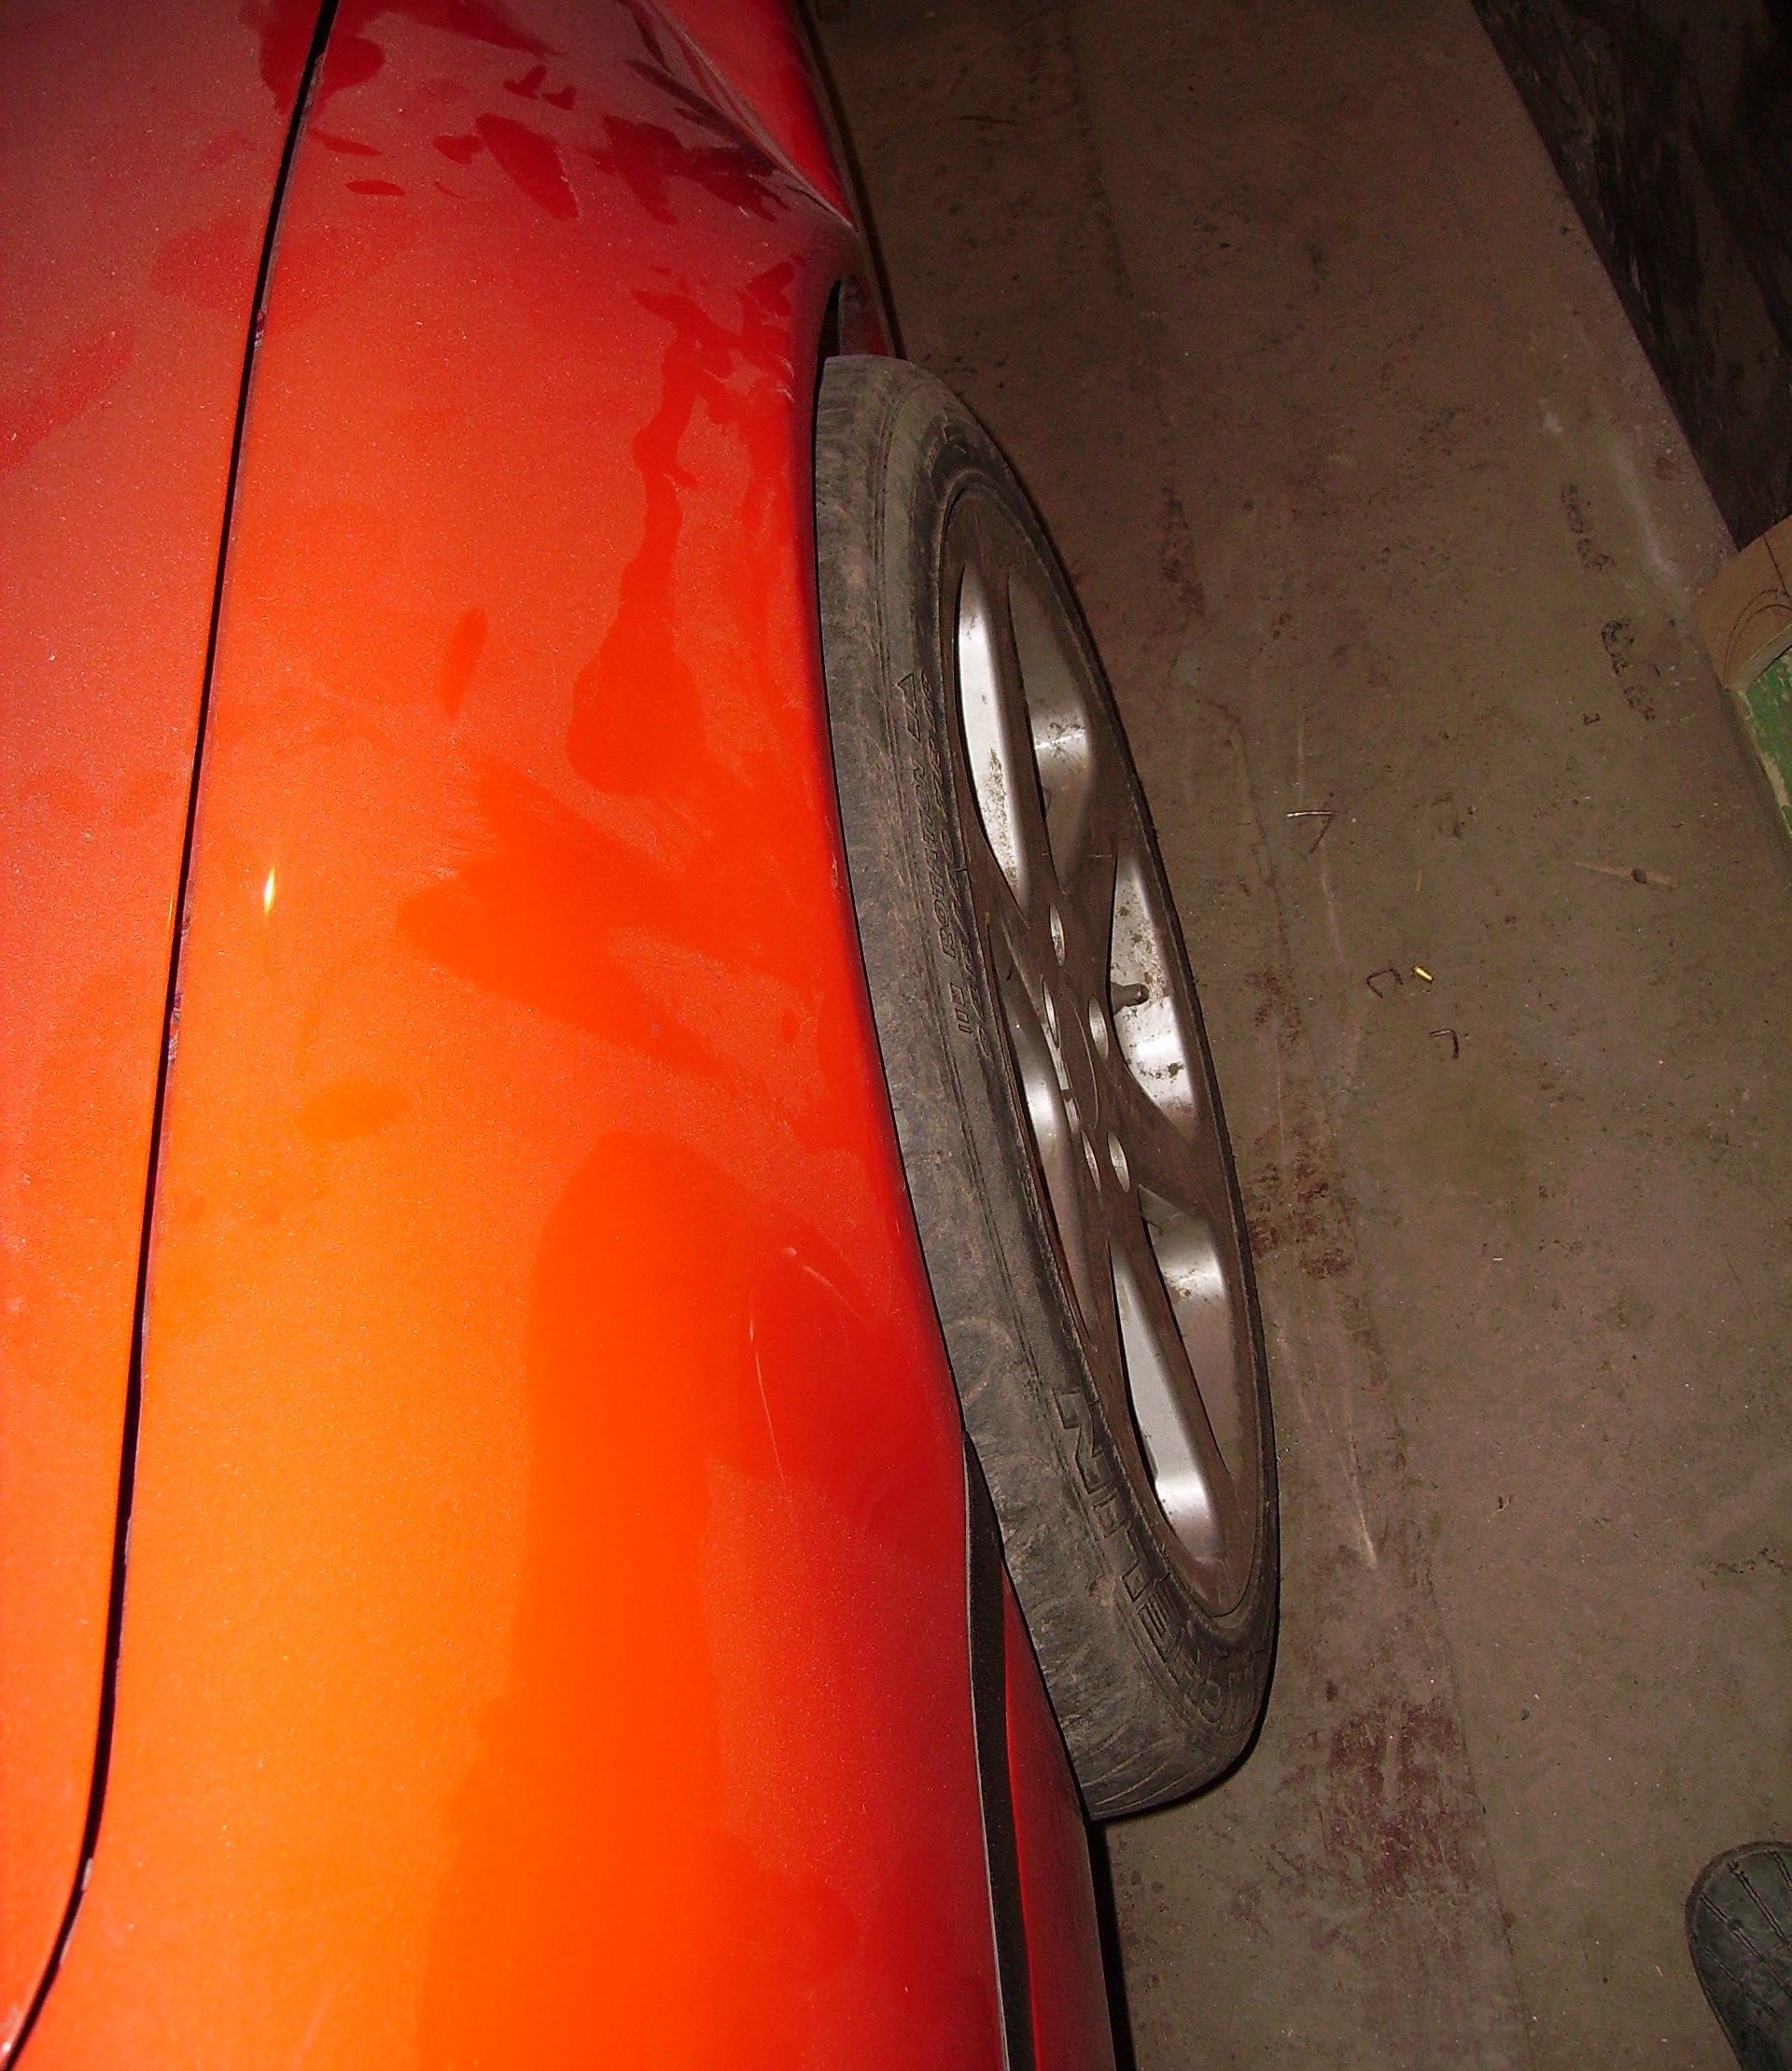
in principle they stick out a little: somewhere 3cm in front and behind, but the ride is so unrealistic. It would seem, why not buy other wheels? duck no! "a bad head does not give rest to his hands")))
roll the arches in the usual way will not work because I need more than 1cm, besides, the rear arch for metal is short. Make overlays not ice, too. I did not want the seams to remain + to mess with the matrices. I decided to do this:
the expansion site is cleaned up like hell
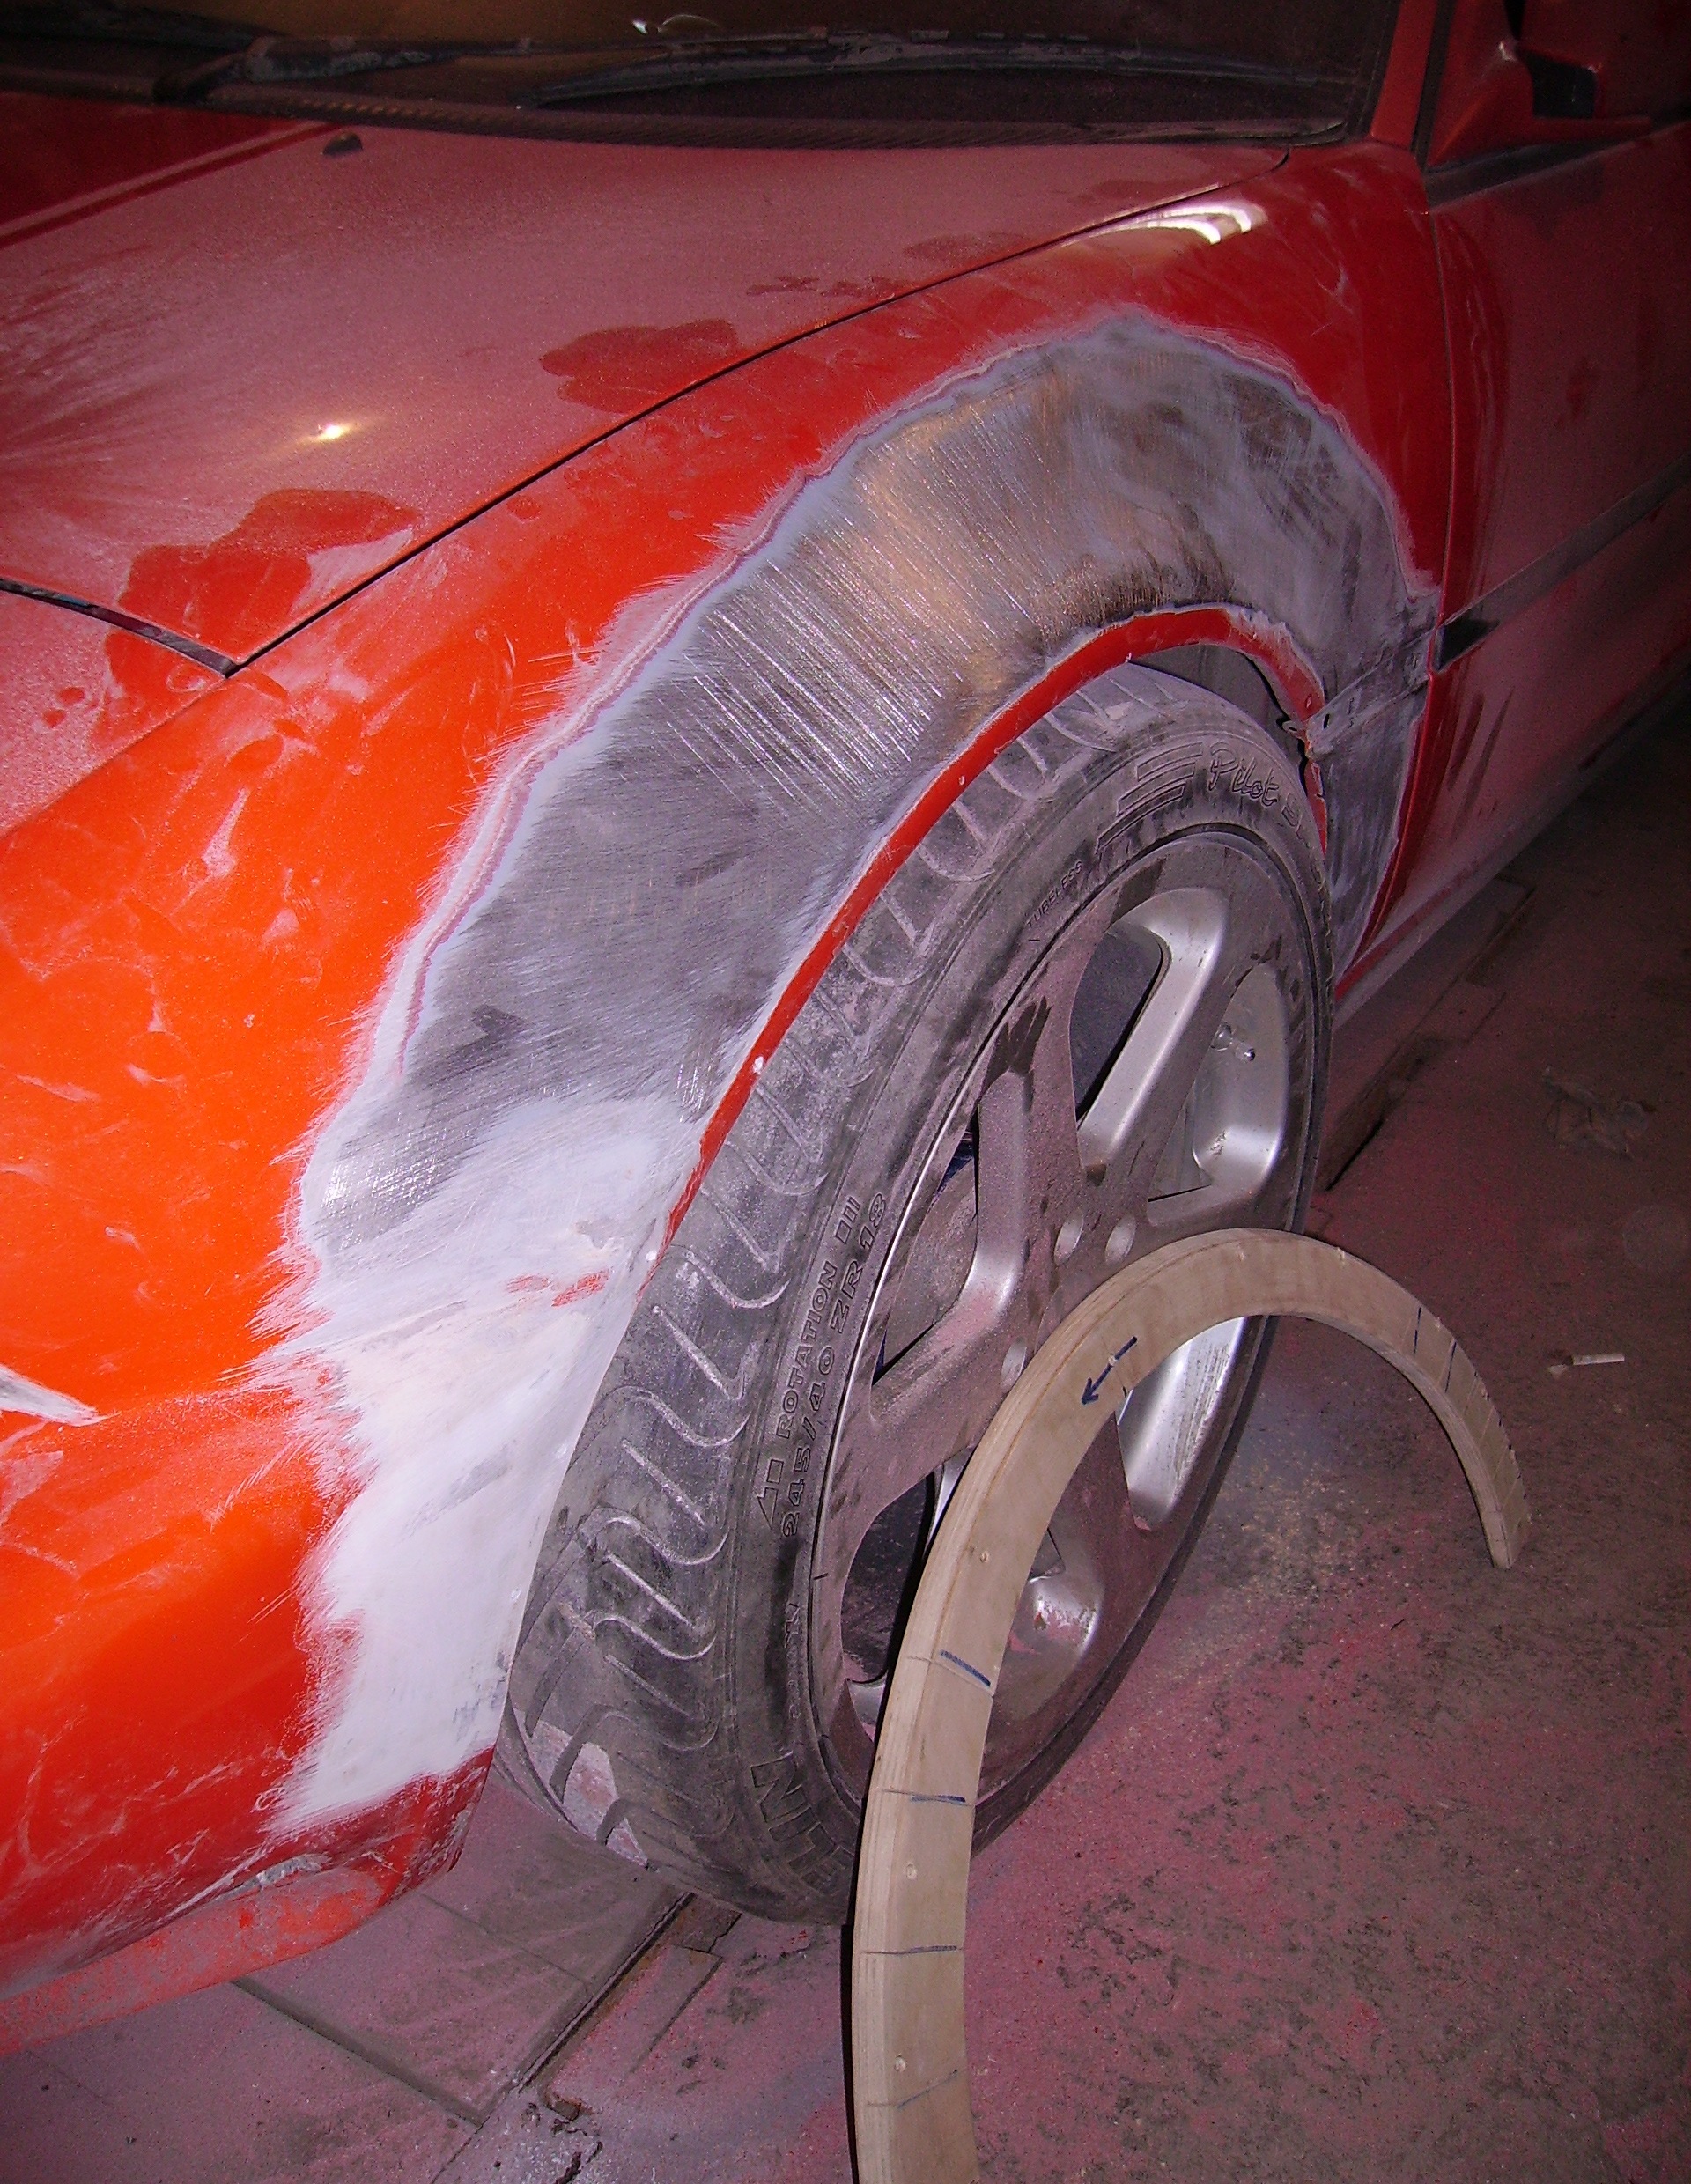
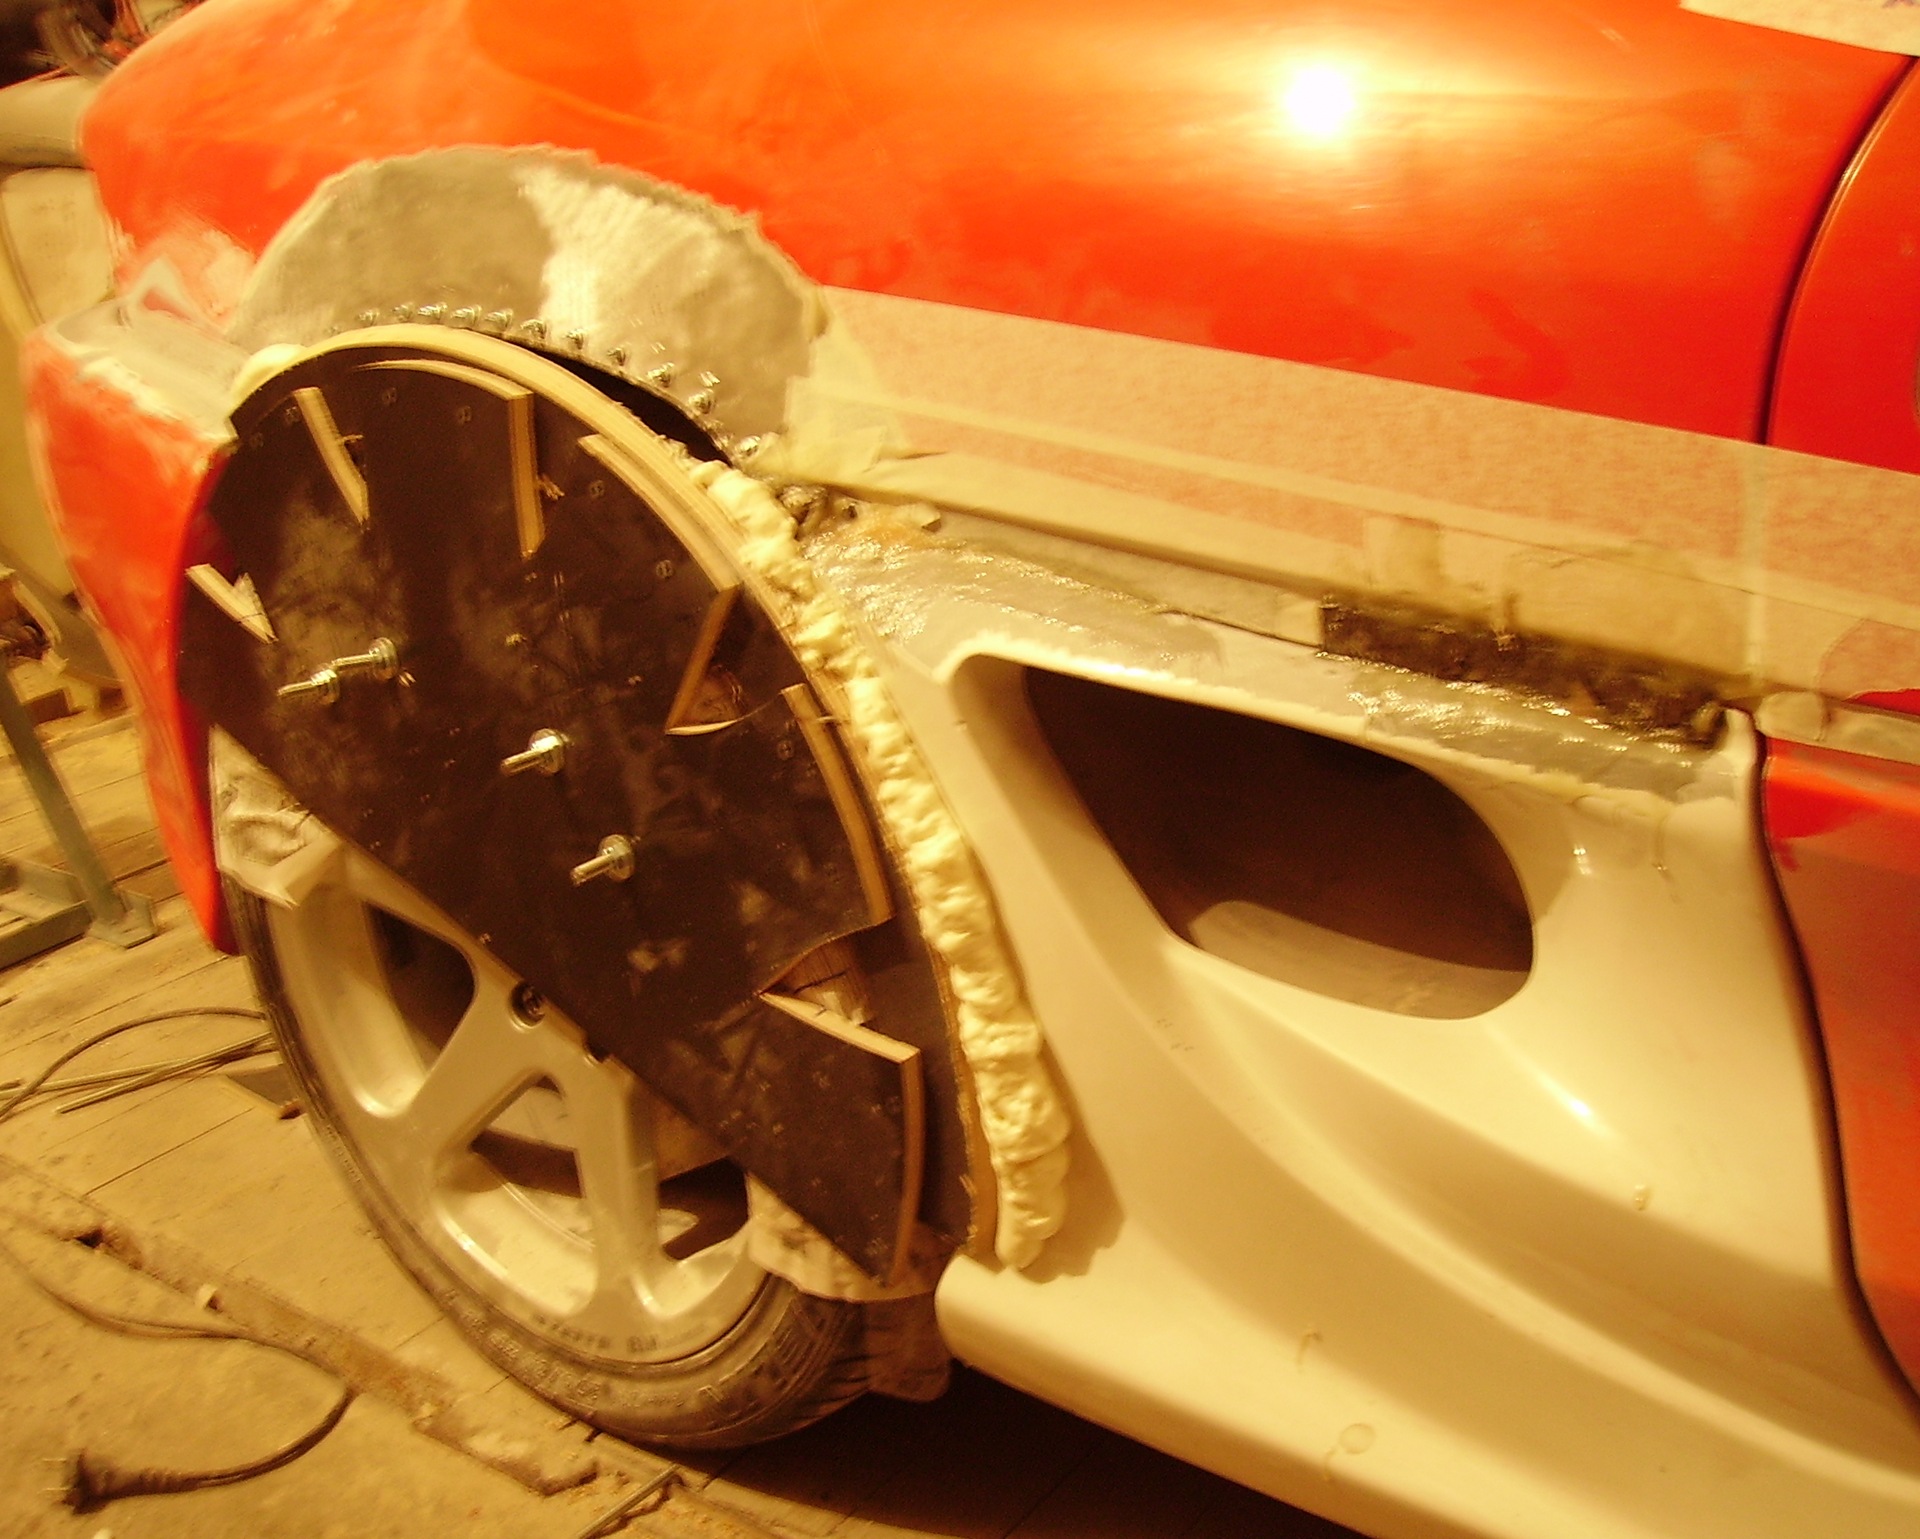
a rough matrix is ​​made along the radius of the wheel
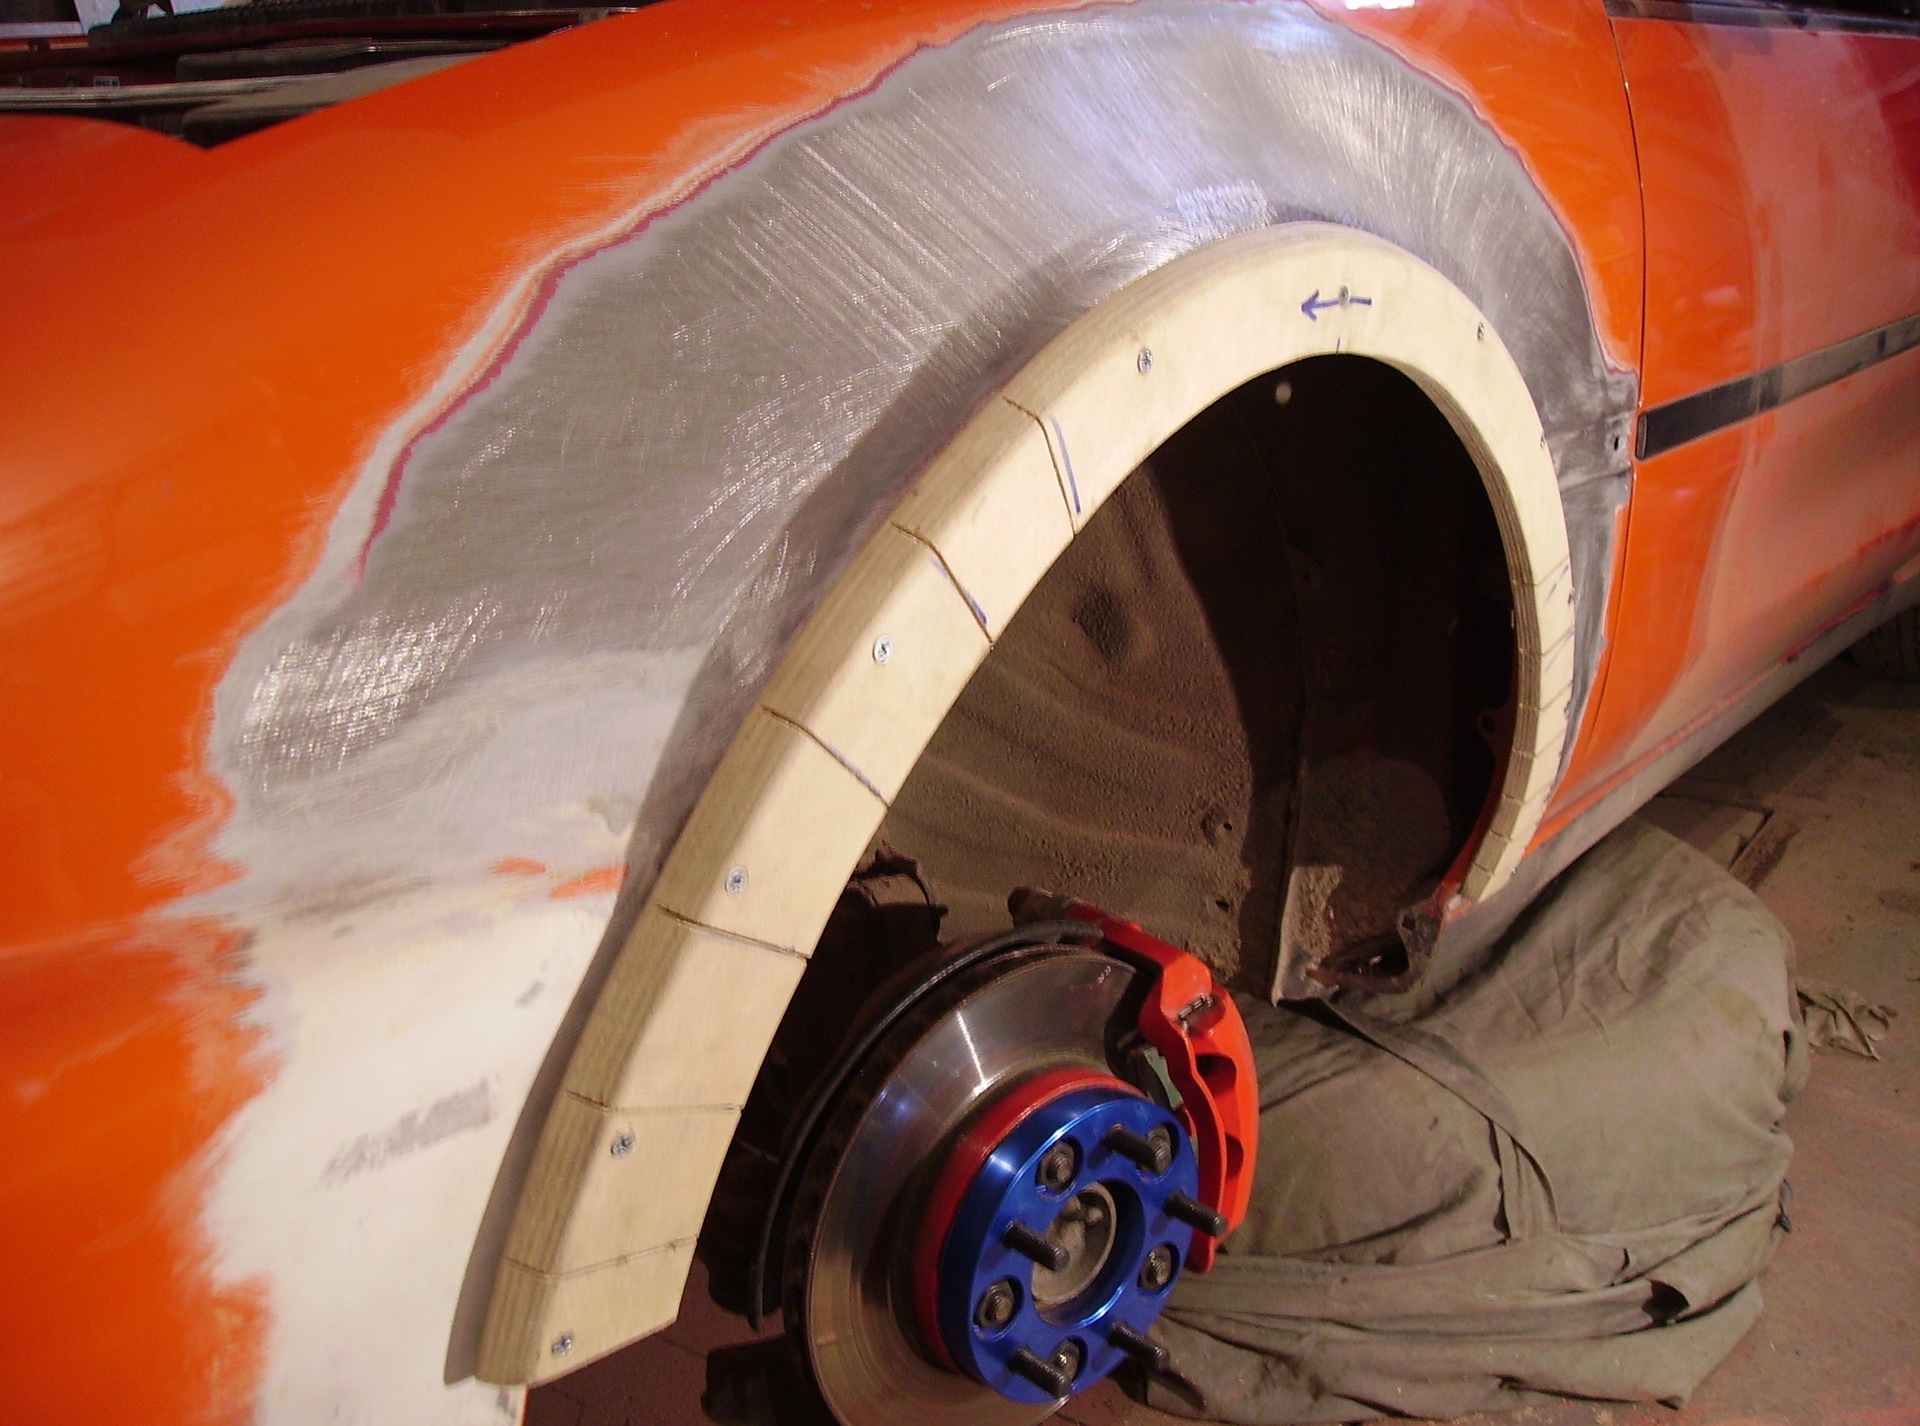
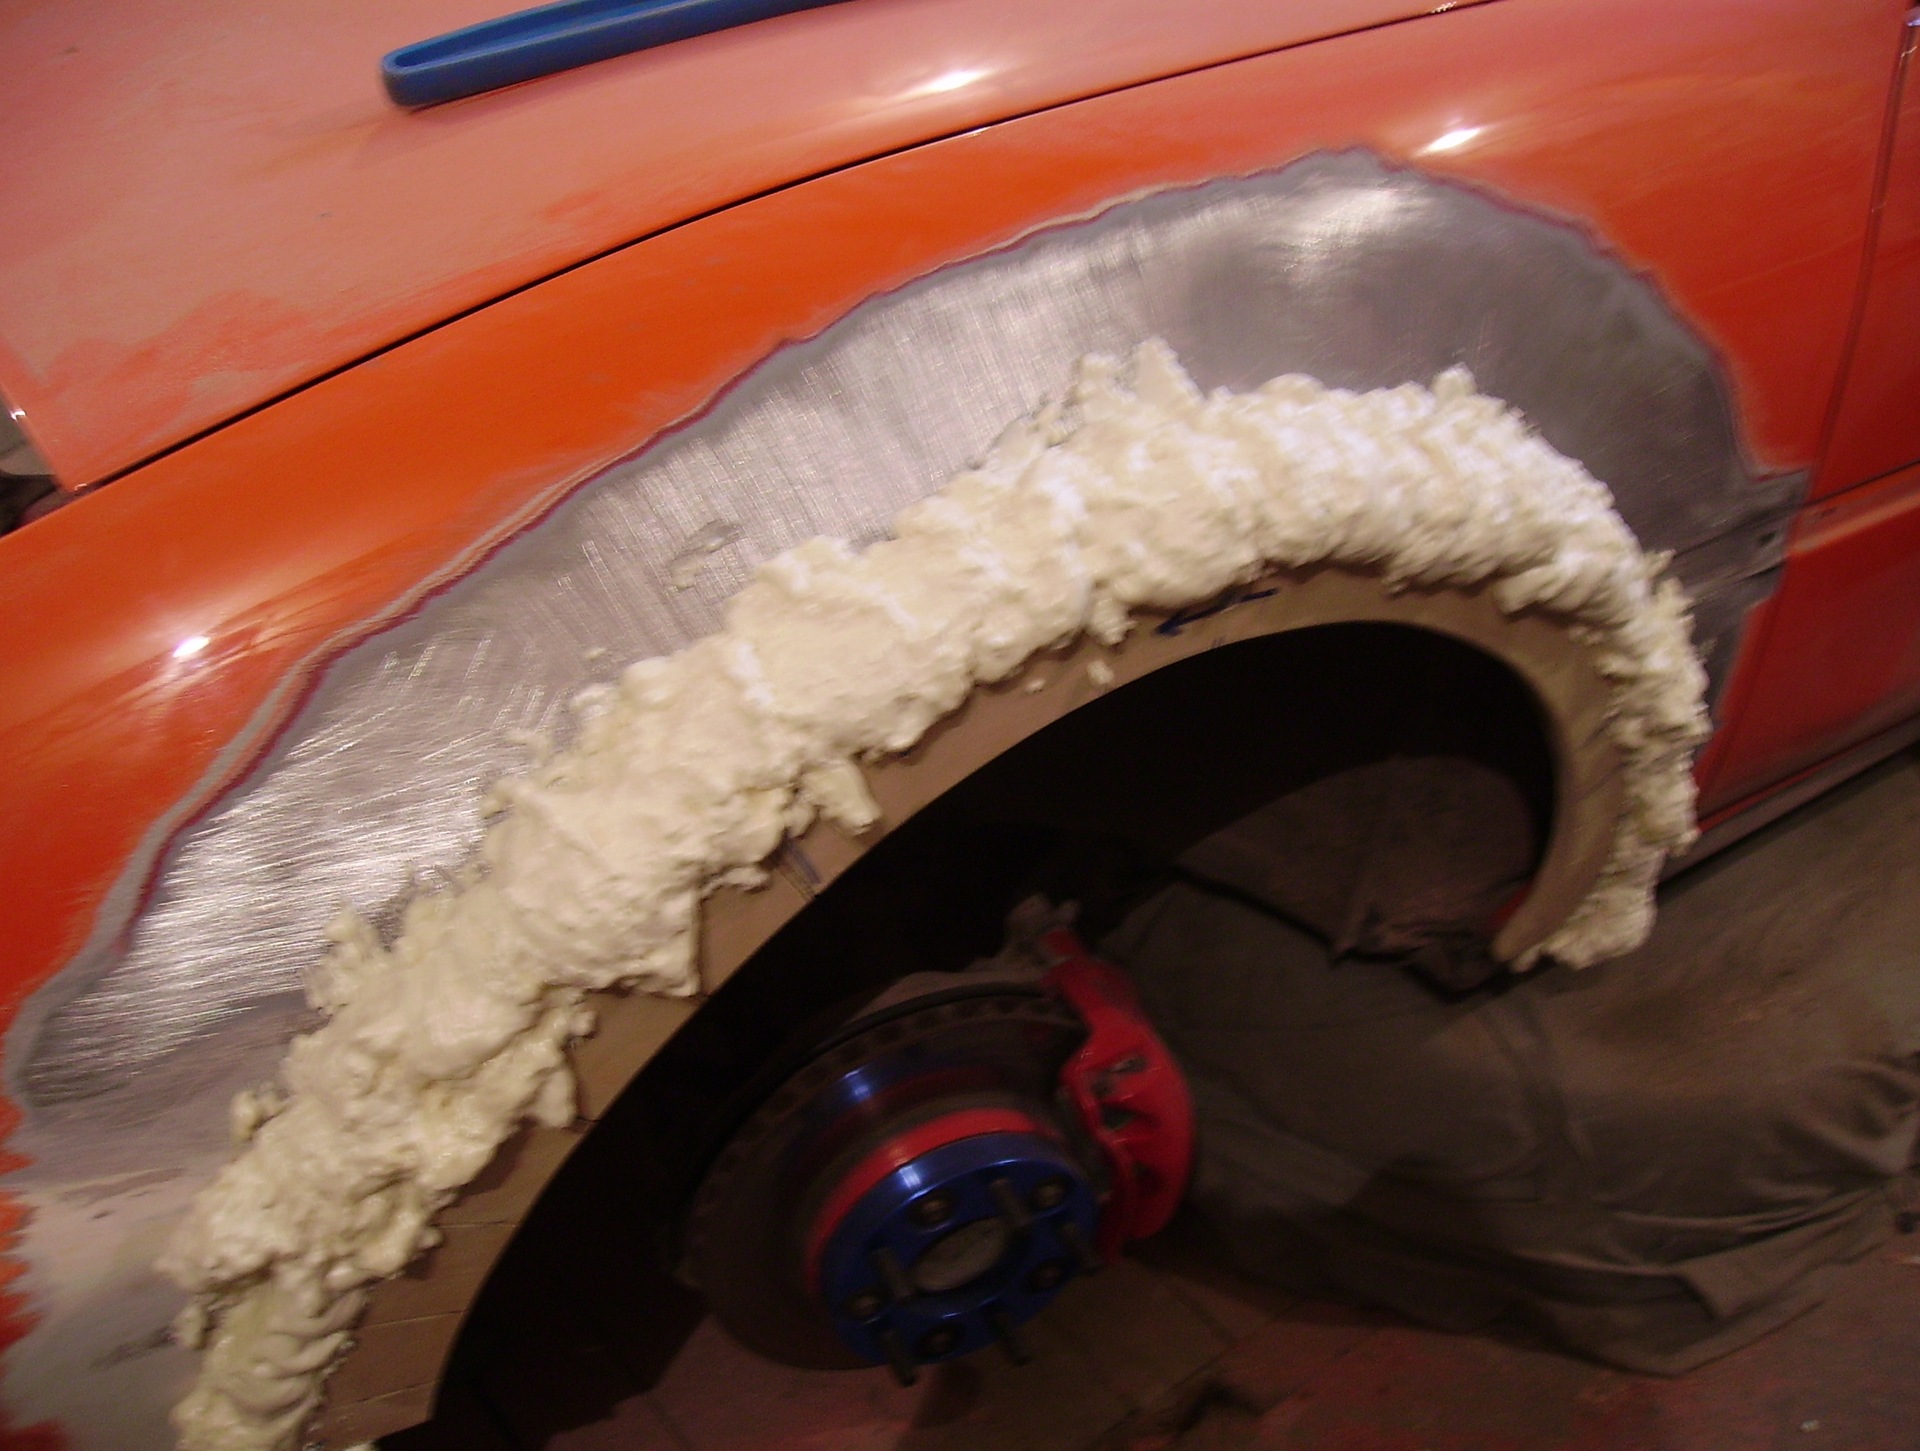
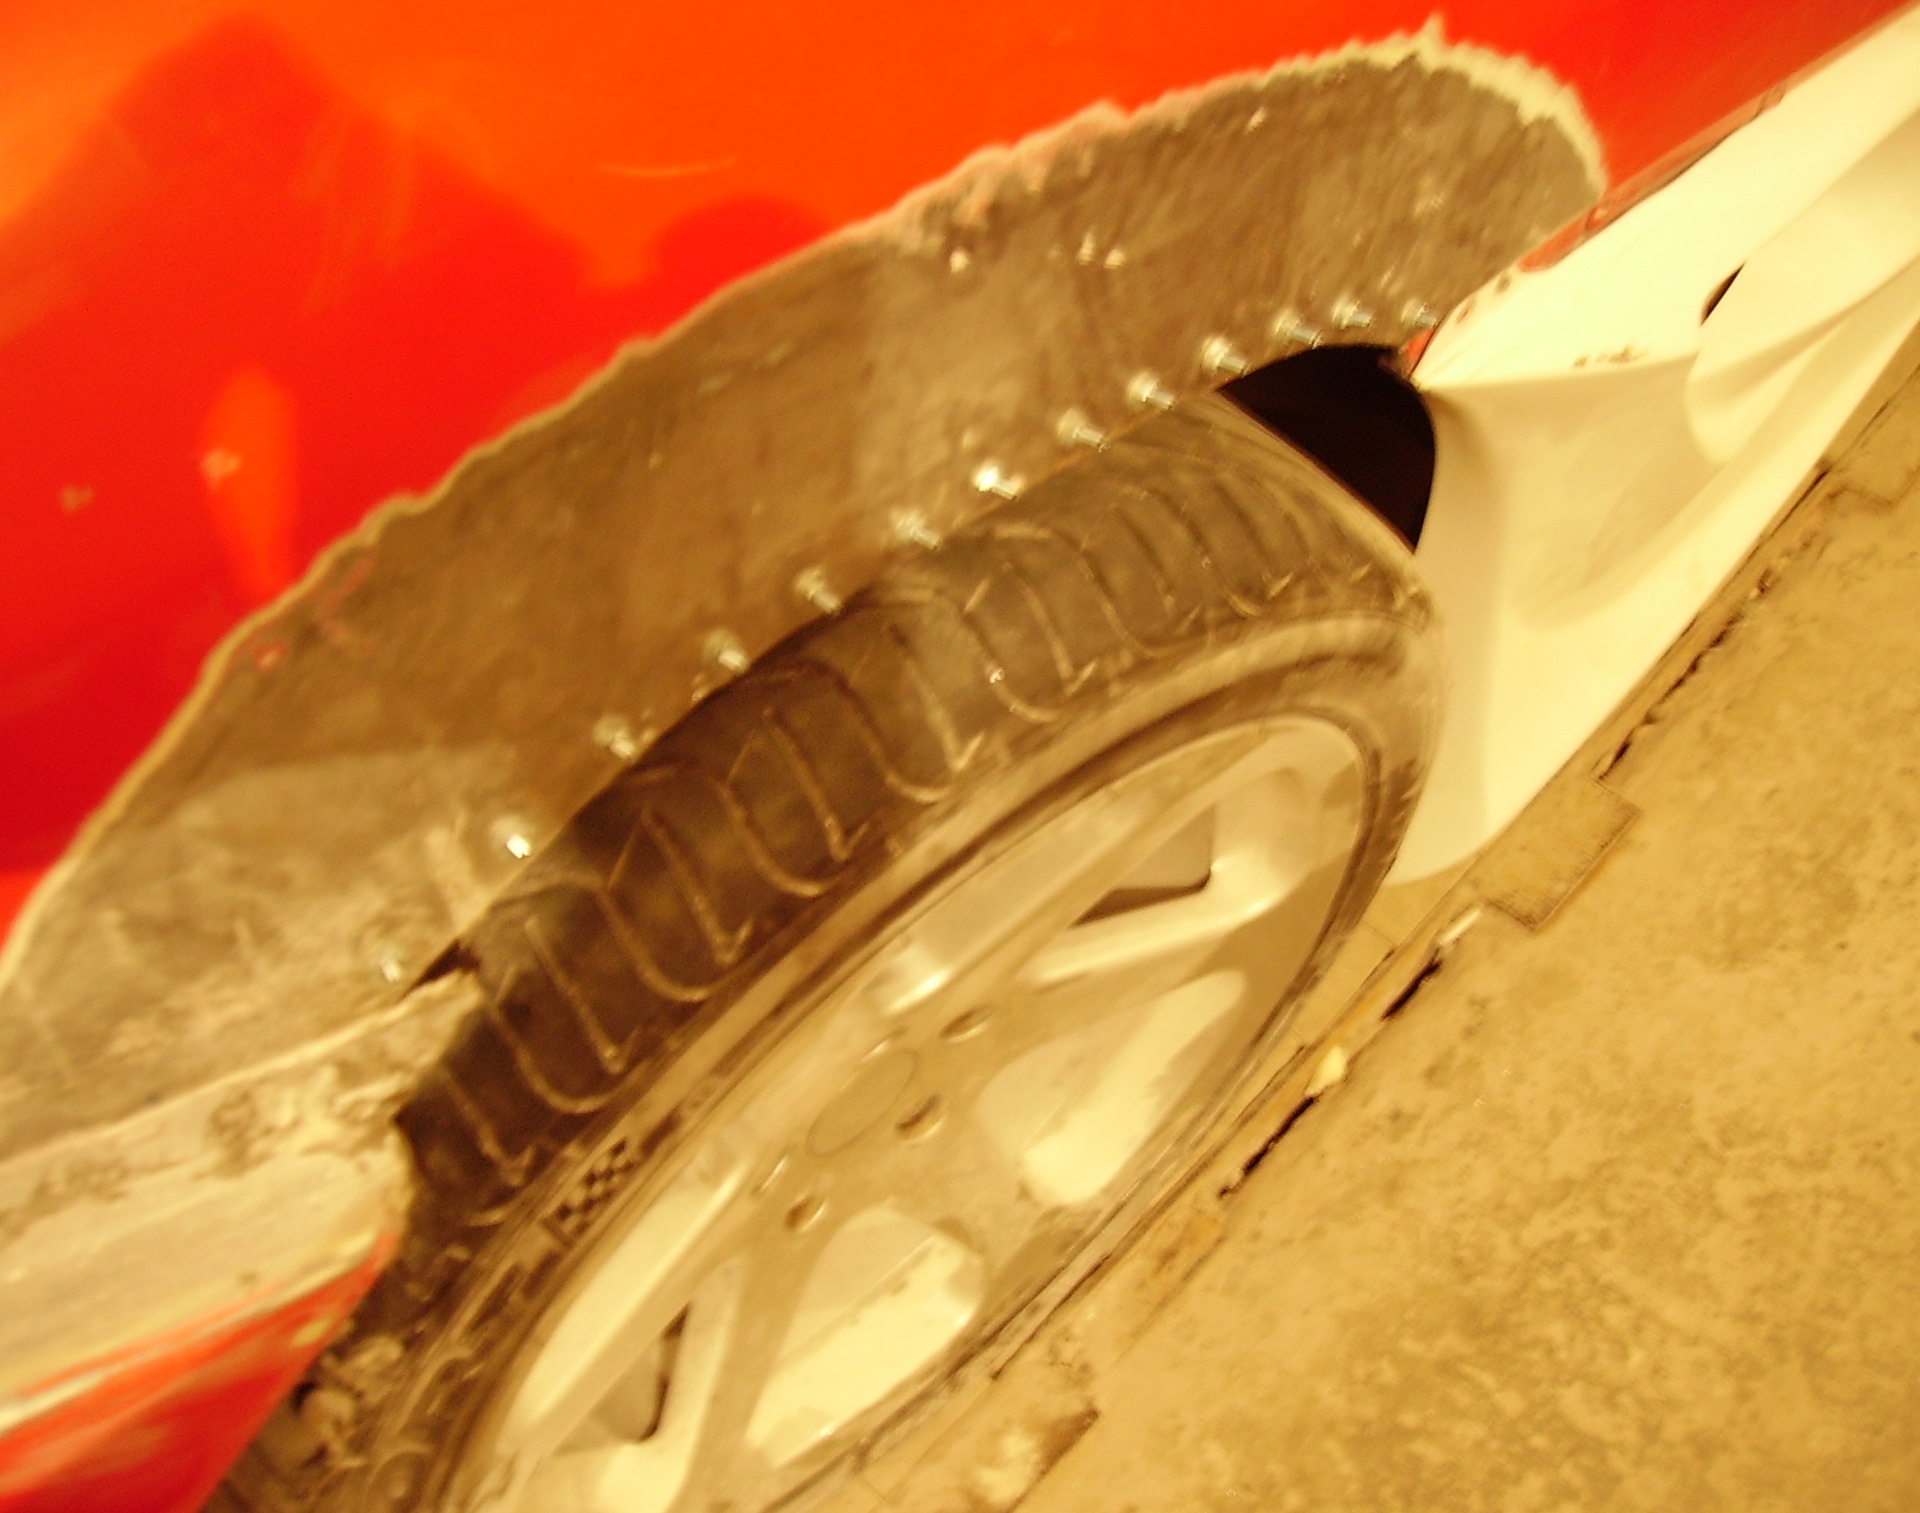
so that you can see where to cut off the excess, holes were drilled at the border ...
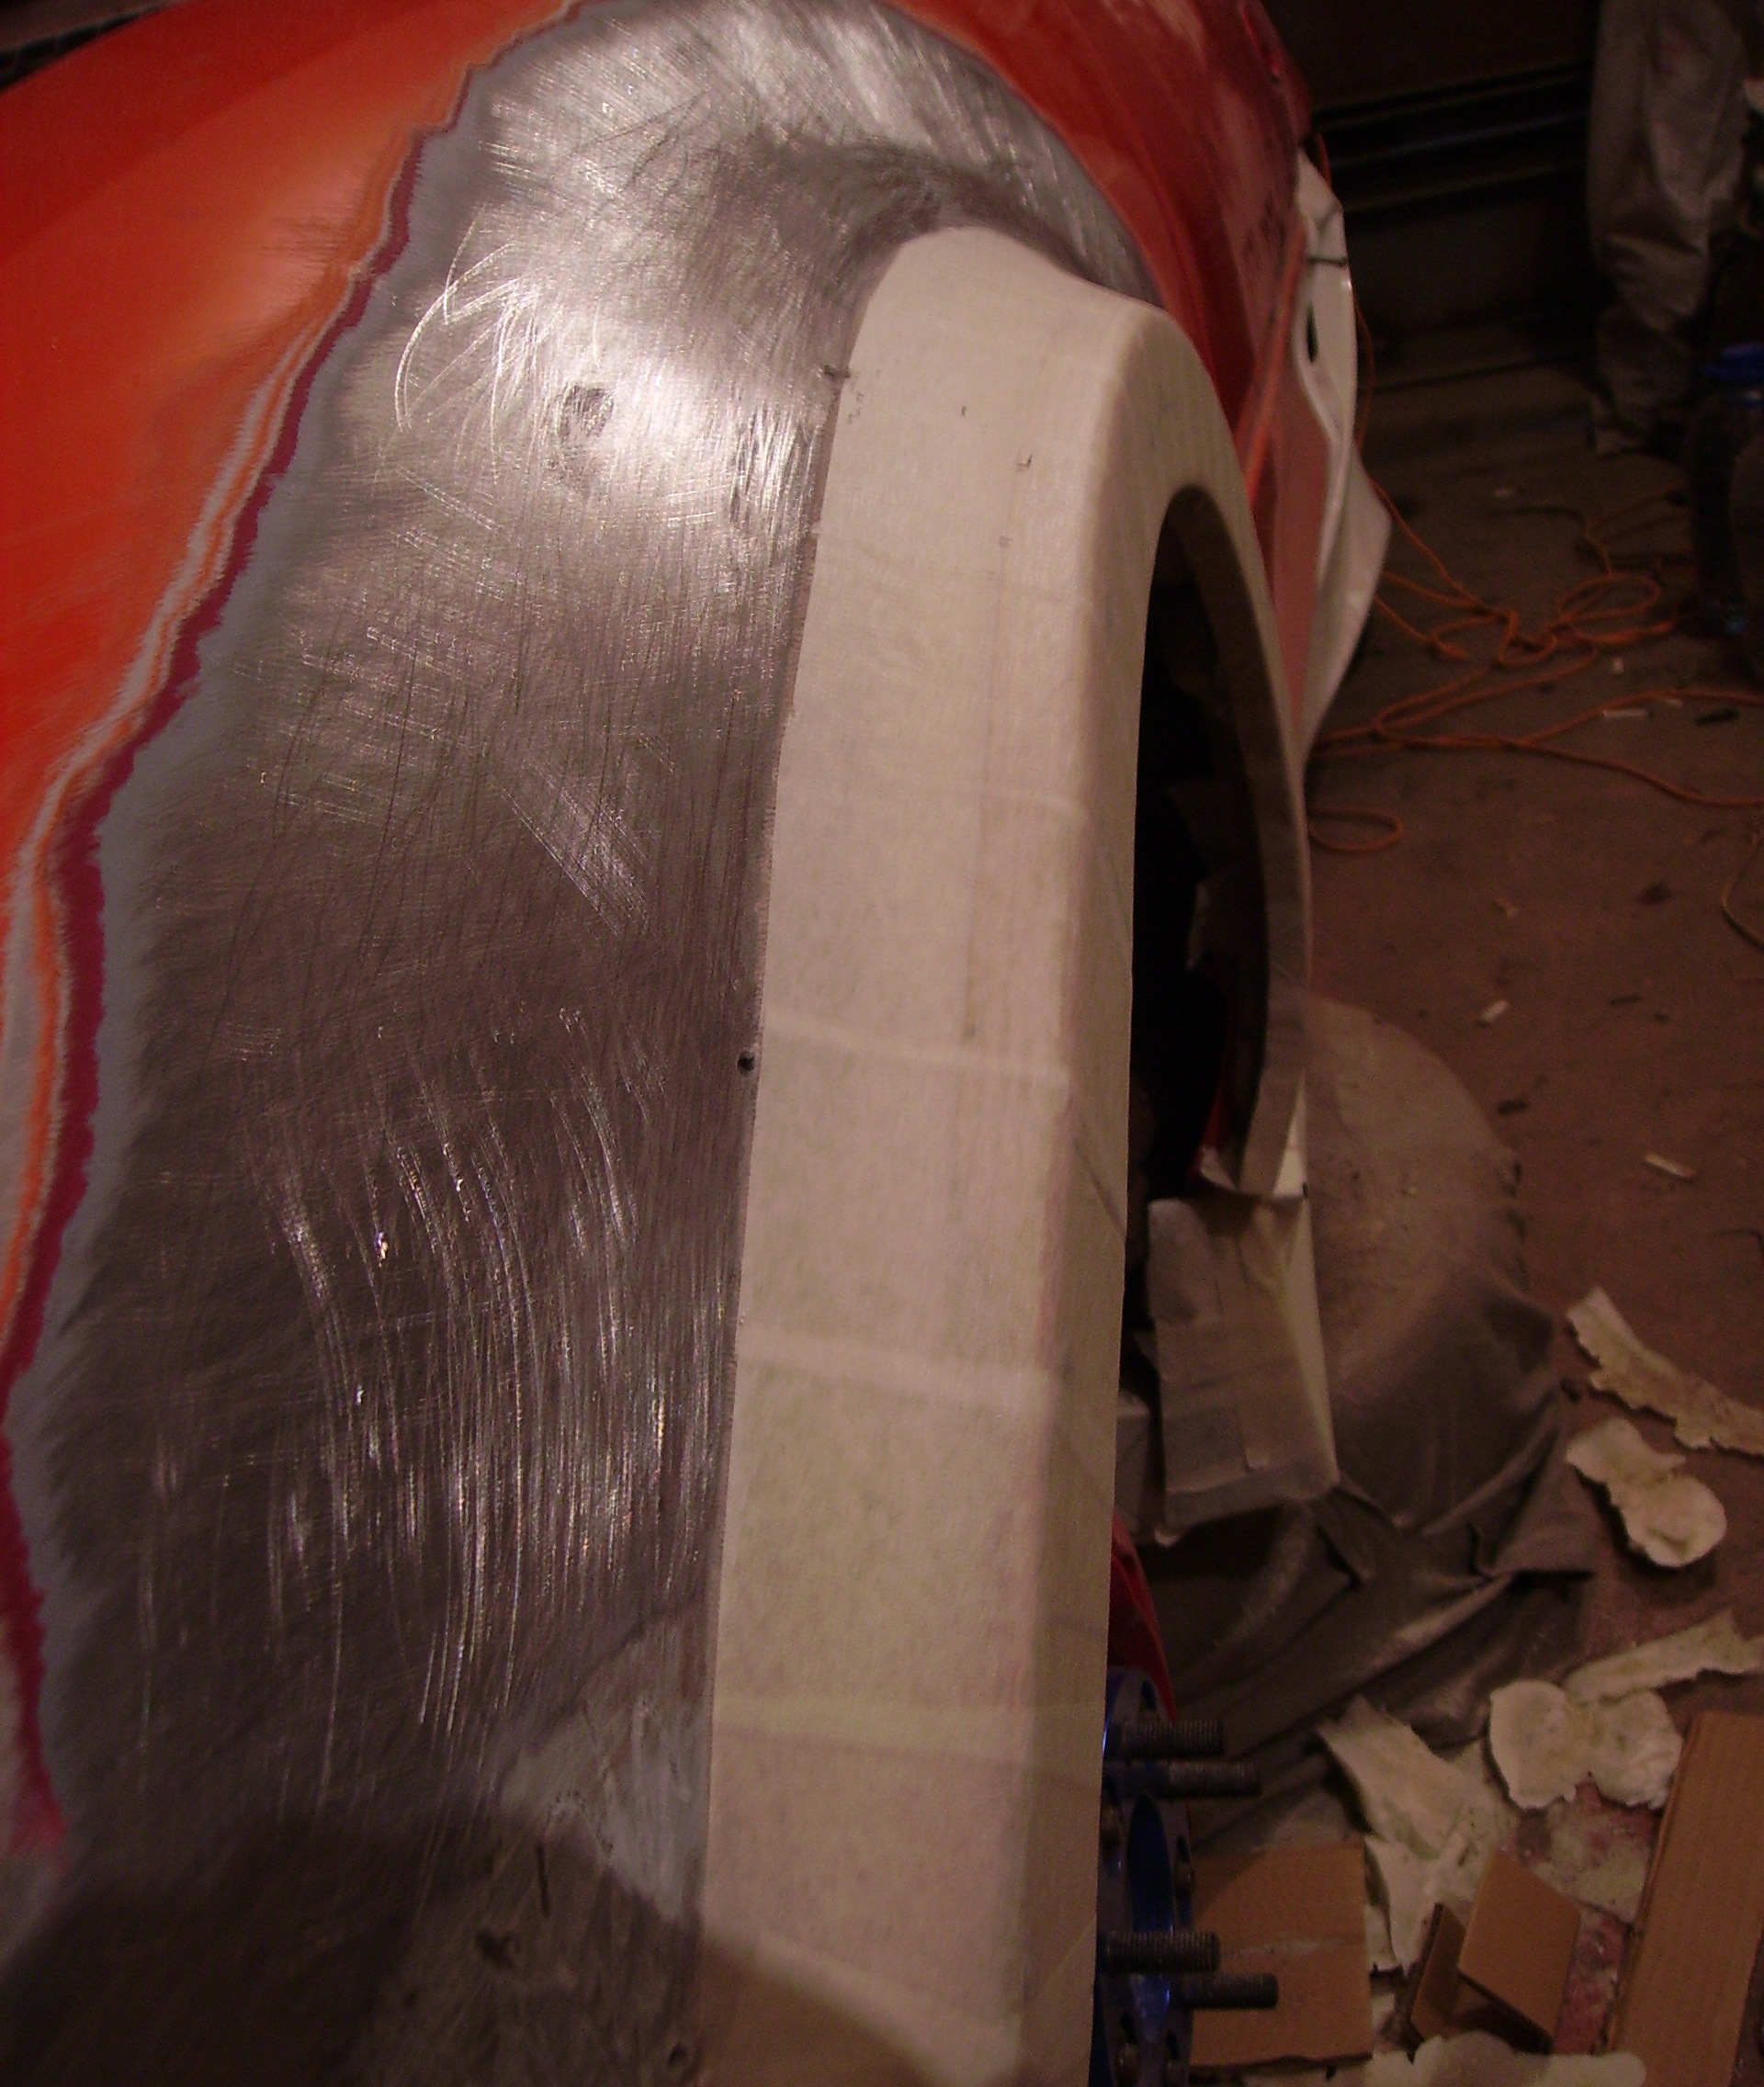
then from now on everything is covered with a very thick layer of resin and smoked
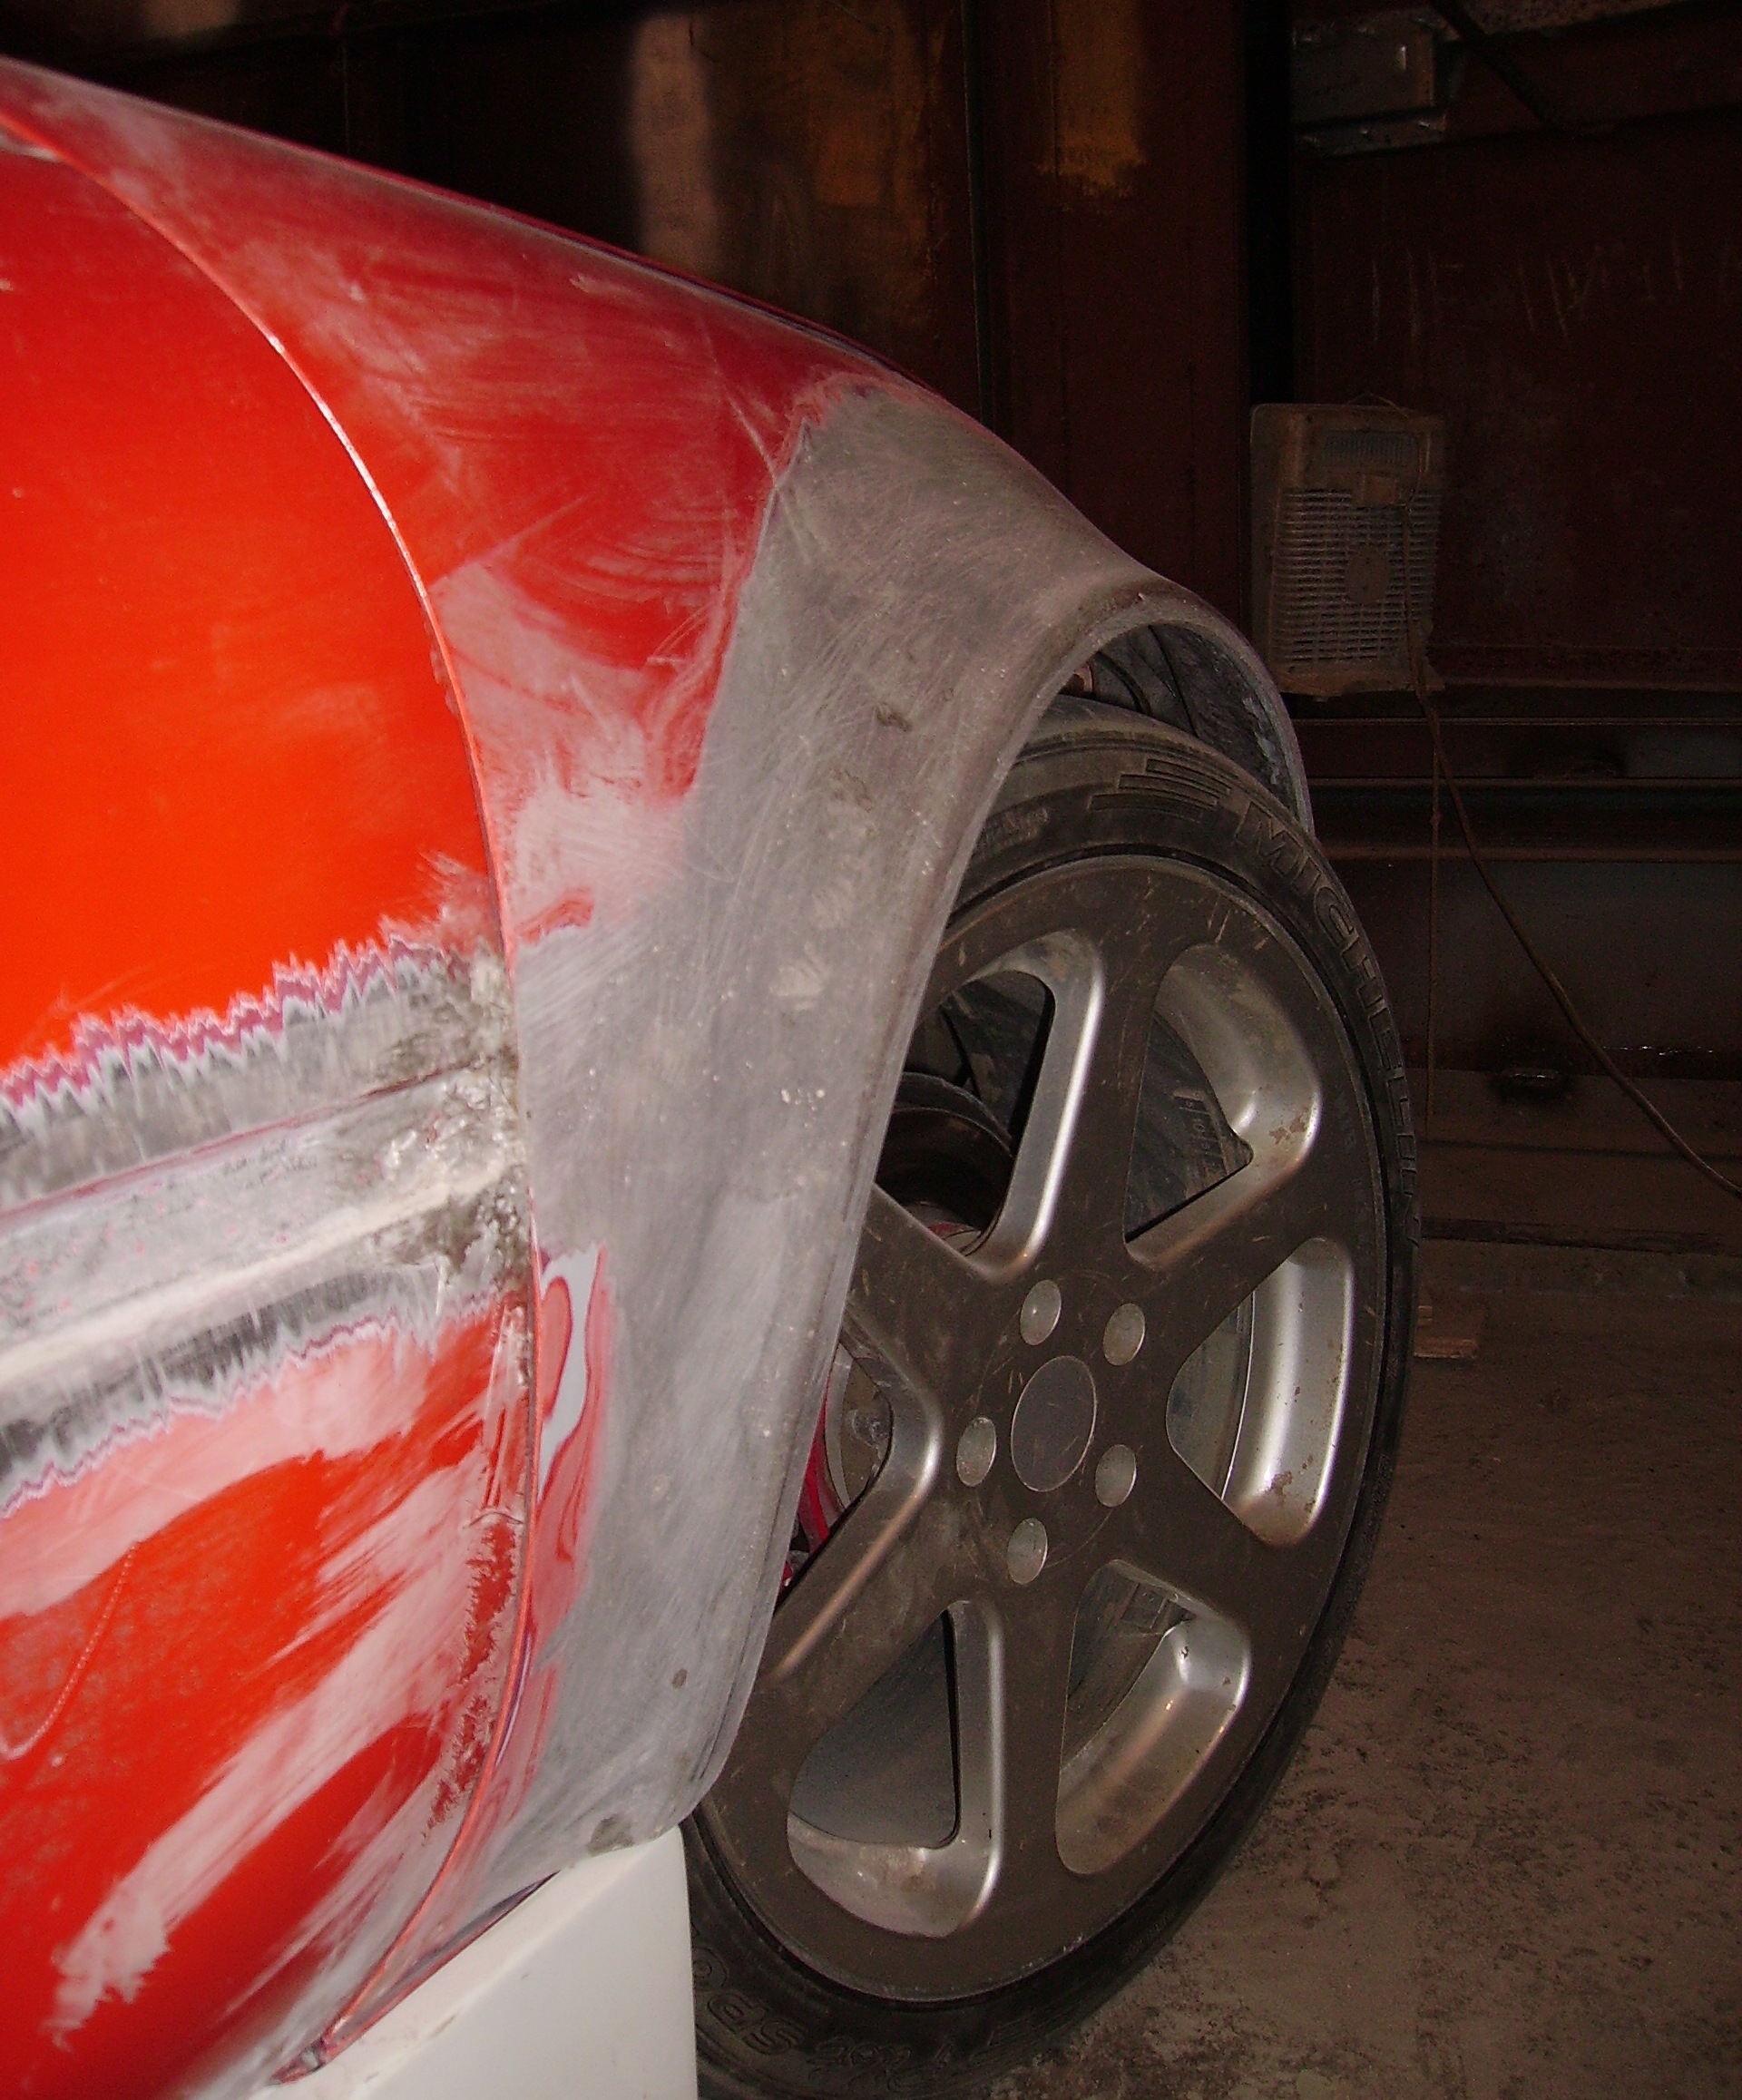
all unnecessary cut out from the inside
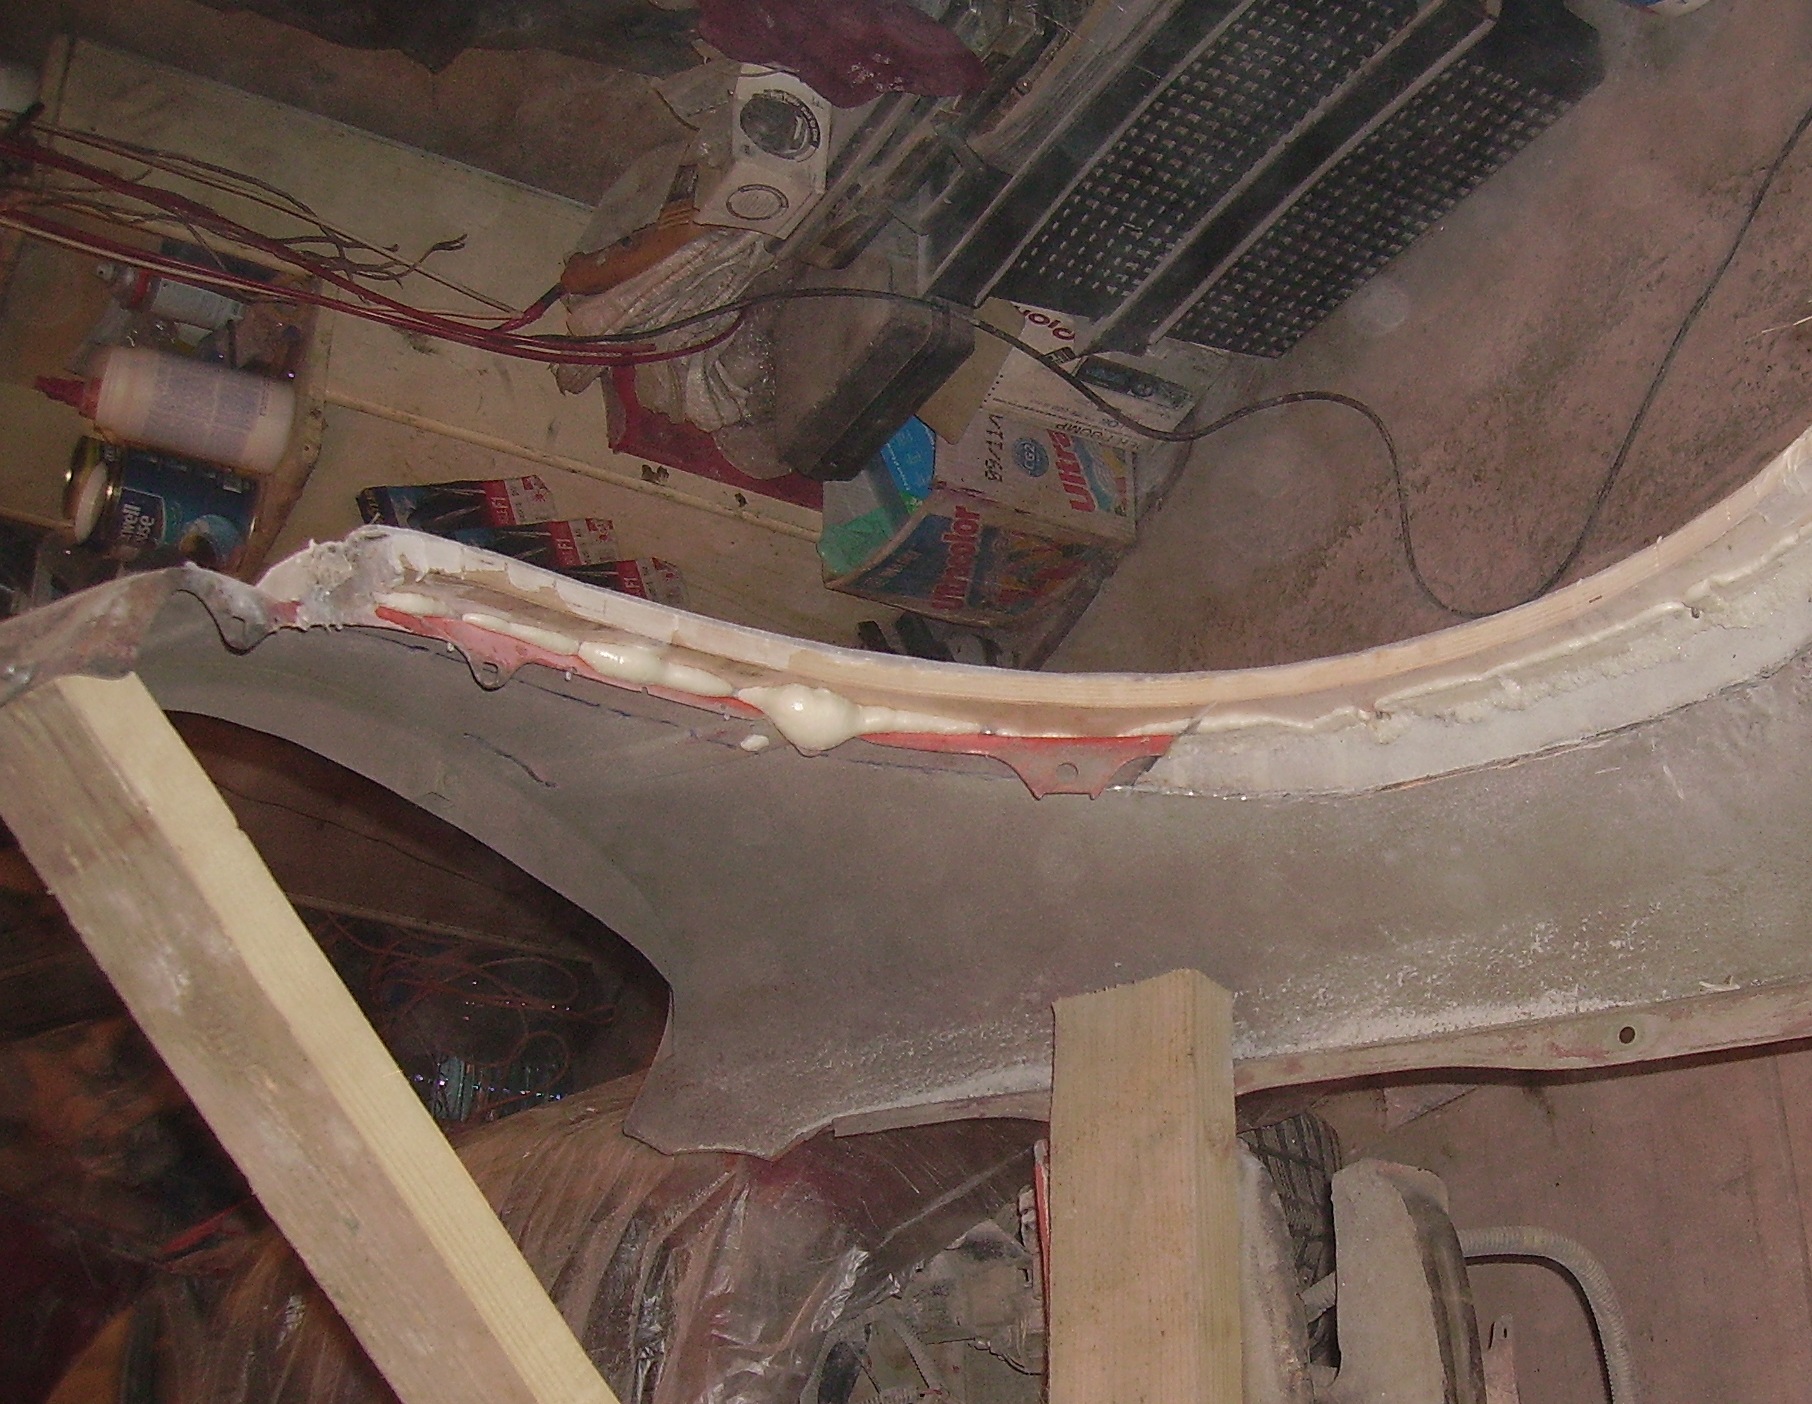
the metal from the inside of the wing is also cleaned and cast with resin. It turned out that the edge of the wing is, as it were, clamped by m / d layers of fiberglass.
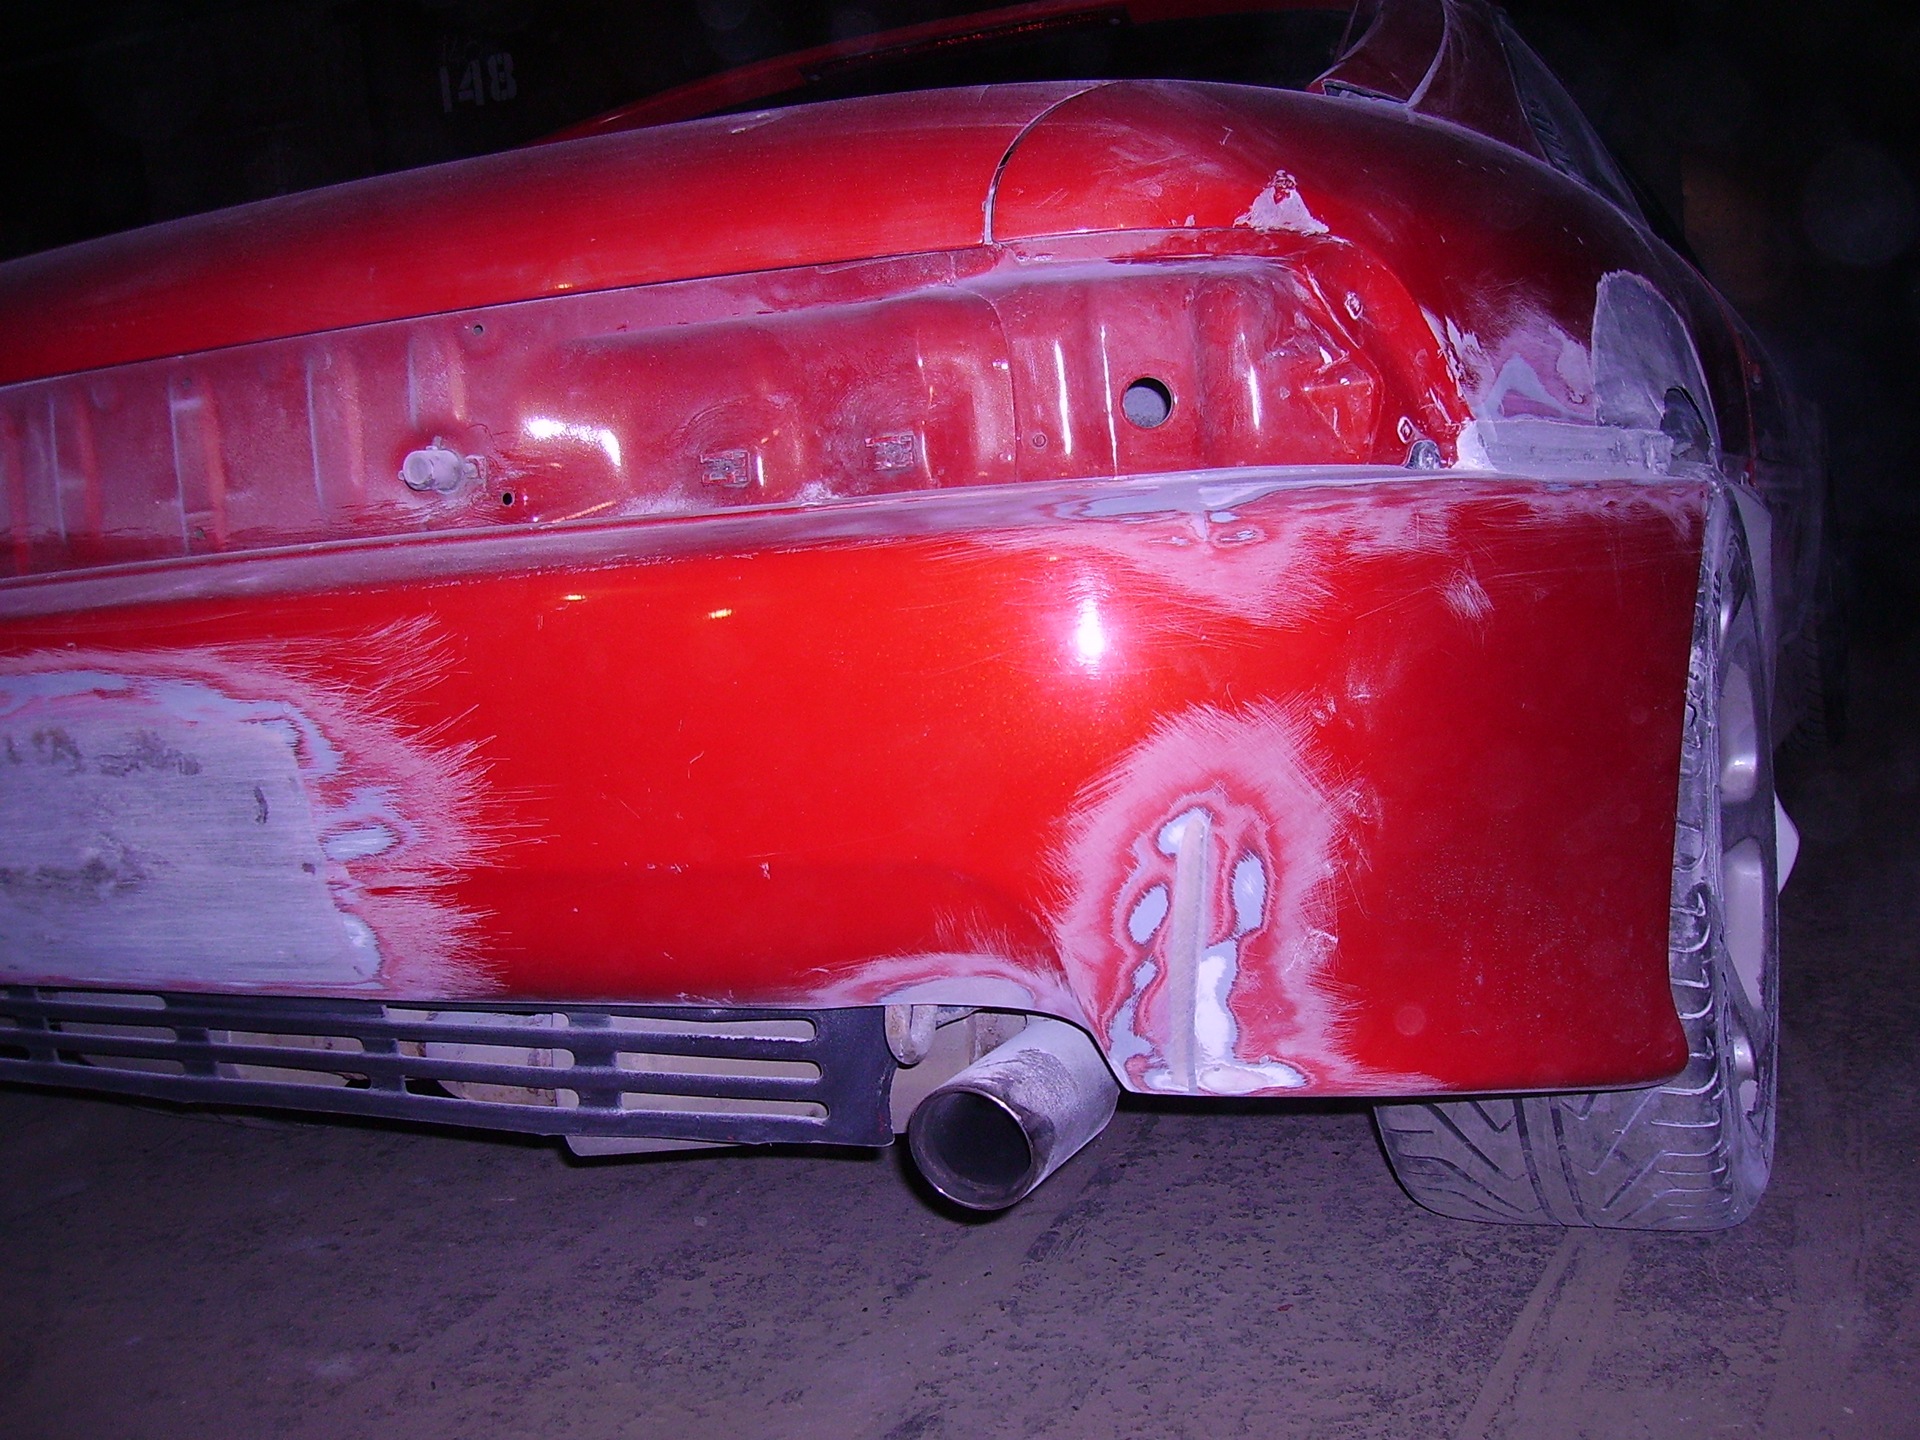
On the back of the car, the technology is similar, the complexity was added by the fact that the rear bumper and sills had to be adjusted under the wide arches. In addition, because of the idea to dismantle all the moldings from the car, it was necessary to install fasteners and build up both the bumper and the sills.
I won't comment on the pictures, so it's clear ...
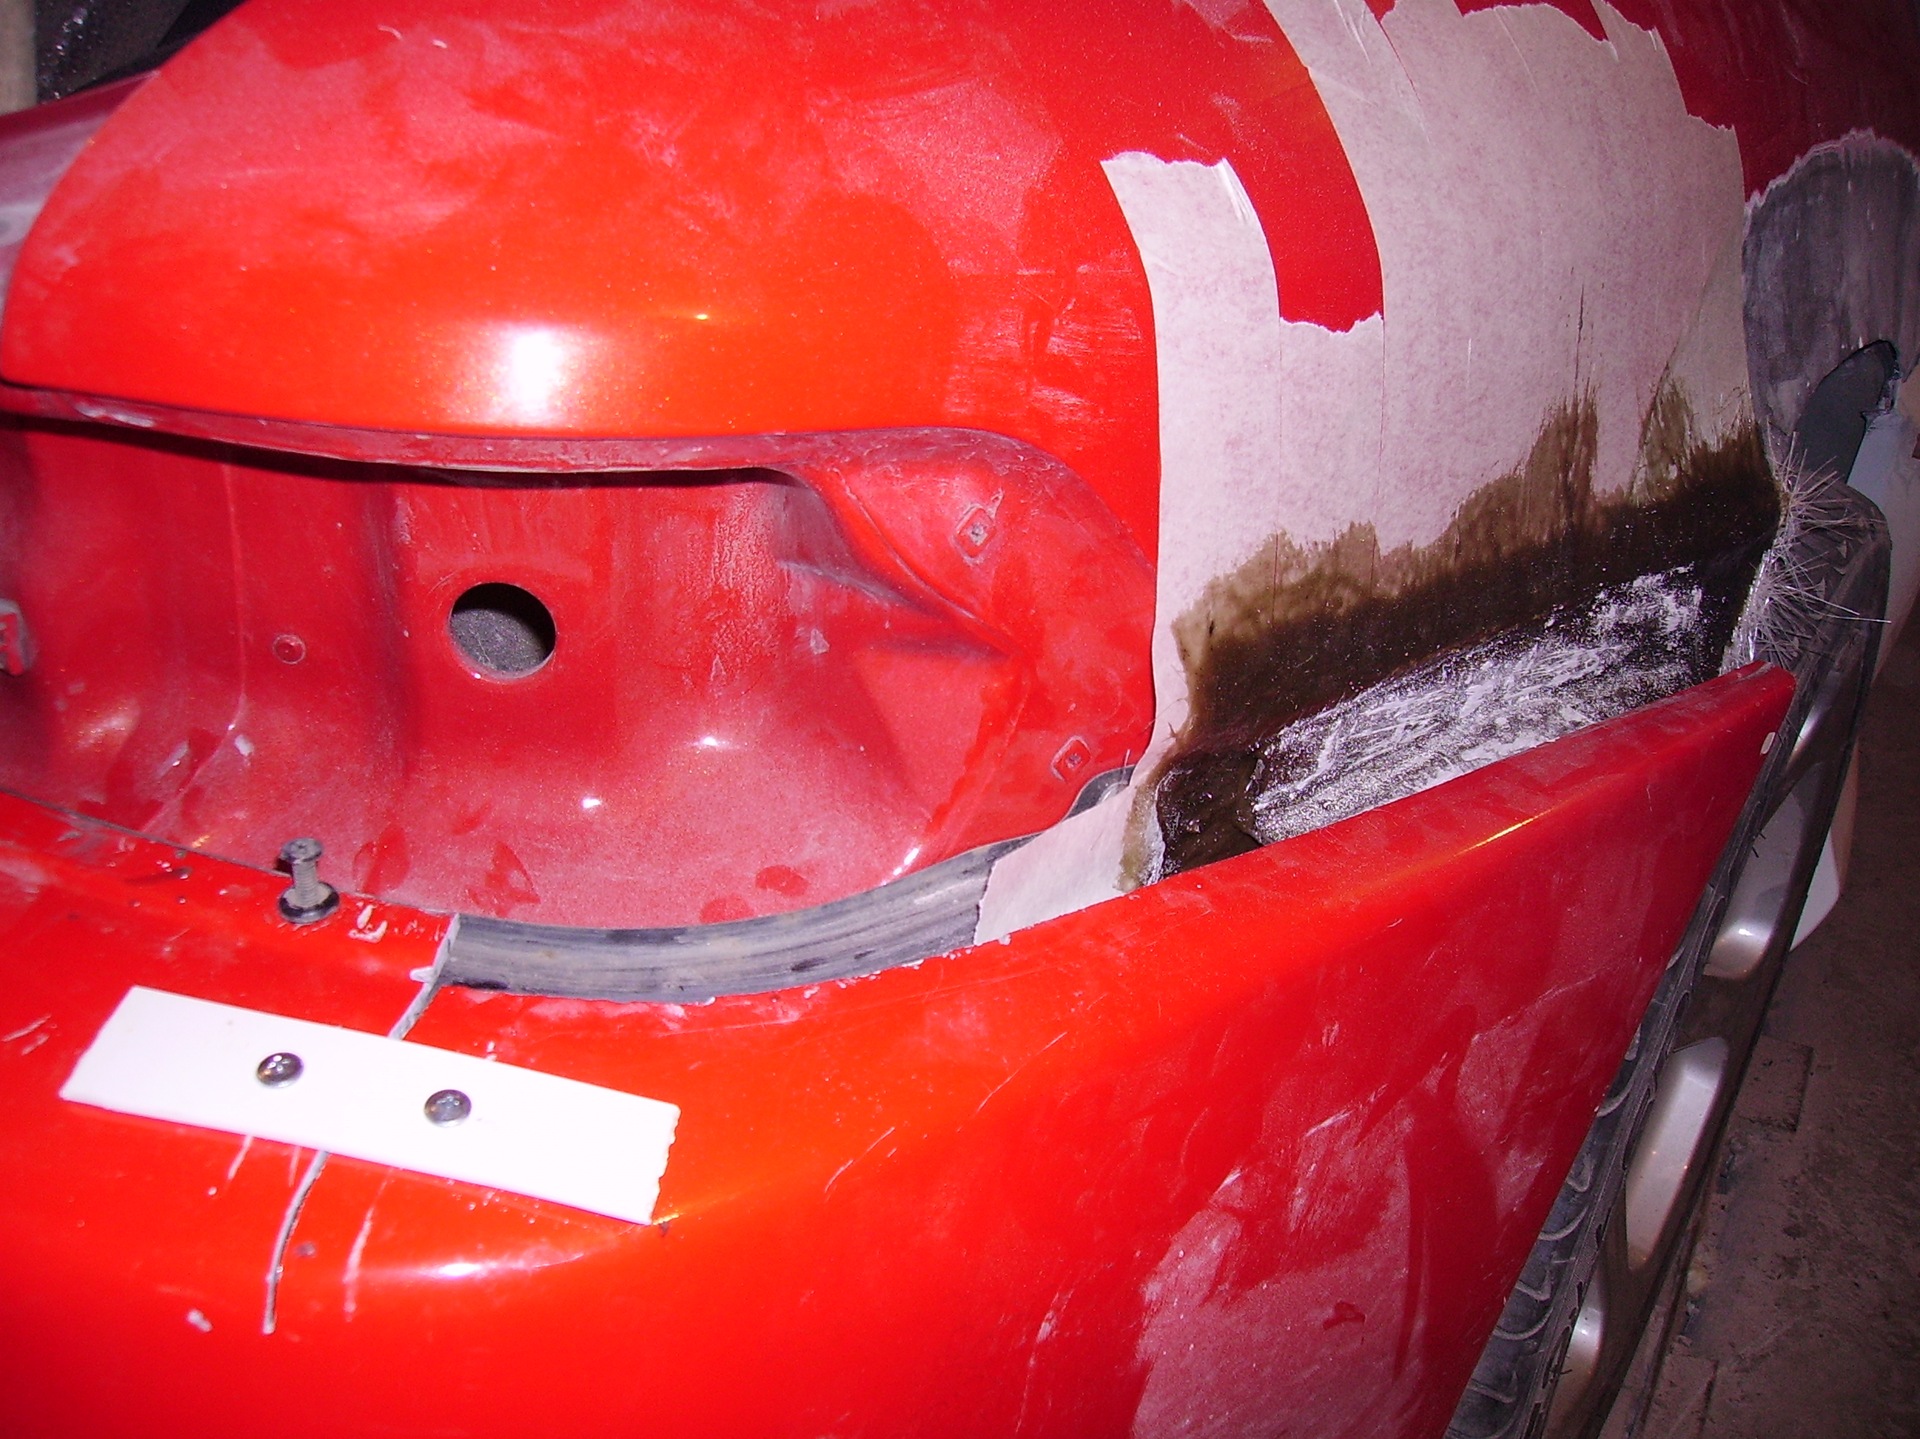
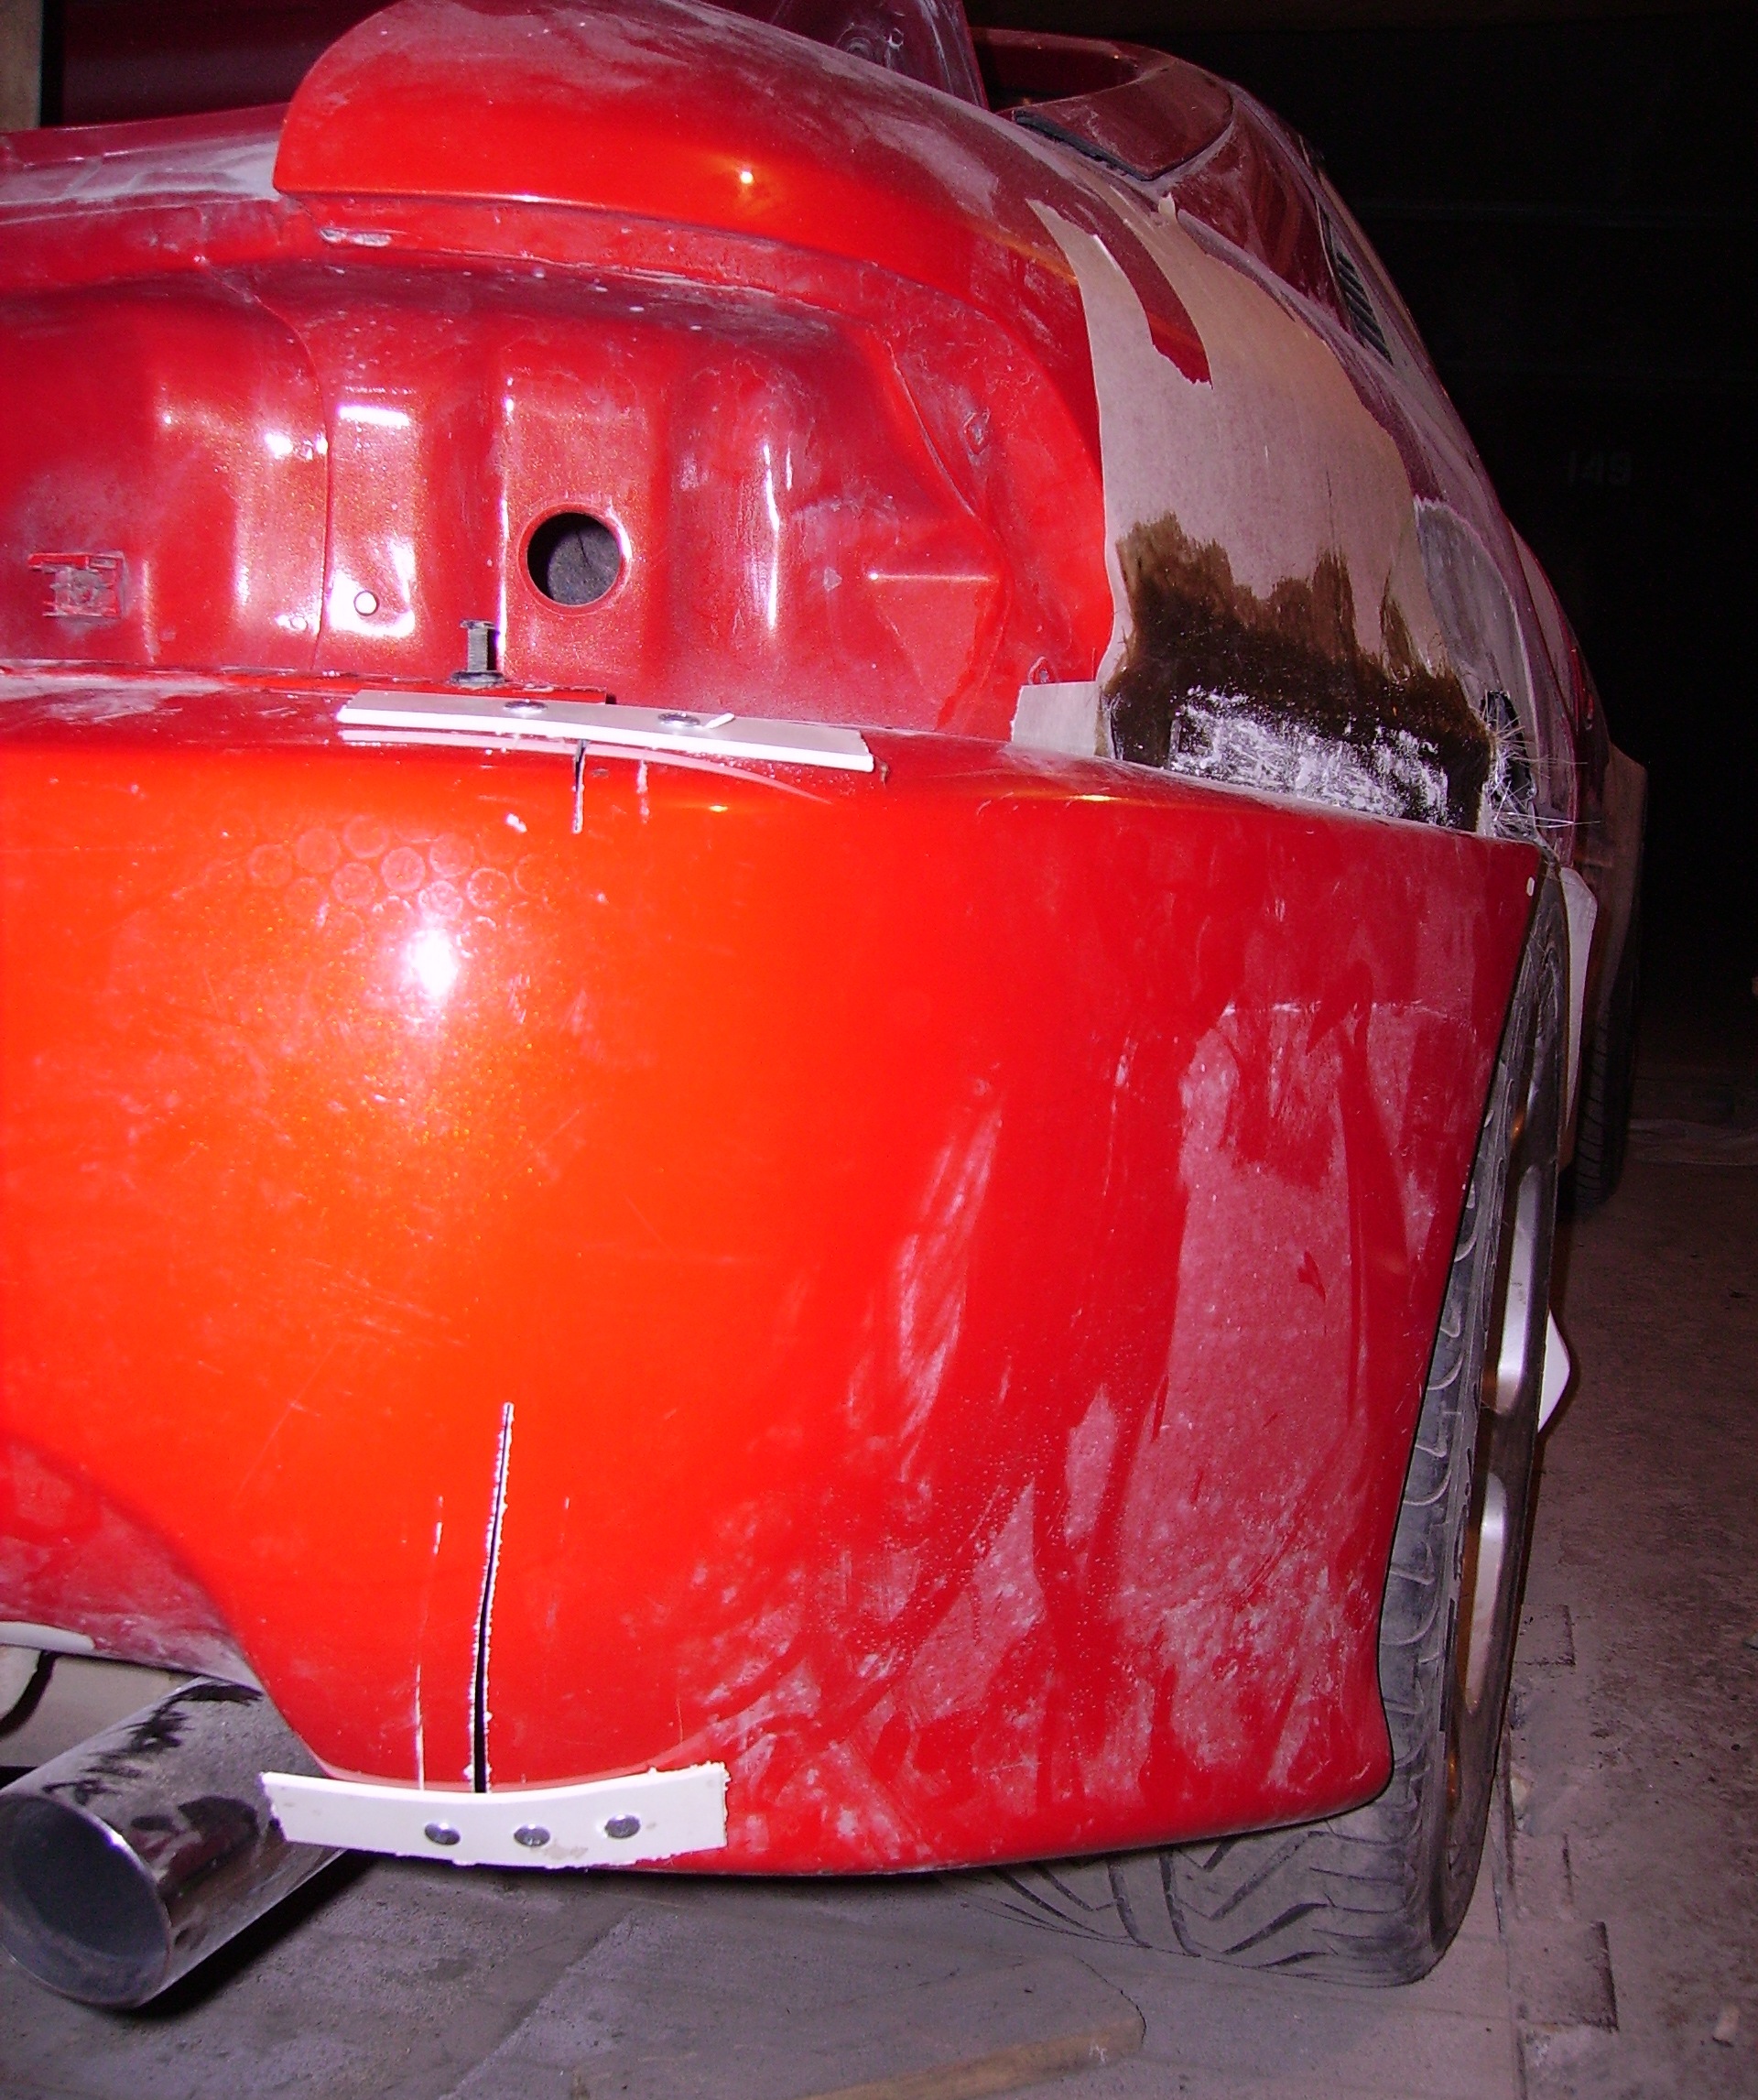
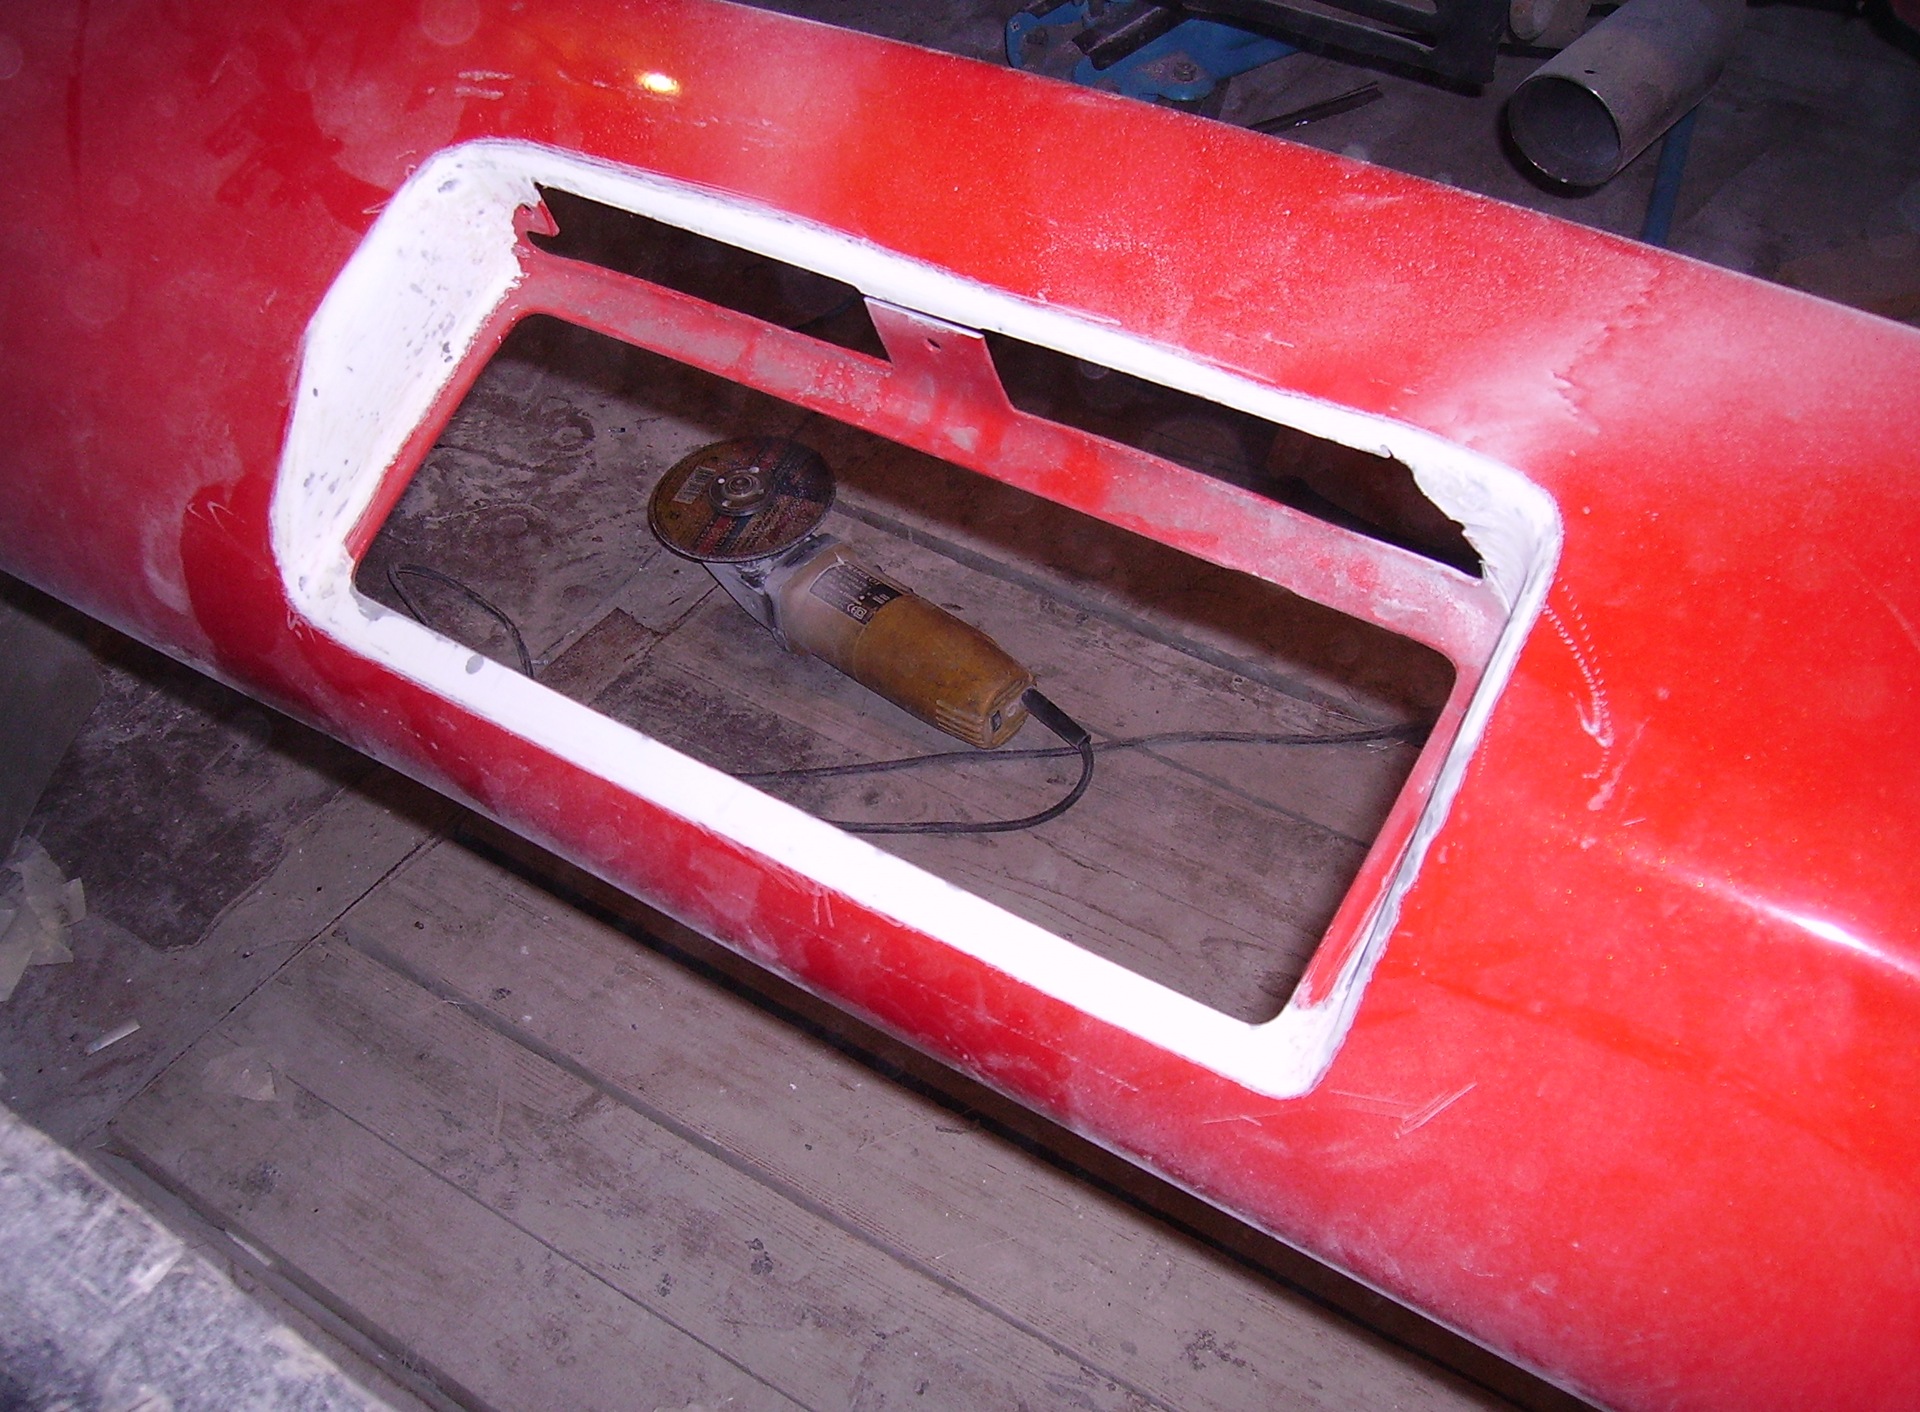
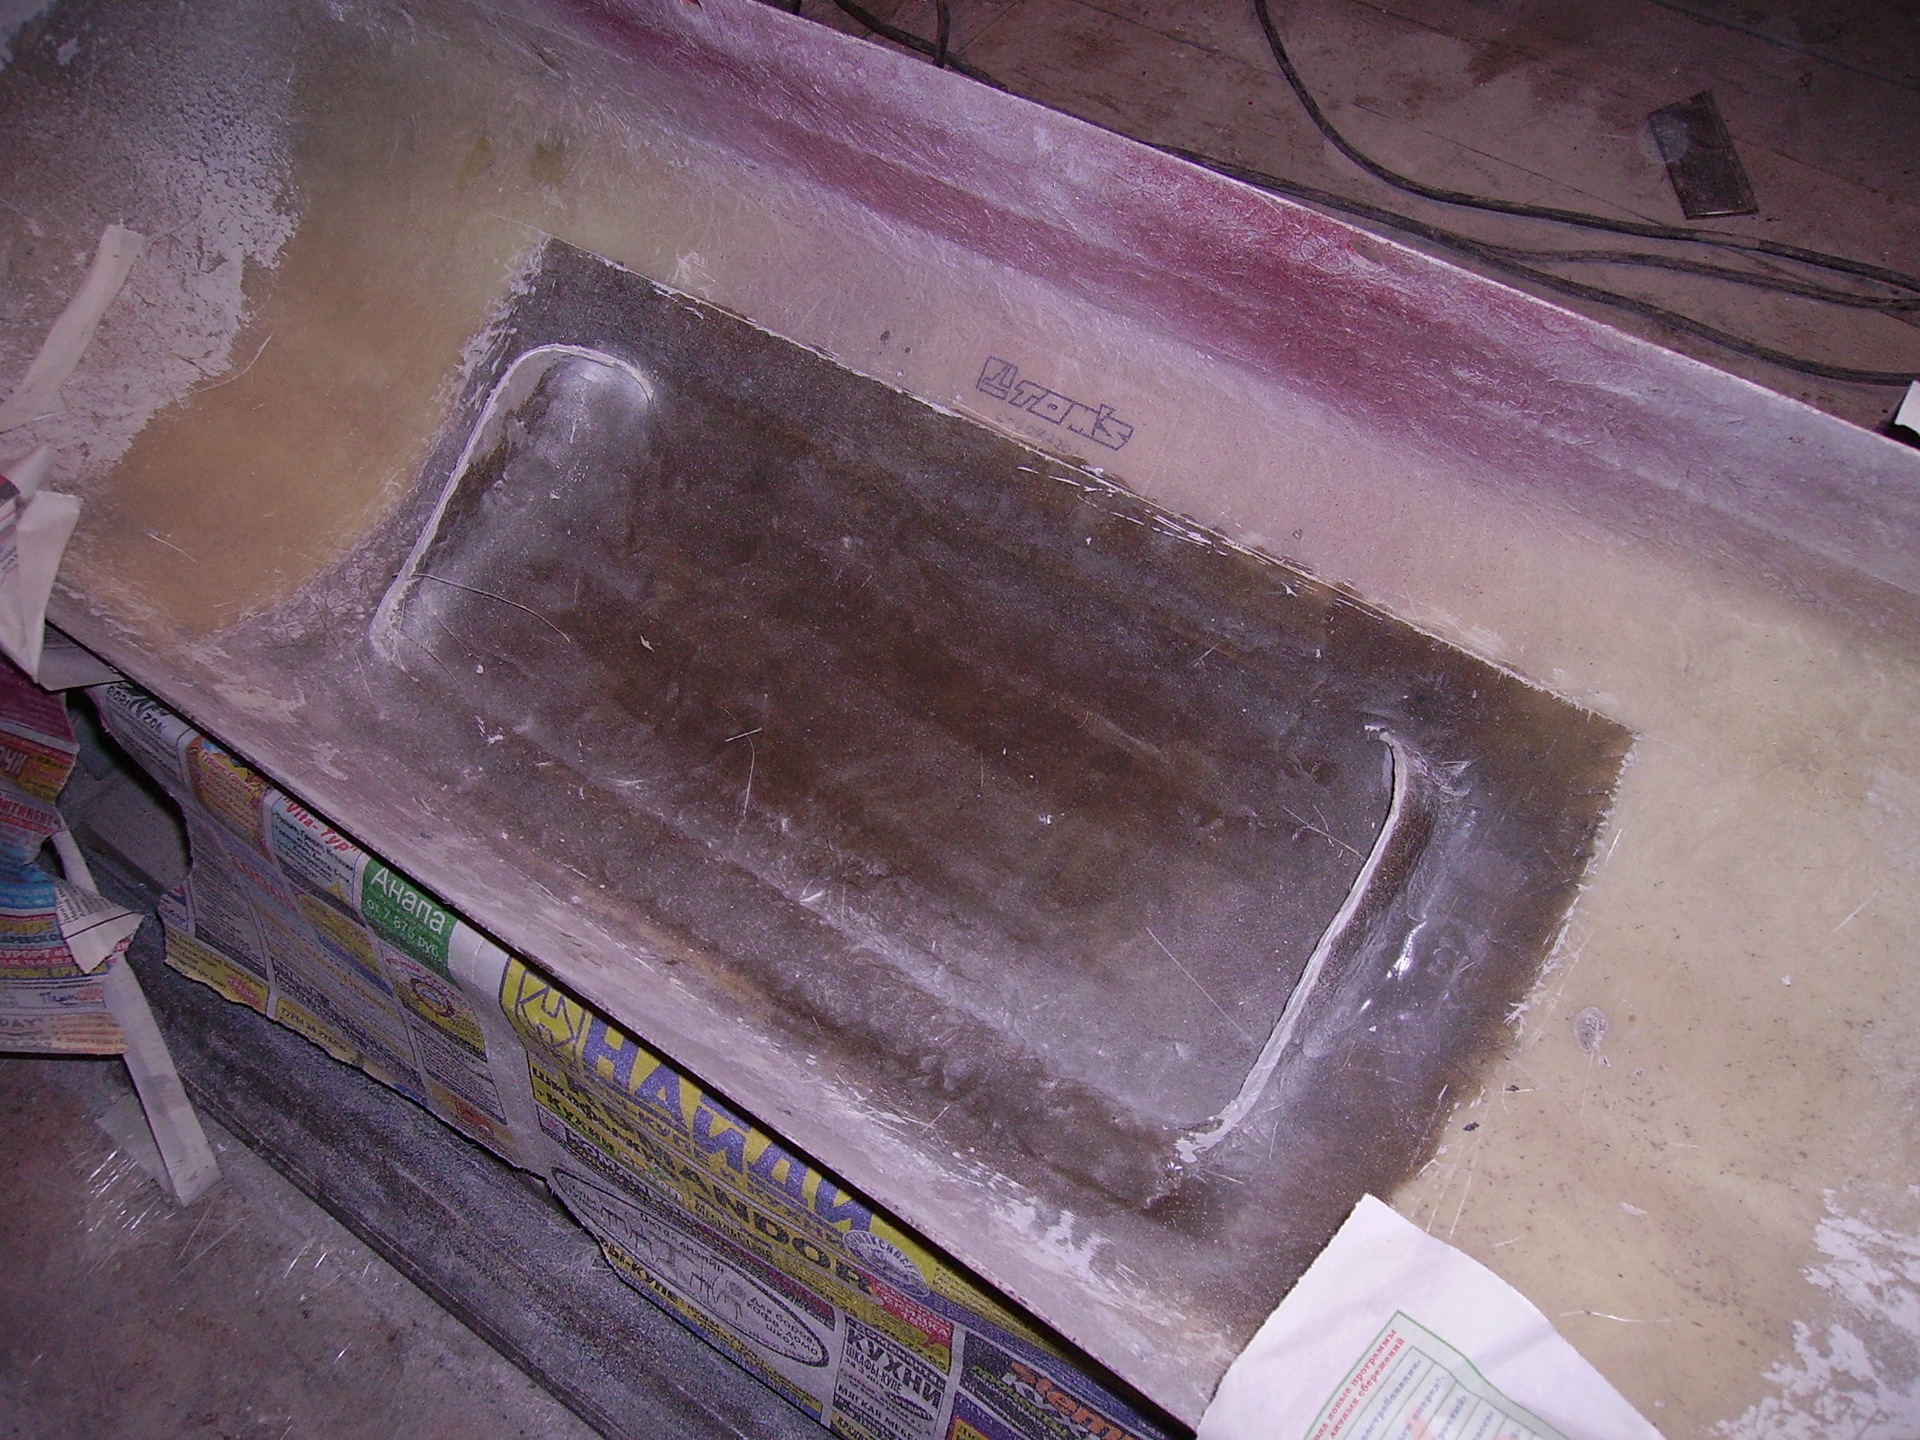
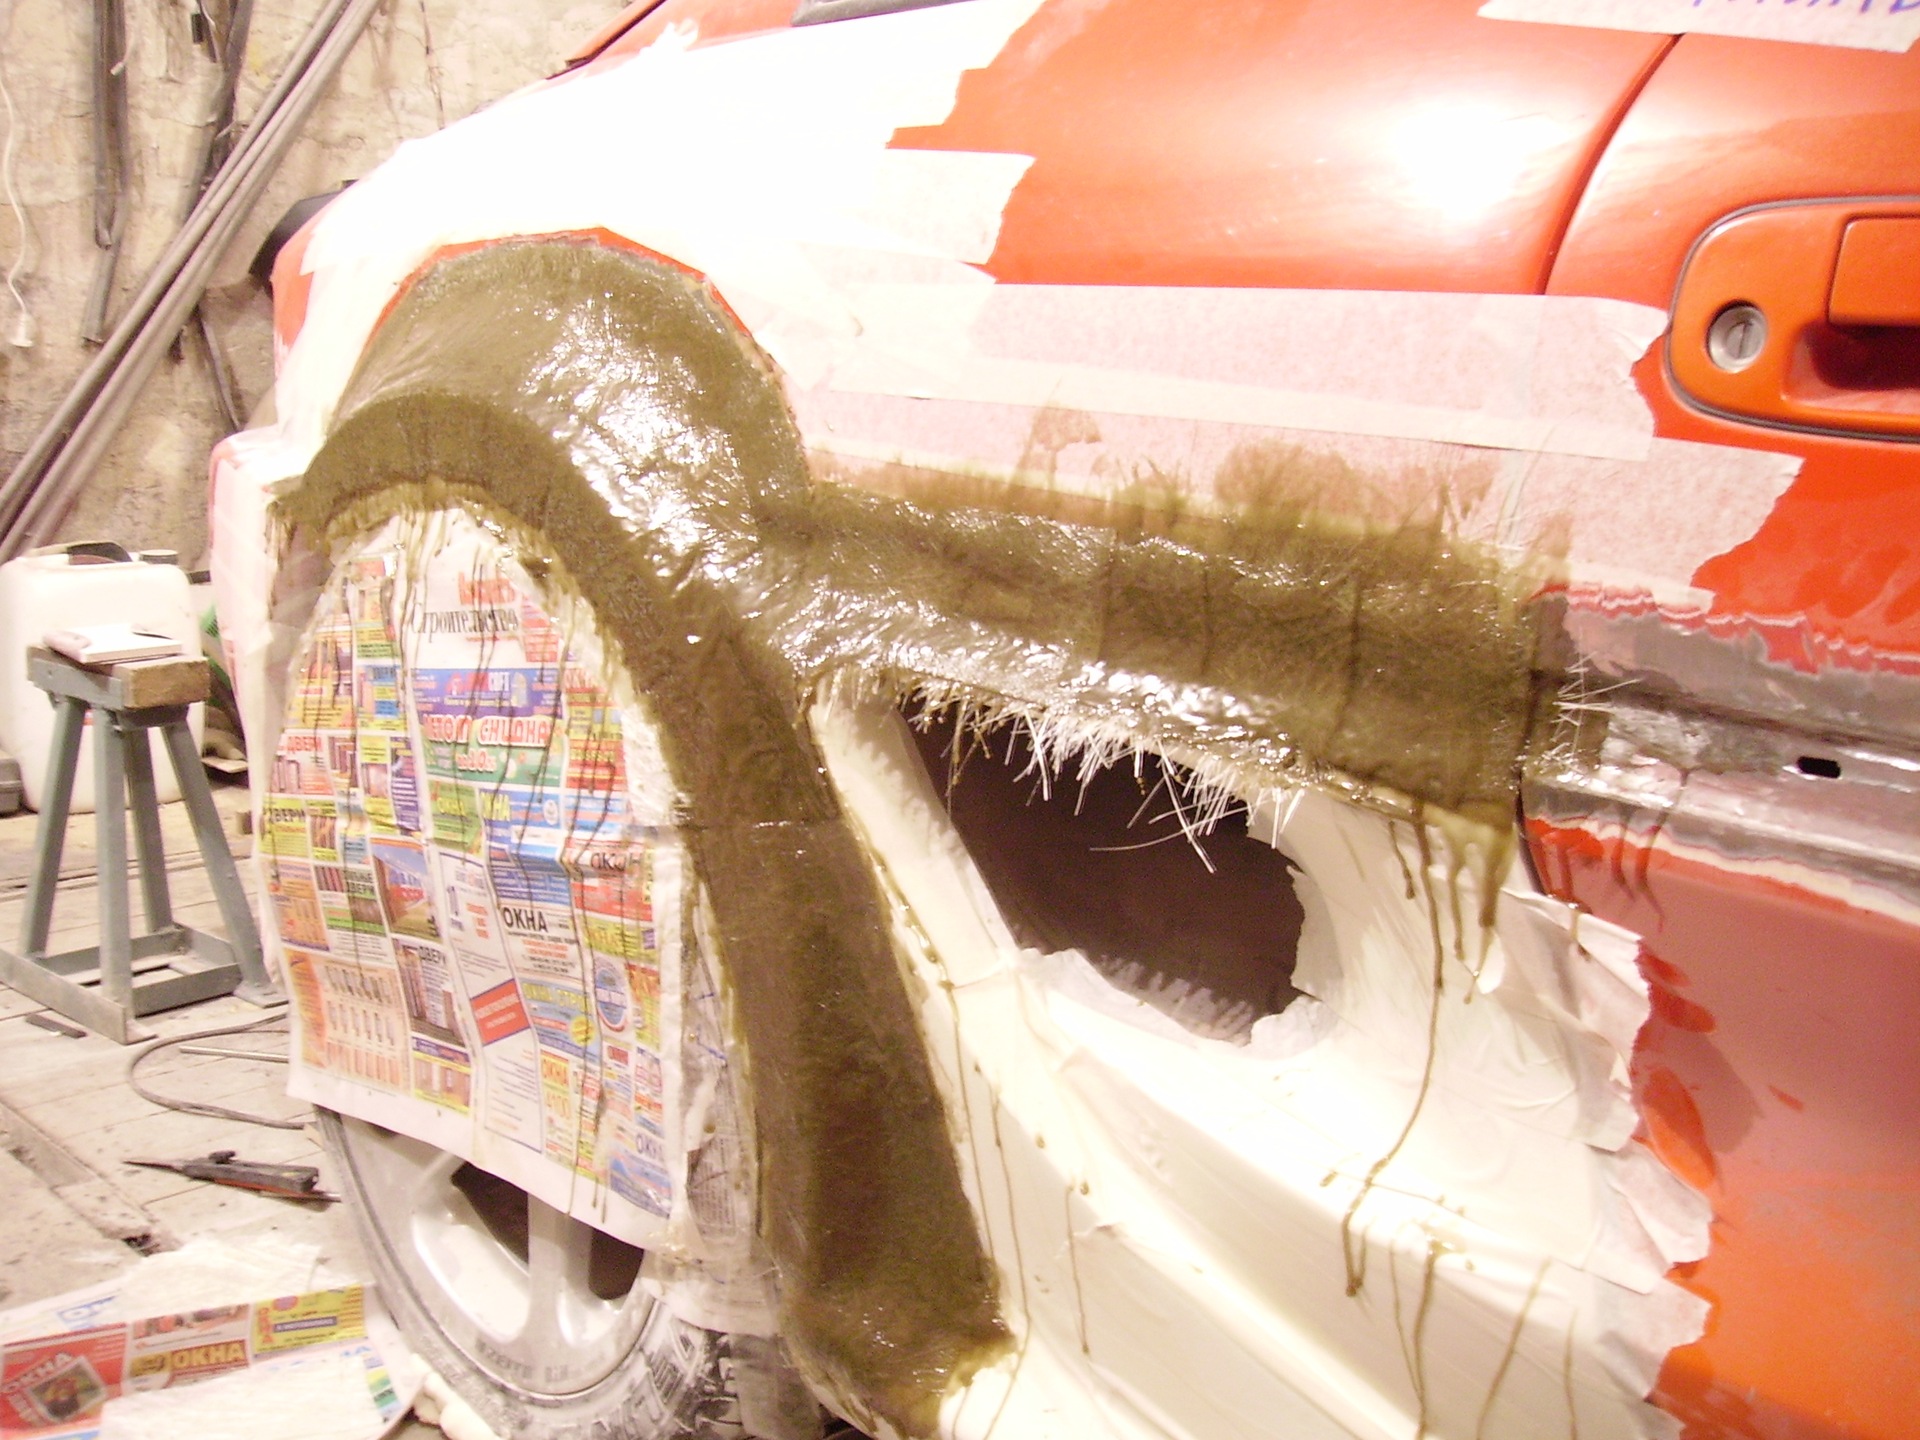
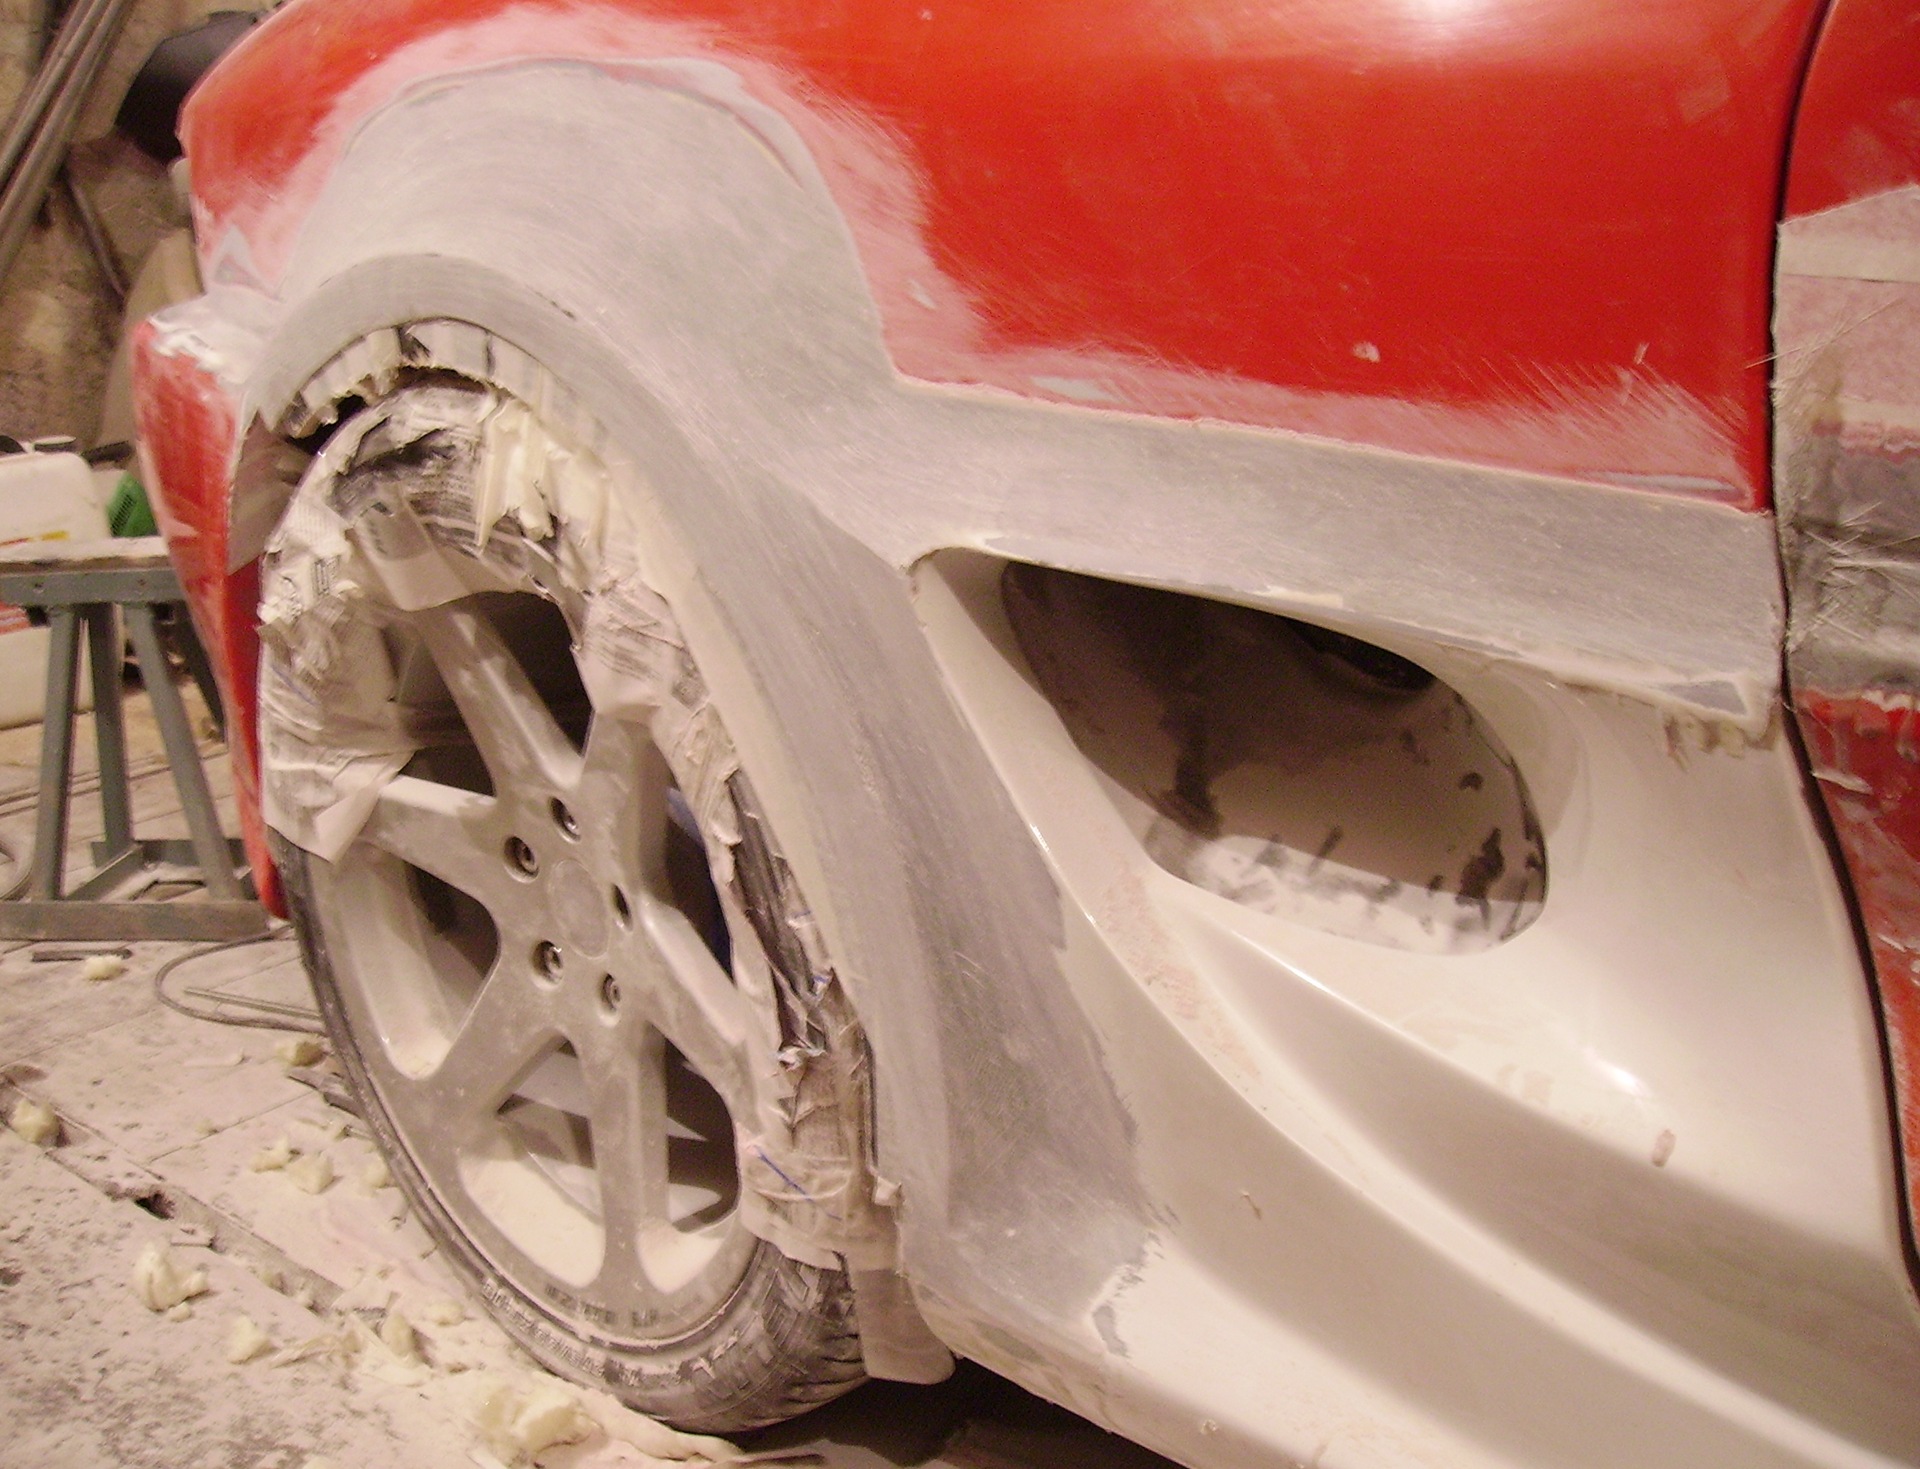
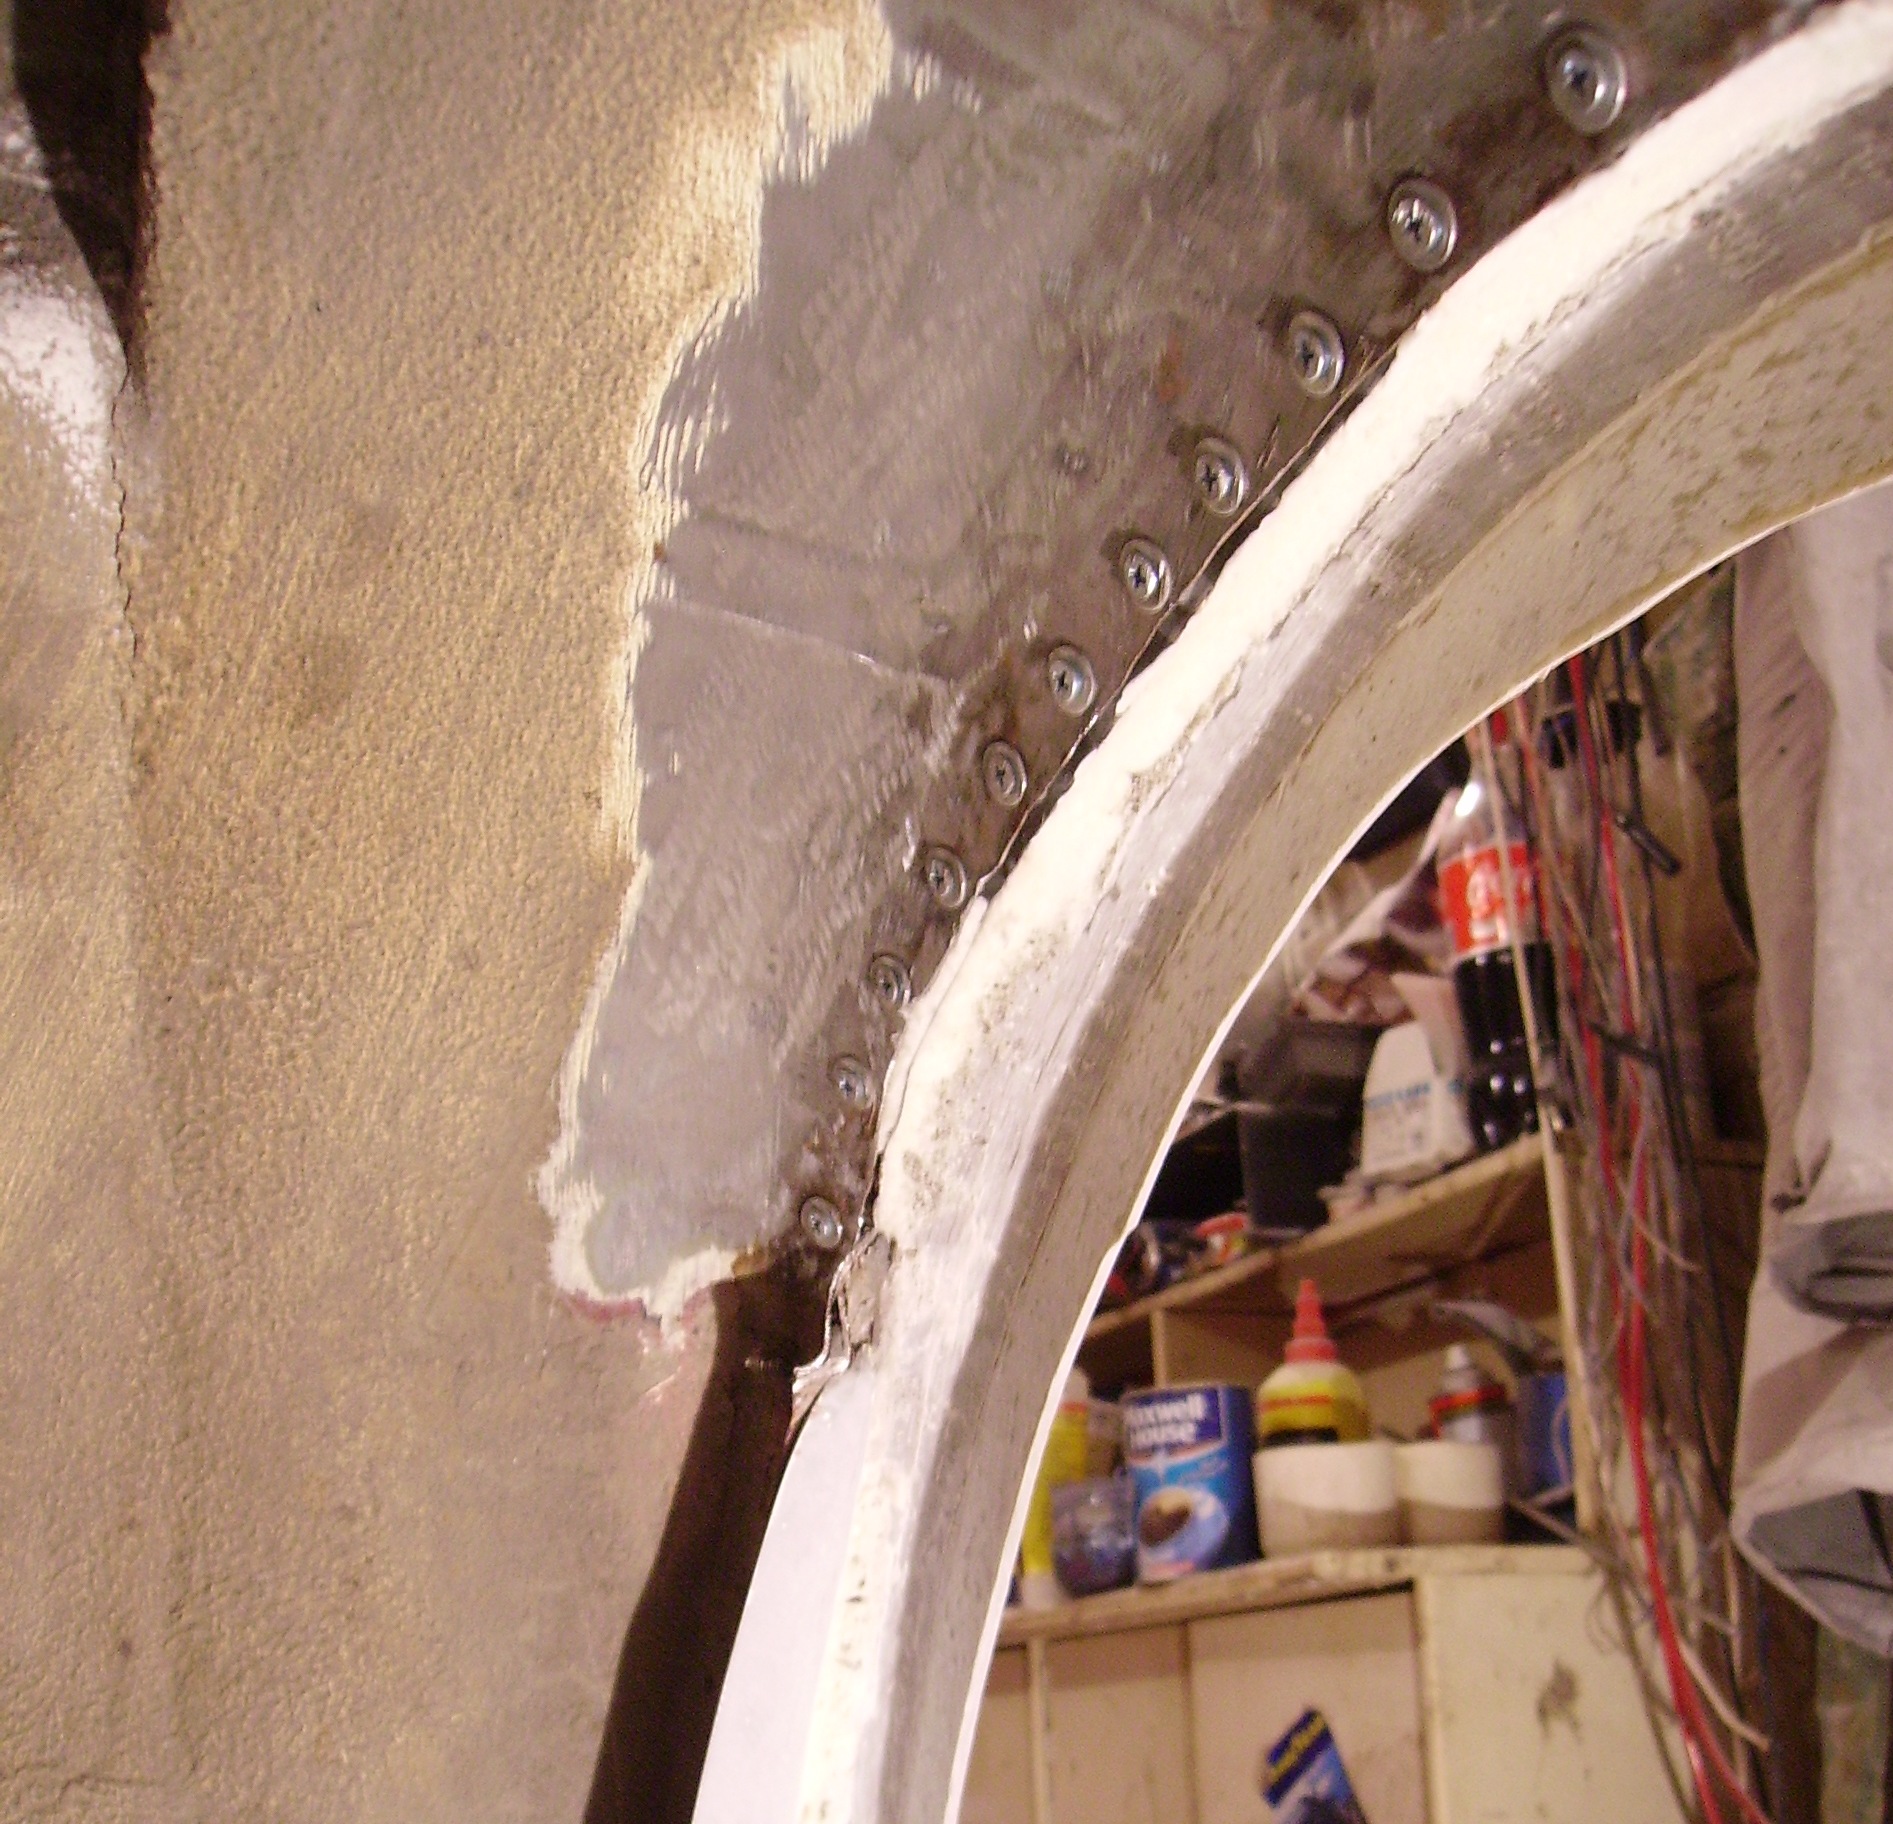
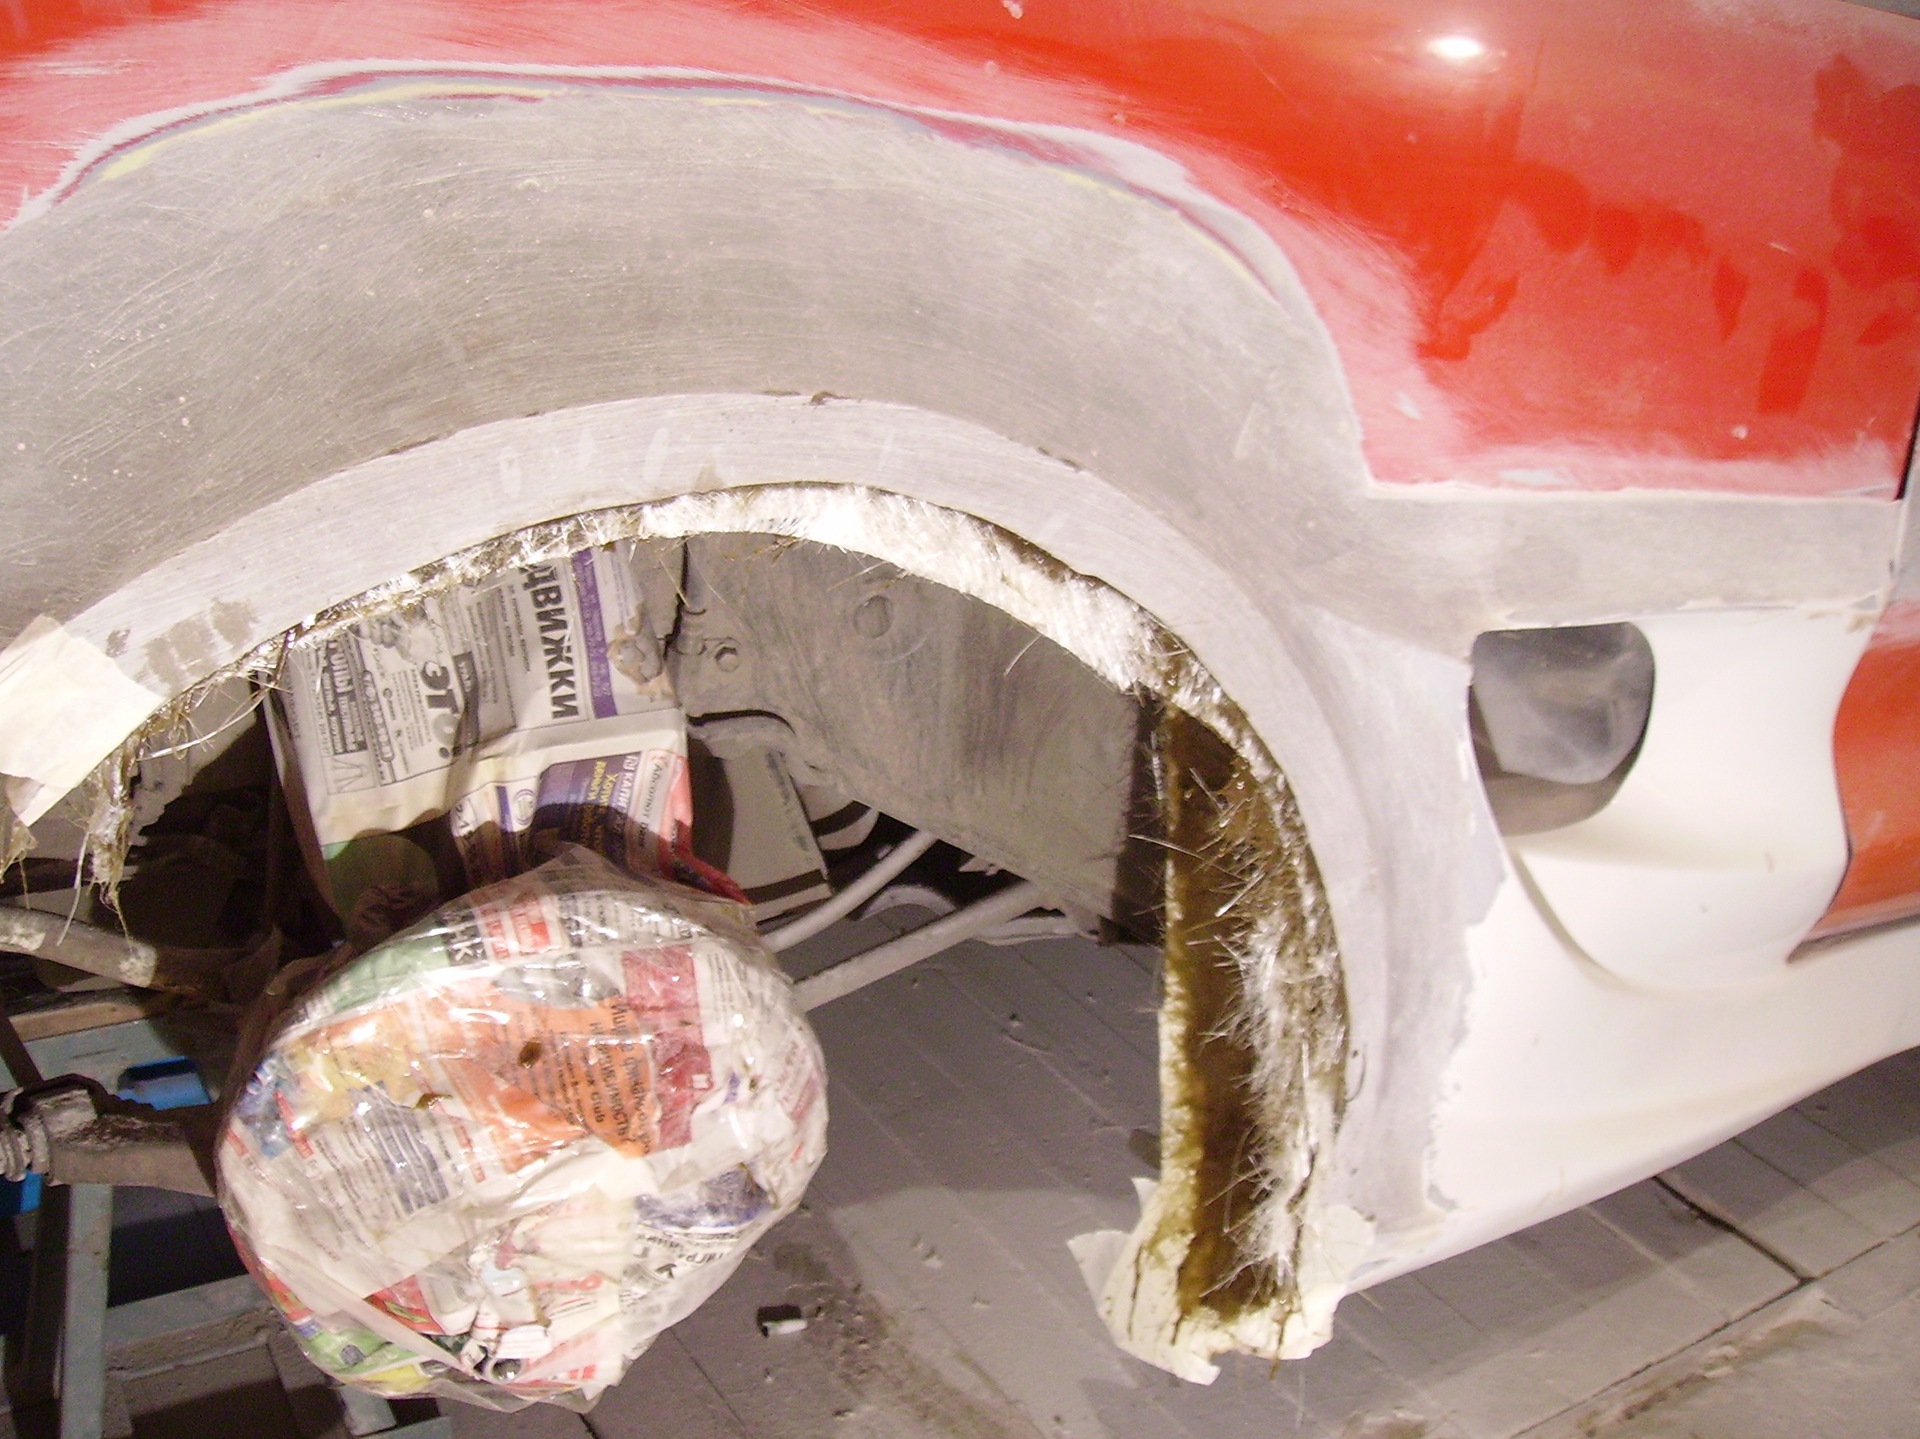
It should be noted that I did not weld the grooves for the moldings on the doors with a strip, but showered them with the same fiberglass.
continued in the 3rd part
hyy, thanks. It was interesting whether it would turn out or not, the experience is also full, but on the other hand, there are disadvantages mainly of an operational nature: firstly, you cannot put stock parts for the winter, and secondly, in the corners it is no longer so "hooligan" - it's a pity if INTO)))
Well, you know - you can't call it ananism)
but colossal work - yes!
The supervisor is megaofigitelno well and not a quibble.
To be honest, I thought it was "BadiKit" of some kind.
but then on the forum mr2 and then I read it and realized that the handy guys in our cities did not disappear)
yes vaaasche) I was engaged in this "ananism" a year and a half ago, right now I look at the pictures - I don't believe myself ... :)
The result is great, but now always ride on wheels with a large offset? This, in theory, should have a negative effect on steering ...
Well, it is difficult to apply it to the "theory". before the "big wheels" there was an obvious lack of axle turning (if due to incorrect camber / toe, if the weight distribution was 42/58%). Now on the face of the weight from the body kit, + heavy audio amplifiers, + spare wheel, tires 225, low profile ... karoch, believe me, rulitsya much better.
yes, polyester. adhesion is excellent, when I had doubts about how the places where the resin goes into metal would behave - I thought there might be delamination over time, and along the moldings on the doors, there is a lot of resin thrown over there, - I thought shrinkage would arise - it would warp. As it turned out in vain - no traces of shrinkage or weak adhesion after 1.5 years :) It is important to thoroughly clean the metal and "lift it up". I bulldozed with a grinder.
an excellent machine, just a class, I always liked the expansion of the body, which I myself am striving for, thanks for the idea with a pattern made of wood)))) now I will definitely forget about metal, and the question is, how is adhesion to metal? glued with polyester? holding on dead?
the mudguard is welded to the wing along the edge, by cutting out a piece of the wing, you also cut out a piece of the mudguard and, accordingly, the place of welding with them - this connection needs to be restored. or weld, or as I bolted)
it's hard to say ... well, layers 6 probably, then layer 1.5-2 was removed in the process of skimming.
Who did - respect is generally unreal, I liked it very much! The quality is excellent!
(did not notice the message)
no did not. shrinkage as current was not, at least noticeable.
no, it didn't work on the sun, it would immediately be visible on the wings - everything is there, ideally, for two years already, but on the broken front bumper, despite the repair, shrinkage appeared on the putty ...
but I have such a question they say that in the sun products made of fiberglass can lead! you did not have this? the detail is still so even?
her, where he spliced ​​- another topic ... vopschem on the flat part of the bumper (in front of the hood) appears a subtle "cobweb" due to the fact that I broke the bumper twice ... but this is not shrinkage of polyester, these are features of the technology for repairing fiberglass.