Instructional articles. LOOT for beginners in a domestic environment
Good evening my followers and visitors of the blog.
Similar articles the network is sufficient, but their level is often not consistent with the novice level user and often does not imply that in the region of the reader banal may not be the correct components.
So in your style today publish their maximum amateurish version of the laser crystal cabochons technology of printed circuit boards for electronic devices.
In my town there is nothing but spare parts for KAMAZ, so for me it was important in the early study on this topic.
So, let's start with the theory.
LOOT, he's Laser-crystal cabochons technology. Sounds and looks difficult, but doable in a domestic environment.
The bottom line is that the Board image is printed on glossy photo paper and prizhivaetsya to the Board with a regular iron. In Dalmane paper get soaked in water and rolls off of the PCB. On the PCB of the ink remains that were previously on paper. Received a piece of the PCB is soaked in a solution of ferric chloride. Ferric chloride dissolves the copper which is not located under the ink. After the ink washed away and we have them preserved tracks of copper.
So, let's proceed.
First of all, we need to prepare the PCB. His full name — foil glass fiber. Is a rigid sheet of fiberglass on which applied a thin layer of copper foil. This fiberglass one-sided(foil on one side) and two-sided (foil on both sides).
This material can be purchased at radiolavka.
The PCB, depending on the purpose, take in thickness from zero to 1.5 mm. I prefer 1mm, because in the future it is much easier to cut with a knife. The 1.5 mm you need to make more effort.
For cutting fiberglass, I prefer a usual box cutter with 9mm blade Cutters with wider blades are thicker, and this greatly complicates the nest. A knife is better to take reinforced to him a pack of blades. And then the usual torches are experiencing the 2-3 shift blade, and reinforced almost eternal.
Preferably the data work is done away from children, food and to use at least a gauze bandage. Because the fiberglass dust is not the most useful thing and permanently deposited in the lungs.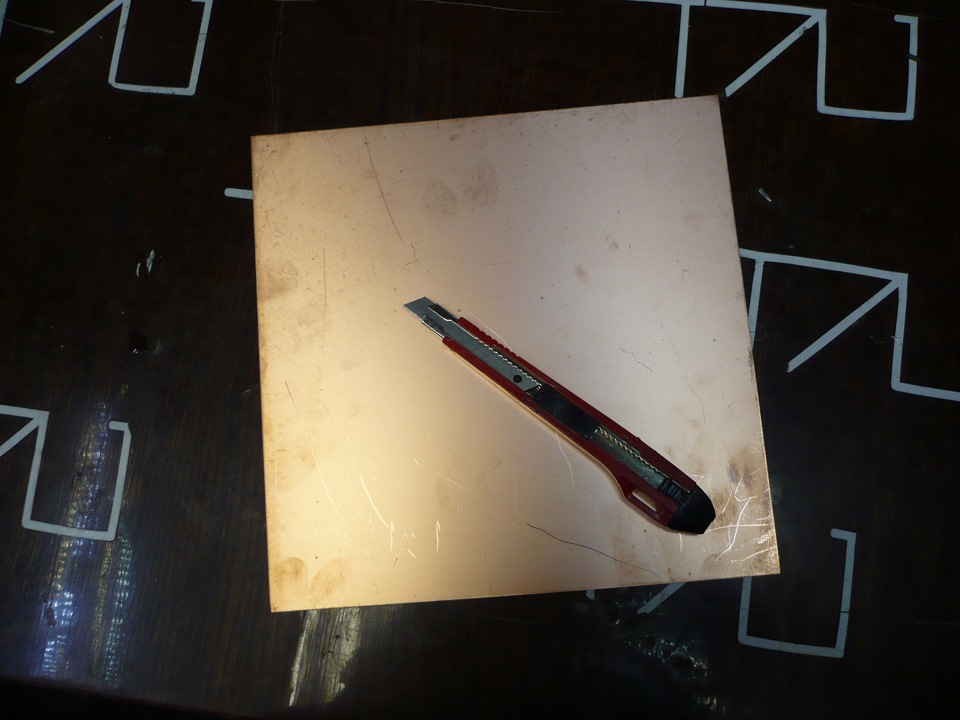
First of all sanded the surface to a uniform structure with skins of 1000-2000. This greatly improves the quality of the transfer ink on the PCB. Next, mark up the sheet and using a metal ruler cut the line as deeply as possible, passing through a few times.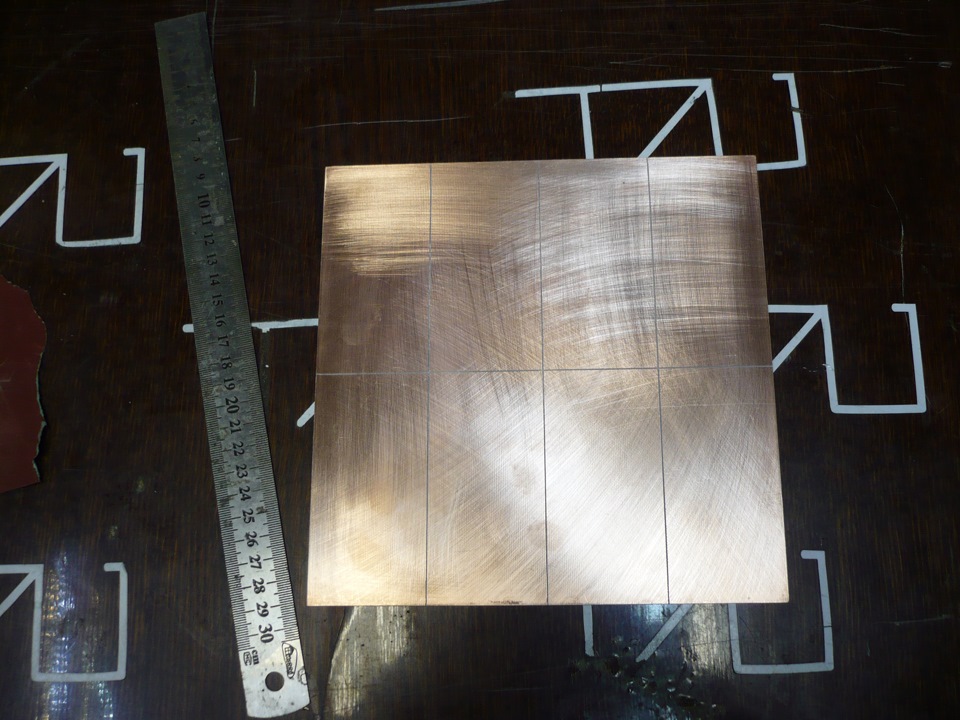
Turn over the sheet and duplicate the cutting lines. For convenience, each passage of the blades need to be under a different angle relative to the sheet. This allows you to make incised lines deeper.
There is often help that the fiberglass is partially transparent and cut lines are clearly visible on the other side.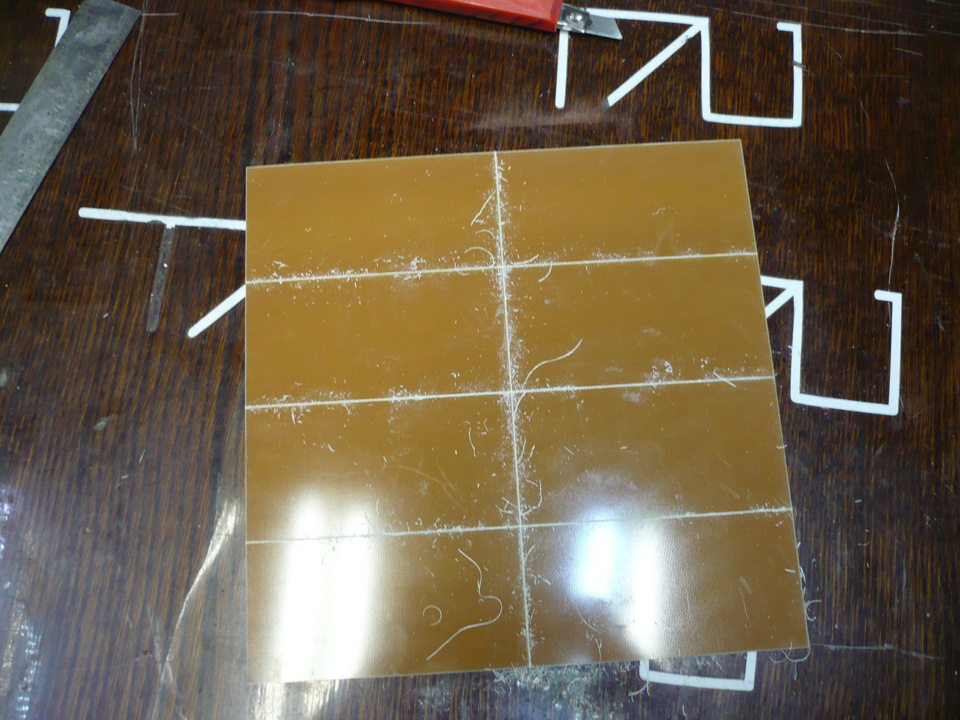
As chokoladka break the sheet into slices. If this process is extremely difficult and delamination of the PCB, then you need to cut lines even deeper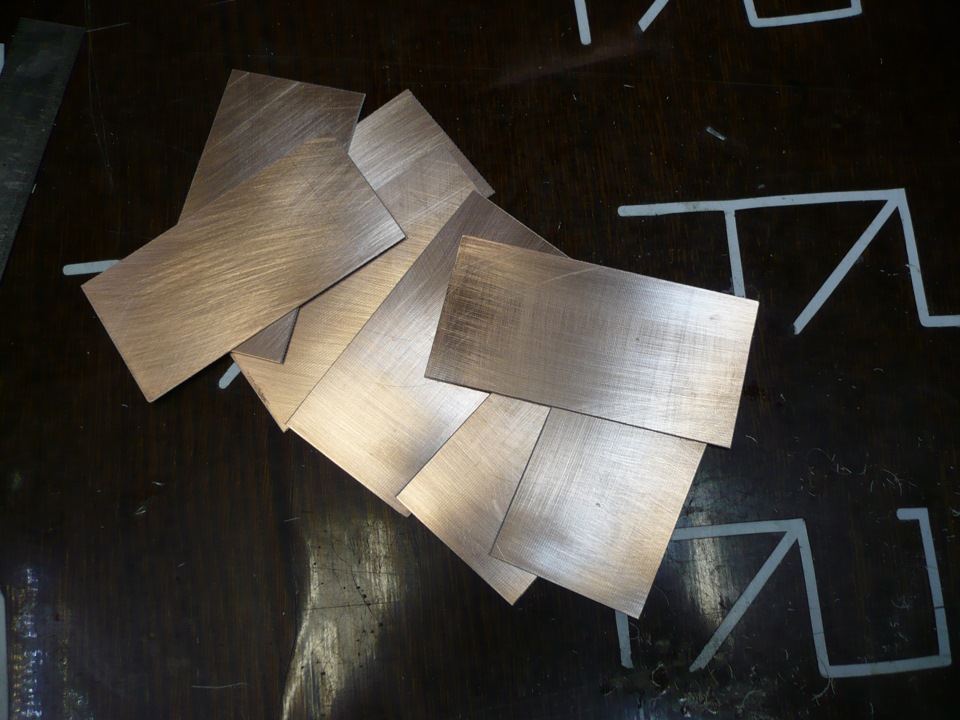
This is a very important stage. The edges are notched kusochi copper. They, further, do not give the ink normally adheres to the copper next to these notches, because the sheet based on that one can't reach the PCB. These burrs should be removed with rough sandpaper under a 45 degree bias from myself. This direction will most effectively remove these notches or at least to bend to the smooth condition. Movement along the cutting line of the data notch relieves worse.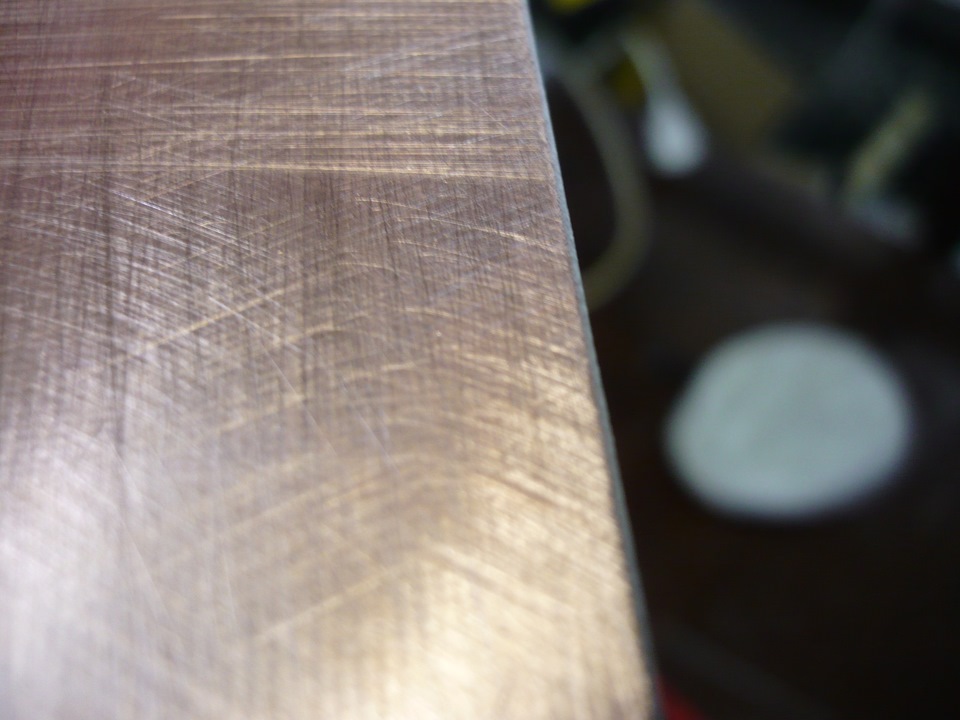
If you wish, you can also sand the end of the handkerchief from the fibers of the PCB, but this action is not necessary at this stage.
We now turn to a further stage. Let's call it image transfer on glass fiber.
First of all, the fee is designed. In the photo window of the program Sprint-Layout. This program is relatively simple to use and comprehensible. Training to work with this program I will not do it today, because he is still not mastered all of its functions. So skip that product and move on to the printout.
Important note — be sure to mirror your image, not to get the mirrored charge.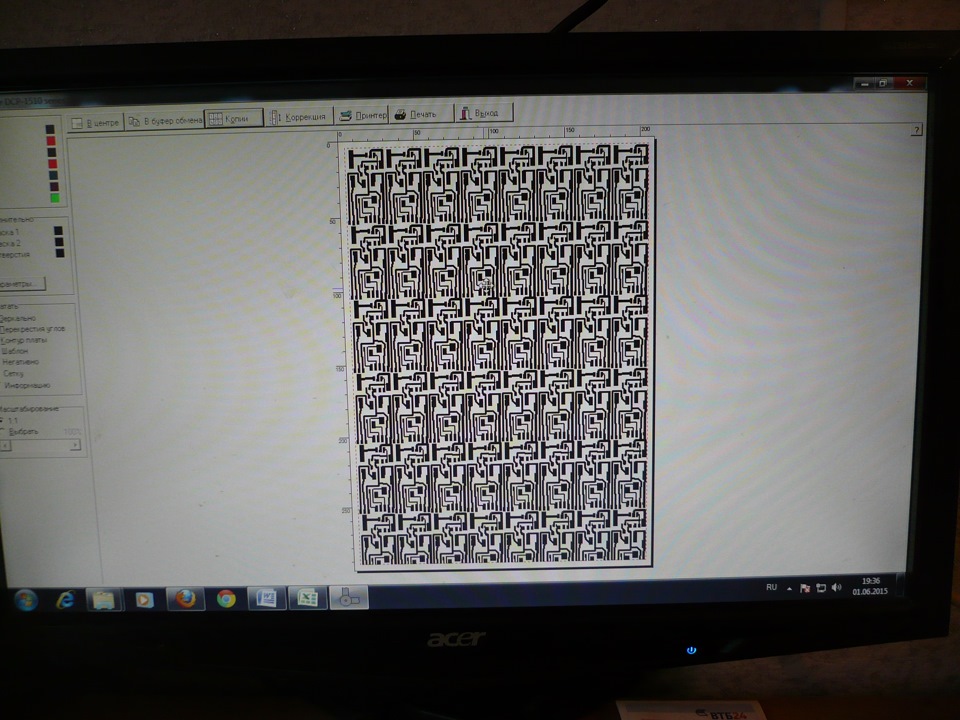
The printed image on a laser printer. It is desirable to disable the saving of toner, because the paint will not be superfluous. As the papers ideally you need glossy photo paper, but my printer refuses to accept it outright. So as a replacement suitable sheets of glossy magazines. A thin, well tolerated by the paint and stick to the PCB. But not all journals are equally good, so it is recommended to take a sample of leaves of different magazines. Checked my log — Swing Muscles. When it ends, will take over Behind the wheel)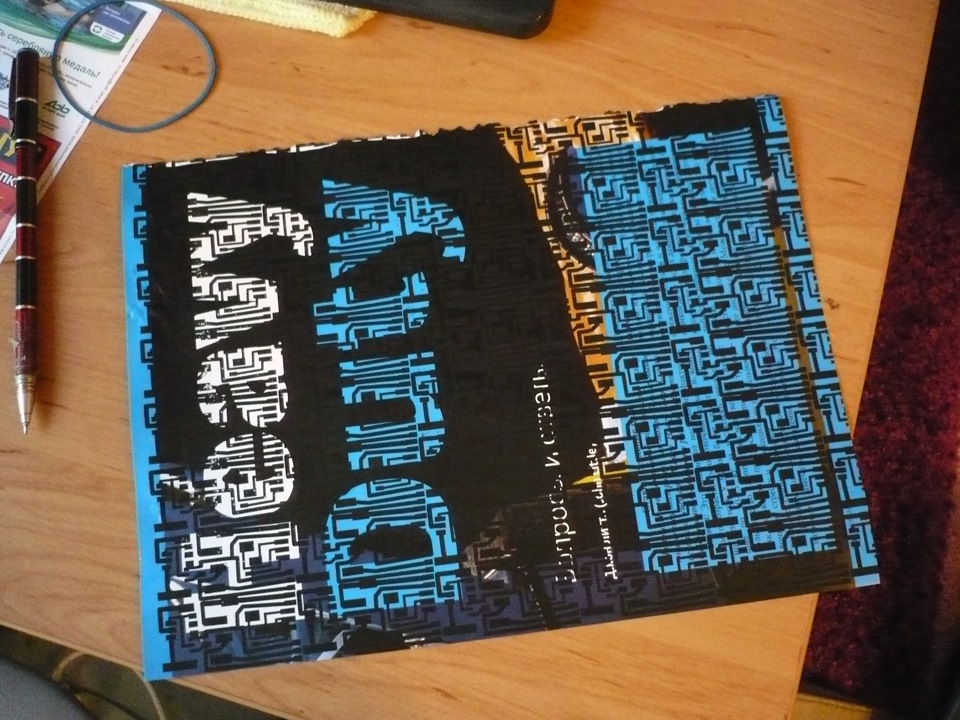
Cut the paper into desired size pieces. Preferably hand wash with soap and degreased.
Themselves scarves degrease with acetone or any other convenient solvent. Tool for removing varnish is also suitable.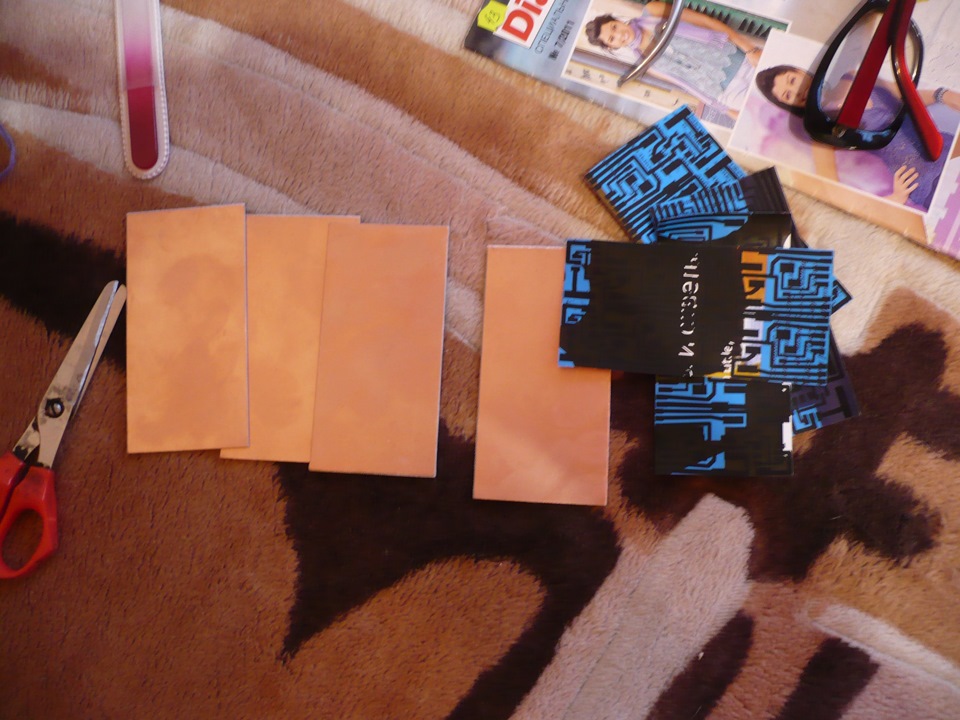
In order not to burn the chair, take the paper and it will conduct the Ironing operation. A stack of Newspapers is desirable to take thicker, because in this case a scarf is to slip less after an iron. In some measure it will go into the newspaper corners.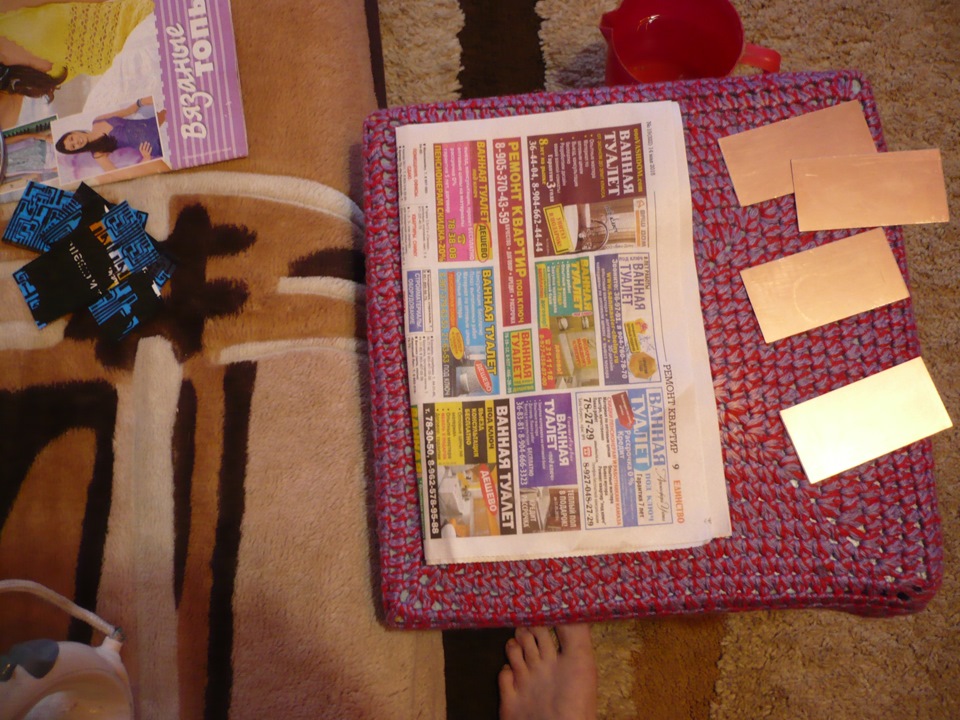
Turn the iron on high. The mode pair is not needed. Sheet on the handkerchief lay the pattern down.
d-cd.net/bfe65b2s-960.jpg width=960 height=720 itemprop=contentUrl>
First press the entire scarf with an iron for a couple seconds and the tip of the iron to iron the paper. Ideally, the paper should fully adhere to the handkerchief. Then pressed the handkerchief thrown into a prepared tank with warm water.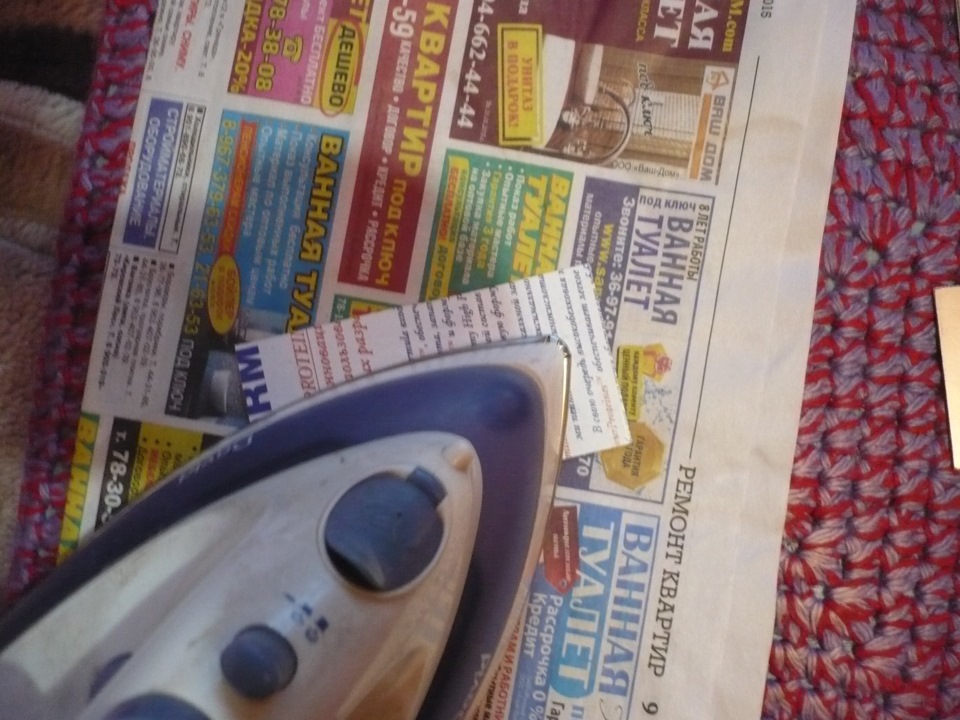
When the handkerchief soak(I usually leave overnight), with your fingers roll the paper.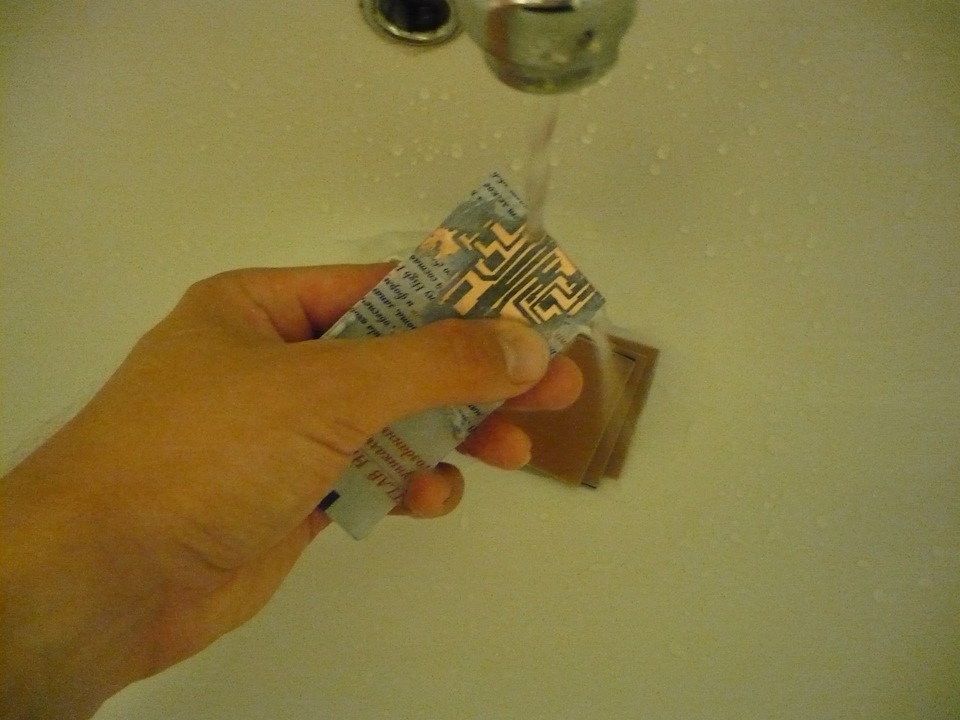
After a light rolling paper received the handkerchief. Sometimes the paper is not starred, sometimes not completely transfers the ink to the paper. You can delete all and start again, but then we will finish this shawl.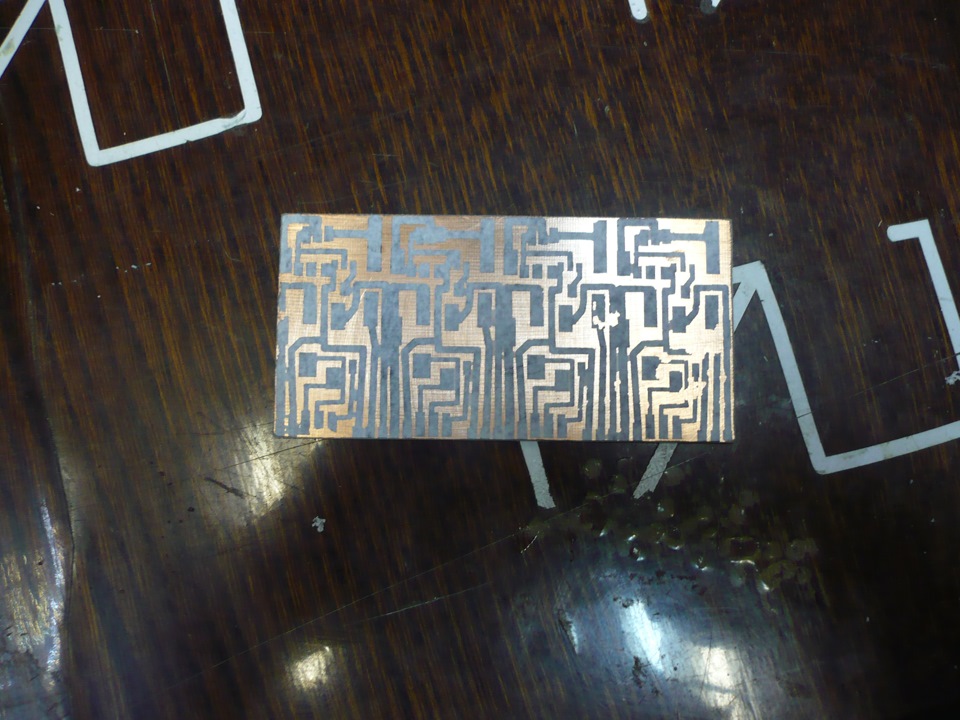
Using a paring knife or a toothpick off the excess paper. Seats can be removed and excess paint.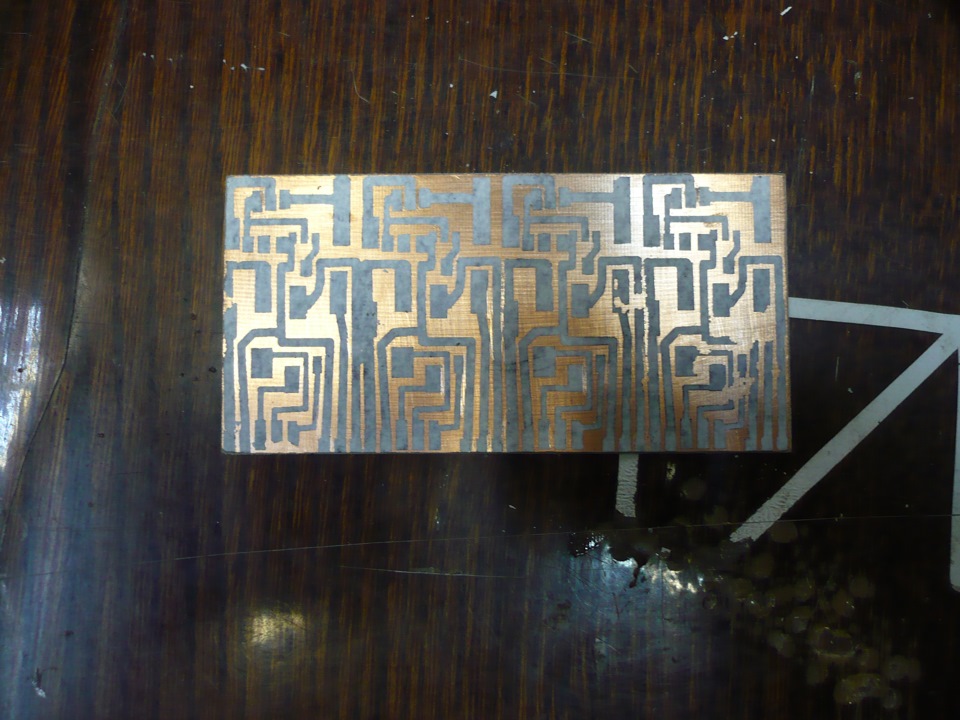
Now dorisovyvaet missing locations of future paths of the Board.
Markers I don't really trust, because often the spec.markers for 200-500r for boards almost do not protect the copper. So use nail Polish or touch-concealer. Here is the touch-corrector highly recommend, it protects the copper perfectly.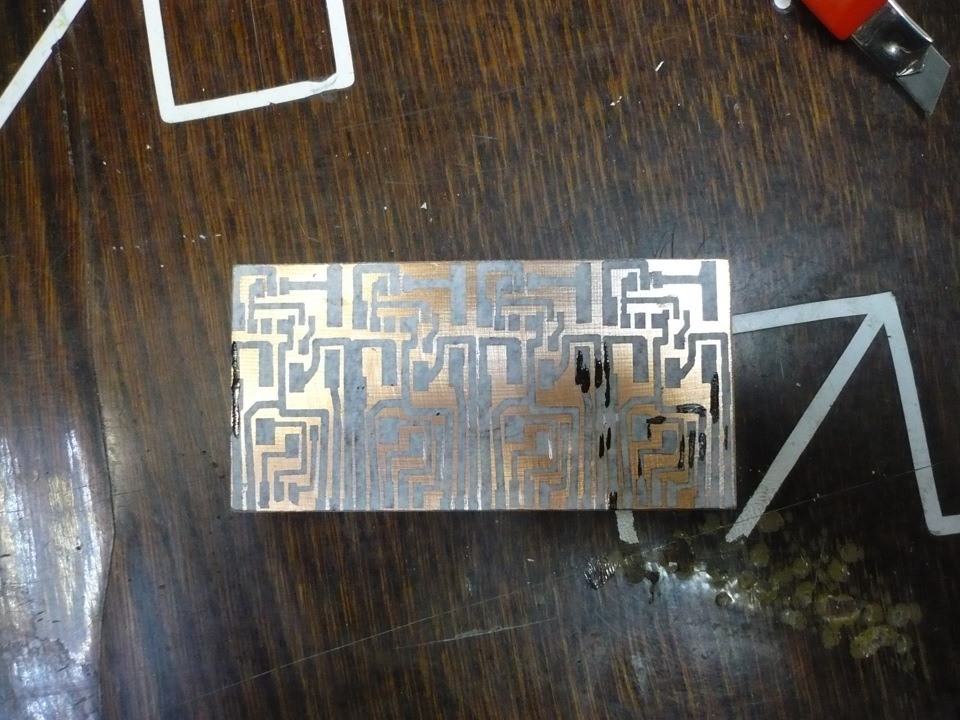
Now soak the handkerchief in a solution of ferric chloride. This component is sold as radiolavka.
Take convenient capacity(in my case it's part of a 5-liter bottle). Pour warm water and stir it in ferric chloride. My consistency — 250грамм wet ferric chloride in 1 litre of water.
From this moment on, keep wet and dry wipes, because the dried spot of the solution of ill-washed from skin and clothes. Dirty, immediately wipe and flush.
Toxicity this solution does not suffer, the skin burns. It is not desirable to drink — vomiting is provided.
To calm your nerves, you can perform procedure in a well ventilated area.
Wooden clothespin touches the handkerchief over the empty part and drop into the solution. It is advisable to have a chat Board to come out small bubbles from the surface. in these bubbles the reaction occurs and the Board will be in copper dots. Tilted leaving the handkerchief in the solution of the pattern down. The advantage of the wooden clothespins that when sliding it together with the Board into the solution, it will float and hold the edge of the Board. That is not necessary in the solution sticks to catch the handkerchief.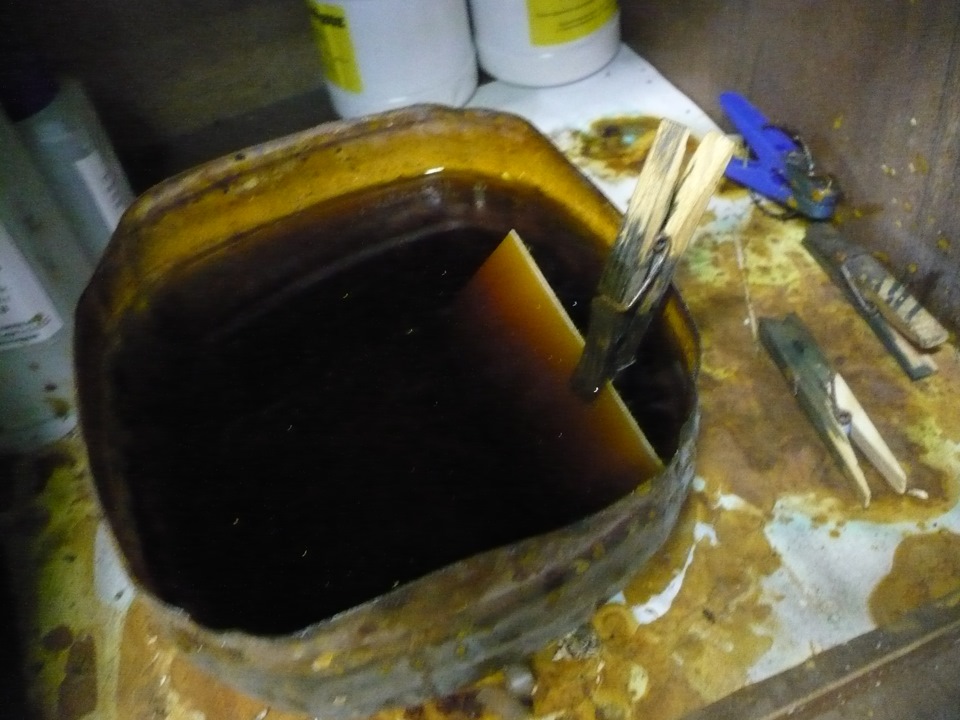
From time to time glancing at the condition of the scarves to achieve the status as in the photo. Overtime is not desirable, because in the future, is being eroded copper under the paint. I usually set the alarm for an hour and quietly doing other things.
The handkerchief wipe dry, or rinse under running water. Carefully, because stains of ferric chloride from the surface of the shell is also badly washed out.
The layer of paint is washed away with solvent and sanded the surface with fine sandpaper 1000-2000.
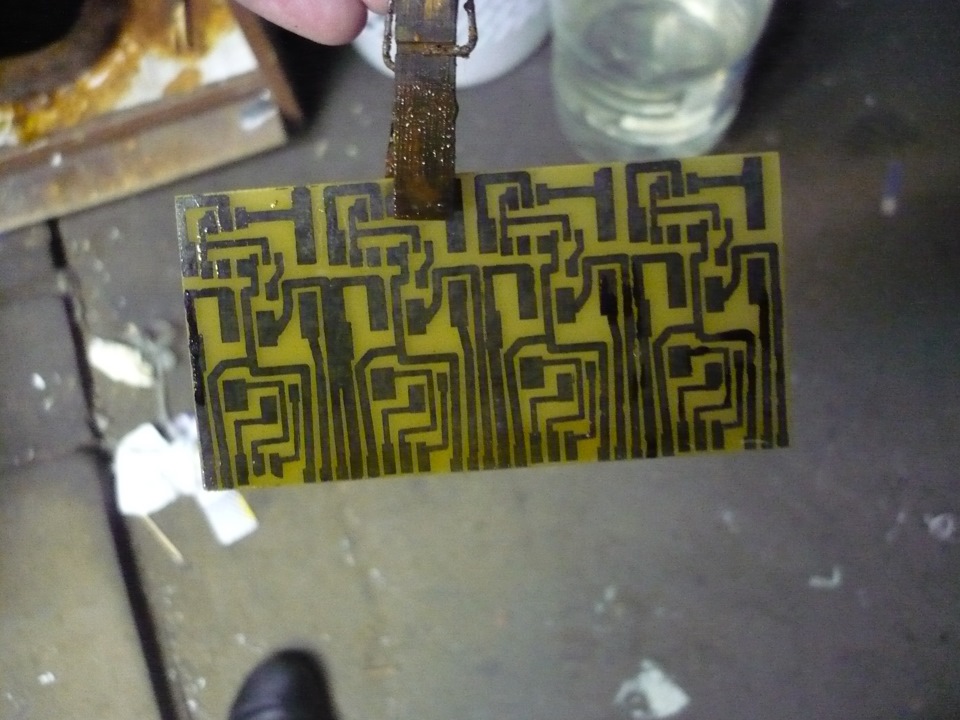
Fasten the shawl to the sheet of paper on the double sided tape and coated with liquid rosin. Rosin is better to take the most expensive, because cheap gives a terrible result. Alternatively, you can use small pieces of ordinary rosin.
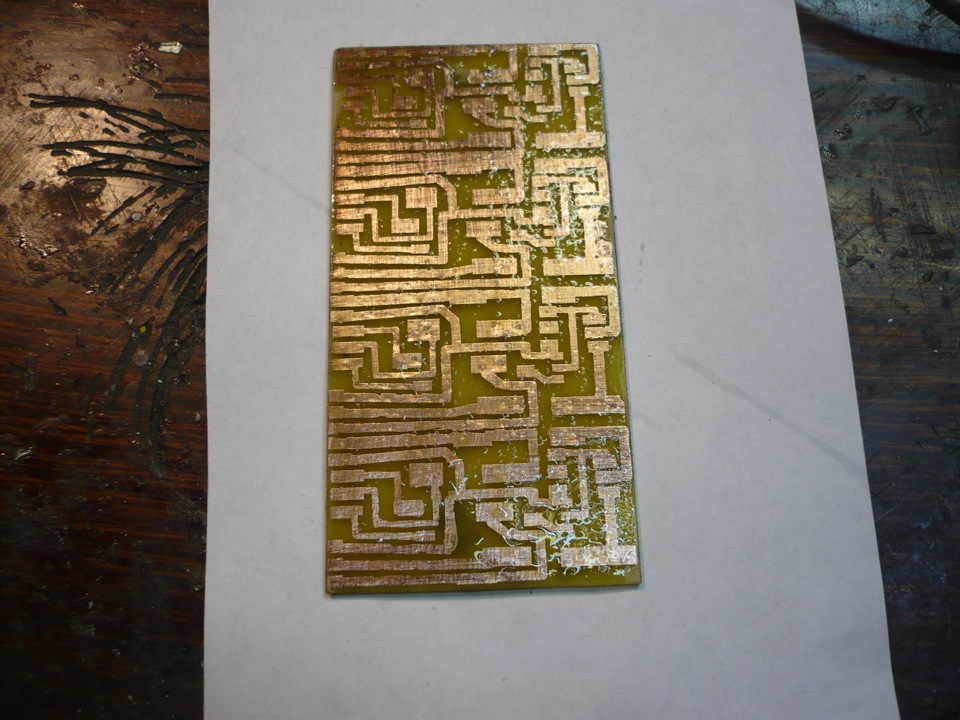
Using the heated soldering iron and solder, Ludim track.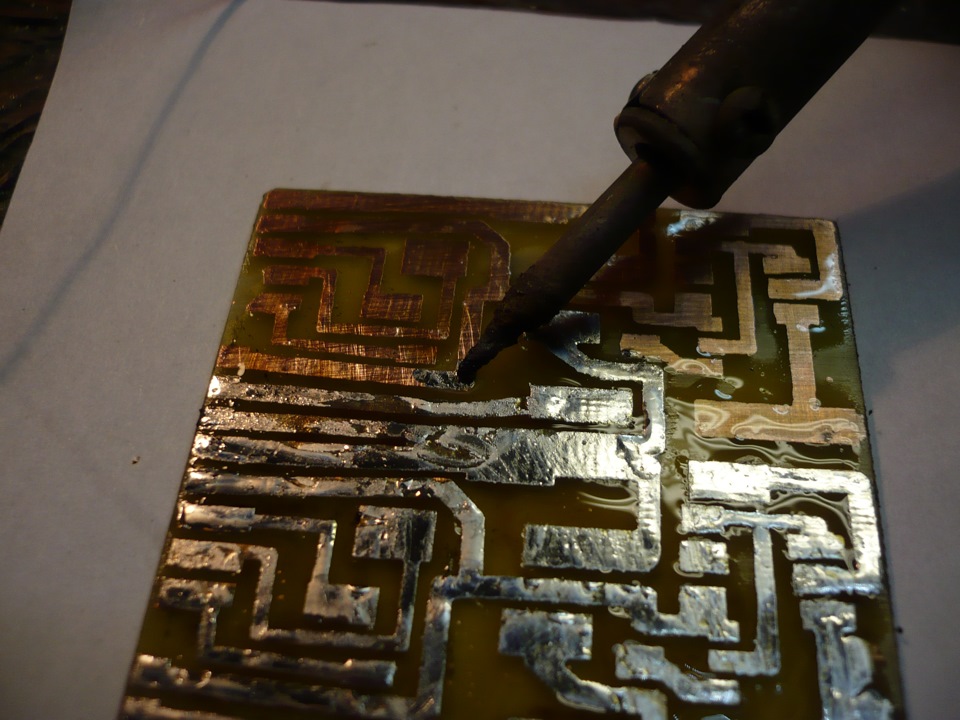
Rinse rosin solvent.
For the previously described technology cut a Board and sanded the ends.
If the Board scheduled the holes they need to drill at this stage. If you do it before tinning, then you get clogged with rosin hole.
In the photo is just to consider a few small spots from air bubbles. Of which I spoke earlier.
These points can be scraped off with a knife blade.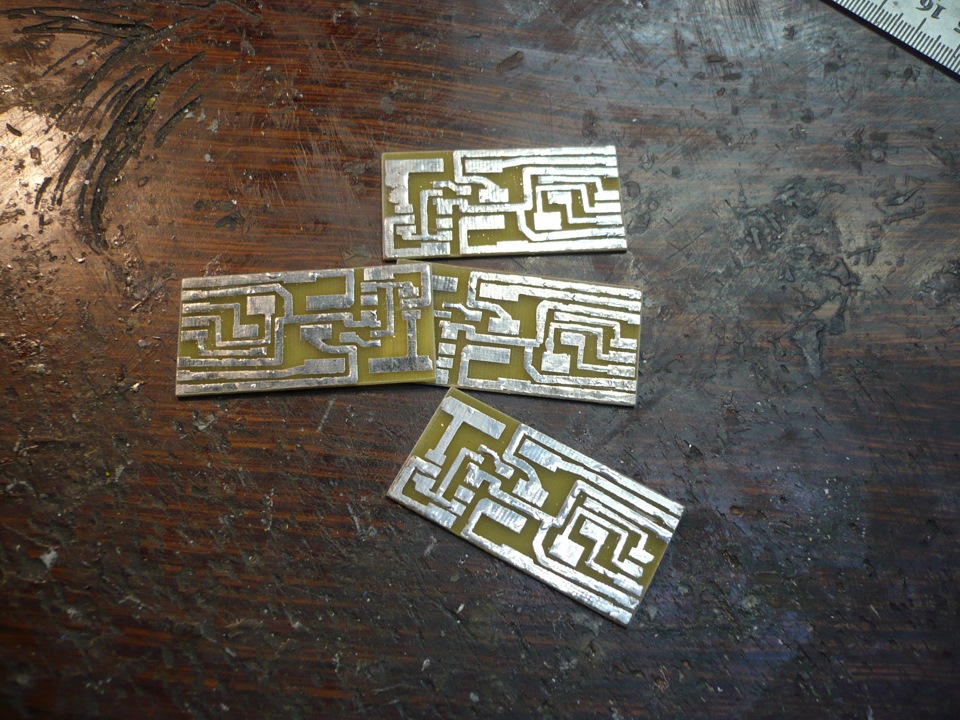
We can assume that scarf ready)
If you have any questions write them in the comments so that other users can also view the response in the same issue.
Sincerely, Nikolai Ivanovich.
I'm on YouTube
and Vkontakte
Our page on DRIVE2:

 TAU tech Manufacture components for led tuning. Individual approach. Shipping to Russia by mail and TK. 21 proven opinion See prices, photos and contacts
SazanKharkov
Me peroxide is easier to slack off... All the components are always the kind hand) if th store and pharmacy near the house))
support, and does not get dirty much the solution itself )
and then you remove the sink or the clothes you shes so a smack from his wife/girl )))
100%))) and sprint a lot of interesting jokes)) I myself just recently with all understood))
Me peroxide is easier to slack off... All the components are always the kind hand) if th store and pharmacy near the house))
Yeah, I agree, thank you very much, okay so clearly explained, without abstruse phrases!
Well done, all was clear! You can't imagine how difficult this has been done before))
Yes, there is someone like accustomed.
Of course if all enchanted by it then it's better.
Sorry.
Maybe you just need to select the position of the substrate on a sheet of A4. Or in the printer settings paper type to choose. As depending on the paper type change warm-up time and some(new) printers, the pressing force of the rollers in the oven.
I too do not particularly want to.
I leave a gap of approximately 2cm at the top of the sheet to the roller drive could be hooked. Well, then paper flies on the thumb. There are cases sometimes you have to push.
My printer such materials are not normally willing to push through the drum)
Although the method is very convenient.
Regarding the paper.
The easiest way to transfer the image on the PCB is to use samoklejushchiesja Wallpaper.
More precisely, will need a substrate from the adhesive.
Takes a sheet of A4 on it as you like (I use paper tape) glued samoklejushchiesja Wallpaper backing down. Then the Wallpaper goes off and the sheet remains the only substrate. Then the whole thing shove it in the printer and respectively.
A huge plus is that the toner sticks to the PCB with a Bang, when this is simply wait 5 -10 minutes to cool the PCB.
Then just without soaking gently unstick the substrate and all. The result is a transporting effect (if anyone remembers earlier gum was with transferred stickers).
Hunted with a thickness of 0.5 tracks transferred fine. Important do not iron press, and it will melt.
TrueRed
and I did peroxide . excellent eats away the copper... and gently turns smooth track. the main advantage of. non-toxic )
peroxide with citric acid on cheers, cheap and cheerful
TrueRed
and I did peroxide . excellent eats away the copper... and gently turns smooth track. the main advantage of. non-toxic )
peroxide is certainly cheaper at any drugstore!
and I did peroxide . excellent eats away the copper... and gently turns smooth track. the main advantage of. non-toxic )
I know not all of his functions, so will not risk anyone to learn working with it.
I tried, but the result failed to reach normal. Somehow I did not want the solder to RUB)
Acetone most likely not)
Very good article! And flux is a budget substitute, dissolve the rosin in acetone, but it's as you prefer)
ncuxckocou
and without a laser printer is possible as that on another?))
Another option — photoresist: drawn/printed on the film negative from the draft Board pressed against the photoresist, zasvechivat under UV, grass. We get quite a result. However, much longer and more expensive at the piece works... LOOT cheaper and somewhat easier )))
And more maniacs are buying a milling machine for such purposes )))
You can zero all draw with marker or paint) Some of the ORACAL cut the track on the plotter and glued to the PCB)
piece, because the car one )))
but a lot of places in the car where the bulbs are )))
about half have already been replaced
Well for boxed boards really laminator with the time will be)
But when you stamp the same 2-3 charges, it is easier to order from resonate)
to order risalita you need a good idea to look into the sprint or similar programs... that requires a good time! And one mistake in design — particularly during training — will be costly )))
I 4 colorable found... tipo Belarusian. Adjustment of heating, forward/backward, hot/cold lamination. Happy as an elephant. Eat as LOOT, and the photoresist may vary depending on the accuracy requirements)))
First practiced with the iron, but when the fine track is flocked in doraise (or-dropped — temperature/pressure is not enough) and so a few times in a row! I your time and nerves appreciate more ))))
Each house has a laminator XD
Easier then just resonate Board to order than to spend money on very cheap laminator)
And even easier, replace the iron on the laminator hot rollers. And life is much simpler — all cards of the same work, because there is no more irregular, like this :)
The only problem is where to buy a laminator?
I all online boutiques in Moscow, phoned — found only in one. Eats a pack of up to 2mm (from 1.5 I need)
DiMMonRuSS
THANK you for opening my eyes! I always thought it was super-mega heavy procedure with a large number of CMV and unknown devices, reagents. Thank you!
And when you consider that the production on the side of the smaller parties, the headscarf is, for the first time, five thousand with a tail (for example handkerchiefs 25*20mm), or even wasabees:
techno-svyaz.ru/order-price/kalkulyator/
;)
THANK you for opening my eyes! I always thought it was super-mega heavy procedure with a large number of CMV and unknown devices, reagents. Thank you!
Excellent article, though, and make this technology anyway, it was interesting to read .
Add to the Treasury of knowledge:
Methods LUD etching circuit boards:
1. Peroxide 3% 100ml bag of 30 g of citric acid + a teaspoon of salt. Shake well and poison (eats aluminum!).
2. Ammonium persulfate (ammonium Neccersarily) Aluminium touches, eats only Copper. Subsequently, when hunted a lot, and the etching started to fall out crystals, you can add citric acid.
Information is taken here on the website.
Small configured, ready to manufacture, collect information.Your article helped a lot, pushed that is not so difficult, and even comments I read.Thank you very much.