two-channel dimmer
Good day to all. There will be many letters.
Decided to publish this record, BJ. To introduce in the machine while hands did not reach.
I have long wanted to collect a new setting with more advanced features and stability, but it is necessary to get into microcontrollers. In principle, it was not difficult, but understood immediately.
For a basis took the work of the famous Stepan Pavlovich CAMOKAT-BETEPAHA — Smooth ignition. The regulator is assembled on the microcontroller Attiny 13A .Had to change the form factor of the 1206 parts and Board layout. While minimalism we don't need, the main thing that it was convenient to solder :)
Podcherpnul a lot of information from the blog Alexander Anatolyevich GTRacing.
Was purchased by the programmer, assembled a special train and the "adapter" firmware for the Attiny13a. Adapter need that each time not to solder/unsolder to a controller. The scheme is borrowed from Basil himiks
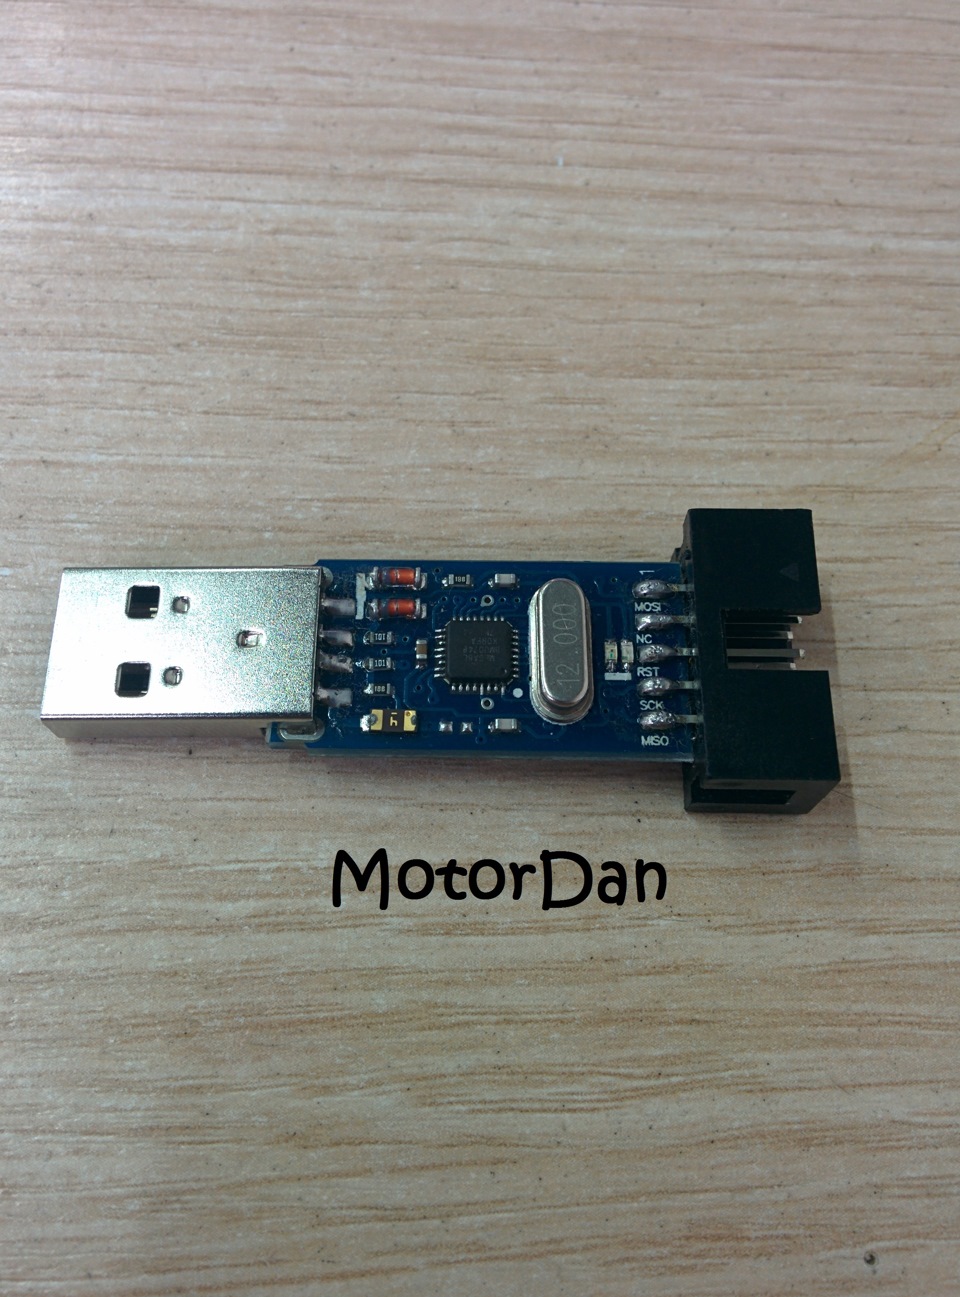 An AVR programmer USB ISP
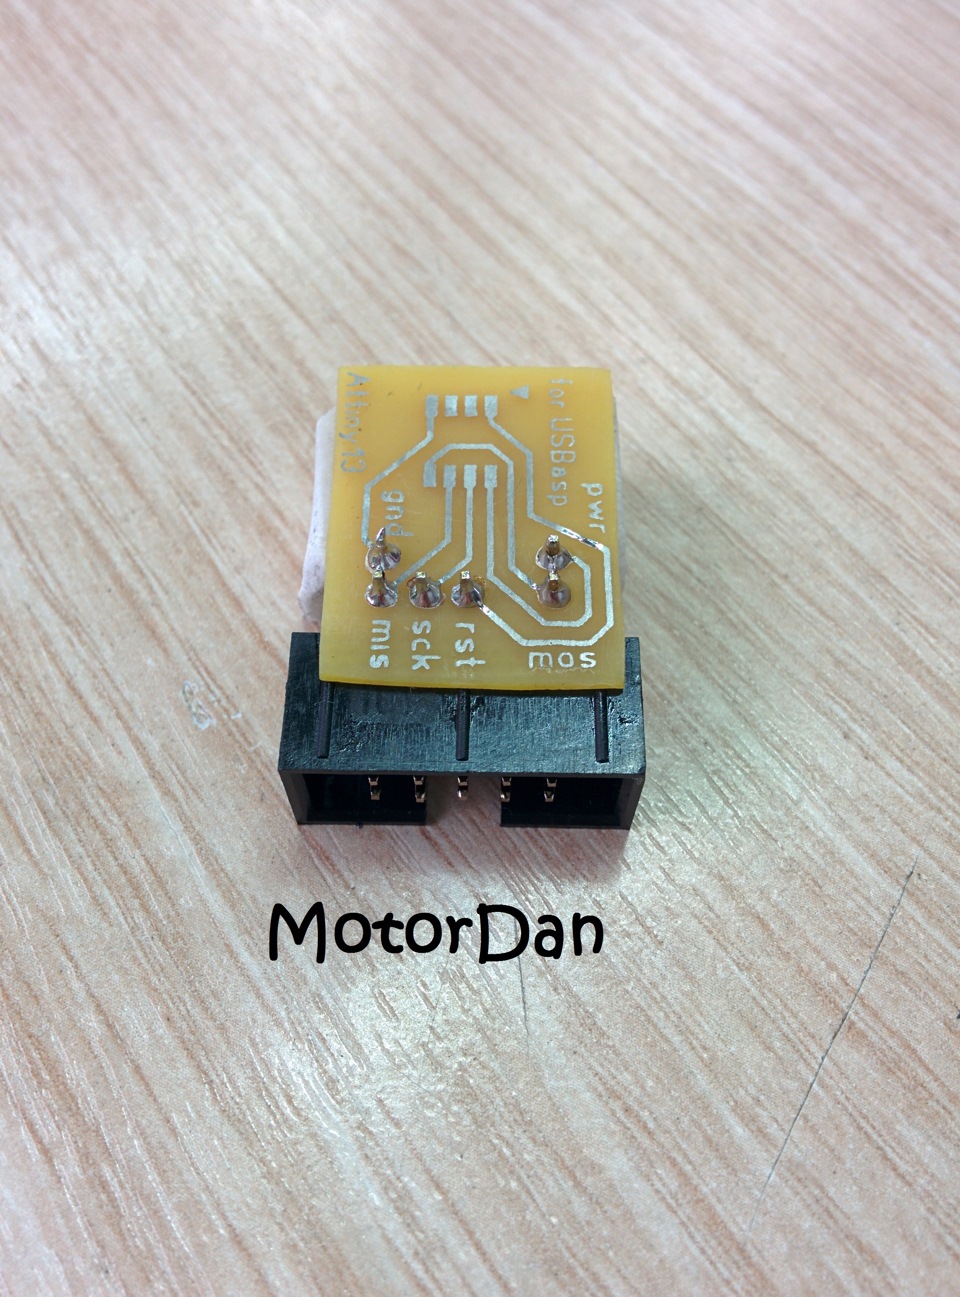 Adapter
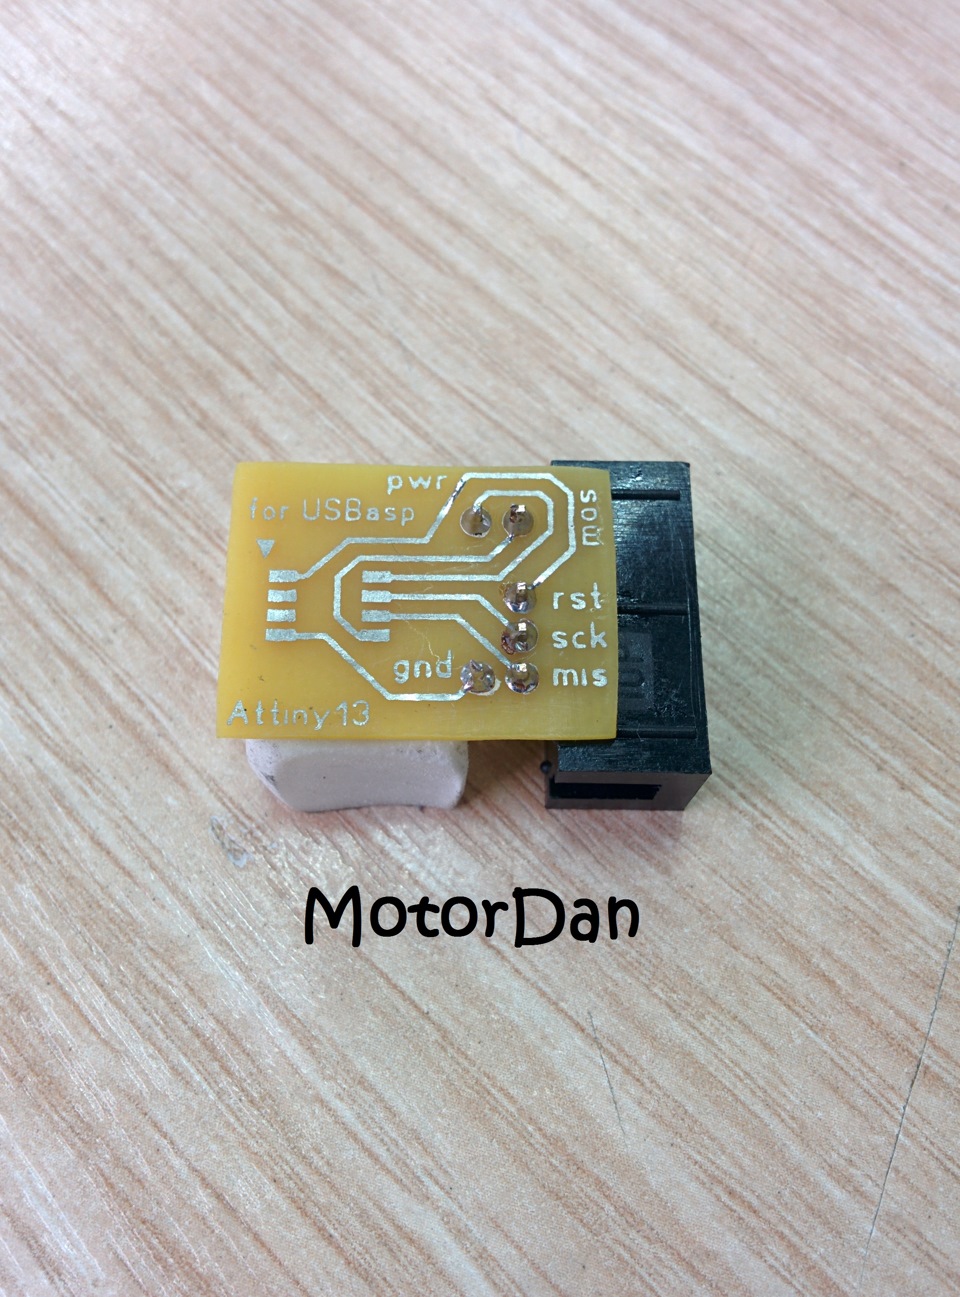 adapter
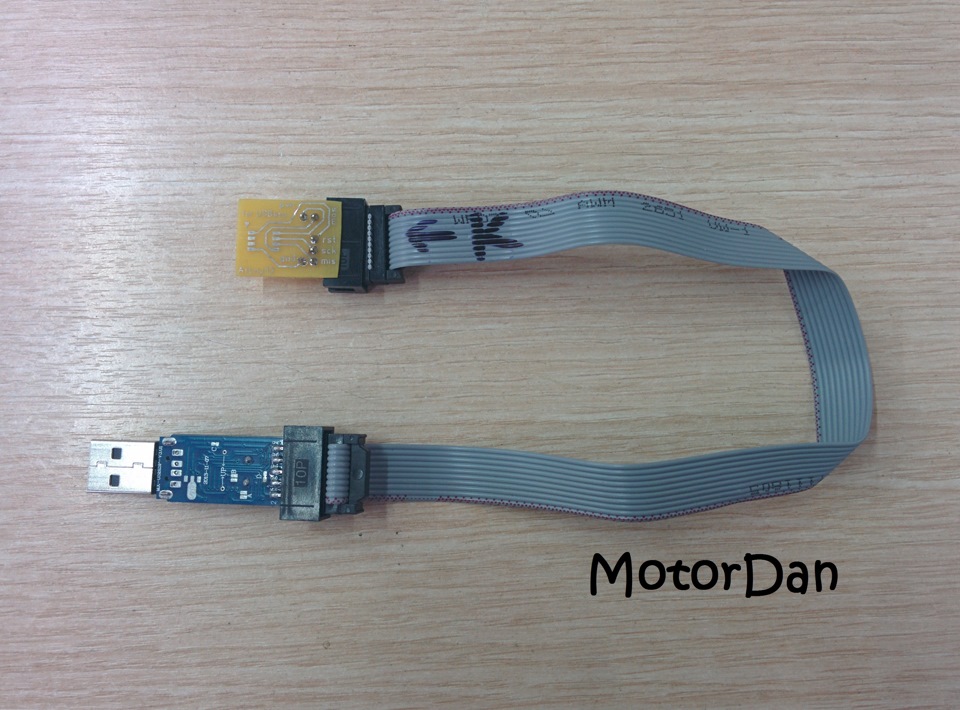 Structure Assembly
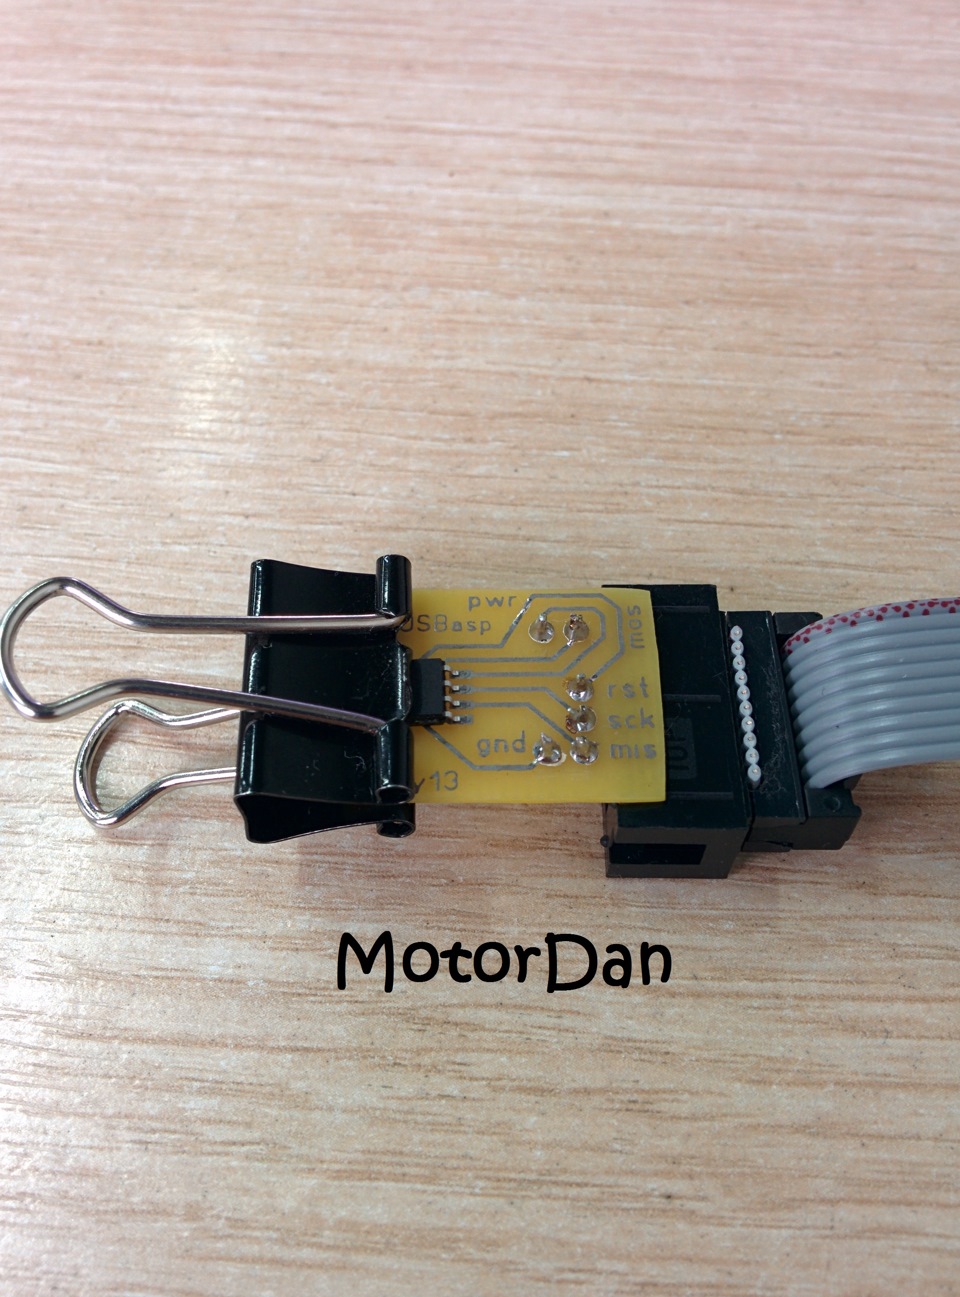 Attiny13 on the clothespin
Briefly the process:
1. Plug-in programmer install the driver.
2. Plug-in "design"
3. Run prog SinaProg. Section "Device" click "SEARCH". If you receive "OK", then everything is assembled correctly and the programmer sees the microcontroller.
4. Open the firmware and loaded it in the controller
5. Then sew the fuses. The main thing is not to confuse the sequence.
As he wrote to Stepan Pavlovich, downloading new fuses, you disable the pin RESET controller, so after flash the fuses, the programmer will stop seeing microcontroller. To restore it, but for this you need high voltage programmer or "Reanimator". Will write about it next time :)
Zapevaet stitched microcontroller in our charge.
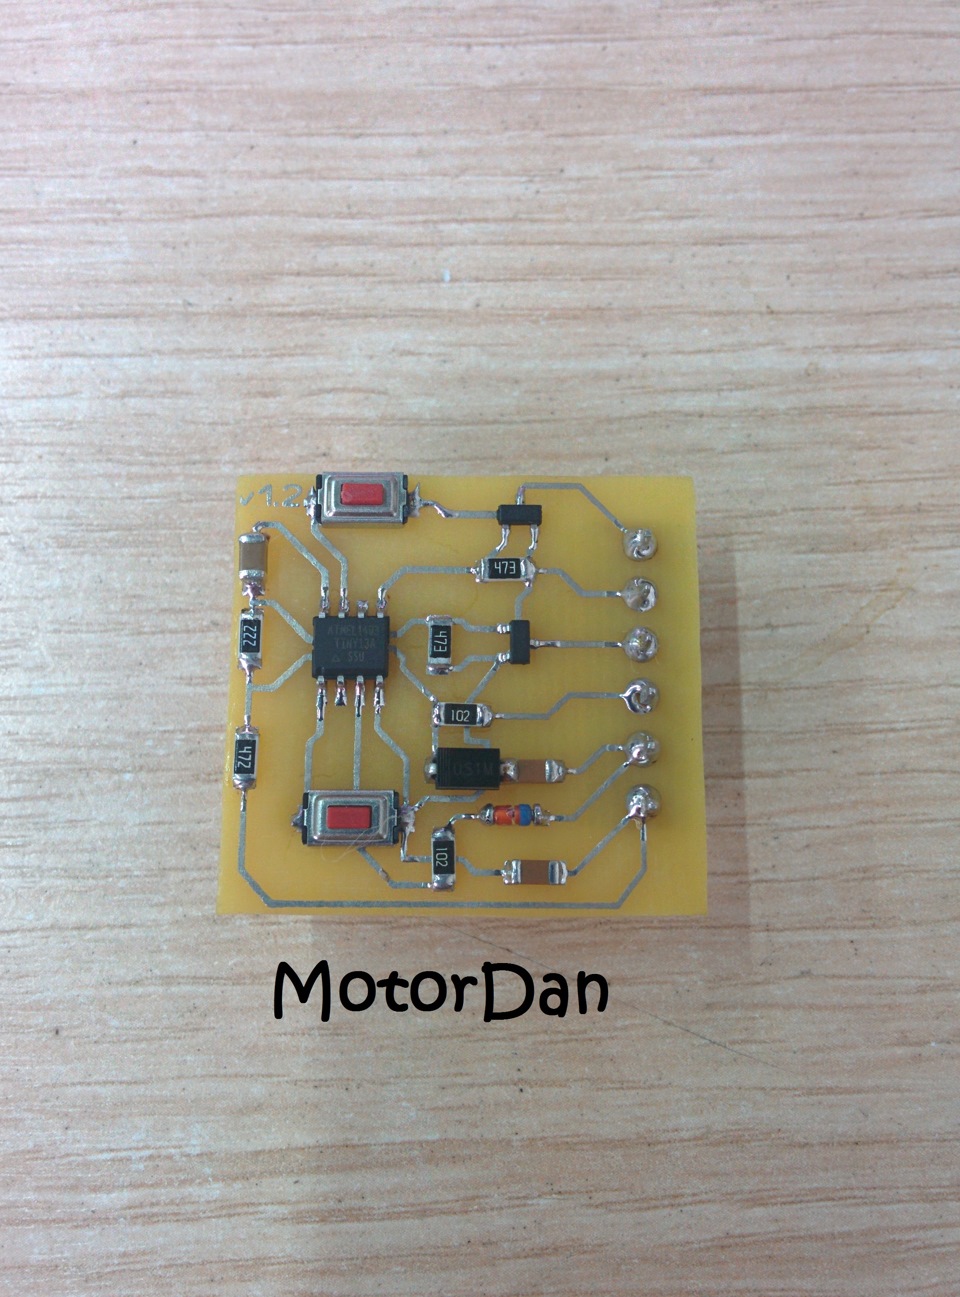
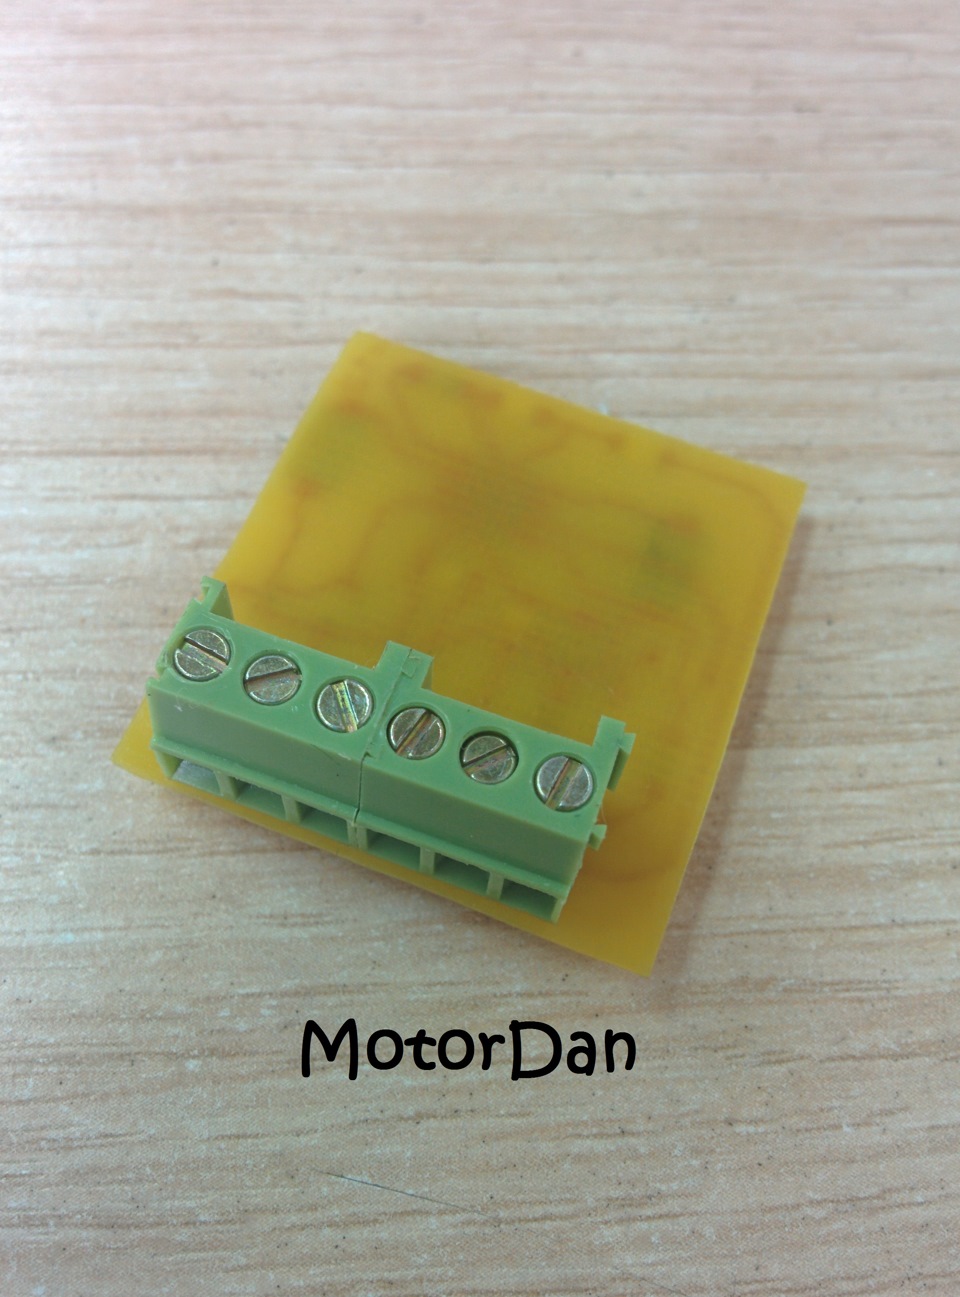
Connect and enjoy working chip. :)
Description borrowed from Stepan Pavlovich:
Two separate independent channels.
For each channel three-band custom setting: delay time before the start of ignition of every channel, the speed of ignition of each channel and adjust the level of brightness day and night.
Adjust the brightness by one button, exactly the same as in previous versions: pressed held, changes the brightness, the next press — change brightness changes the direction.
You can configure virtually any desired algorithm for smooth ignition: first the arrow then the scale or Vice versa, the ignition fast slow ignition delay of each channel from nothing to twenty seconds, its memory day and night mode — analog circuits nervously Smoking in aside.
Video on tidy Chord yet, but soon add.
A huge thank you to Stepan Pavlovich CAMOKAT-BETEPAHA for providing the info and the firmware, Alexander Anatolievich, GTRacing and Basil himiks.
All good :)
goshka997
Nicico do not understand, but the 'like' poke! )
Gosh, it's dual channel smooth ignition in tidy. It to replace the one am using now. The new functionality more :)
Andrew, thank you. I just repeated the stamp, but made their changes. I think that with the new functionality will be better and at least more interesting :)
The plant will not open, but there are other projects :) the winter is going to be picked :)
YES, YOU BRAIN DANIEL! IT's all progress of all progress, going direct very interesting, really soon it will be necessary for you to open your own factory=)))
I'm glad your first experience with mikrokontrolleri was successful :) the work of Stepan Pavlovich inspired many! :)
Great!
Also take the basis of this ignition. Connect all glow to it, can't get enough!
MotorDan
Try sorry, free time is absolutely none :(
Need a hobby to do in free time to earn money! )))
I agree, Andrew, but under the condition that the firmware is not necessary to write :)))
Invietus
Well-lit, the first time I decided to repeat the same minimalist, not anymore. Stretched a few mm, better now:-) MK rule B-)
When harvested for the first time, minimalism is not needed, whatever works, but bring to mind always have time :)
Basil, right, because the layout needs work. Lit, and after soldering I realized that you can more compact to make. The main thing that worked! :) first experience with microcontrollers :)
Yes...
this can be slightly reduced, with the same components (resistors 1206)
And the original Board Stepan, too, like, four 0805 resistors, well, under your components, because not always there are small trimming resistors and other detalyushki
An even smaller version from Stepan? o_0
I repeated on the original size of the author, for me, it was tedious without a dryer, therefore, slightly increased the size by a few mm in each direction, it is smaller than Daniel's, but more original))
Well-lit, the first time I decided to repeat the same minimalist, not anymore. Stretched a few mm, better now:-) MK rule B-)
Thank You, Basil. I did not order a "bundle" with awkow, and took the ones that were available.
Done )
the buttons are only seen with white plastmasski (China order), and red is not met...
Good idea.
Allow yourself a little grammar, that was beautiful you:
learned the letter D is not needed;
accordingly, the loop, and not the chlef;
well, "to", not what would.
With the field researcher as the author of the scheme a current of 1 ampere well maybe half. You need to measure how much your svetice eats, and for them to pick up other field workers.
Excellent, take note) And here's another question, what current device is? I have such colosing www.drive2.ru/l/7386381/, I want to fasten to it a smooth ignition. I've mastered only LOOT and soldered analog circuits with fieldwork and the capacitor, but I didn't like how they work... Want to begin learning MK)) that was an incentive)
Oh, a normal variant, if it is clear will explain how to put it, I will not refuse!)
Vadikkk
I feel not far off that day when my mascara for the second time to visit you go )) on outsizing )) and then have too many of these became my ))
Vadim, you bear the burden and the legislator Vadikkk style :)
Easier to send a new module, and to tidy himself will establish. It remains only on your test and write the manual :)
Yes )) I Think this time tune what is in our priborchik will become obsolete quite. will have to upgrade to do ))
I feel not far off that day when my mascara for the second time to visit you go )) on outsizing )) and then have too many of these became my ))
From Stepan Pavlovich is a detailed connection diagram. You need to find the right contacts and solder.
Control minus!
Cool, do this to make friends with the machine. I have all lighting on the likeness of printed circuit boards and all this in a huge plait of wires through the plume goes.
And I today since morning have scratched the whole torpedo and panel... contact ska lost to the speakers. already knew where. conductive to treat will. I've got a million wires vasche kapets. Lech probably need to call so I threw all not needed... well I have there's navigate aerial units and other equipment not needed japoniska loose.
Ehh the fuses, the fuses, indulged in his time with ATmega. Not bad firmware (not only compiled) and model boards to could each customize yourself.
I was worn out the other day with the same adapter. Pierced too тини13. Is not an infection though you burst, it gives constantly error. Programmer USBASP, work. The connection rang a hundred times and convinced it is correct, but still error. While Tinka was stuck a soldering iron from both sides, as well as in programming firmly pressed to the Board.
So in the end, prochilus, the problem was just in a bad compression to a track adapter.
Hi, can you tell me recorded in the flash hex file, fuses put ff where C was Pressed and put bodlevel1 bottom stdisble in sinaprog 2.1 seems to have recorded all, stopped to see MK in the scheme soldered doesn't work, maybe something wrong done?