Light tuning Crown Premium - Toyota Corona, 1.8 L, 1996
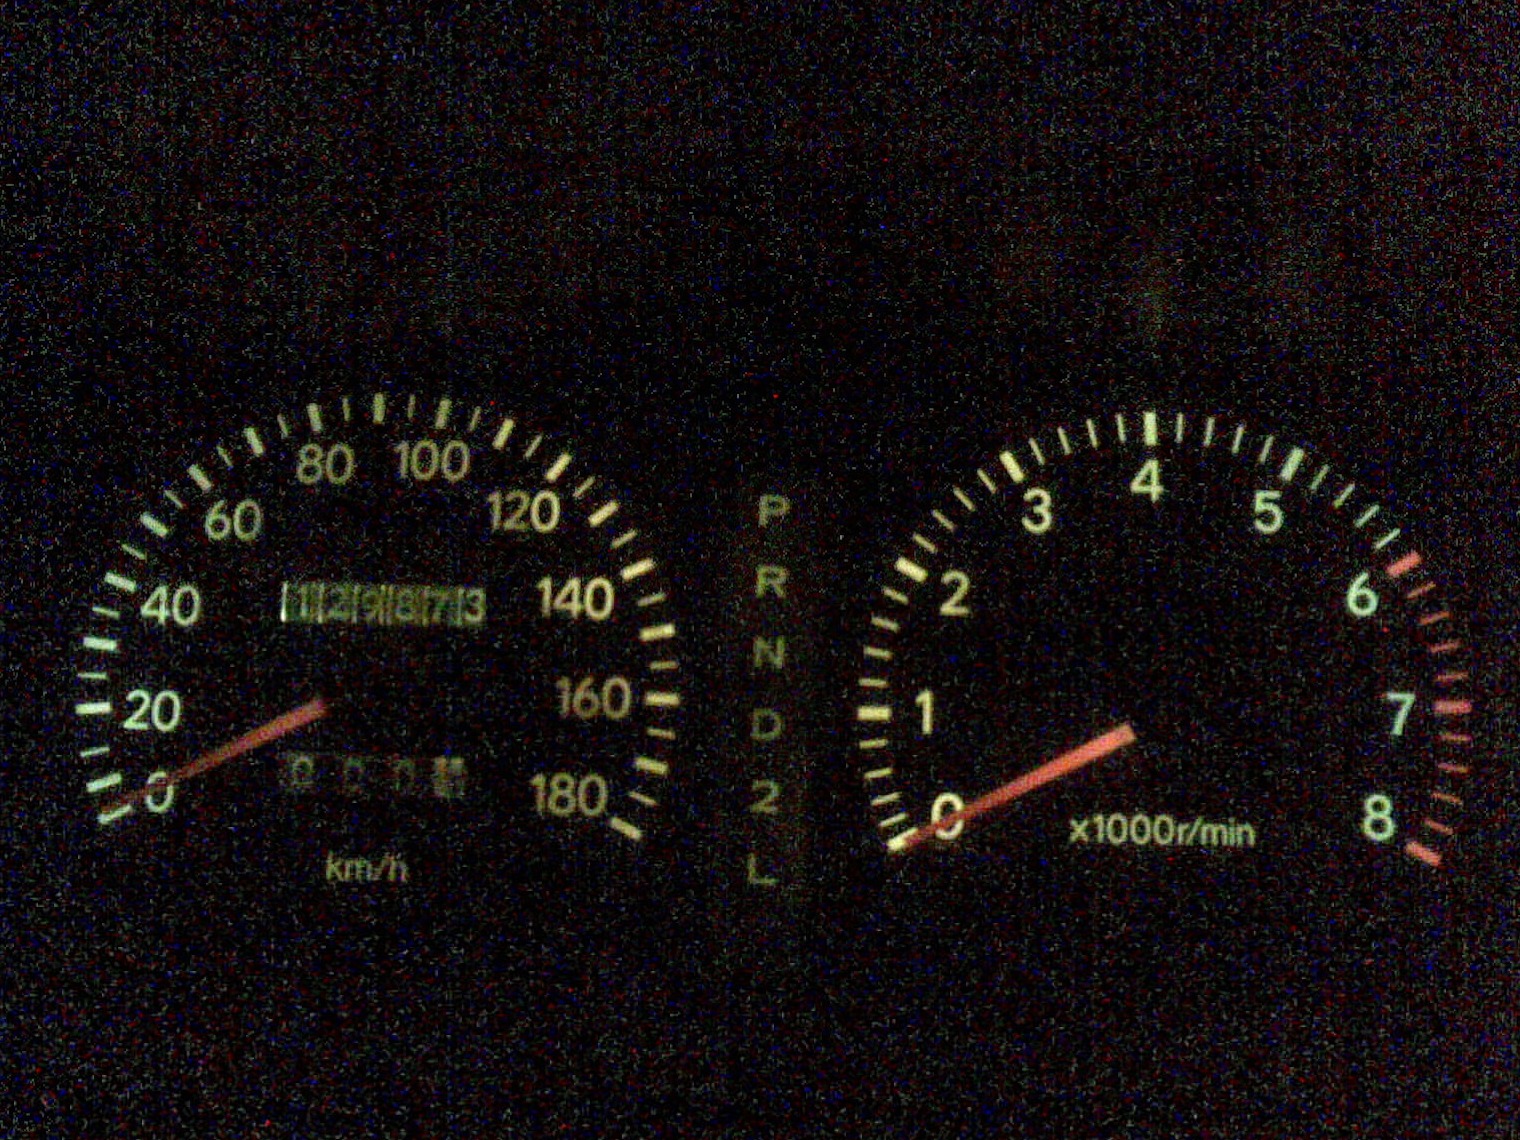
I am posting pictures of the works made by me during the time of owning a car ...
Photos before and after ...
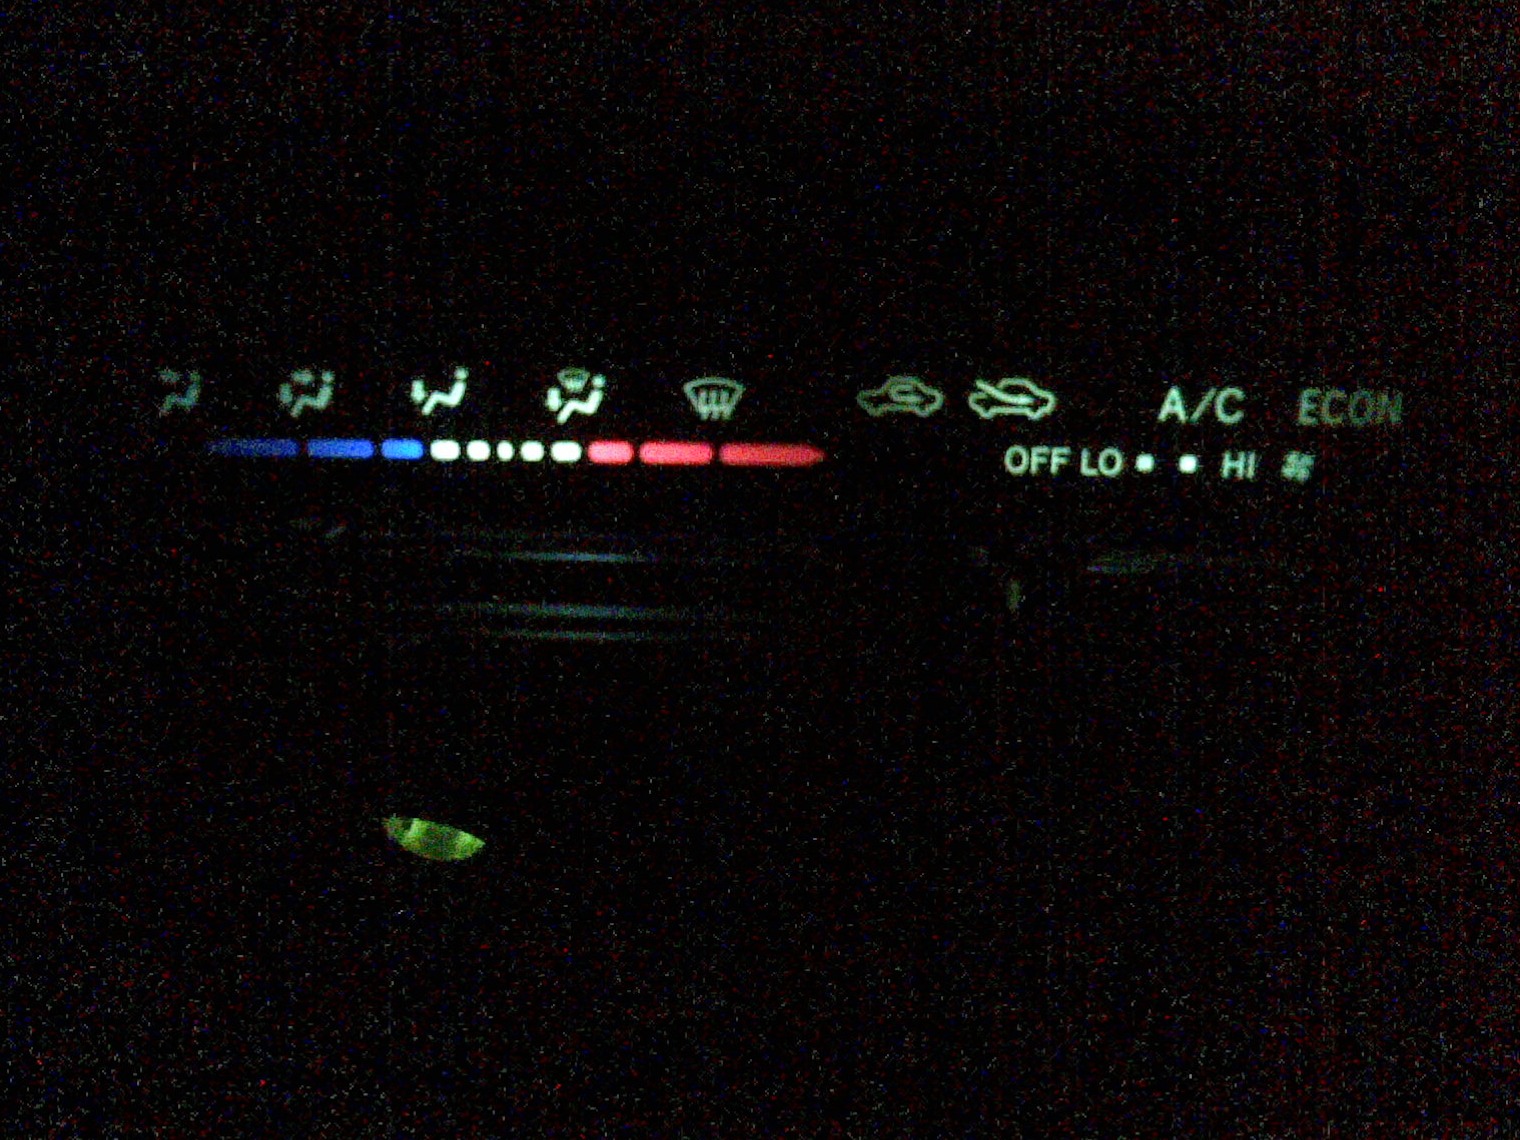
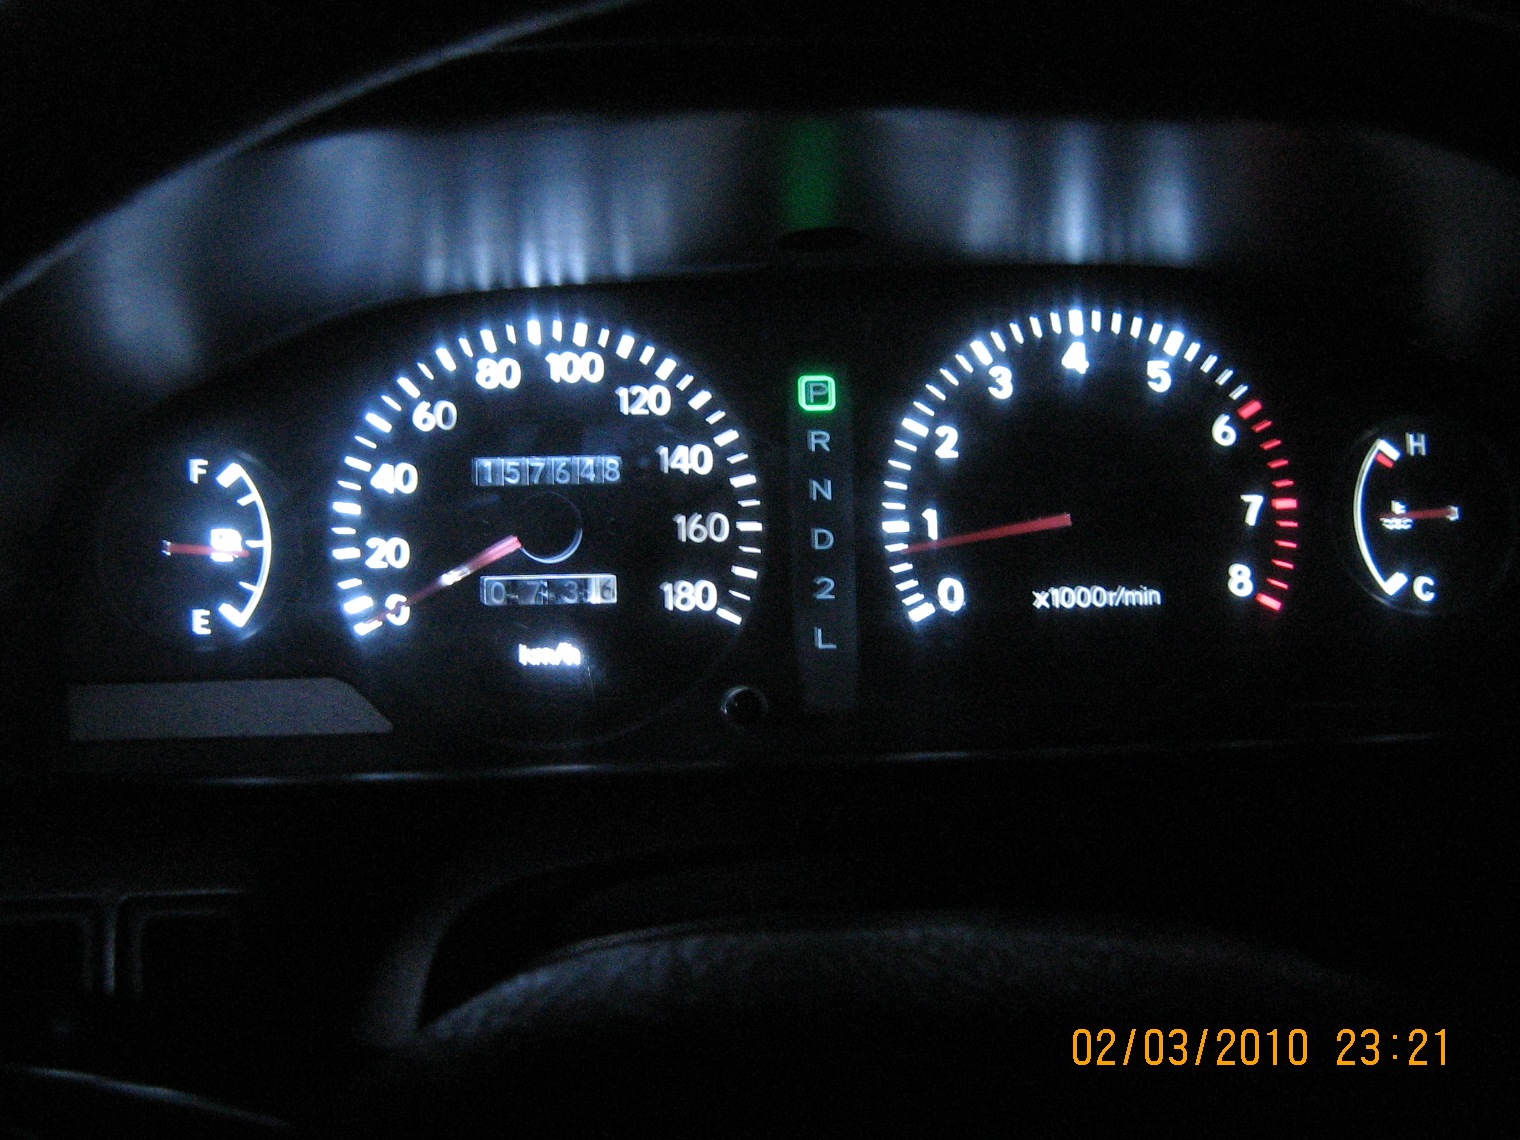
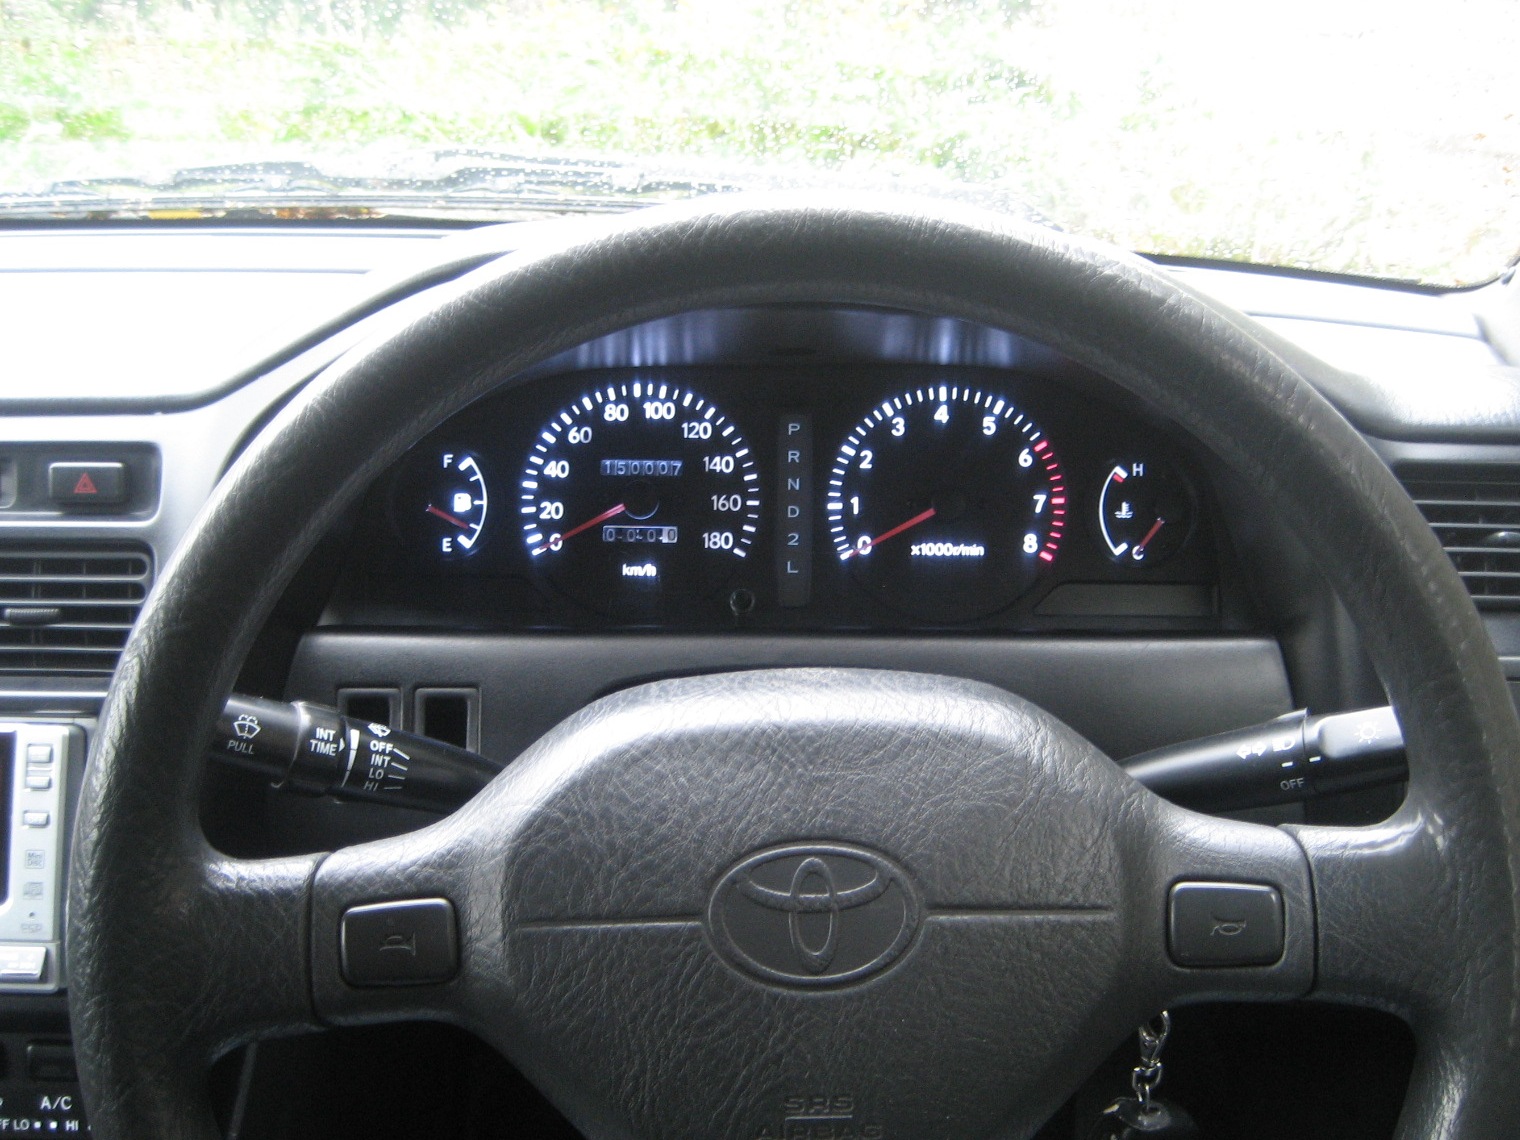
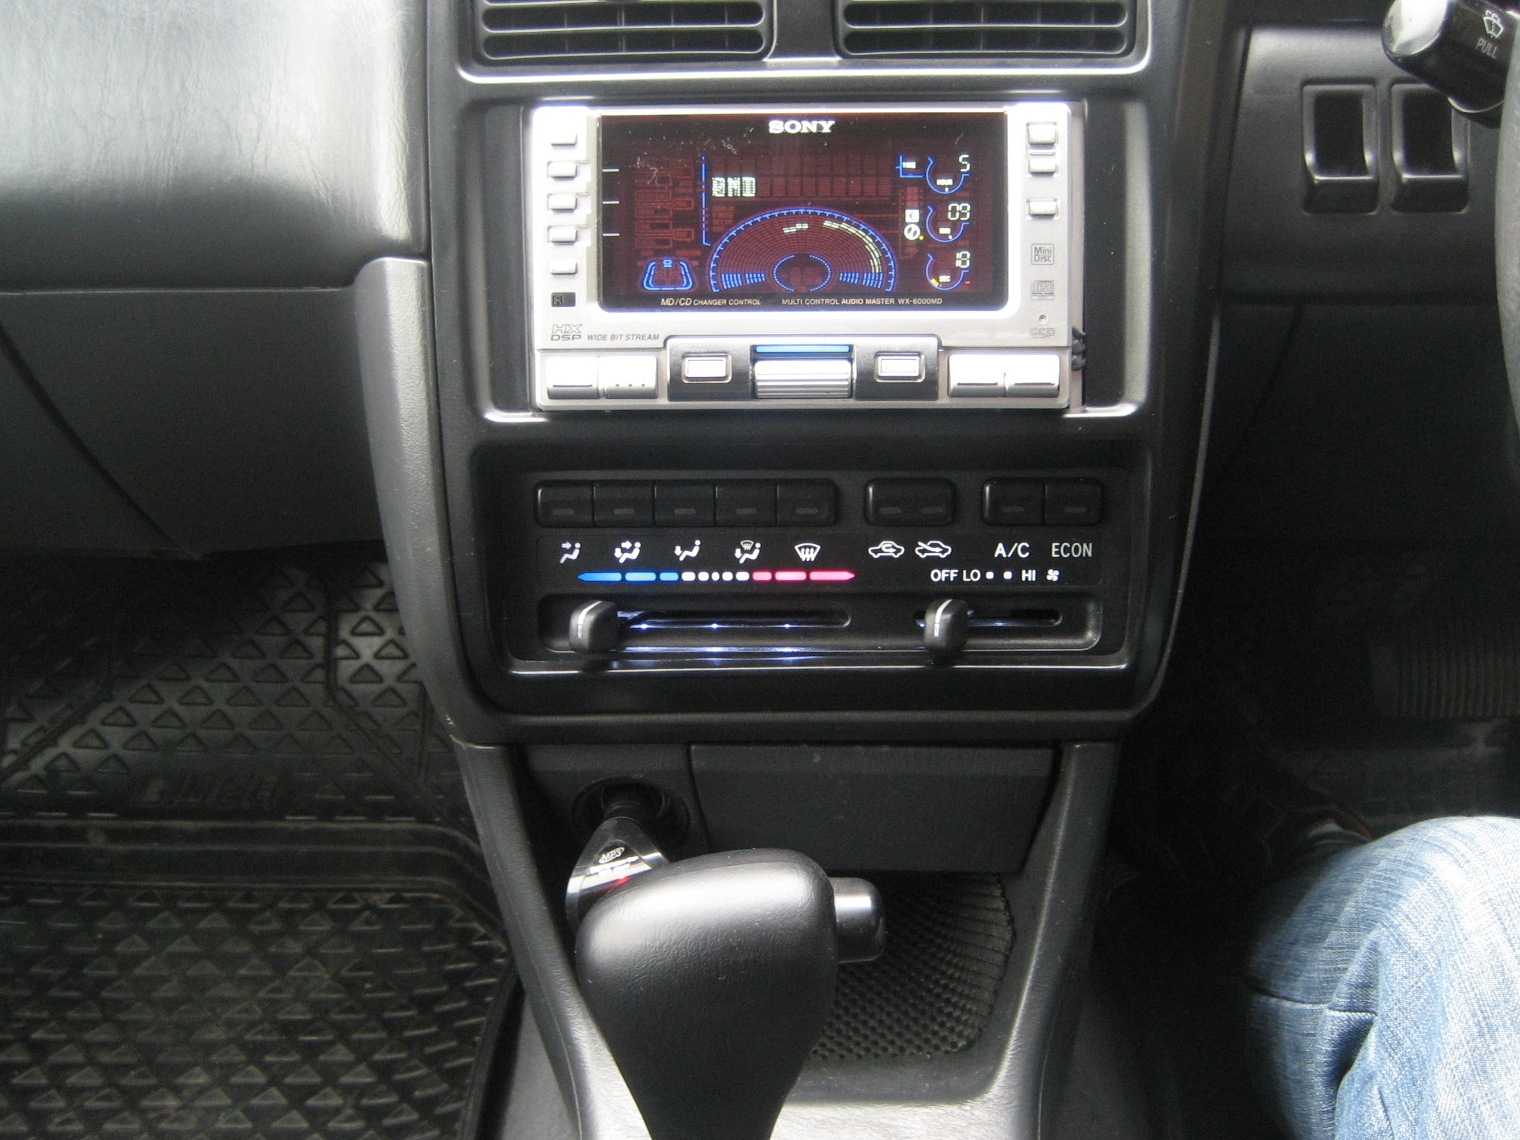
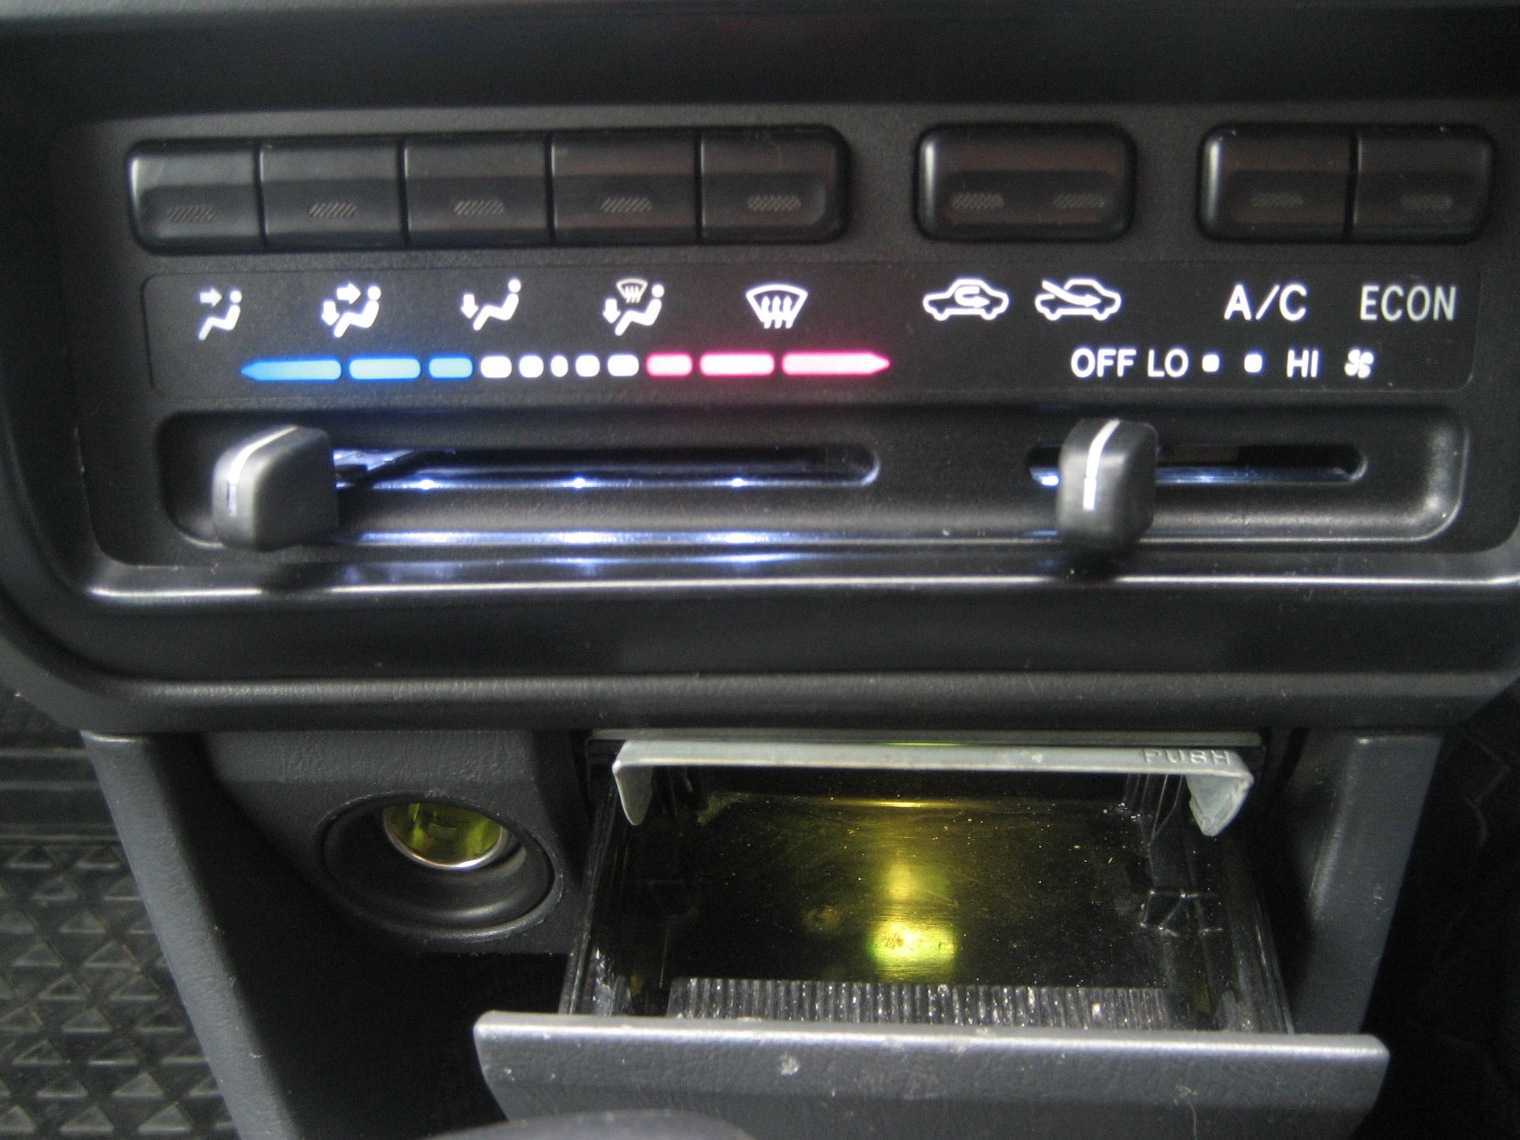
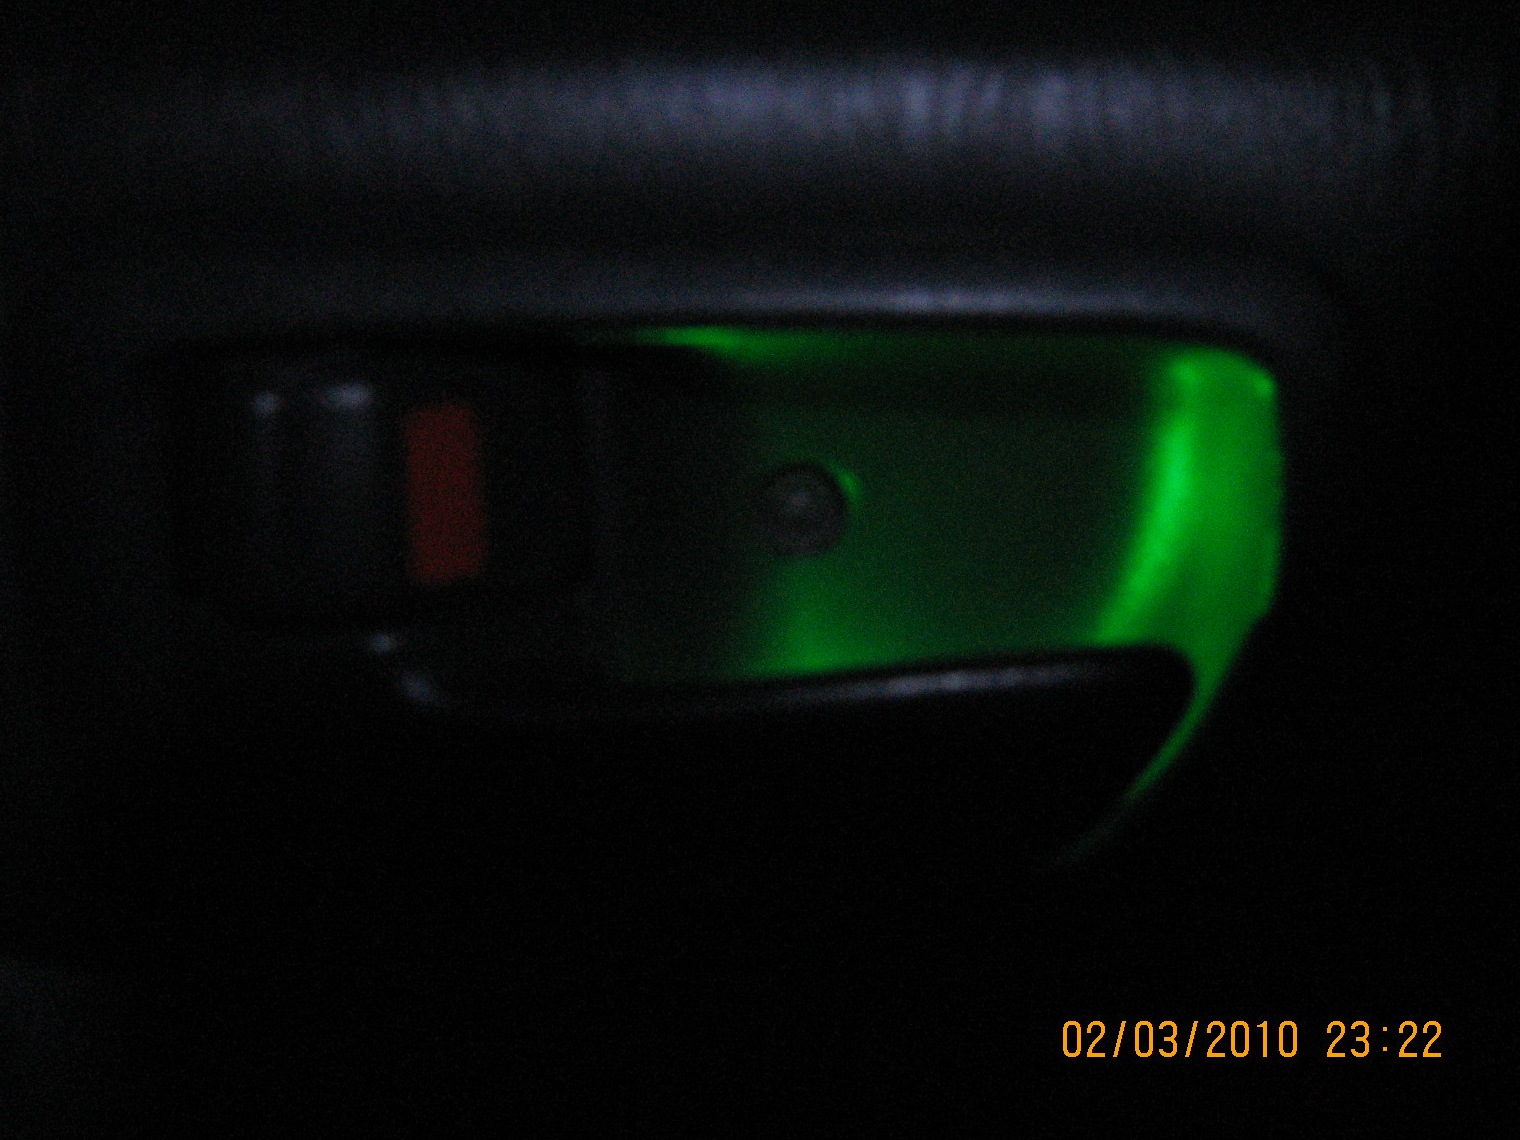
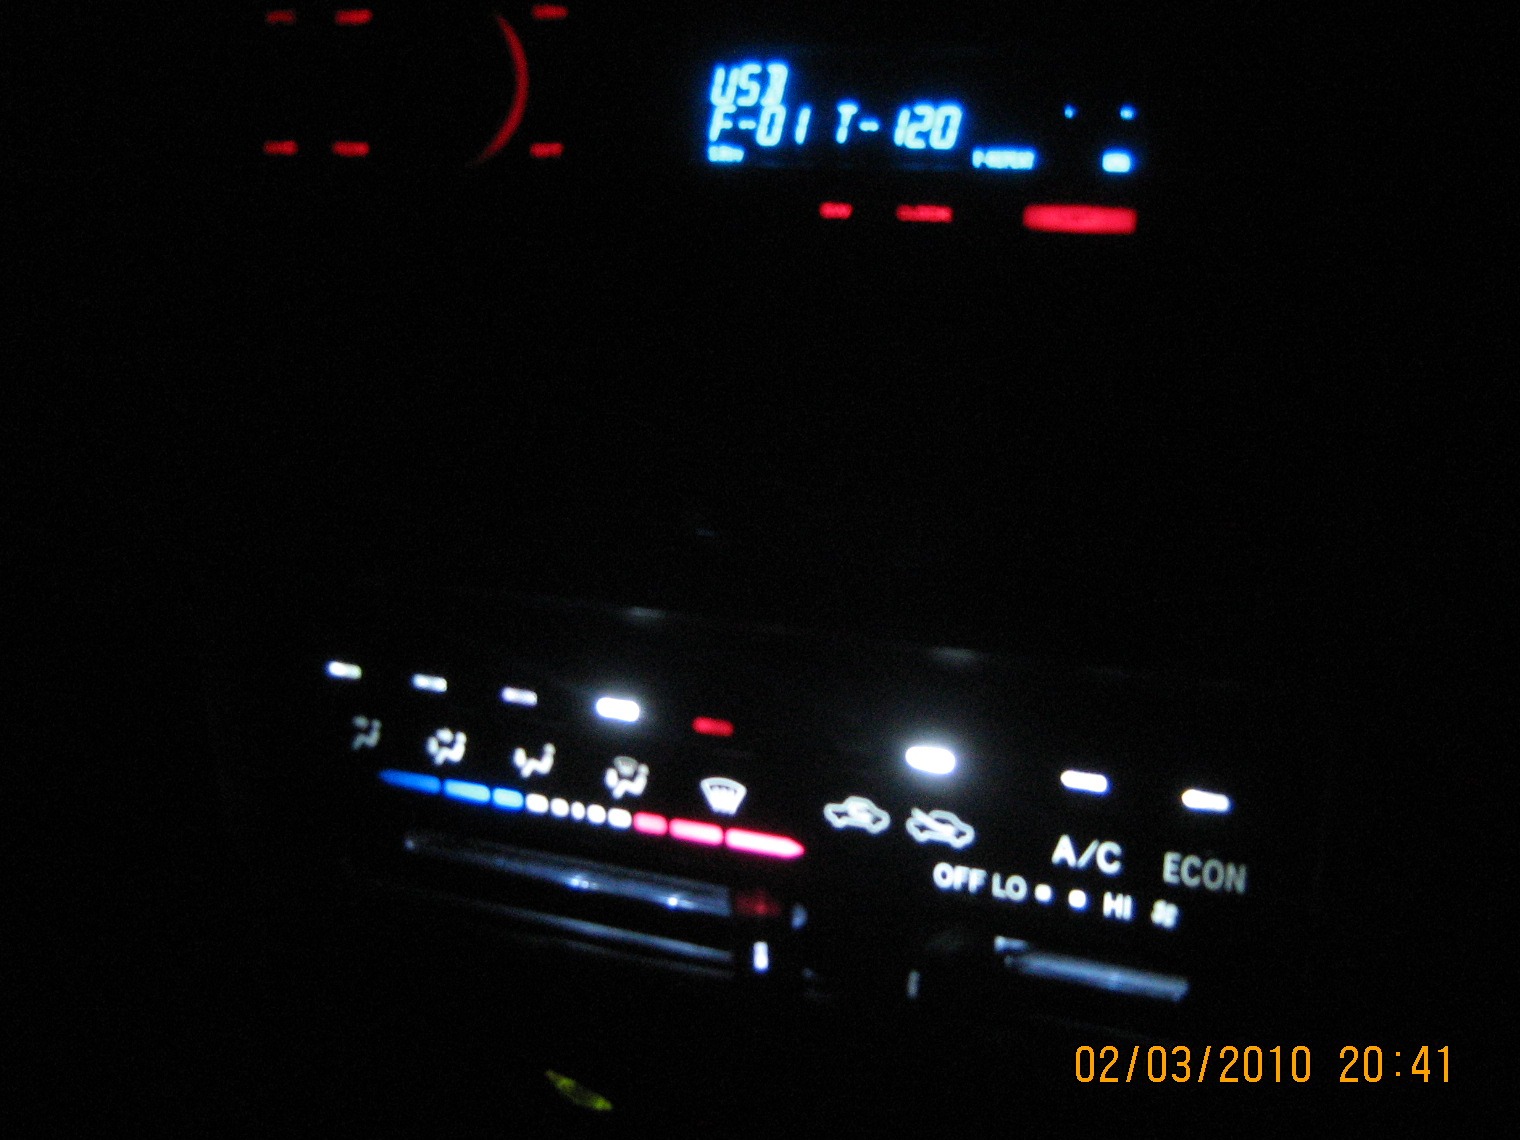
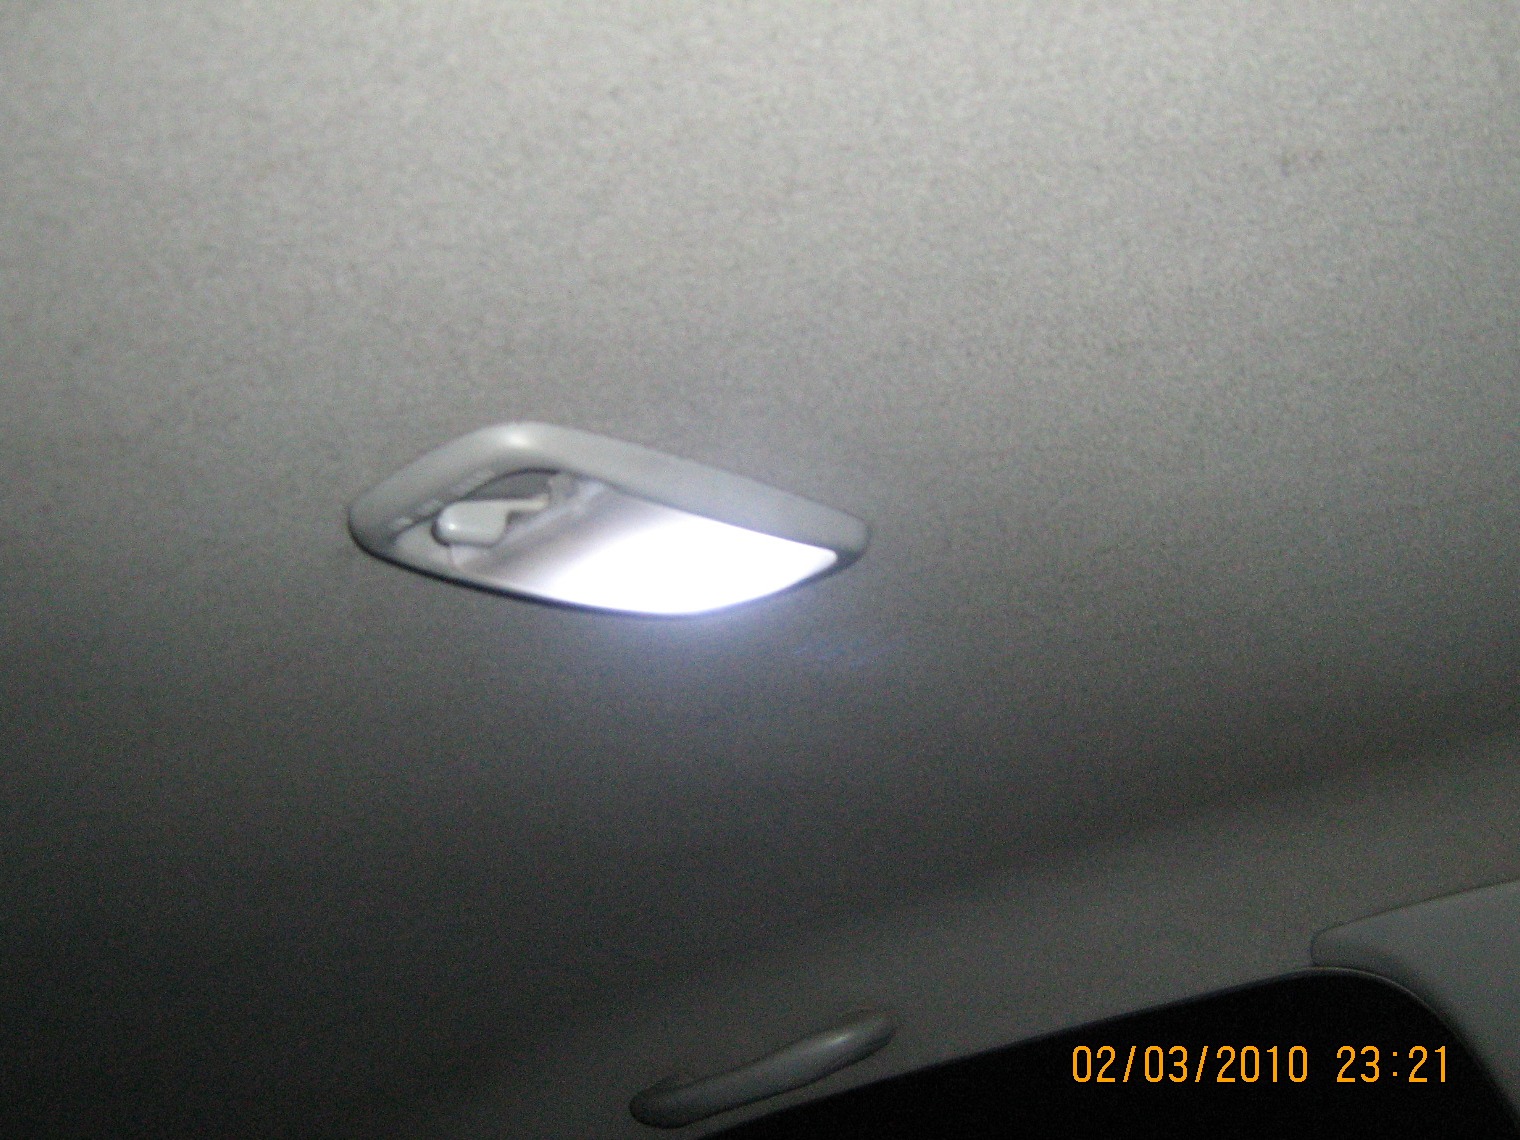
Now, if only the arrows were to be highlighted, I think it would look better than the optitron ... In general, I liked it anyway)))
Thank you!
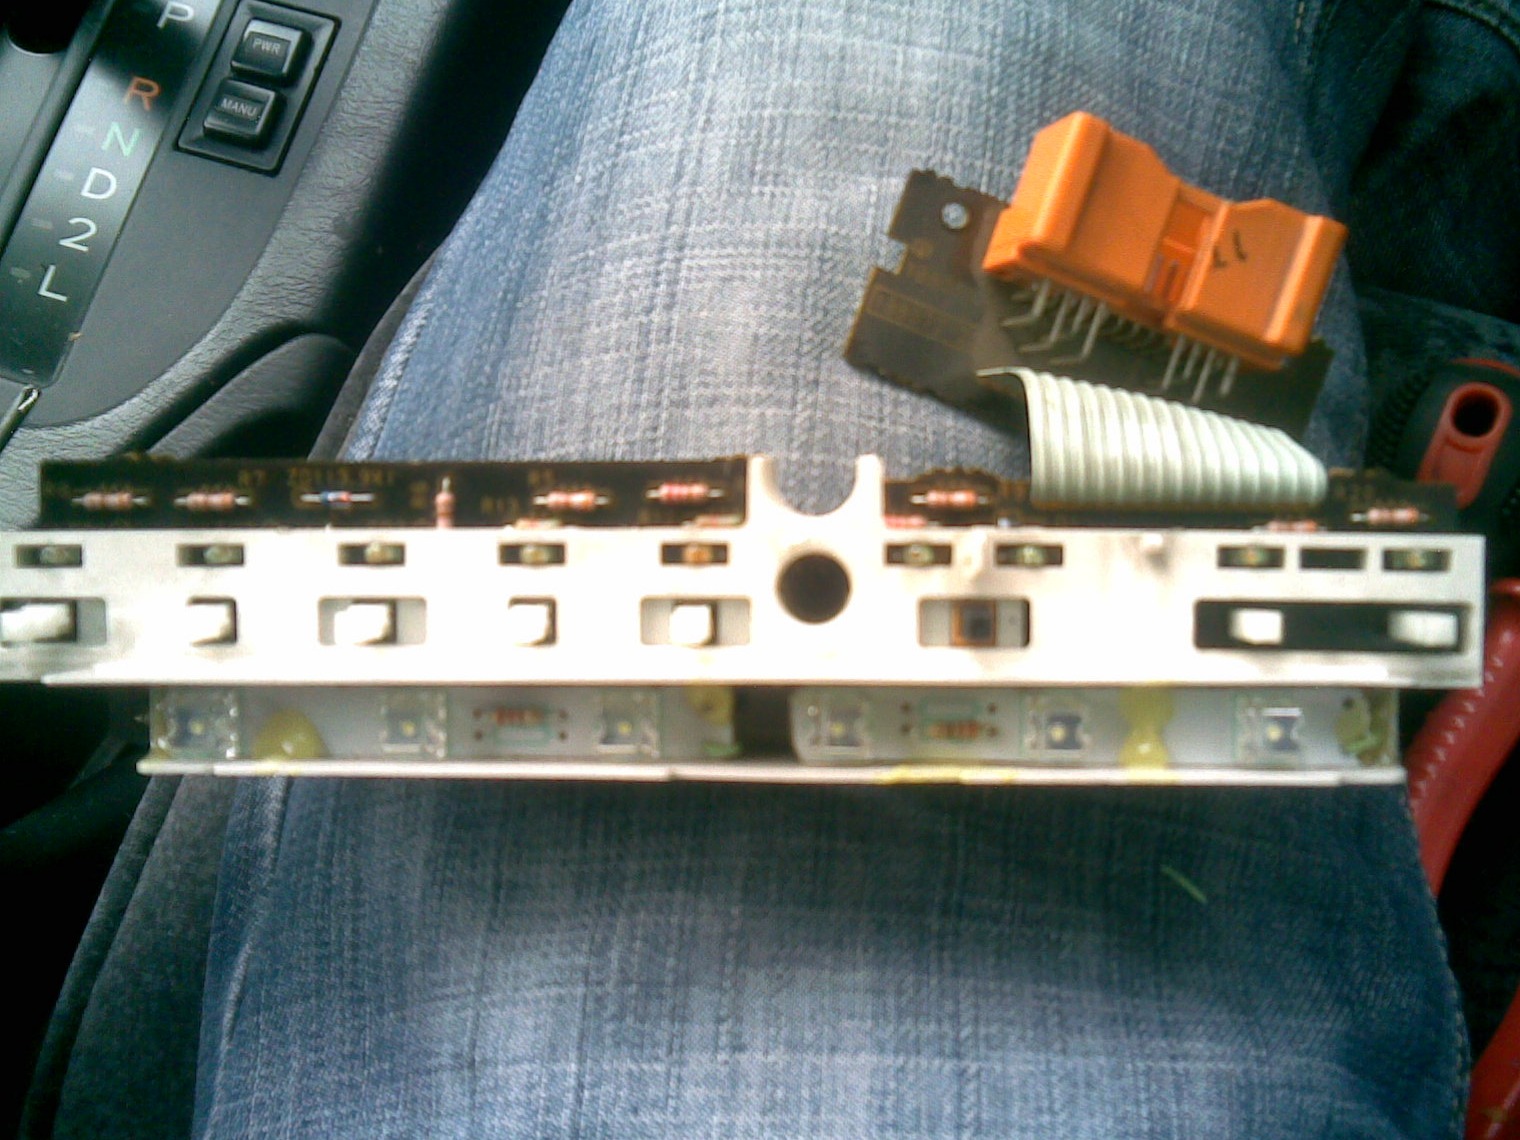
And what diodes to use, where and how much to put them - at your discretion, after disassembling the dashboard, everything becomes clear - there is not so much space there. Somewhere I undermined the modules, somewhere I installed them without alterations, power supply using a plastic base - so if anything can be replaced with ordinary lamps. But as practice shows, you won't want to))
Oh, and I also cleaned the silk-screen printing under the dials with fine sandpaper.
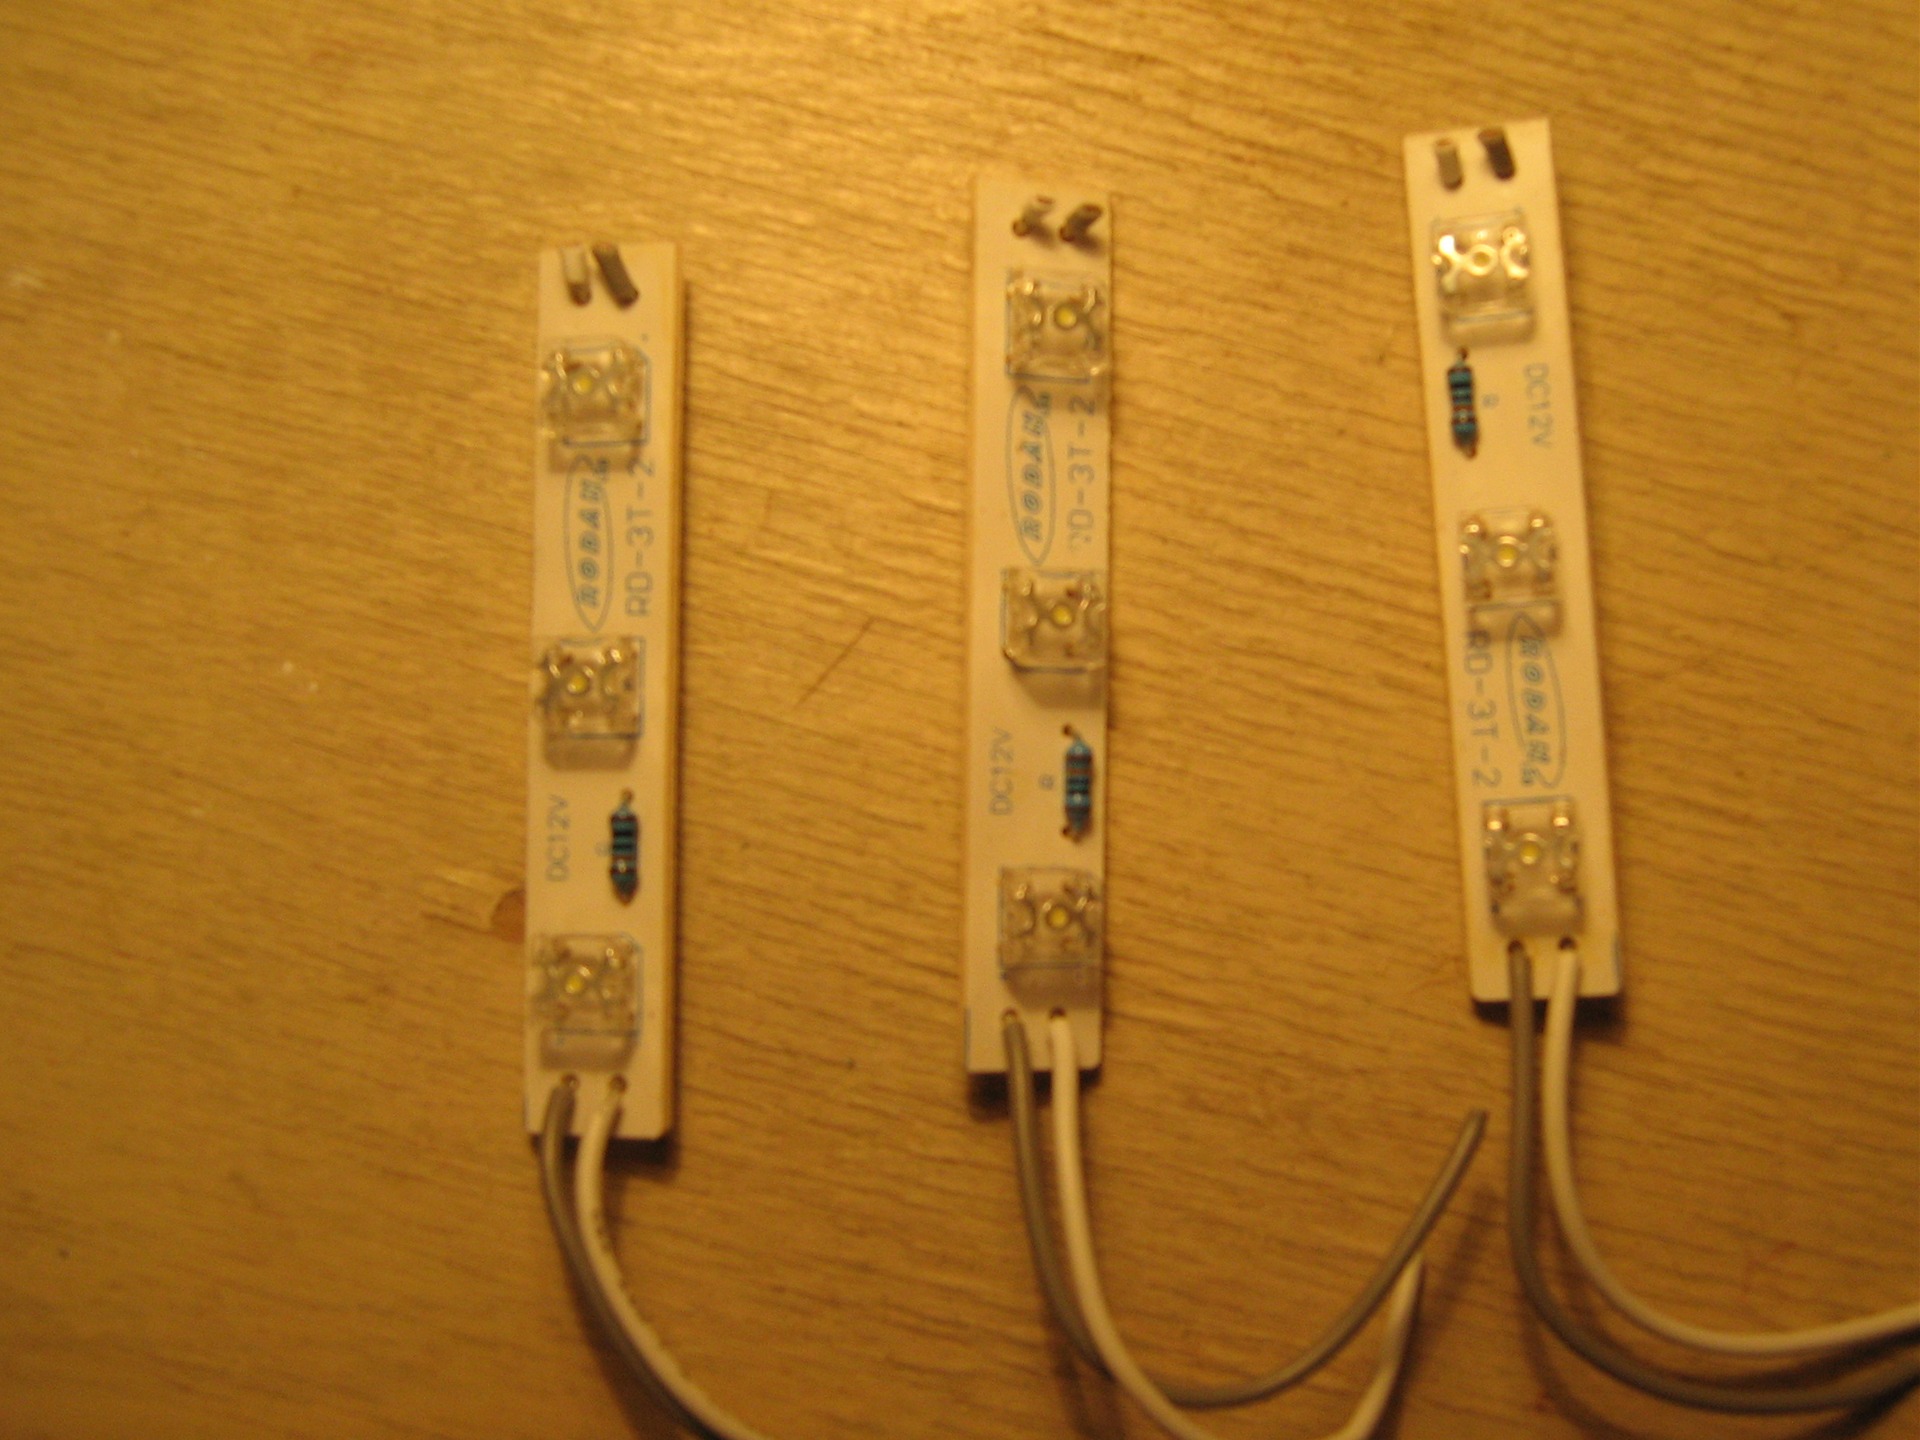
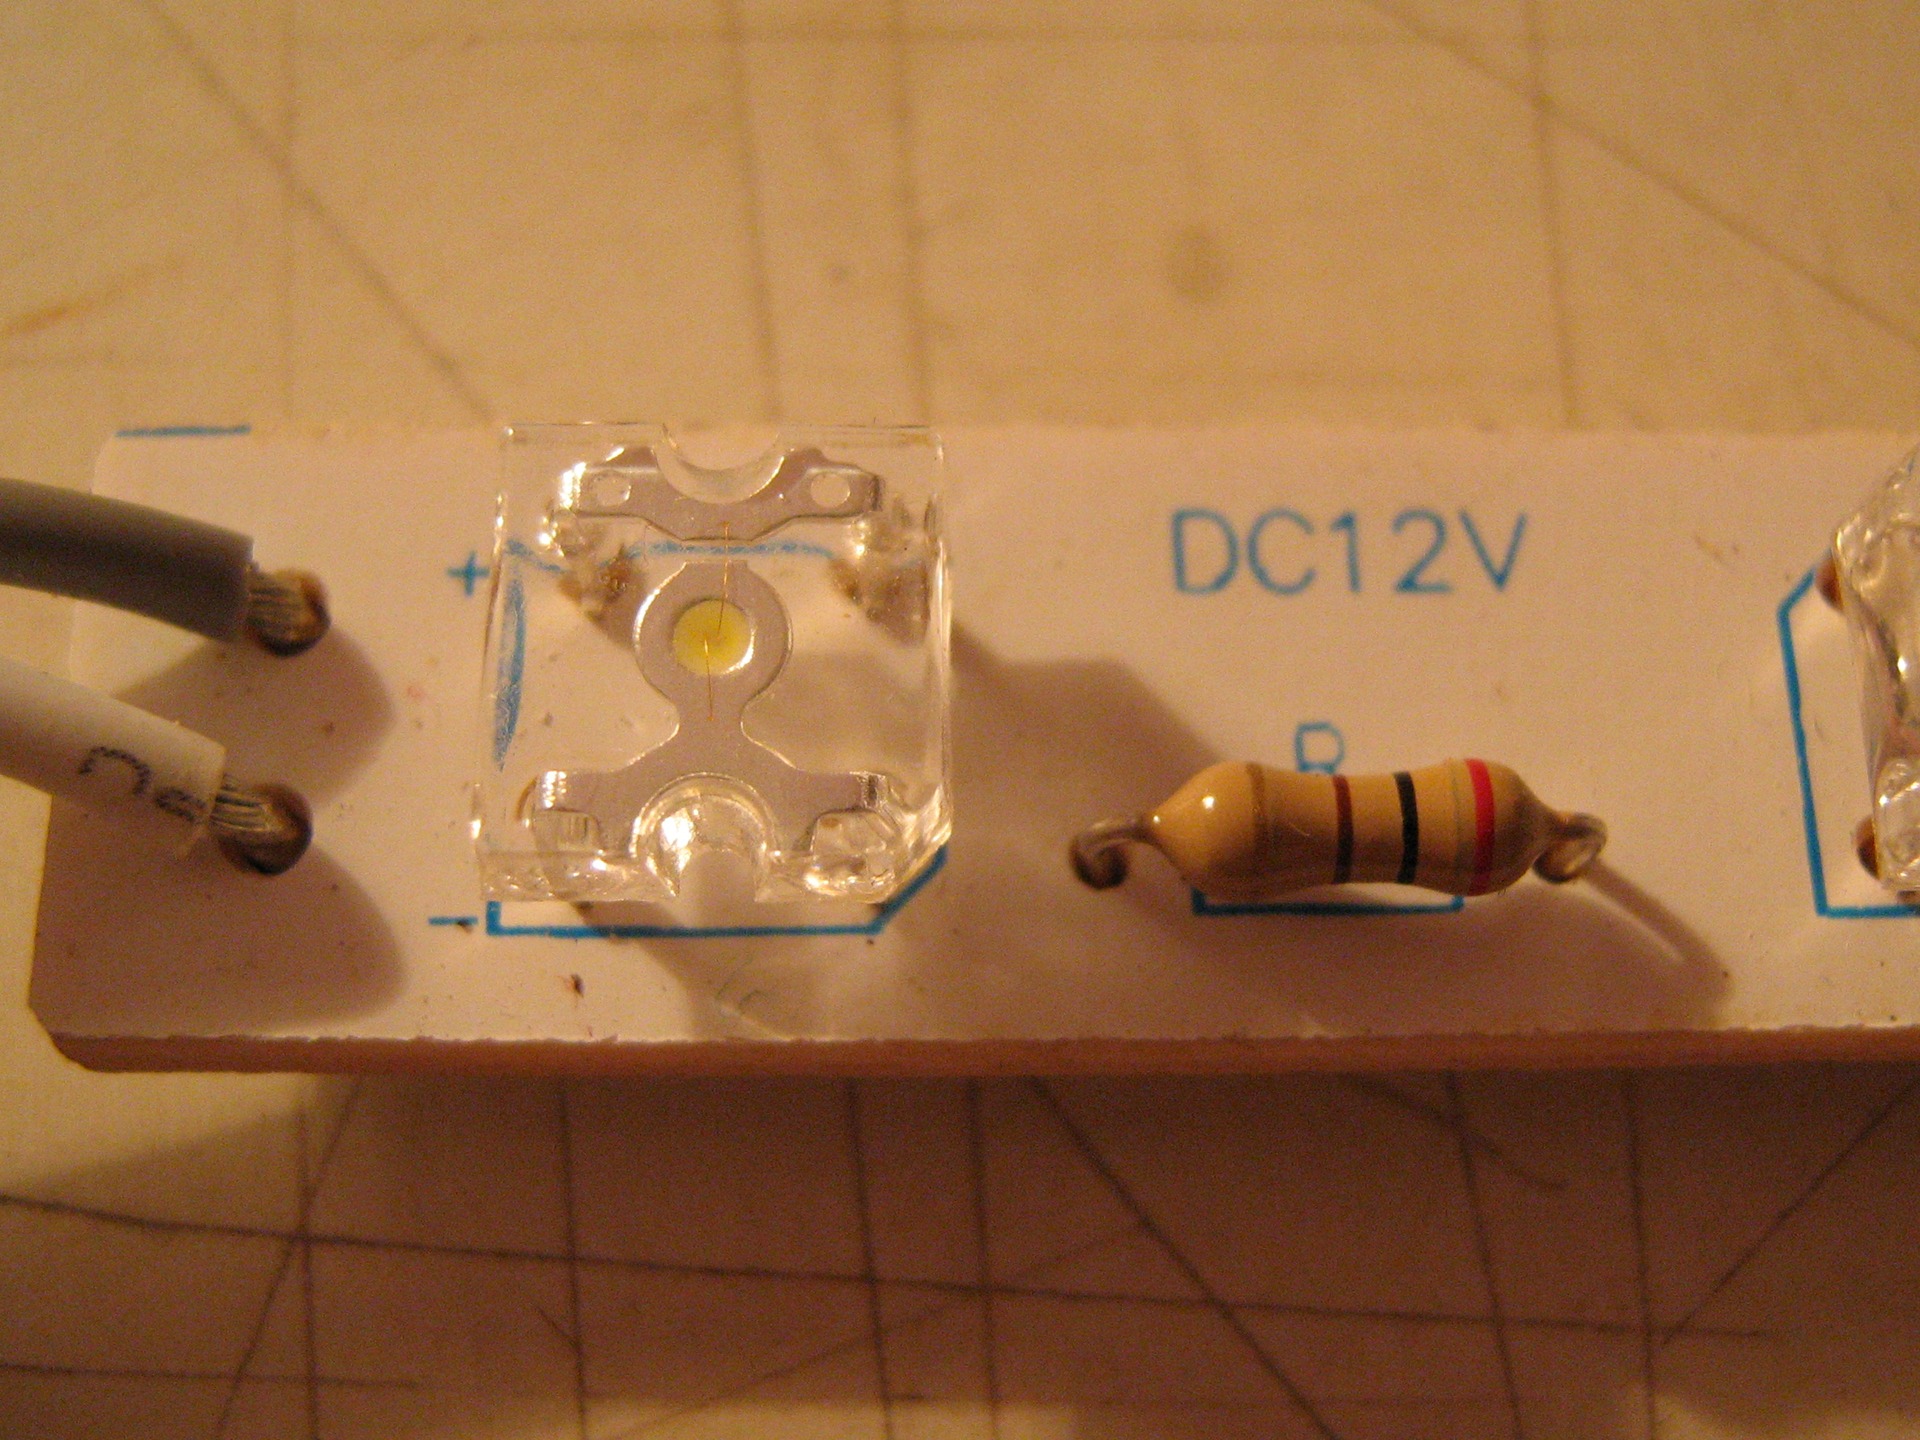
I took 12 modules of three diodes in the tidy itself, that is, 36 diodes in general.
Class!
It's not very clear what was inserted where to in the dashboard, but I don't care! :))
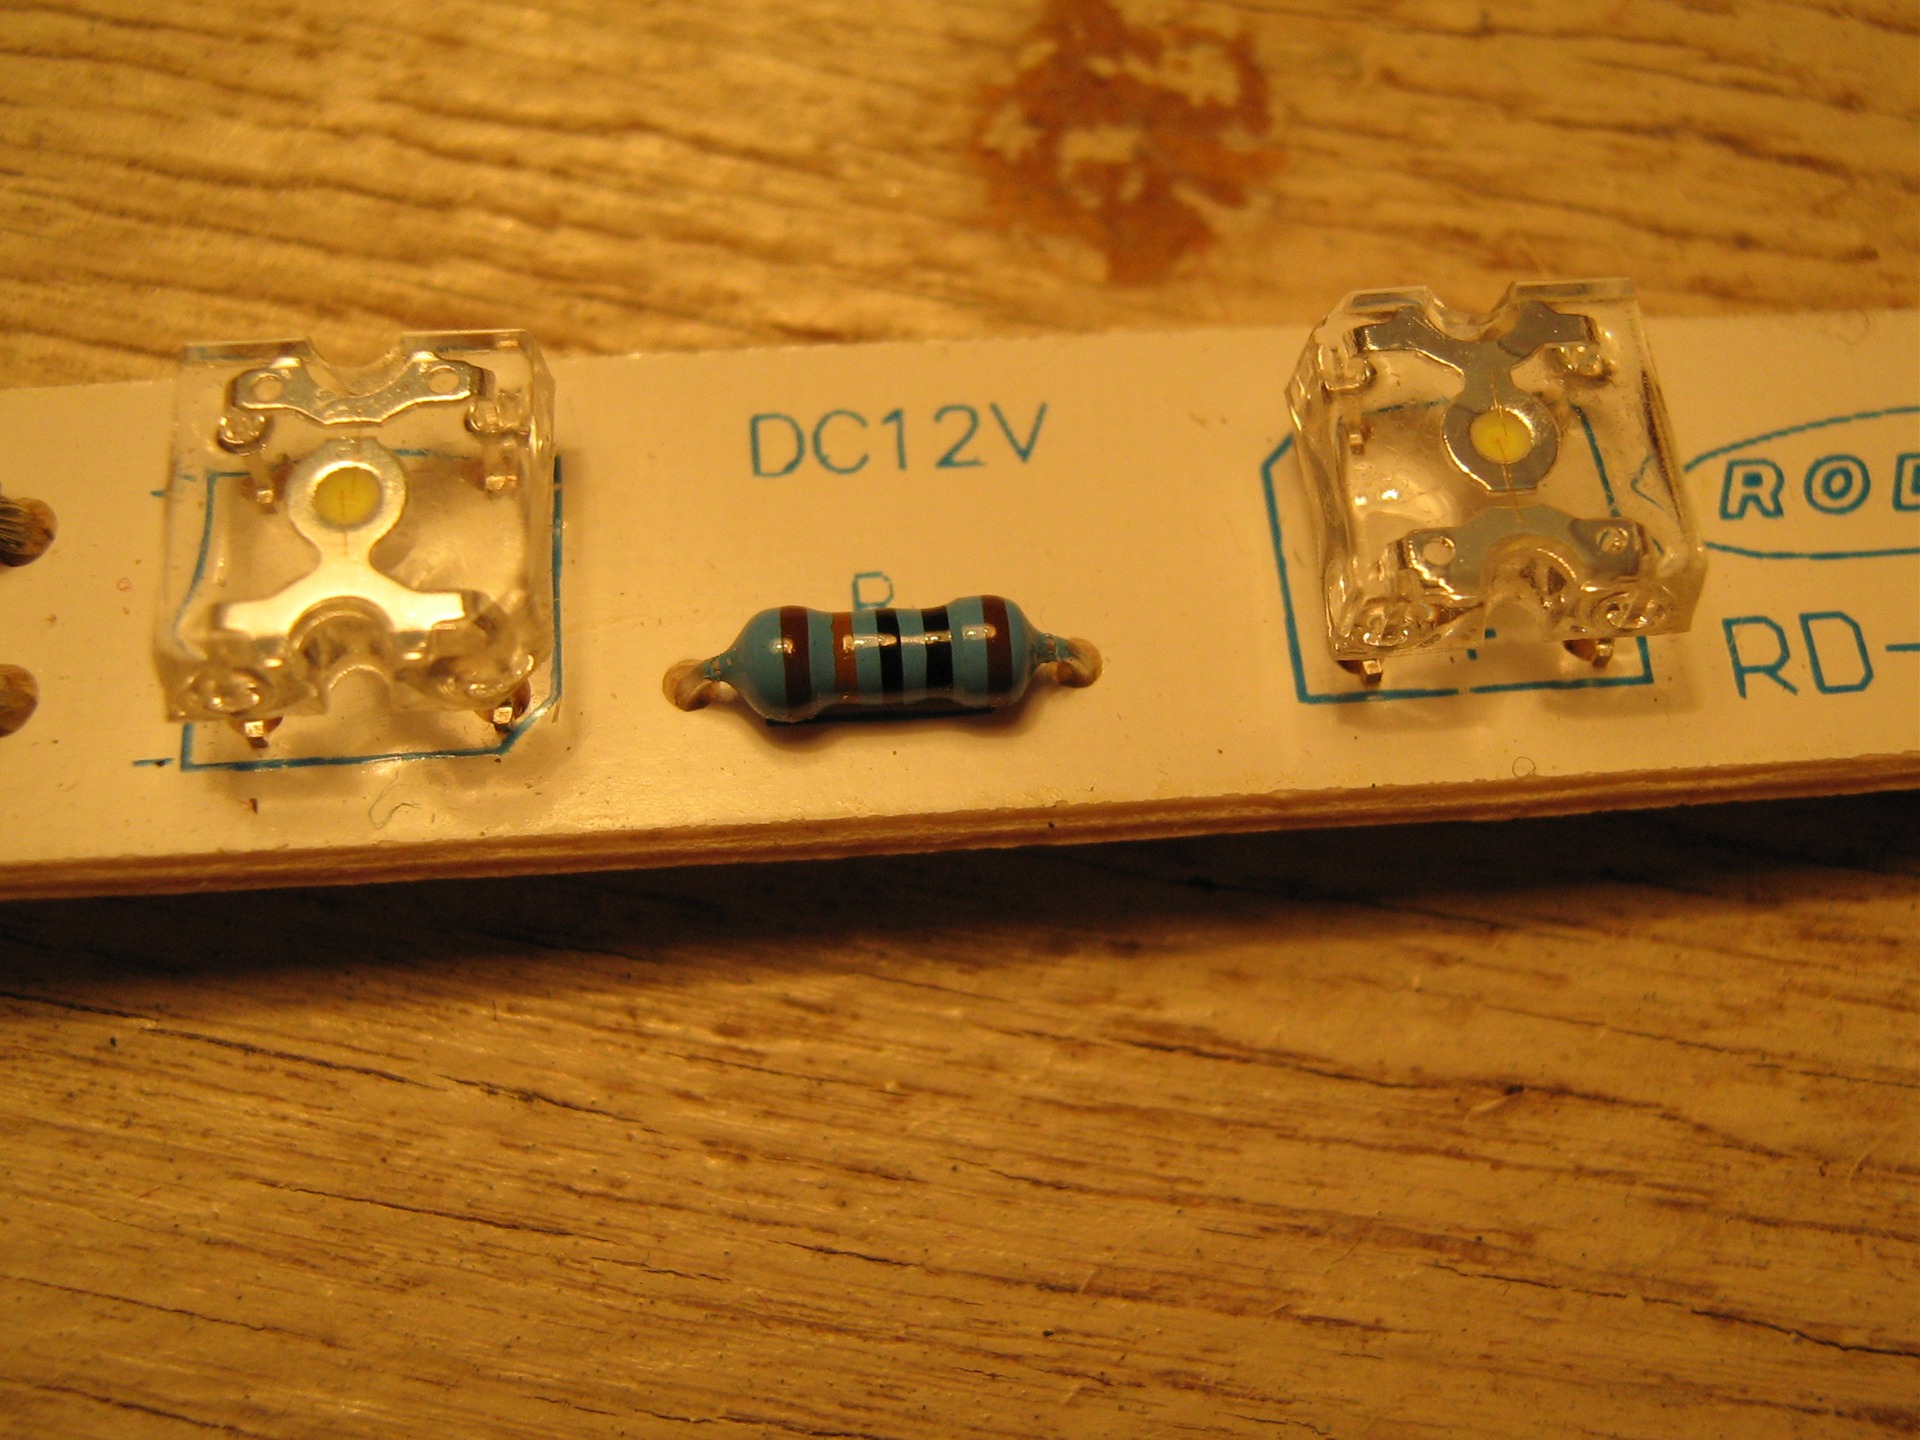
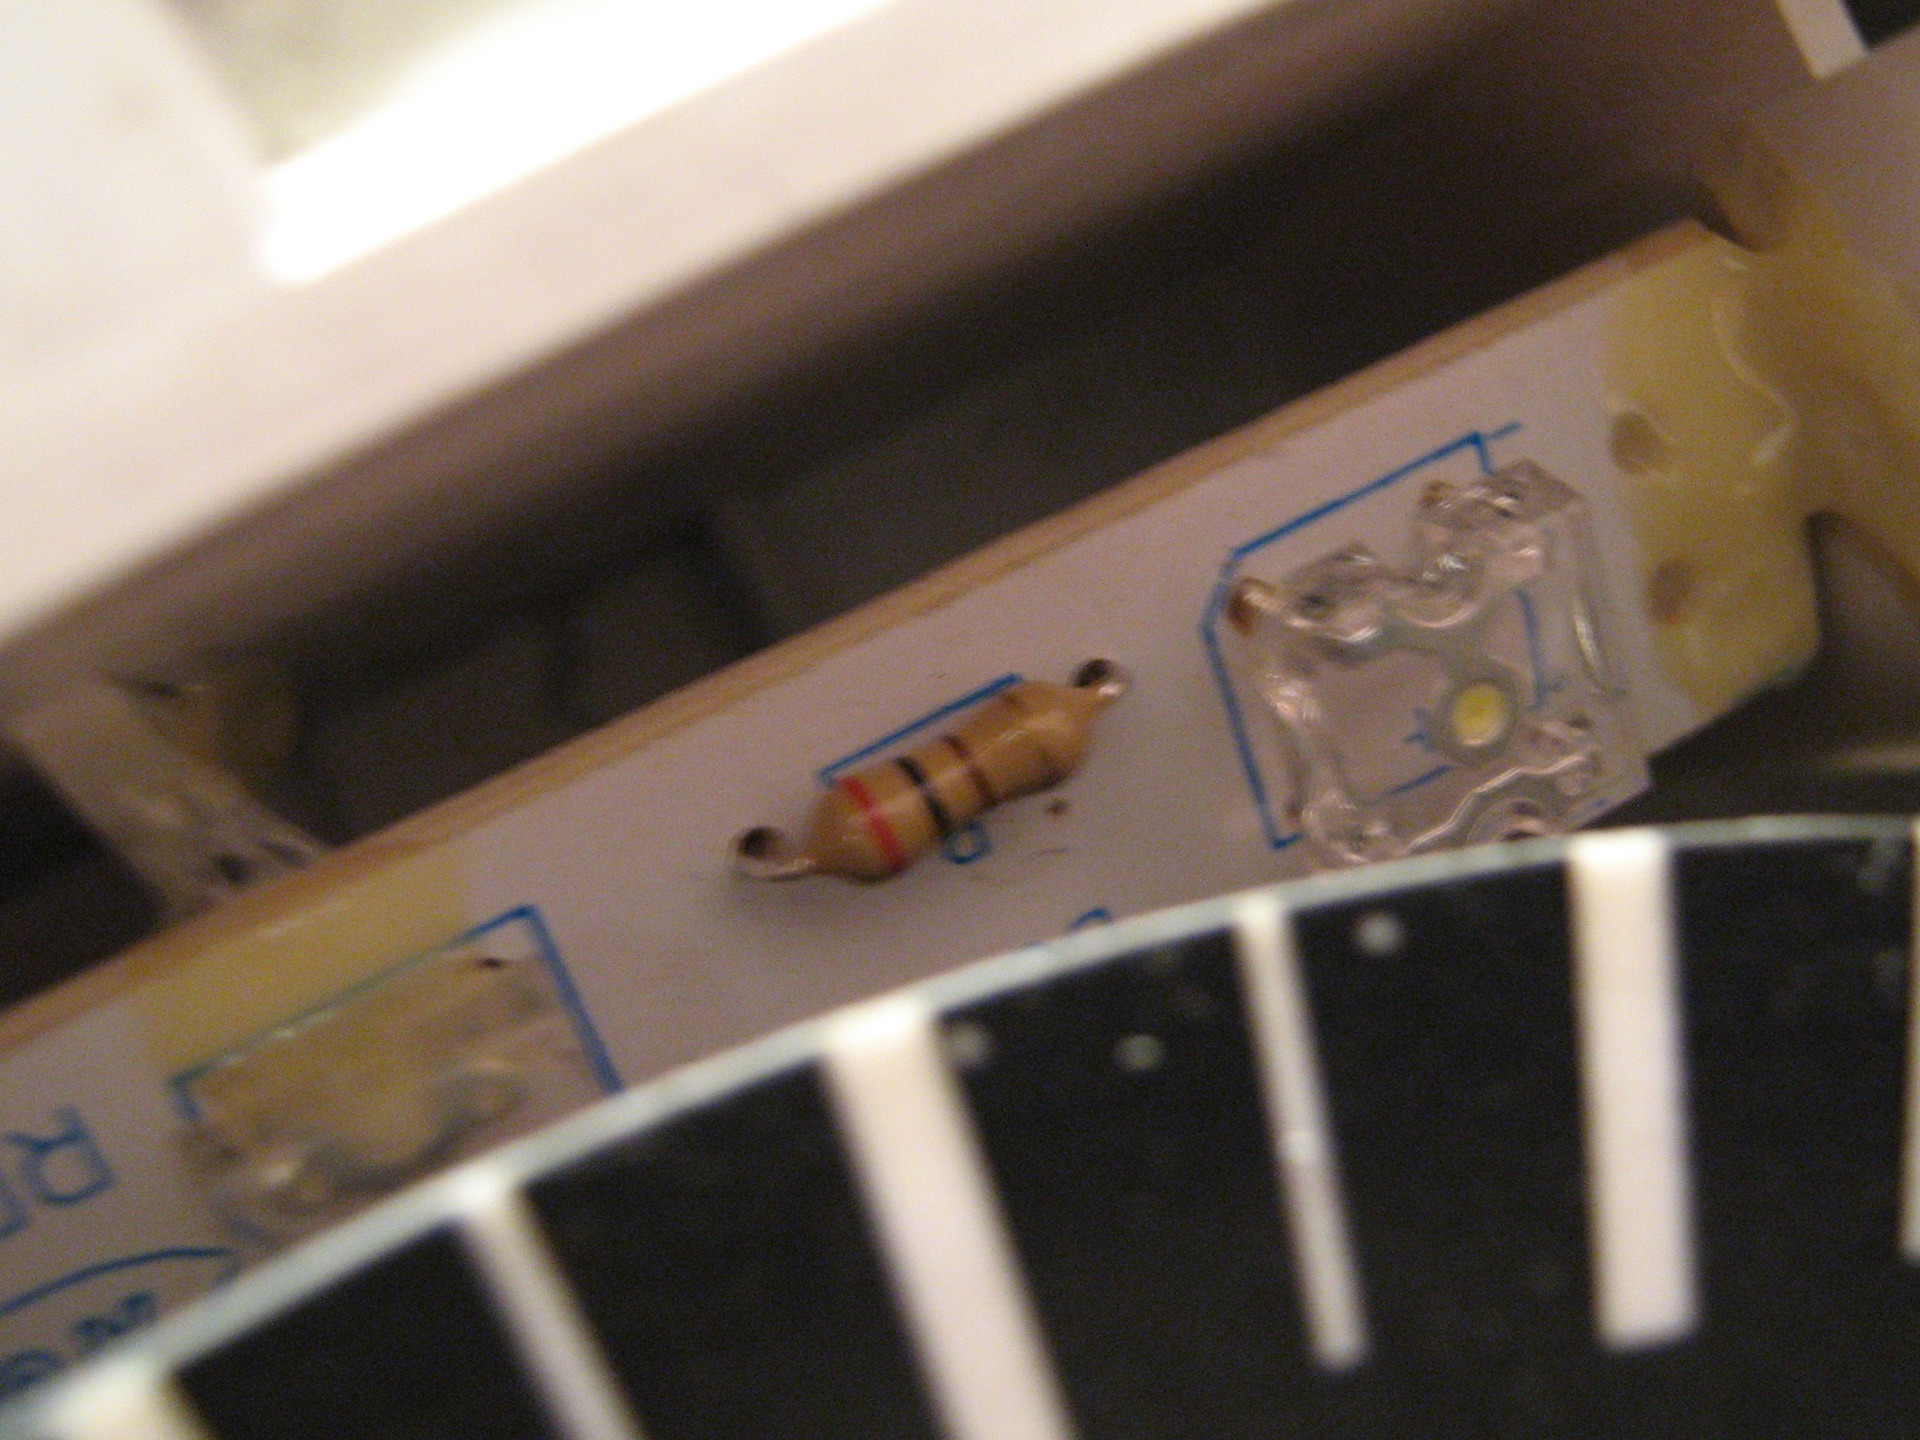
In radio stores, you can buy diodes separately (I have 5mm diameter buttons on them) cost about 10-12 rubles apiece, and those that were used to illuminate the device - that is, I ordered LED modules of 3 diodes from Almaty in an advertising office, they were then 35 rubles per module.
Now, in any city where there is an advertising agency, you can buy a variety of modules of different configurations and colors. Sometimes you don't even need to re-solder anything and adjust it ...
My friend, where can you buy such diodes and why do they come out for the price?
There was no brightness control both on the standard panel and on the LED backlight ... With 220 ohm resistors, the backlight did not bother me at all at night. Although I only drove around the city, maybe on long country roads, adjustment is still needed ... This is optional - it is very easy to do it, if necessary.
Can you describe it in more detail?
What materials?
Where did you connect?
I really want to do it myself!
At the time when I was doing my own tidying, it was 2008 ... In those years, we in Ust-Kamenogorsk did not have much to choose from. I had to use diodes bought through a friend who brought them to himself from Almaty, and those were the remains.
But now, there are a bunch of options, and the material is easy to find, you can even muddle up the multicolor tidy with ease) In my opinion, the easiest, and most importantly, method that gives a uniform glow today, is the use of an LED strip with a side glow. It is very convenient, you can easily lay it inside the panel, but how to fix it there is up to your choice. If it shines with strong bright spots on the tidy, then you can use disposable plastic white plates to scatter, which will play the role of a diffuser. (I haven't tried it myself, but they speak well) And it is better to remove silk-screen printing from scales, then the color turns out to be white. It is better to take LEDs with a cold white glow.
One could also do something with the arrows, but since there is no car now and the thrust is gone to experiment ...
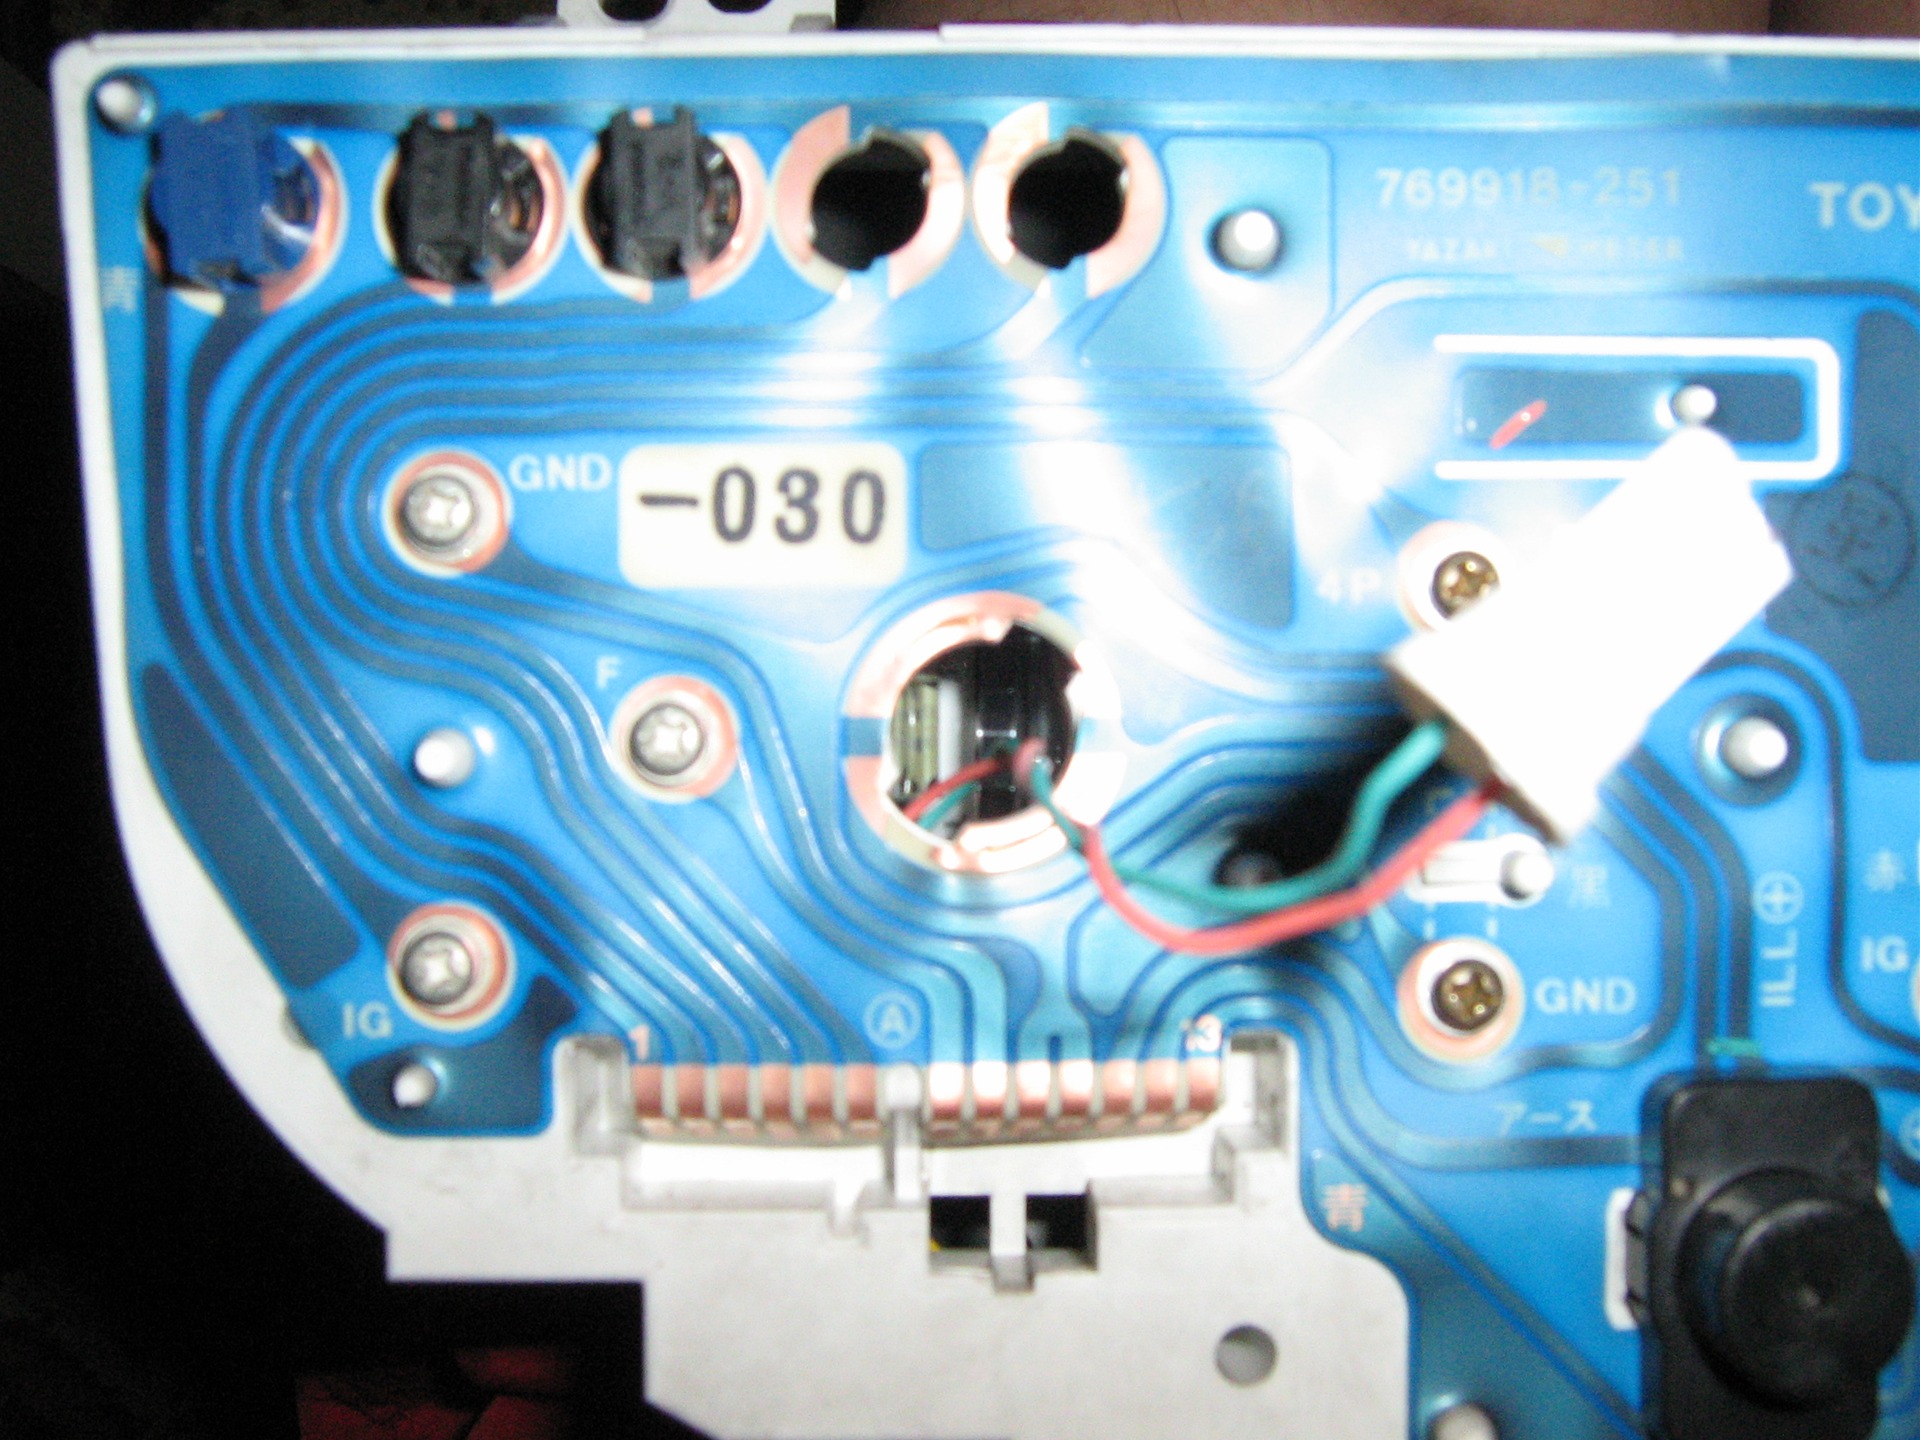
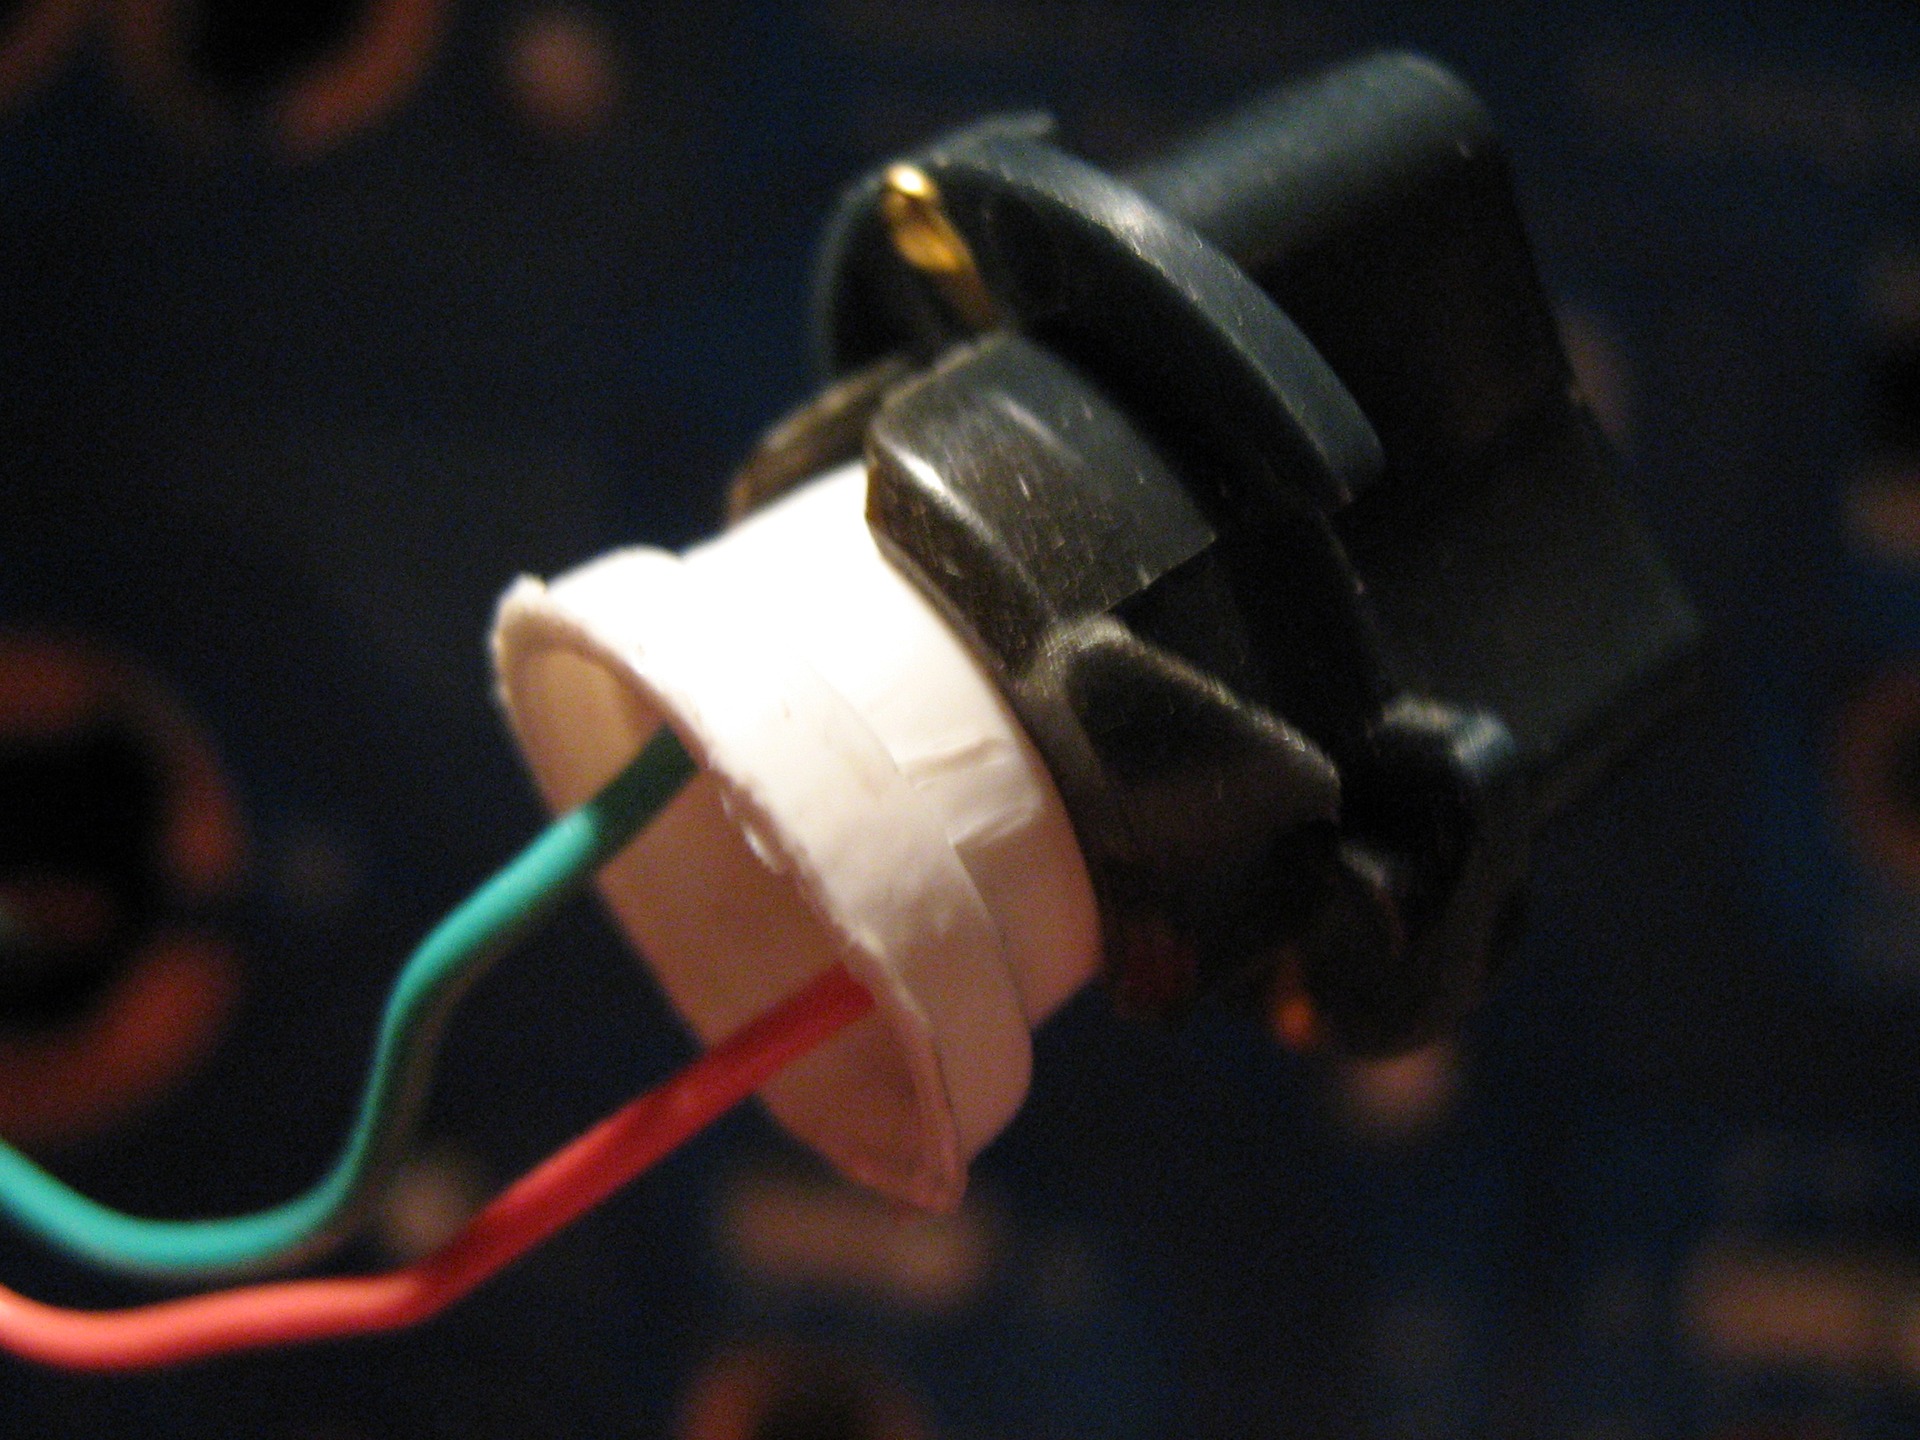
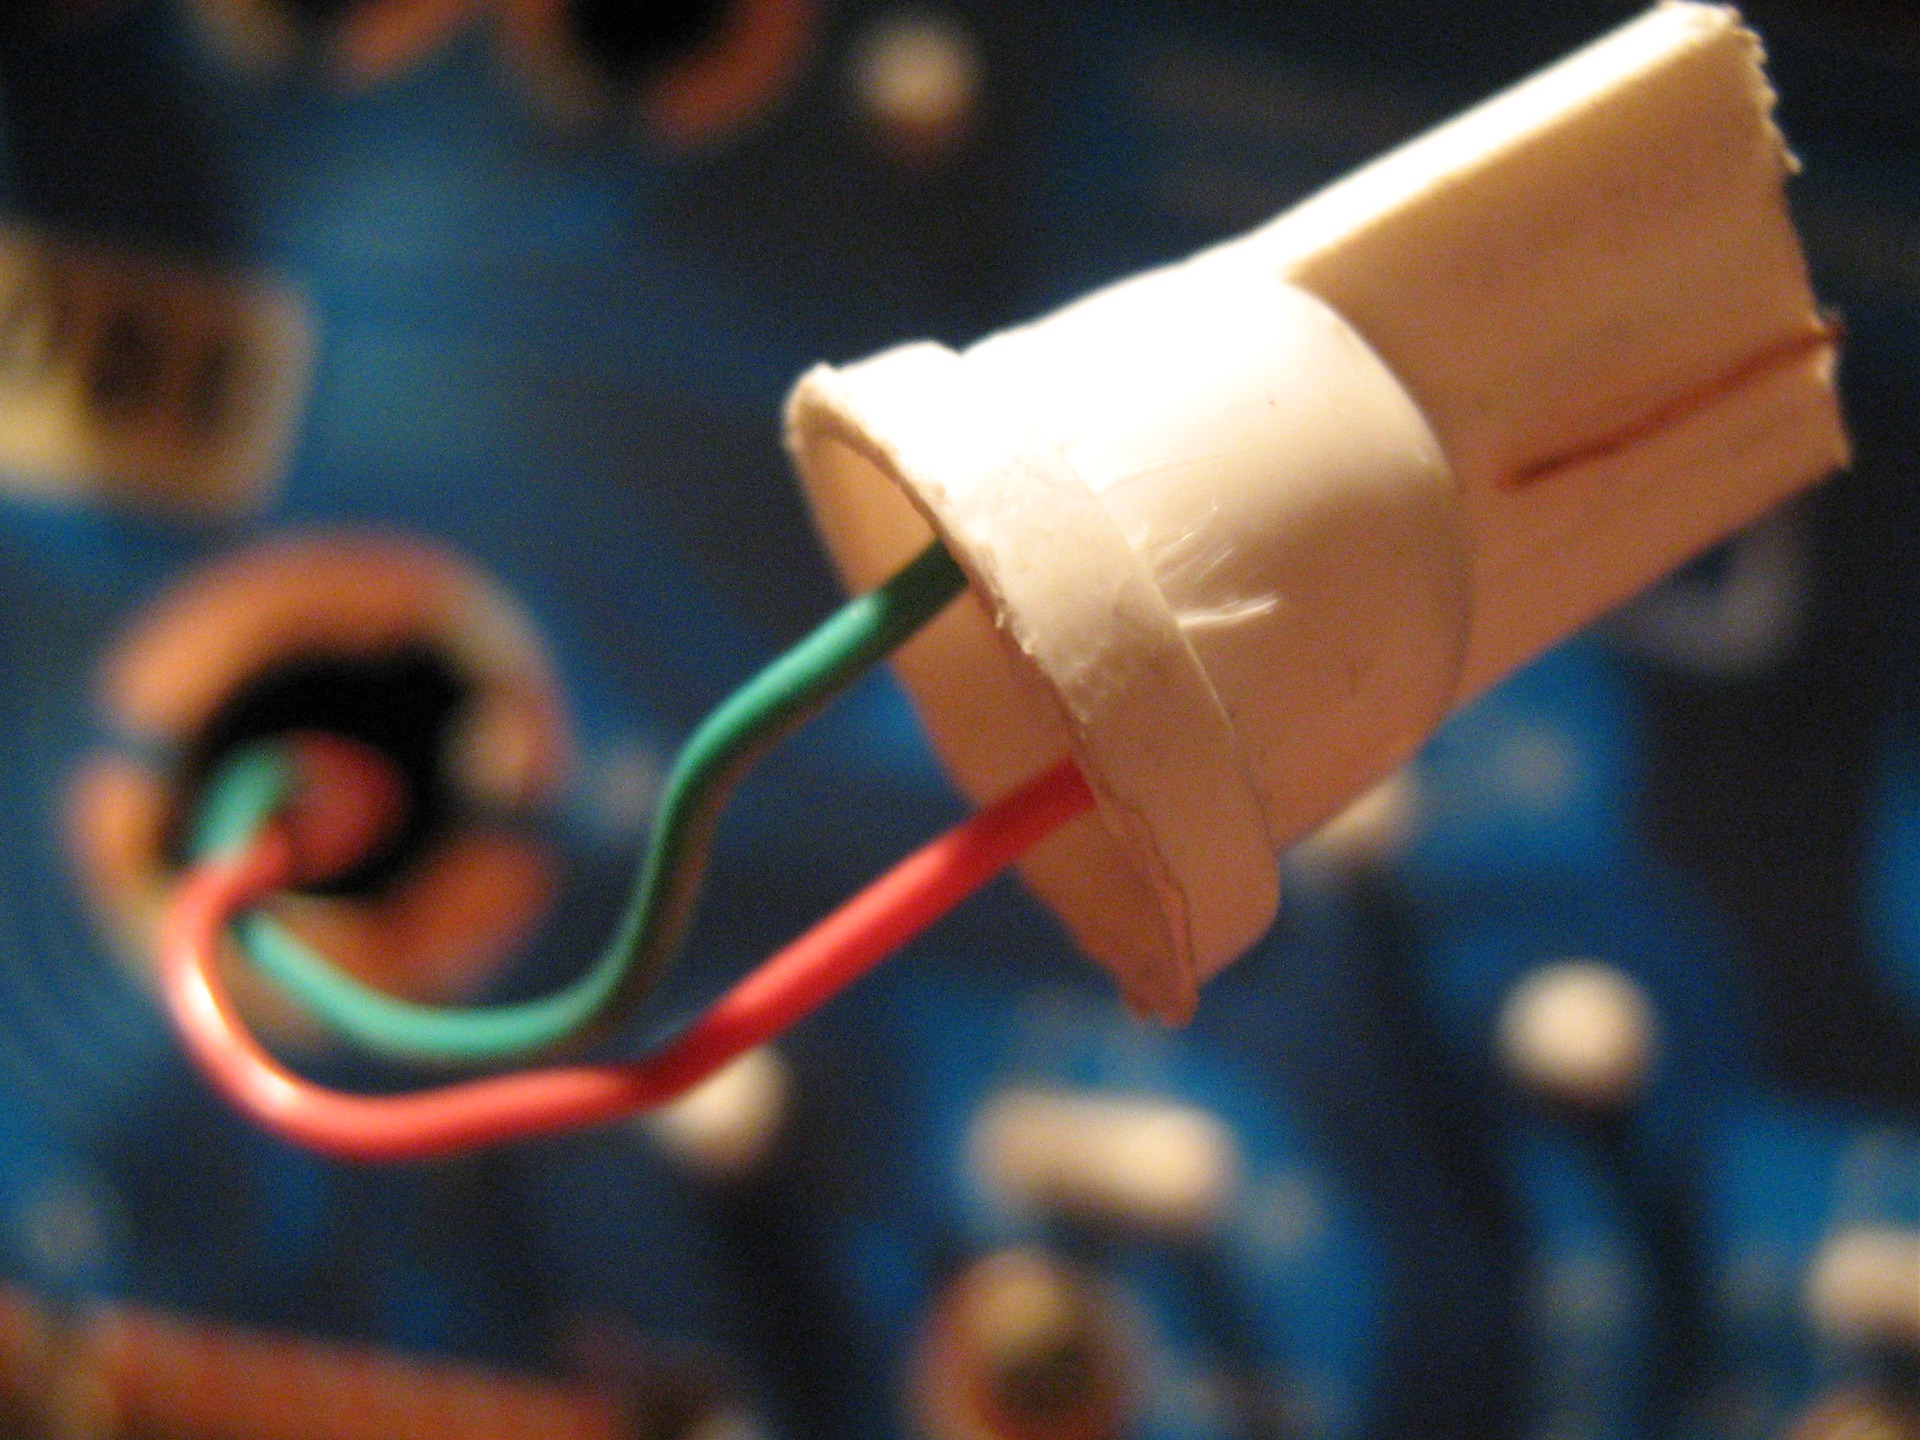
Everything was connected to the place of a standard light bulb, you buy several pieces of cheap LED lamps for dimensions, you pick out the LED itself, and you pass the wires from the tape into the plastic holder, and so on. They are shown in the photo.
I did not remove the arrows from the devices, I just pulled them out, removed the silk-screen printing from the back with fine sandpaper and where it was possible to install huge diodes by today's standards, and installed them there. Now everything is much easier to do, since there are a lot of different configurations to choose from diodes ...


