Rear LED shield part 1 - Toyota Camry, 2.4L, 2008
Well, my back luminous badge has arrived))) The shield is two-level, i.e. one level is lit when the dimensions are on and the second, the nameplate becomes brighter when the brake pedal is pressed.
So I decided to write a small fact on its installation. We don't kick much))) So let's start ...
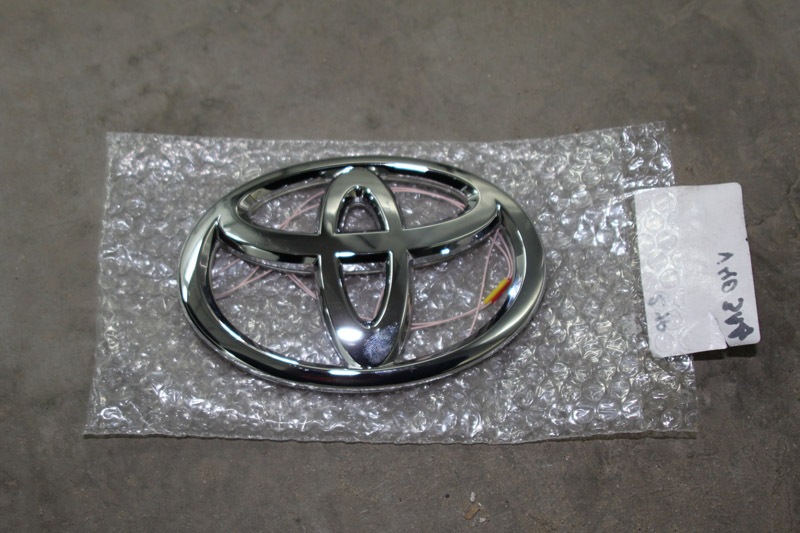
1.The actual nameplate itself looks like this.
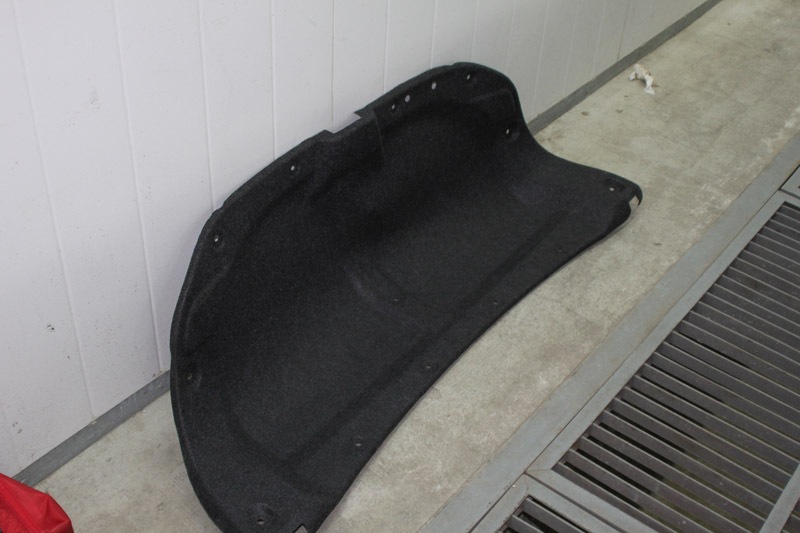
2.Remove the trunk lid trim. Remove the clips using a spatula.
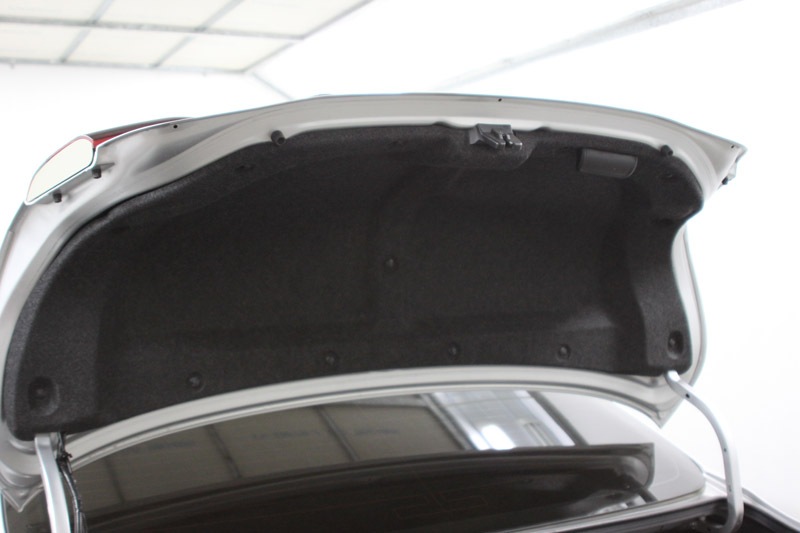
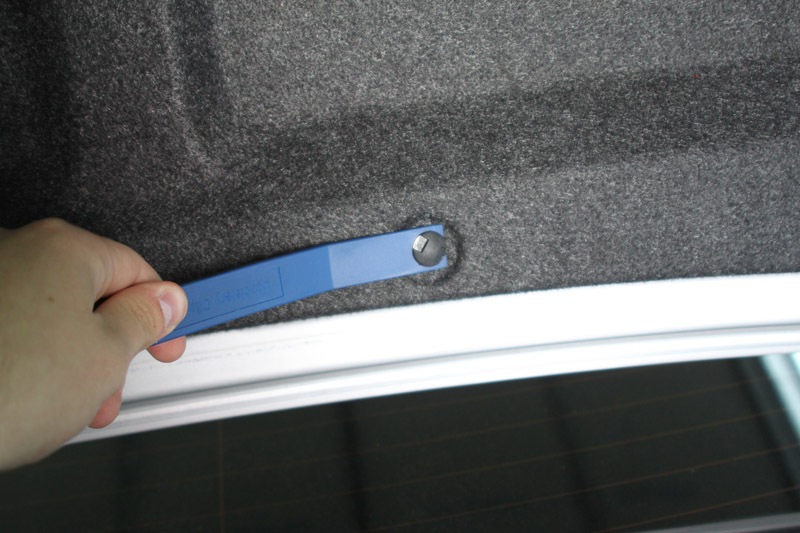
3.Unscrew the handle. To do this, carefully pry the handle cover with the same spatula and unscrew the two bolts under it.
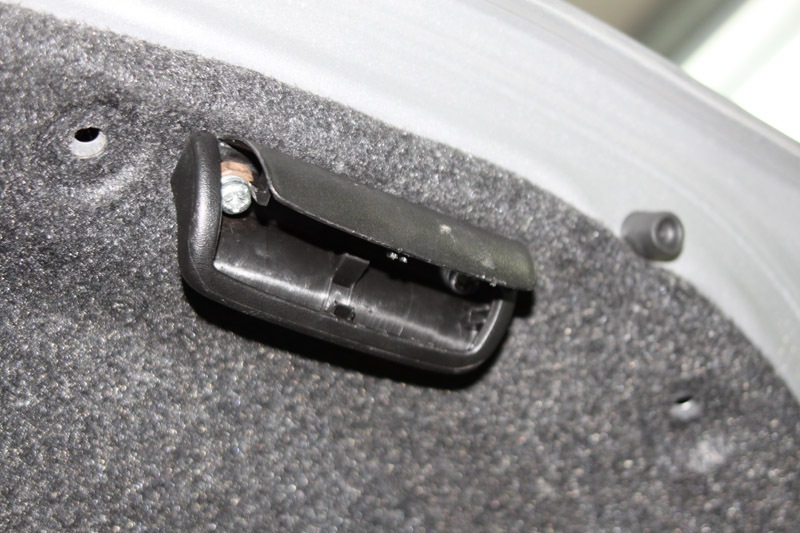
And remove the trim ...
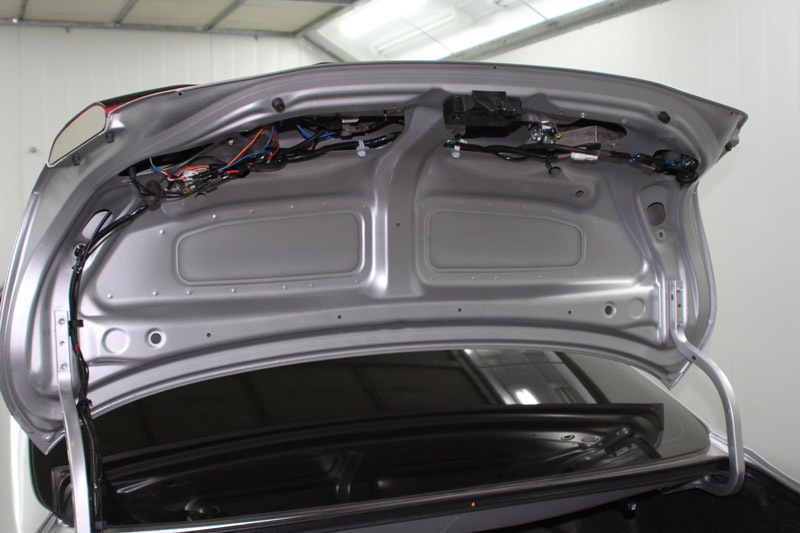
4. Next, remove the tailgate strip, where the nameplate itself is located. To do this, take a 10 key and unscrew the bolts.
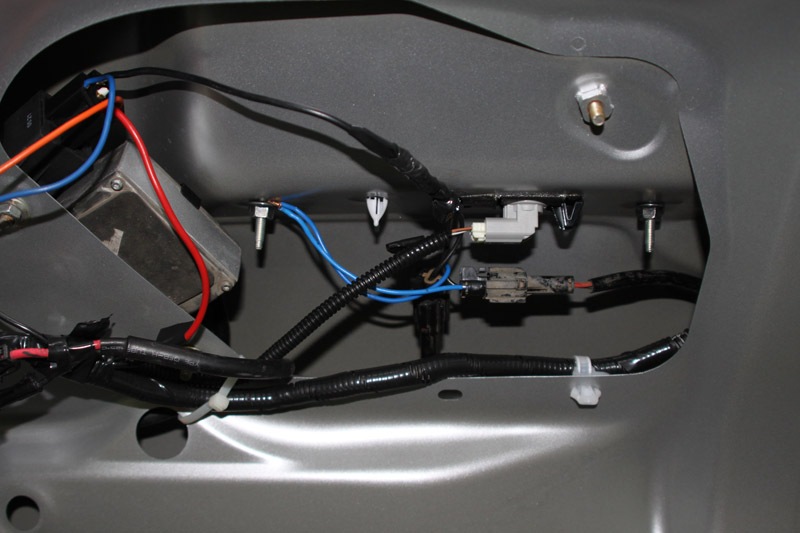
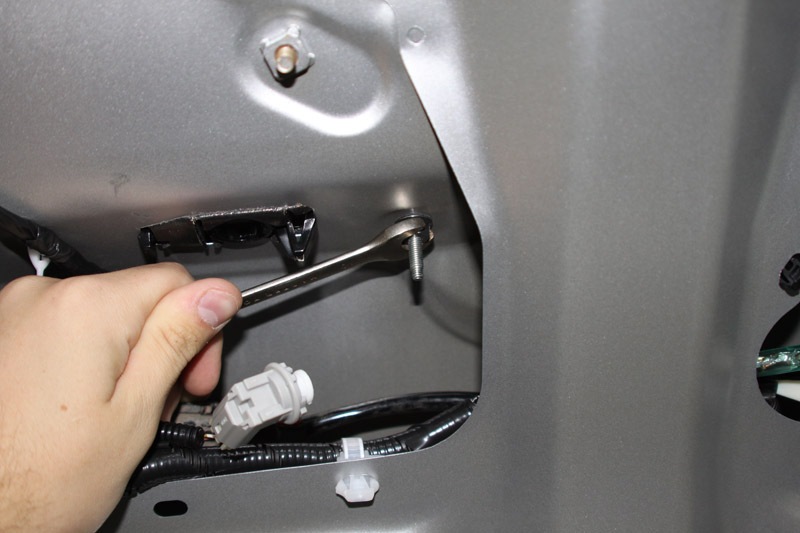
5. Carefully remove the bar itself.
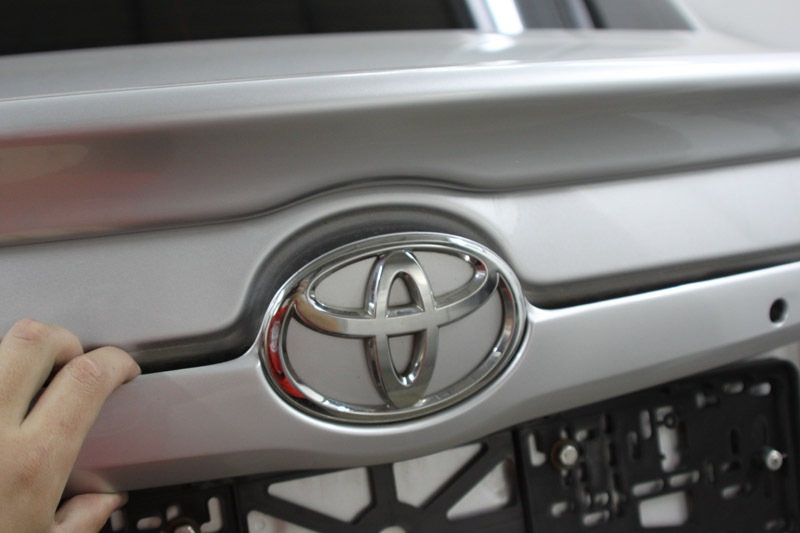
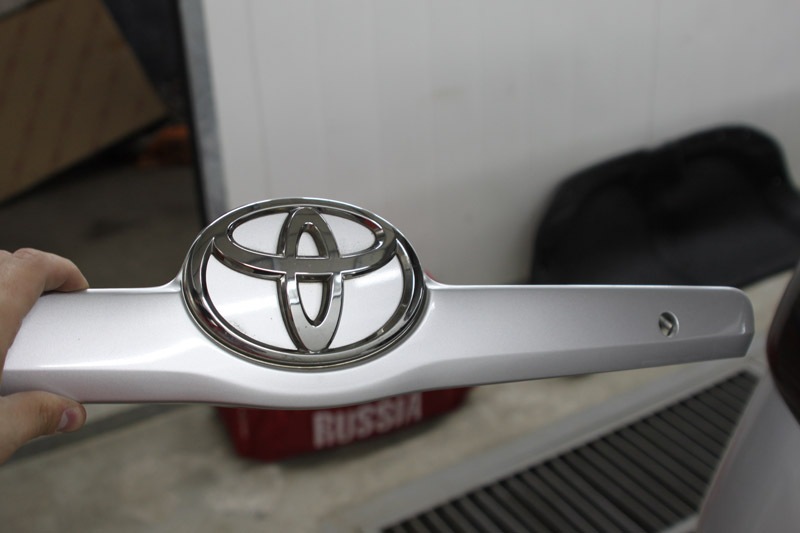
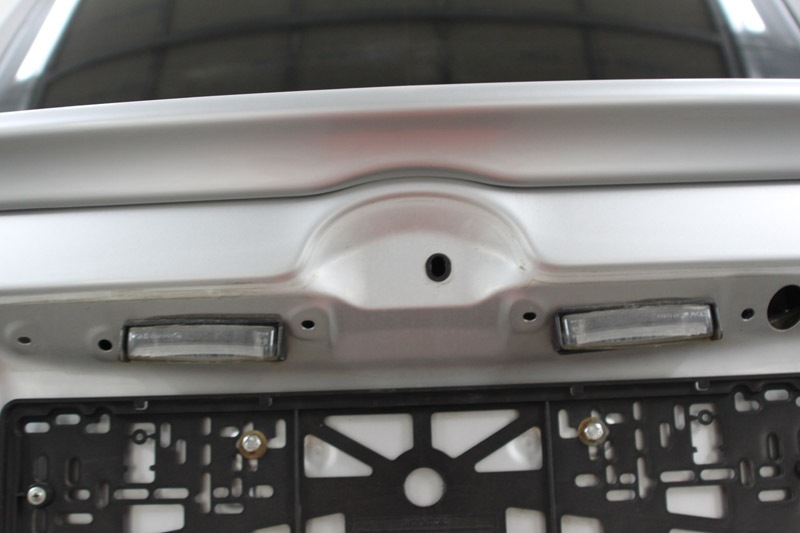
6. Now we need to remove the old icon. To do this, take a building hair dryer and heat it over the entire plane.
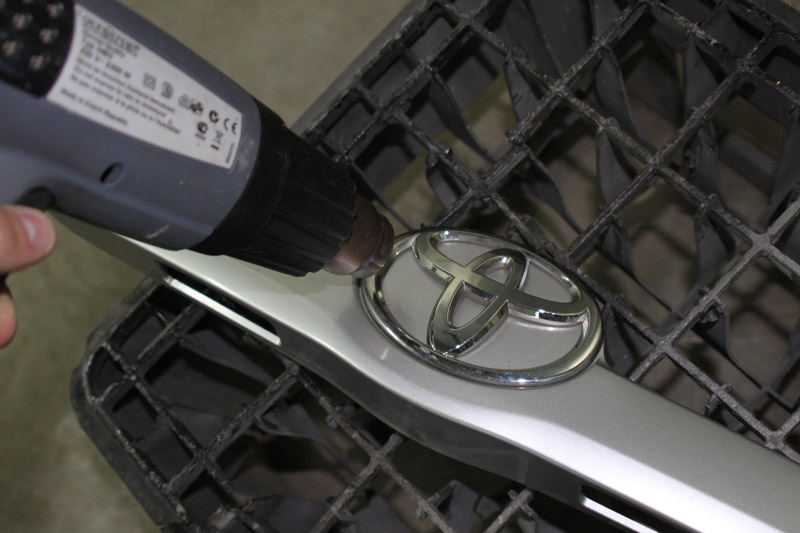
Next, using a spatula, we pry it up and carefully tear it off the bar.
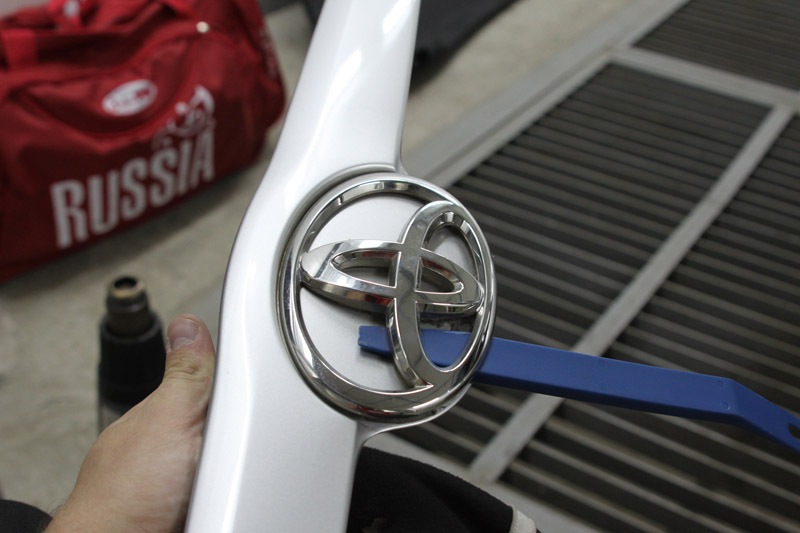
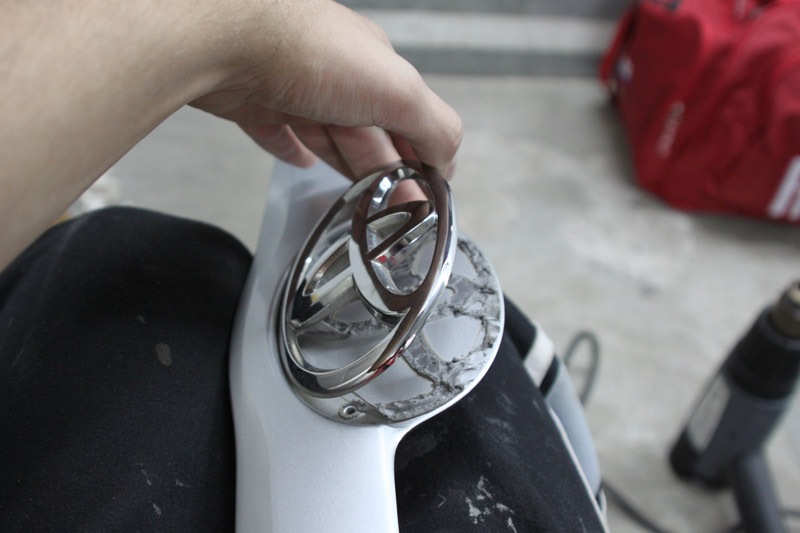
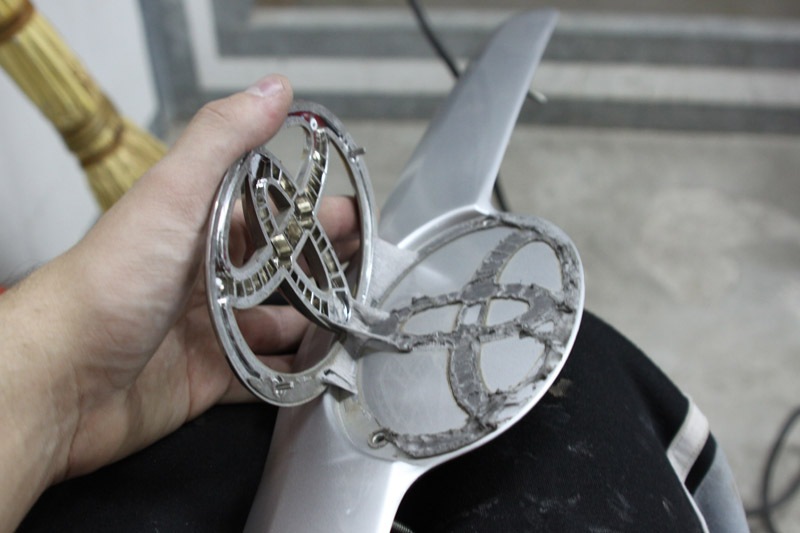
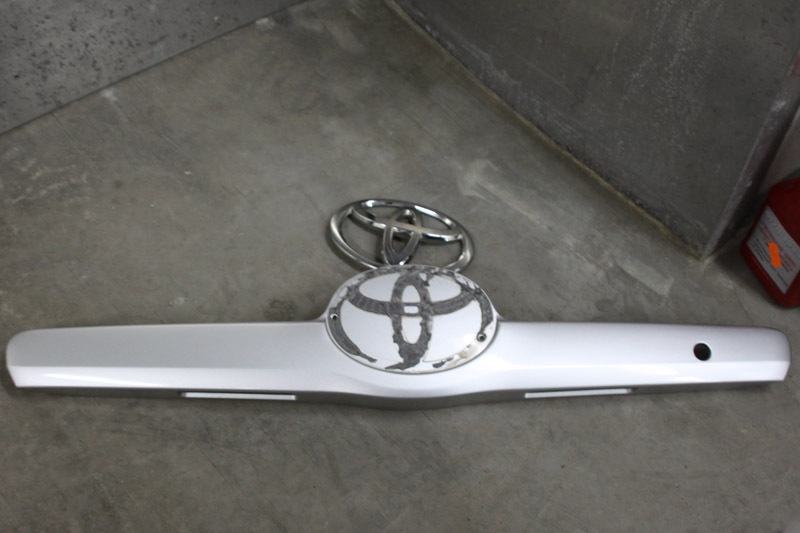
7. Next, we need to find a connector that fits the tail lamp, since we will connect one wire to the feet and the other to the dimensions. We take the connector that fits the lantern.
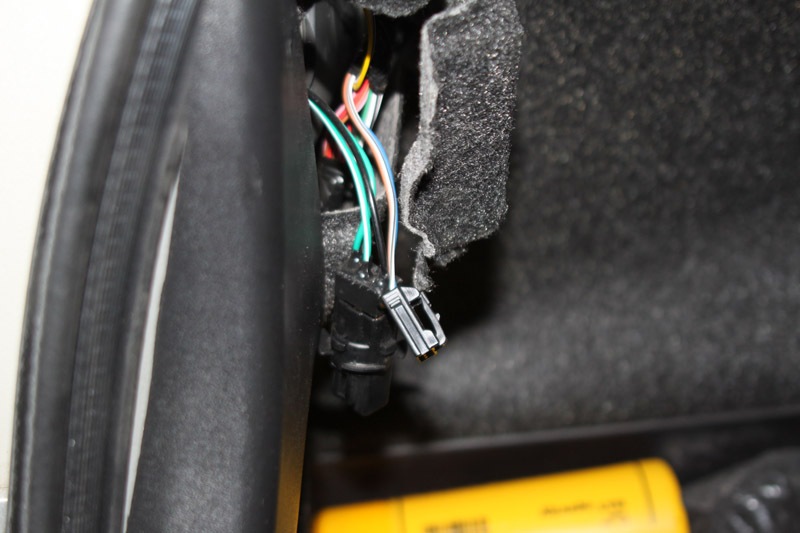
8. We take the tester, nickname and find a plus when the brake is turned on and a plus when the dimensions are turned on.
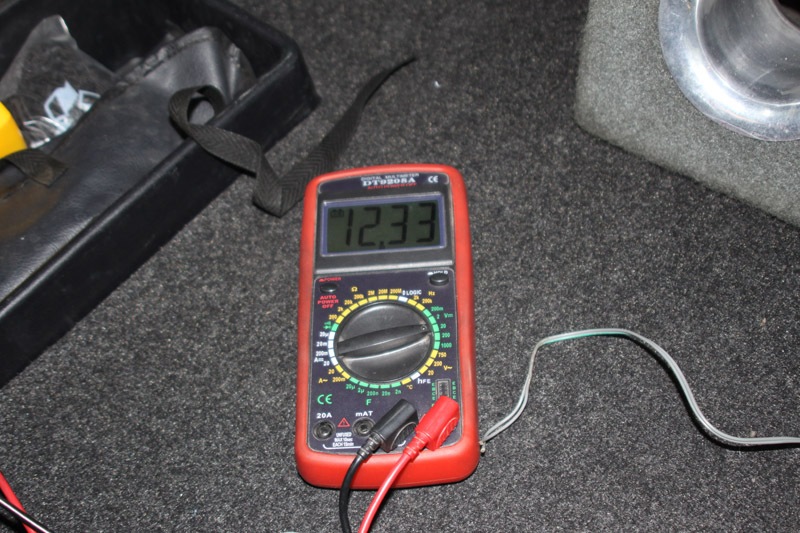
Calling ...
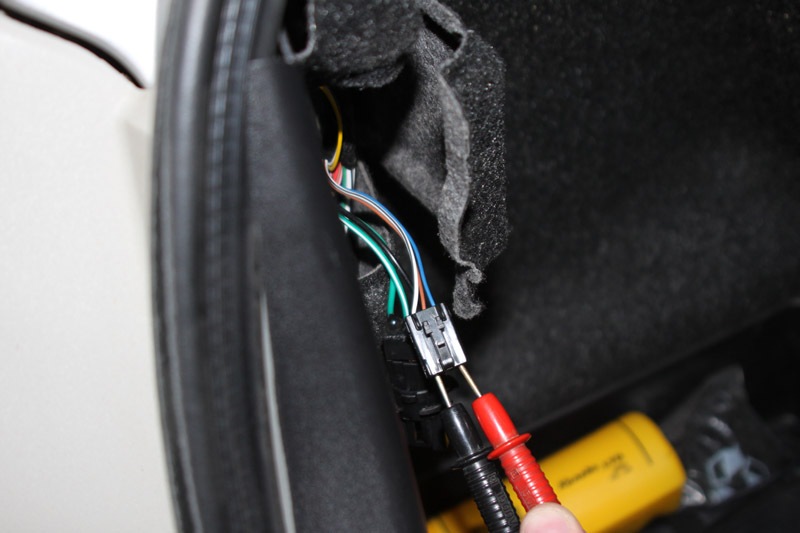
As a result ...
Blue - brakes
Brown - dimensions
Black and white - weight.
9. In the meantime, we glue a new badge onto the already prepared bar ...
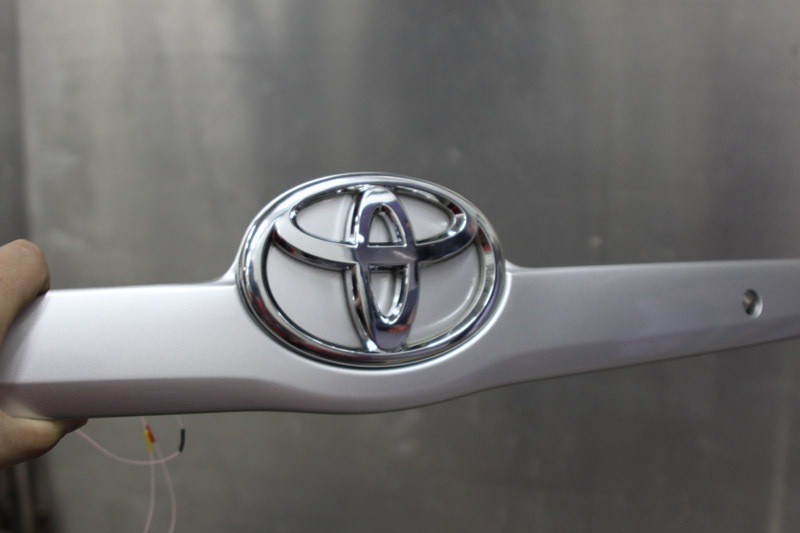
To be continued in the next part ...
www.drive2.ru/cars/toyota..rnal/4062246863888320629/