Do it yourself - Tuning front optics - Toyota Corolla, 1.6 L, 2002
So we got around to finalizing the front optics.
-----------------
We are purchasing
----------------- It is
necessary to purchase a number of different Auto chemistry at the nearest auto market.
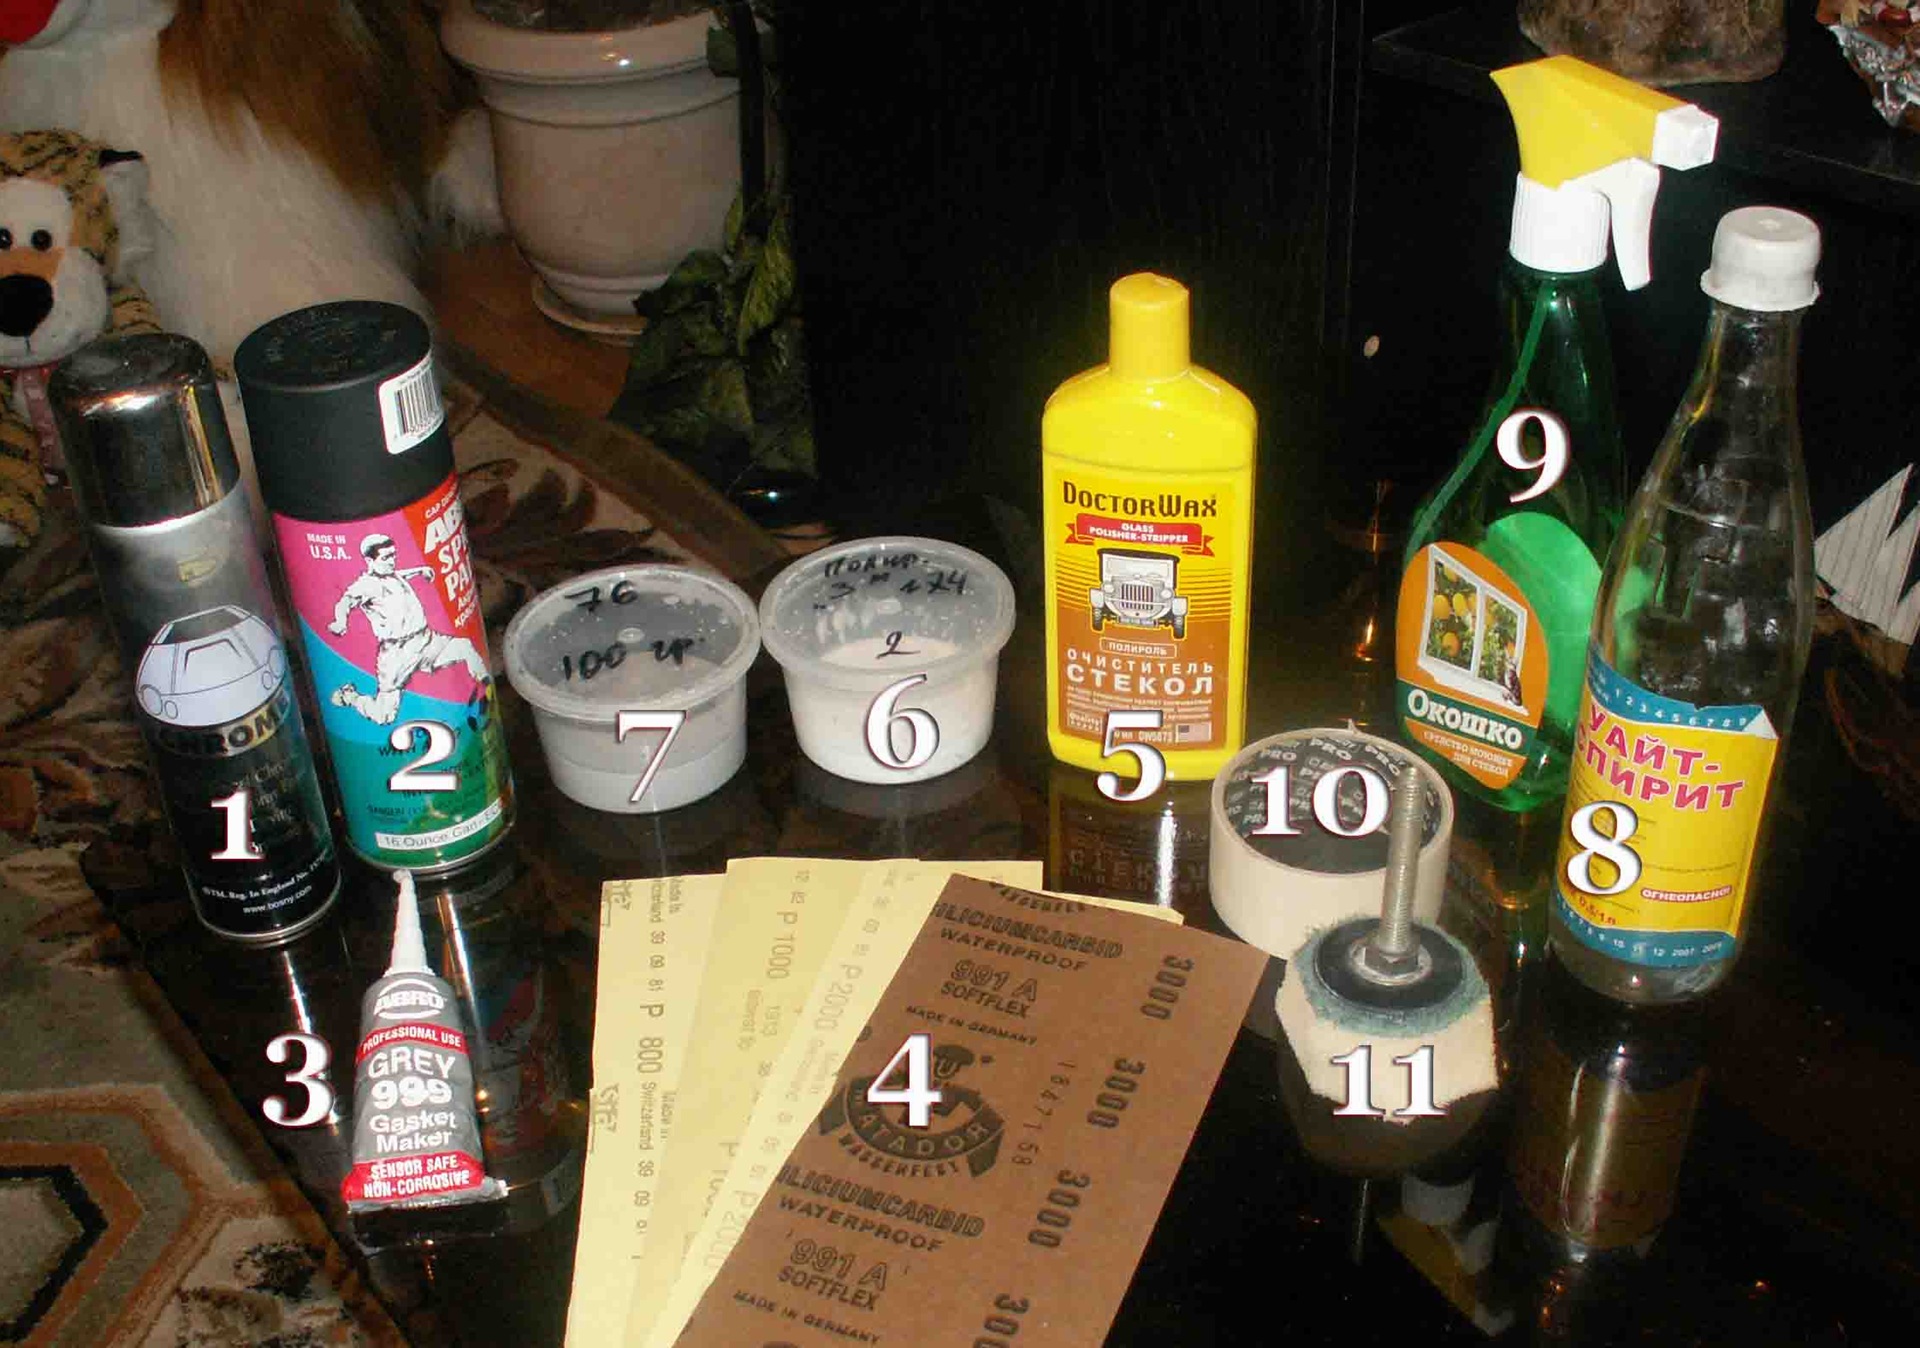
1. Balonchik with CHROME, there are different
manufacturers, I took which is more expensive.
2! Balonchik of black heat-resistant matte paint.
3! A sealant for gaskets, or something similar.
4. Set of skins 800, 1000, 2000, 3000.
5. Glass polish, I took Doctor WAX.
6. Polish 3M No. 74.
7! Polish 3M No. 76.
8! White Spirit.
nine! Glass cleaner (preferably no
alcohol at all , only pavas, a very good
cleaner for LCD monitors).
ten! Masking tape.
eleven! Sponge or felt polishing attachment.
I will mark the most necessary things with an exclamation mark, without which the headlights will not work.
For the money, something will come out about 1,500 rubles.
------------------------------
Well, let's get started ?!
------------------------------
What needs to be done:
1. Remove the grill.
2. Remove remove the bumper.
3. Remove the headlights.
--------------------------------------
Removing the grille and bumper
-------- ------------------------------
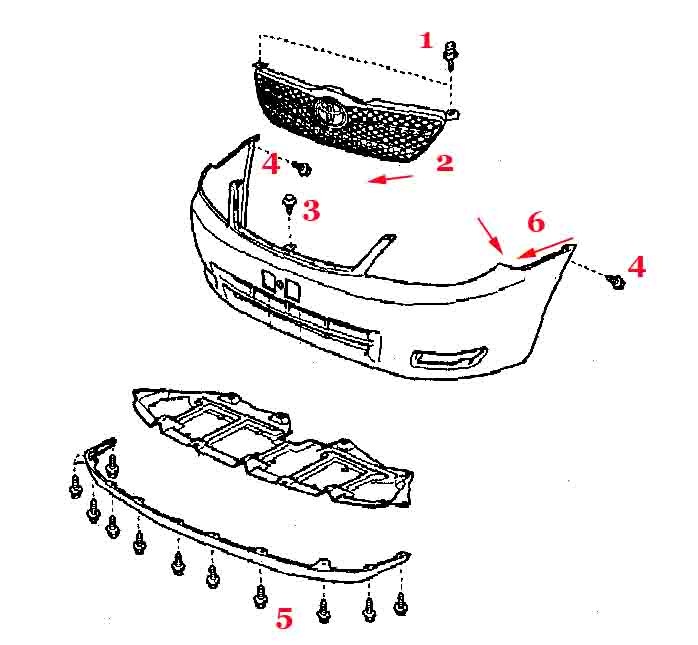
1. Unscrew 2 bolts with rubber bands on the sides.
2. We take out the grate from the grooves by pulling it towards you.
3. Carefully take out the plastic hairpin.
4. Unscrew the bolts from 2 sides (for this
you need to slightly bend the fender liner so that the
head crawls through).
5. Unscrew the bolts around the circle.
6. Carefully detach the bumper from the bumper.
That's it, you can remove the bumper and unscrew the headlights.
----------------------
Removing the headlights
----------------------
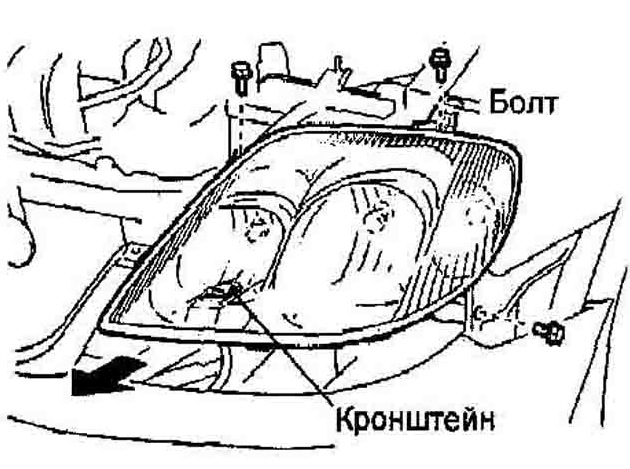
We unscrew the 3 bolts and carefully pull the headlight forward from the bracket.
Hurray, finally, the object of universal attention is in our hands.
----------------- We
disassemble
-----------------
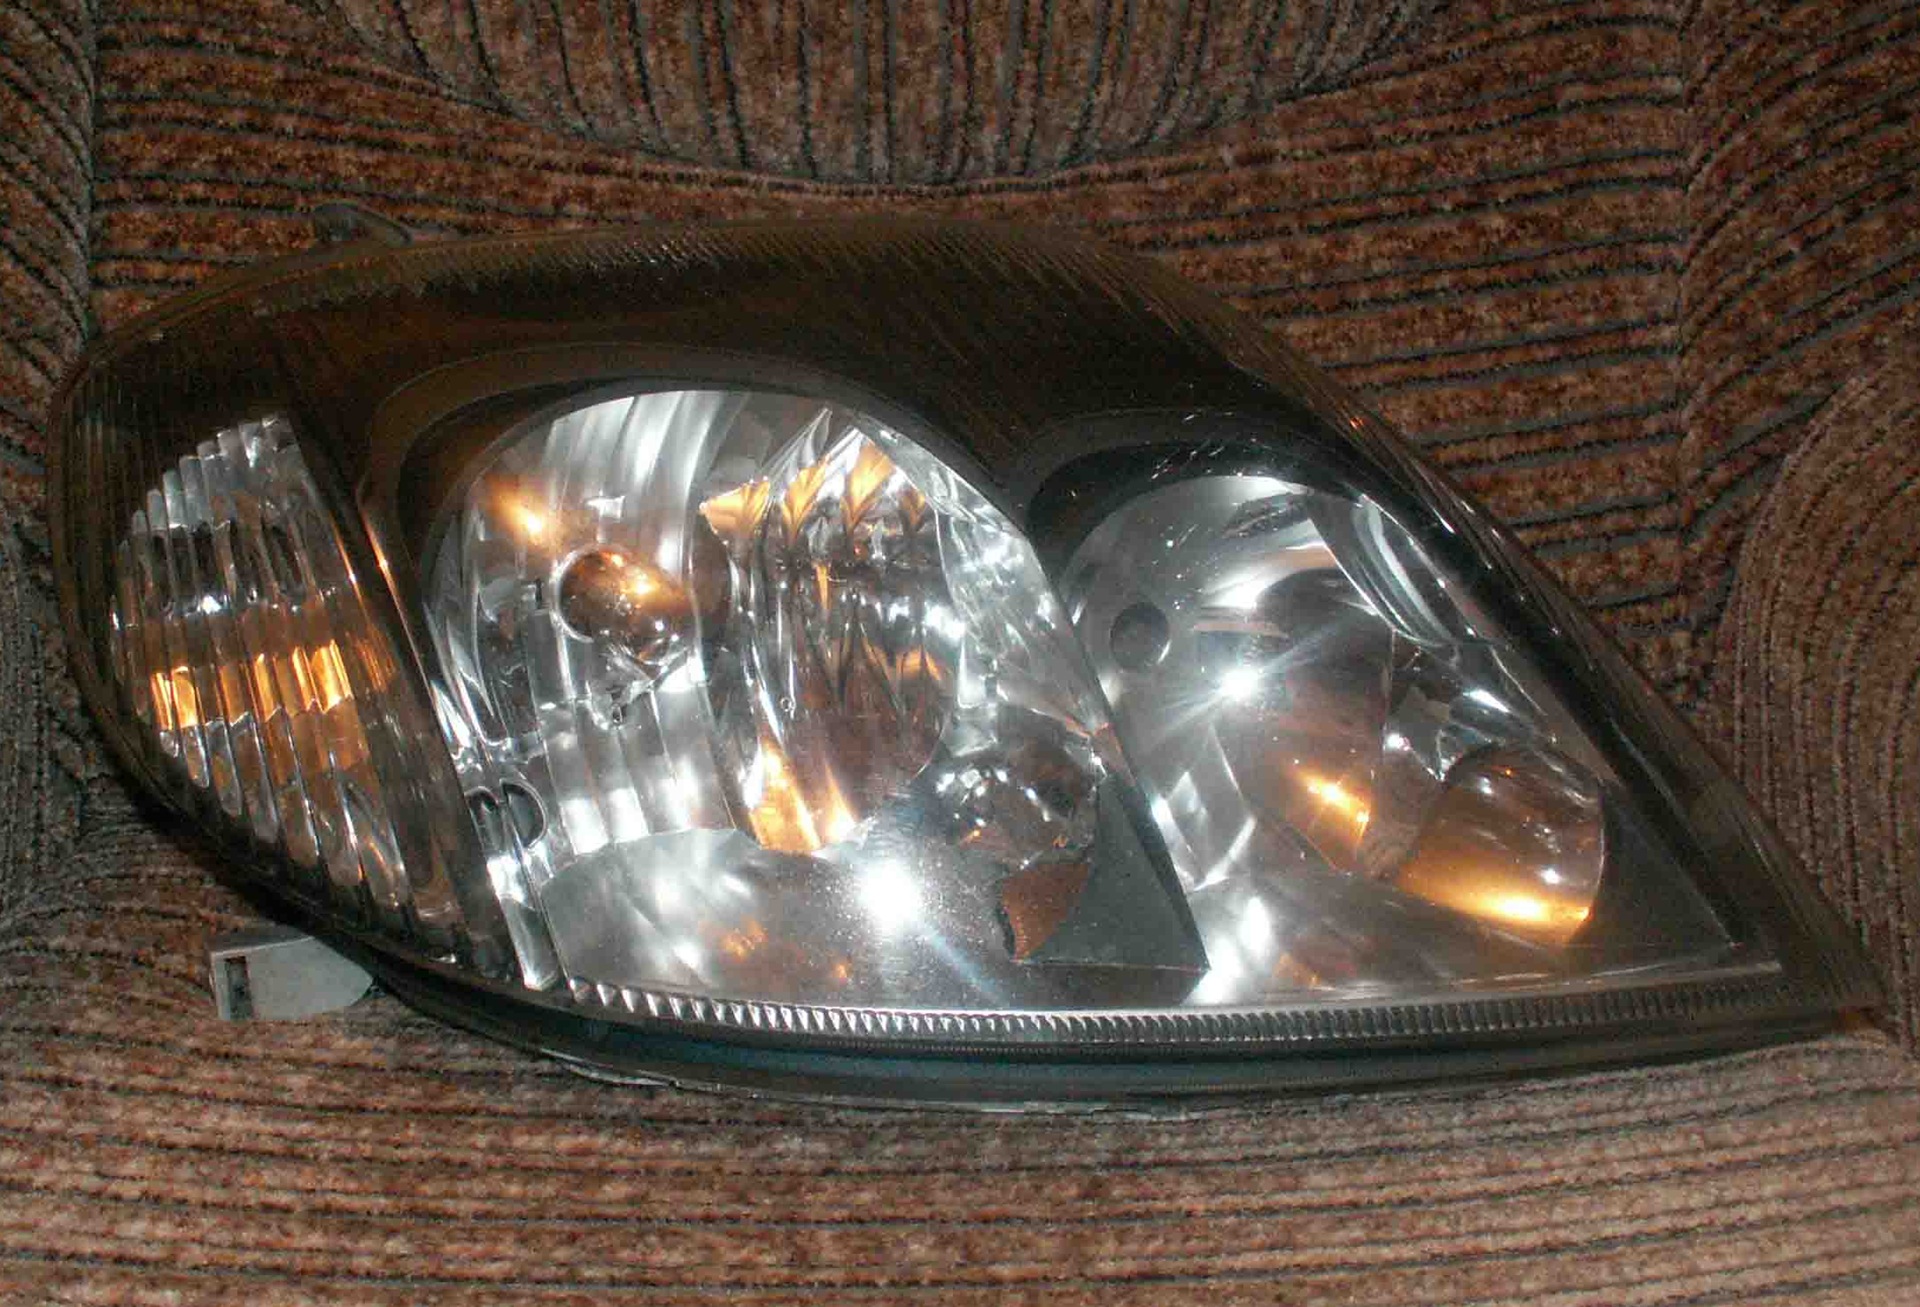
This is how they were when I took them off. Slightly worn and darkened from the inside. Probably the previous owner used 100 cotton bulbs, or not high-quality xenon.
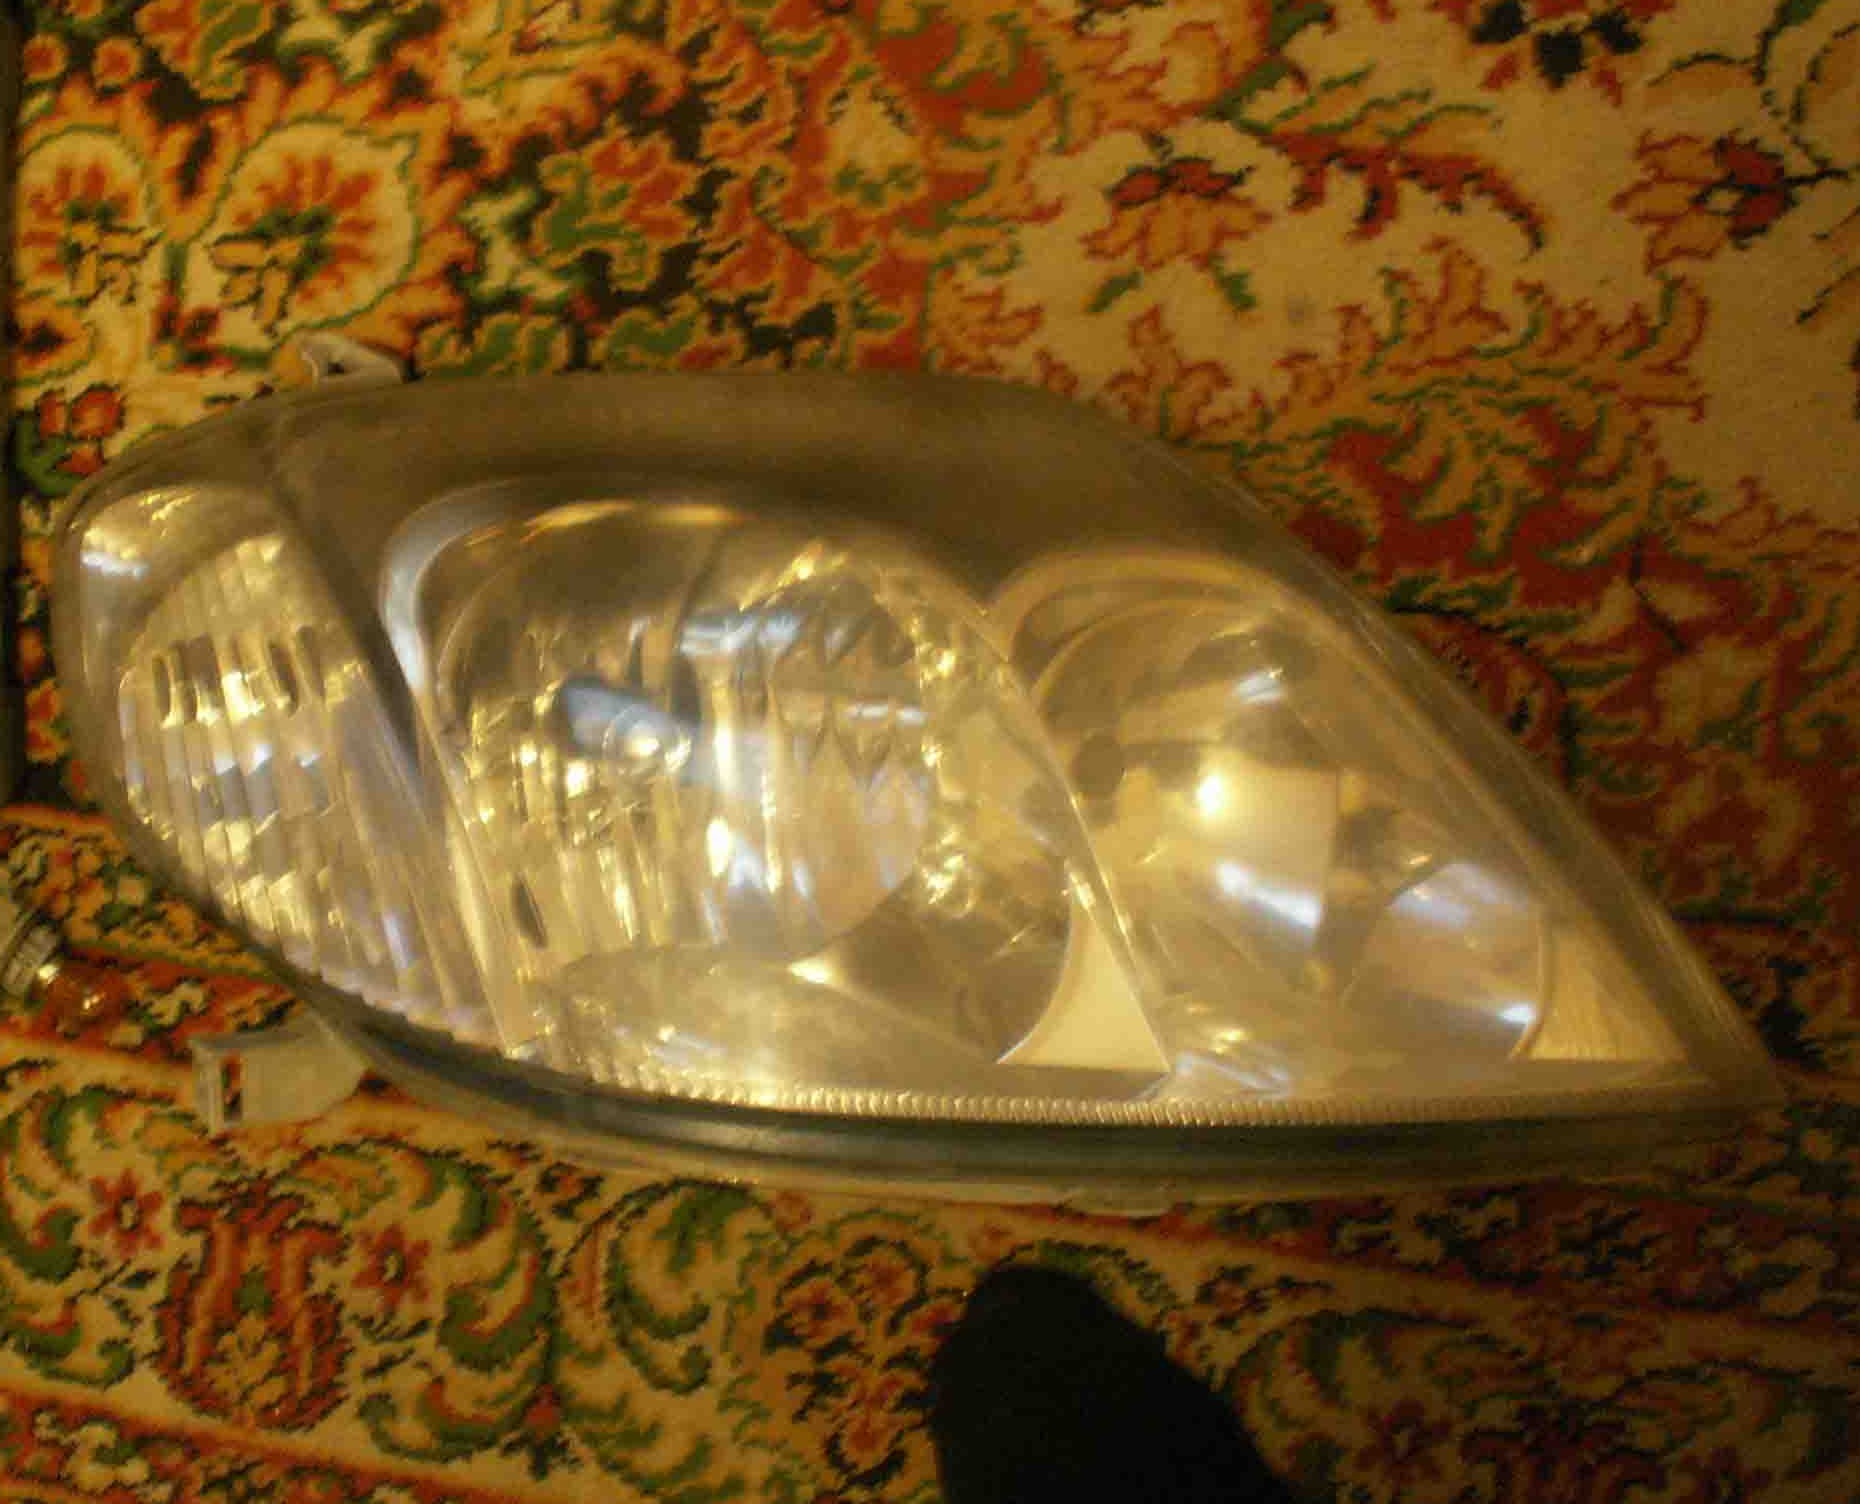
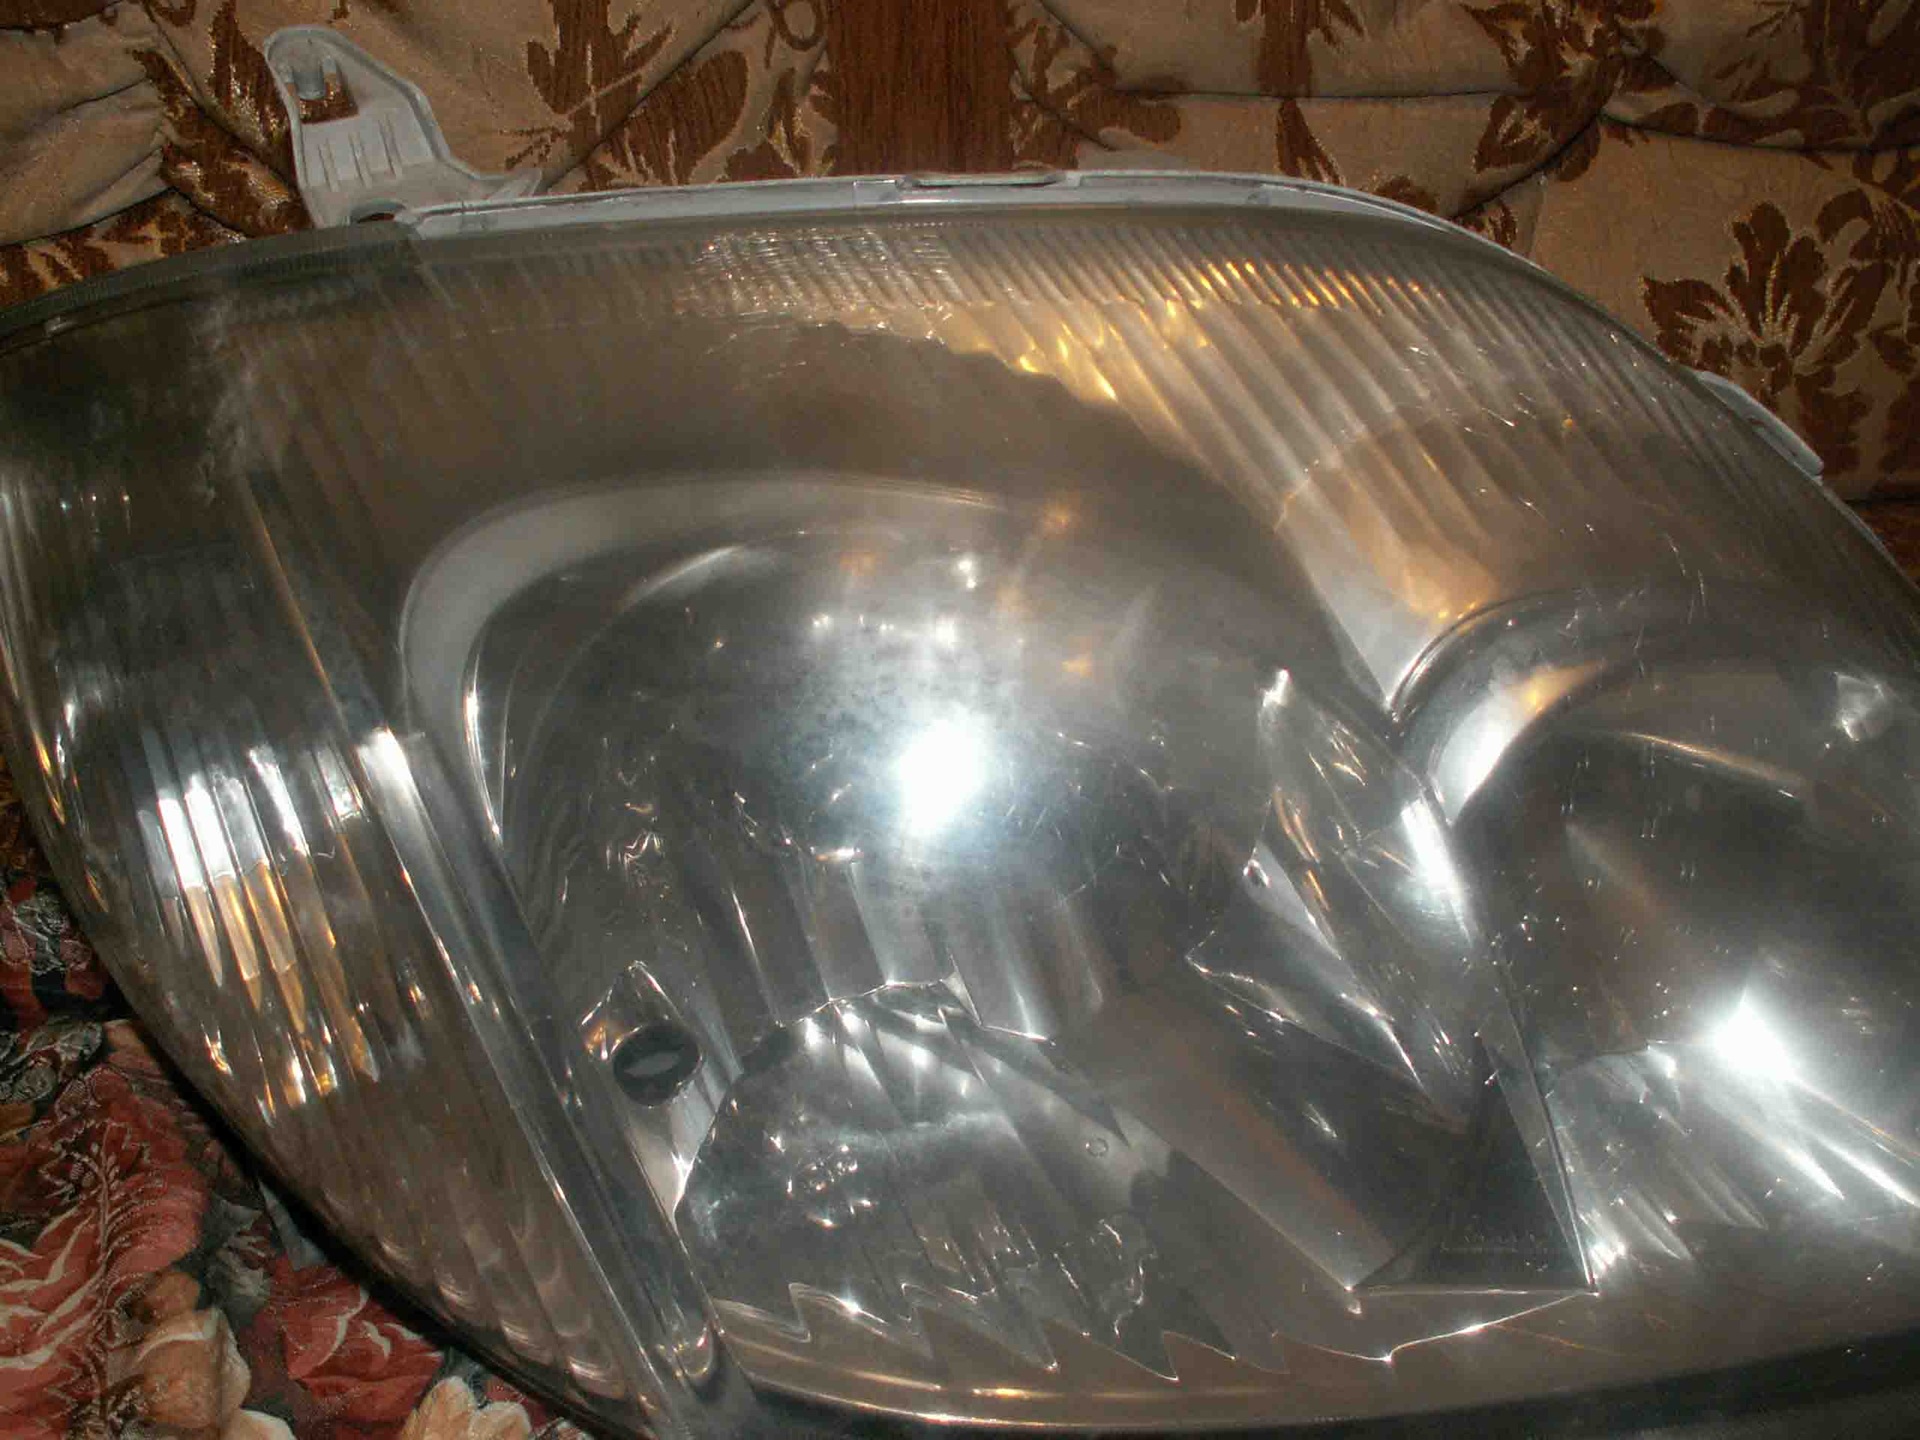
We begin to disassemble the headlights. To do this, you need to wipe the headlights from dirt on all sides, pull out all the bulbs, rubber bands and put them in the oven :) (we will bake)
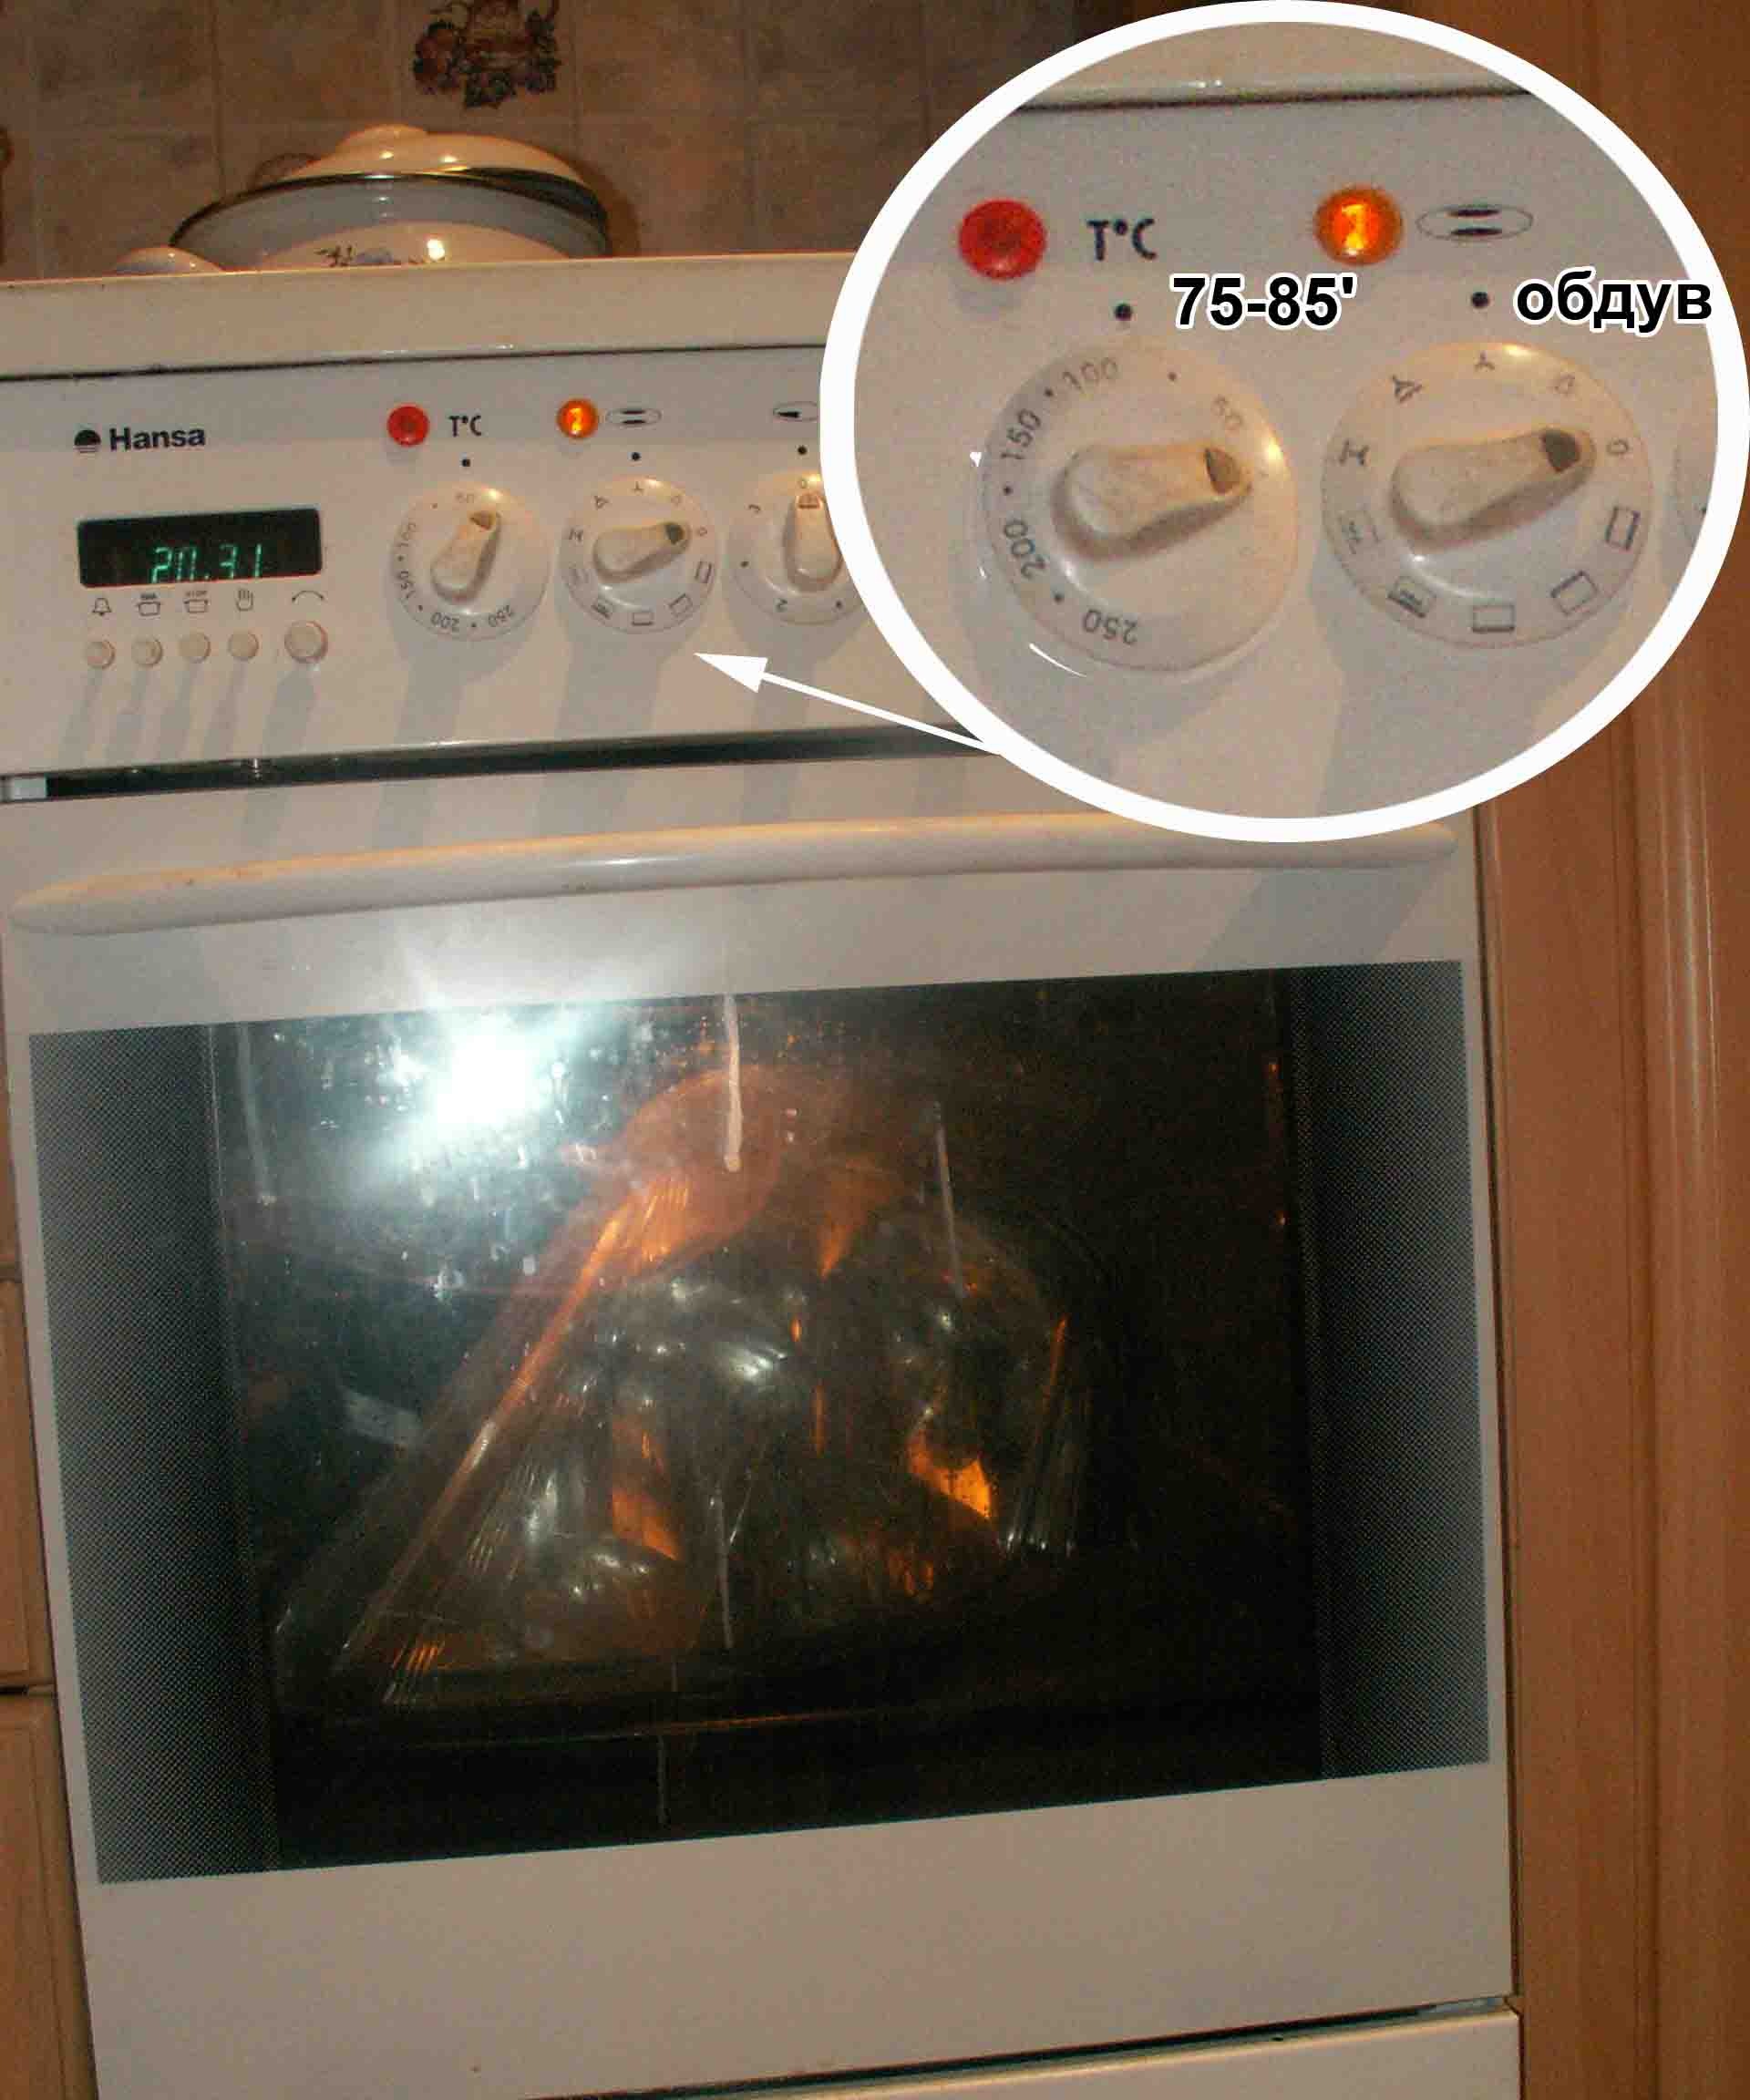
We bake them for 3-5 minutes.
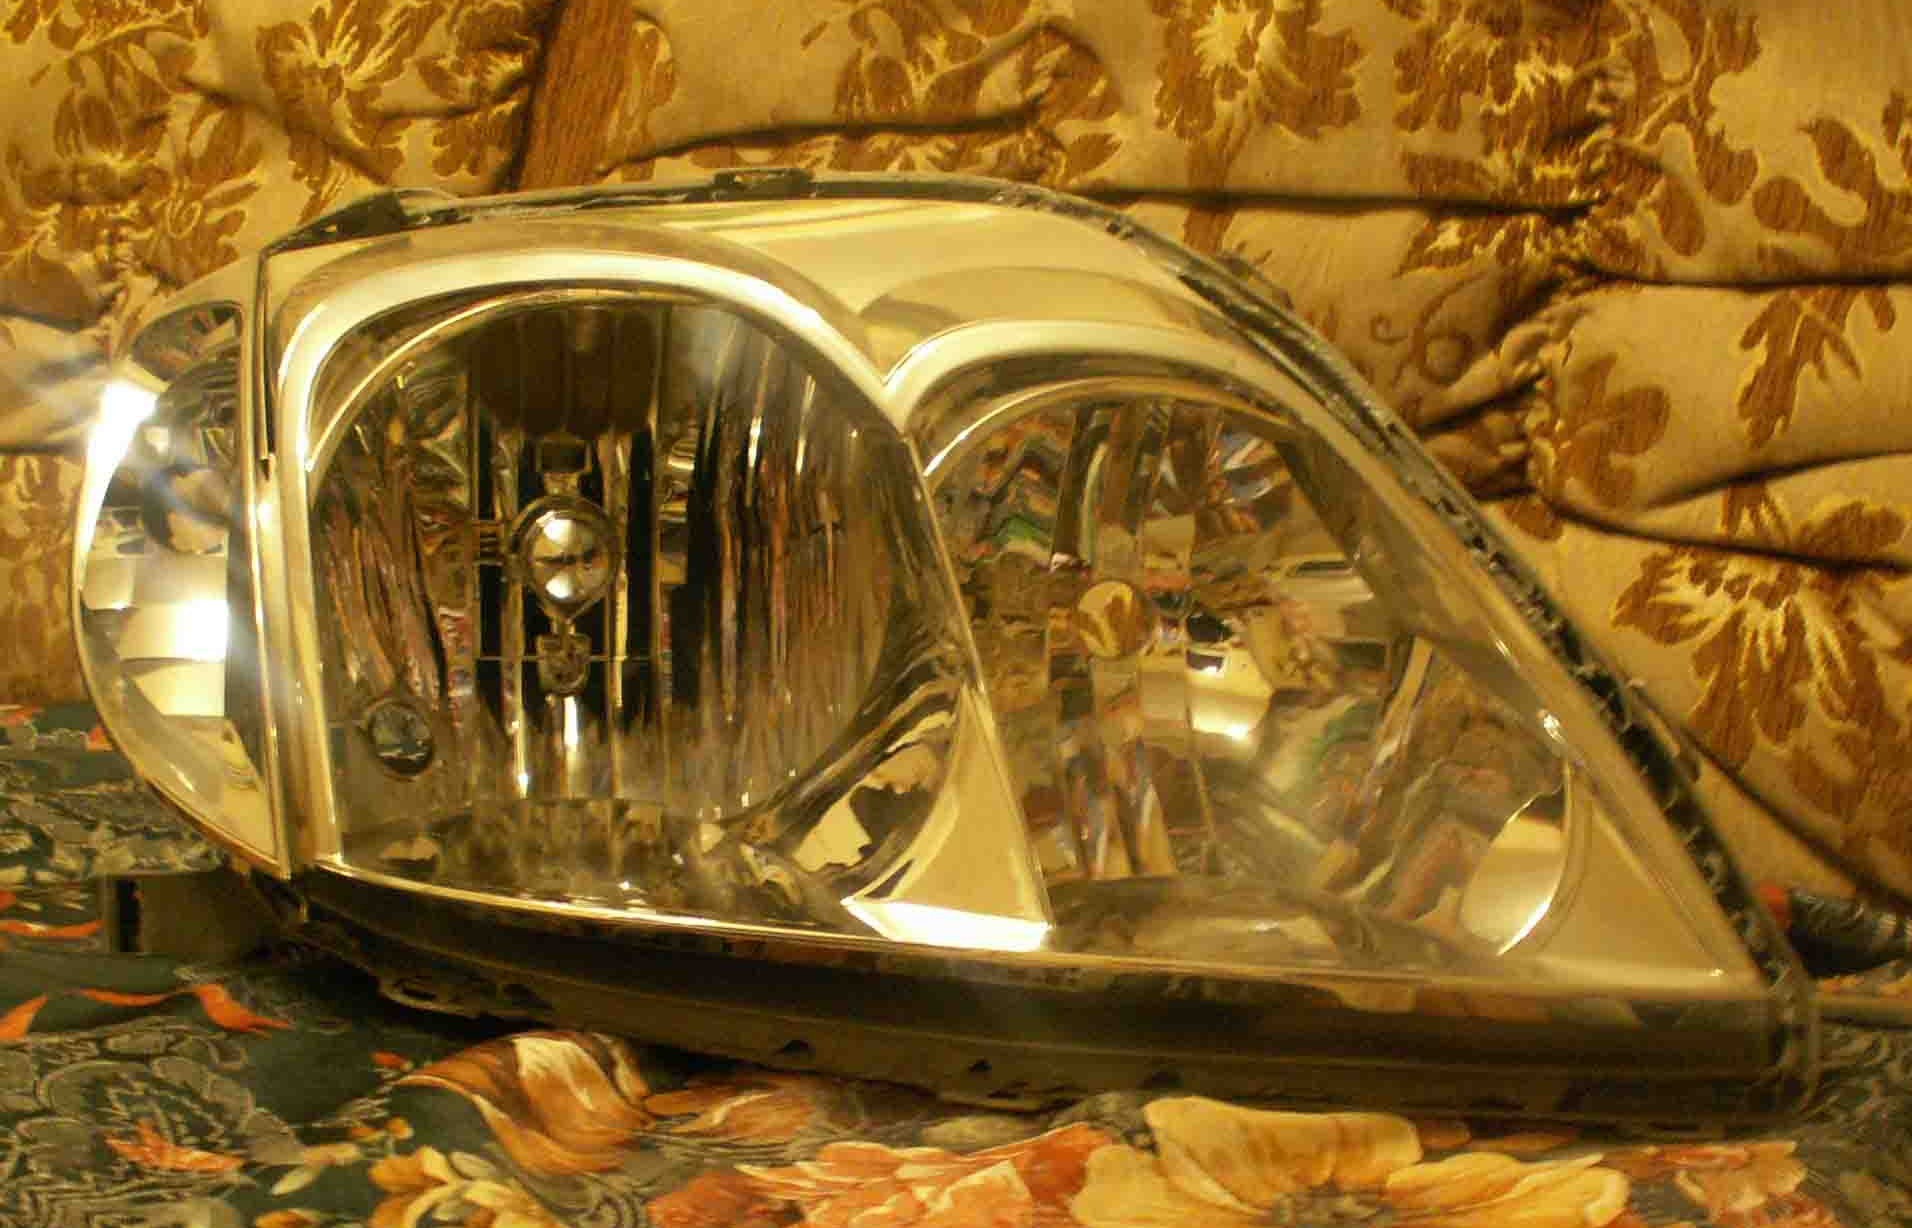
After "BAKING", we take them out of the stove, and with some blunt flat object we begin to separate the glass from the case. I used a rounded kitchen knife from a cutlery set.
Separated? We get the following.
------------------------------
Working with glass
----------------- -------------
In no case do not wipe the glass with any nail polish remover, it immediately becomes cloudy and the following is obtained.
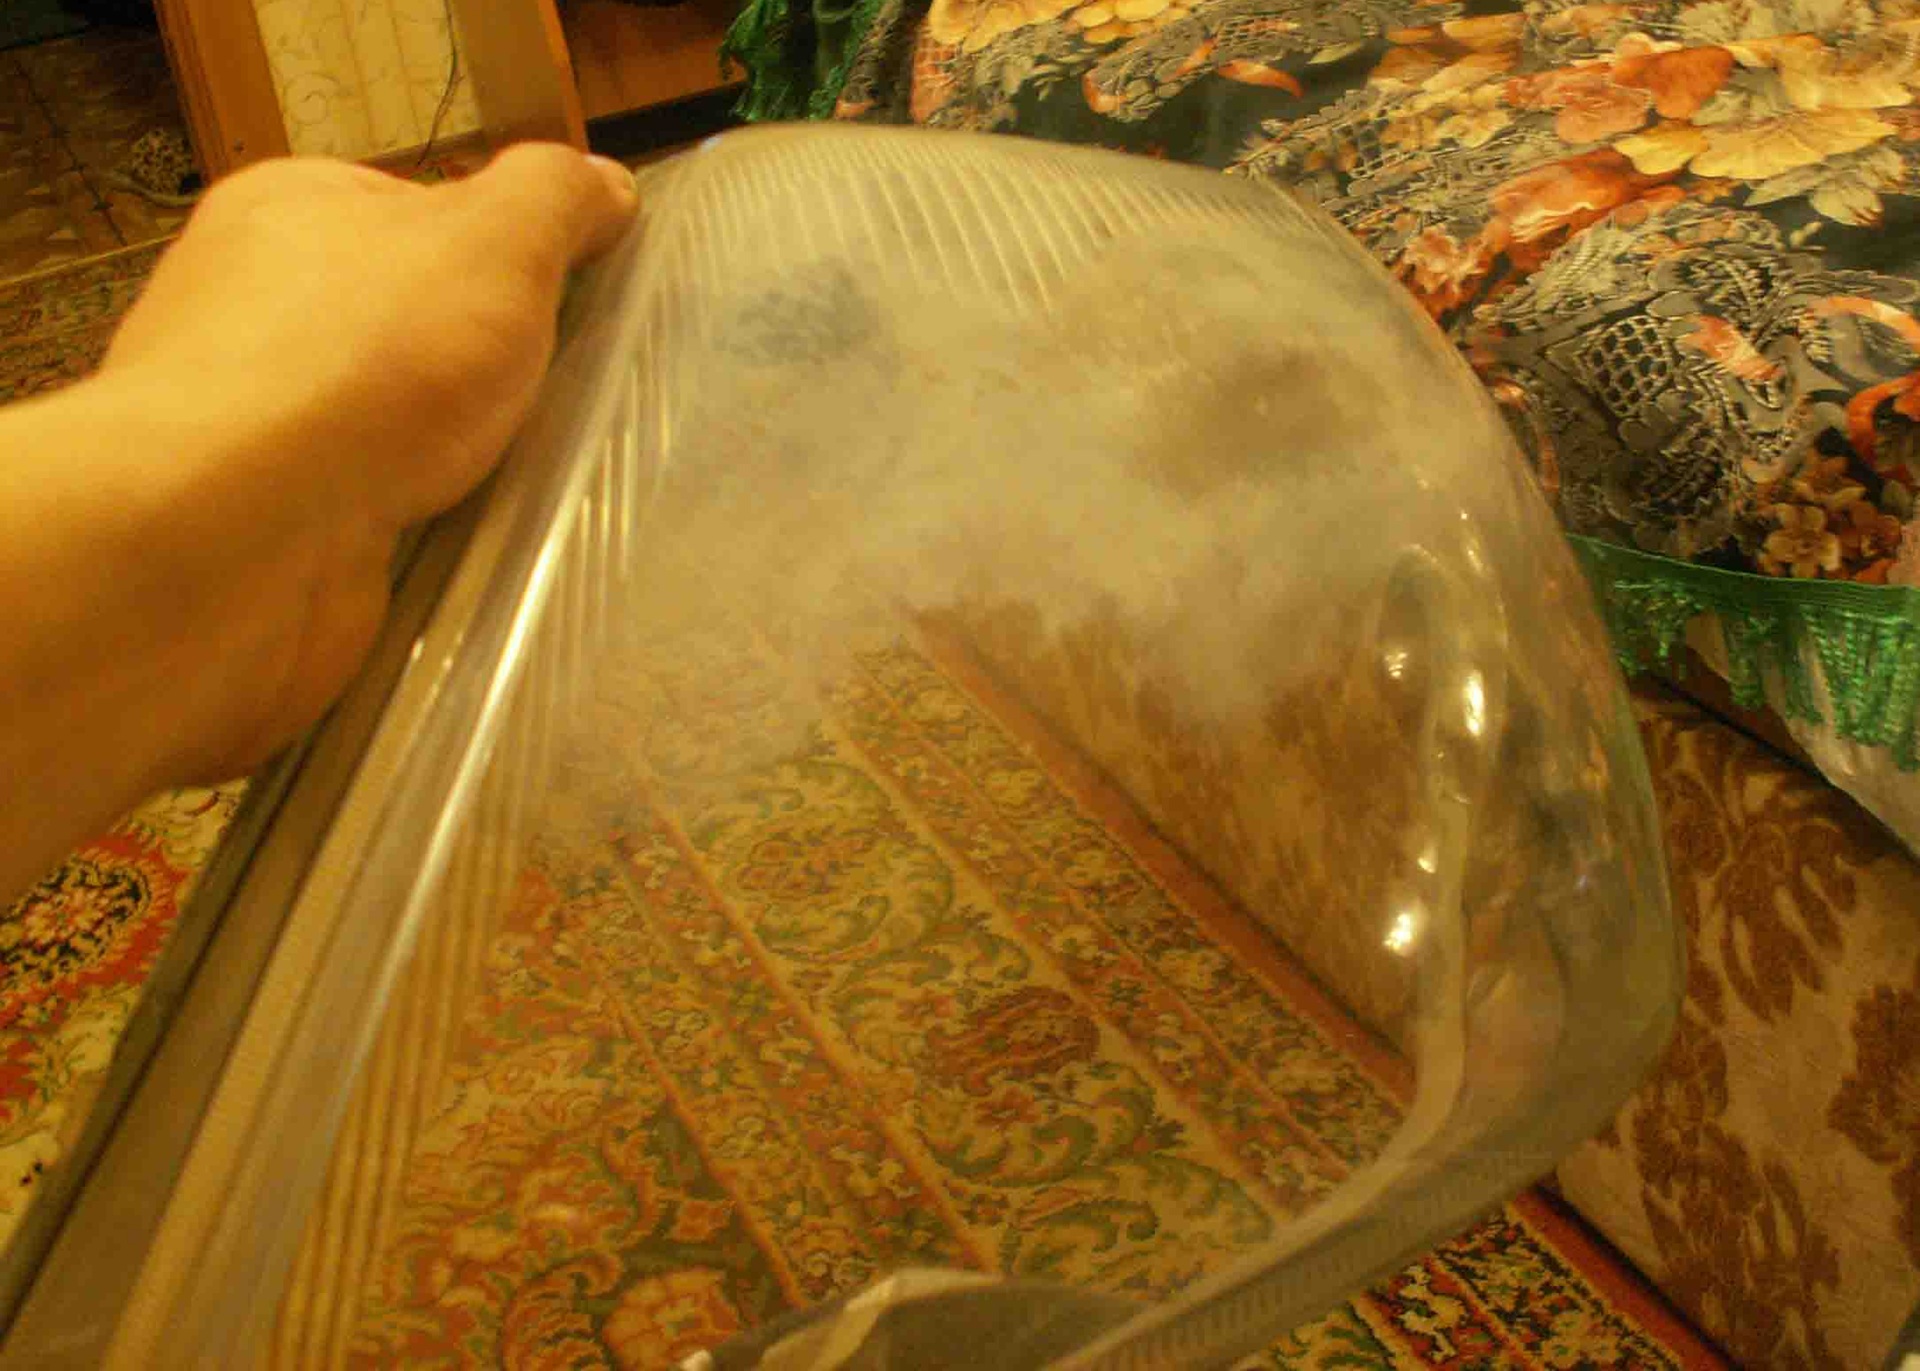
But since we have everything to polish, we are not afraid.
---------------
Polishing
---------------
If the glass is heavily rubbed or yellowed, it must first be prepared for polishing, and more specifically, just sand it.
Sanding glass is best in the bathroom.
We polish the glass with sandpaper under a stream of water with the following sequence 800, 1000 - without fanaticism, 2000, 3000 - diligently rub. This is what we get, though a photo after passing 800 and 1000.
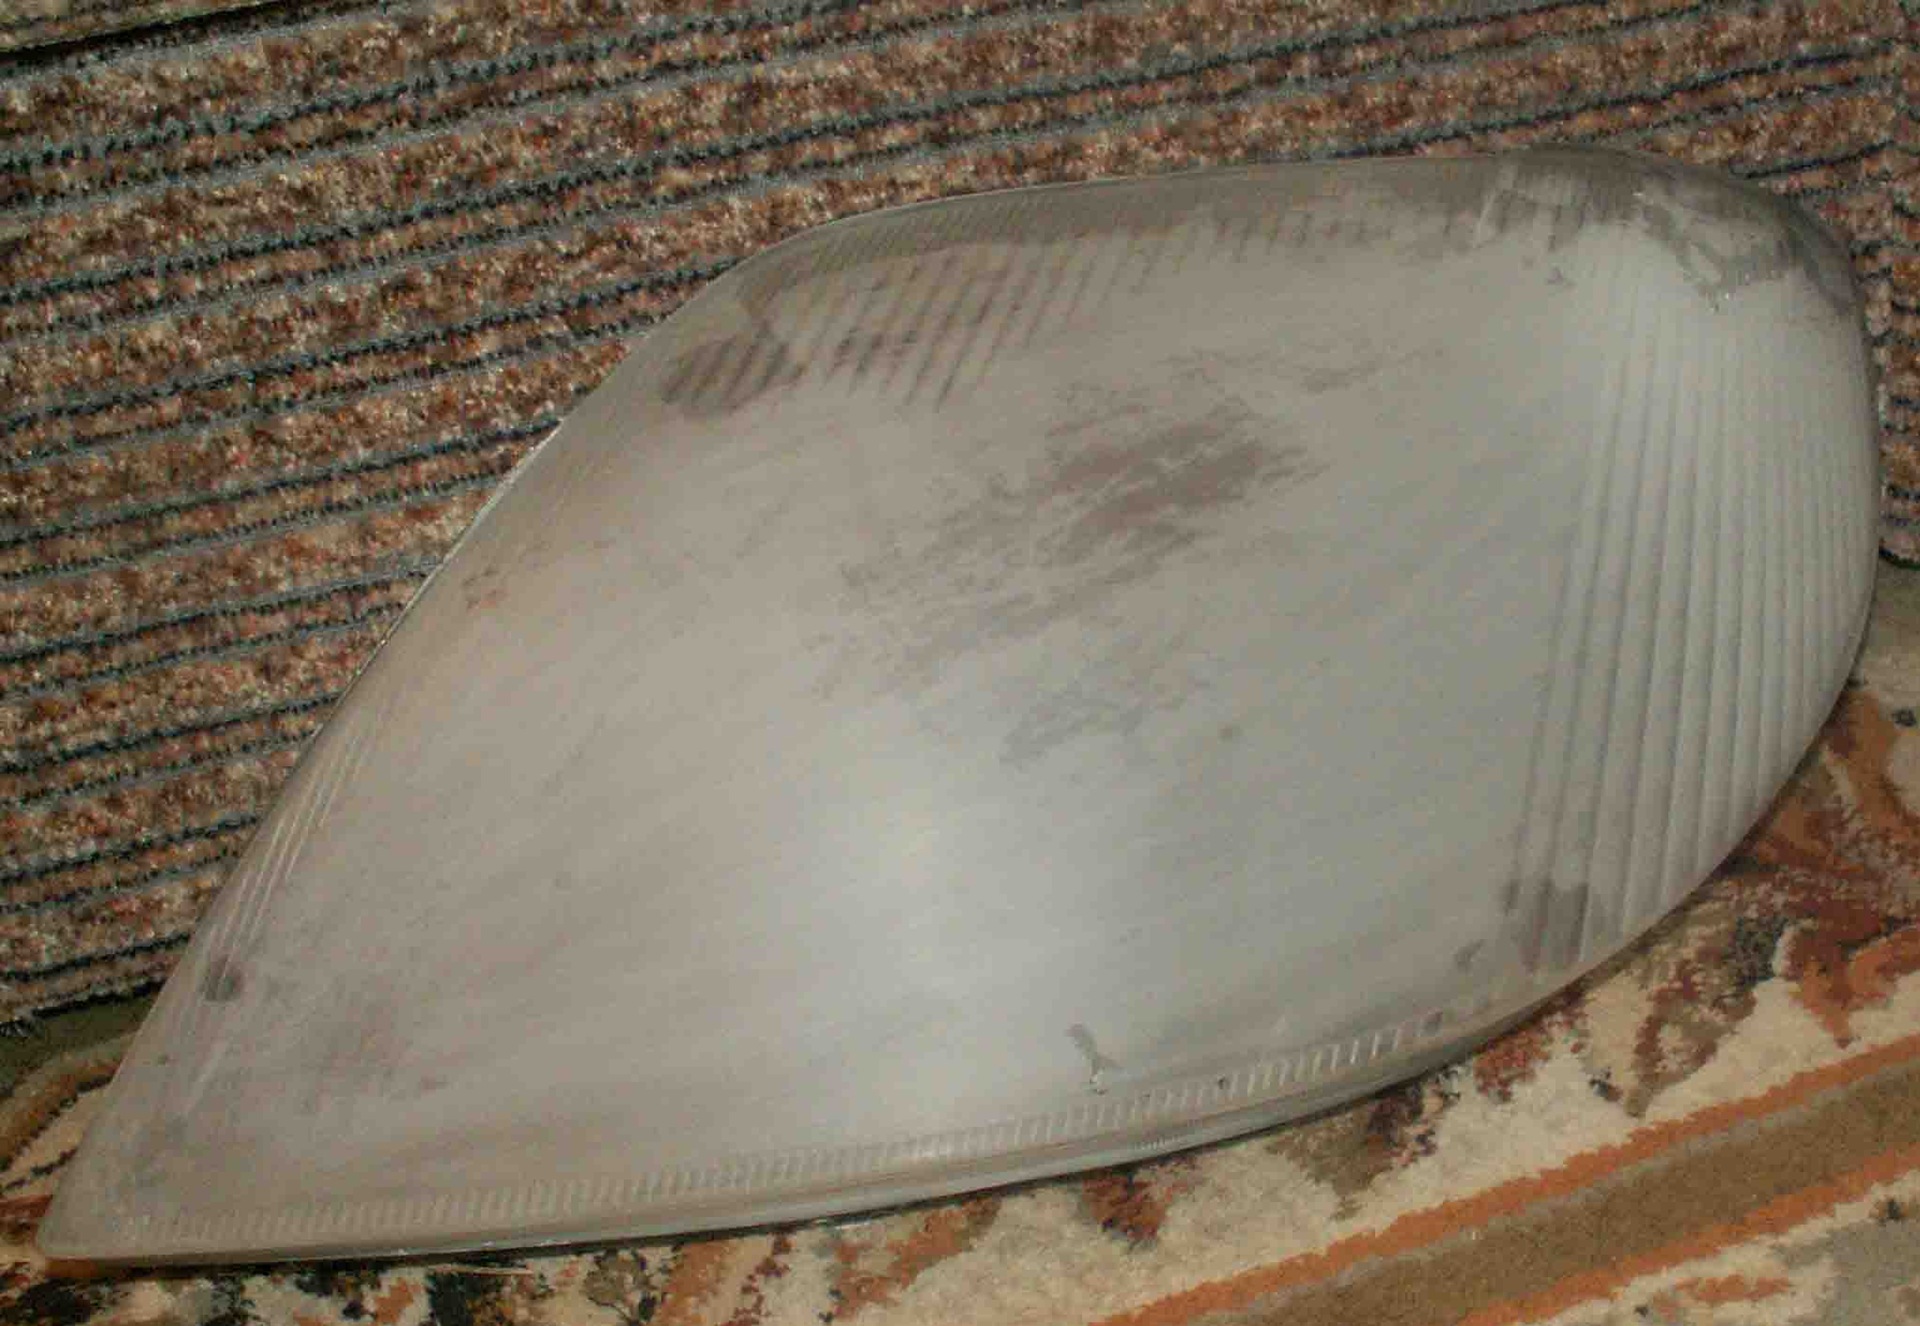
! IN NO EVENT DO WE SKIN ANYTHING
FROM THE INNER PART OF THE GLASS.
We start the polishing itself. For this we have purchased professional 3M pastes. We will polish with a nozzle for a drill, only I did not use a drill, but a large screwdriver (it does not have such high revolutions, be careful not to overheat the glass with a drill.) We start polishing with coarser abrasives, and end with smaller ones.
The sequence is as follows:
1. Polish 3M No. 76.
2. Polish 3M No. 74.
3. Glass polish Doctor WAX.
The glass is very clean, just like new.
! If you have
glass that is not yellowed and not very worn , it is unnecessary to skin the headlight, you can immediately
start polishing.
-------------
We paint
-------------
Now the most crucial moment is painting the headlights. To do this, we need to glue the entire area that will NOT be painted with masking tape.
We glue it carefully and meticulously to repeat all the contours of the headlight. It turns out the following.
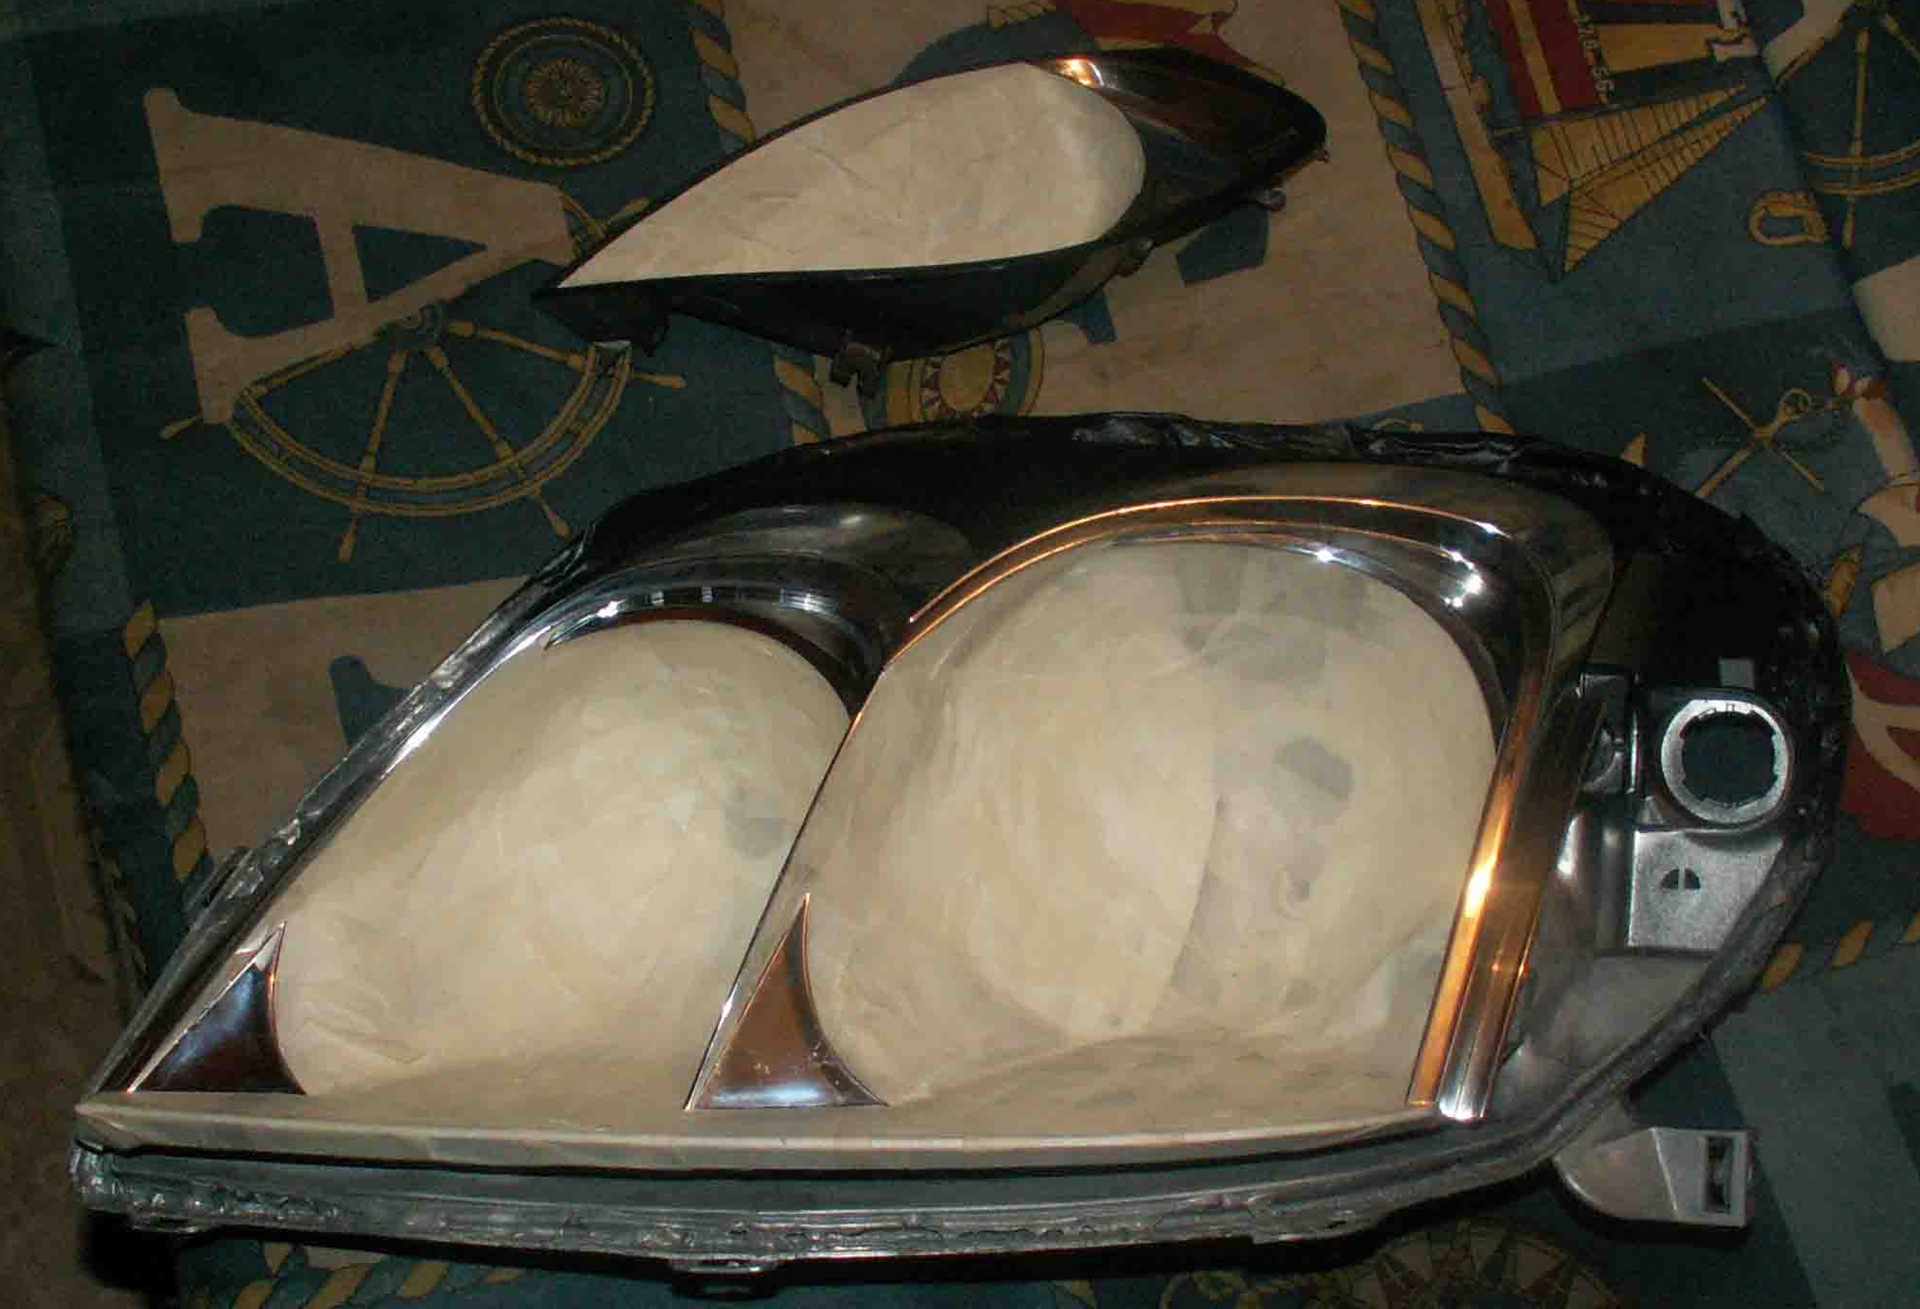
We go to paint in 2-3 layers.
The instruction is written on the balloon :)
Painted, great. Immediately, we carefully correct the jambs of painting with Wait with spirit and a stick for cleaning the ears (just do not rub hard, rub off the chrome).
Leave to dry and you can put the headlights back.
But I faced such problem. My chrome has burnt out and blackened from powerful bulbs in some places.
A creative decision was made, to paint with chrome "sports stripes" by the way looks great, if anyone wants, he can just paint it. We glue it over.
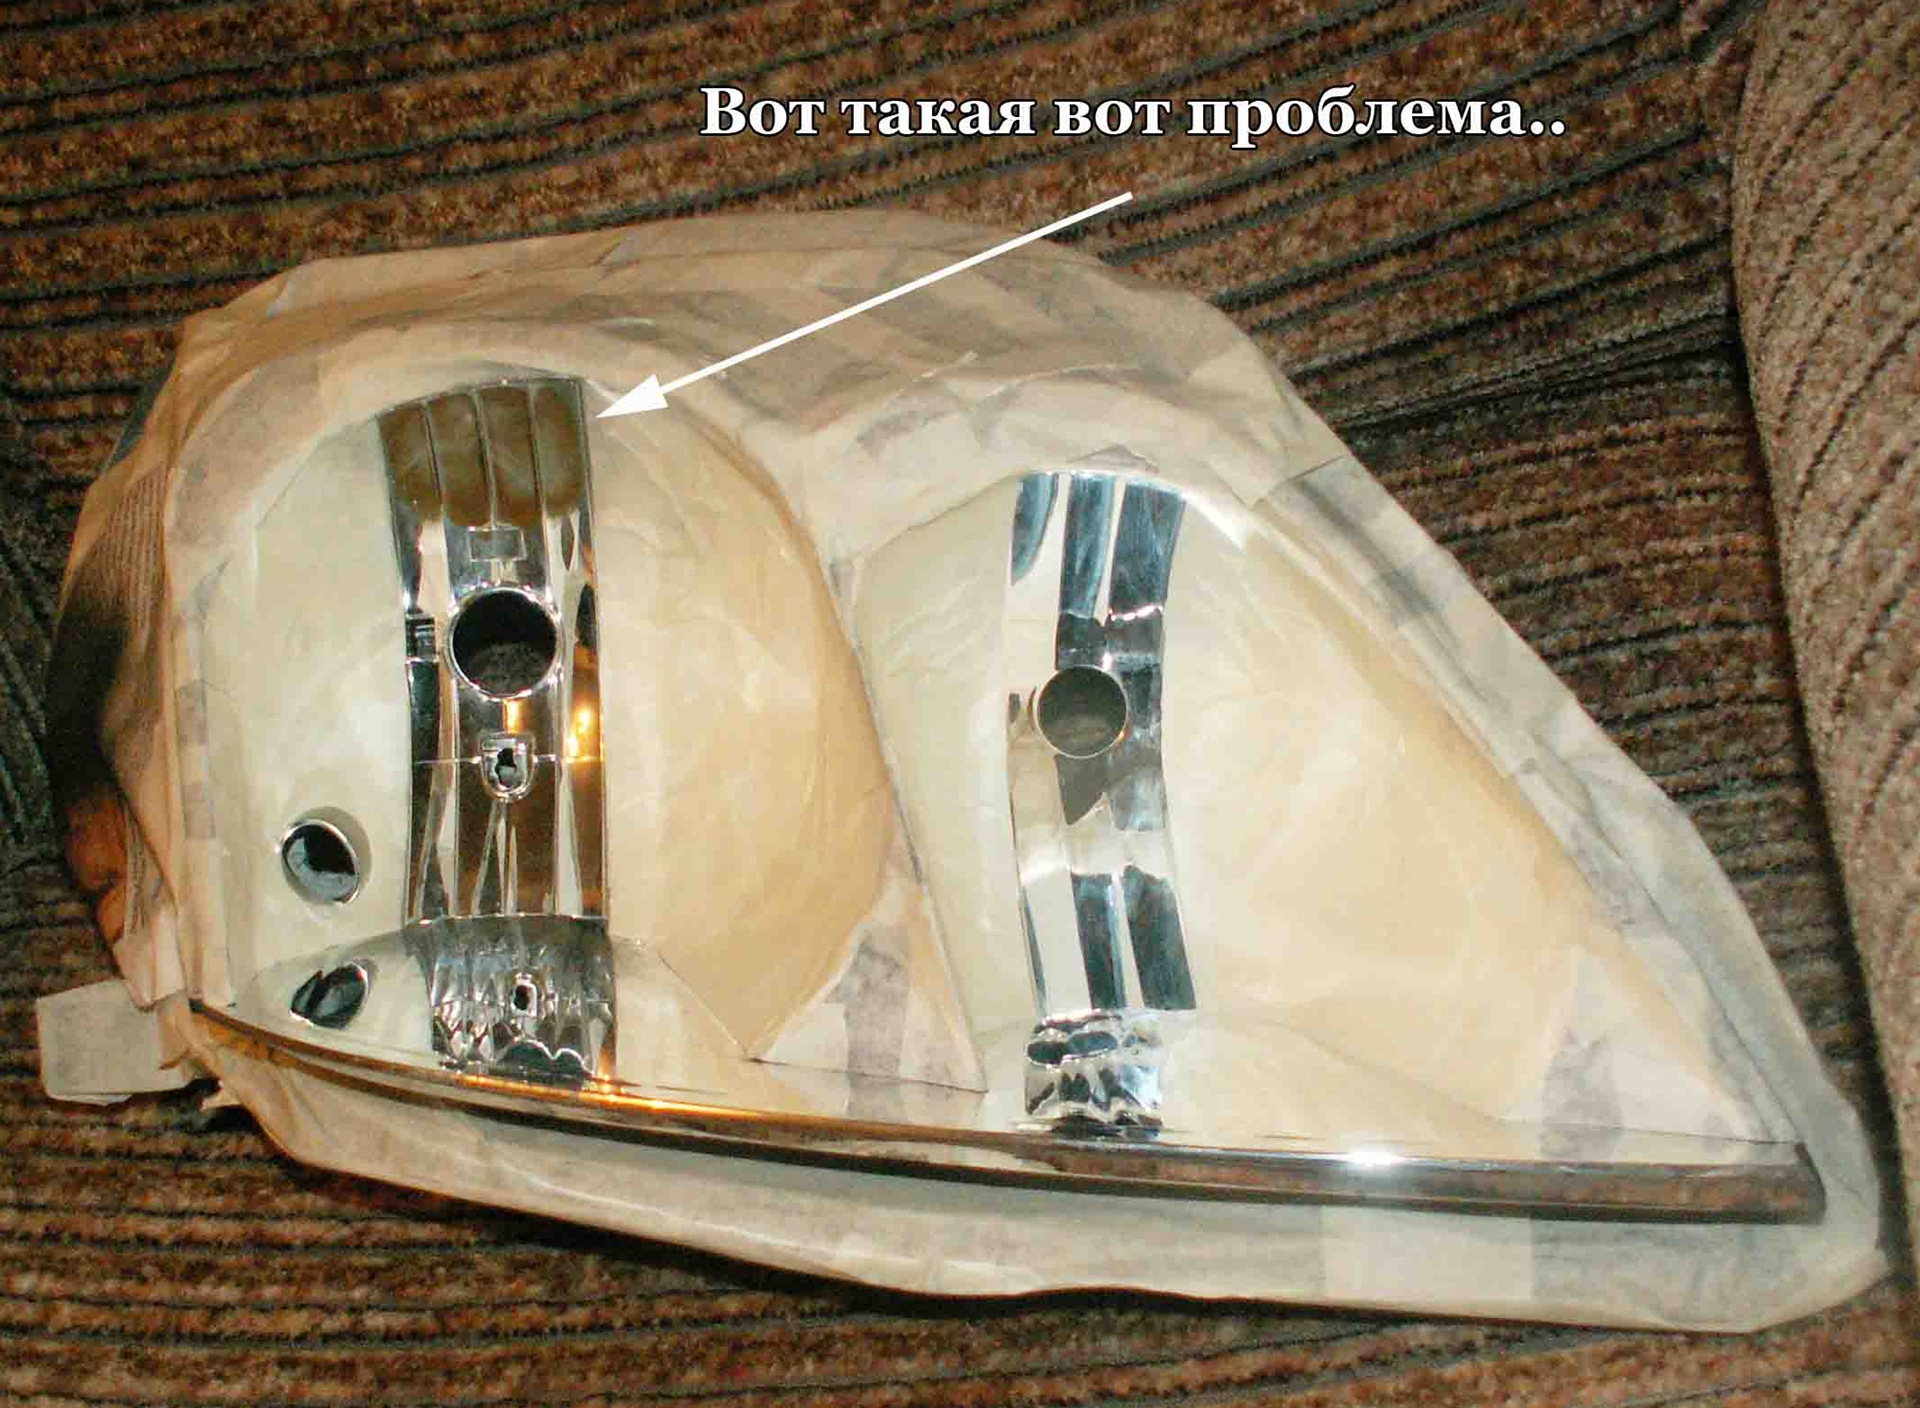
We paint with Chrome again in 2-3 layers, I painted in 2 so that it does not protrude. It turned out very well.
---------------
Collect
---------------
Collect the next day after all painting. We fasten the turn signal to the glass, and put the glass in the headlight housing, press it as best we can and walk along the contour with a sealant.
We put the whole thing in the oven for 3-5 minutes. We take out, press firmly so that all the odds are counted. We wipe off the excess sealant and see the following result.
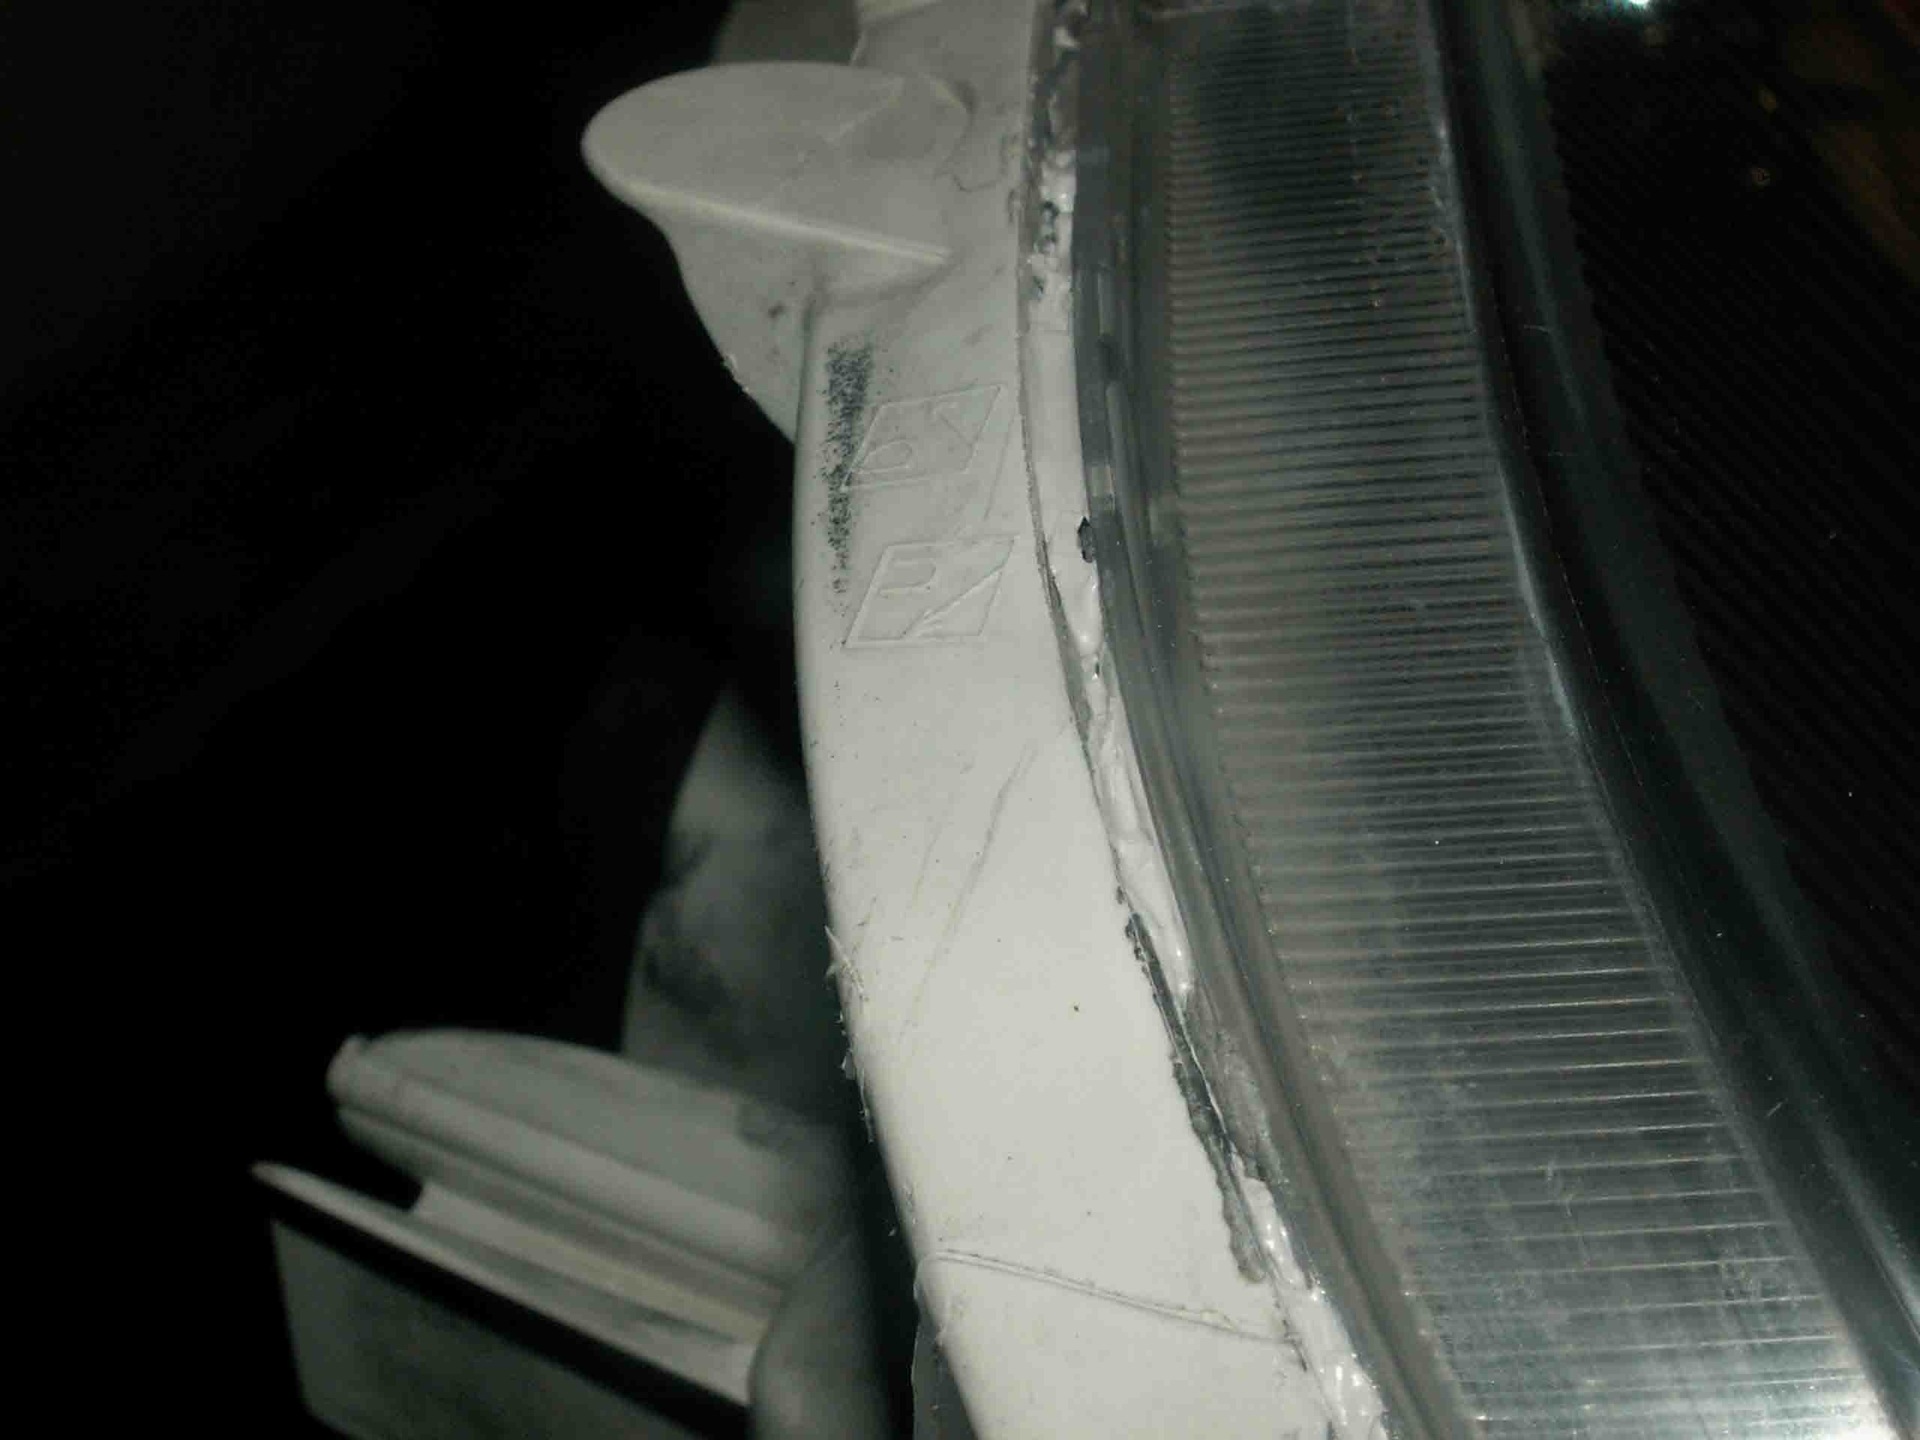
MANDATORY! We go through all the seams one more time so that the sealant lies "flush" with the seams, the headlights can sweat after washing. We leave it to dry for at least a couple of hours so that the sealant seizes.
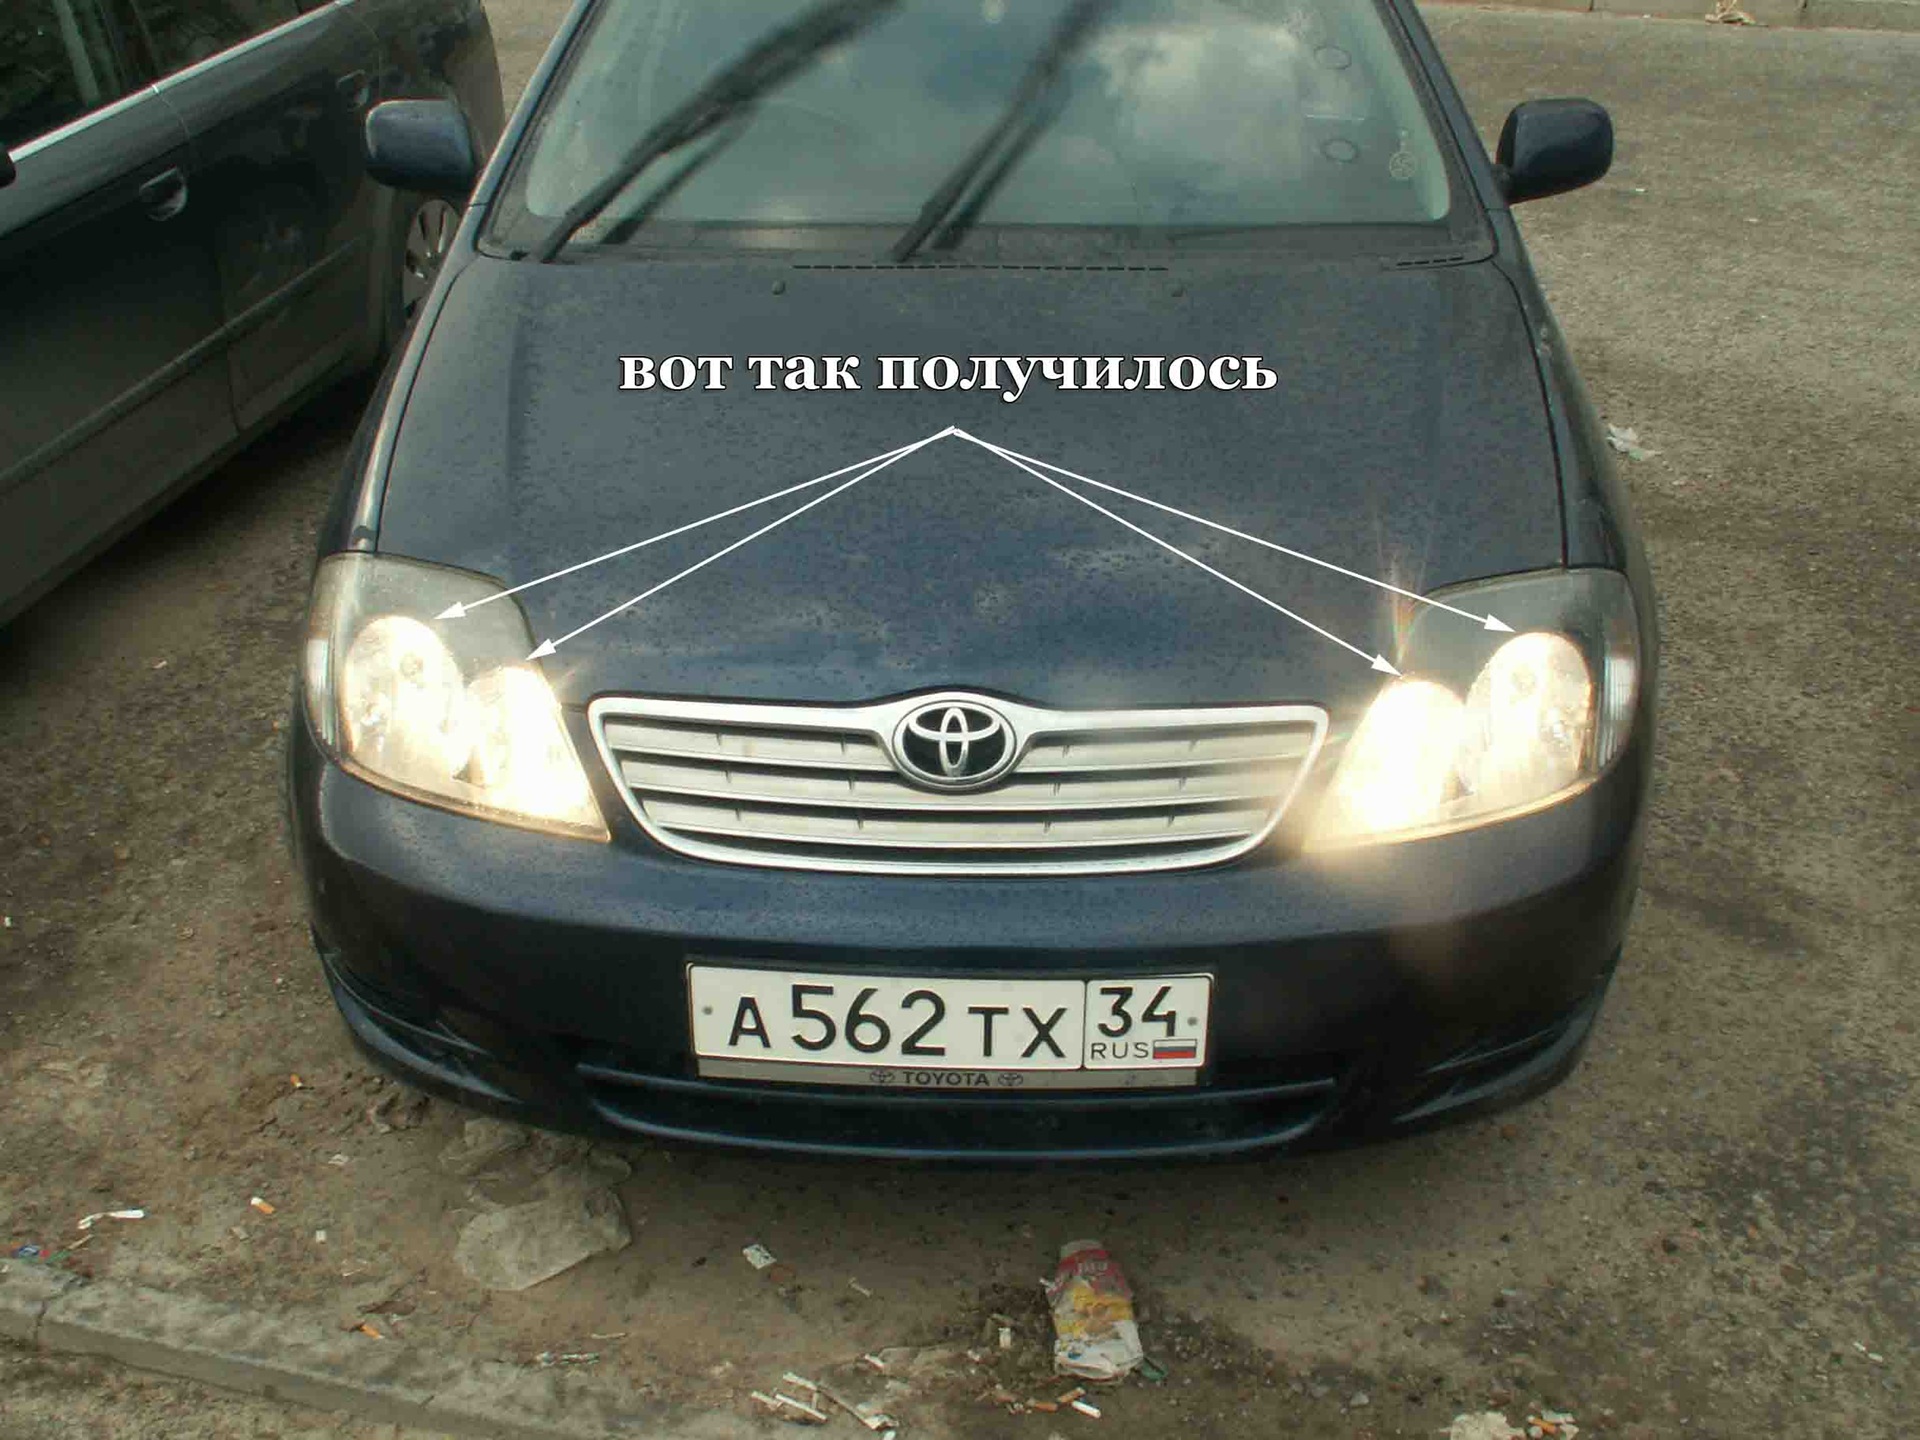
ALL! We can congratulate ourselves, we now have Tuned headlights.
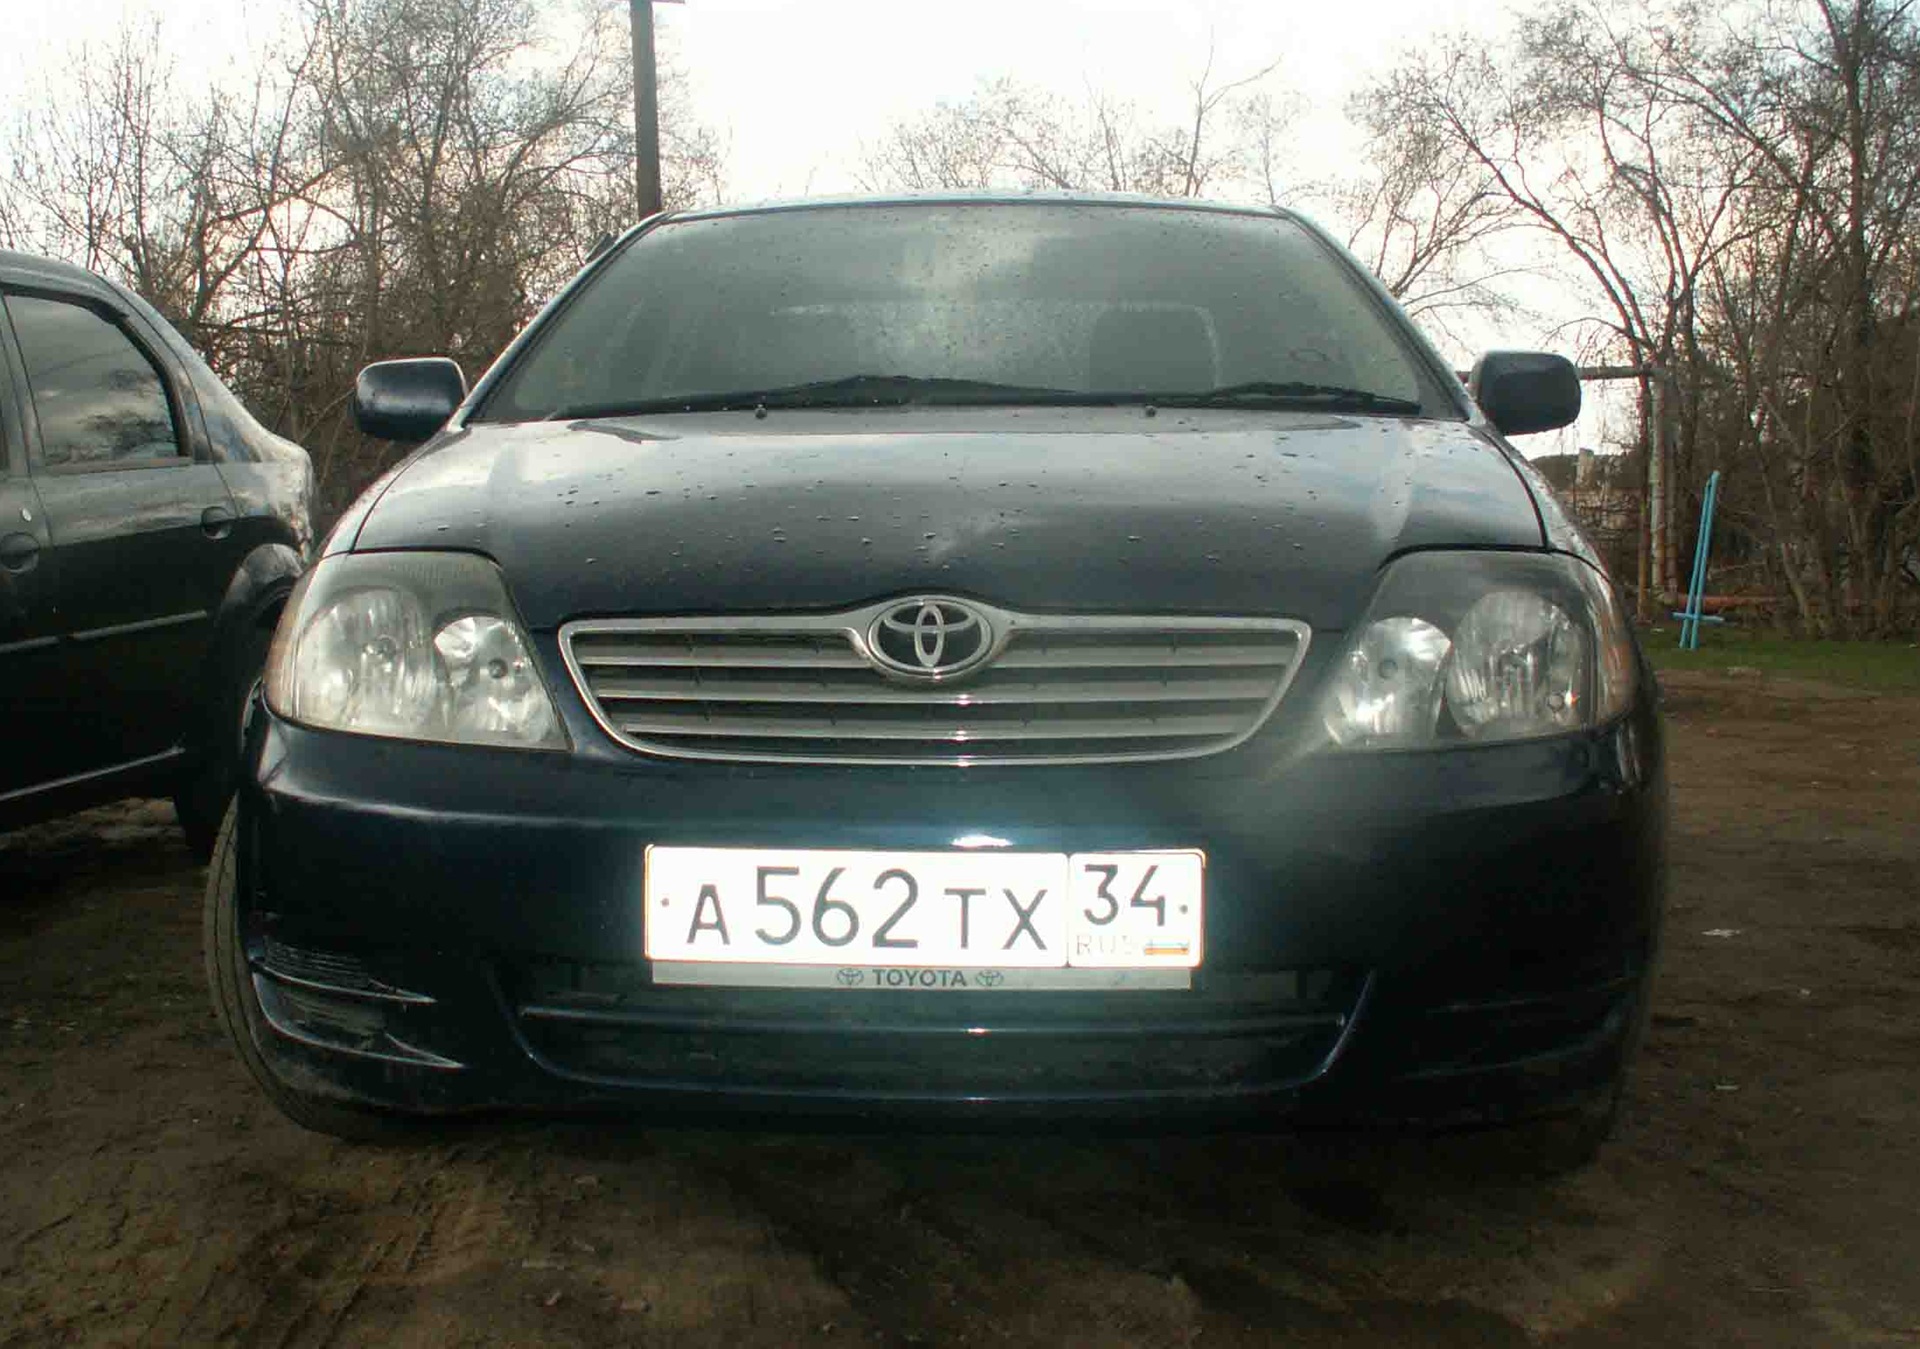
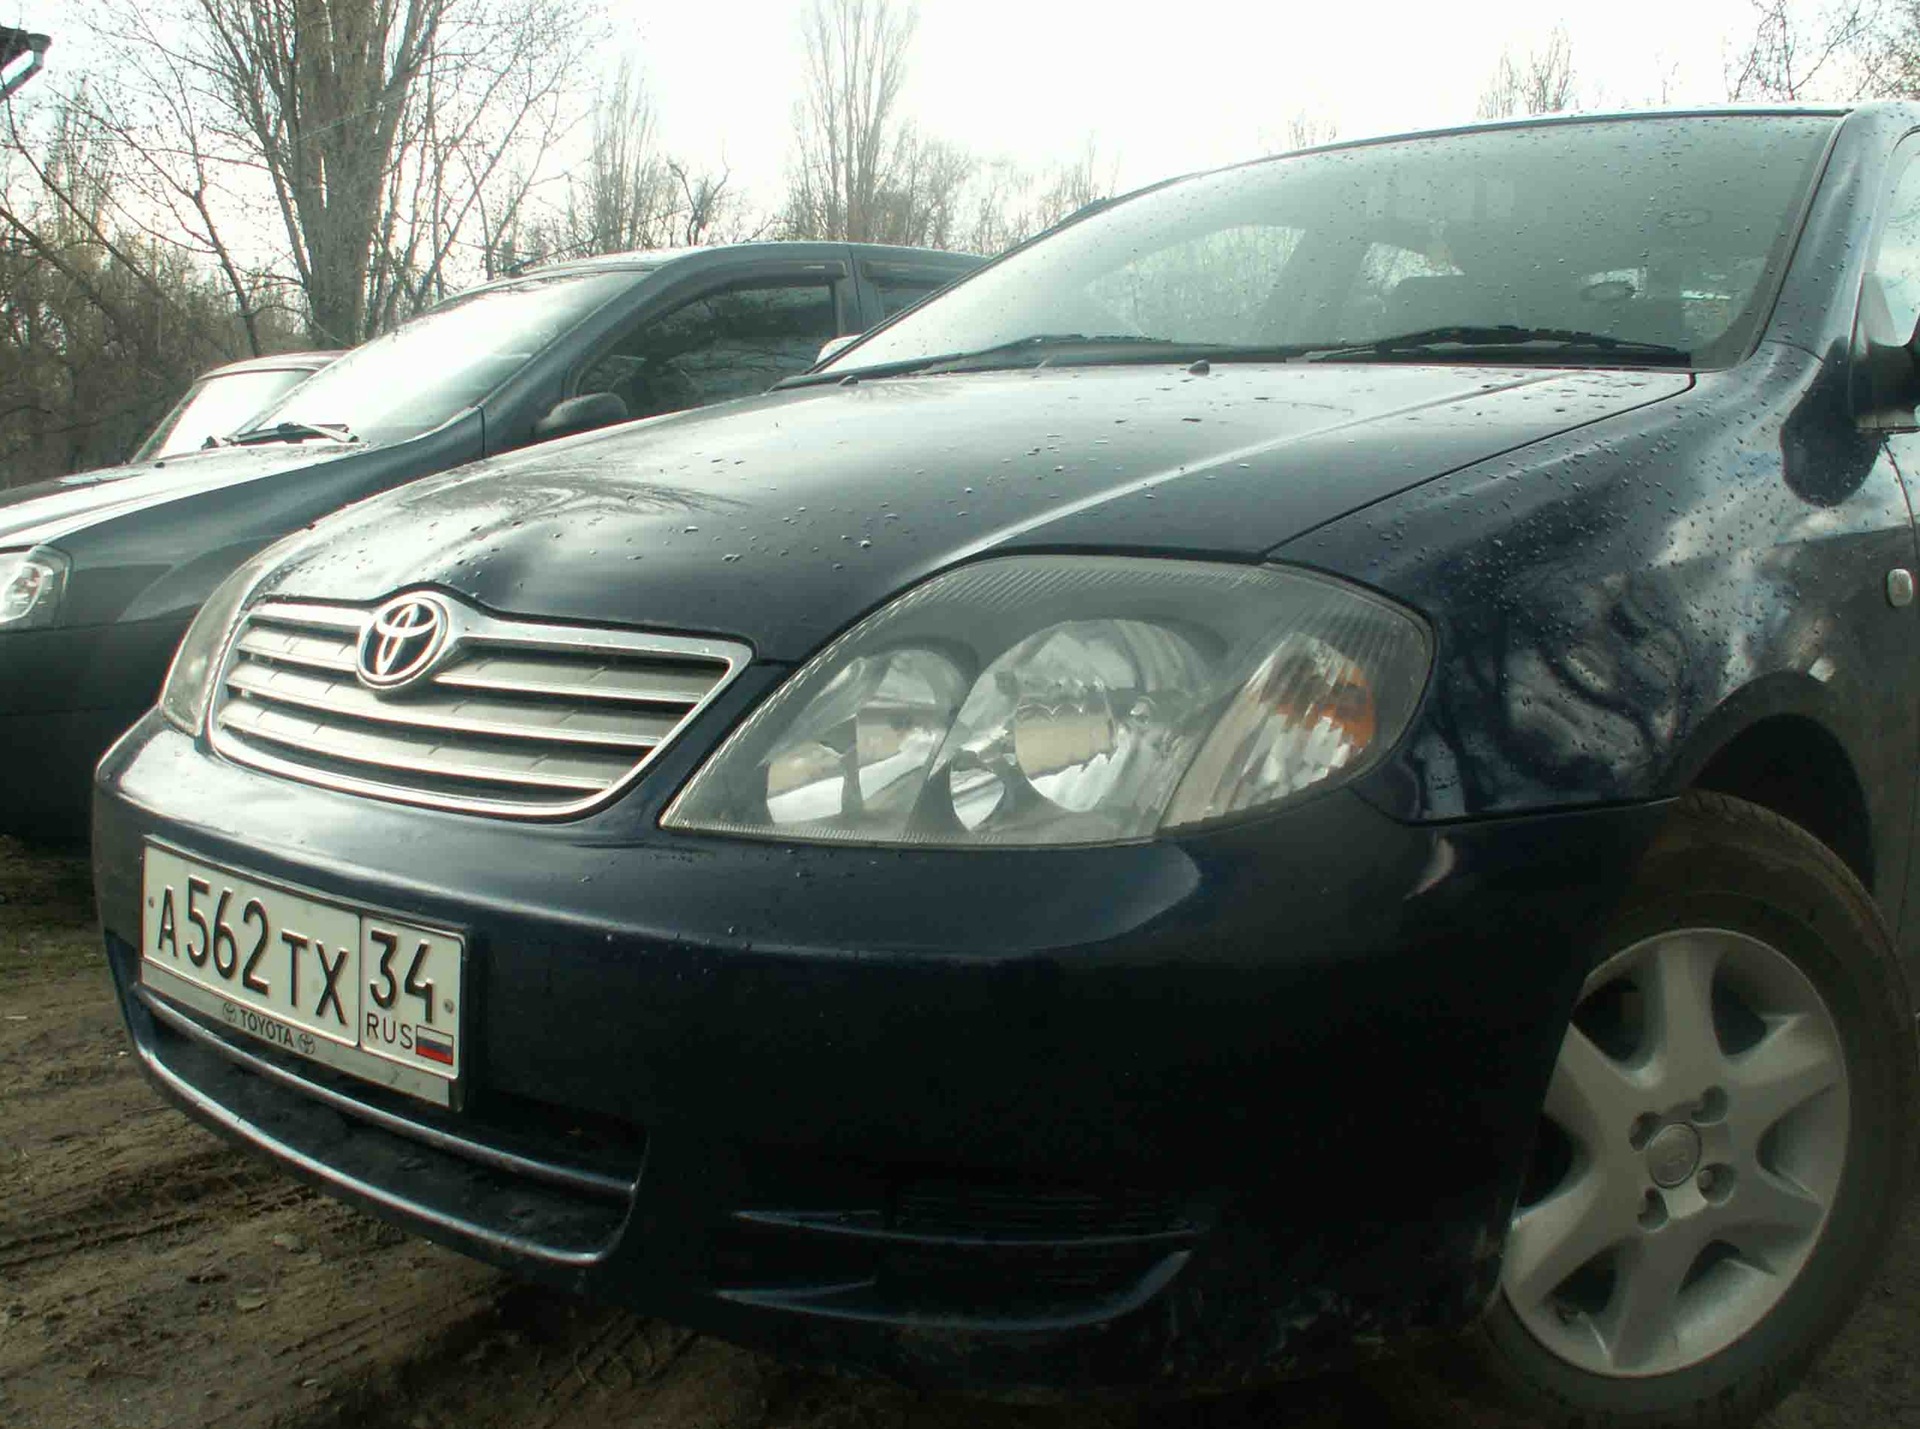
These are the cool stripes of light that came out after the "chrome" headlights.
If anyone is interested, I can exchange (free) for absolutely the same non-painted European headlights. There are new ideas for painting, I want to paint on the upper edge.
Write your applications :)
This is the best report I've seen anywhere! 5 points!
Tell me, did you preheat the oven beforehand? Or just threw it and turned it on?
Thanks for the kind words. I put it in the oven right away and turned it on, but more than 85 is unnecessary. 65 is enough for 5 minutes, but preferably on the blower. there is shown in the photo.
I'm also going with my own, but I can't even make up my mind, the report is excellent
Yes, no reason! If you write anything, I am always happy to help. I will help how I can :)
Poluti not be afraid, just first find out whether they darkened from the outside or from the inside. Maybe like my light bulbs darkened from the inside, but from the outside there is complete order. Successful polishing.
I also have something darkened or something ... with yellow steel ... I just want to try to turn it
:) Zdarov. generally I'm in Volgograd. and so I would have suggested, what and how, if I did not finish something. I can wave. If there is an option, we will cross. I really want to paint on the top edge. I saw something like that, I really liked it.
And I, too, can’t in any way if someone posted such a report. I would have decided a long time ago. will have to, as always, by experience :) Fortunately, hands grow from that place.
Come on, more enthusiasm and more. And I think I will make the cilia from fiberglass, only my hands will not reach :)
Here's a tip for you brothers. forums.drom.ru/toyota-cor...er-carib/t1151044228.html Maybe you can get it.
It will be easier to do on your car. The headlight is flat. They were worn out on mine.
:) Do not put it at the factory, in Russia you can even put it on disassembly. I think to put it. And so In the direct smyasle of the word - MANUAL!
Well, we were talking about a manual orrector. It's just that they don't put it on purebred Japanese women.
Firstly, there are no problems with THAT, the beam of light in them is easily adjusted at any one hundred, and secondly THIS is the EUROPEAN HEADLIGHTS! It's just tuning now. :) And there is no auto corrector, there is only a manual one ...
Well, nafig such crap? Depovskie European headlights are 5 sput in the store. Even cheaper through Exist - wasn't it easier to take them? Moreover, they save you from problems with TO + there is an opportunity to stick a corrector from a europike into them (I don't know - are there proofreaders on Singaporeans or not?)
You write awesome! Indeed, I have not seen such reports! I appreciated everything, I subscribed to the mashik and you! Well done!
Thank you for the kind words, I am very glad that my work was liked. I tried to explain so that there were no questions left. Use it, write if something is not clear, I will answer.
In great detail, it even seemed that I could handle it myself! But I have such hands that I need a second set of headlights right away - so as not to get upset!)
The sequence is as follows:
1. Polish 3M No. 76.
2. Polish 3M No. 74.
3. Glass polish Doctor WAX.
Maybe first 74, then 76? 74 - coarse, 76 - fine-grained
High-quality report, everything is detailed and to the point! Well done! Soon all this awaits me)
We take the headlight in our hands, put it in the oven and select the mode. (the oven is of course ELECTRIC)