the painter of me is still the one =) (+ install!) - Toyota Caldina, 2.0 l., 1997
So the beginning of the beginning.
Finally, in our glorious city the season of good weather, favorable for coloring, has begun. Moreover, I already had paint on my hands + the necessary materials. And then day N comes. I go to my father's base, drive her to the workshop and two would-be painters in the person of myself and my father (my father is a professional in wood, but rarely painted cars =) start to frantically jerk old thresholds, admire new will be upset with what we eventually found under the removed rapids. And we found the following: On the right side, when the wing changed, the car was then given for painting, everything seemed to be fine, the color was picked up super. But here's the bad luck. Under the native rapids, the wing was not painted over = (after all, all it was necessary to unscrew 2 bolts. Apparently it was laziness, or xs what the painter was guided by.
The second point was the left side. due to the fact that I tightened so much with the left broken threshold, moisture and other all kinds of muck constantly got into the niche between the threshold and the body, which naturally caused slight corrosion in some areas.
In general, it was decided, since we started, to sand everything thoroughly and paint over the pieces as they are. Better a slightly unbroken color than a caardinally different or even worse rust!
For painting plastic, according to the punishments of a well-known painter, the following materials were used, in order:
1) Sandpaper (sandpaper is popularly used), abrasives 180, 400, 800 and 1200.
2) Transparent ORBAY Plastic Primer.
3) Final gray U-POL primer.
4) SilFix anti-silicone wipes.
5) Paint base 1A0 Platinum Metal.
6) DuPont 120s varnish.
7) Plain masking tape.
8) Good old solvent =).
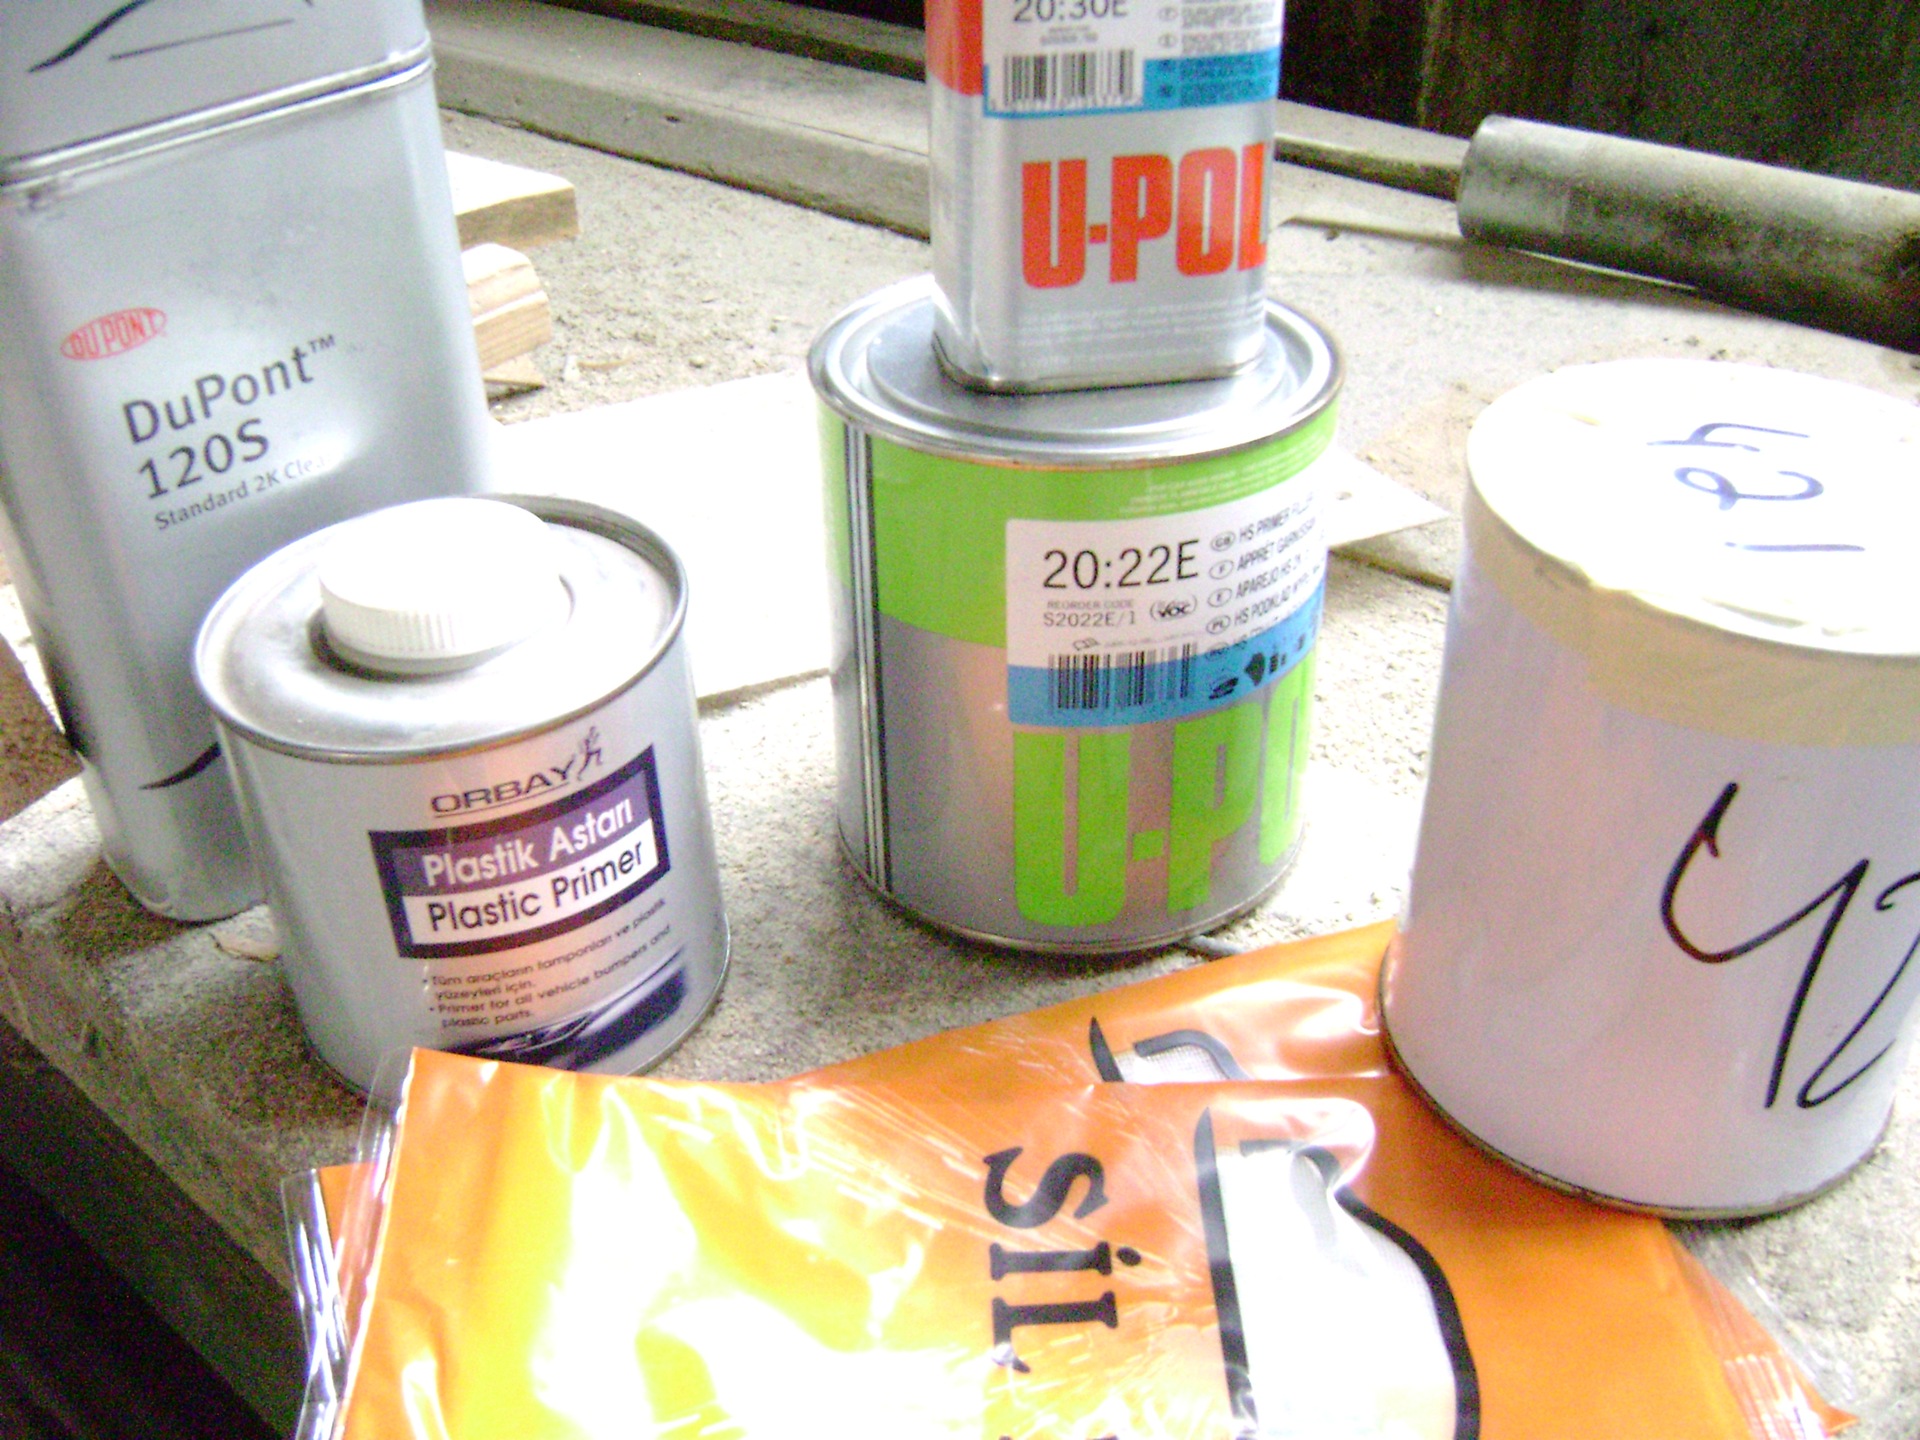
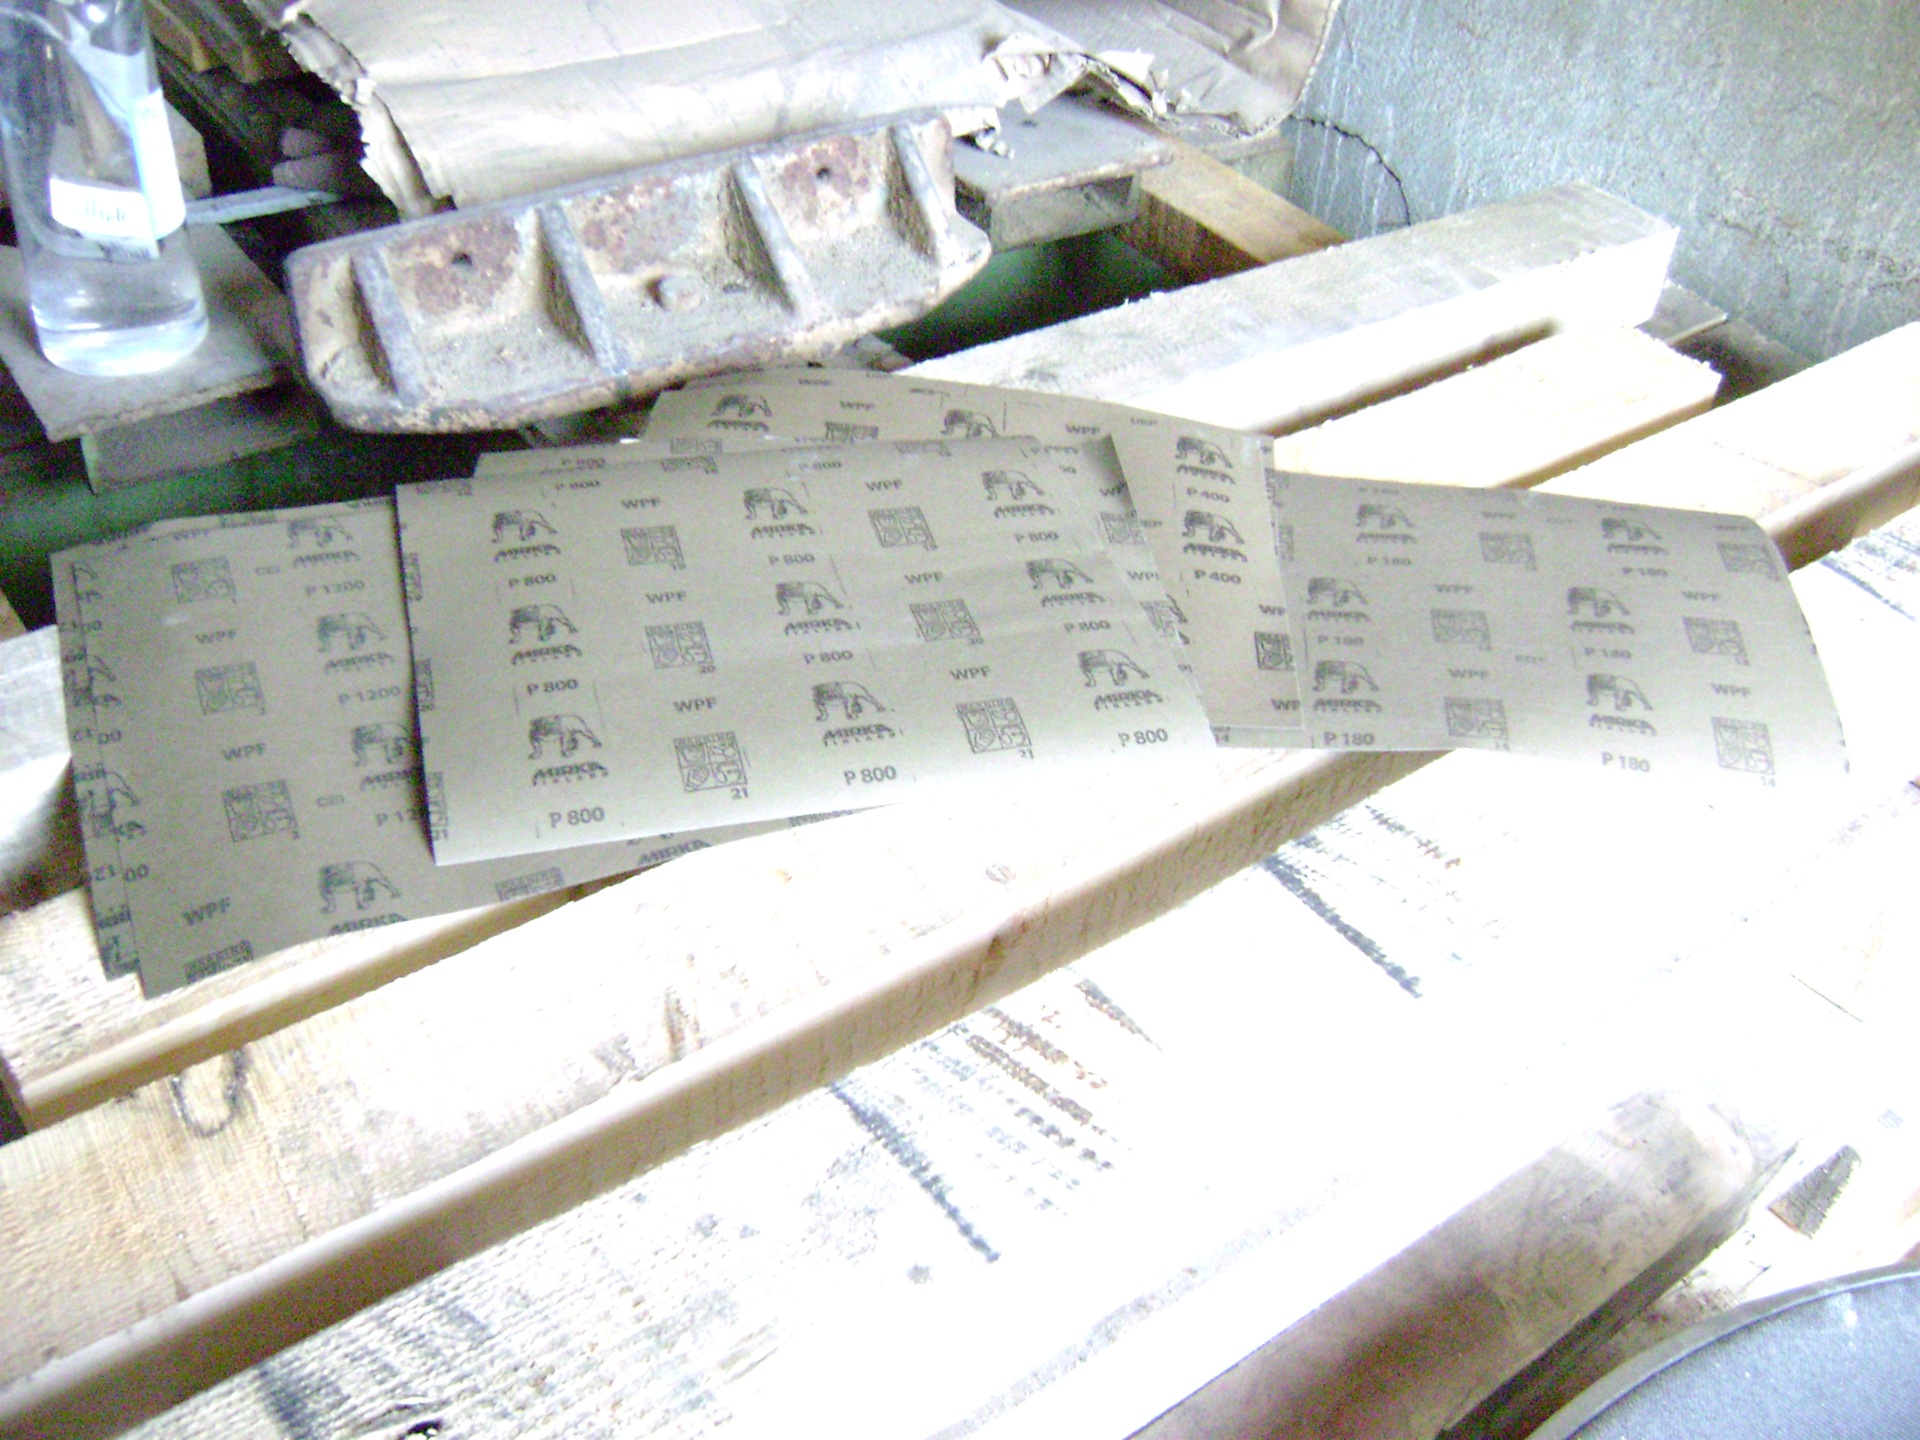
The order of the conduct of the work was as follows:
Day one:
1) Before the loss of the pulse, plastic was sandwiched with sandpaper, until a matte surface was formed (in a simple way, they simply removed the old varnish). It took the entire 1st day. Nobody came home at all. I ate and immediately sleep =)
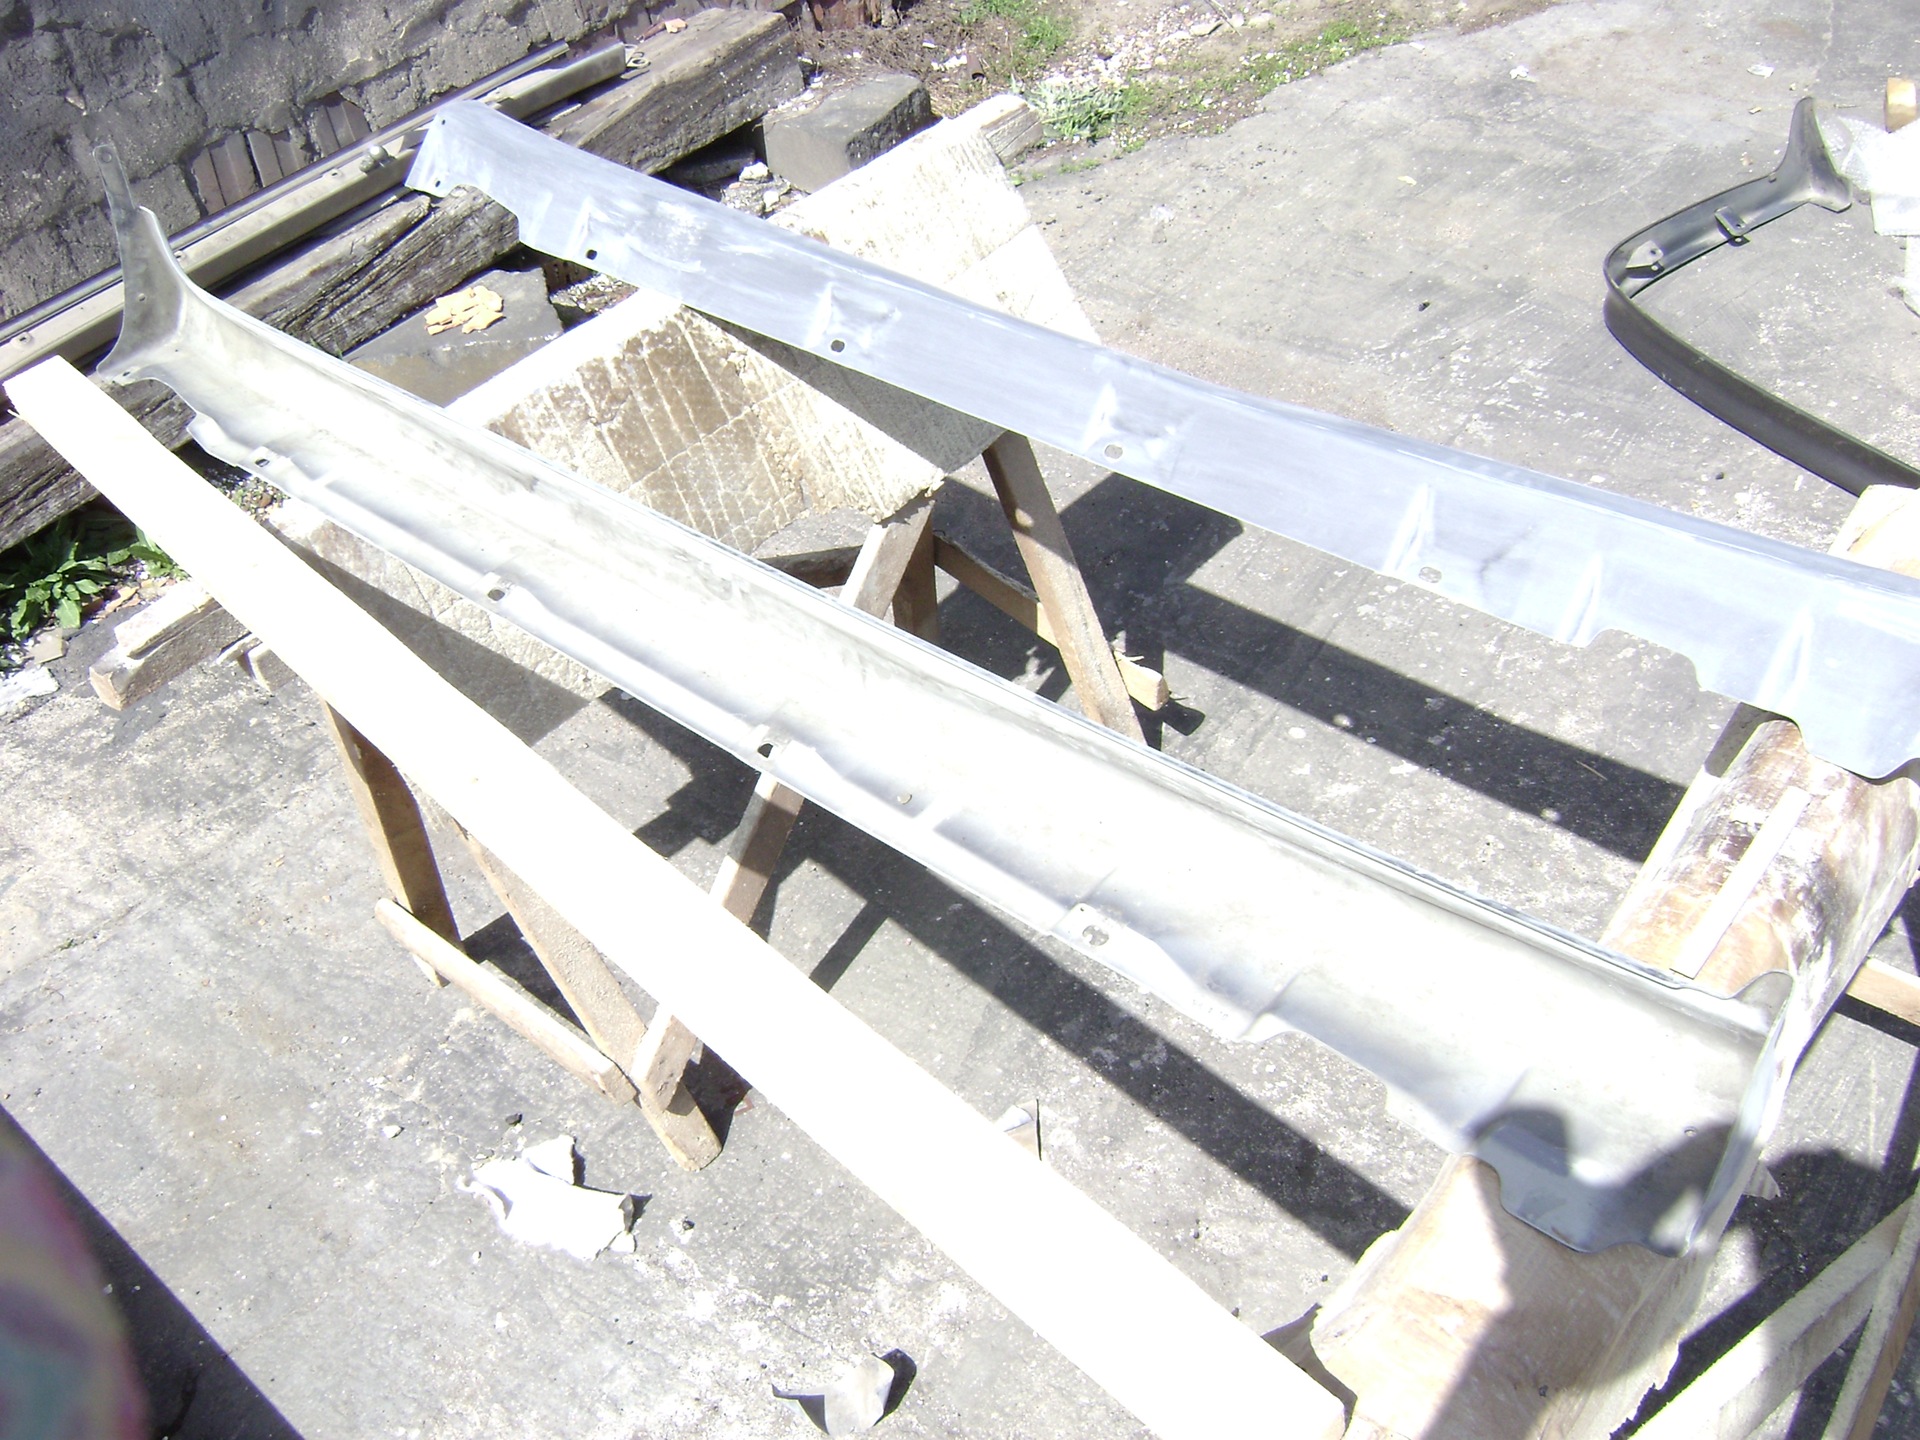
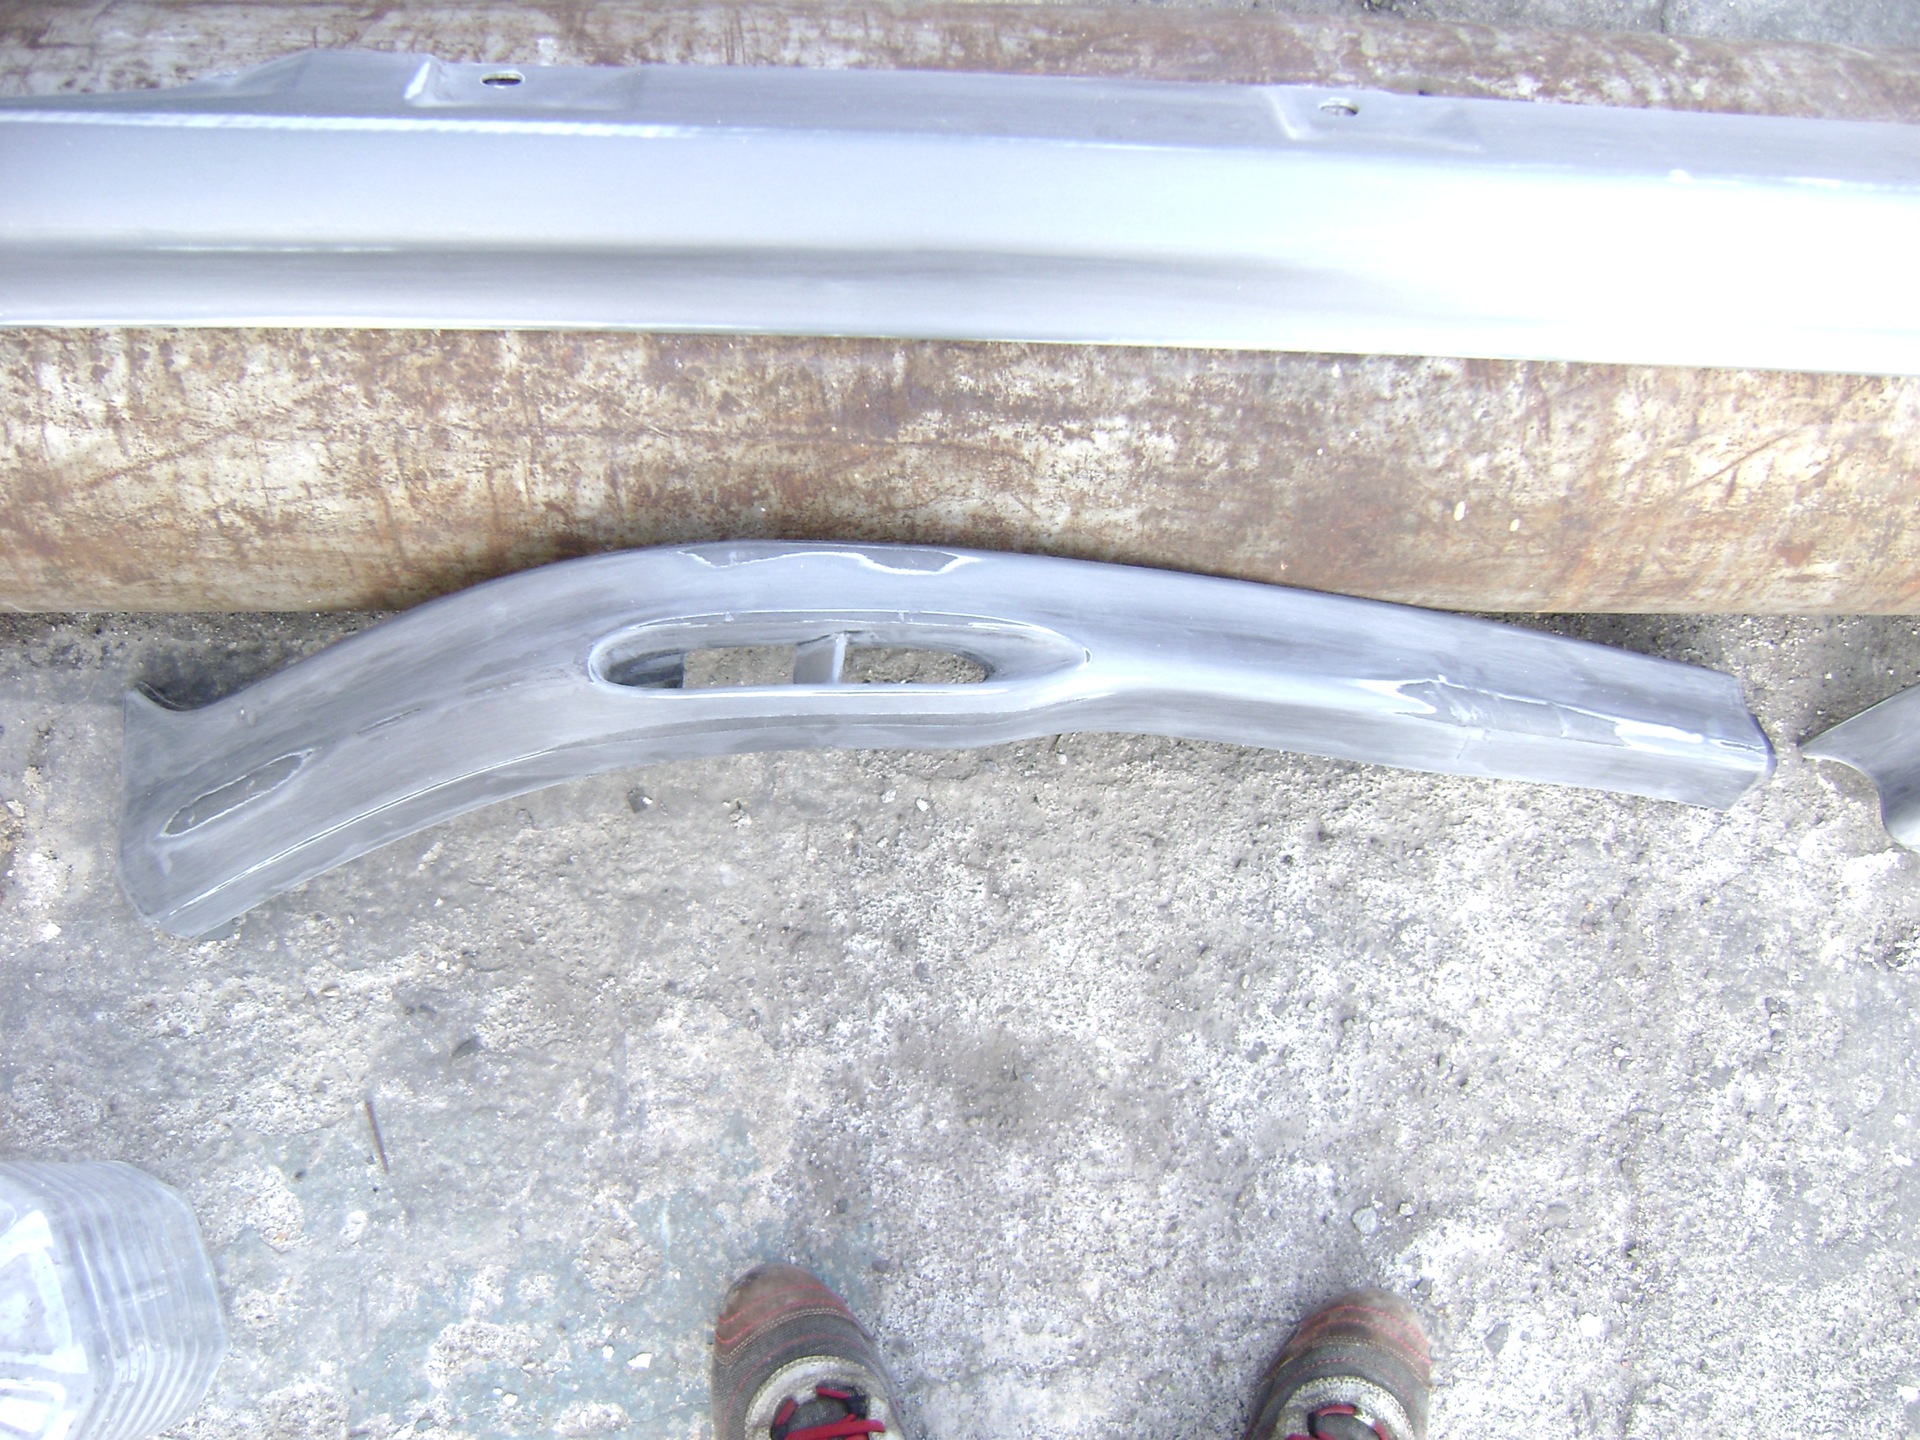
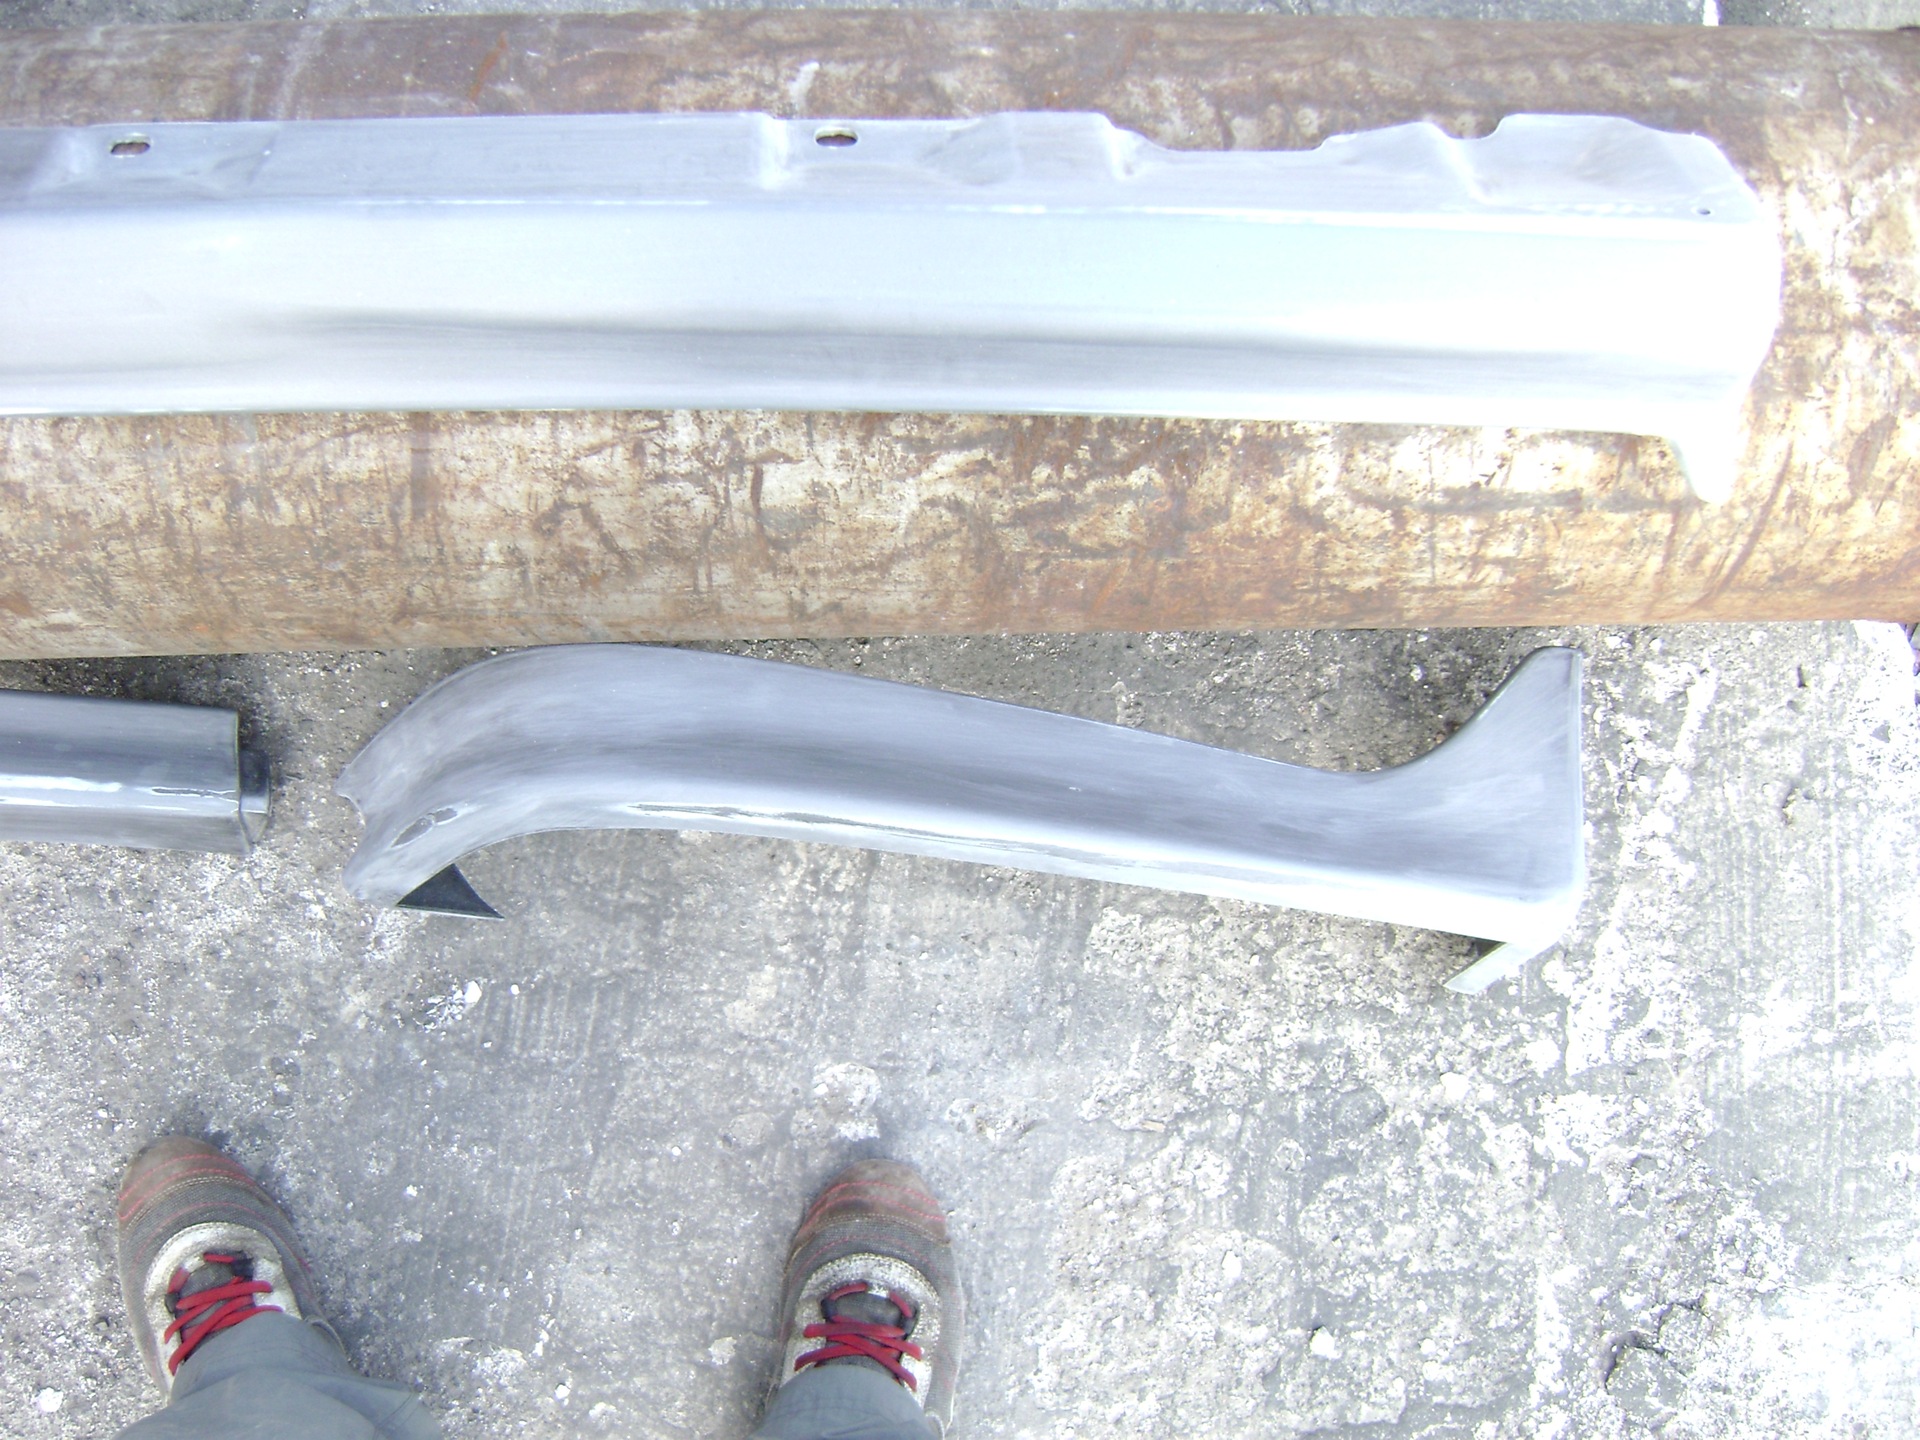
Day two:
2) Wash the parts, degrease them with a solvent.
3) Passed 2 times with colorless Orbay Plastic Primer.
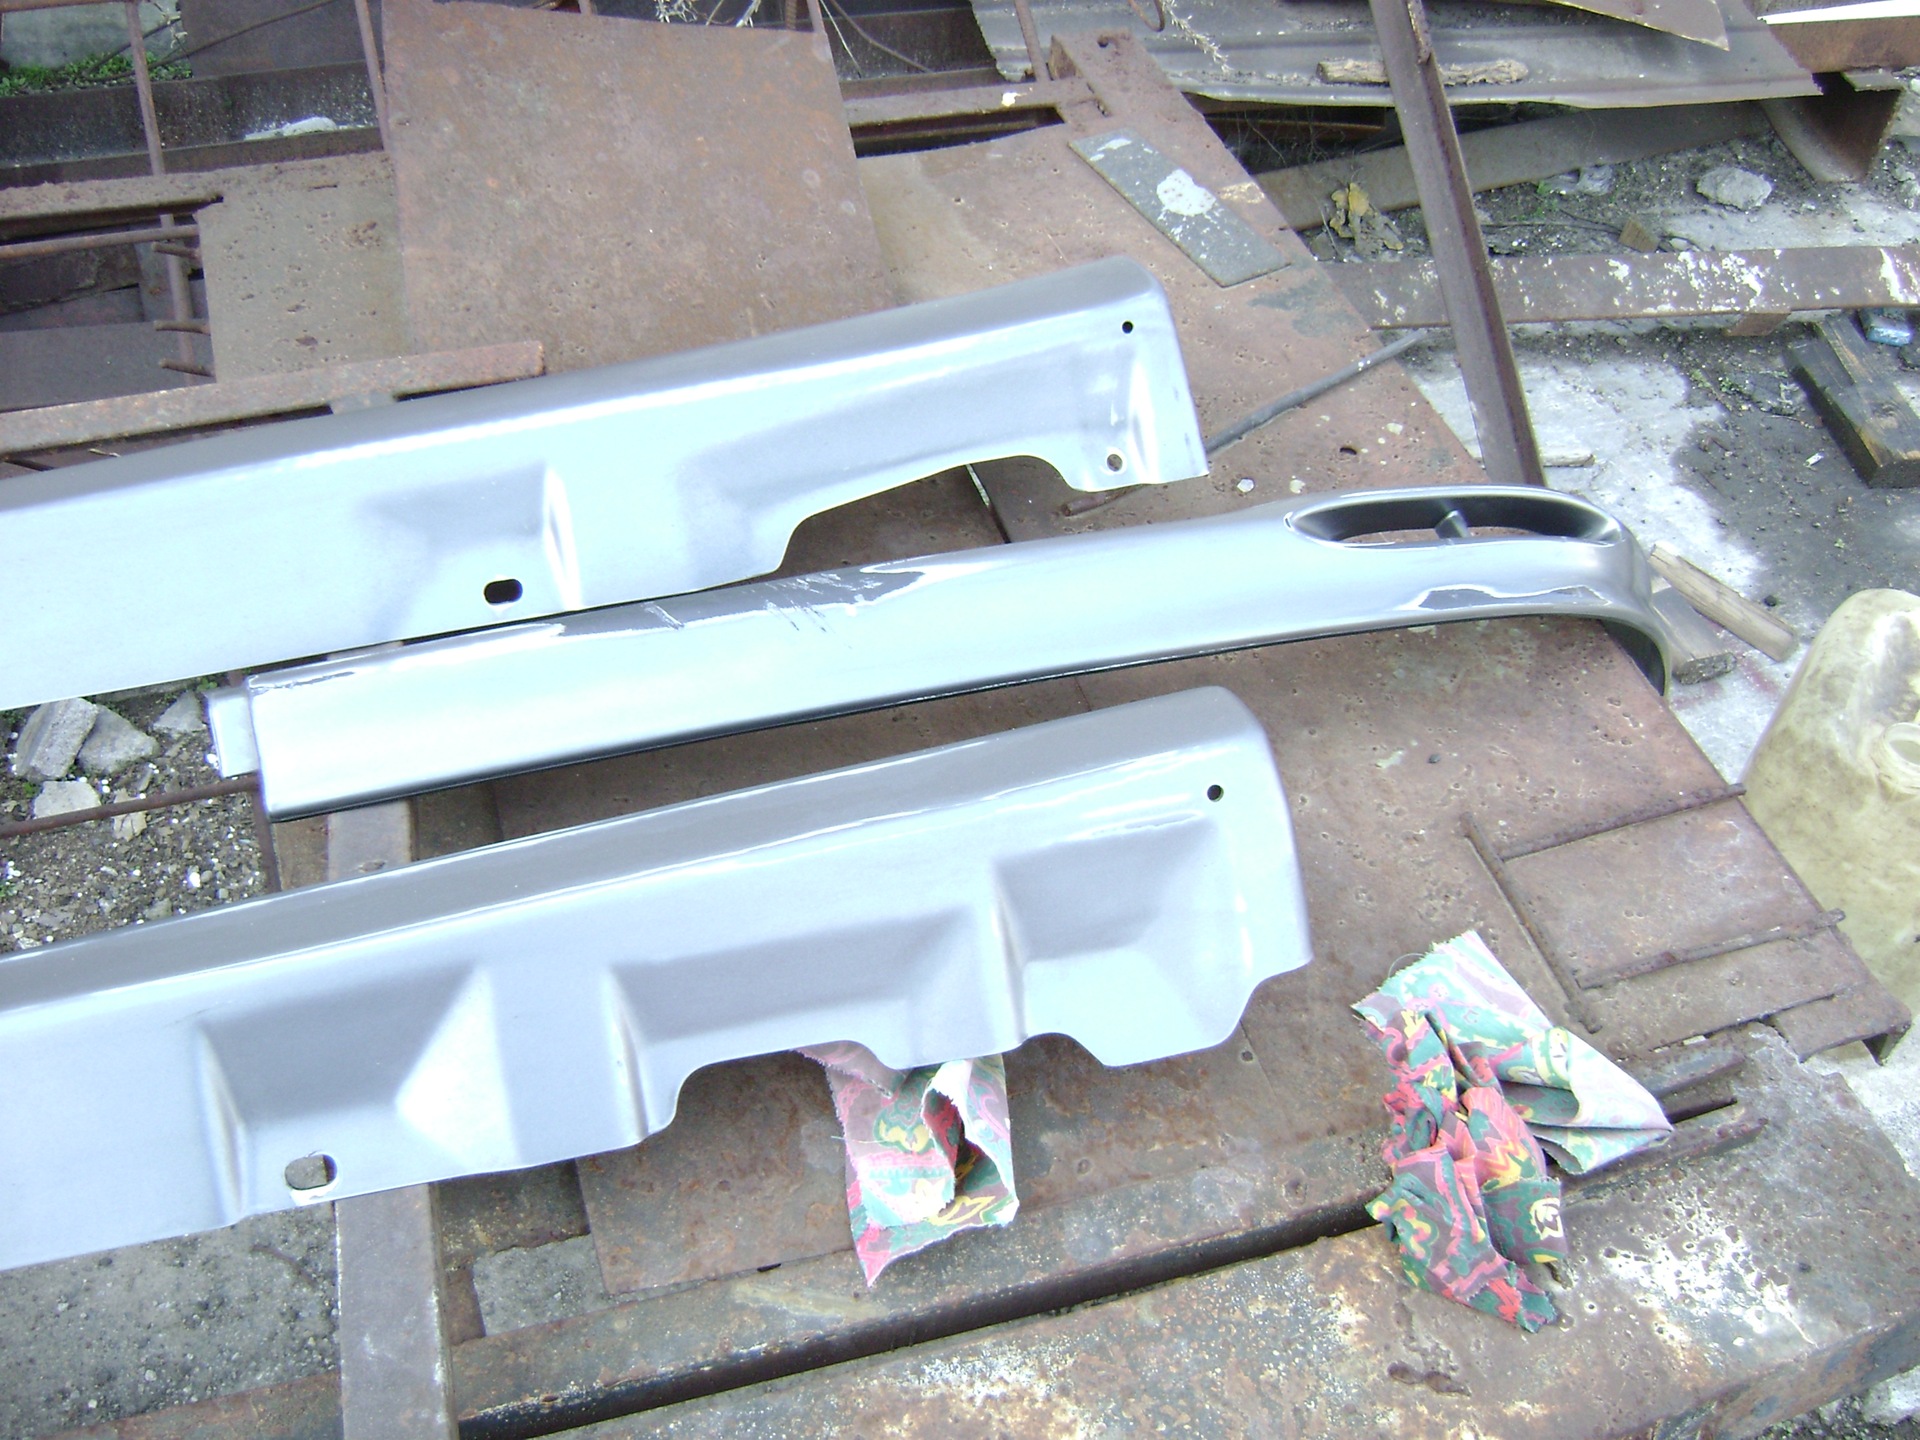
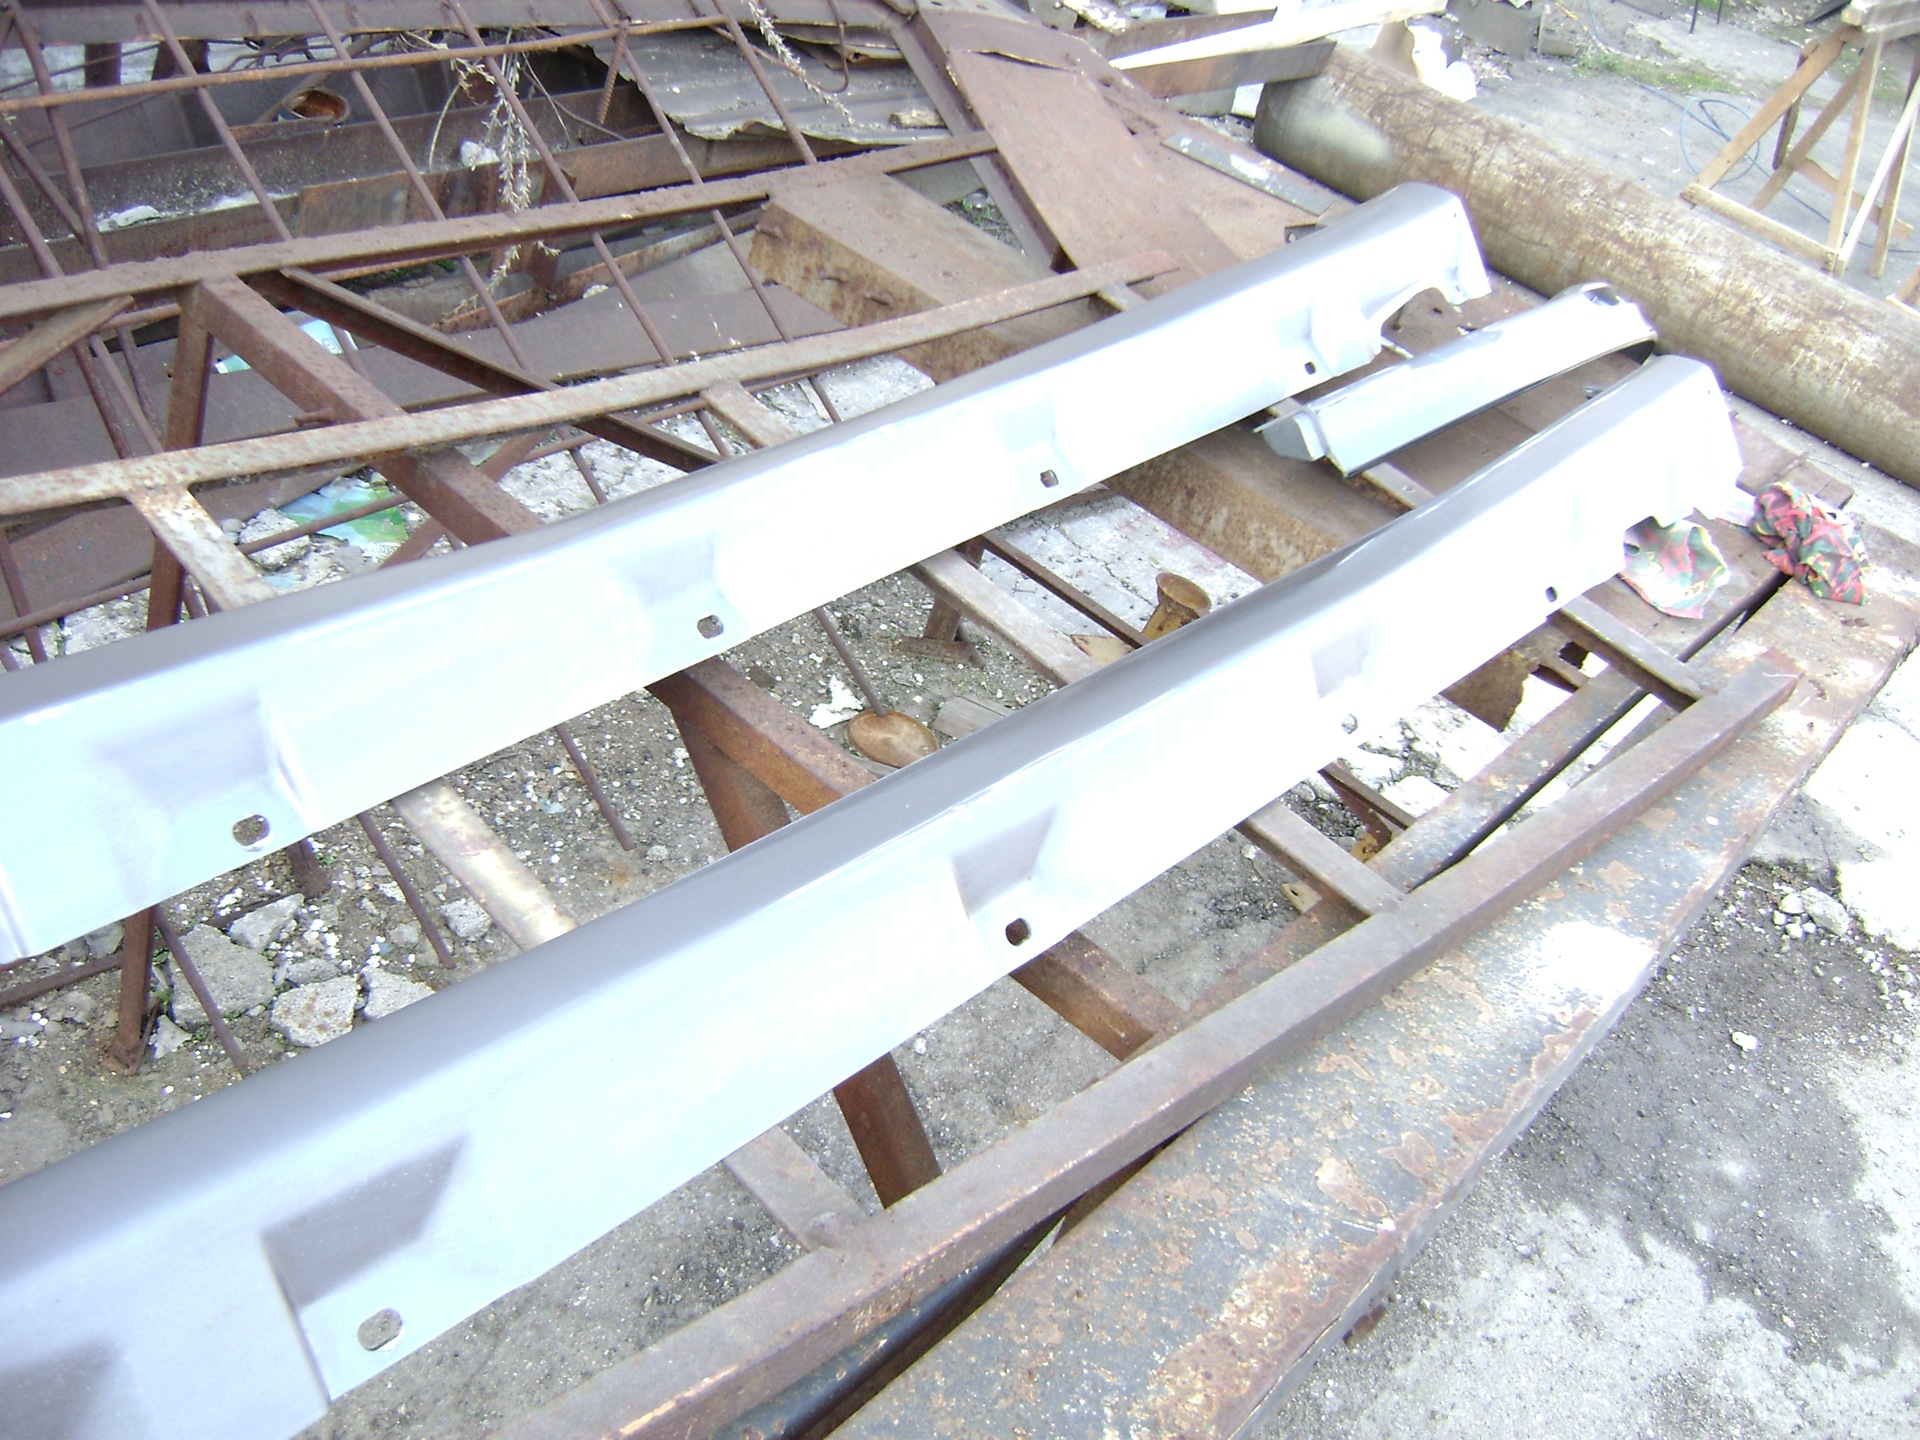
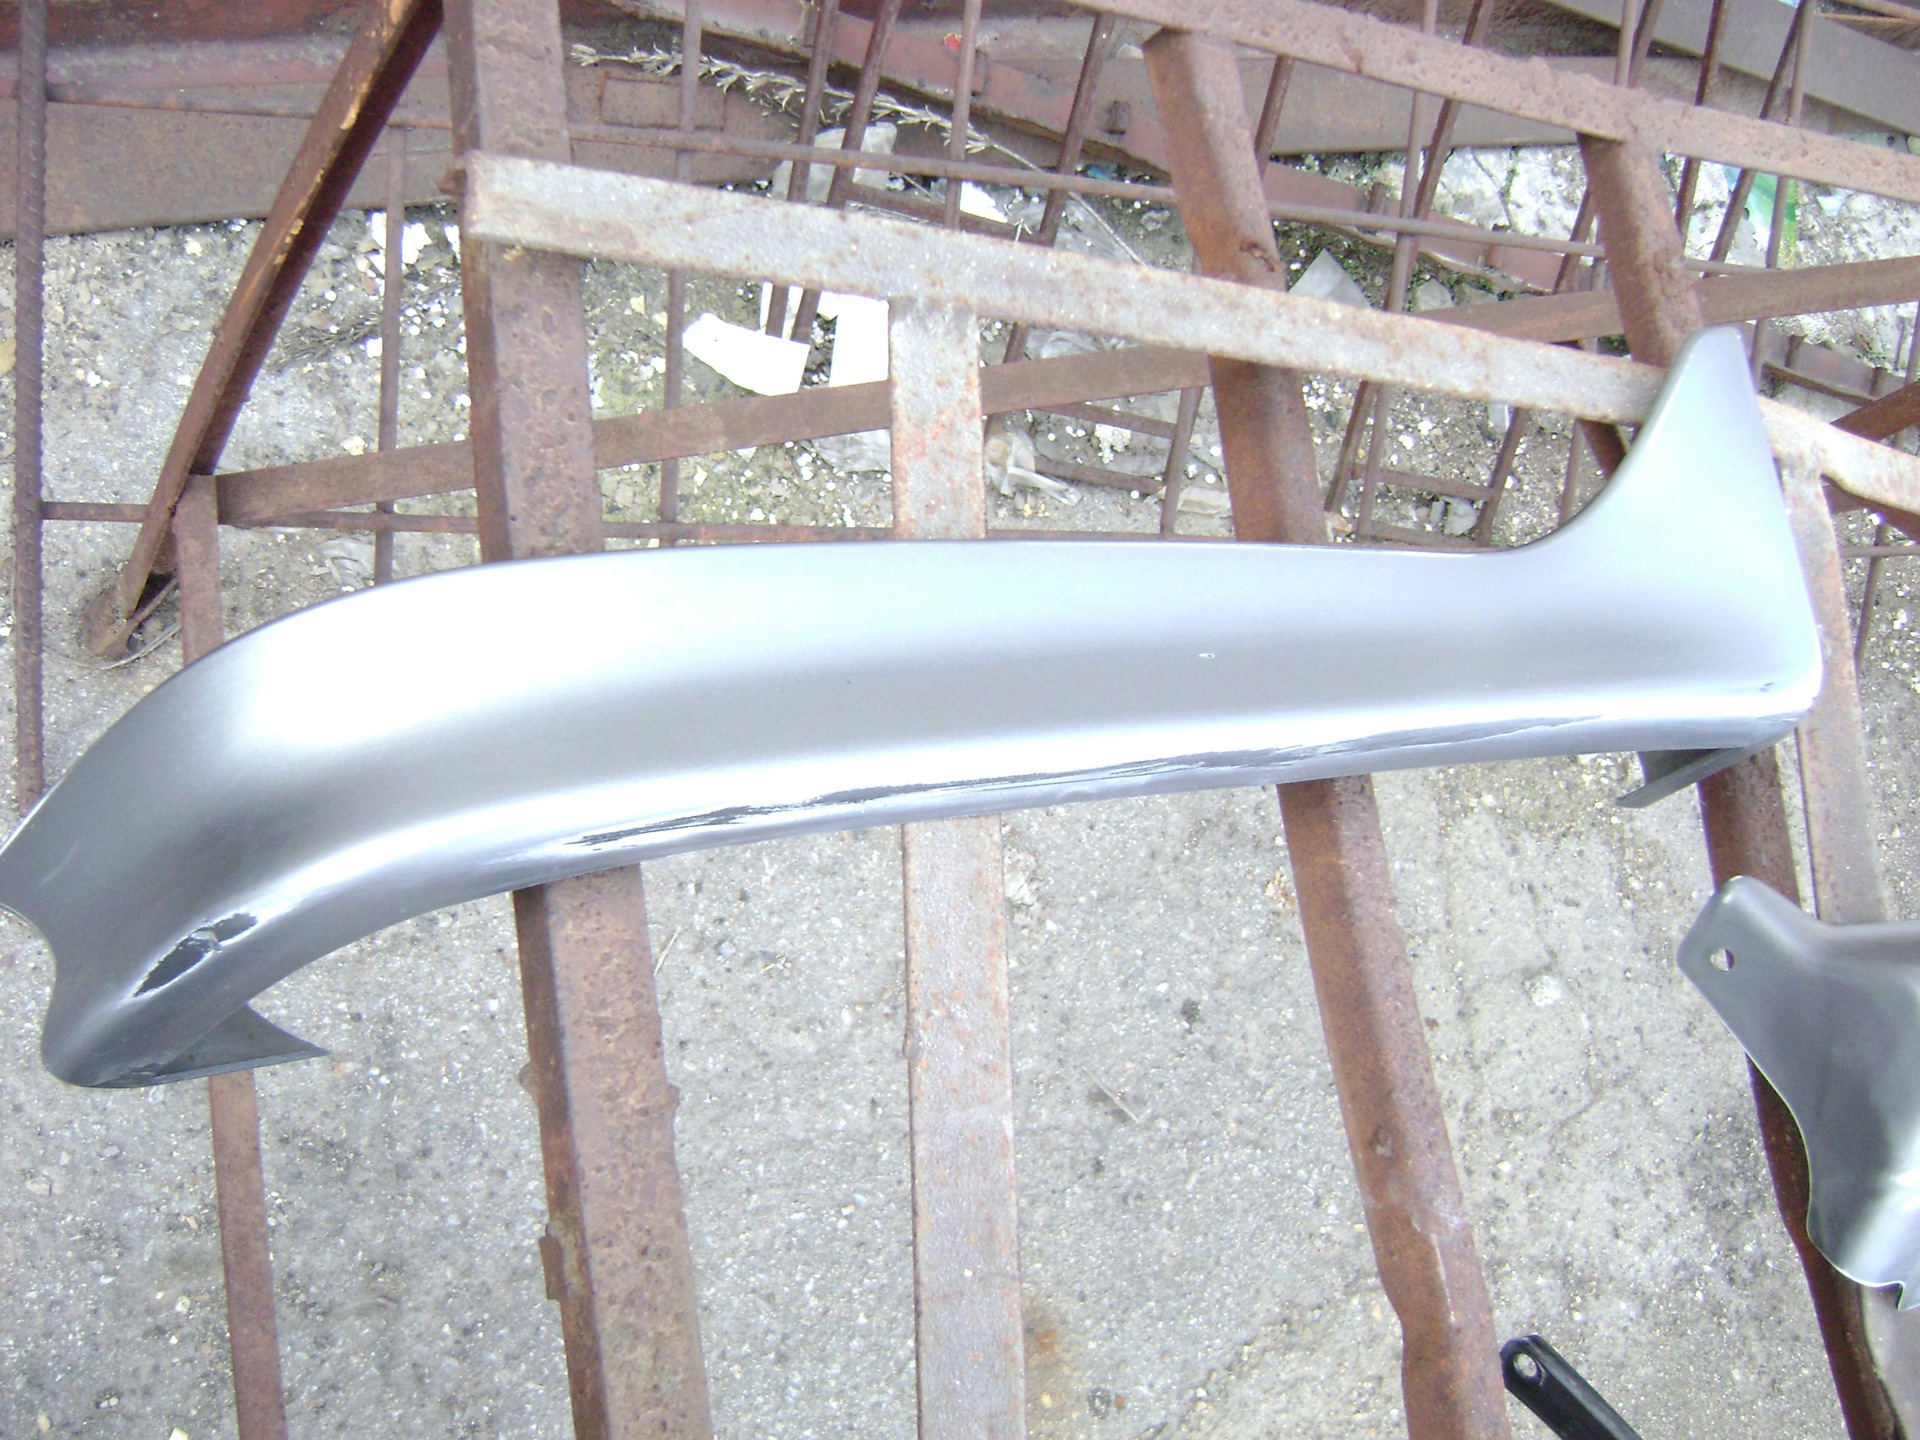
4) Passed 2 times with gray primer from U-POL.
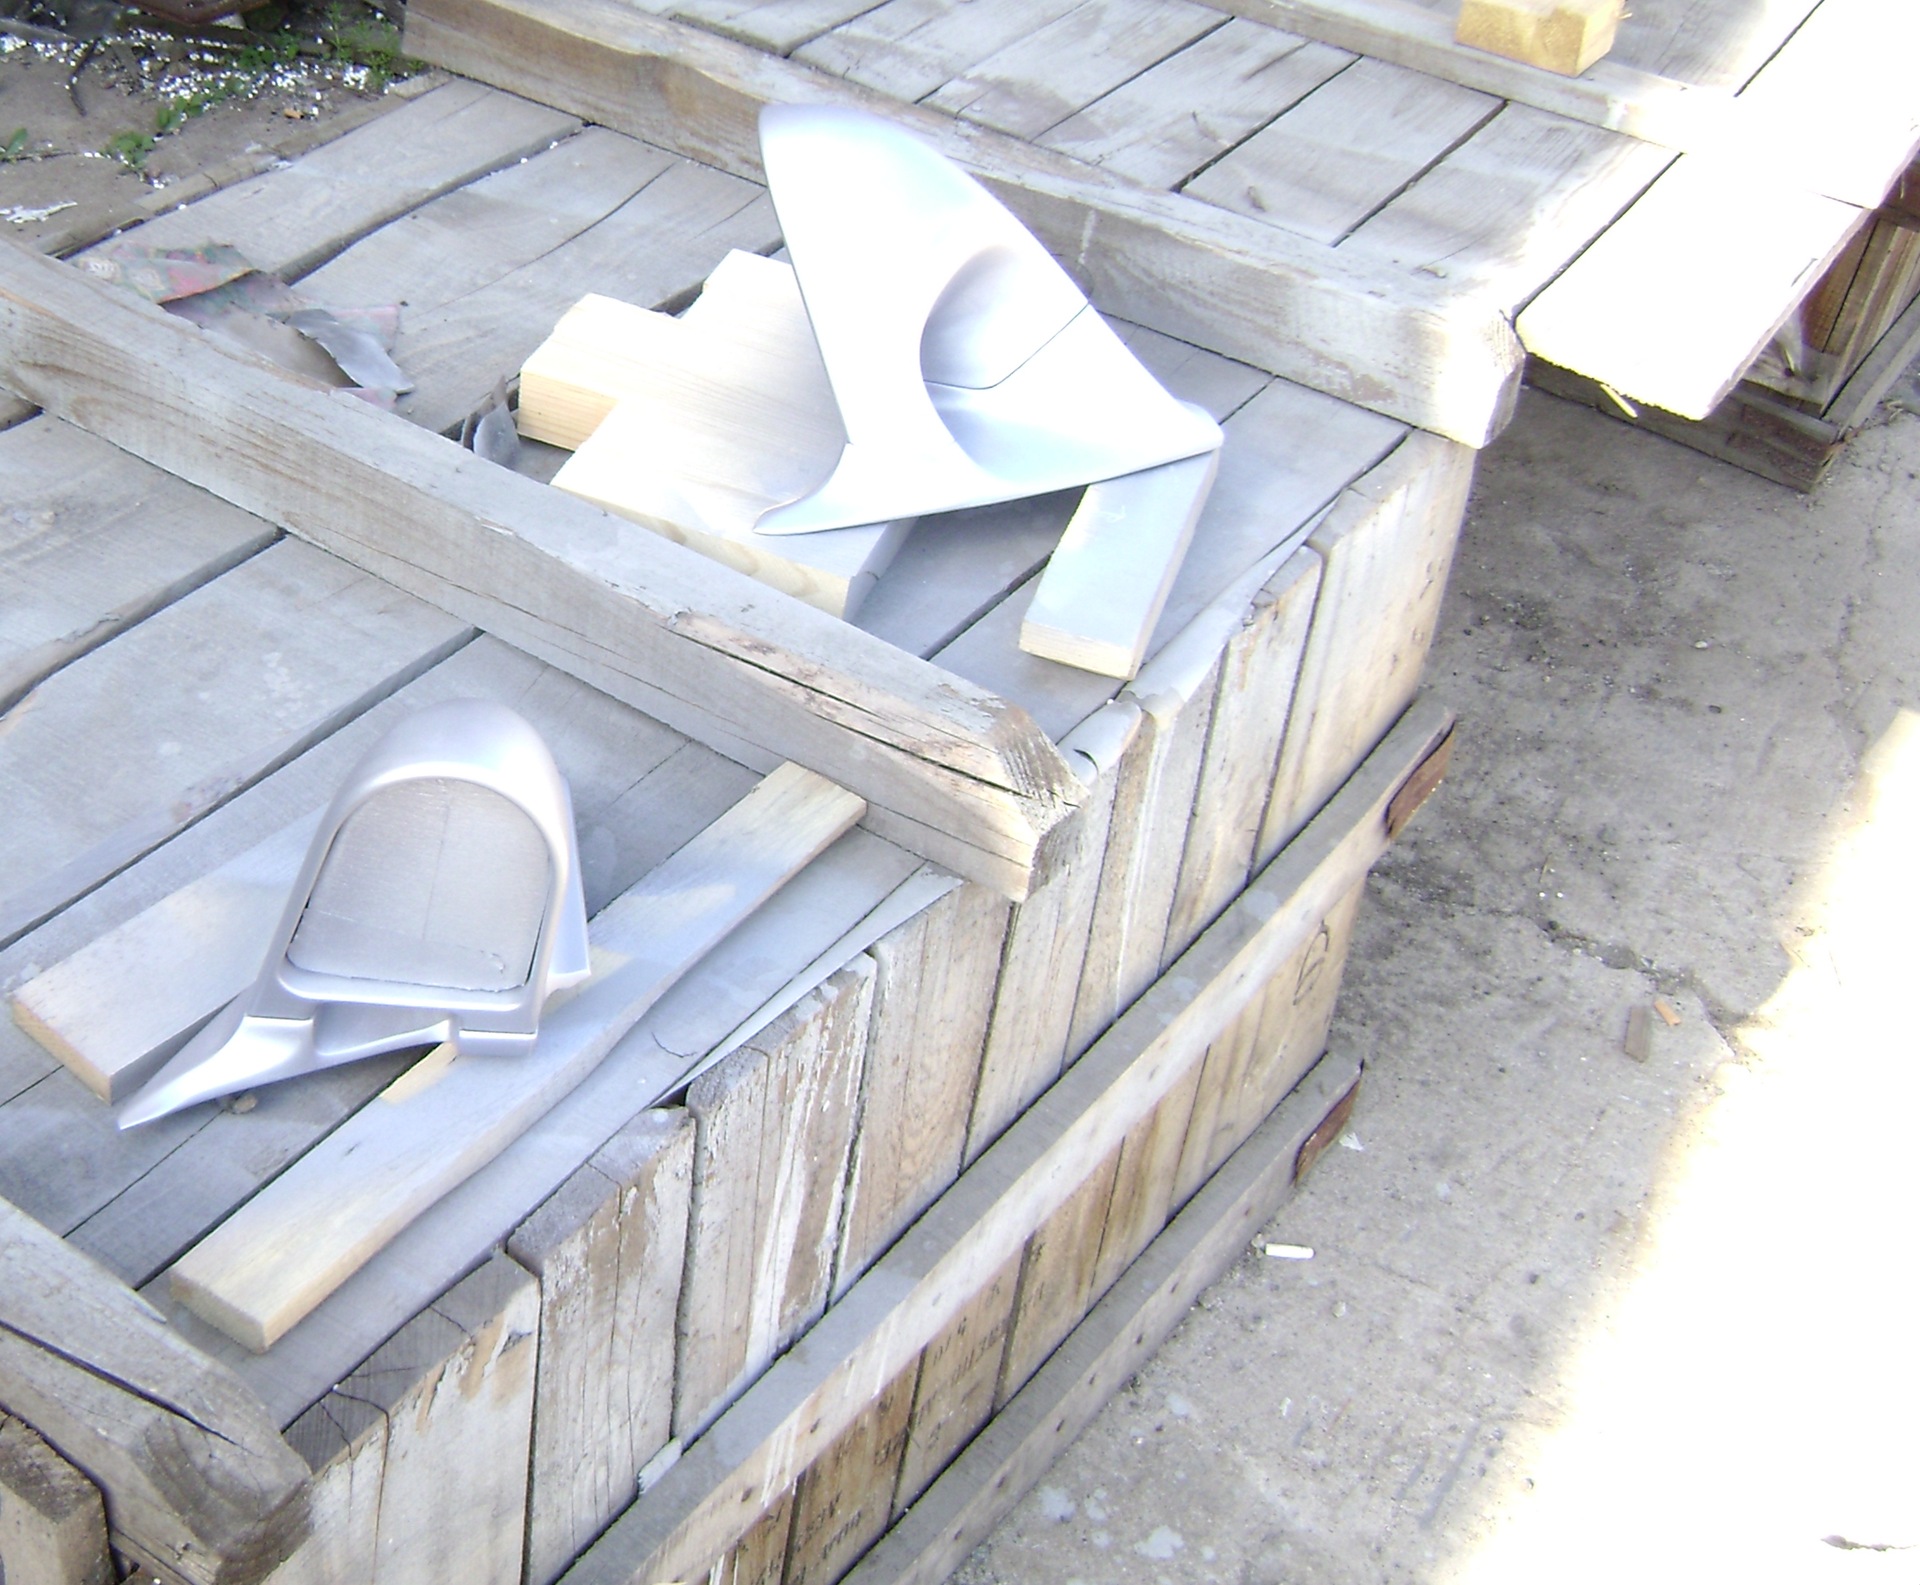
5) We went through in order with sandpaper with abrasive 400, 800, 1200.
6) Thoroughly washed from the dust after the skins, wiped every detail with SilFix anti-silicone napkins.
7) We applied the base color 1A0 to each detail =)
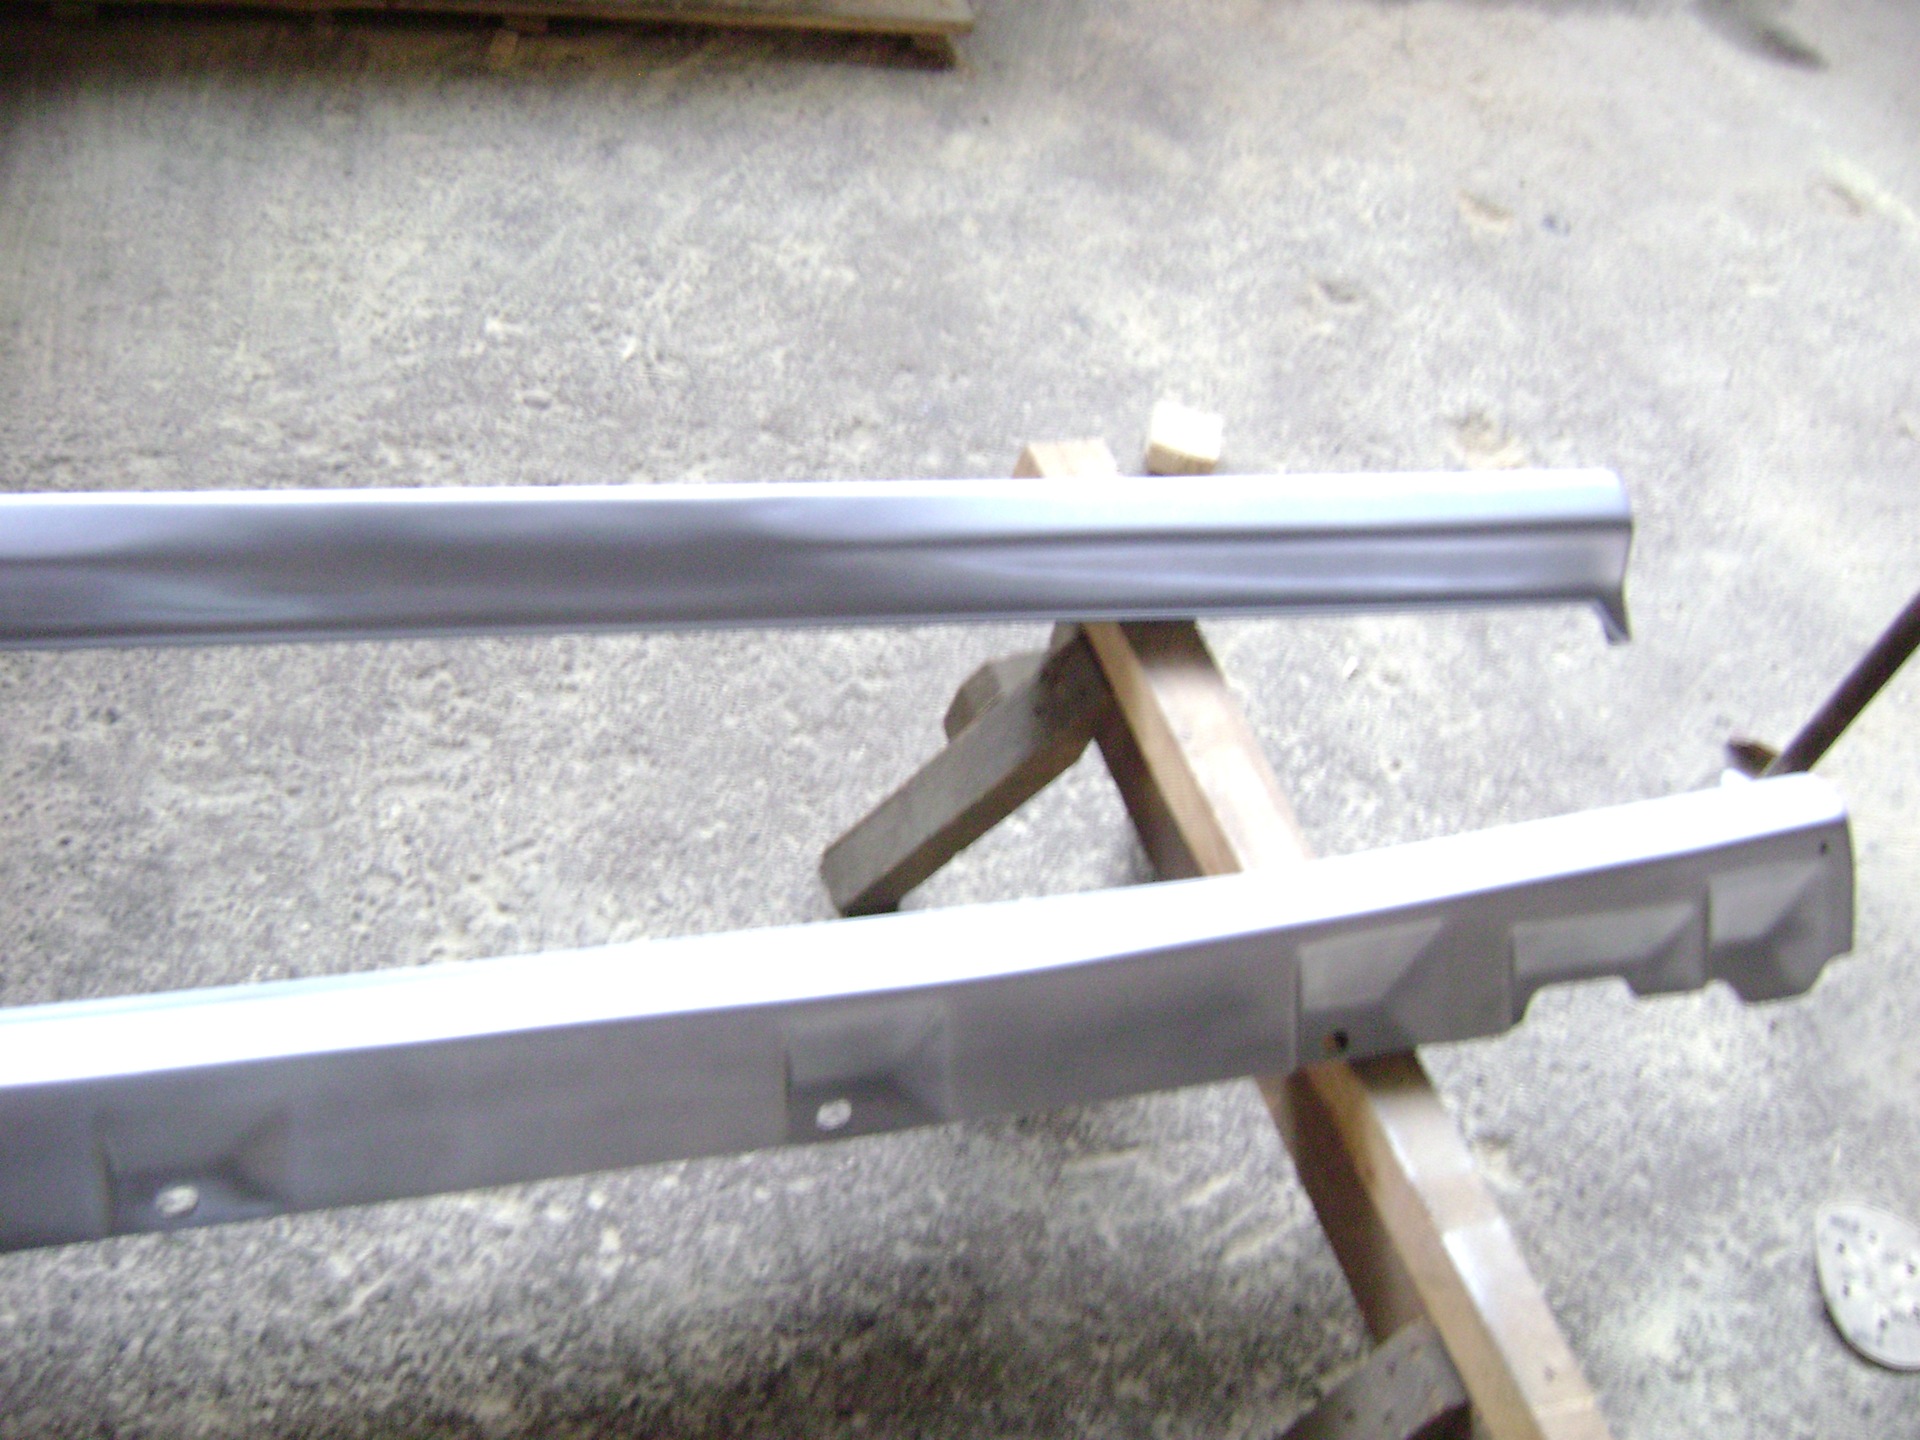
8) Apply DuPont 120s final clearcoat. And left to dry until the next day.
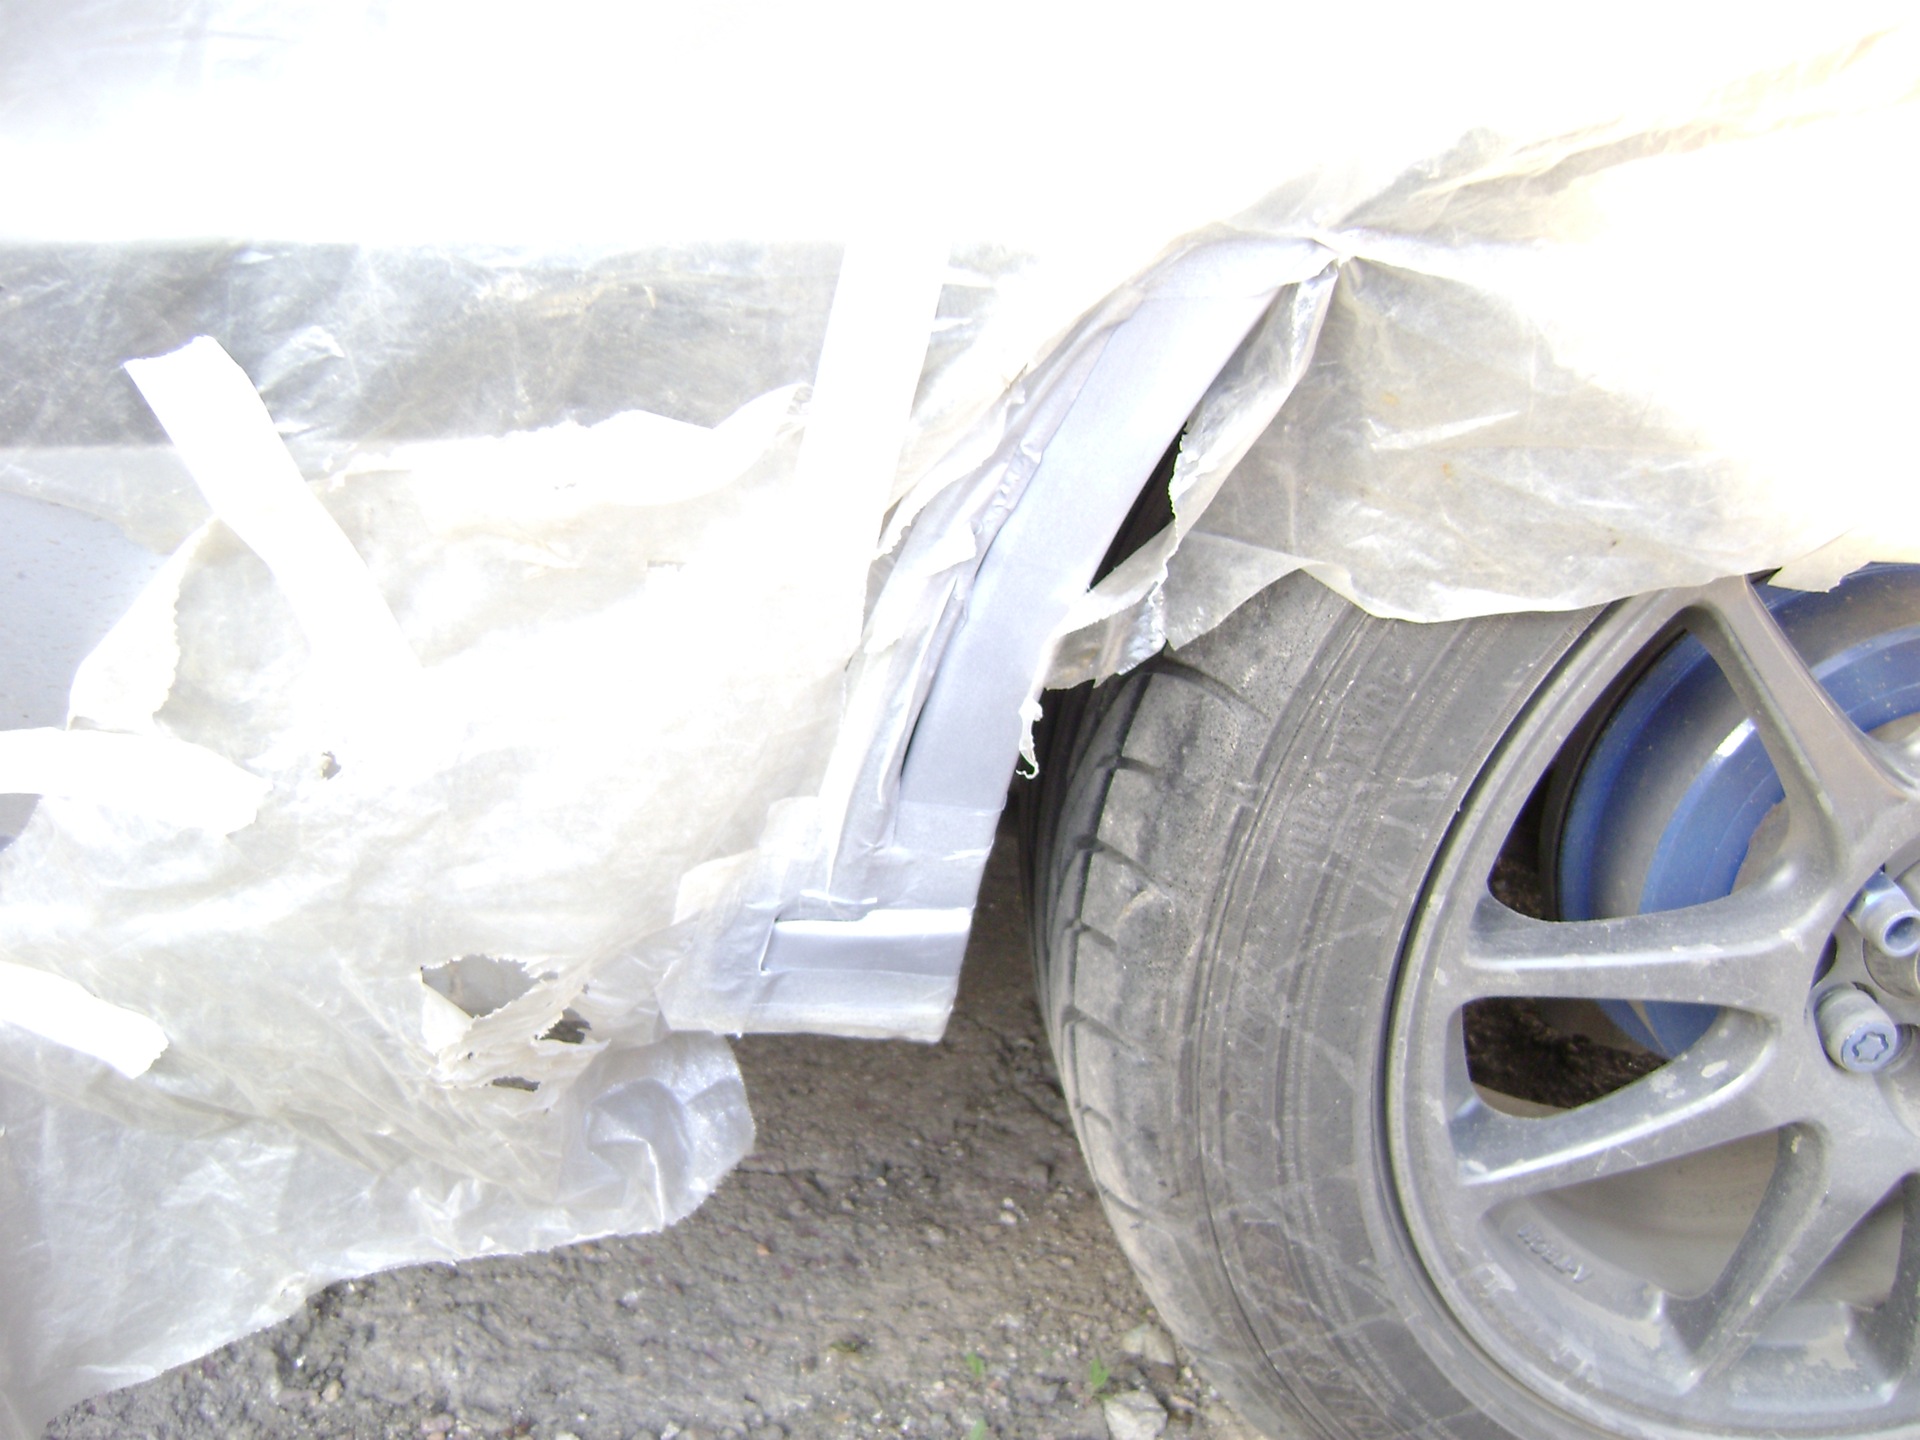
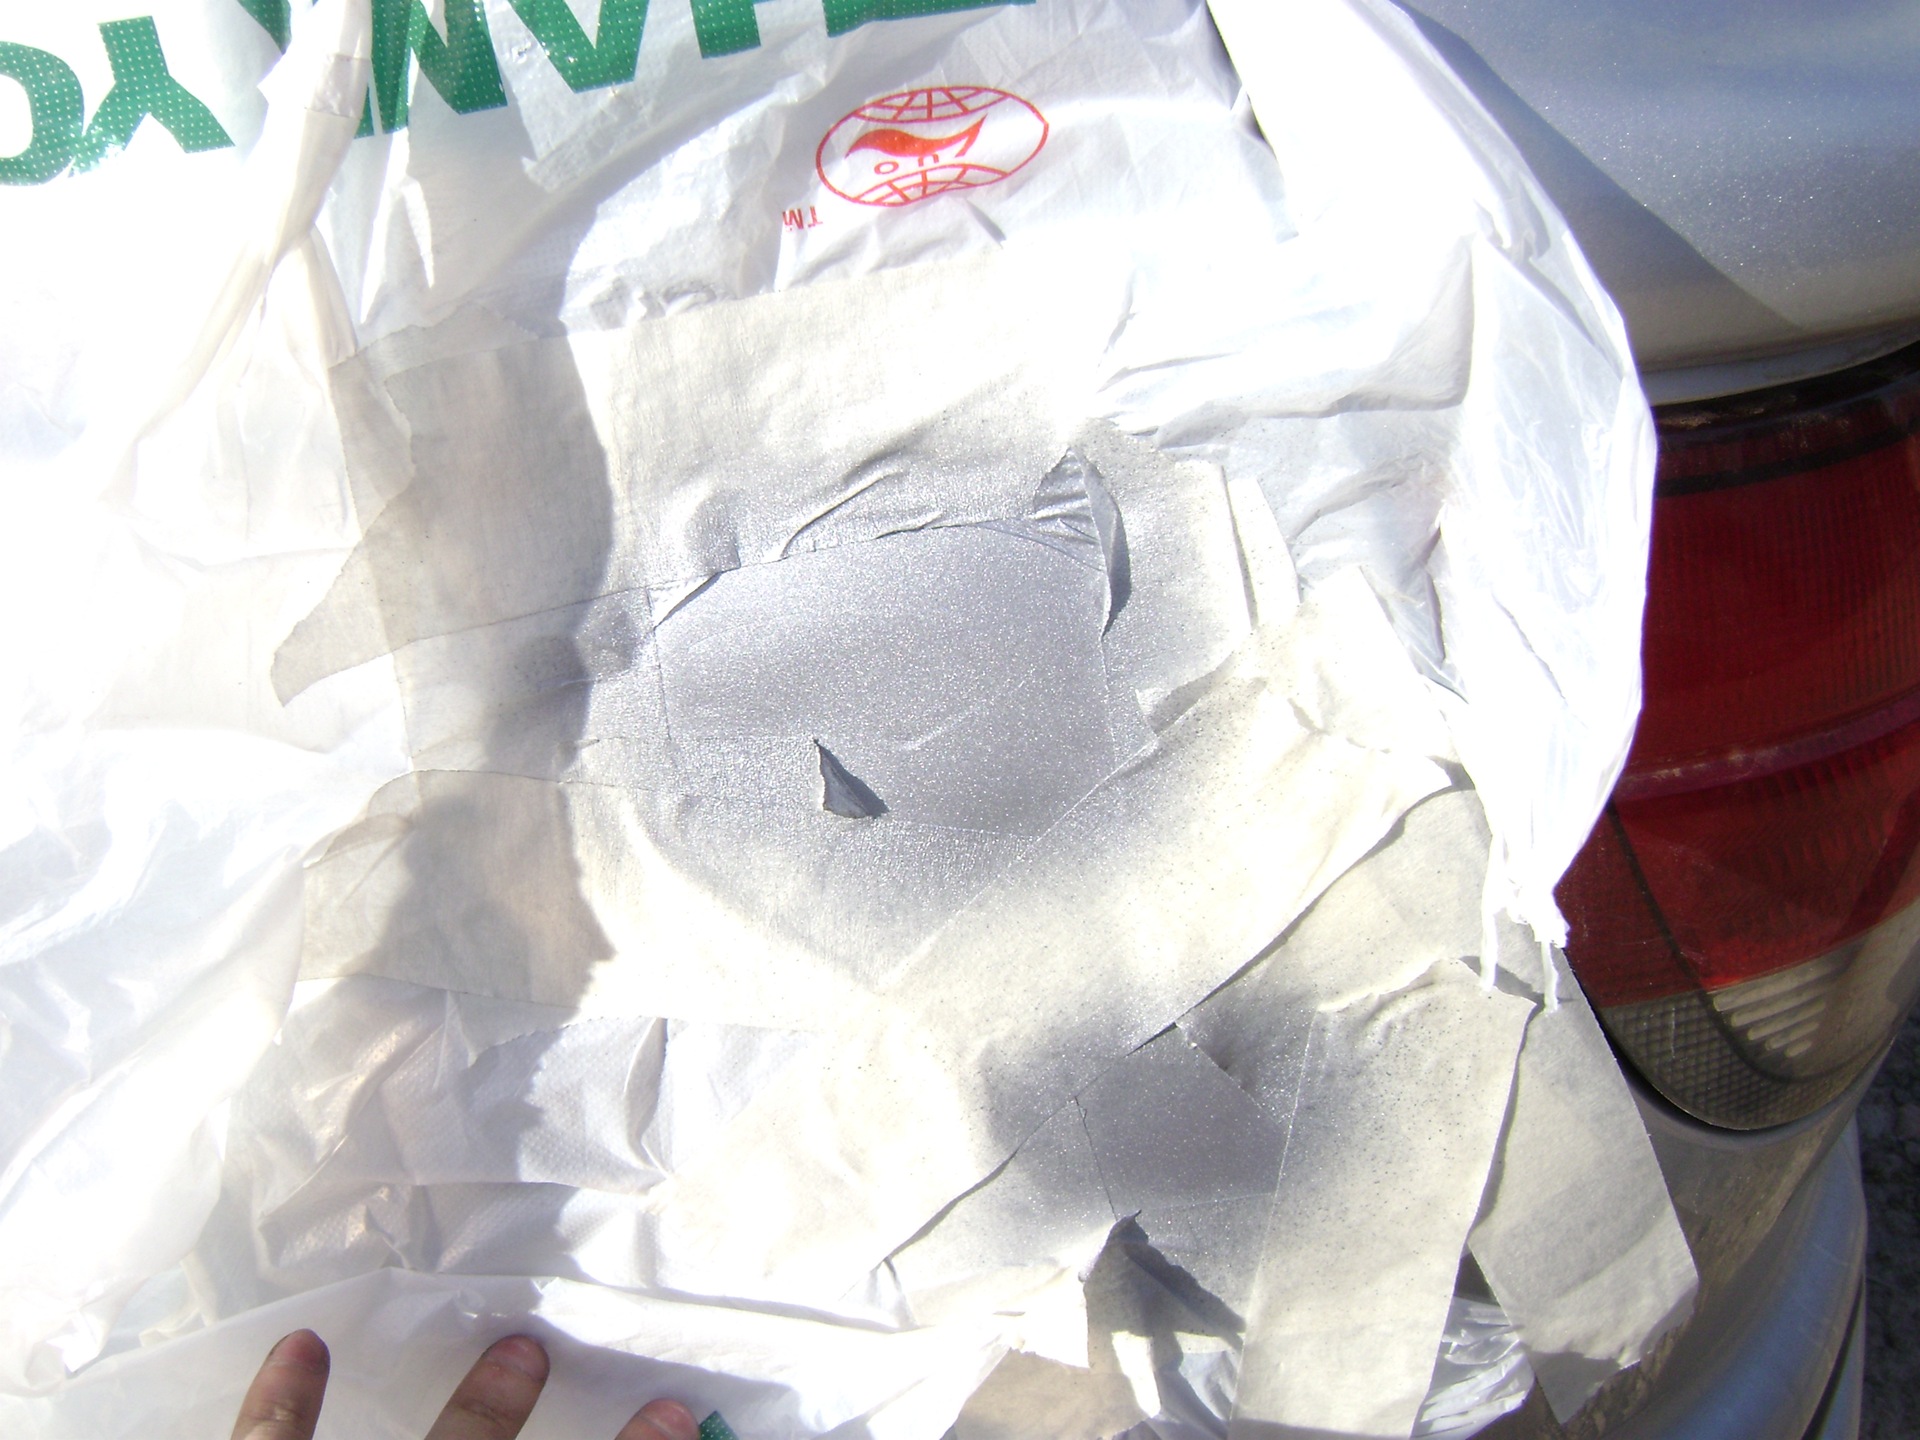
True, the mirrors had to be fastened to the car, 1 hour after applying the varnish. Unfortunately, it was already evening, and going without mirrors was not quite the right decision. And by my stupidity I managed to take the old mirrors to the dacha for storage.
The color, of course, turned out to be somewhat darker on the plastic (the painter who picked up the paint warned me about this (although it seems to me that they just picked up the paint!), Before starting my work). But that doesn't upset me. It is better to let him not hit a little than to be fundamentally different at all. Yes, and it is possible that the native paint just burned out + the car is still dirty, so you can't say 100%. But in general I am satisfied with the result. Considering that this is my first experience. =)
install
In general, we managed to find the time and install some elements. Please forgive me for the quality of the photos. I chose the best that was. The rest simply did not work out (it's a pity, there was the whole process of overhanging the details). Fucking Sony soap dish = (. My wife and I can't take a normal camera for ourselves.
Of the elements I didn't pick up only the front. It sucks and it's incomprehensible with it. The bumper is a little uneven. The lip doesn't want to fit evenly to the bumper. We'll have to buy materials in order for the whole village We decided not to rush. So far, the car has been delivered:
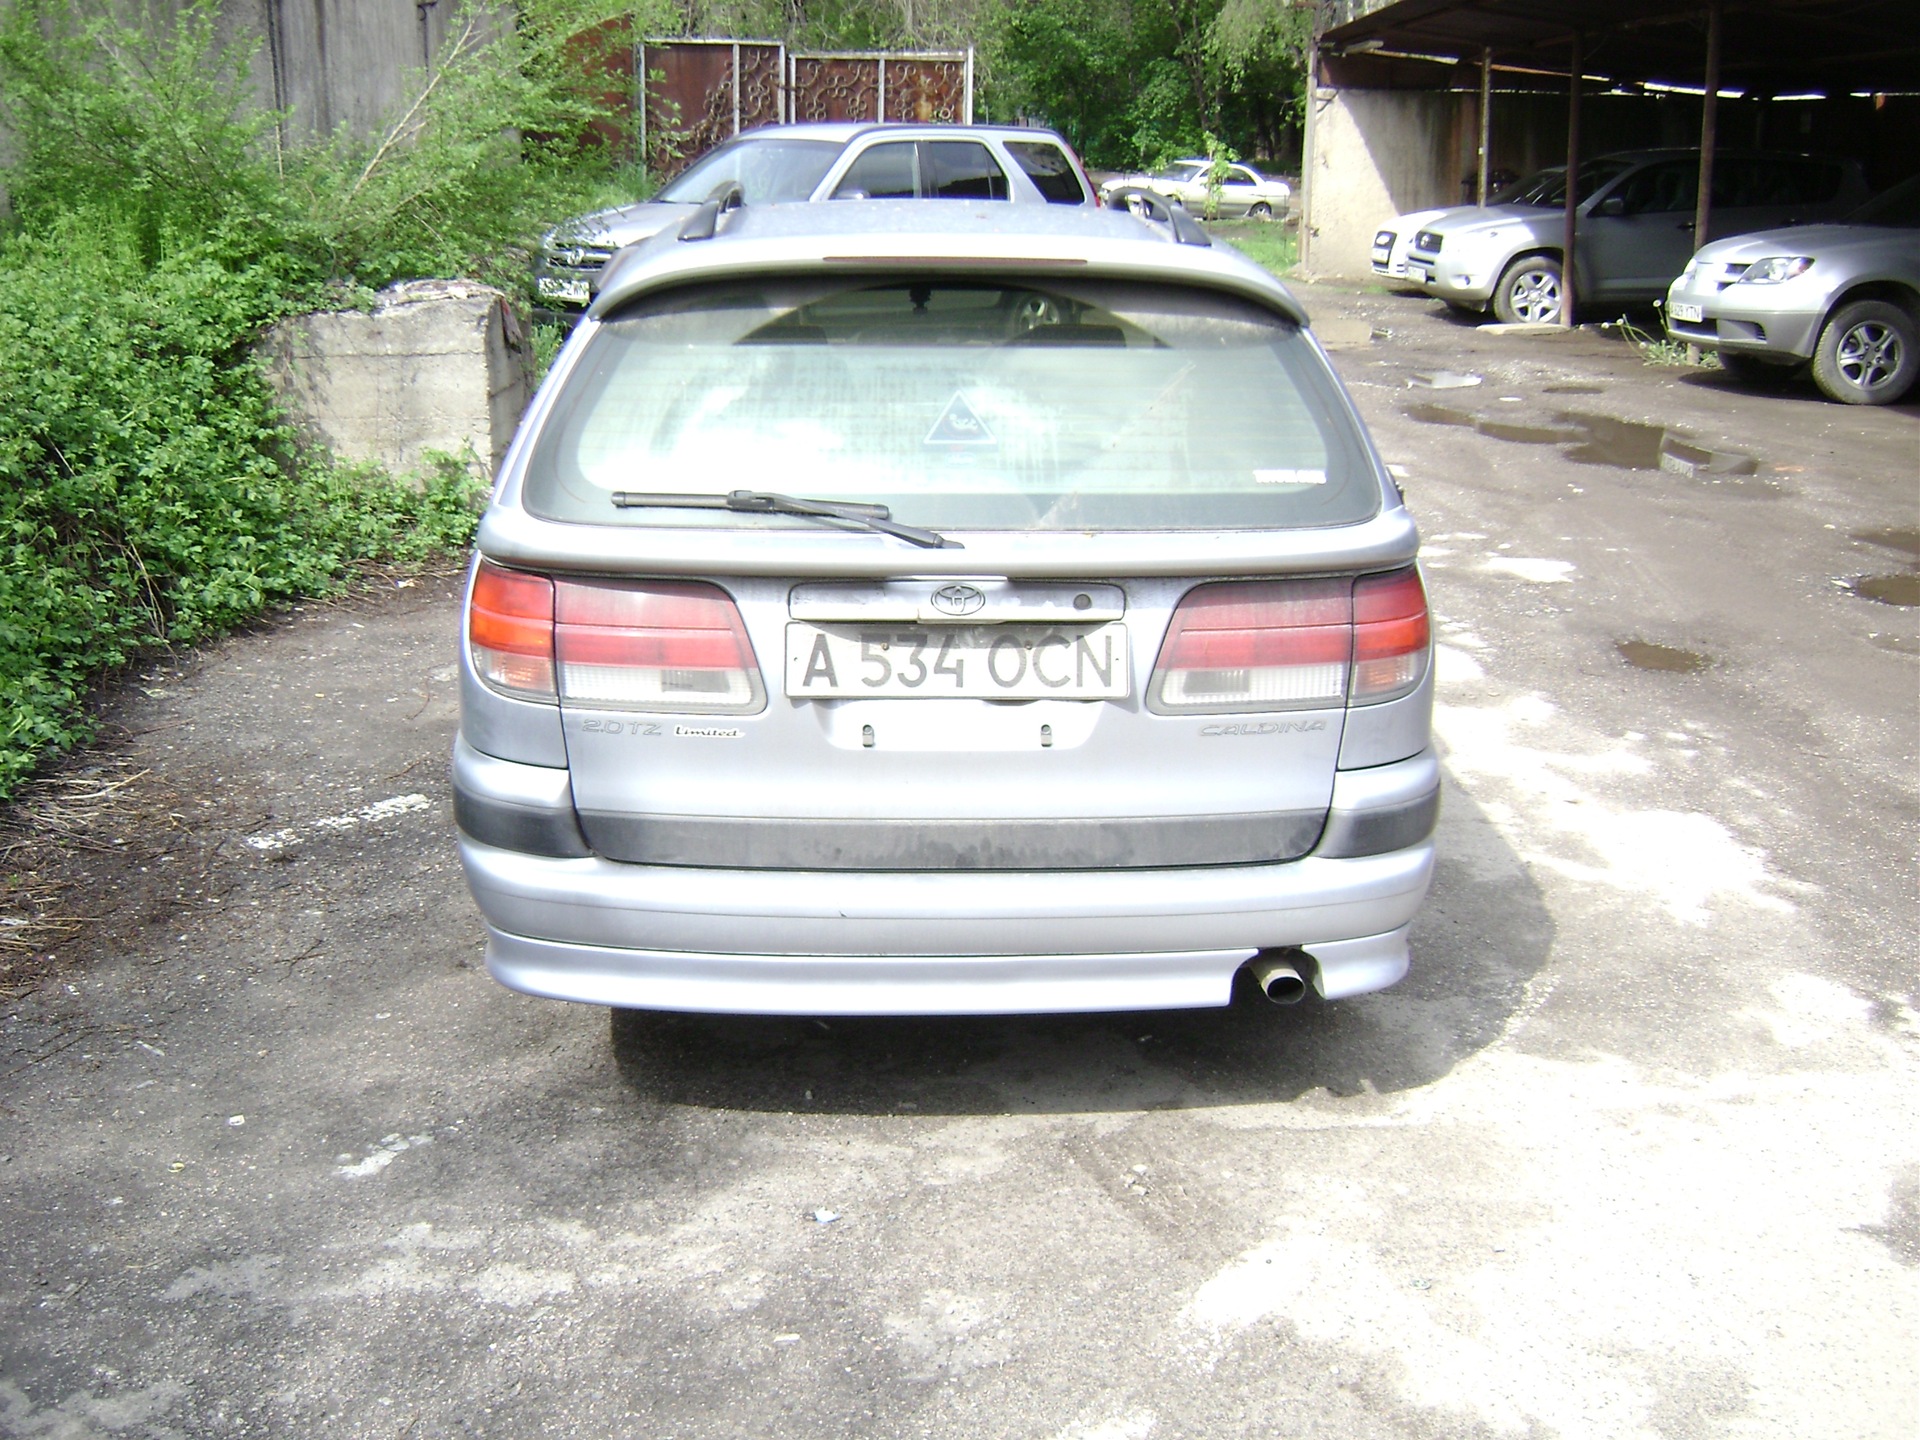
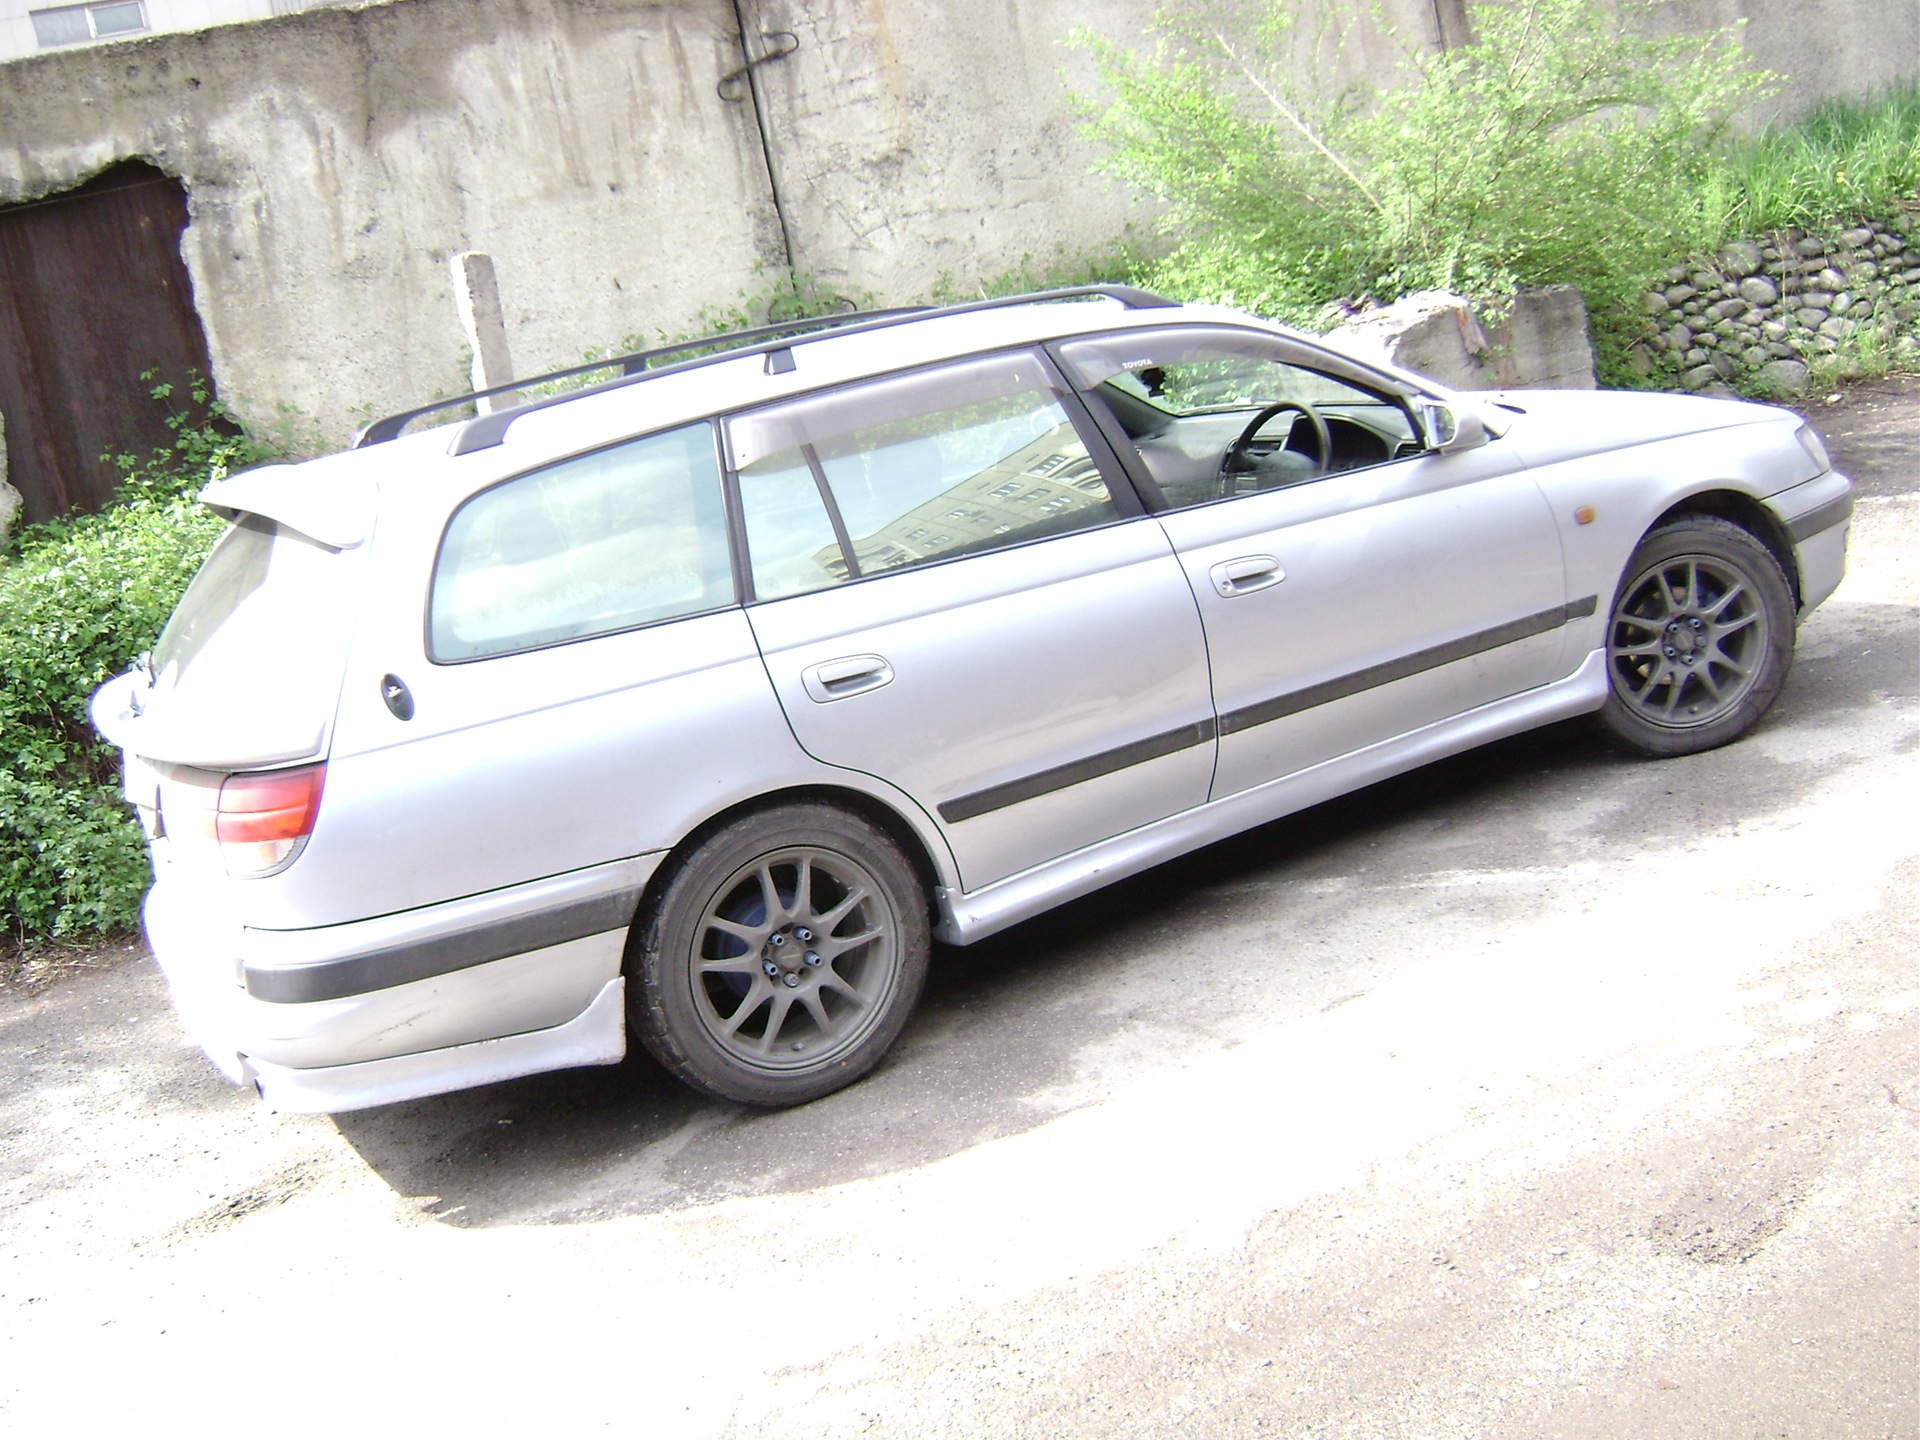
Rear pad
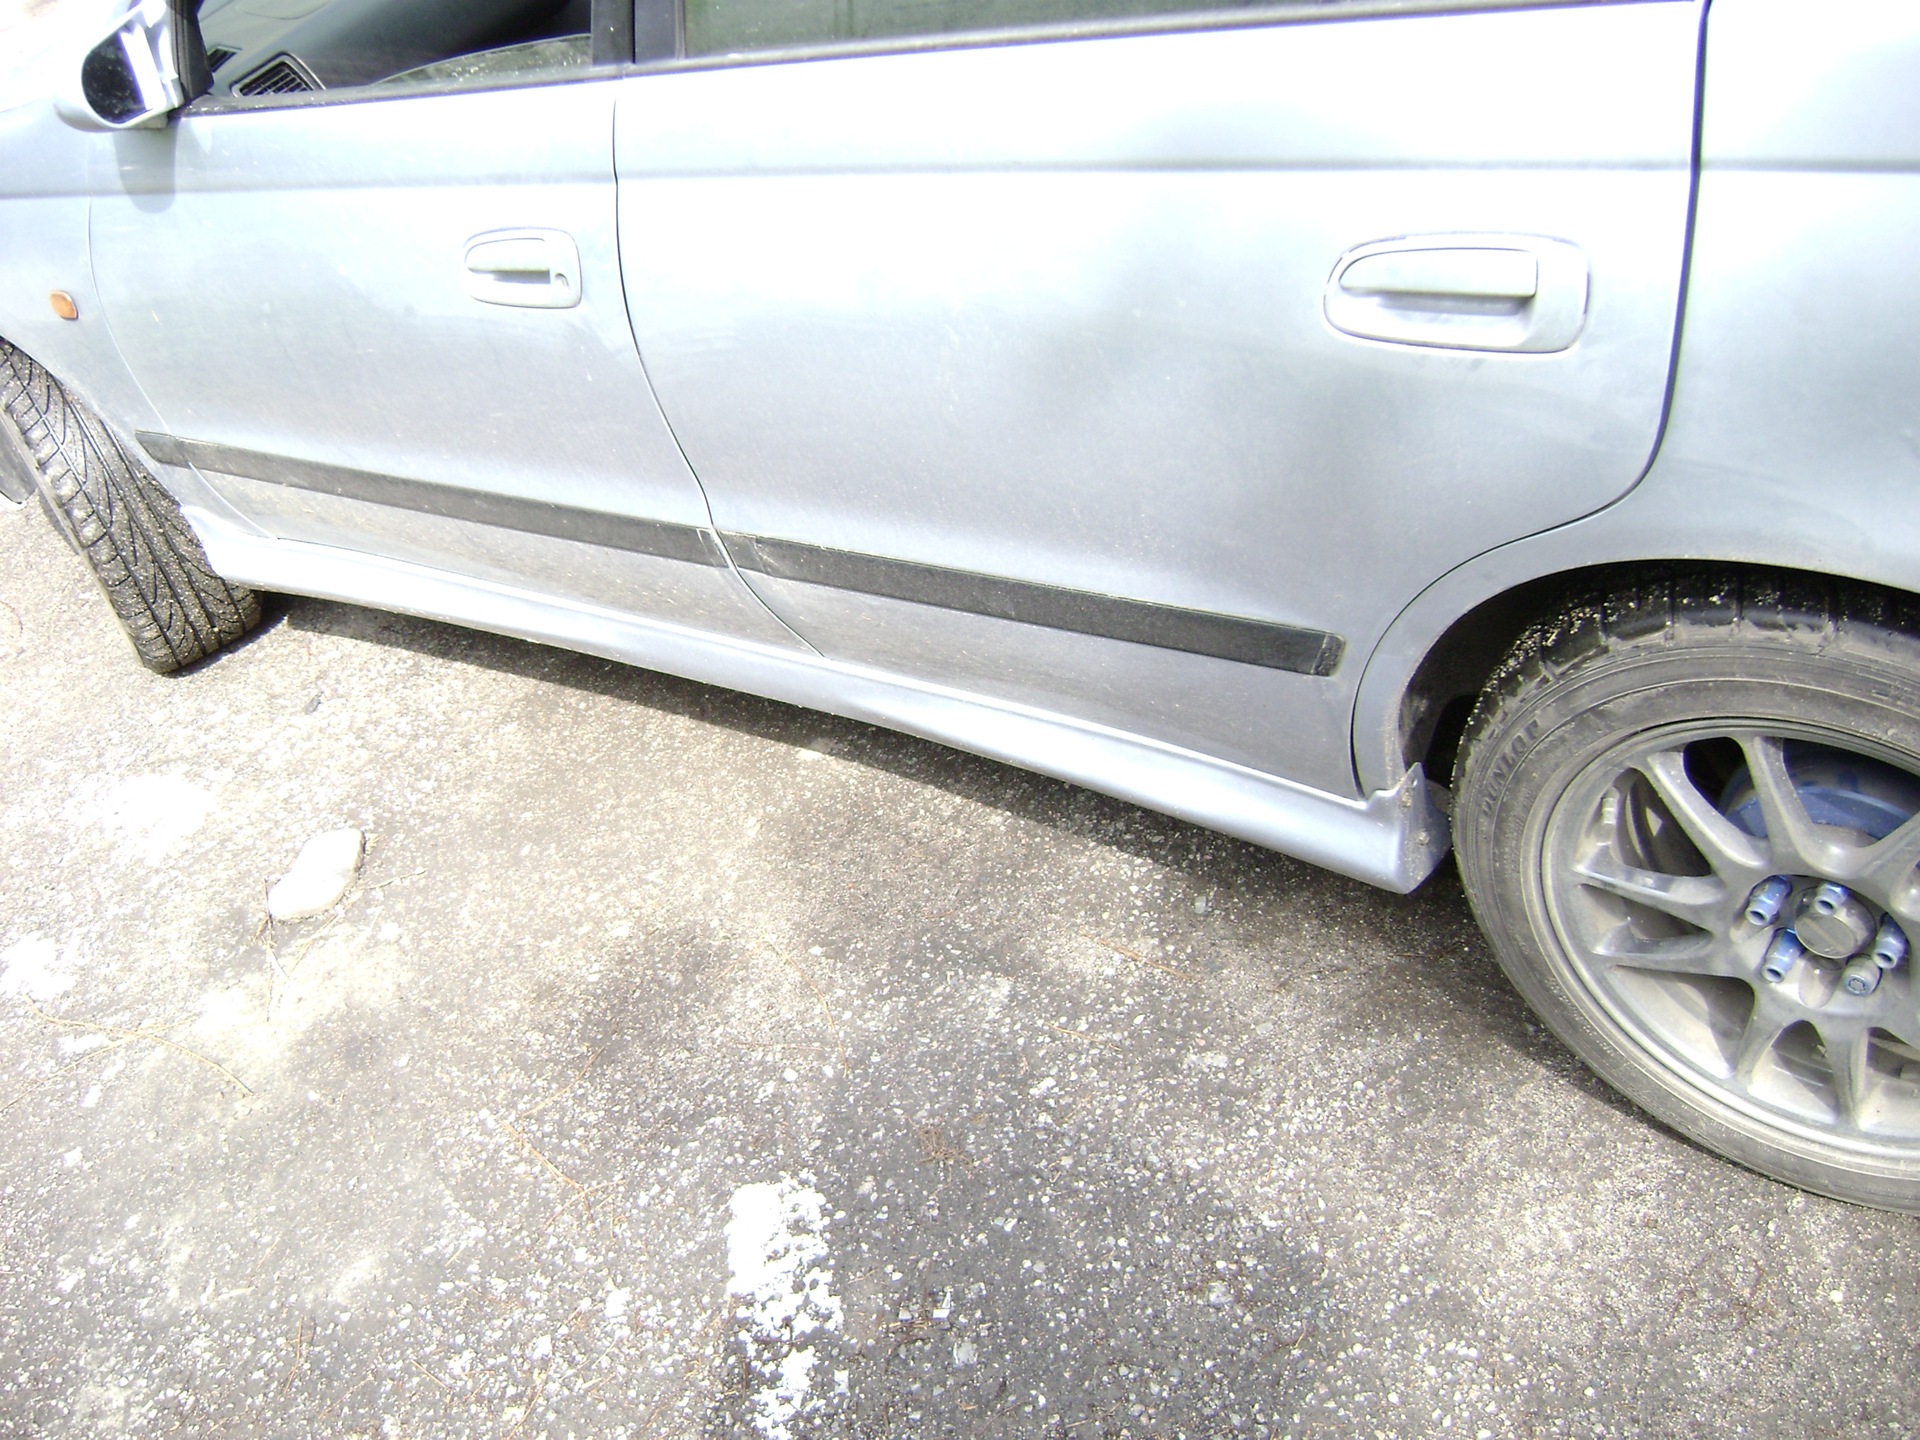
Side skirts
We look at the photo, comment = D, I will try to add more pictures here a little later.
 Price tag: 3 000 ₽
I imagined it as something simpler =) and when the work with the skin rushed, all the illusions crumbled their mother = D
Respect =) I
also remember with horror how I repainted the headlights - angel eyes,
so there are only 2 dice, I was so tired of skins
the color is not likely to hit = (I think has turned darker than the machine itself. Well, yes figs with him, the first pancake is always lumpy. I am generally satisfied.
ps can itself, but tune in advance on what fucked * TNI will be many =)
is not different?
I need to paint the thresholds, I'm thinking of trying it myself or giving it away and not
taking a steam bath.
A part made with your own hands, even if it is crooked, is of greater value than a part made by any hands of a master.
And respect in the eyes of friends, blish? If you were not married, there is also something to brag about in front of the heifers!
There is still savings! Someone else's hands are asking for money for any job =) And how much are personal free time and hands? I had such thoughts that I would take more for my work than they ask at the service station :-)
In fact, I realized one thing: if you are not a painter, then you do not save nichrome on this. Taking into account the cost of time and effort, as well as the cost of materials (this is when taking into account that the gun, compressor, room, blah blah blah - you already have it), all savings are zero. One thing pleases. You do it yourself and if suddenly something goes wrong, you will only blame yourself, and if everything goes wrong, you will be proud of yourself until the end of your days = D
a little bit later. there the main thing is not to rush, otherwise you can screw up a lot. = D
Honestly, I'm not exactly in the know, it seems like it prepares the plastic for the main soil. At the insistence of the painter he took it.
exactly 55 profile. =) you
can't get the gaps, tried it. hell there. then the pad itself sits crookedly. You should bear in mind that these are not lining from my bumper then. and you can't see these gaps almost
Kulna =)
but there is one very small but proud remarks;)
- gaps, you can see them well in the photo, you can't somehow minimize them (Oo) chtoli ?! and uniform (pistol new words, I hope everyone understood)
zs Artyomsky, you have exactly 55 profile ?! Look fatty)))
Yes, the thresholds on 3M were glued, + the original fasteners, along with the skirt came from the yapii.
Everything worked out well! And what are these thresholds and linings? What is the name of? I want to stick something similar to Avensis!
Thank you, but I've already thought about the option of a different lip, and if I get it, I'll put a bumper with a molded lip.