Replacing the steering shaft - Toyota Sera, 1.5L, 1990
Finally, the long-awaited spring has come, the street has become so warm that even in the underground garage you can stay without a down jacket. Therefore, he began the process of bringing the car "to a normal battle". For the owners of this mini-exclusive will be useful information.
As a legacy from the previous owners, I got one "joint" with a steering shaft - the thread on the steering shaft for the nut fixing the steering wheel was torn off. While the steering wheel remained standard or was temporarily replaced with a wheel from Ceres, there were no particular problems, because the remaining two threads were enough for fixing, and the stock handlebars have a steel mount to the shaft.
But at the end of last year, I inherited a MOMO steering wheel from my brother, and there were problems with its installation. its aluminum cup was slightly higher, then there was not enough thread to fix it on the shaft.
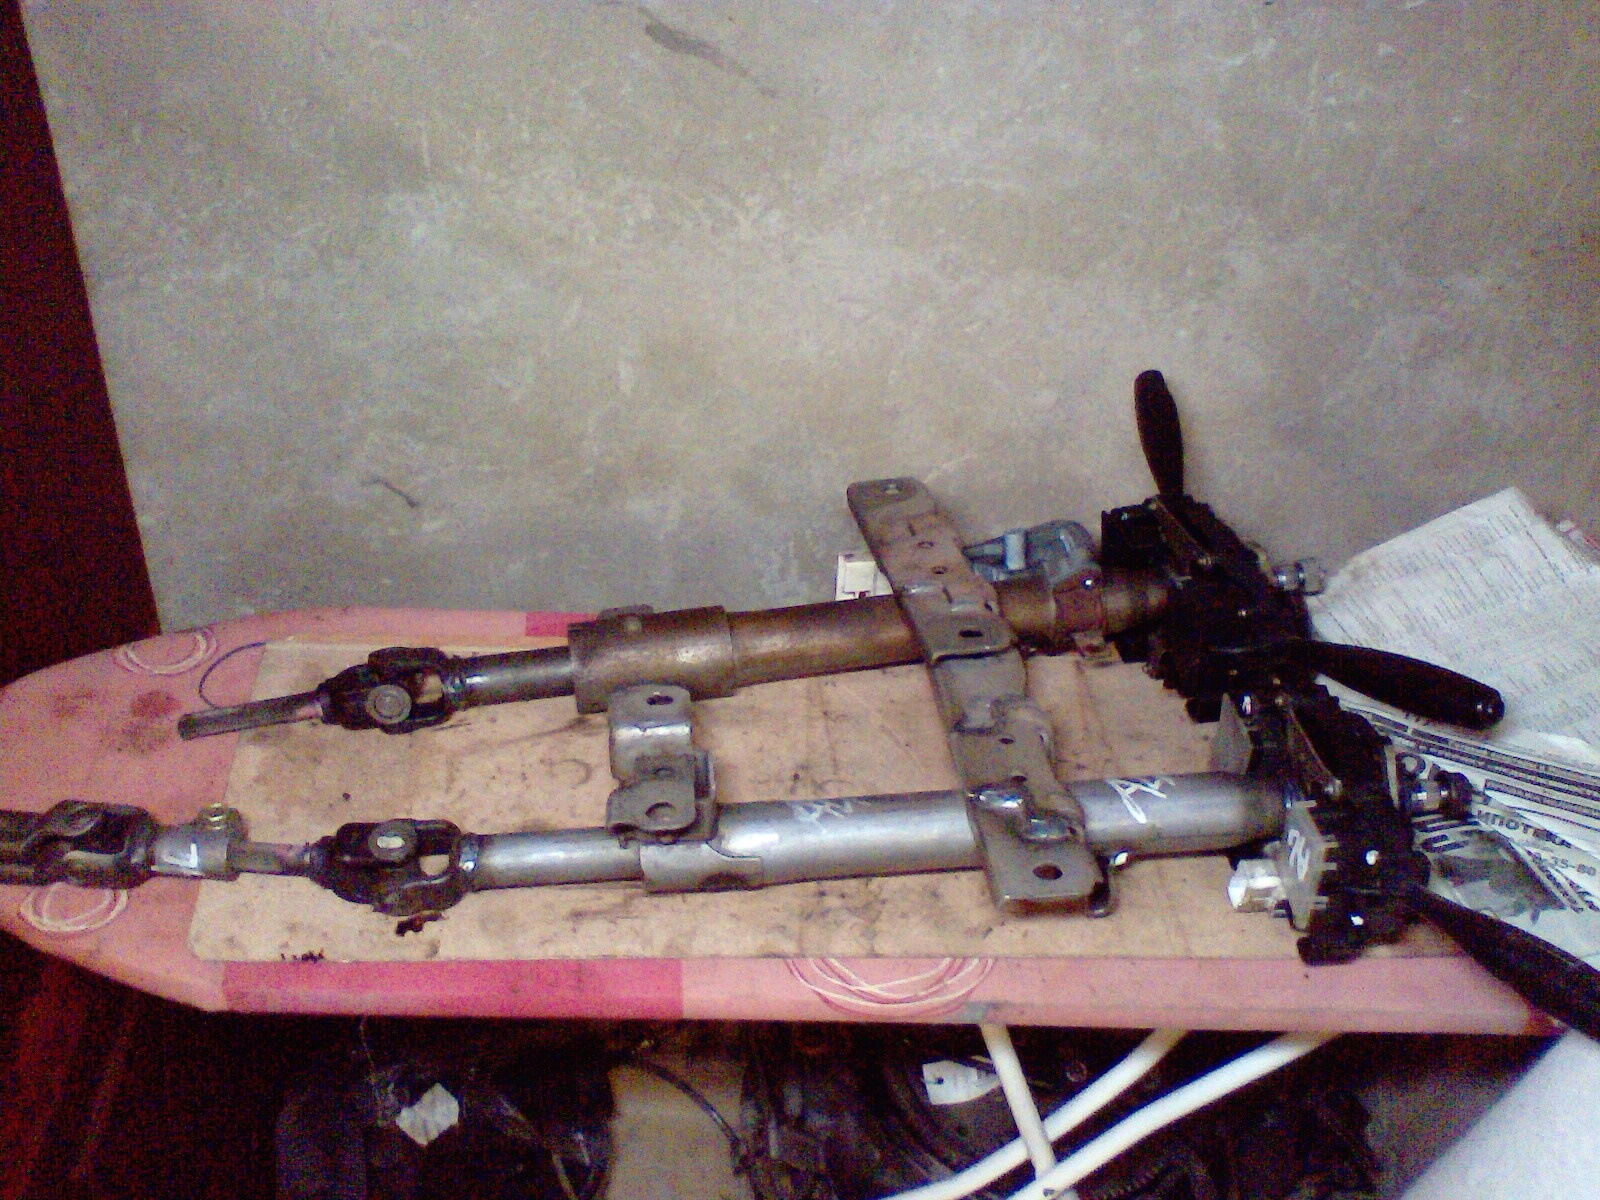
I thought about cutting a new thread, or replacing the shaft entirely, I decided to change it. The contract shafts turned out to be in short supply in Novosibirsk, as a result, I found a shaft from Terzel EL4x in Autolend, because platform alone, I suspected that it would be compatible, or minor improvements.
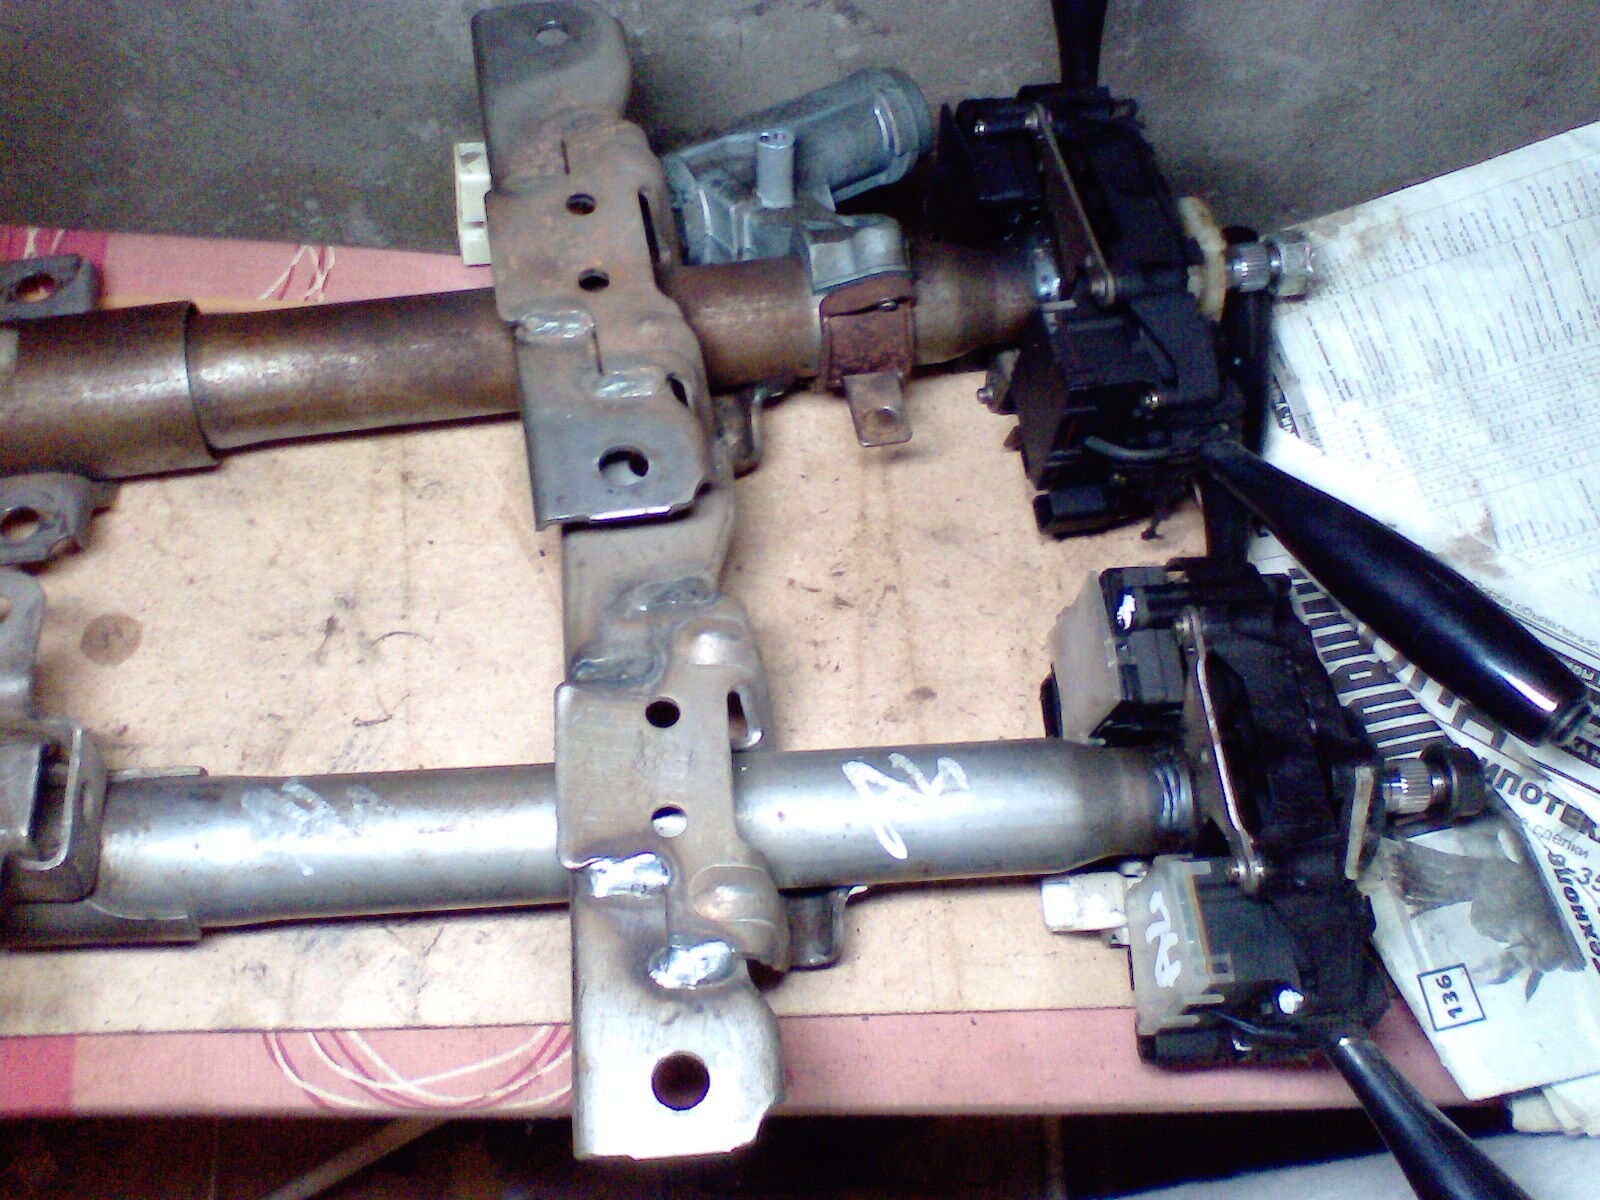
The shafts themselves are, as expected, identical.

The mount closest to the guitar is also identical, like the guitars themselves, well, except for the "proprietary" yellow markings on the levers on Sere.

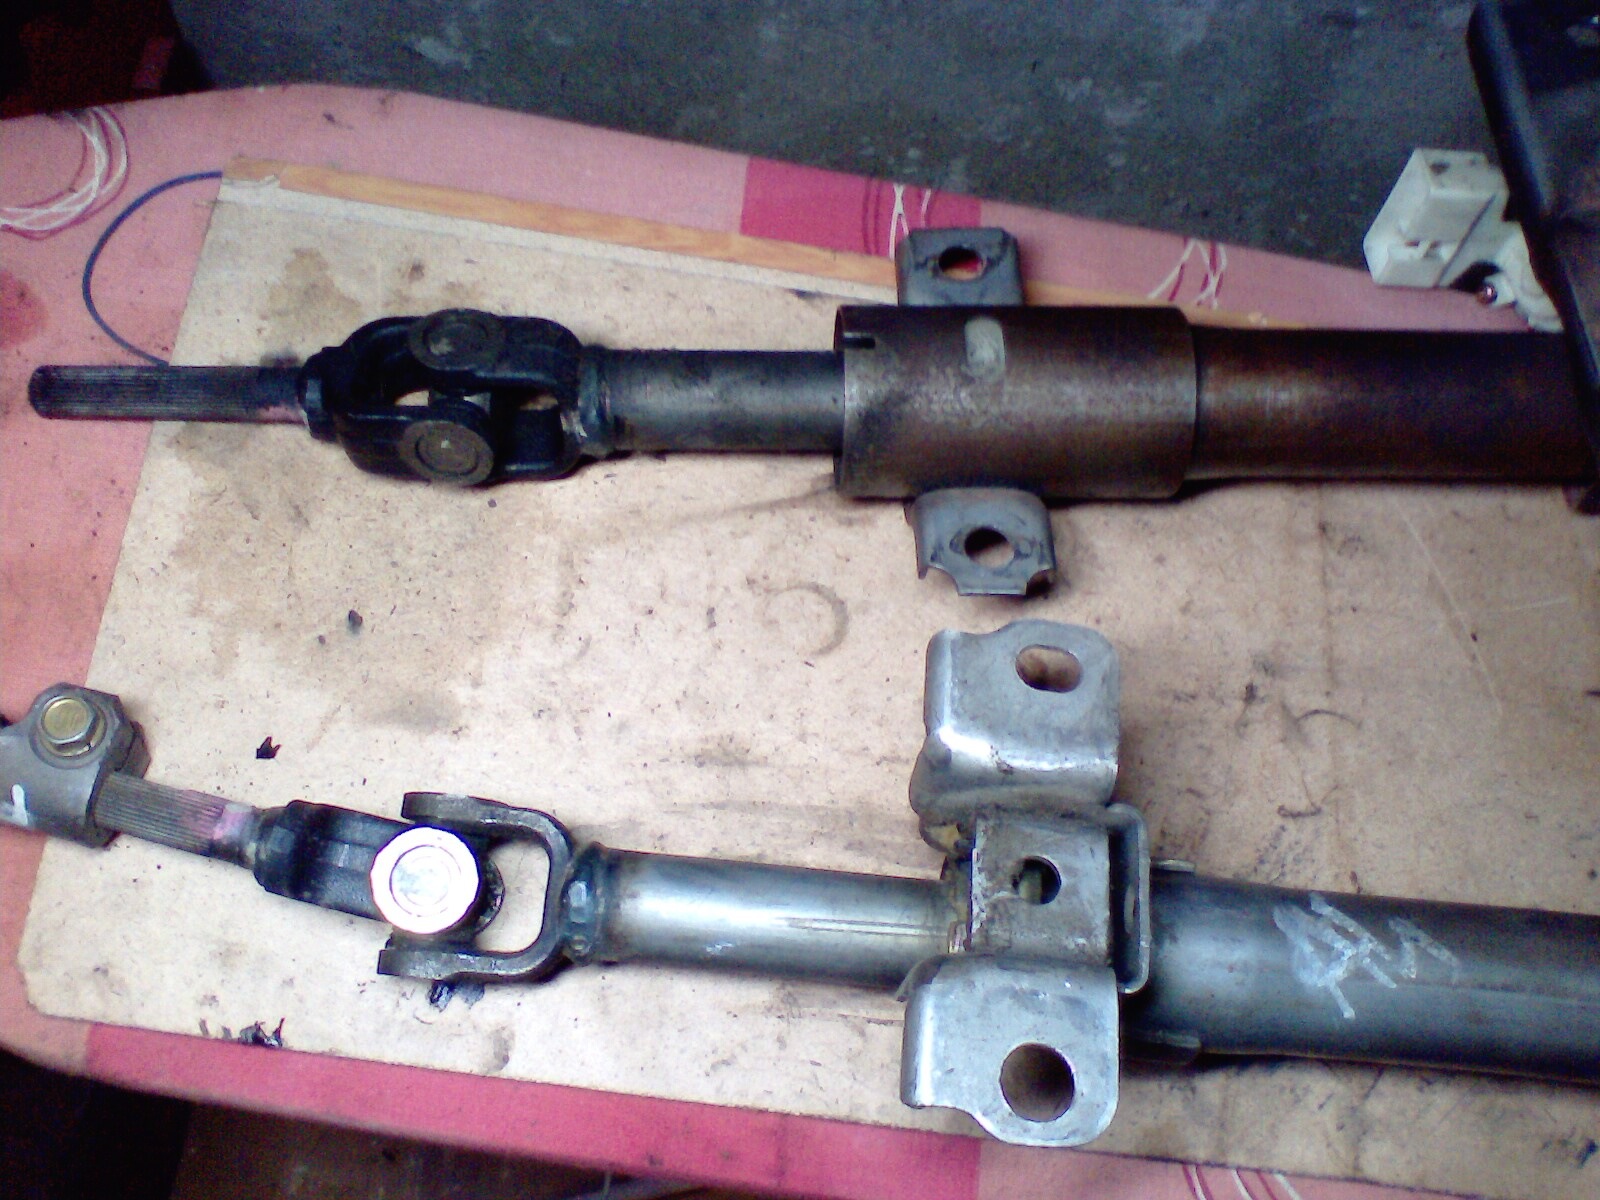
Long distance mount is different.

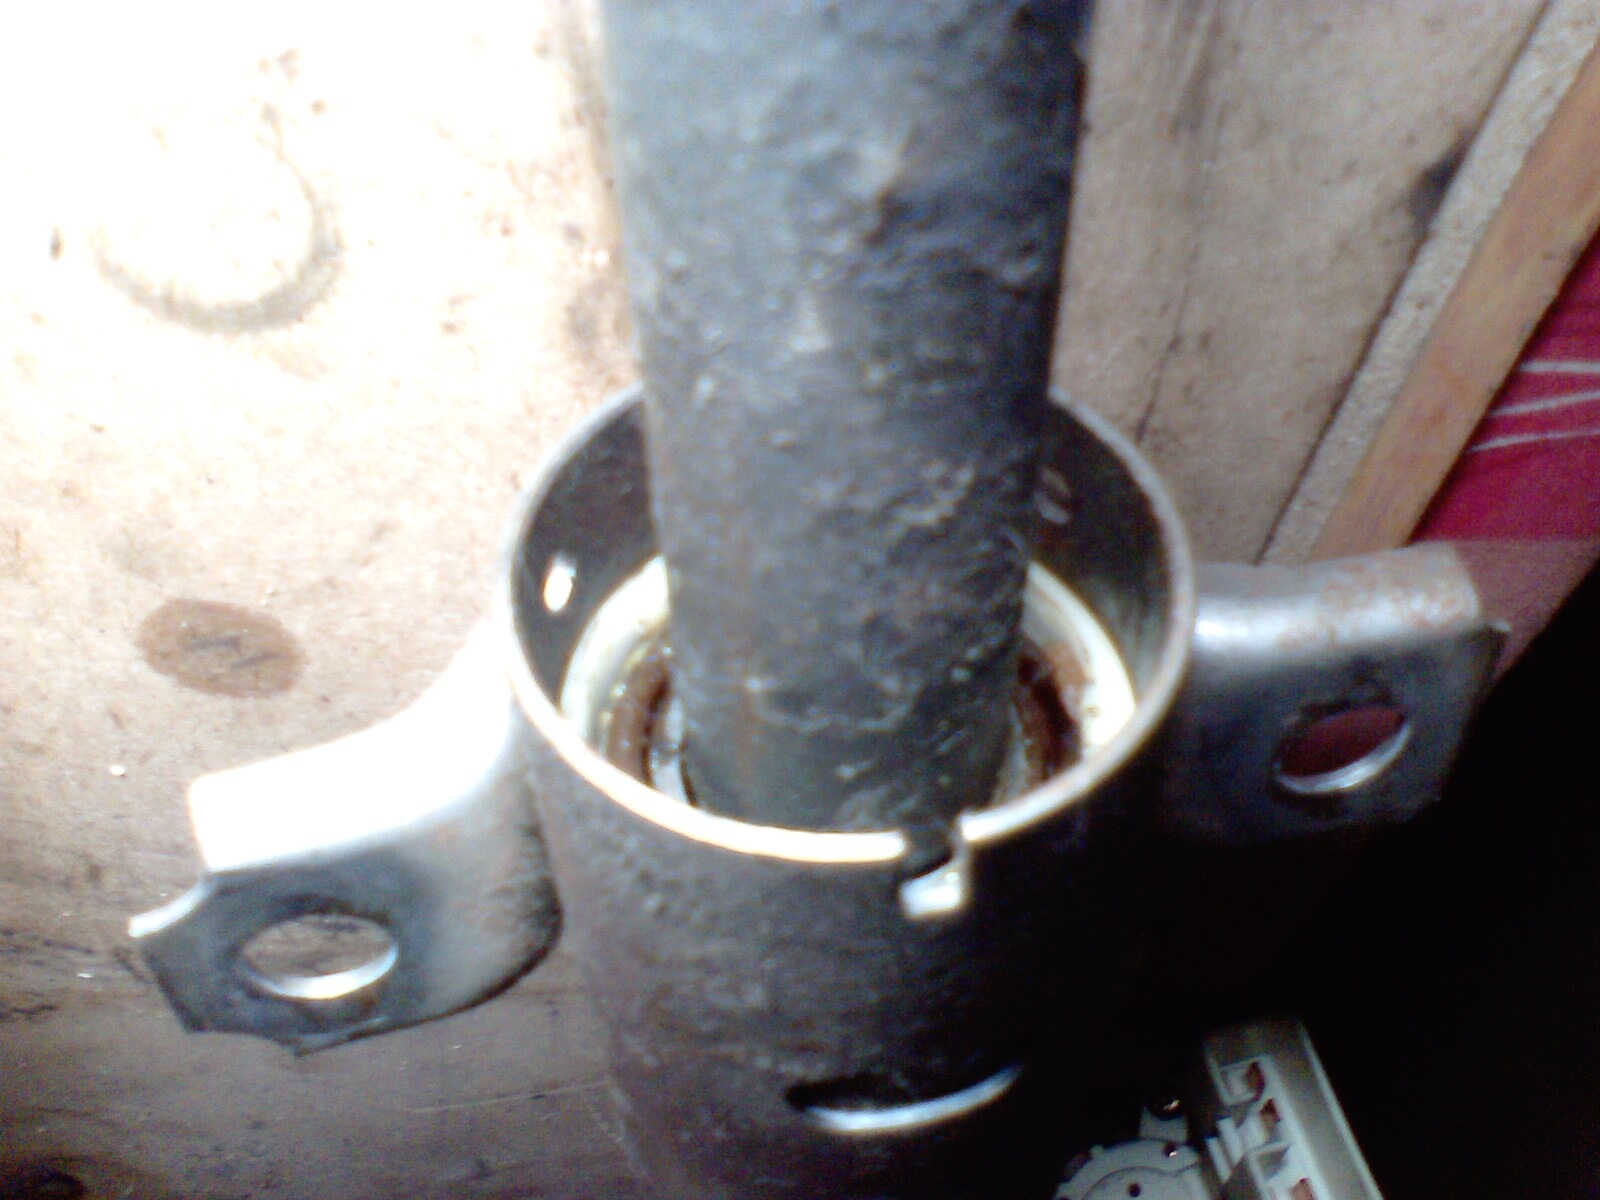
But, as it turned out, this mount on Sere is removable! This is a piece of pipe with a soft plastic sealing sleeve. And at Tercelovsky it is welded to the shaft body.
The following modifications were
required 1. Cut off the mount from the Tercelov shaft, put the grinder in our hands, grind the remnants of the welding to a flat surface.
2. The mount is removed from the Sulfur shaft, but (!) Does not pass through the cardan crosspiece. Therefore, it is cut along the length of the grinder, and after rearrangement to a new shaft (you do not need to swing too much, it "plays" and returns to its previous position) is fixed with several neat welding points.
Actually everything
Well, it is clear that since the bearings of the crosspieces and all the plastic in the guitar are already lubricated.
The most incomprehensible moment arose only when removing the air duct to access the shaft. It turned out that it is simply fixed by tides on its surface in the counterpart. To remove it - simply rocking up and down and pulling towards the engine compartment.
It remained a mystery - why the mount was made removable, but really not removable, even with a hammer. The only version is for the "correct" deformation on impact.
 Price tag: 700 ₽
On the Corollas, too, for a self-tapping screw, I tried to find it here too, but no, there are no holes for it either, i.e. this is not the previous owners removed. You may have a later release.
Our air duct on the right side is attached to a self-tapping screw, factory-made, a spring washer and a place for it are provided for it.