I did something in the winter. - Toyota Camry, 2.0L, 1987
In winter, while it was cold, I did nothing special. Then he handed over the debts at the institute, there was not much free time. In general, little has been done during these months, but still. What was done in 2010: I
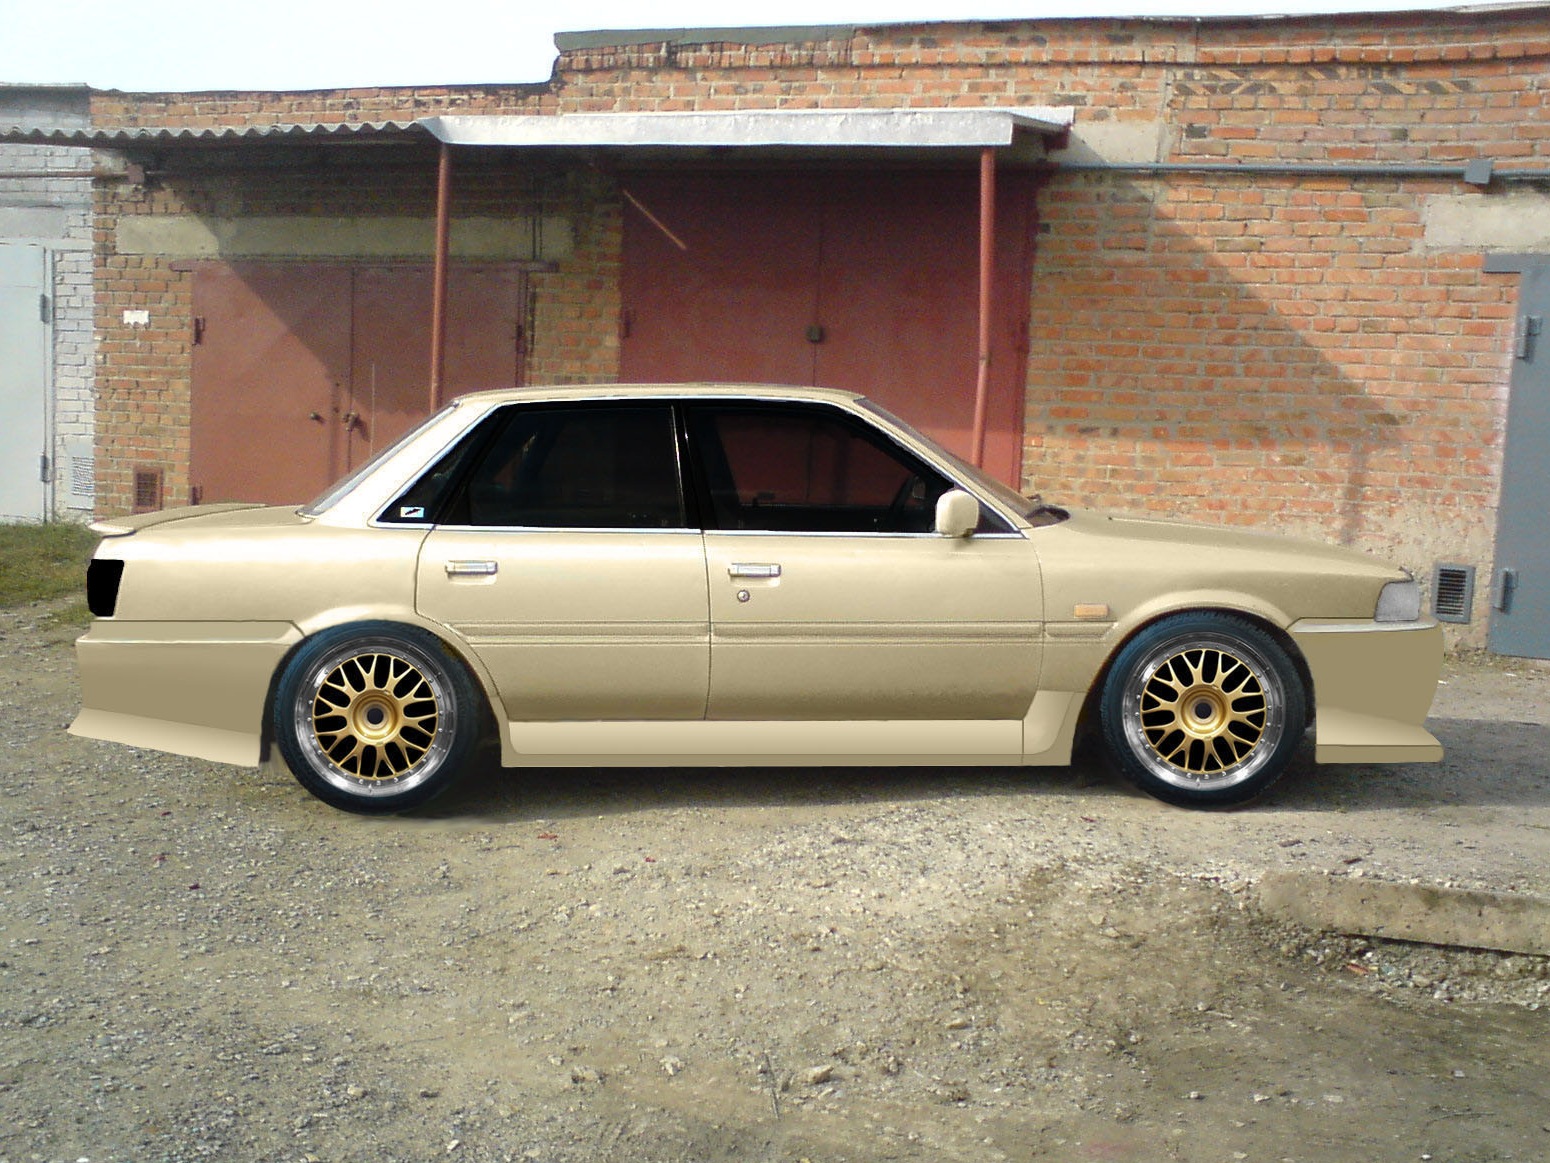
sketched in Photoshop a sketch of what I would like:
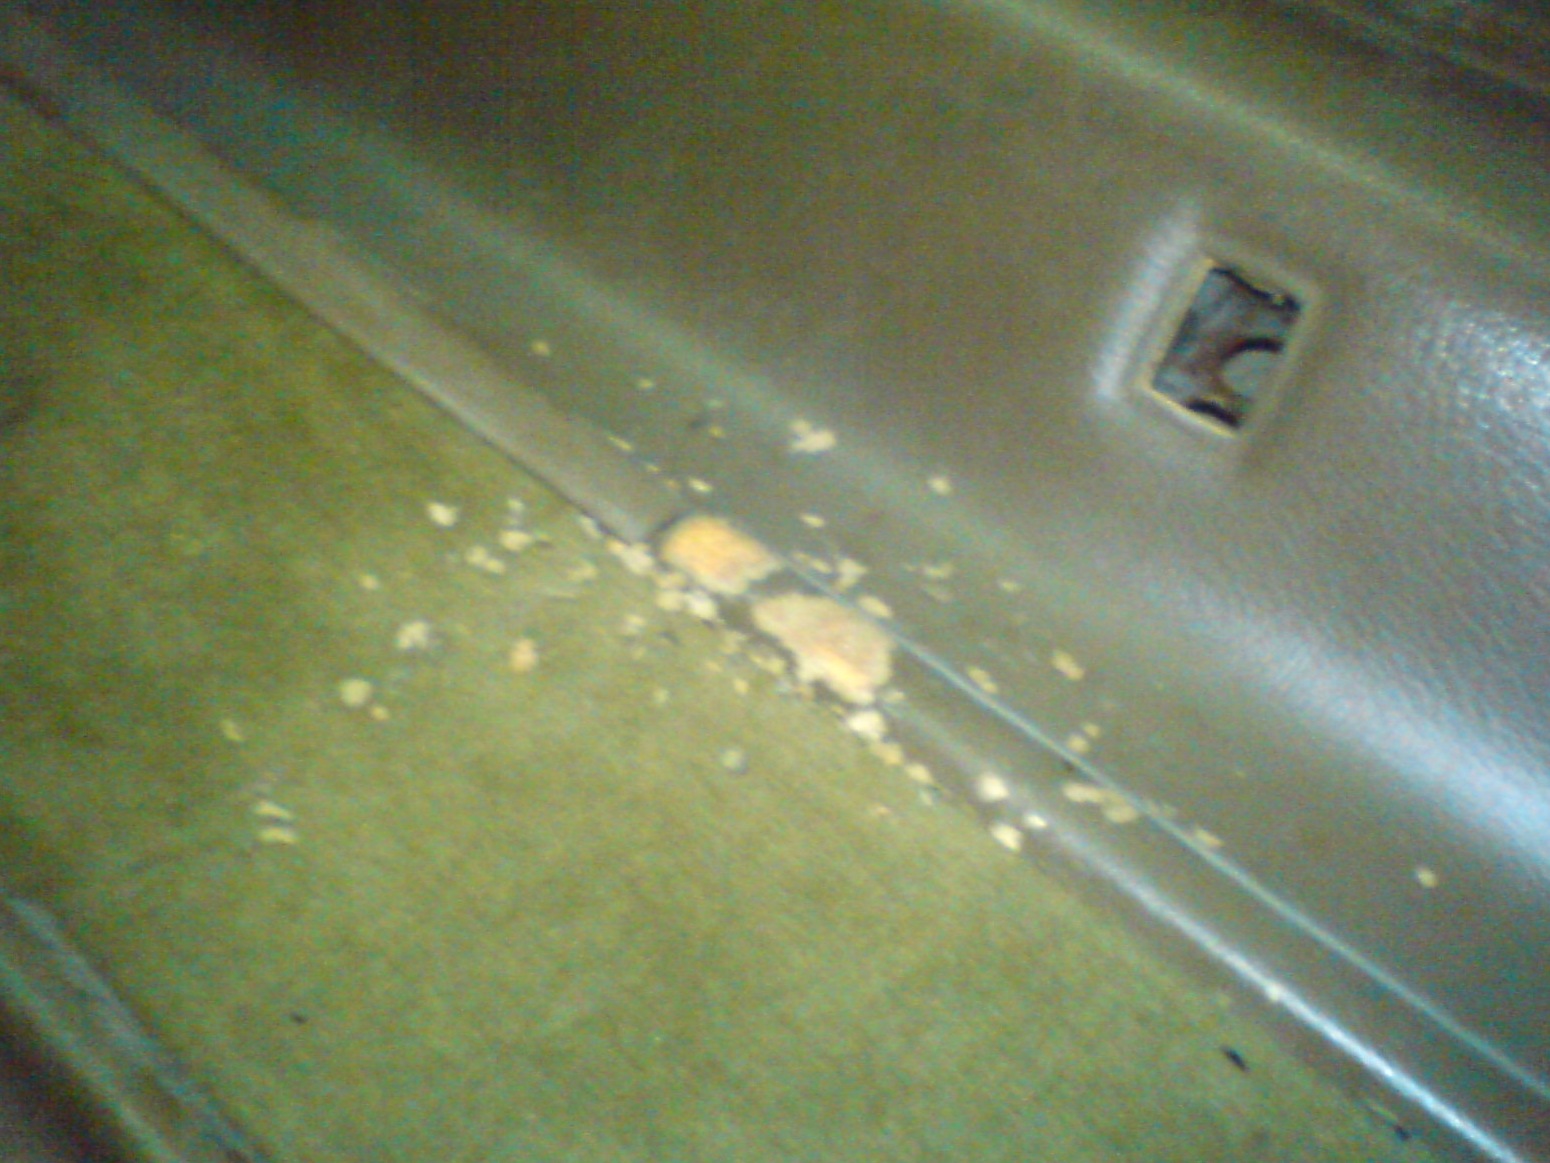
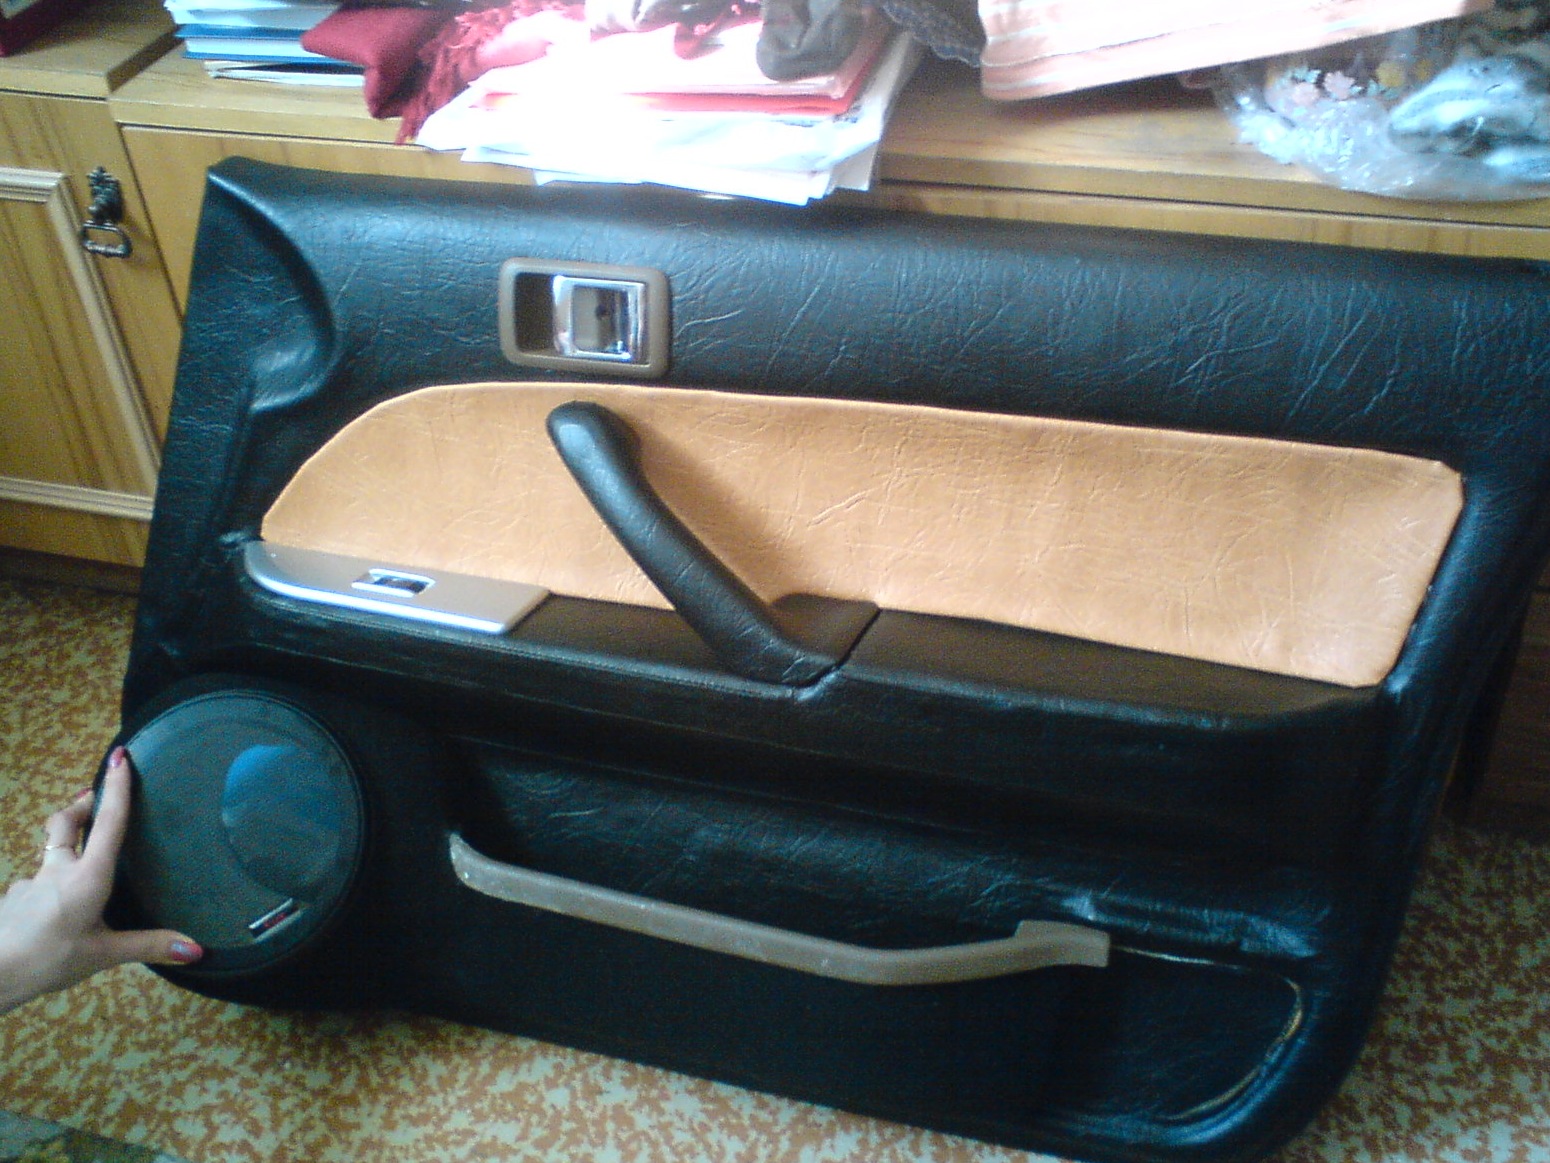
I pulled over with vinyl the cards of the doors, which were devoured by the mice, with which I then began to desperately fight, well, it seemed that the s.ki had died.
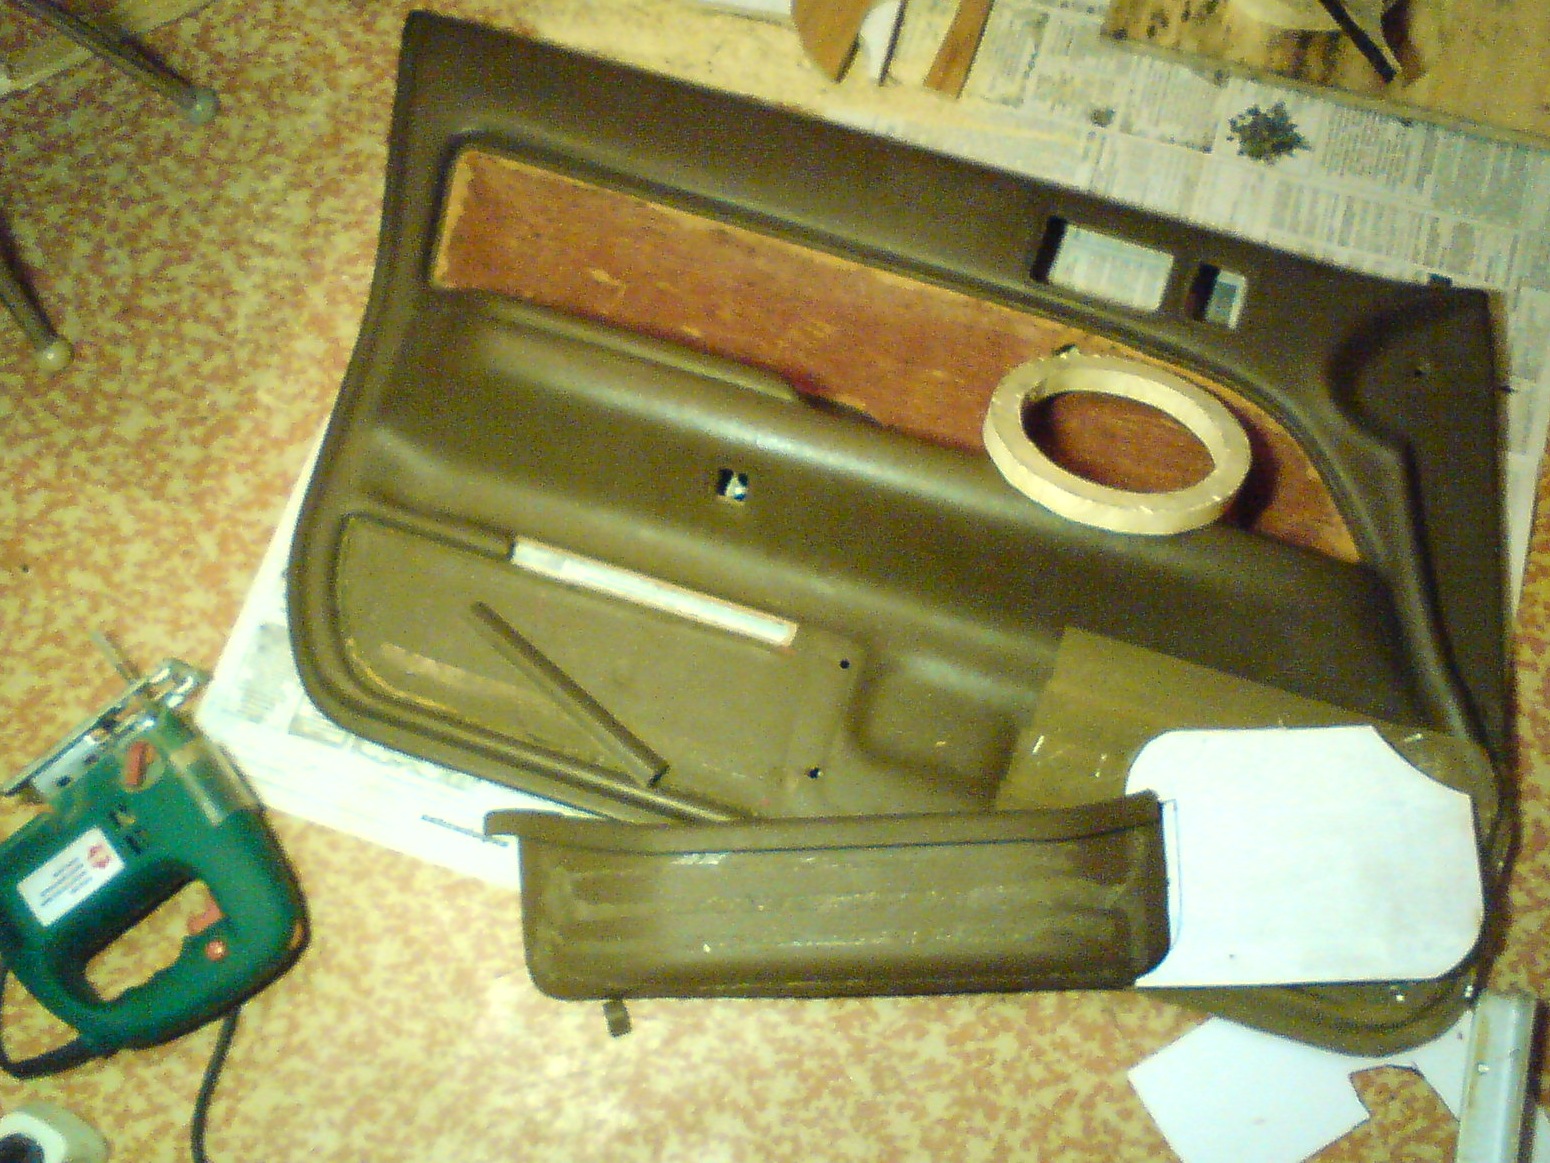
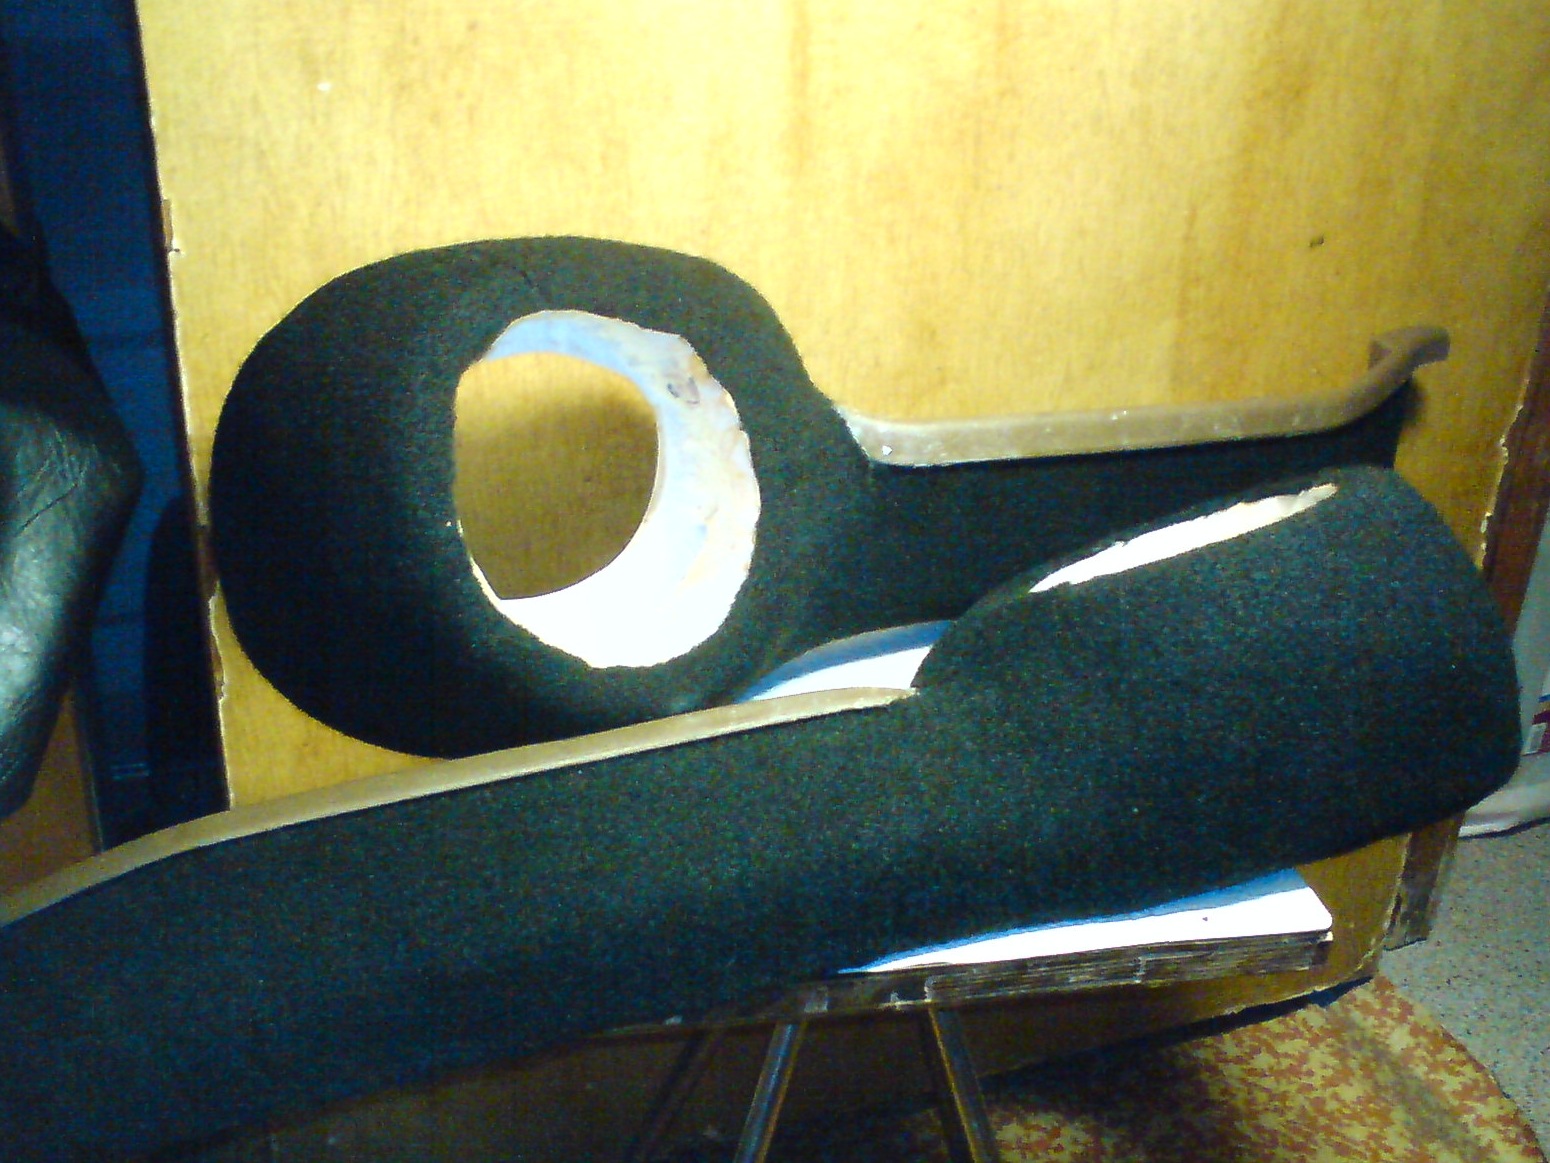
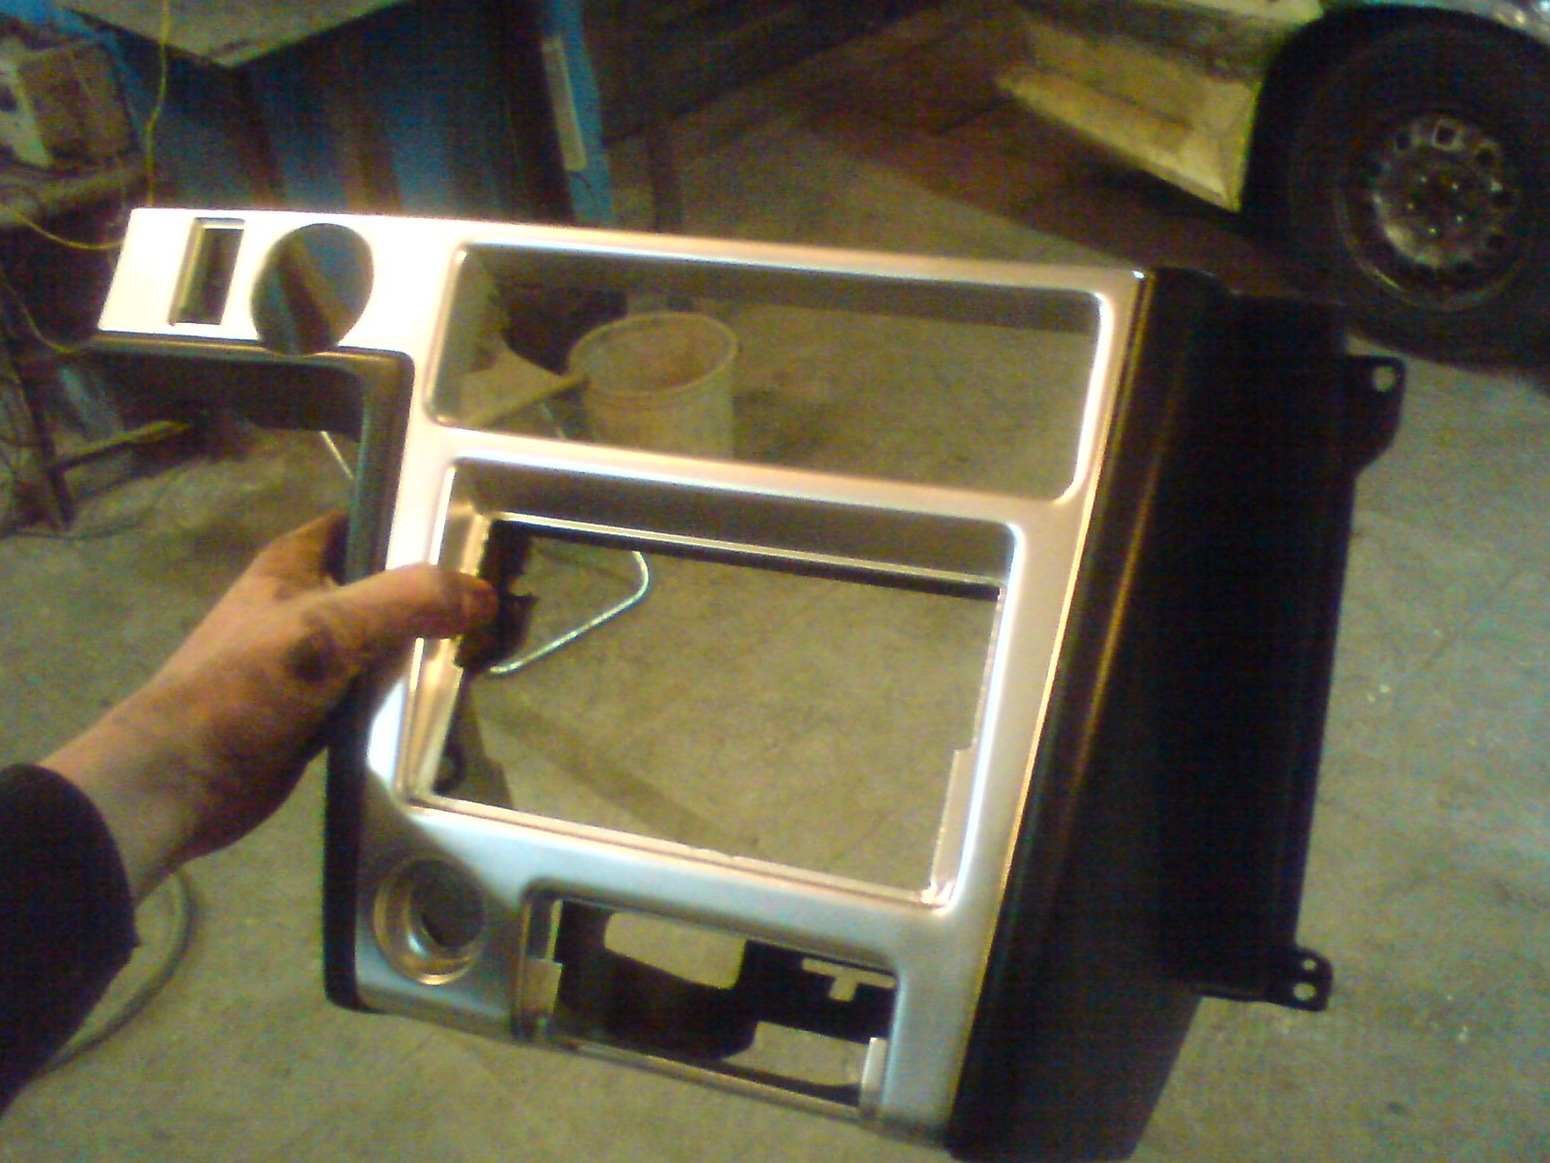
I made a recess for the pocket, because moved it a little and part of the pocket was without a notch.
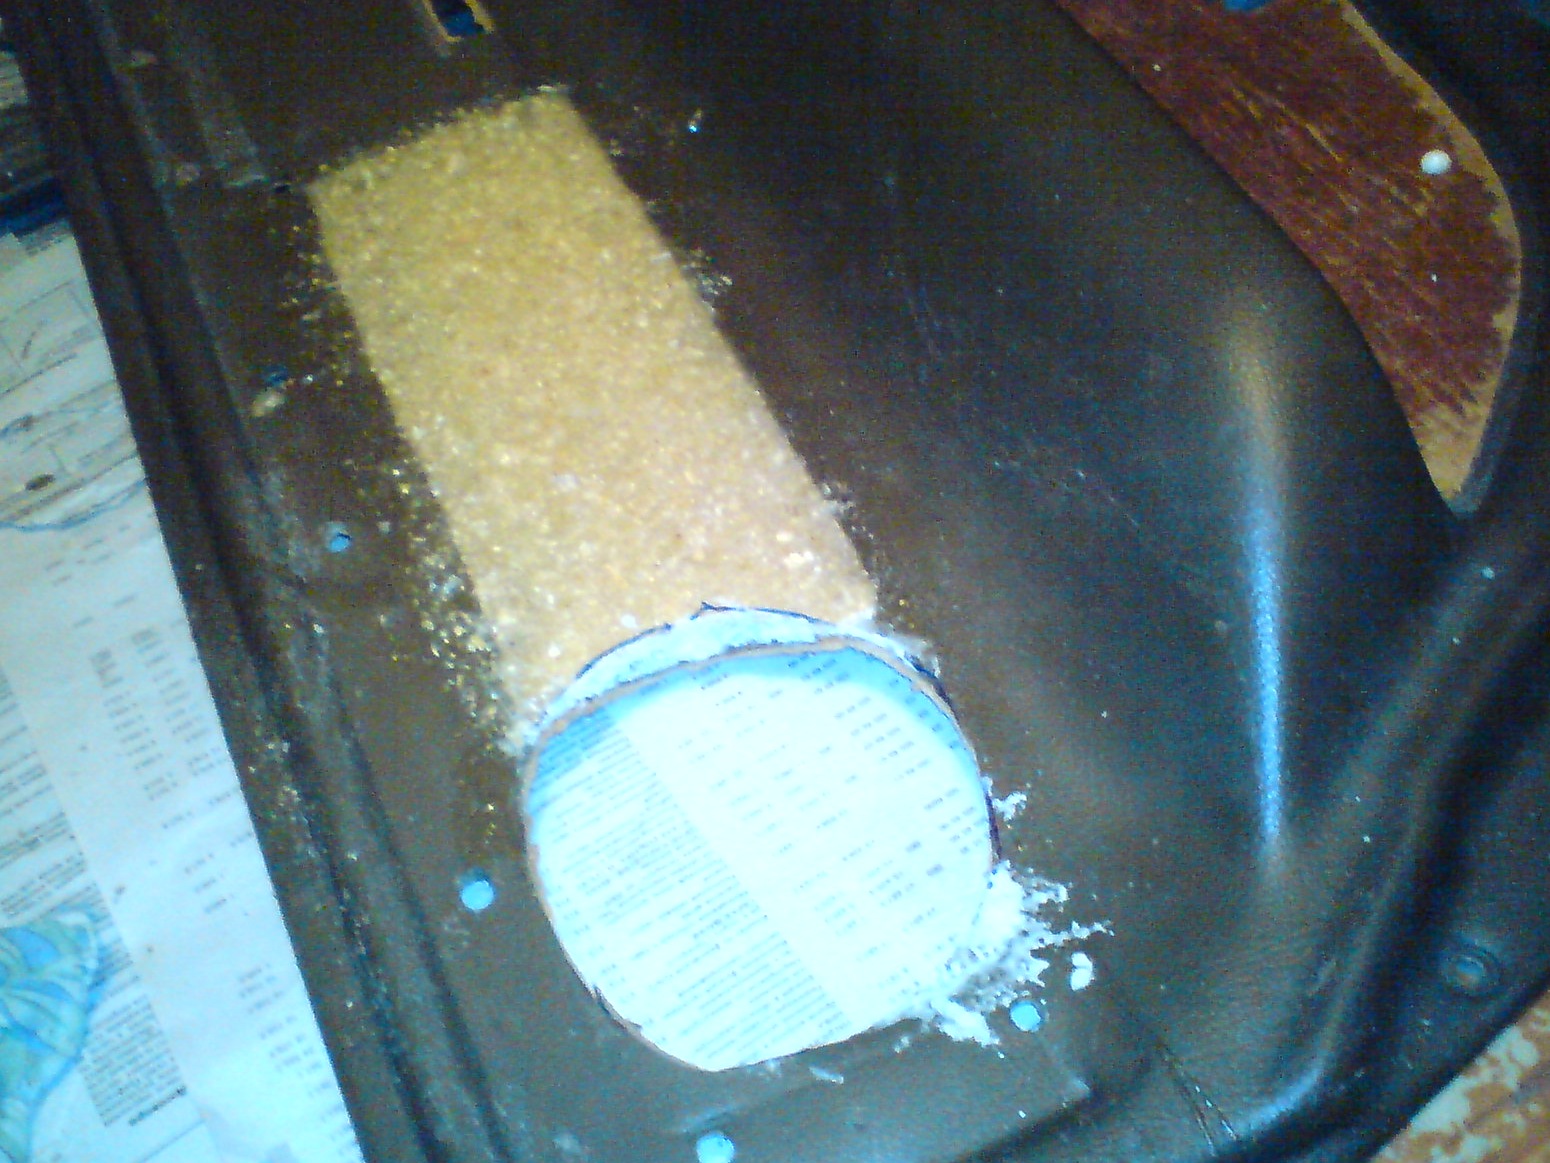
A lot of money was spent on adhesives to choose a worthy one.
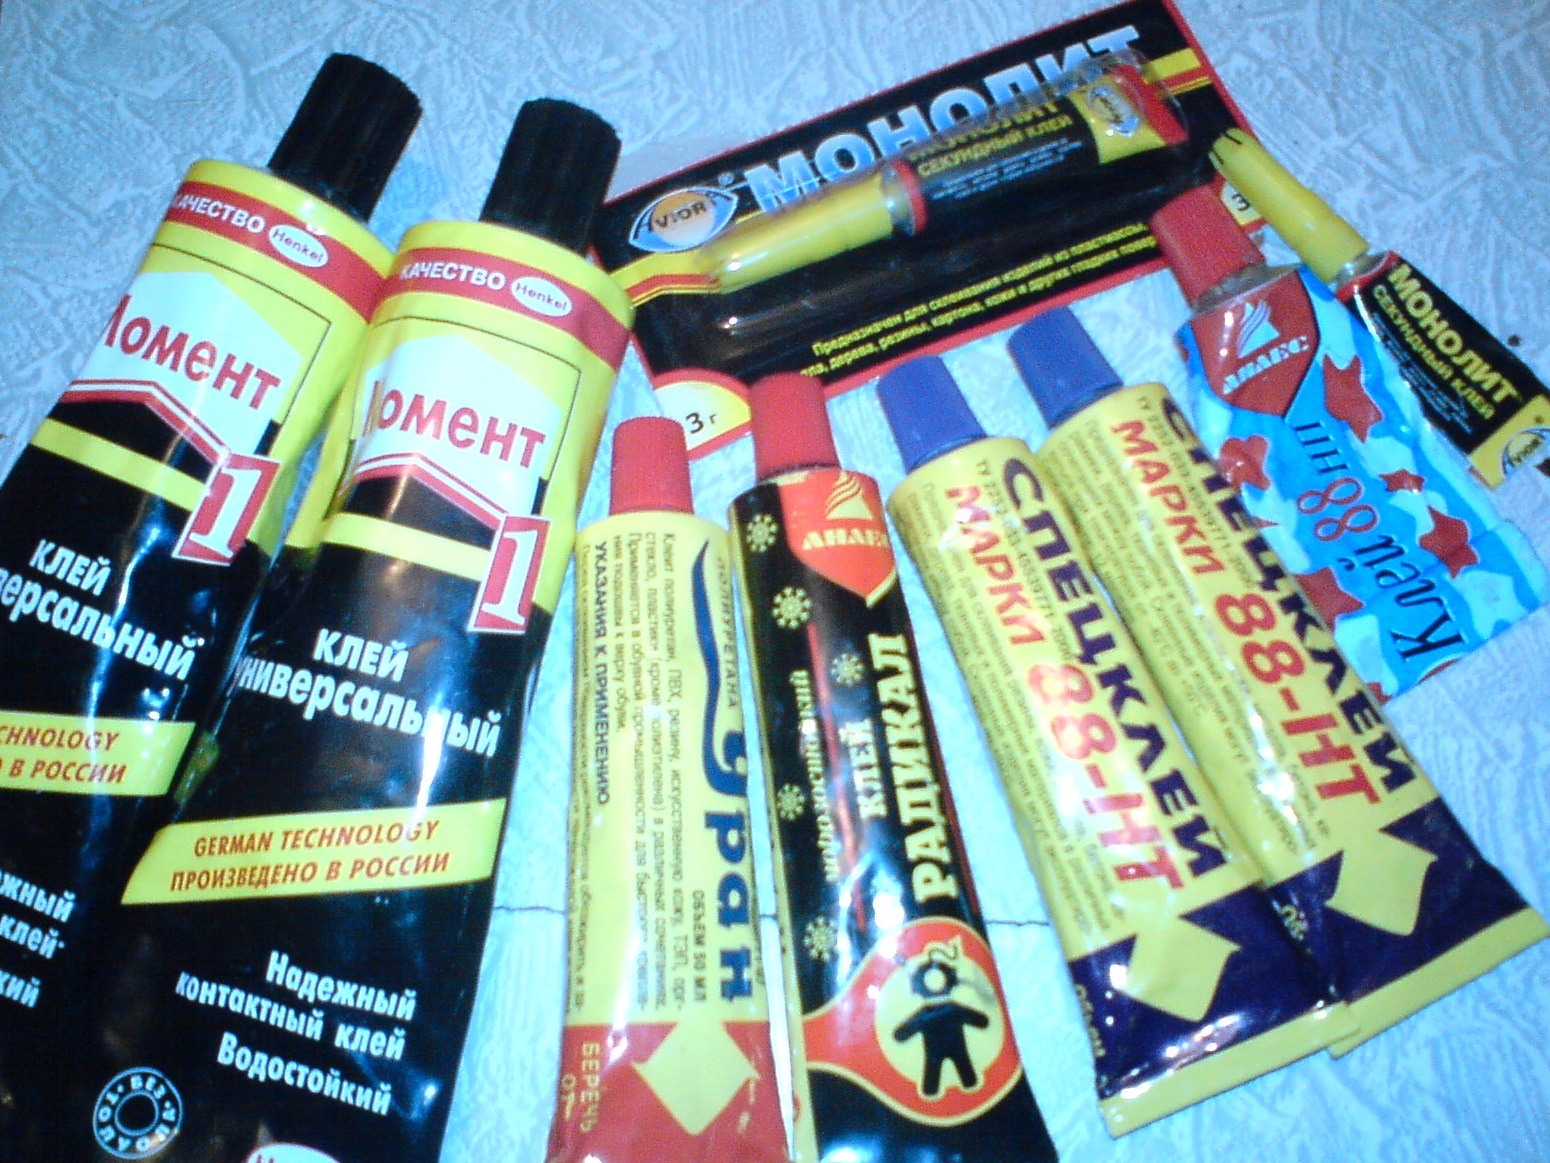
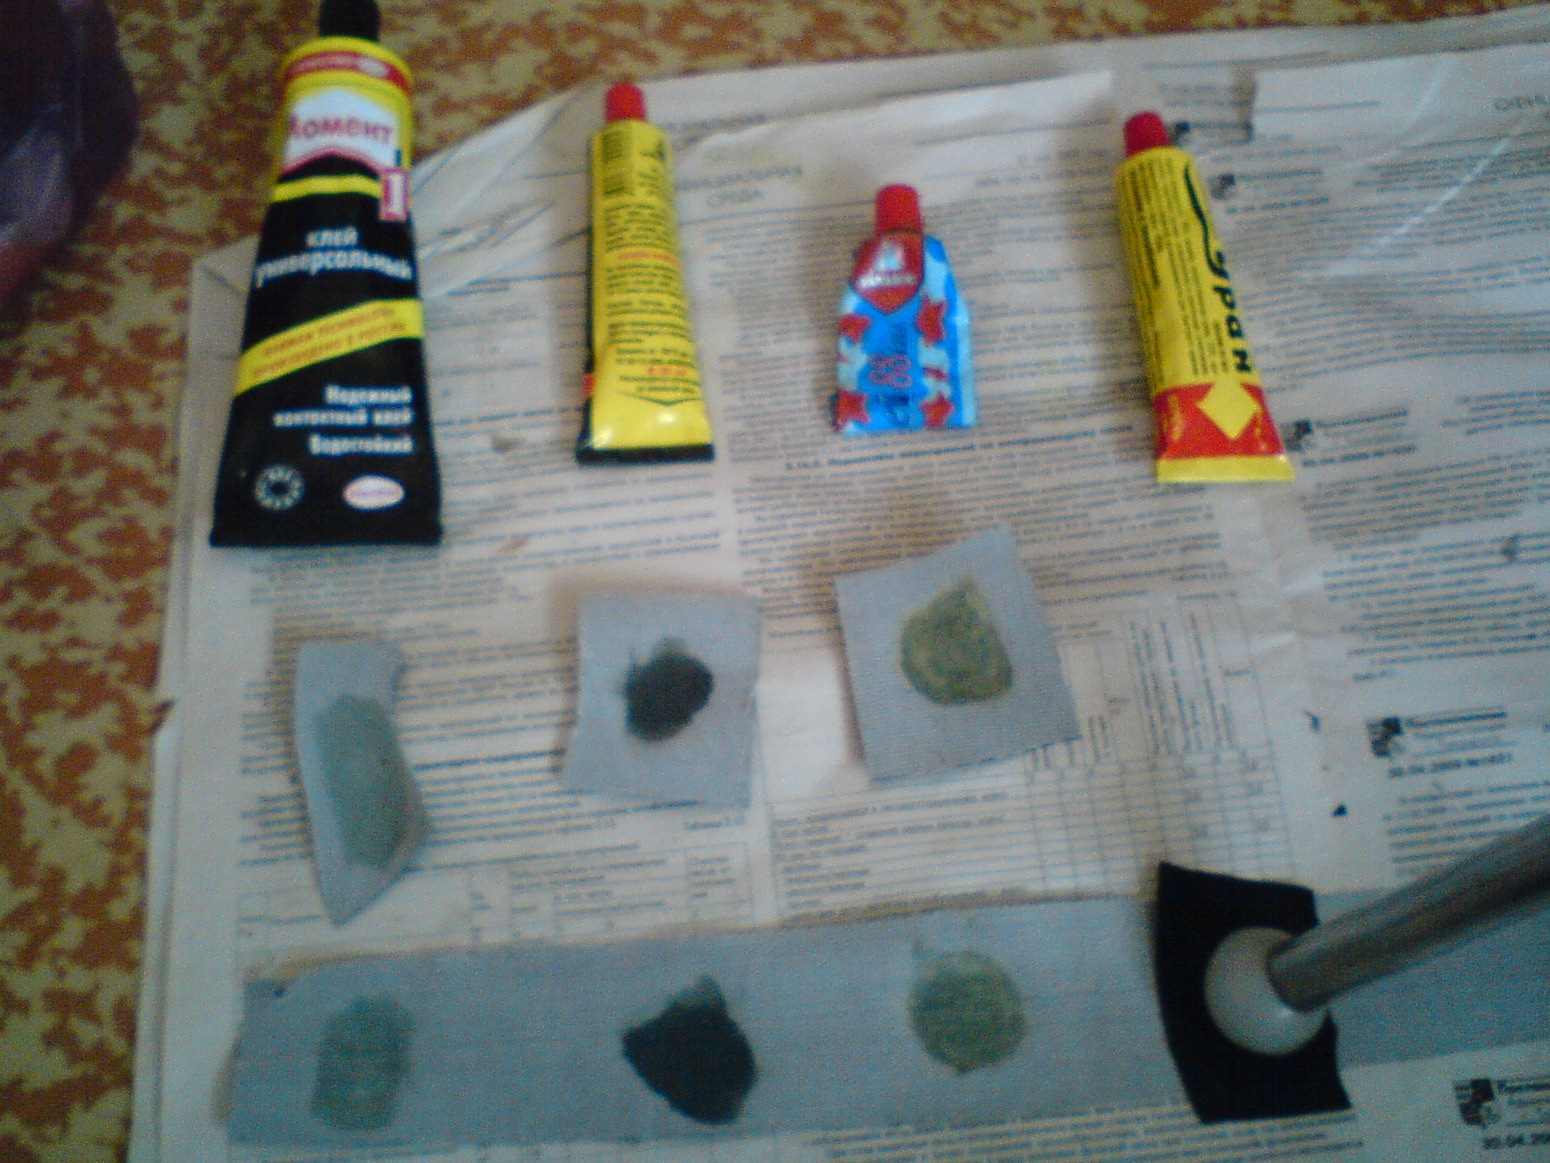
I made samples, glued as it is written according to the technology. The moment did not justify its price. Glue for 15 rubles. glued better!
Here's a sketch of the map
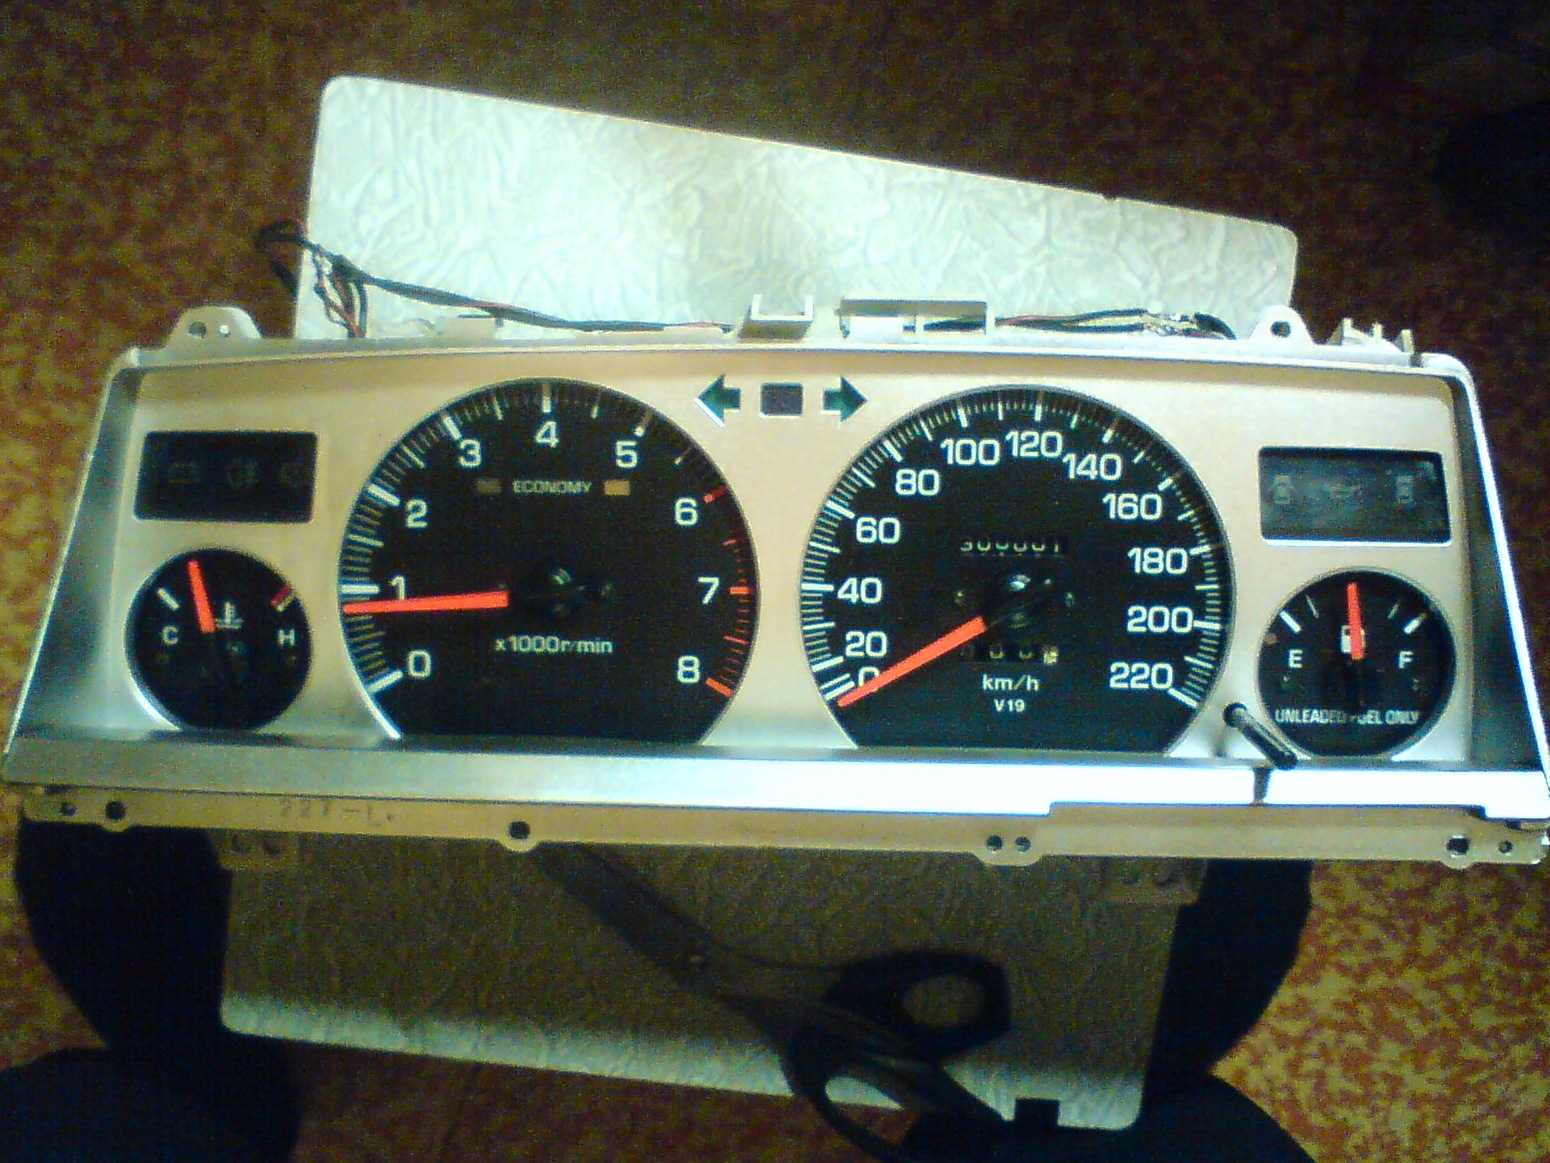
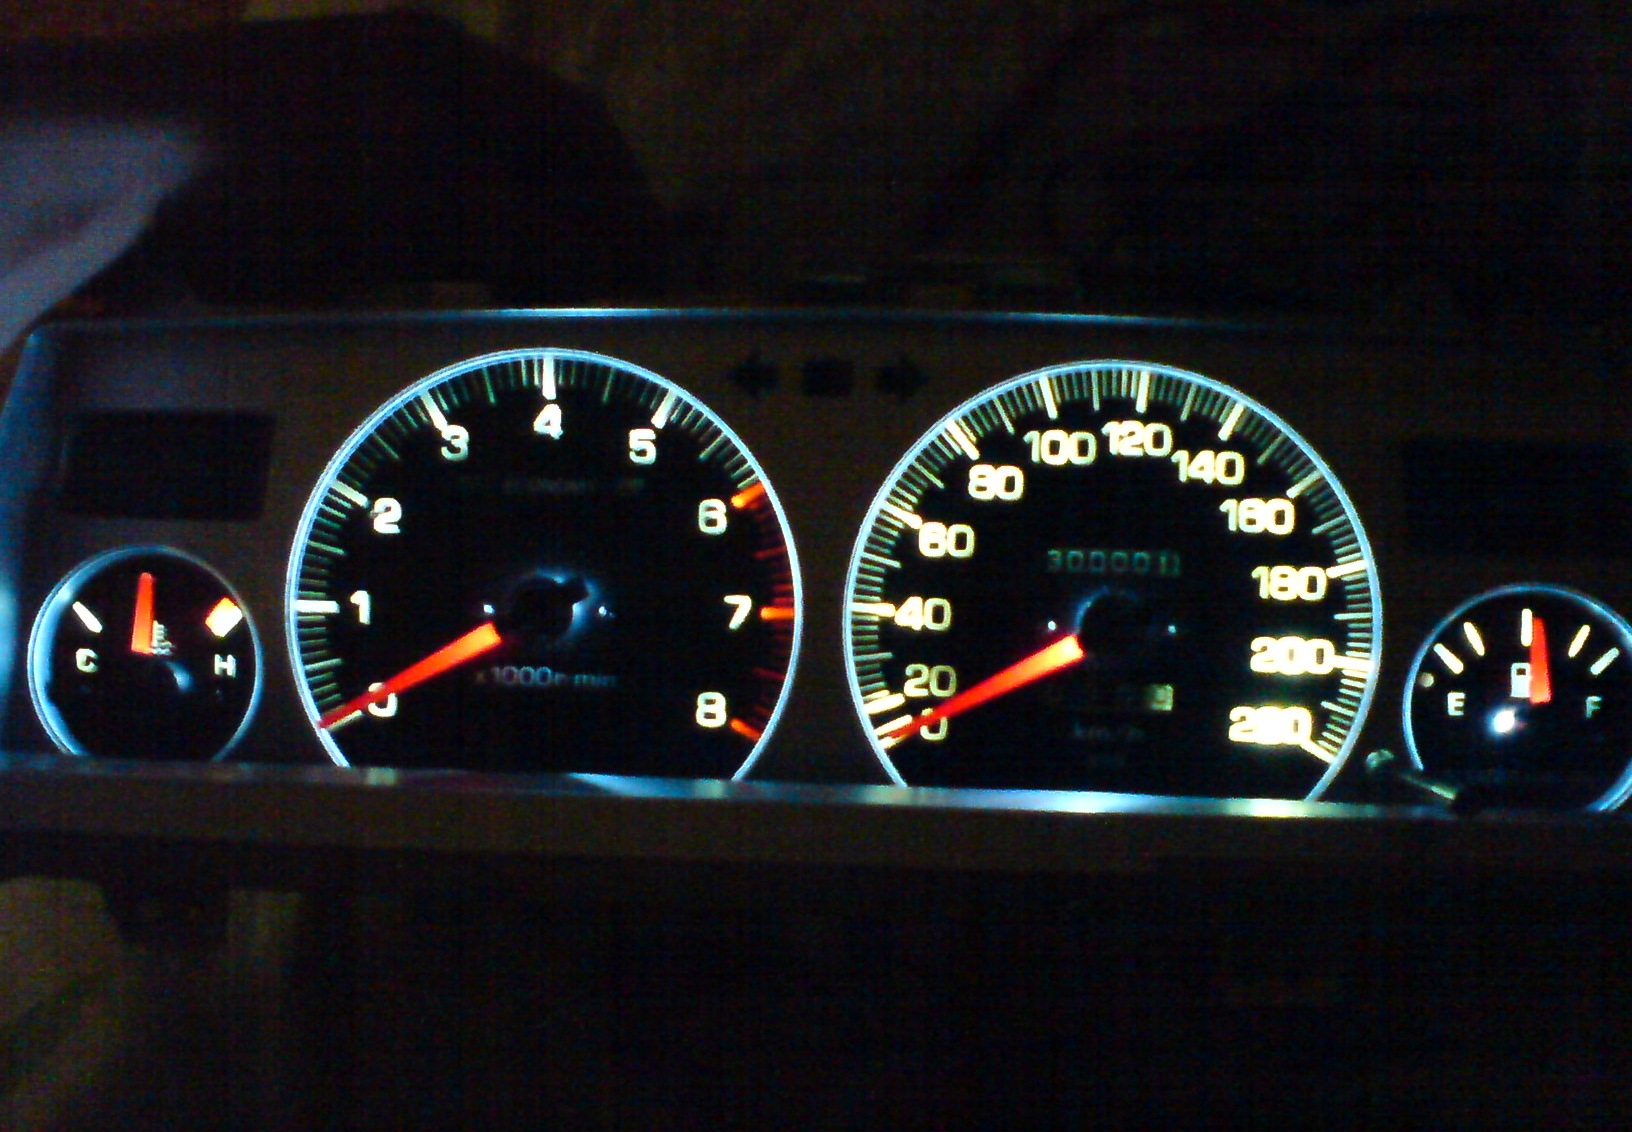
I decided to get confused by the highlighting of the arrows, I thought if it didn't work then I would buy it from another car. The arrows were made of plexiglass, and the base was adapted. Then I did the weight distribution, as they were, I think they shouldn't lie
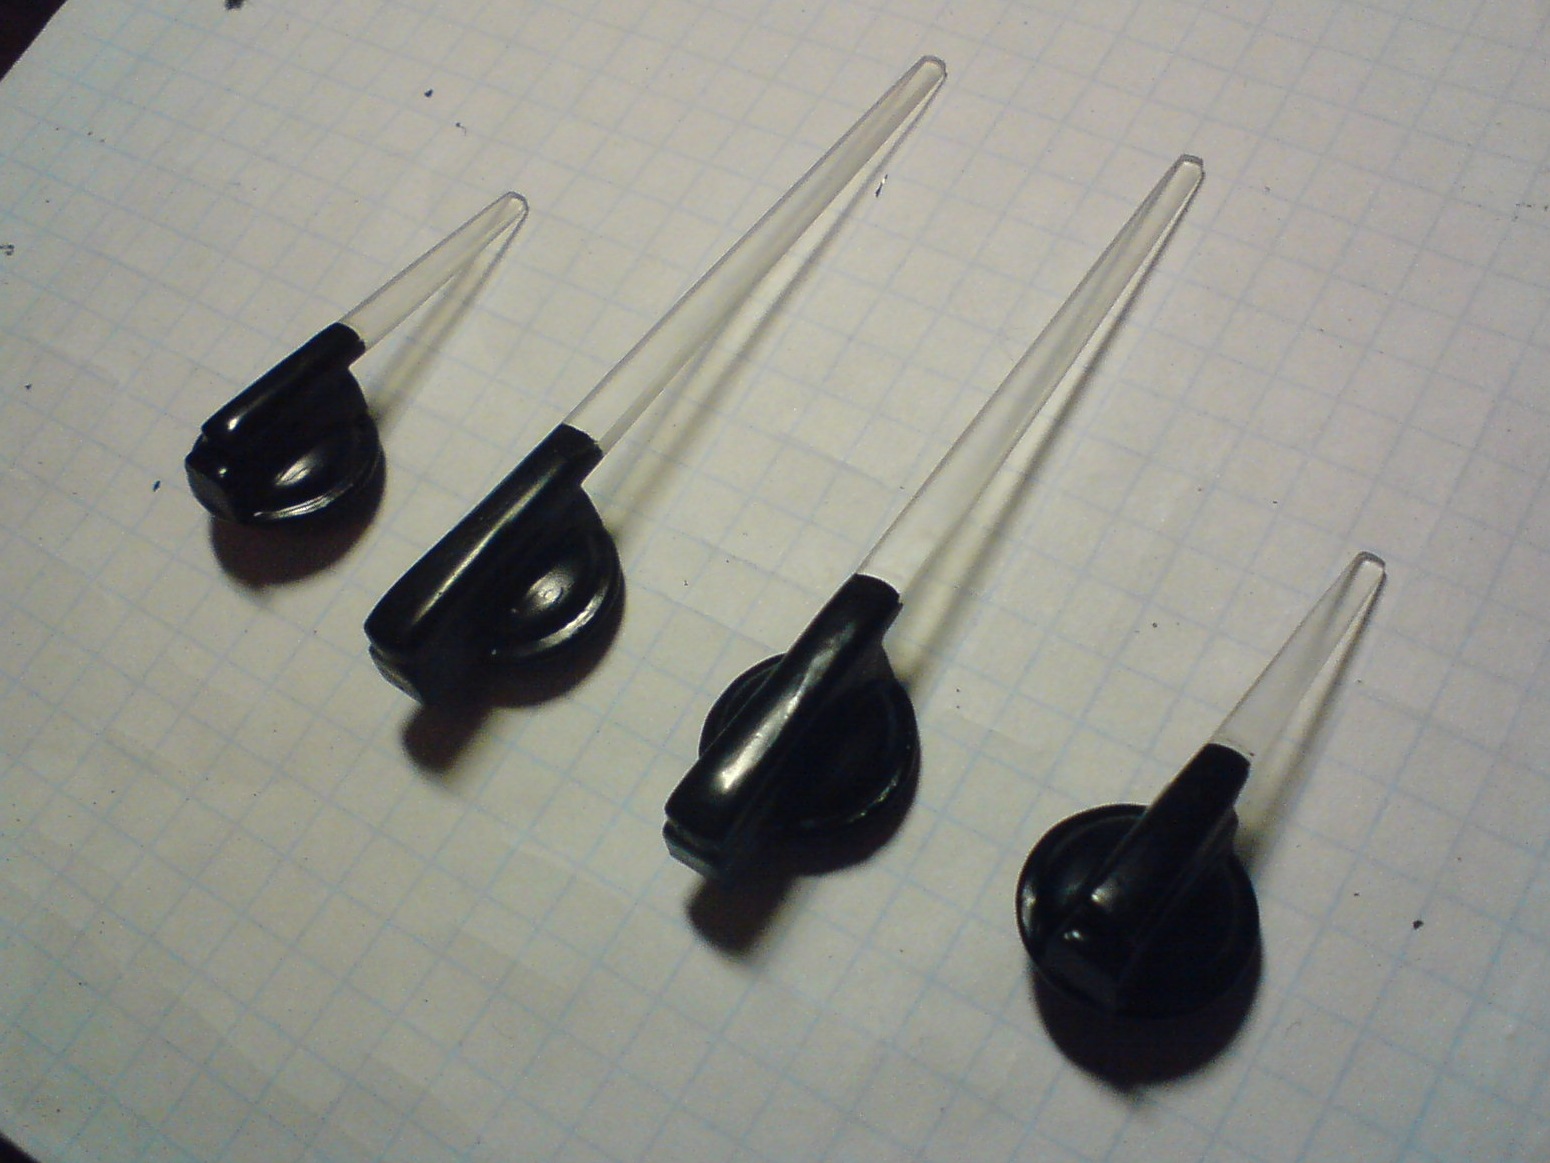
tidy version 2.0
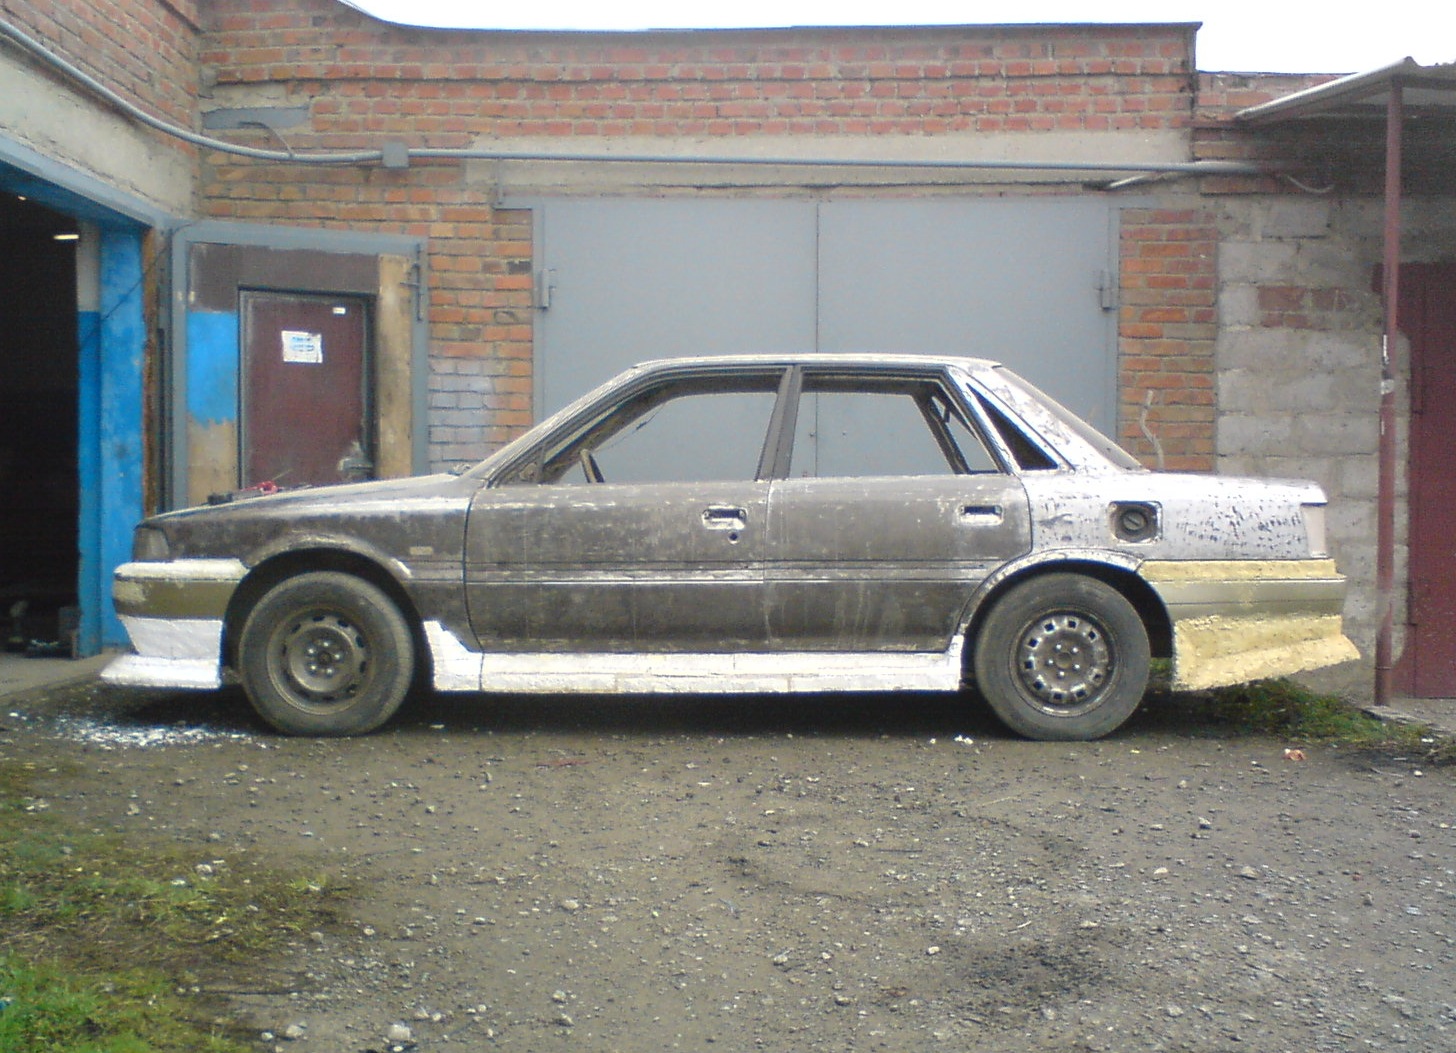
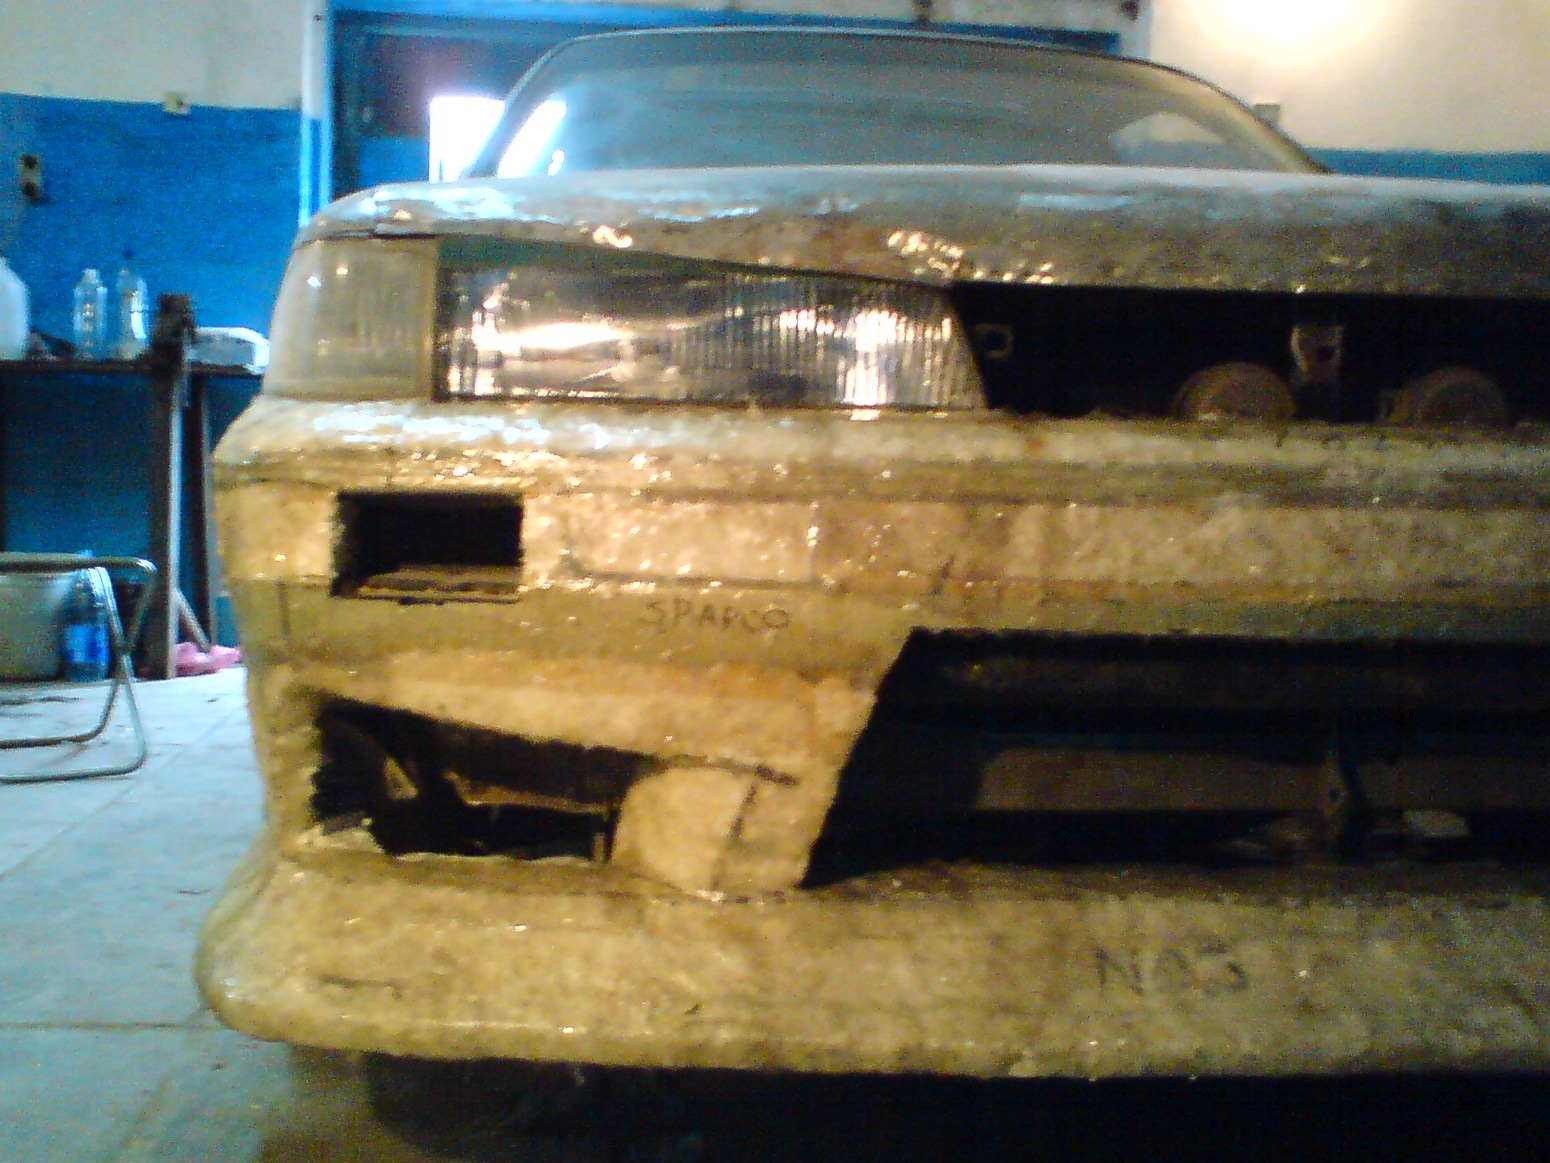
I slightly changed the bumper, raised it under the headlights.
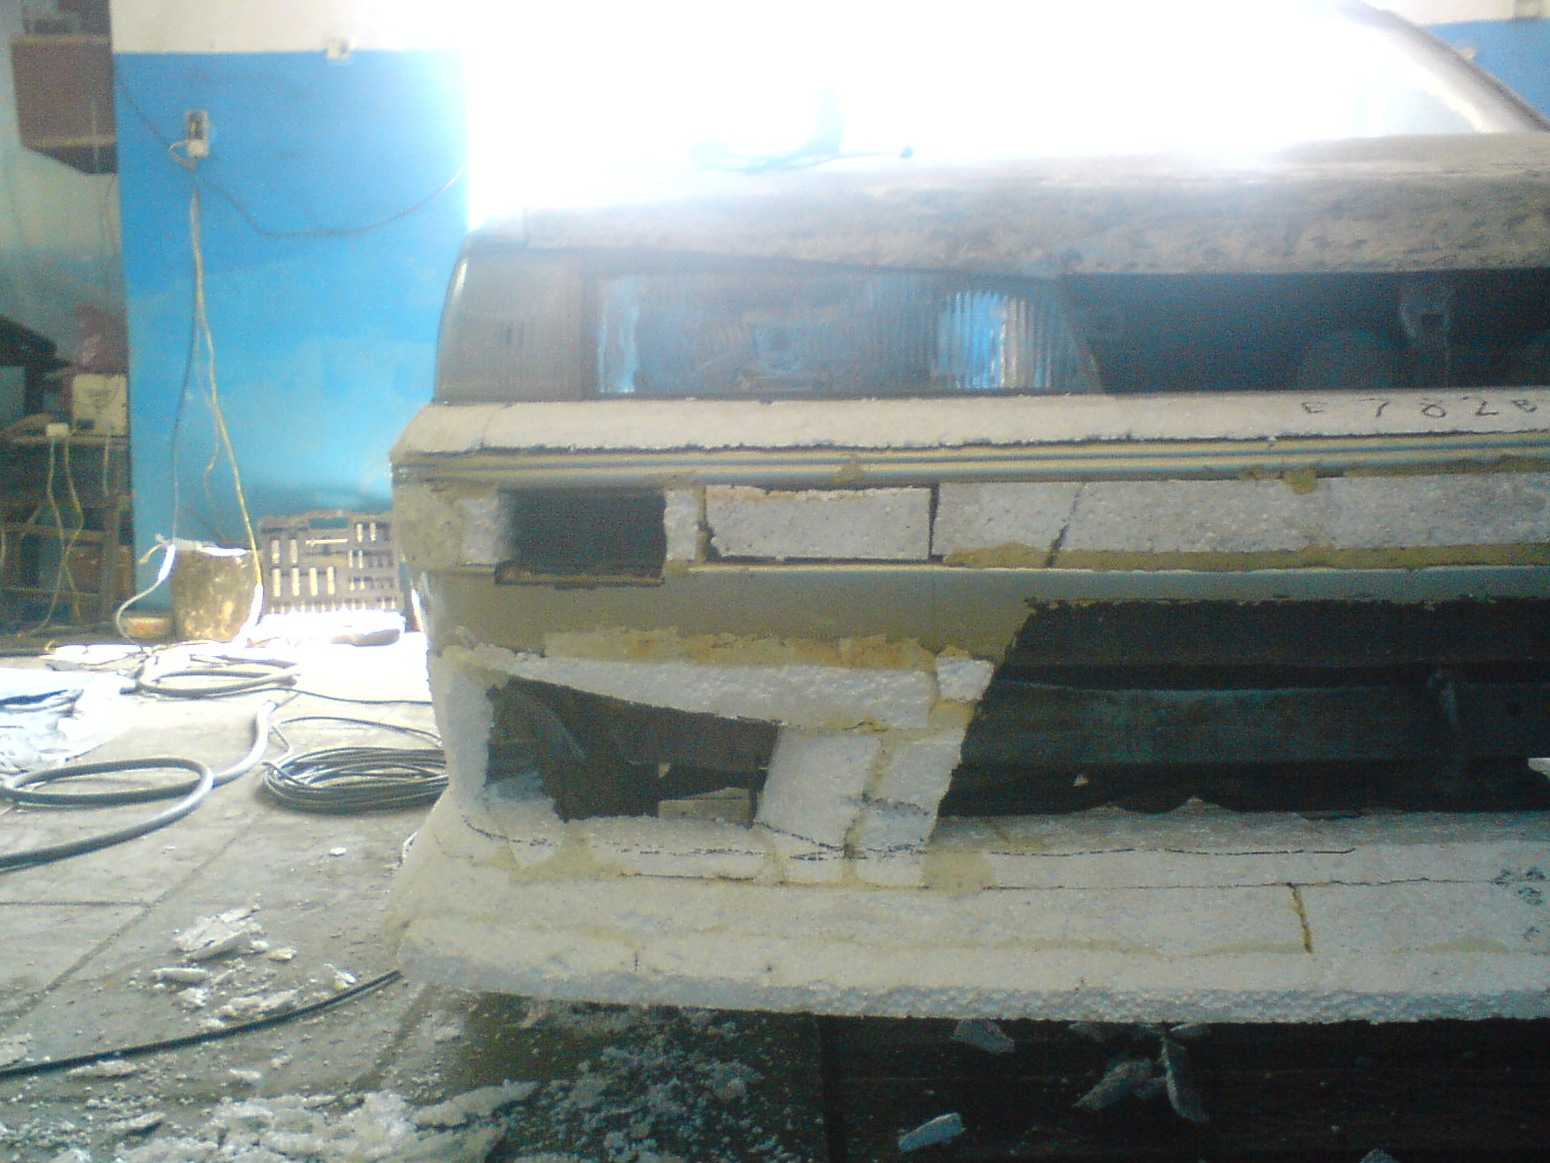
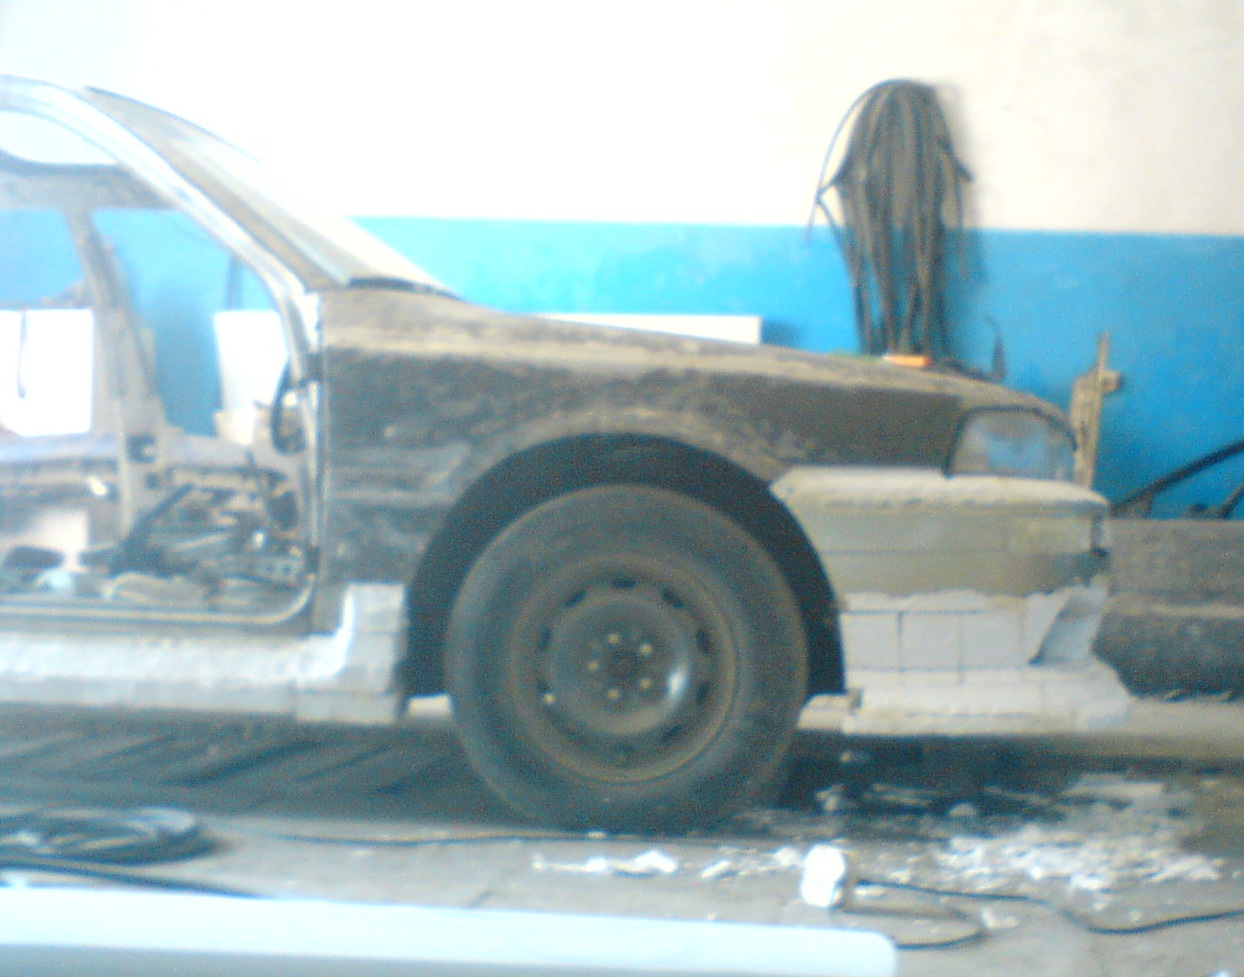
Here something similar appears:
I put the ignition lock from the Zhiguli, because I did not find my own, and in the place where it used to stand the Zhigulevsky did not fit, I would have to saw the steering wheel tilt system with memory, and decided to put it like on the brand-like of those years.
 Mileage: 300,000 km
Well this is not the end result yet. I will start to sculpt with resin, I will correct the little things! For the first time it will do)
change a little bit along the arches, but if you feel that something is wrong, and so nishtyak!
You mean to lower it down? Here you can see that they are slightly higher than the bumpers, but I slightly altered the rear bumper, raised it a little. Or do you mean to change the arches?
Yes, I think the putty will go away less, Kostya got excited. Well, maybe 15-20 kilograms. There is nothing to write about the headlights yet!
Moved a little! Remaining 28kg of putty not counting the body kit. And what did you not write about the headlights?
Well, this is a normal period in construction) The main thing is not to abandon what you started)
Just cosmic volumes of work, as I understand you =)
Clear lines go to her, hold on, a LOT of work and will shine!
Thank you!
There are a lot of options, but pure foam flies off because it is expensive. I made with 15 density foam, which is cheap but crumbles. Better to find 25-density foam, which is easier to work with. I glued it on the foam and fastened it with matches or nails, so that all this would not fall off until the foam was taken. Can be glued with a dragon (glue like this). The most ideal thing if you find a model (aviation) foam, everyone calls it differently, it is like frozen foam in structure, only denser, it is very well processed with sandpaper, but it is expensive.
Then you stick around the finished form with glass mat or fiberglass with polyester resin. You can, of course, with epoxy, it is much stronger, but it is fragile, just where you catch and crack the bumper, and it is more expensive. I myself first bought epoxy and wanted to make it out of it, made a test sample, and made sure that it was fragile.
It was a manufacturing process without a matrix, that is, in one copy. There is also a matrix, but you will need 2 times more resin and fabric, as well as buy a gelcoat, and it will take more time, but if you make the initial shape for the matrix well, you can do almost without putty. Then in the matrix you will be able to sculpt dozens more of the same bumpers. But this method is more expensive, I think you don't need it.
In general, I want to wish you good luck in advance, as this process requires patience!
PS The last photo shows what a gnarled bumper has turned out so far, but this is only the first layer of epoxy. Further, with subsequent layers, I will gradually level it so that less putty is gone, since it is not cheap. And yet, the foam must be insulated from the polyester resin, since it corrodes it, I did it with epoxy. Model foam will not corrode!
What did you make the front bumper shape from? styrofoam foam?
And if it was not difficult, I would like you to describe this process in more detail! Because I have the same job ... I would like to know different options ... thanks in advance
As for the work done - a lot of admiration ... everything is very cool!
I'm five)
It's a great idea to replace foam with polystyrene ... that's enough!
and if the foam is glued with some glue and not with matches and nails? what kind of glue does not eat it? I tried TITANIUM universal, it does not corrode, but you need a lot of it, and it is relatively expensive
Hello! Yes, I wanted a drift-style design in general, there are also such simple shapes and a rear bumper with a lapel. I decided to get confused with the arrows, it seems like it happened, though you need to solder a couple of resistors. The pocket will be black, and in the lower right corner, the insert is beige, I just haven't glued it on the photo yet. And so thanks for the kind words)
Great job!
1. The design in Photoshop, though simple, is not bad. I liked the picture of the front bumper. Cutouts.
2. The arrows were done well). I never got to them!
3. Make a bezel on the pocket in the color of the beige insert - in my opinion, of course));
4. Looking forward to summer) and the continuation of styling!
Yes, polyester will corrode the foam lightly! I made the first layer of epoxy, then when it hardened, with polyester! You can simply glue the foam with masking tape or ordinary tape, then it will almost not corrode! Polyester is such garbage, even if you seal everything hermetically, then its fumes will still corrode the foam a little!