Polishing. Did finally! =) (1 part) - Toyota Avensis, 1.8 L, 2009
*Part one*
Hello everyone!
I already created a post that I was going to polish my car myself and asked for advice from experienced ones =) Thank you all who responded, advised and warned! =)
This weekend I finally decided to polish Avensis. The weather was good =) Moreover, last weekend I tried to polish the bottom of the rear bumper and was very pleased with the result.
I will not beat around the bush for a long time, here is a description of the whole process with photos:
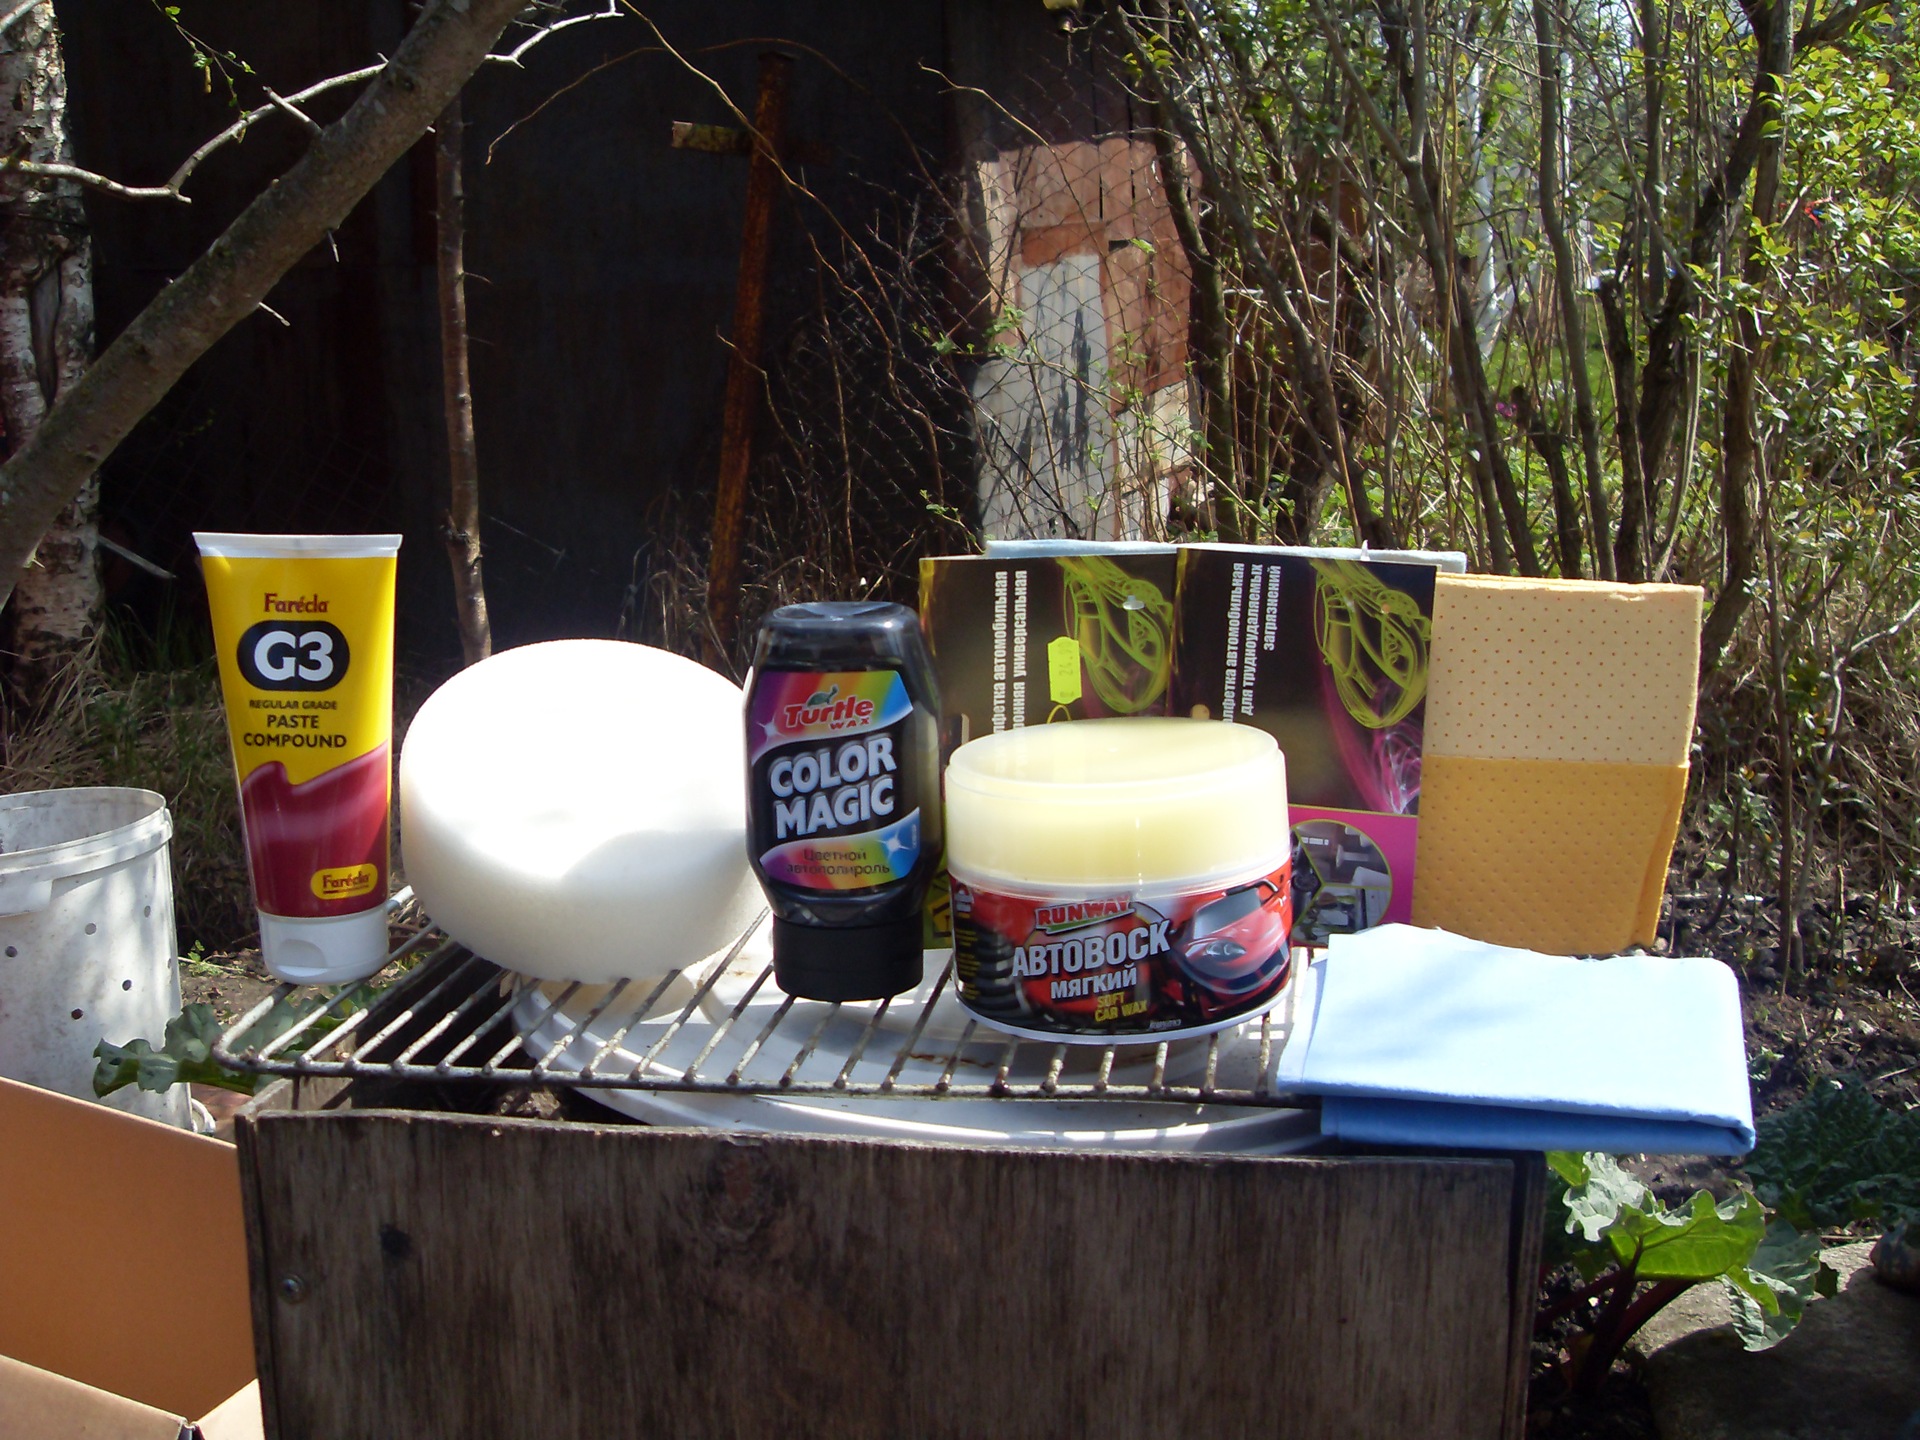
To begin with, what we need:
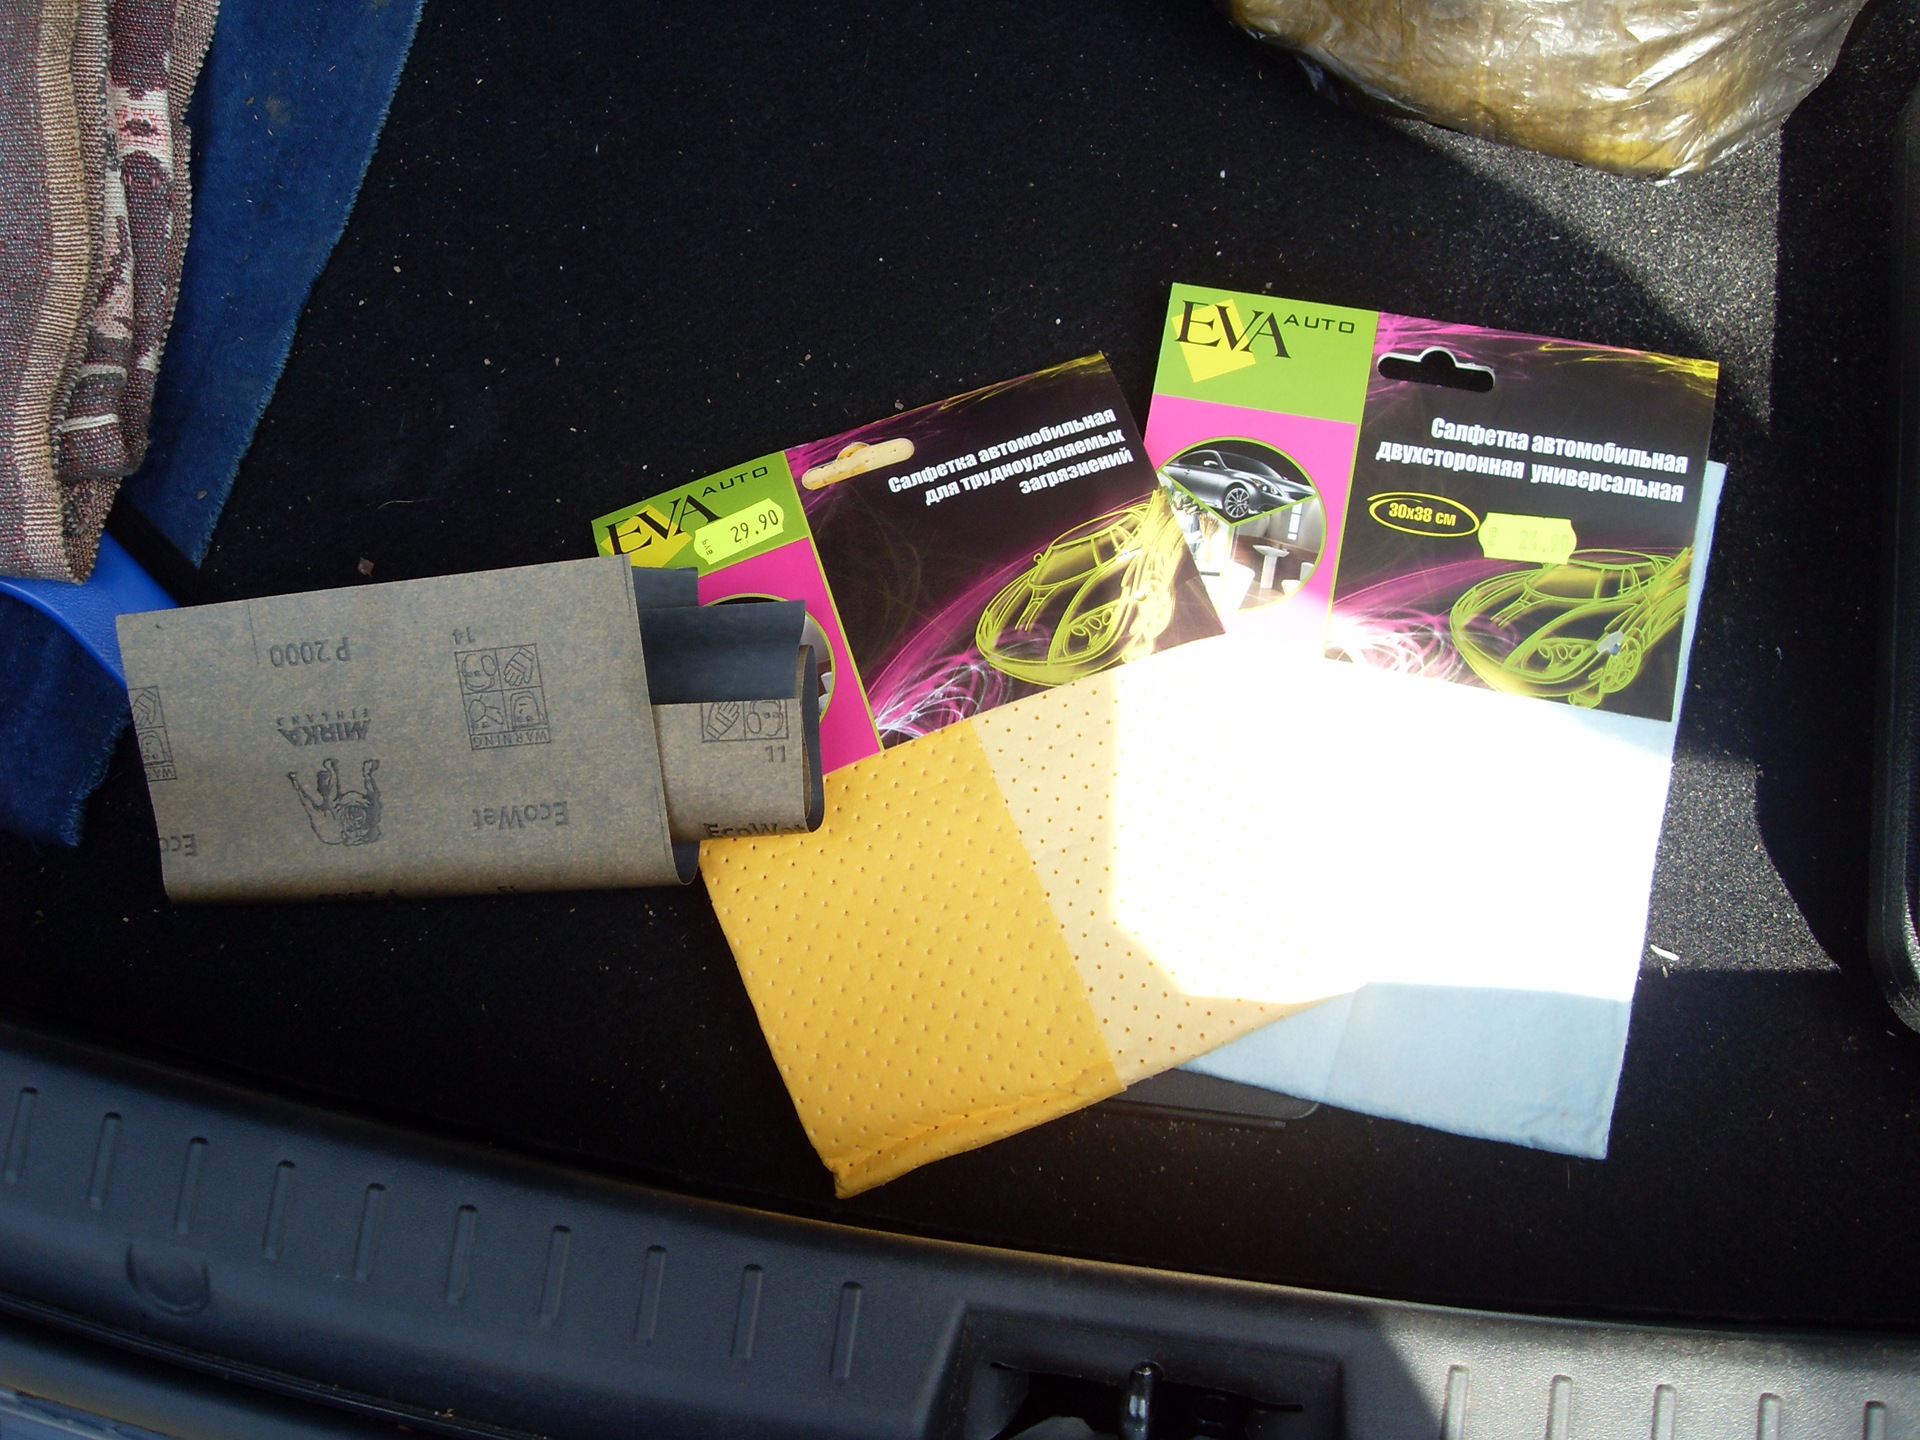
1. Sandpaper P2000 - to remove very deep scratches on the varnish, if any (in my case, deep scratches were on the rear bumper, apparently from contacts with snow drifts)
2. Abrasive polish (I bought Farecla G3)
3. Colored polish (Turtle Wax, needed only if the machine is painted in a dark color, for gray or white, only an abrasive polish is enough)
4. Soft car wax (RunWay)
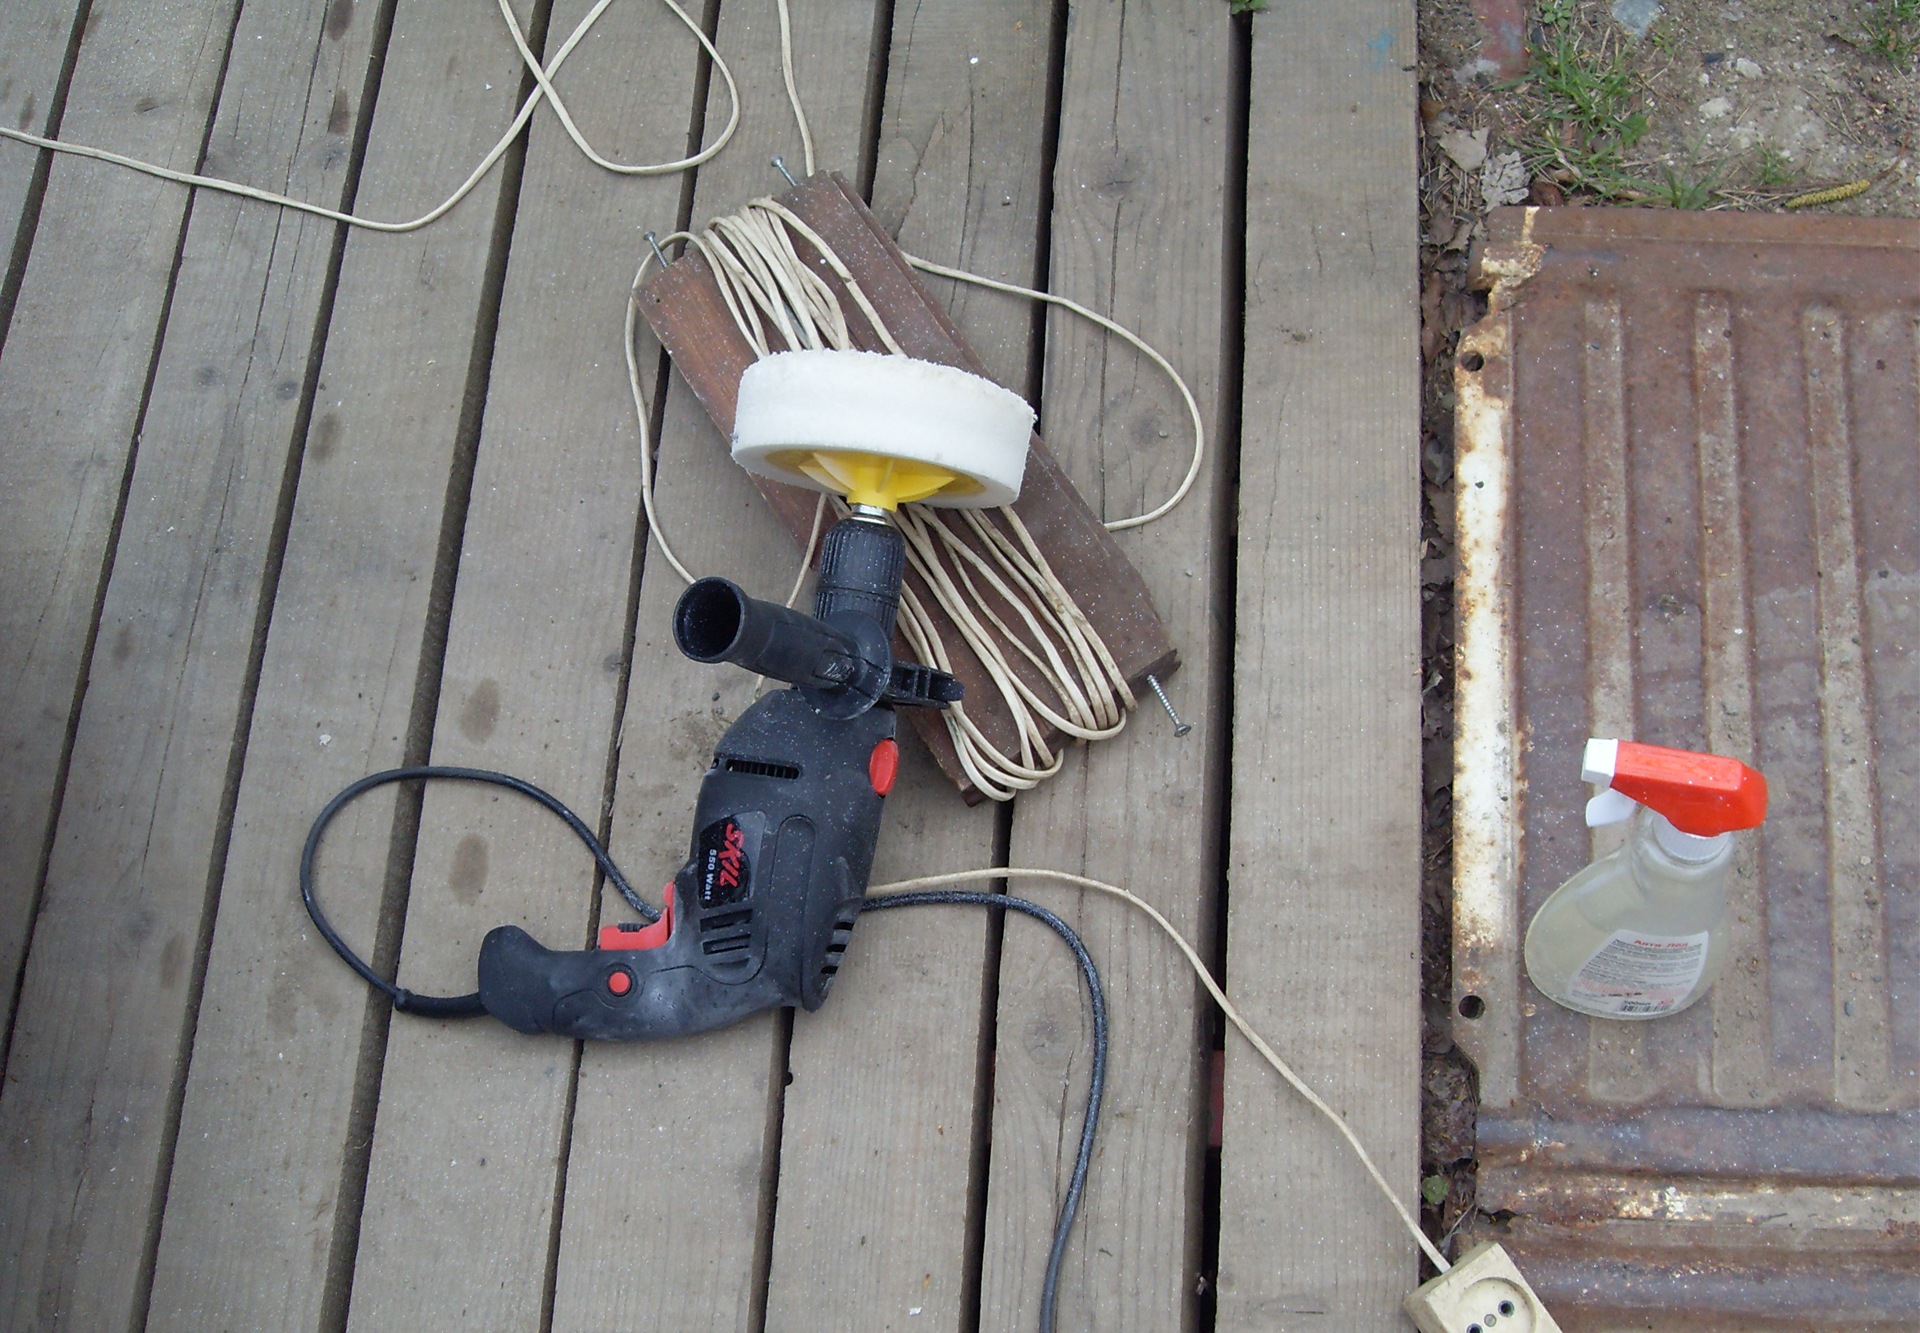
5. Drill bit for abrasive polish (white)
6. Soft nozzle for colored polish (black)
7. Lint-free cloths (microfiber)
8. Angle grinder or drill with adjustable speed.
9. Jumper with plain water.
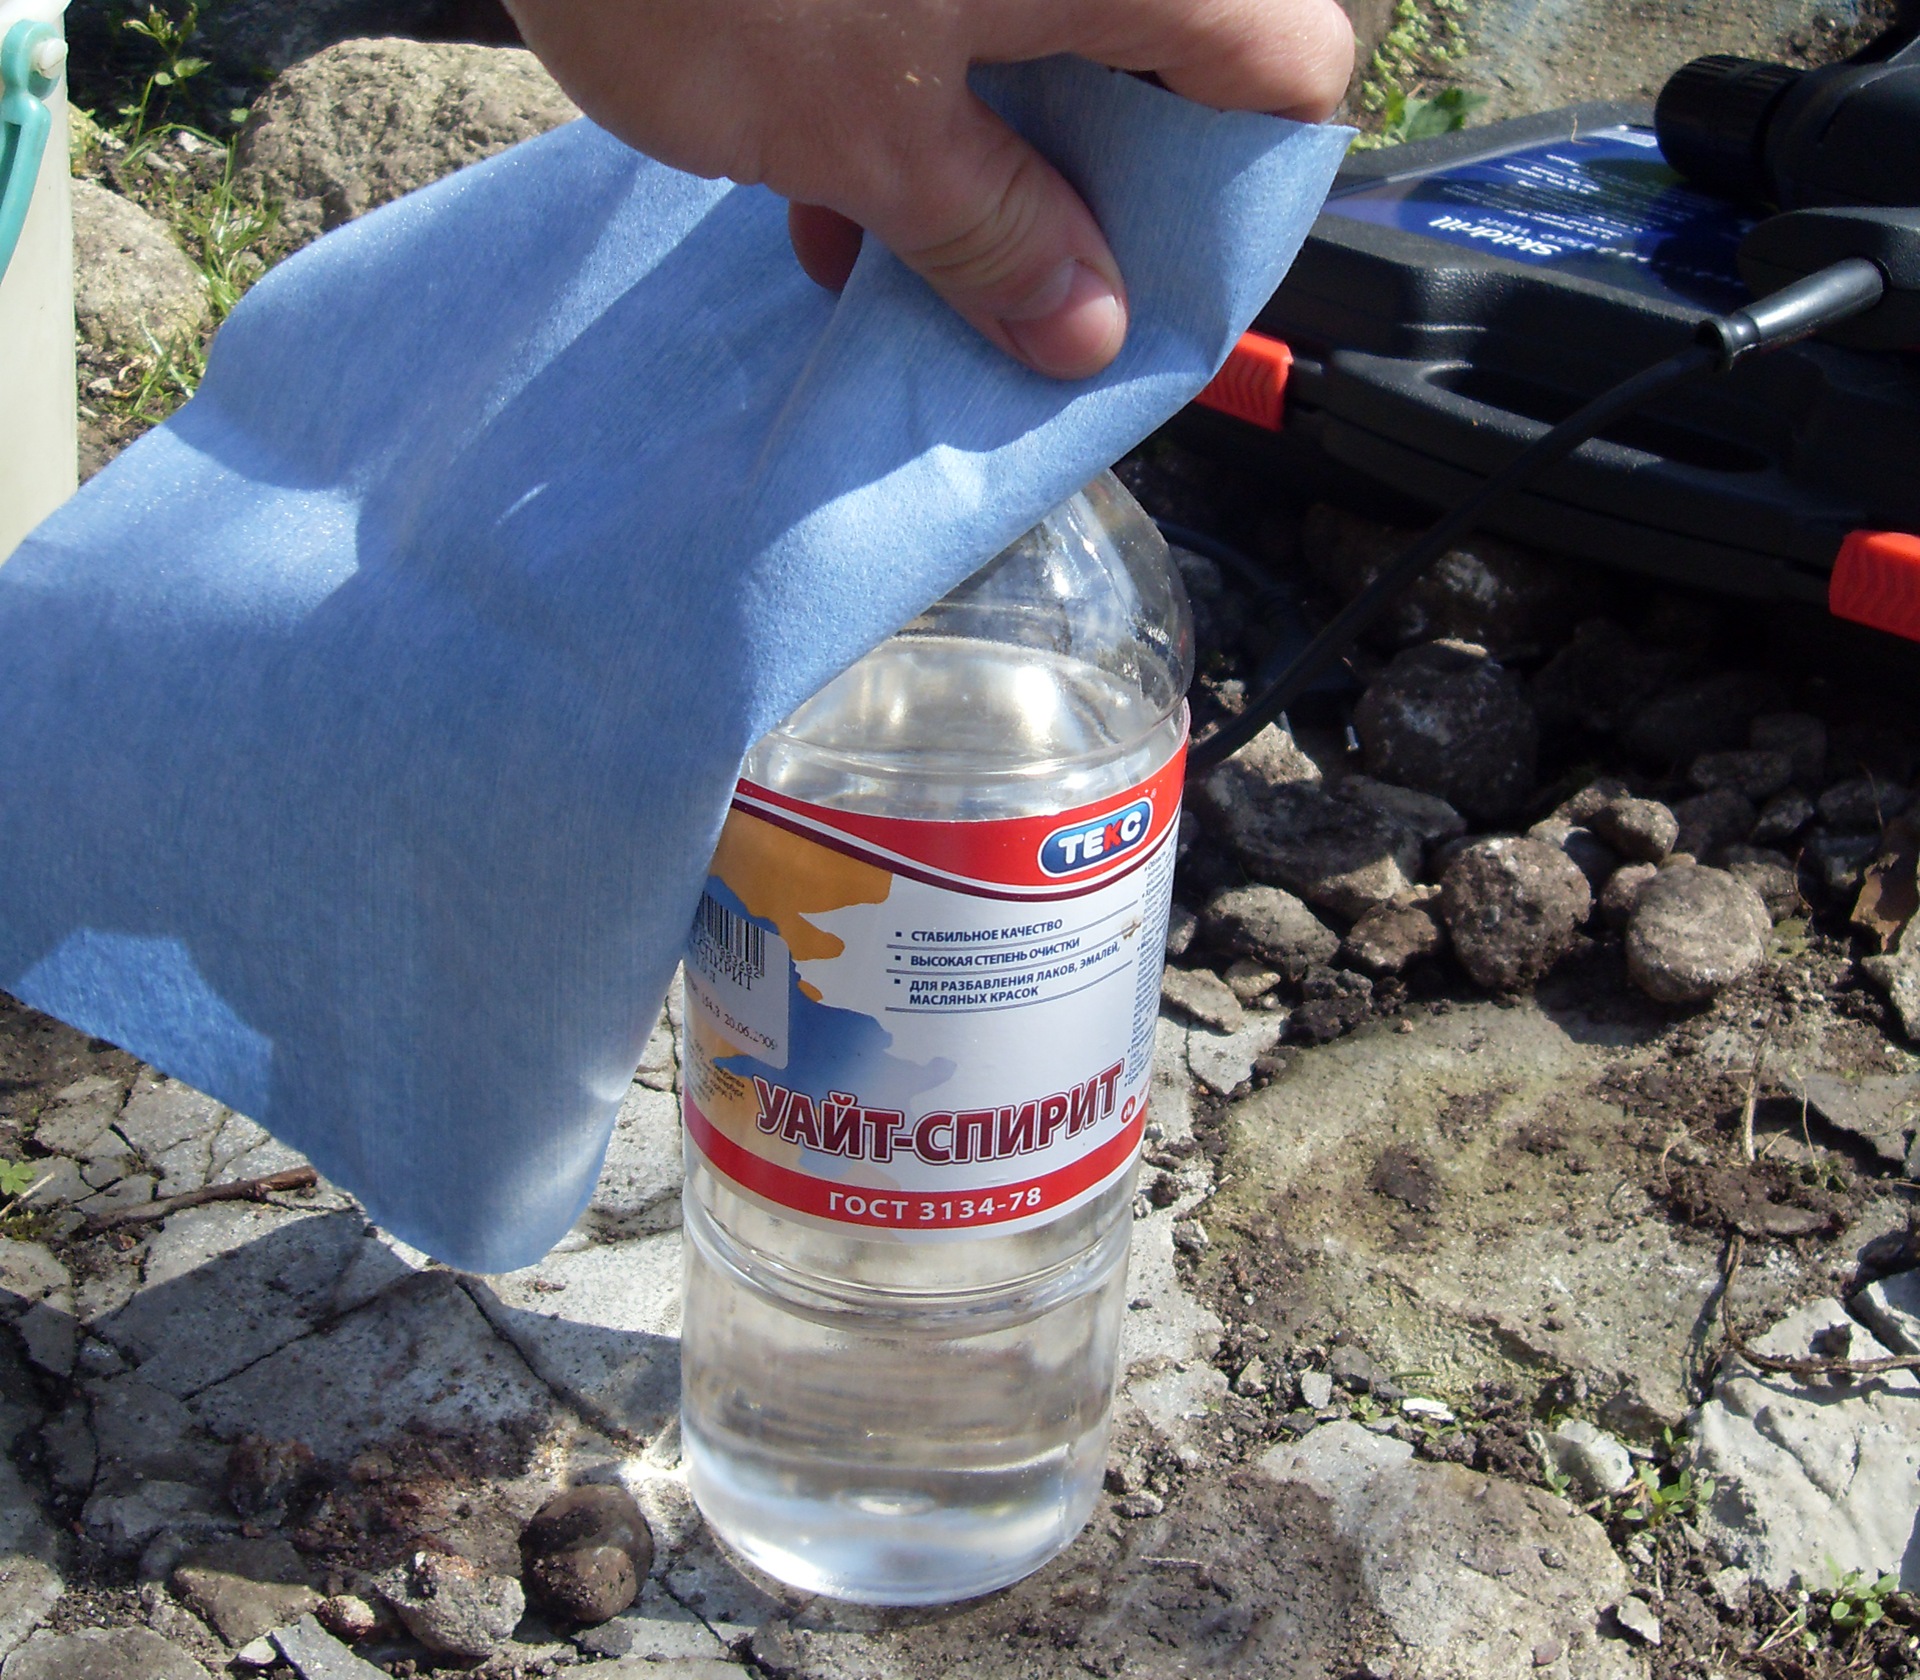
We wash the car thoroughly and degrease it. I used White Spirit for degreasing. Special means for fat-free are sold, but this is essentially the same kerosene and white spirit with flavors.
Let the car dry completely and go to inspect the paintwork in order to identify the most severe scratches. It turned out to be a rear bumper and doors in the area of ​​the handles.
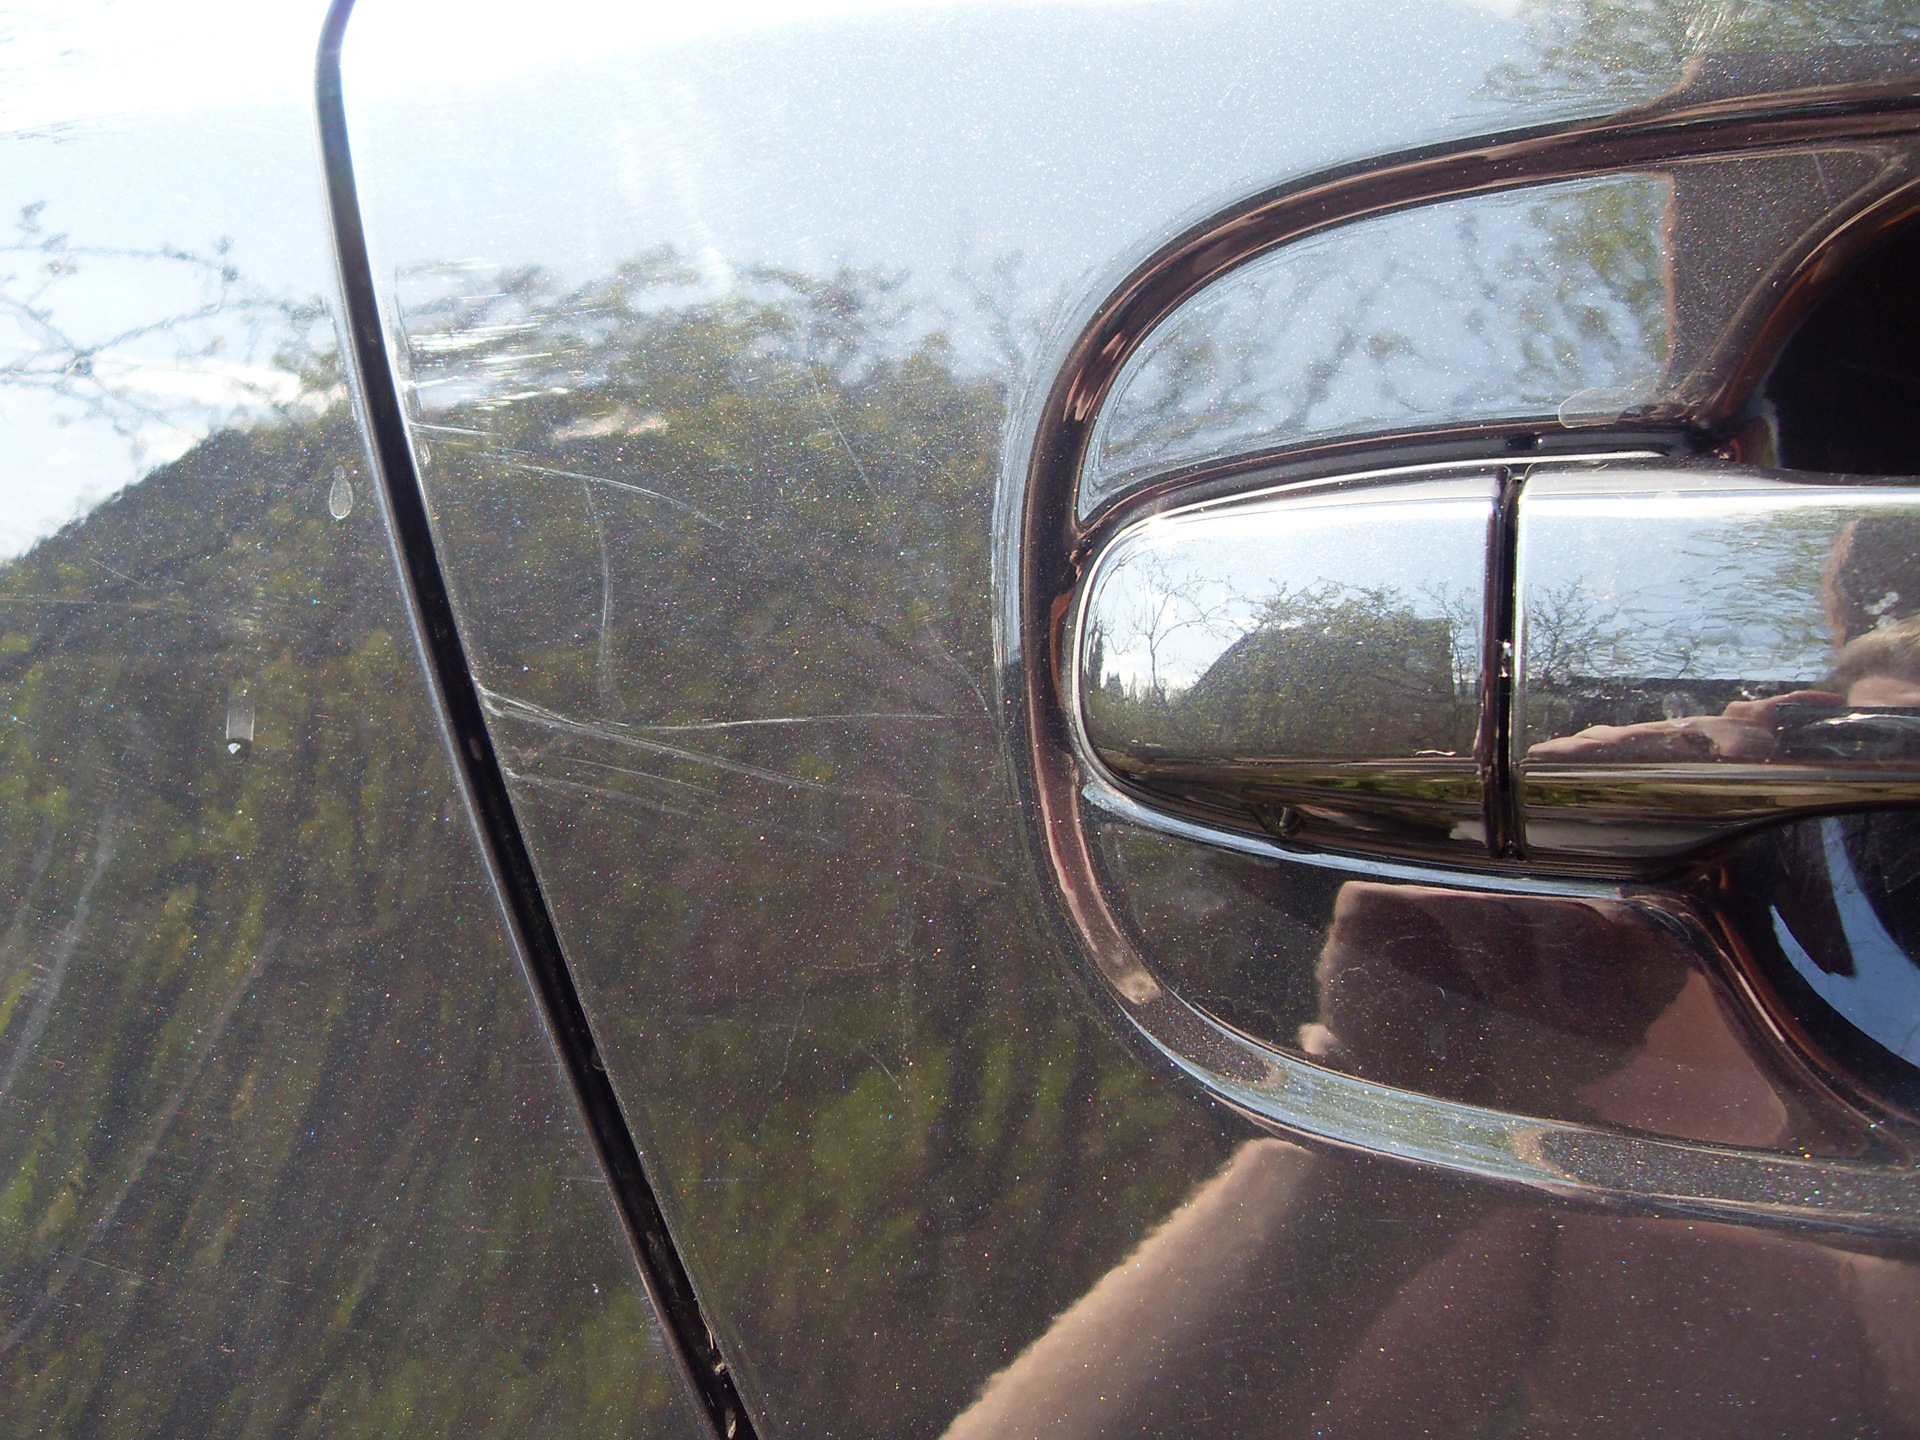
I decided to start the polishing process with the rear bumper.
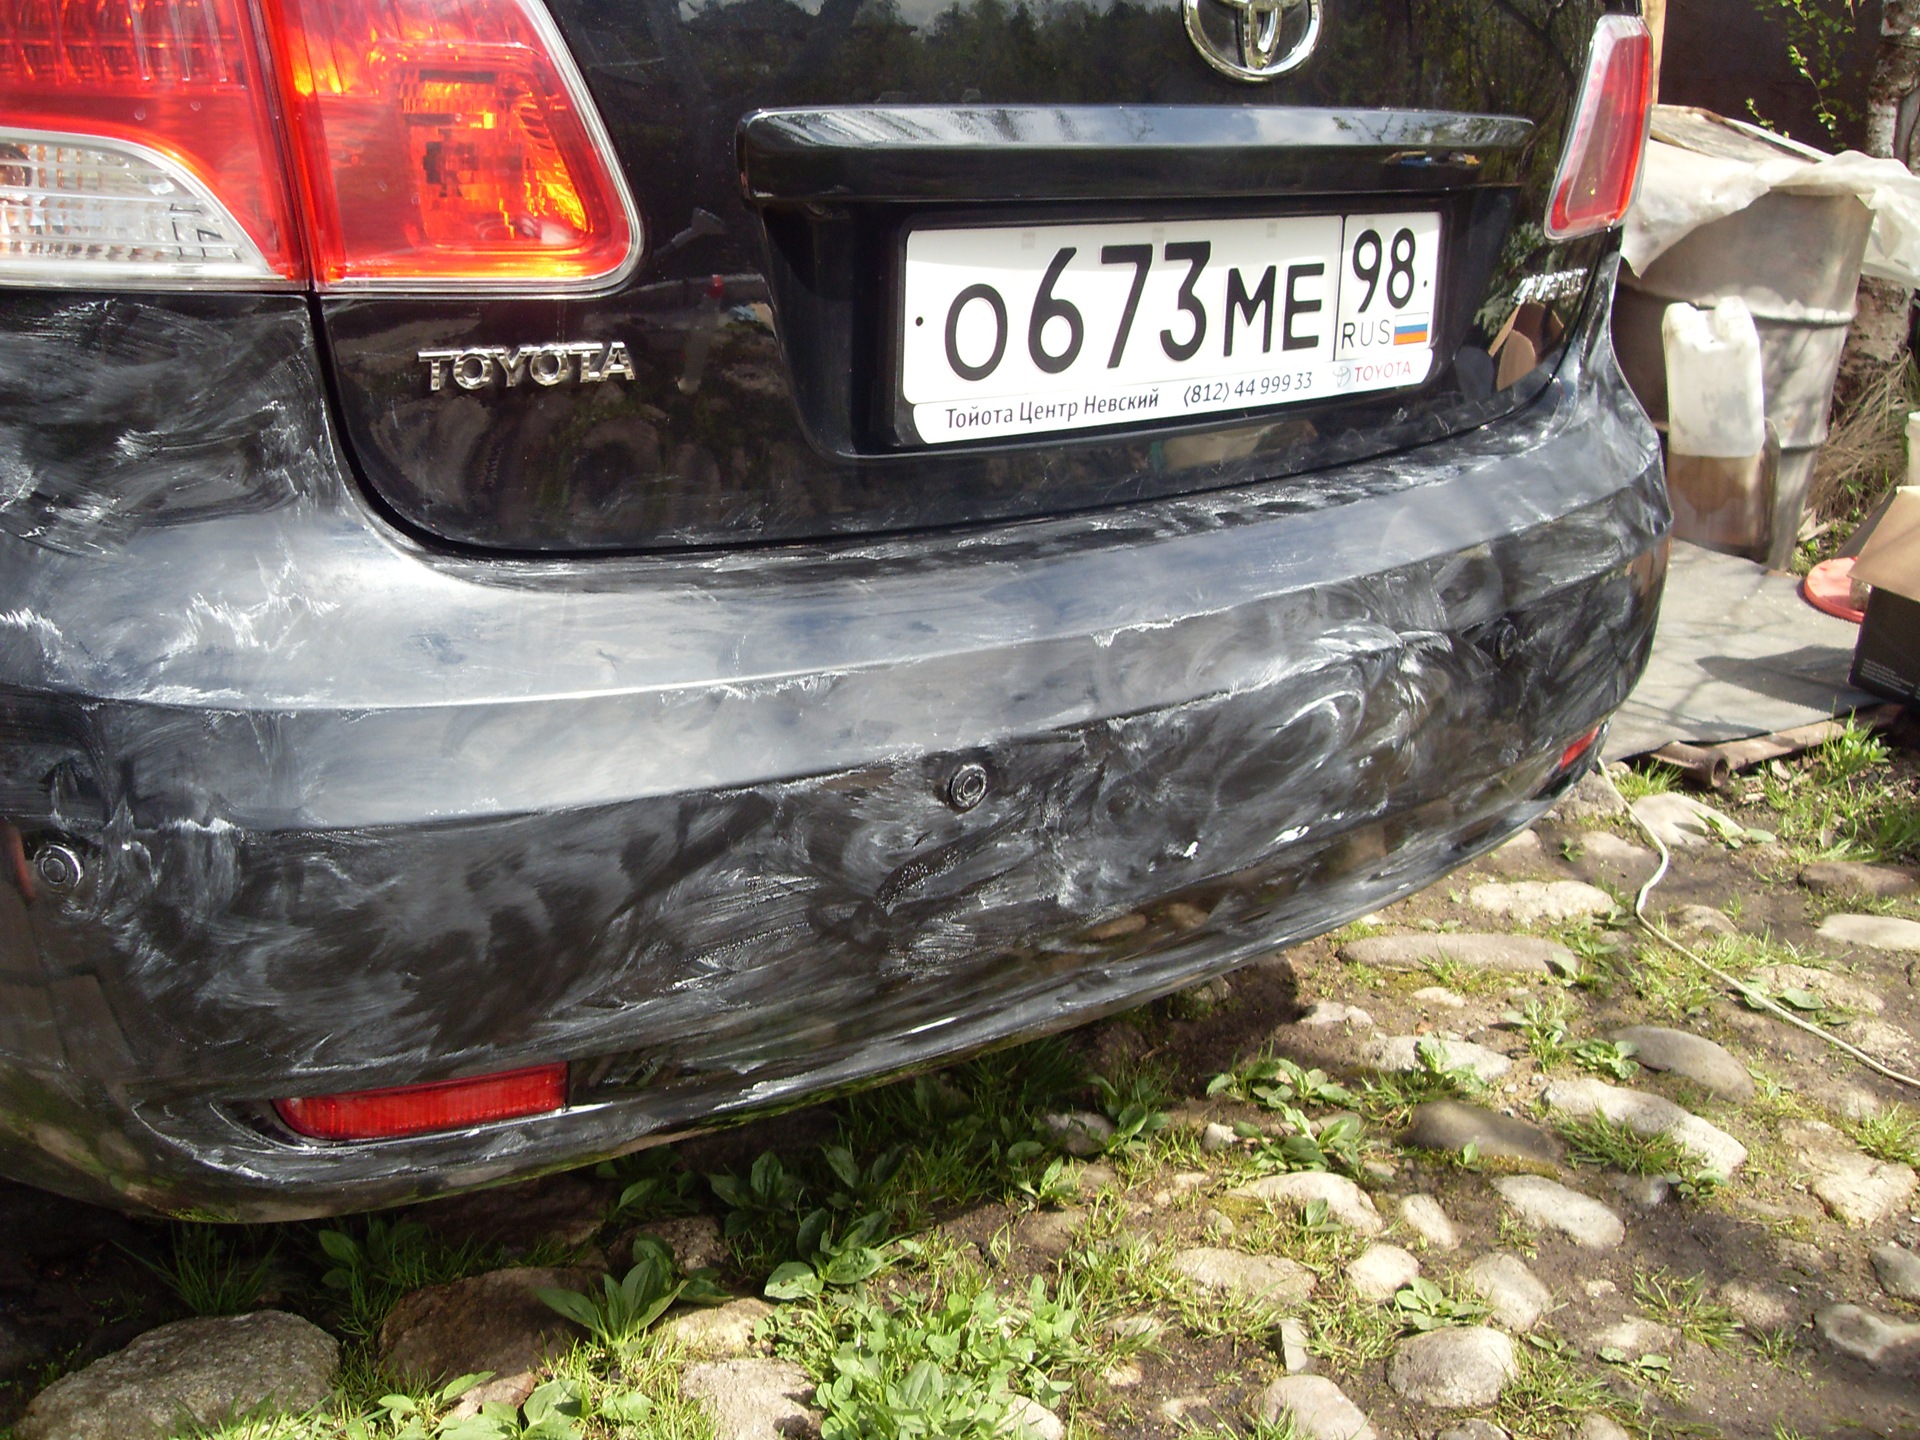
Such deep scratches were on it.
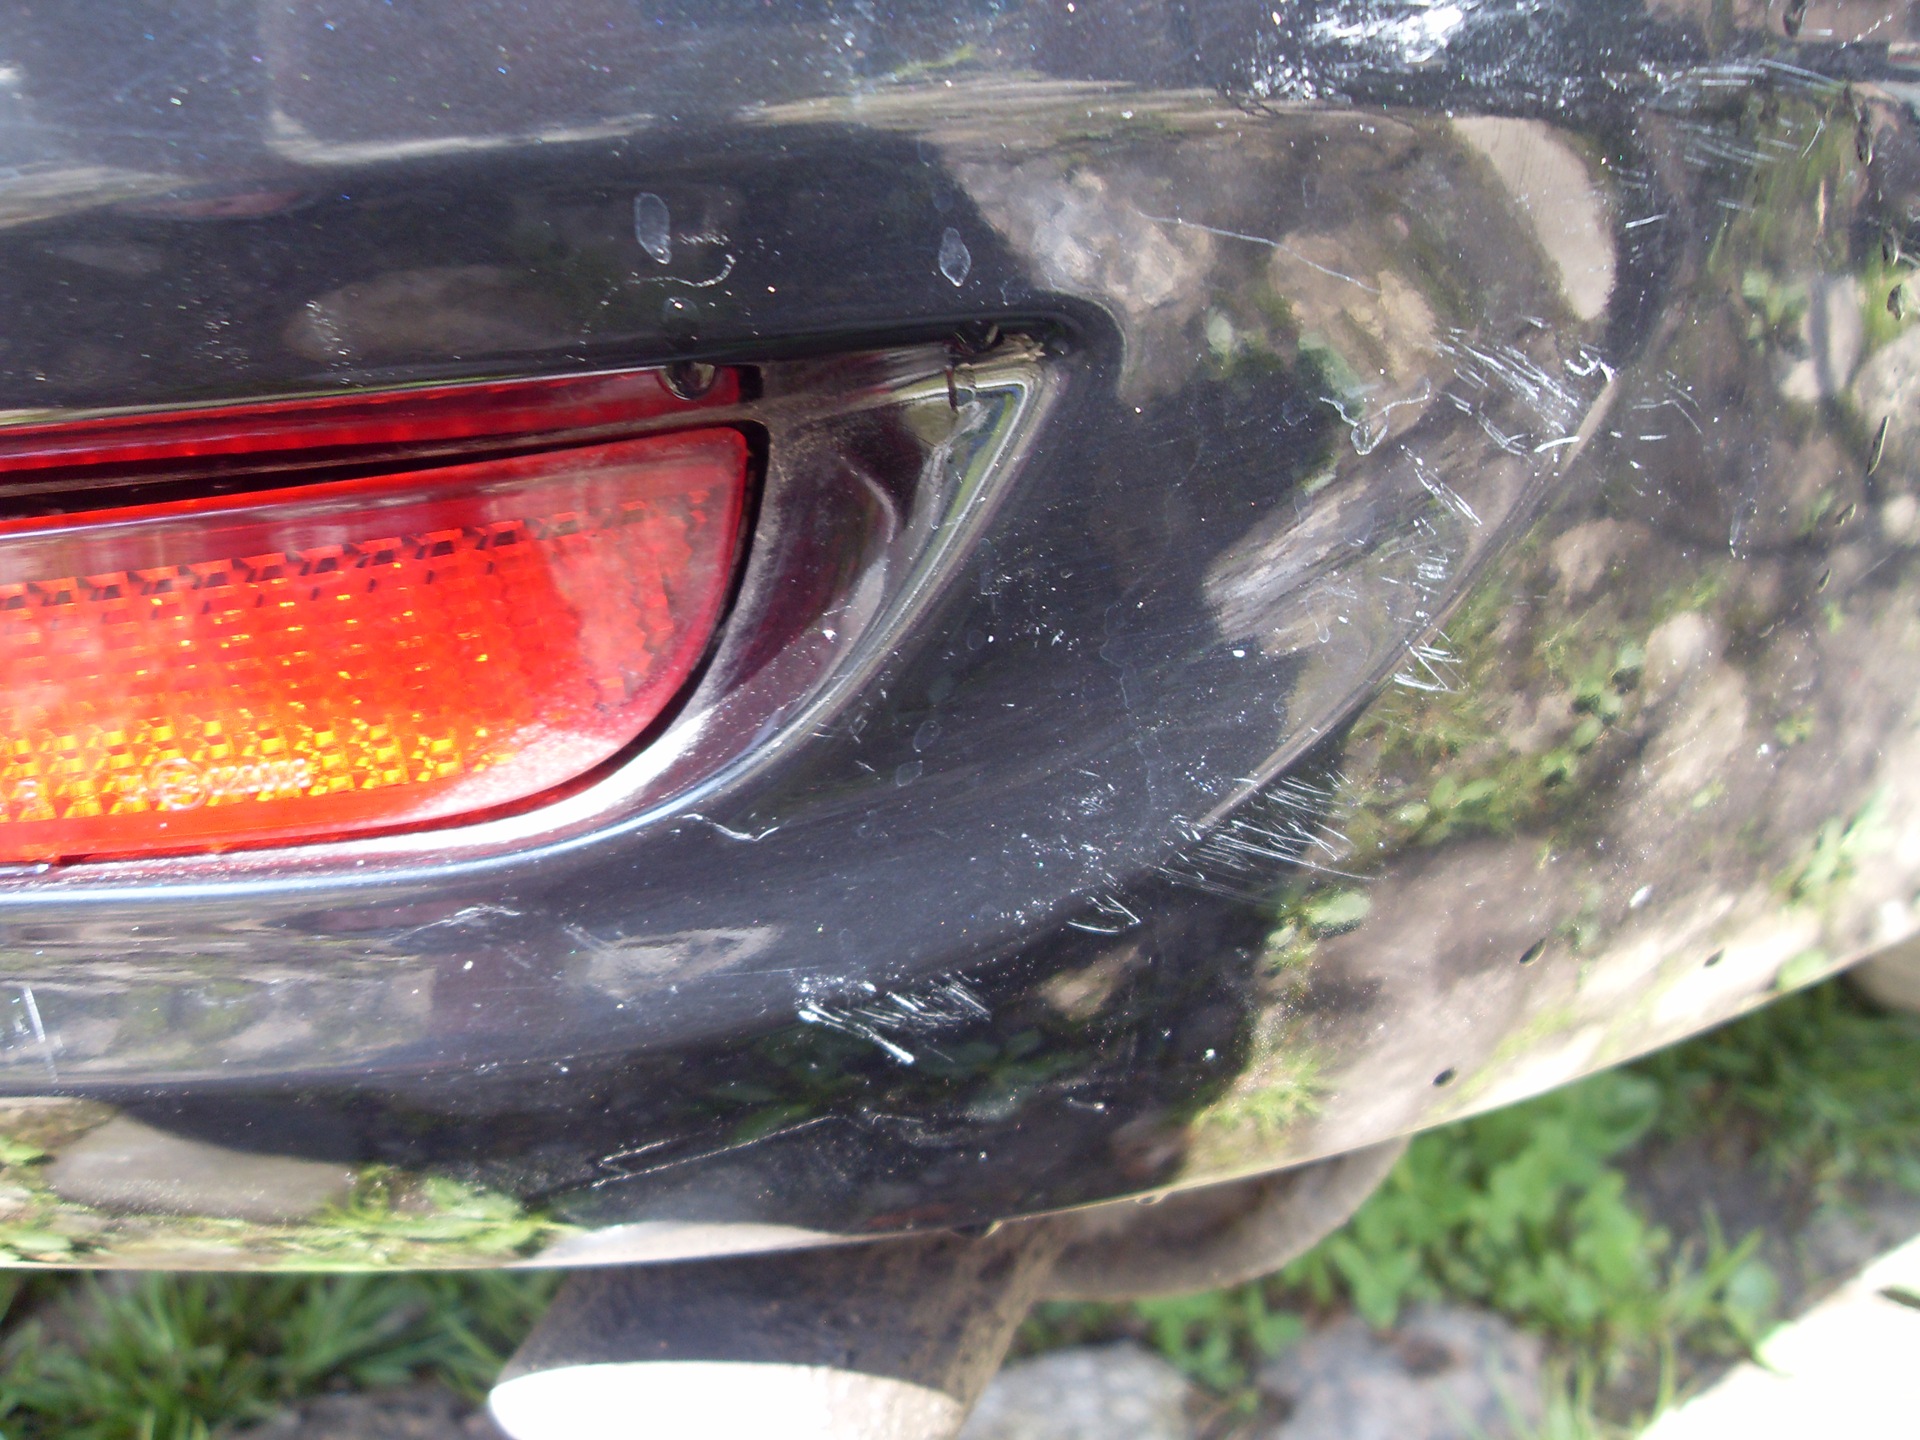
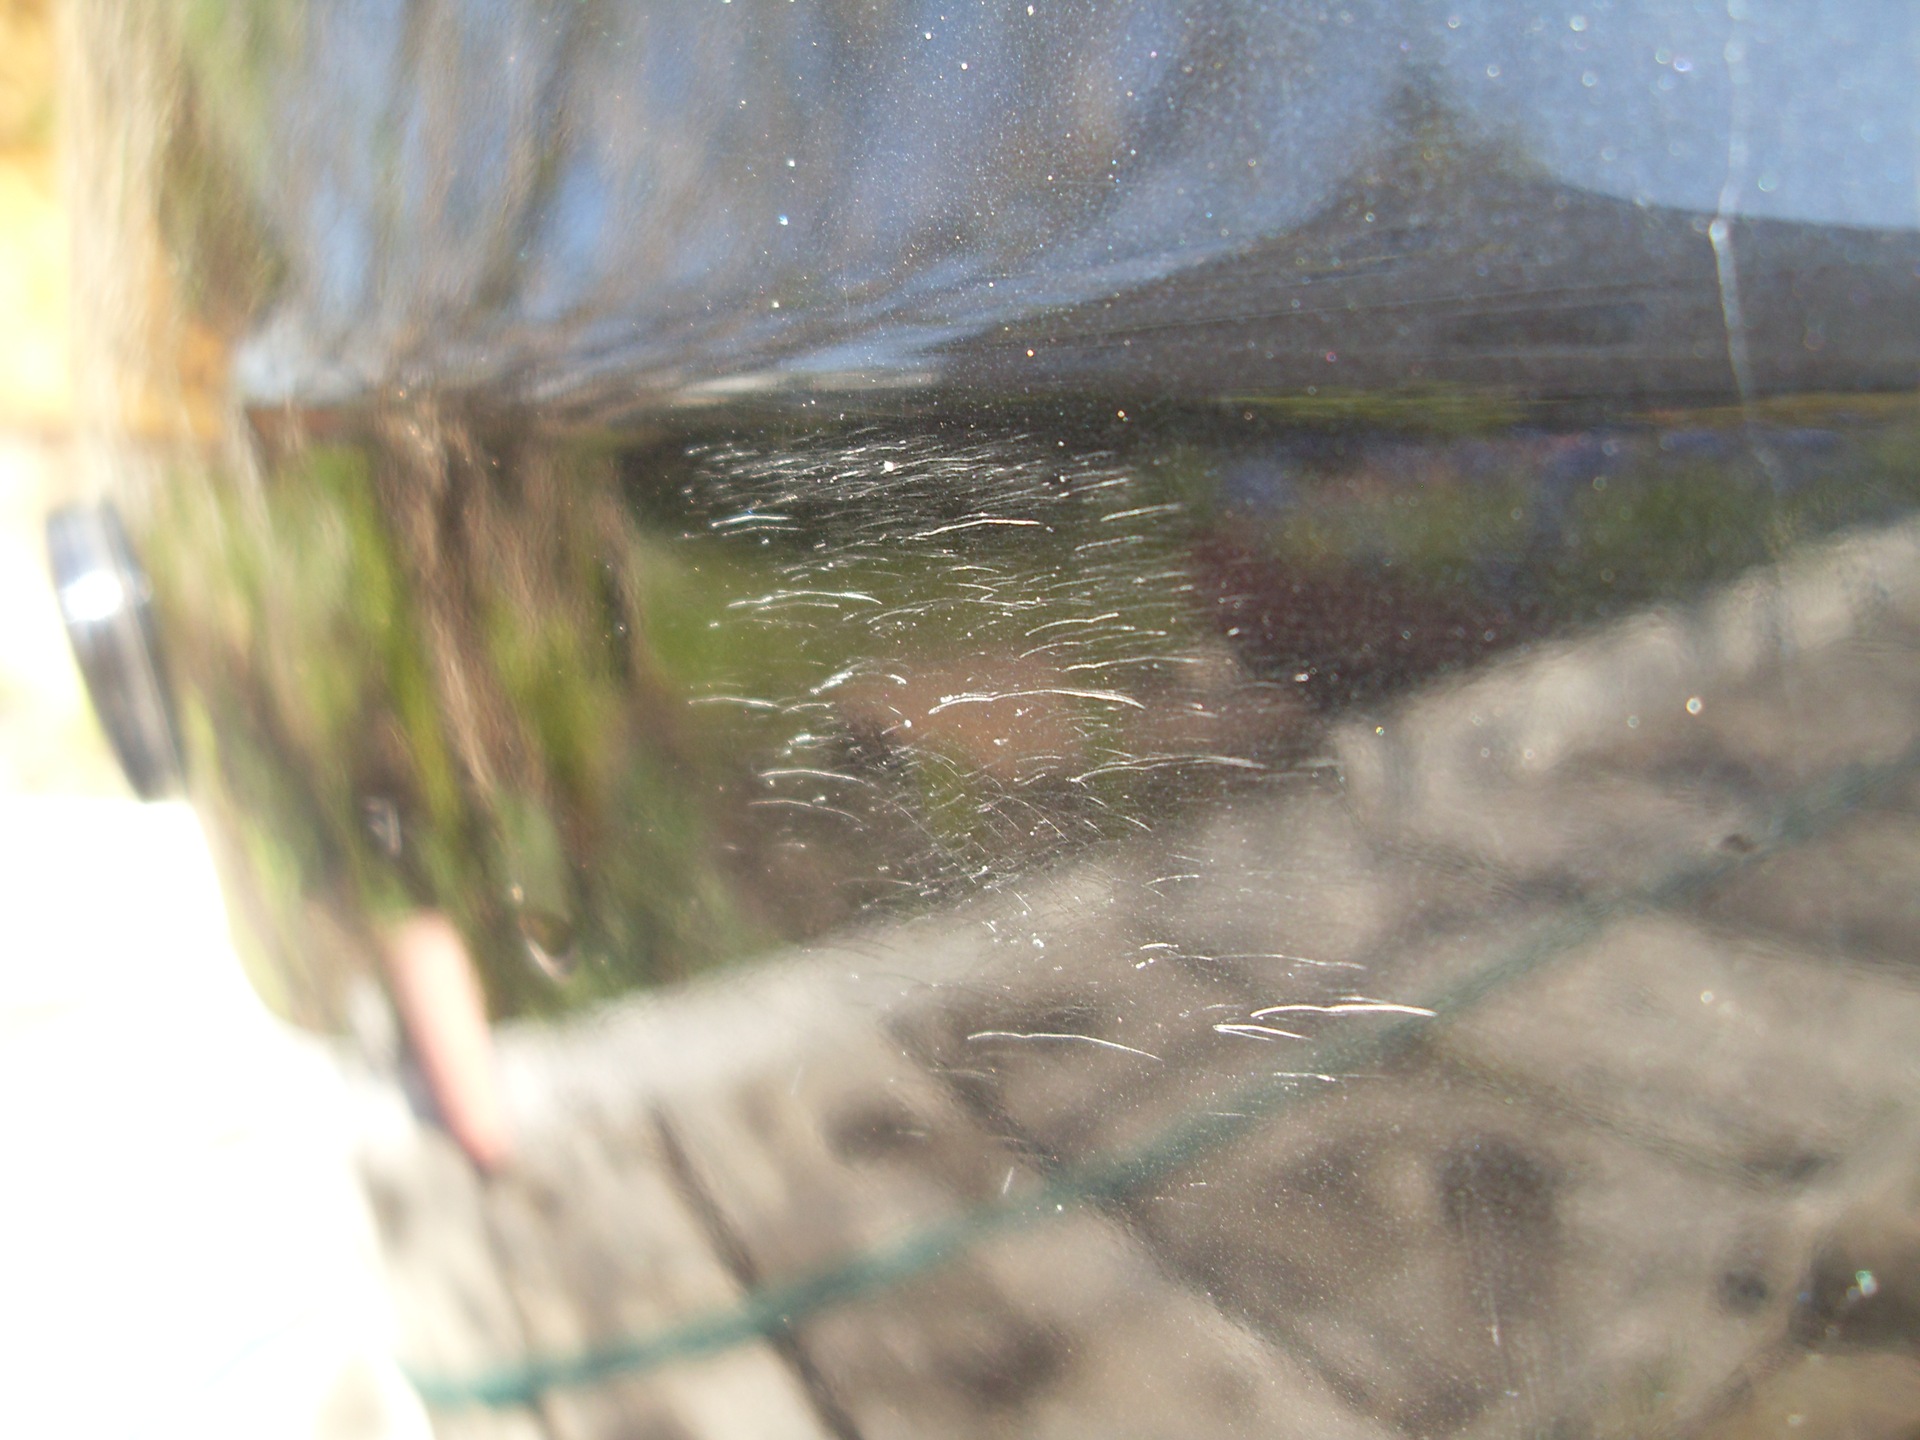
Take a P2000 skin and a bucket of water in our hands. We moisten the skin and with small and frequent movements we begin to drive it along the scratches. When the scratch becomes completely imperceptible, you need to matt the varnish near the scratch with circular movements of the skin, otherwise after polishing the place where the scratch was will shine and stand out very much.
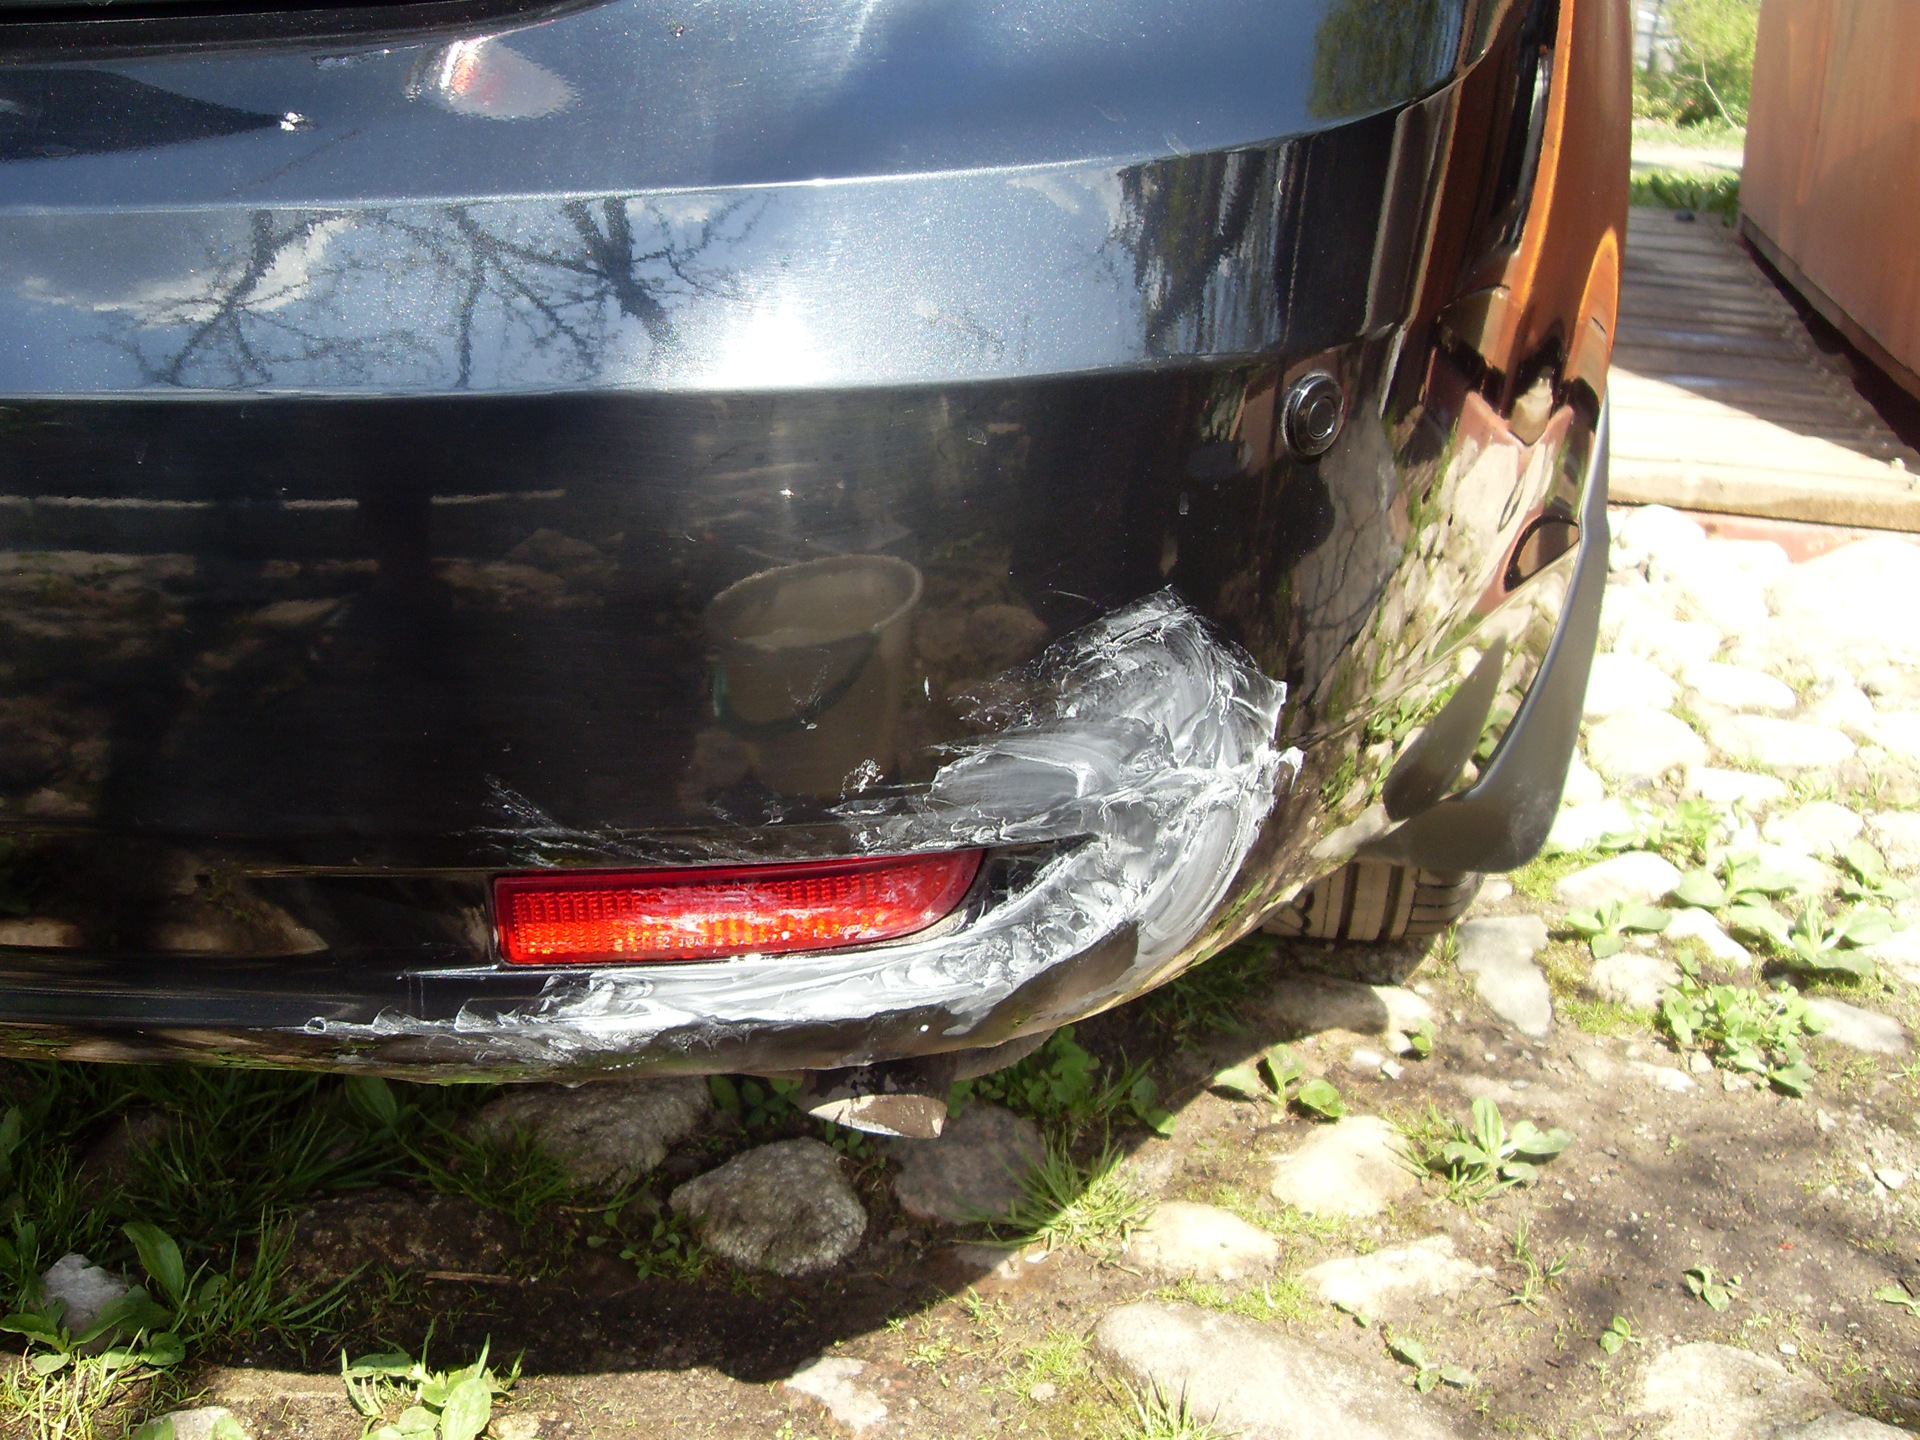
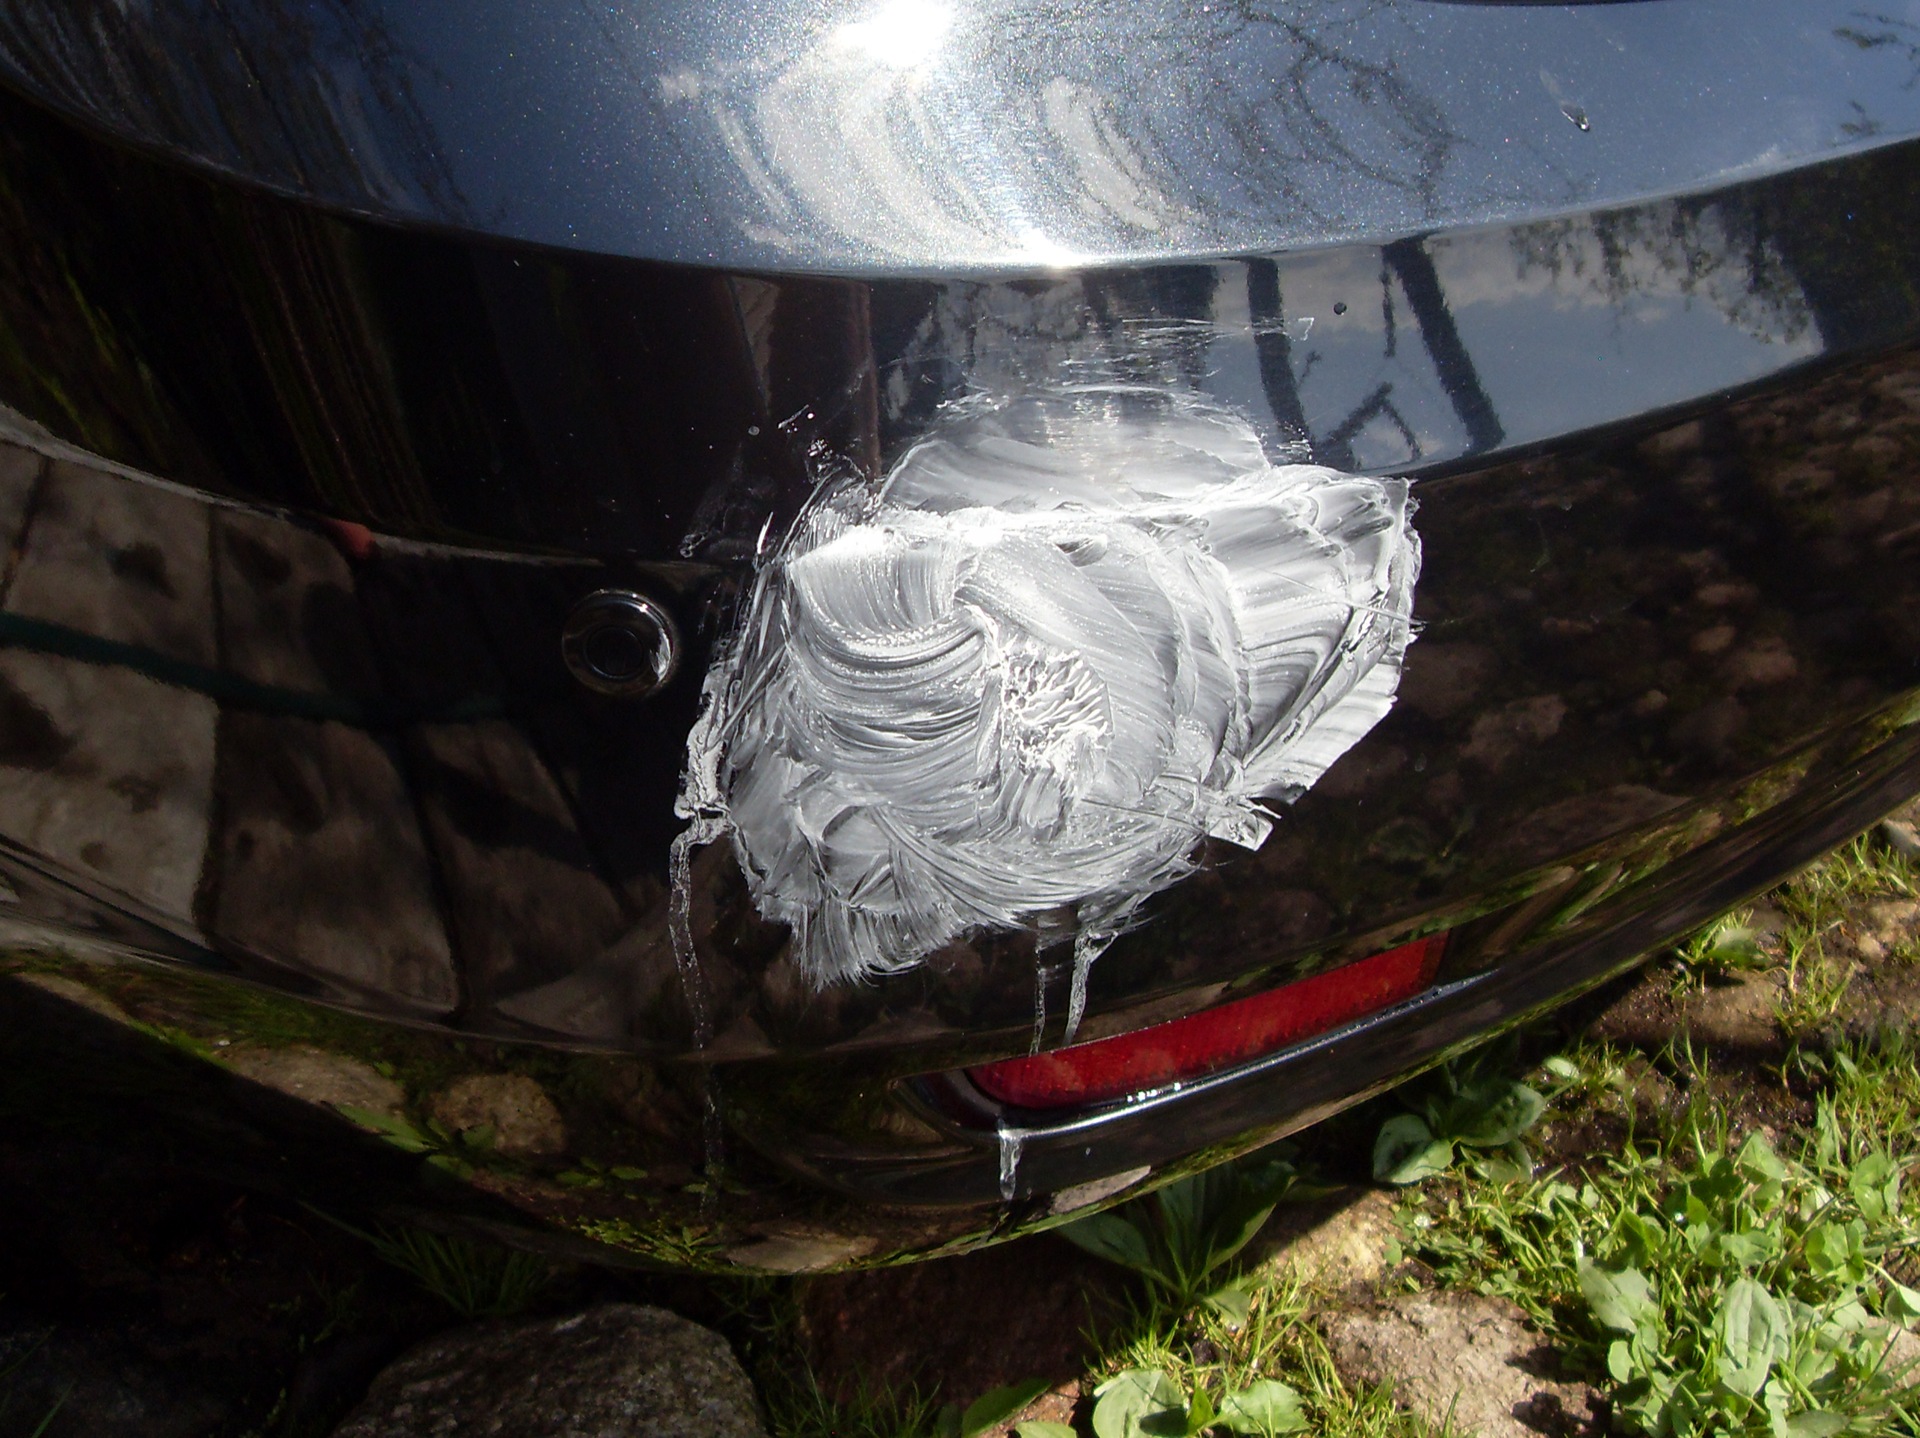
We wipe the sanded places with white spirit and are afraid of the result obtained (we are not very afraid =))
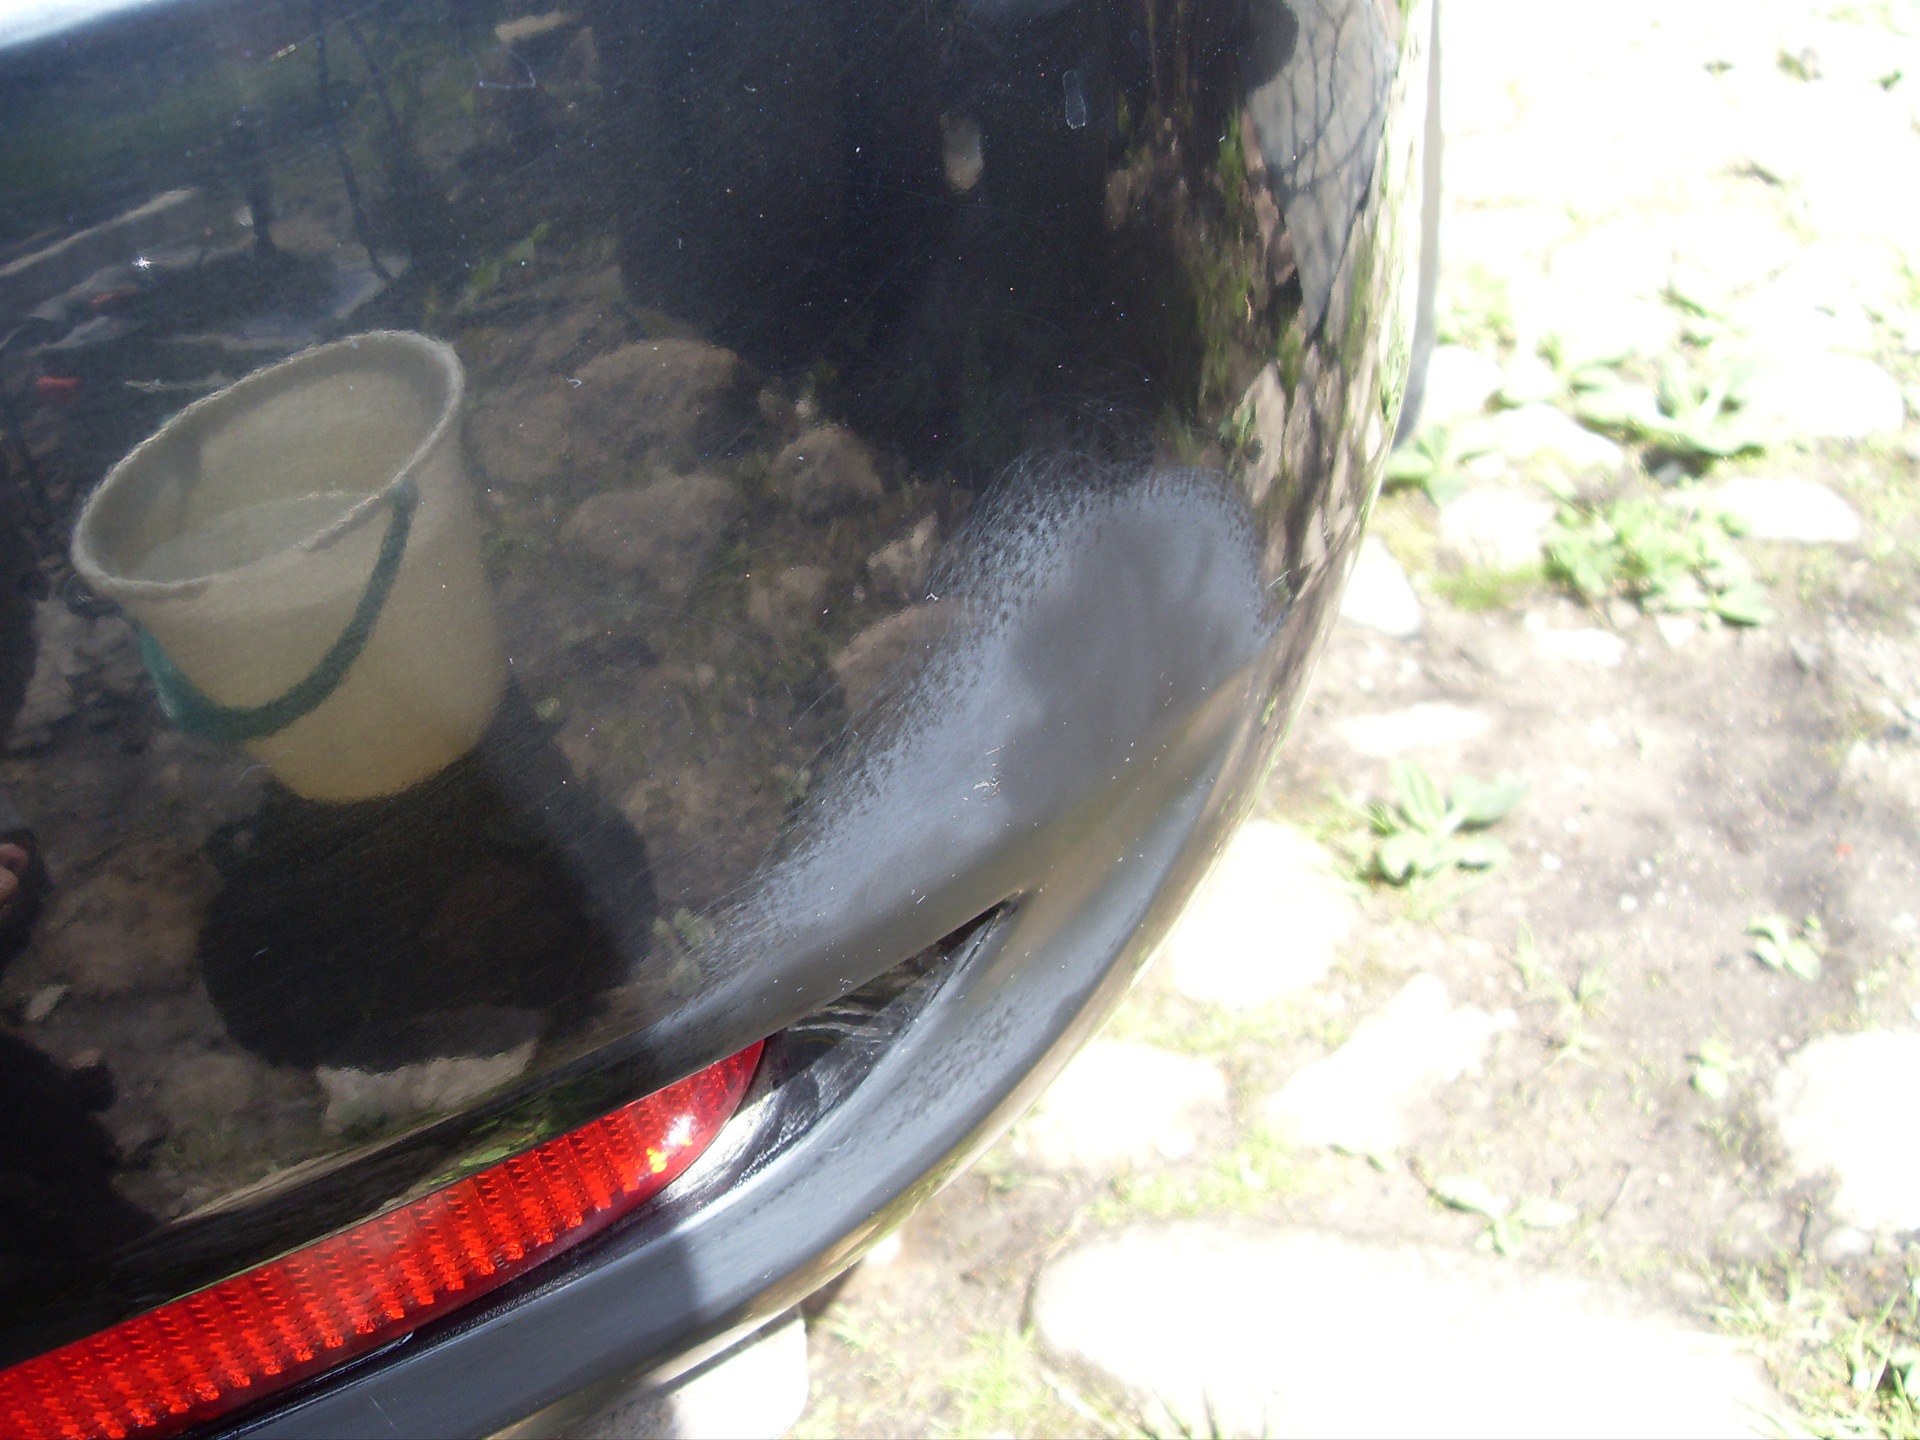
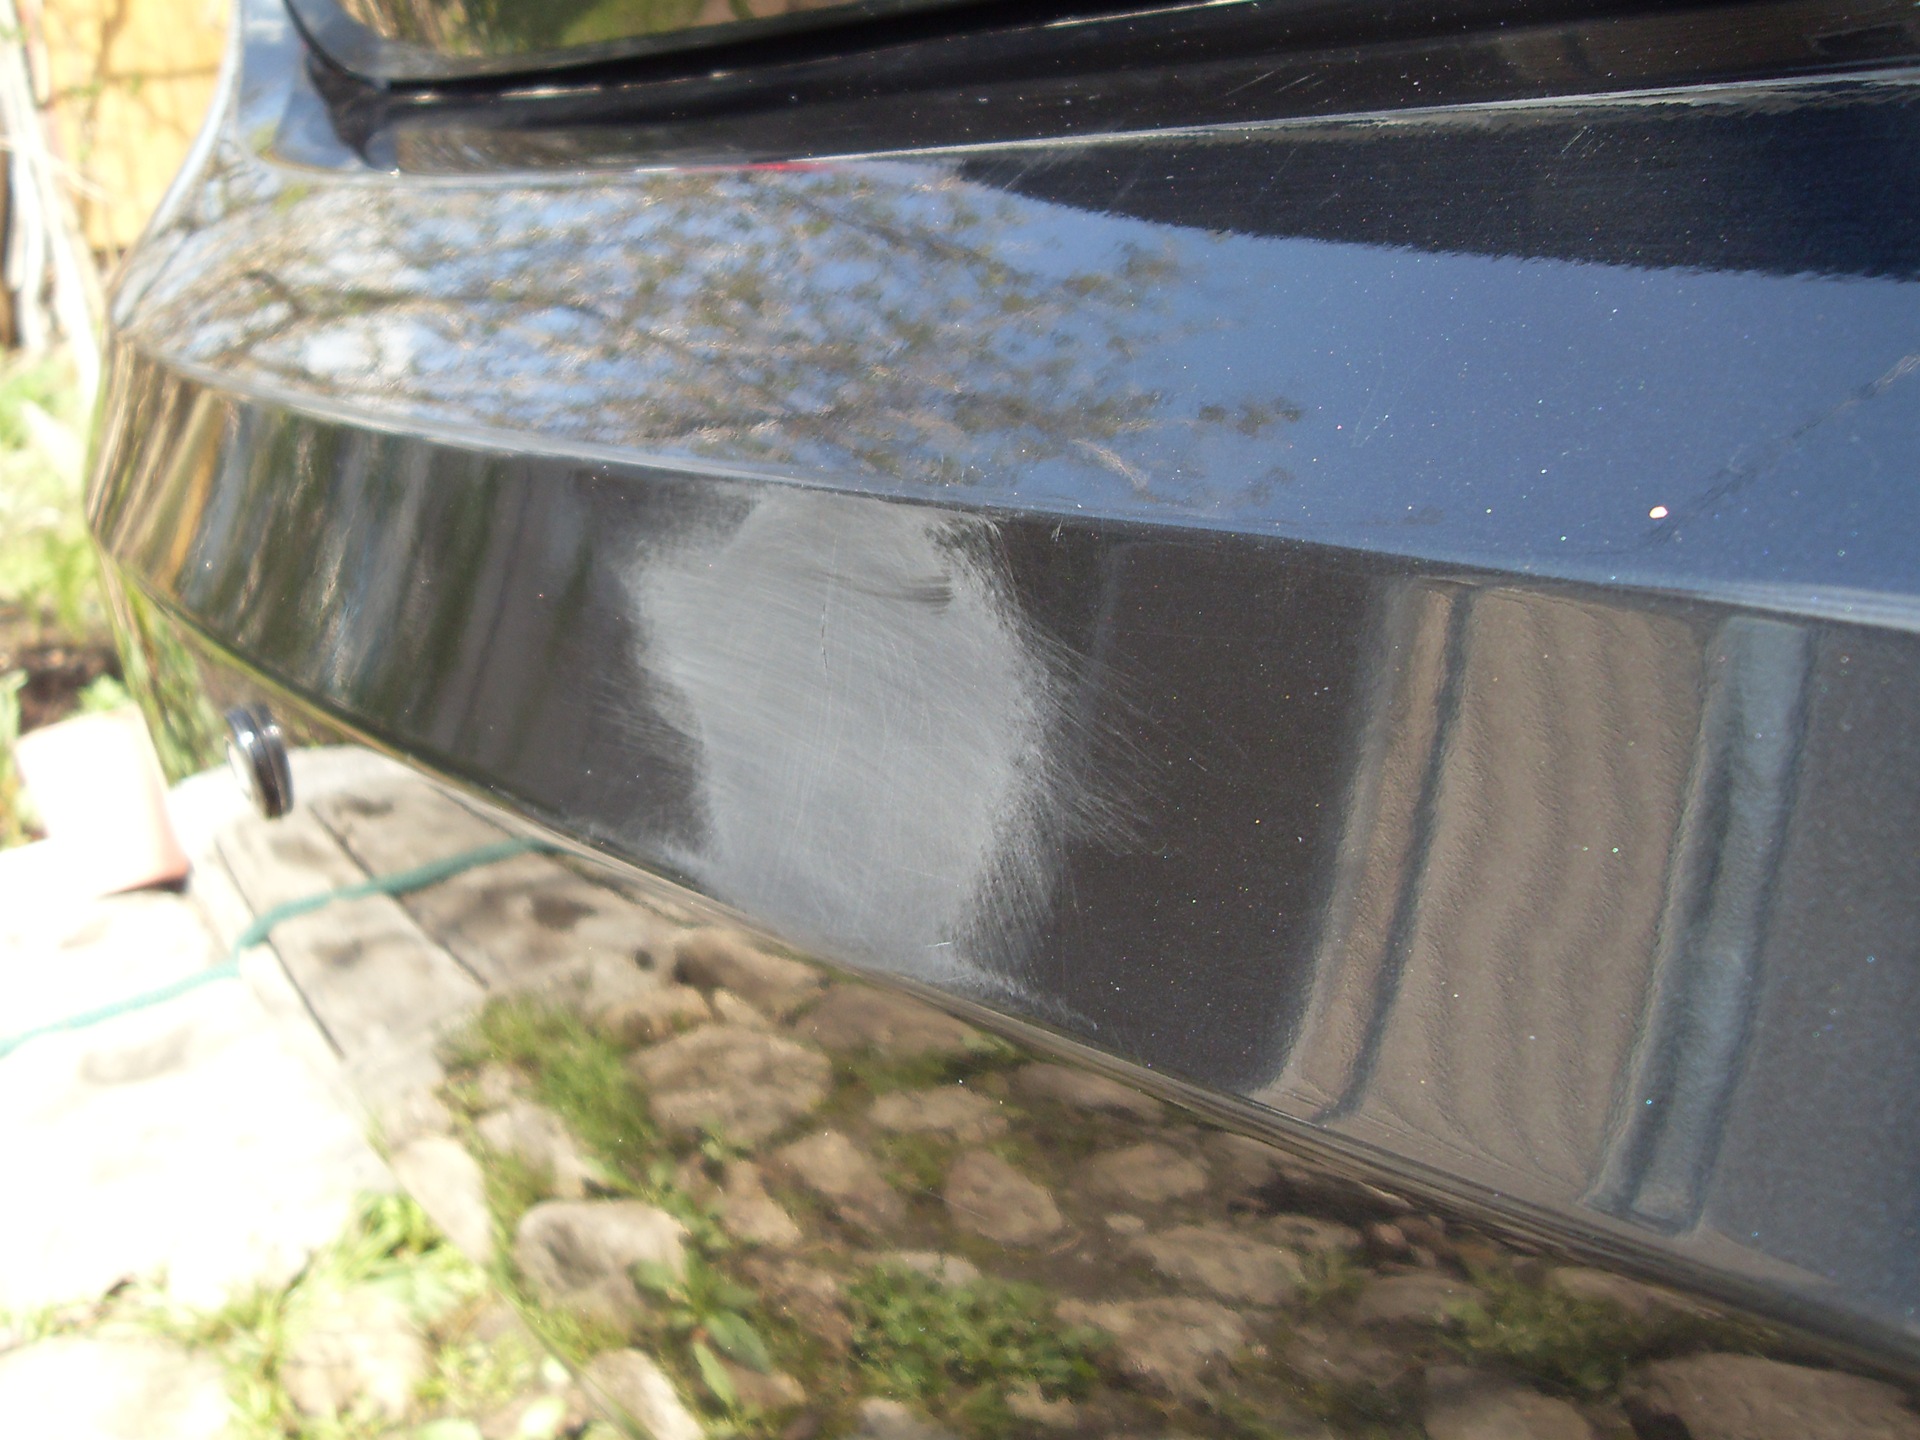
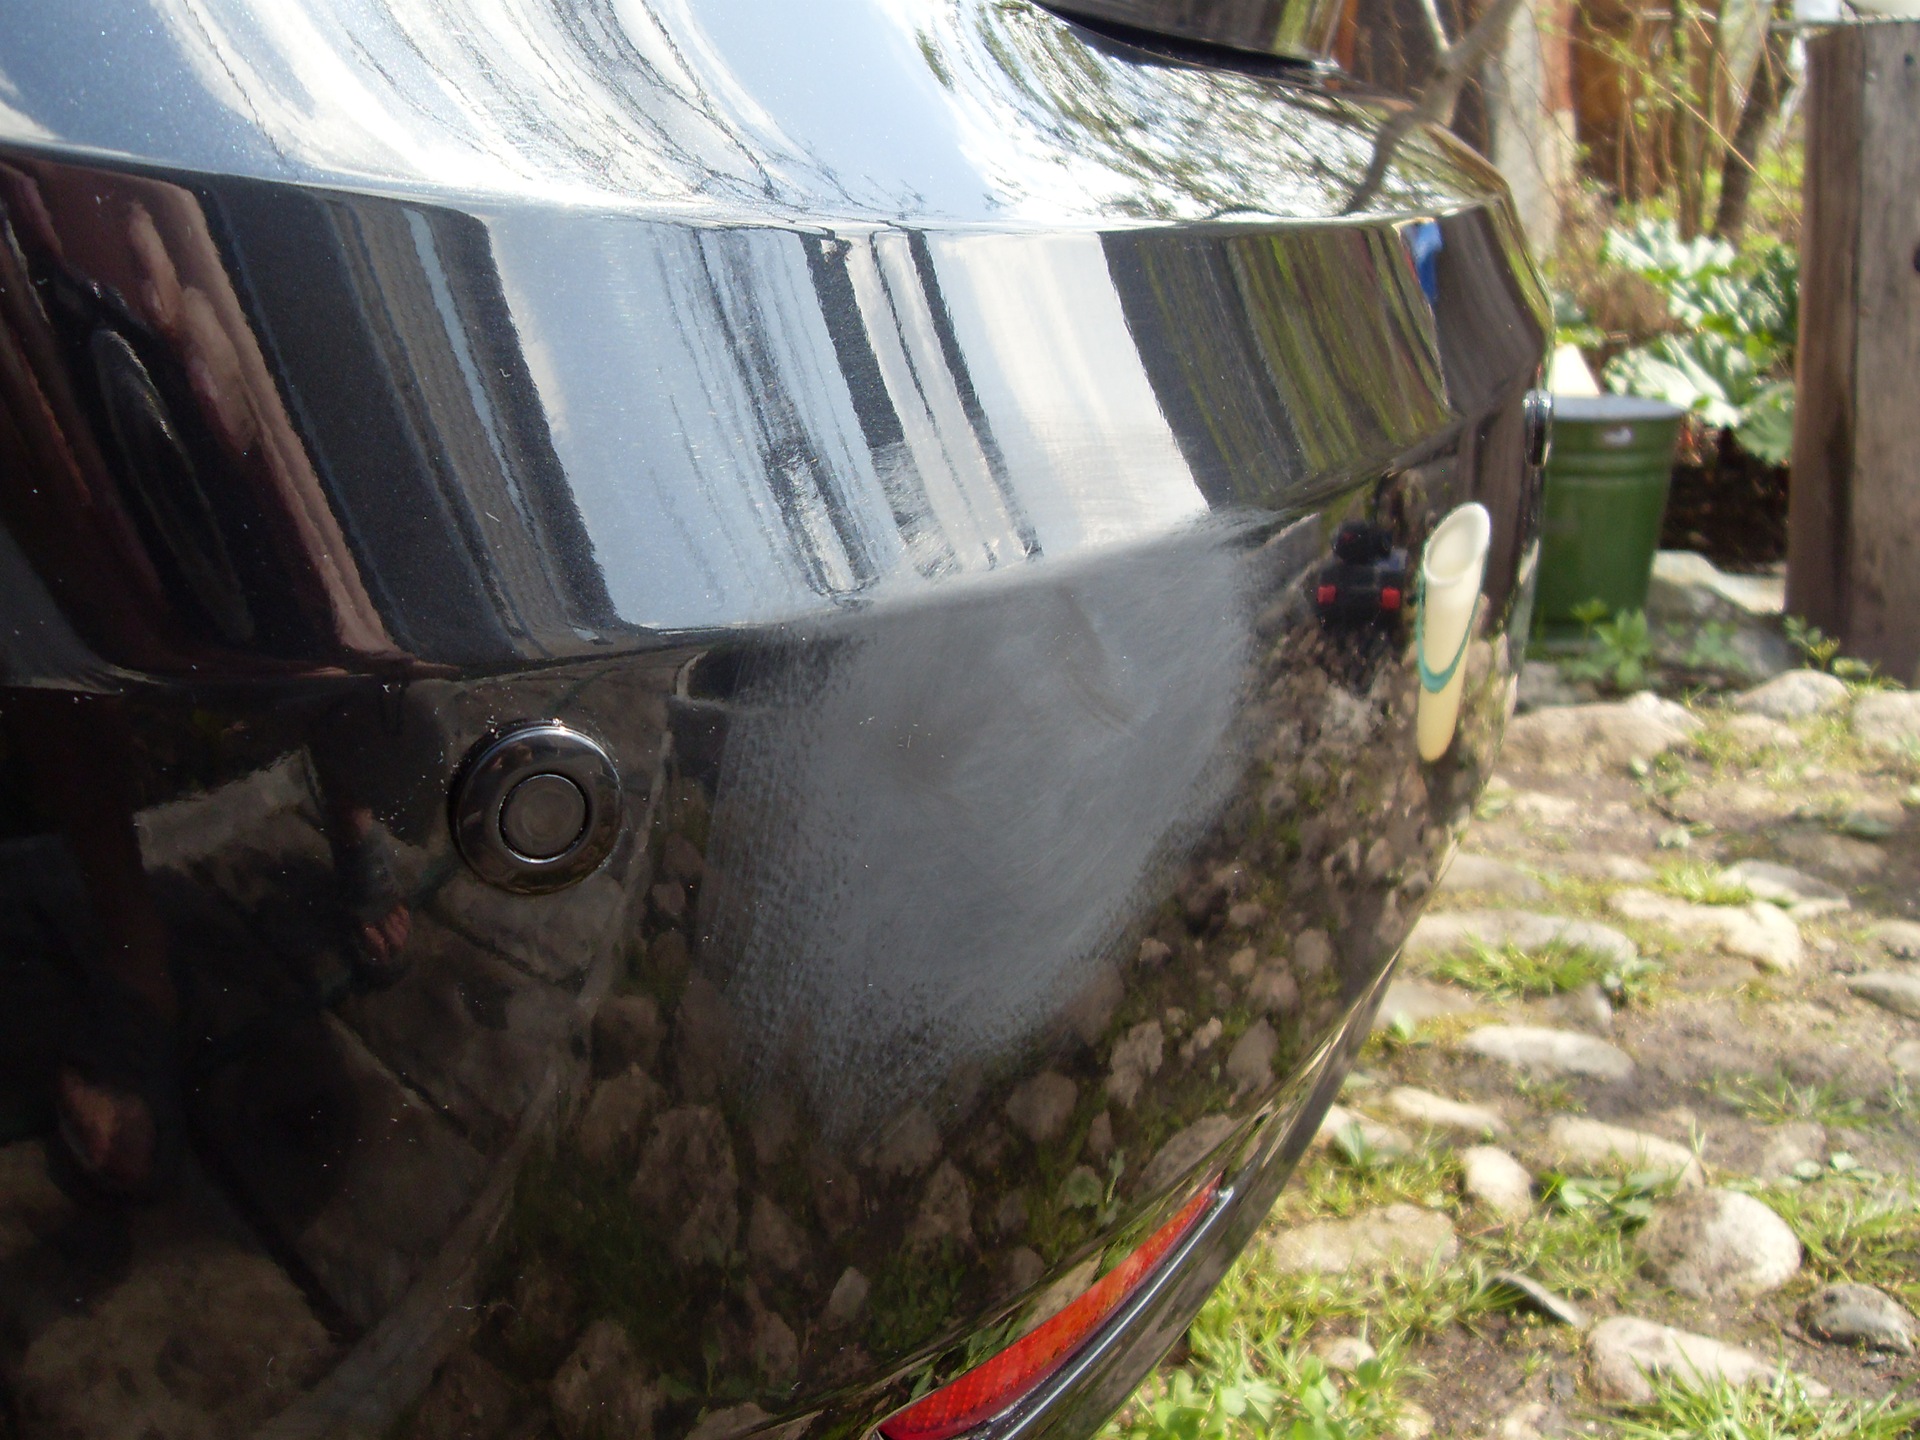
So now our bumper began to look =) Thank God not for long =)
We take Farekla G3 abrasive polish and evenly rub the bumper with it. I used microfiber to apply polish.
We take a drill with a white nozzle for an abrasive polish in our hands, set the speed to below average on the drill and start polishing the bumper. You need to polish in small pieces (squares) first with a nozzle from right to left, then on the same piece from top to bottom. The most dangerous thing that can happen is the burning of the varnish if you hold the drill in one place for a long time, or if you run the drill too often along the bends (edges) of the bumper. To do this, you need to constantly sprinkle some water on the polished surface and control the heating with your hand. You can warm up as long as the hand suffers =)
Thus, we go through the entire bumper. It should be mentioned that the polish constantly scatters in small drops in all directions, including it will fly at you =)
This is what I got after polishing with an abrasive polish. As you can see, the largest scratches were still visible. To remove them, you would have to sand off too thick a layer of varnish. But nothing, for them we have prepared a colored polish =)
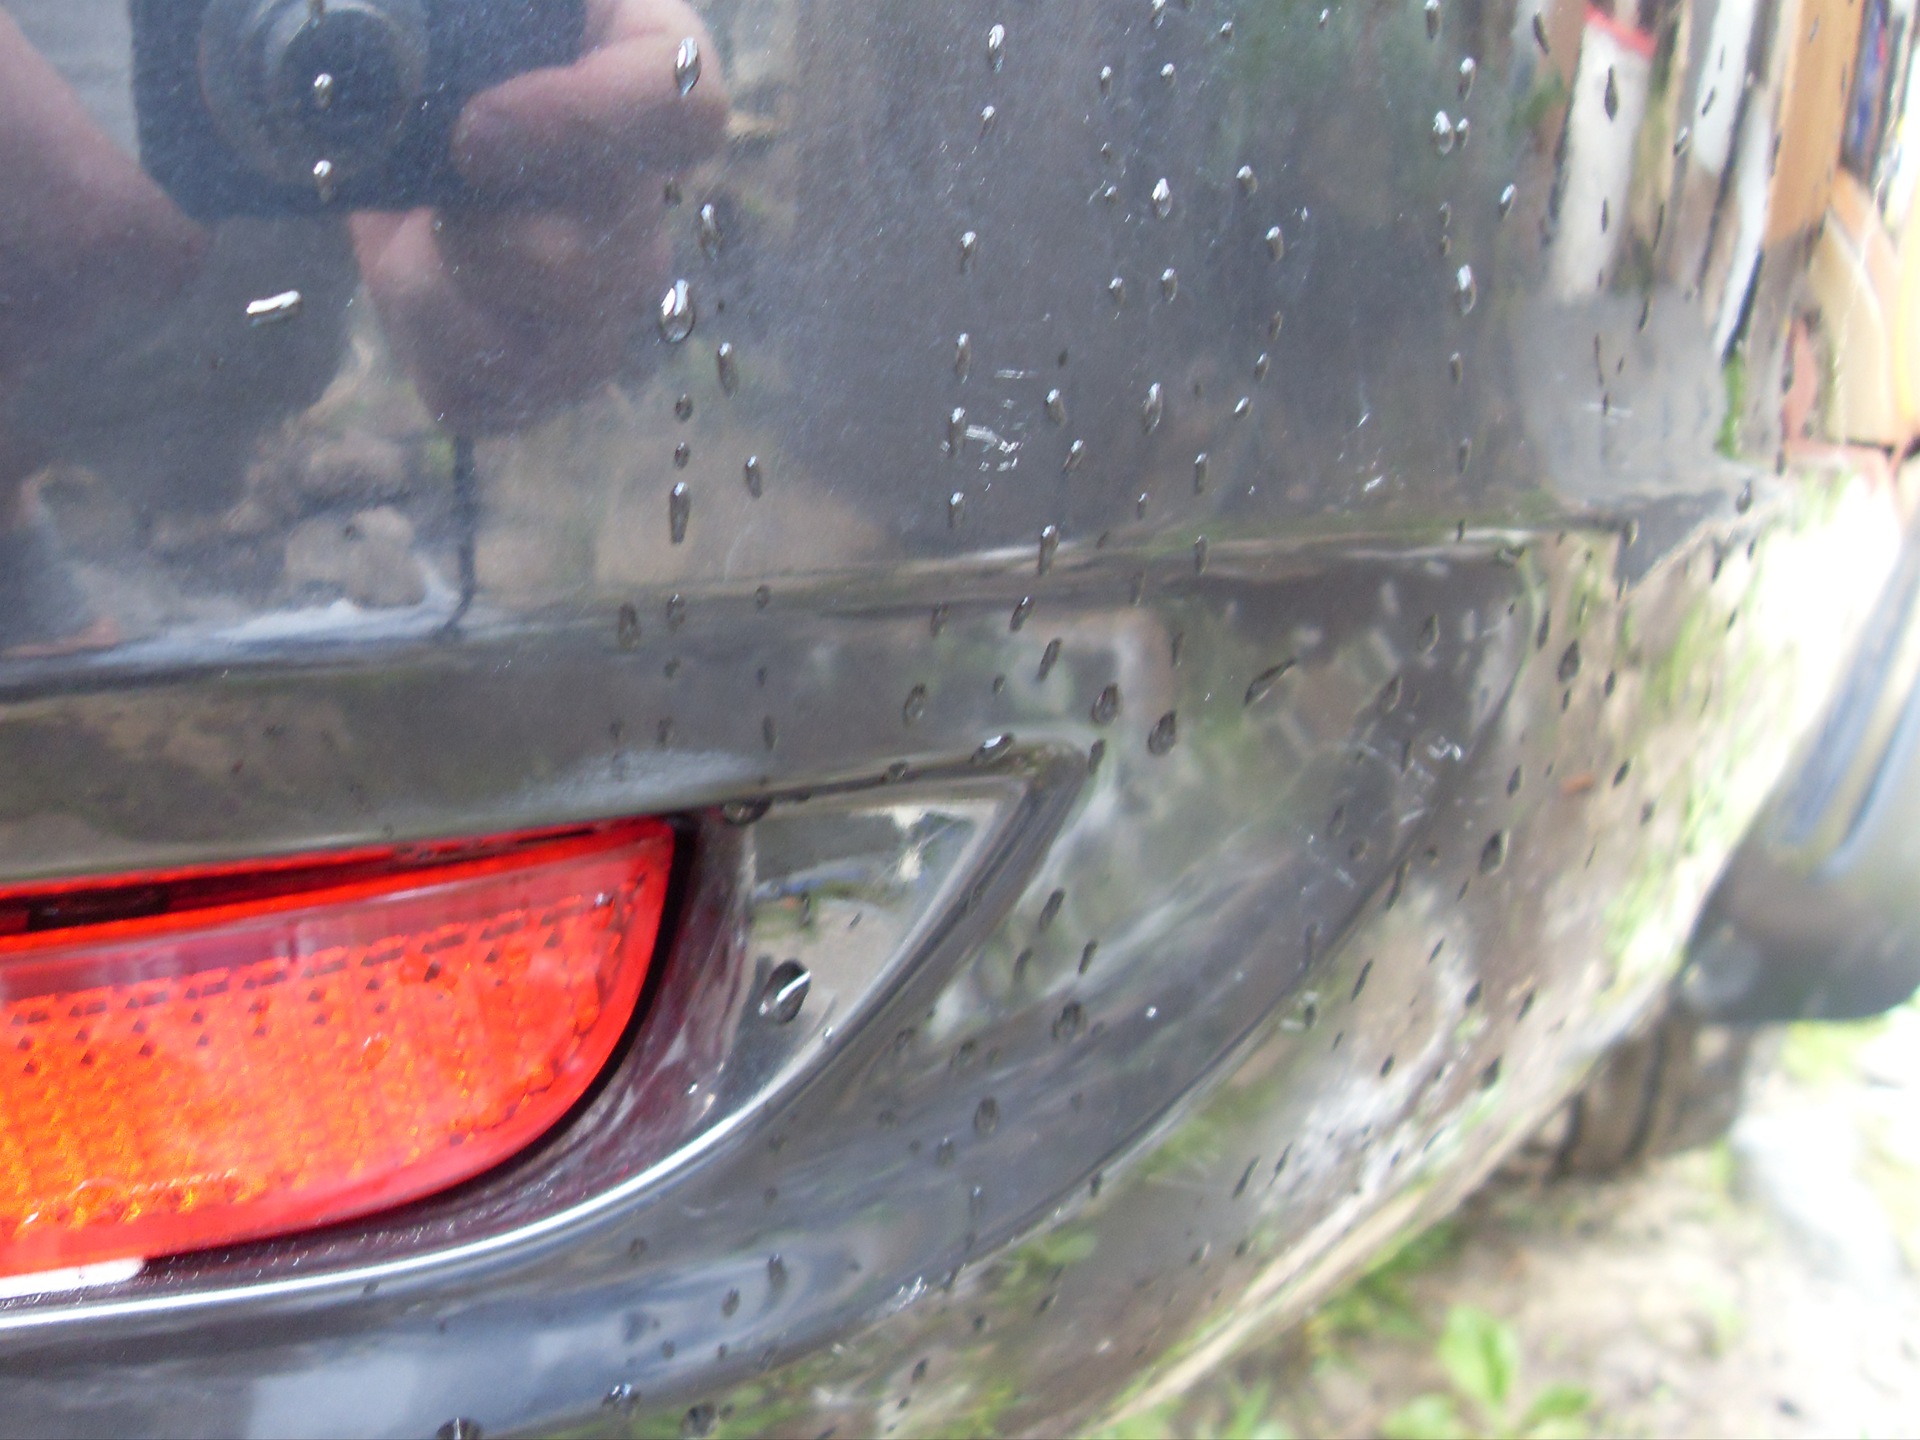
Similarly to the bumper, apply polish to the rest of the car. I advise you to apply polish and polish by element. Starting from the rear of the car - rear fenders, rear doors, front doors, front fenders, front bumper, roof, hood. When the turn comes to polish the hood, then the necessary experience will already appear =)
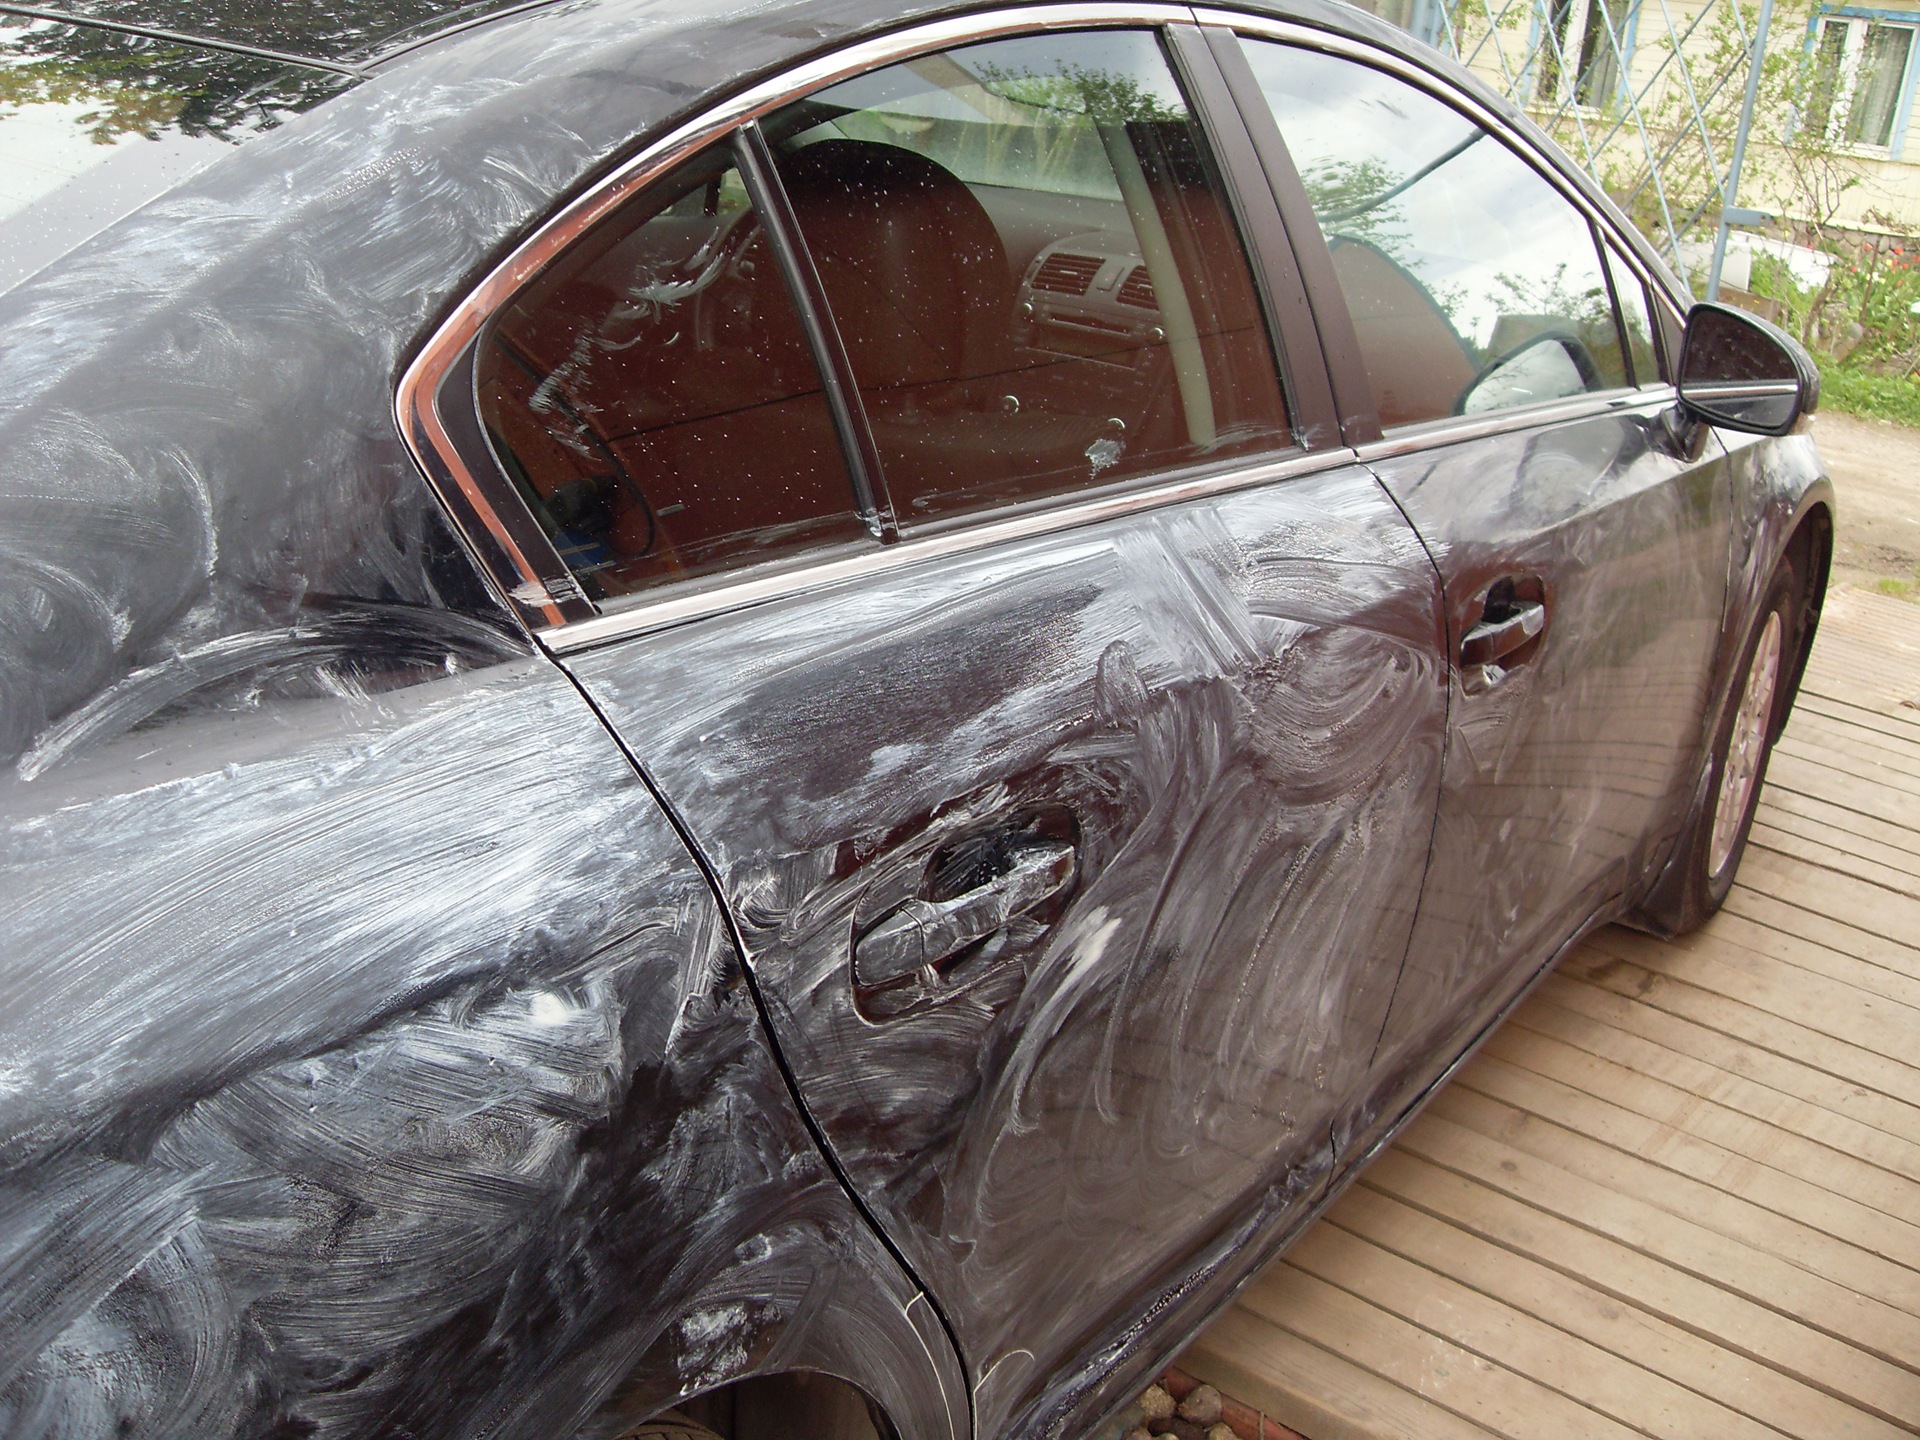
These are the drops that the polish scatters and covers the glass, lights and everything around, including the audience =) Hi Drive!
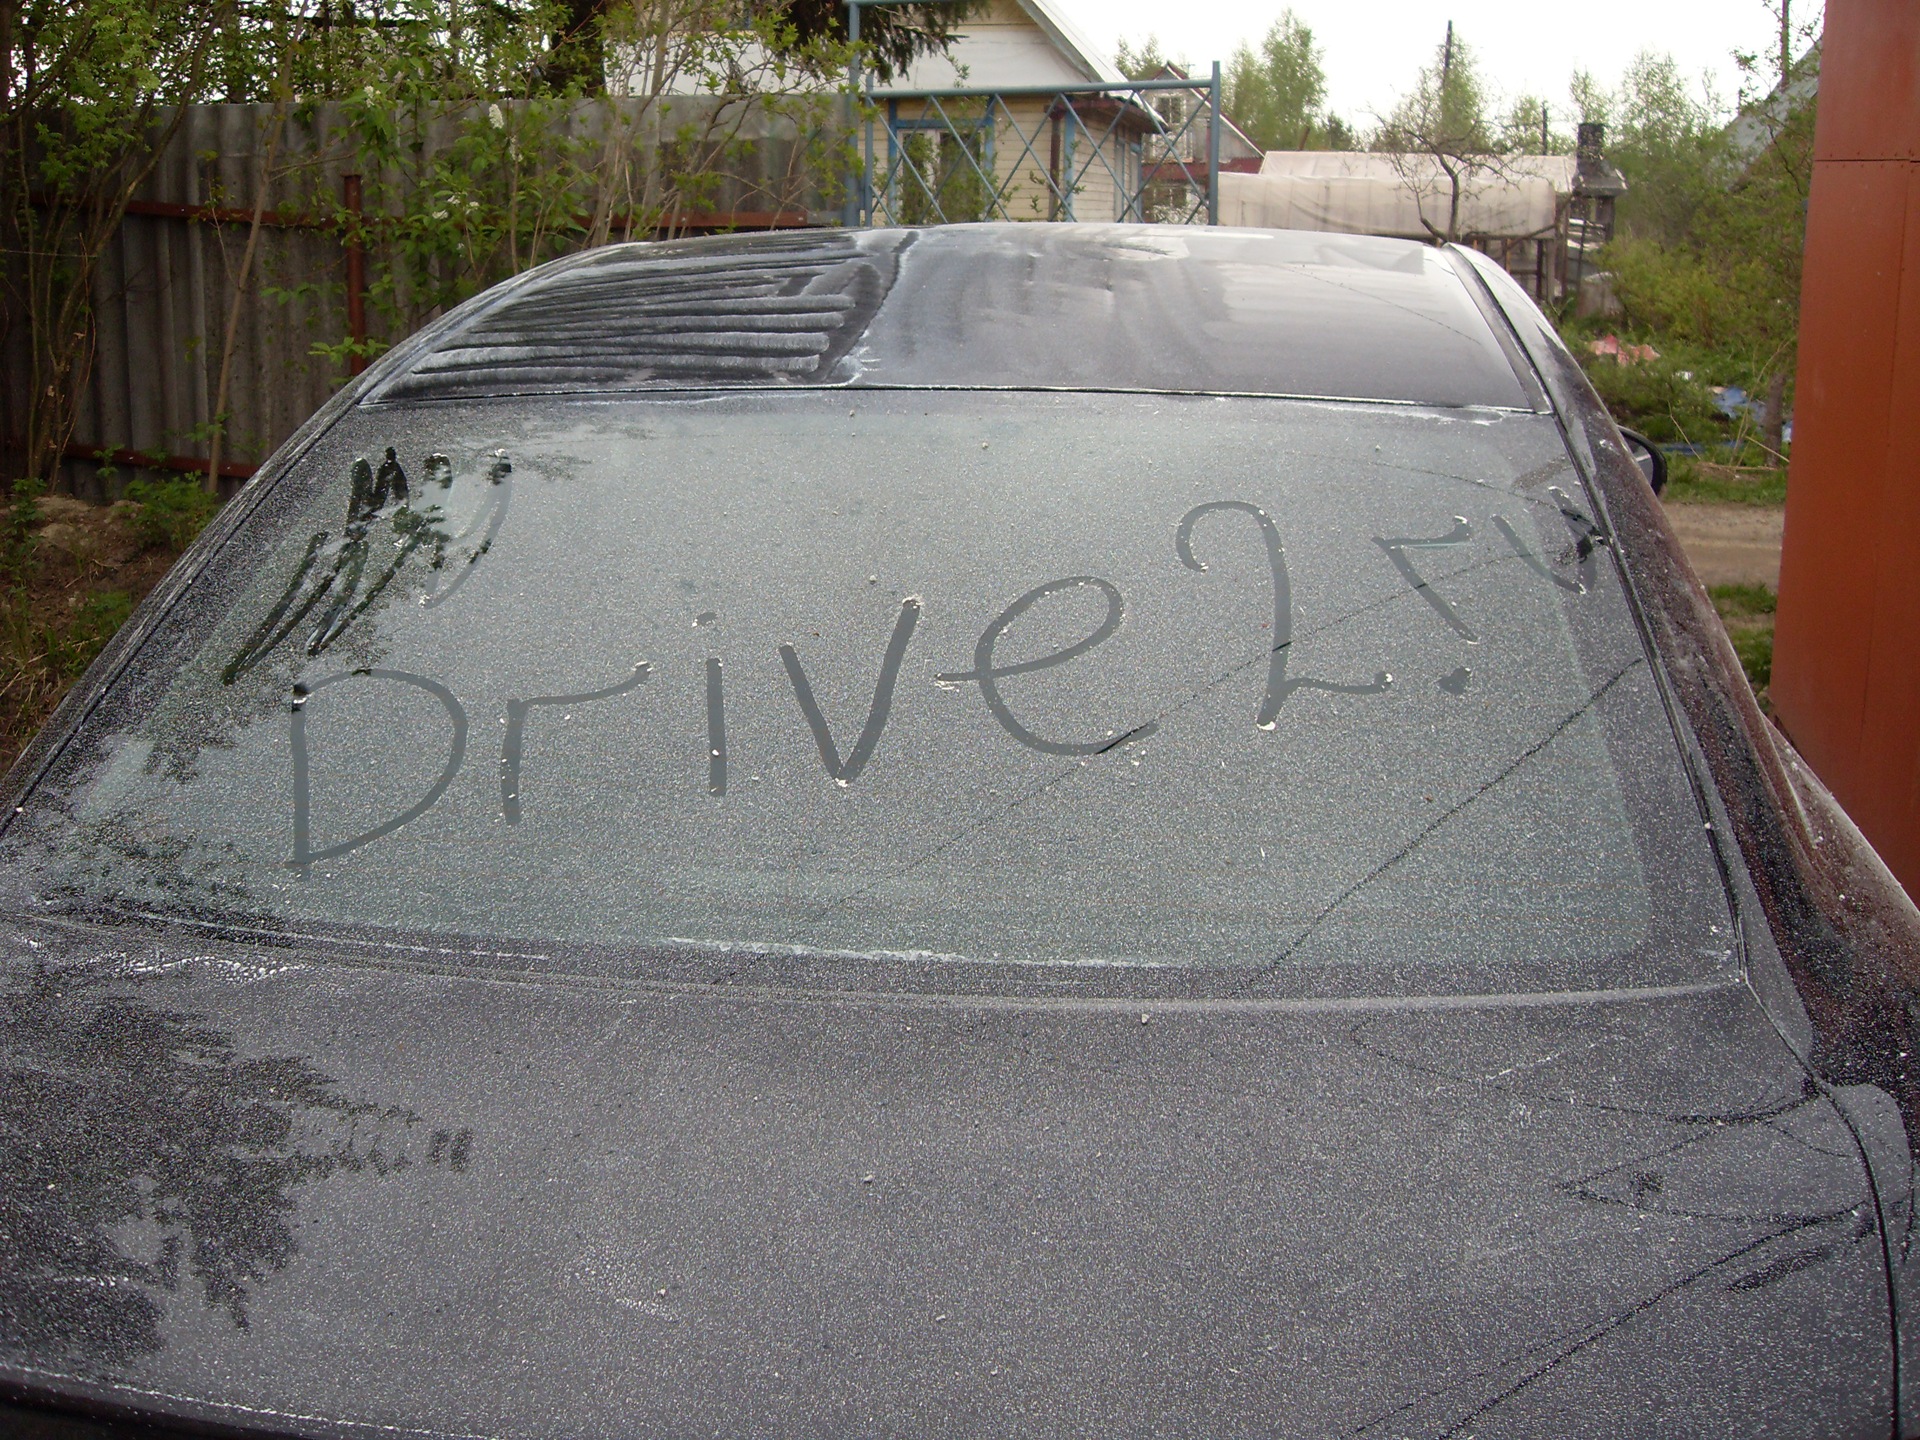
After polishing with an abrasive polish, wash the machine and remove all polish residues. Then thoroughly dry the entire car.
After that, you can proceed to the second stage - colored polish. Everything is the same here. We change the nozzle to a drill, instead of a rough white we put a soft black one. Apply the polish evenly over the area of ​​the body, let it dry until a matte color appears, polish it, periodically wetting the surface with water from a sprinkler.
We also polish by elements. It is worth setting the speed of the drill slightly above average, so the process will go faster, the surface heats up more and the polish smears the remaining scratches better.
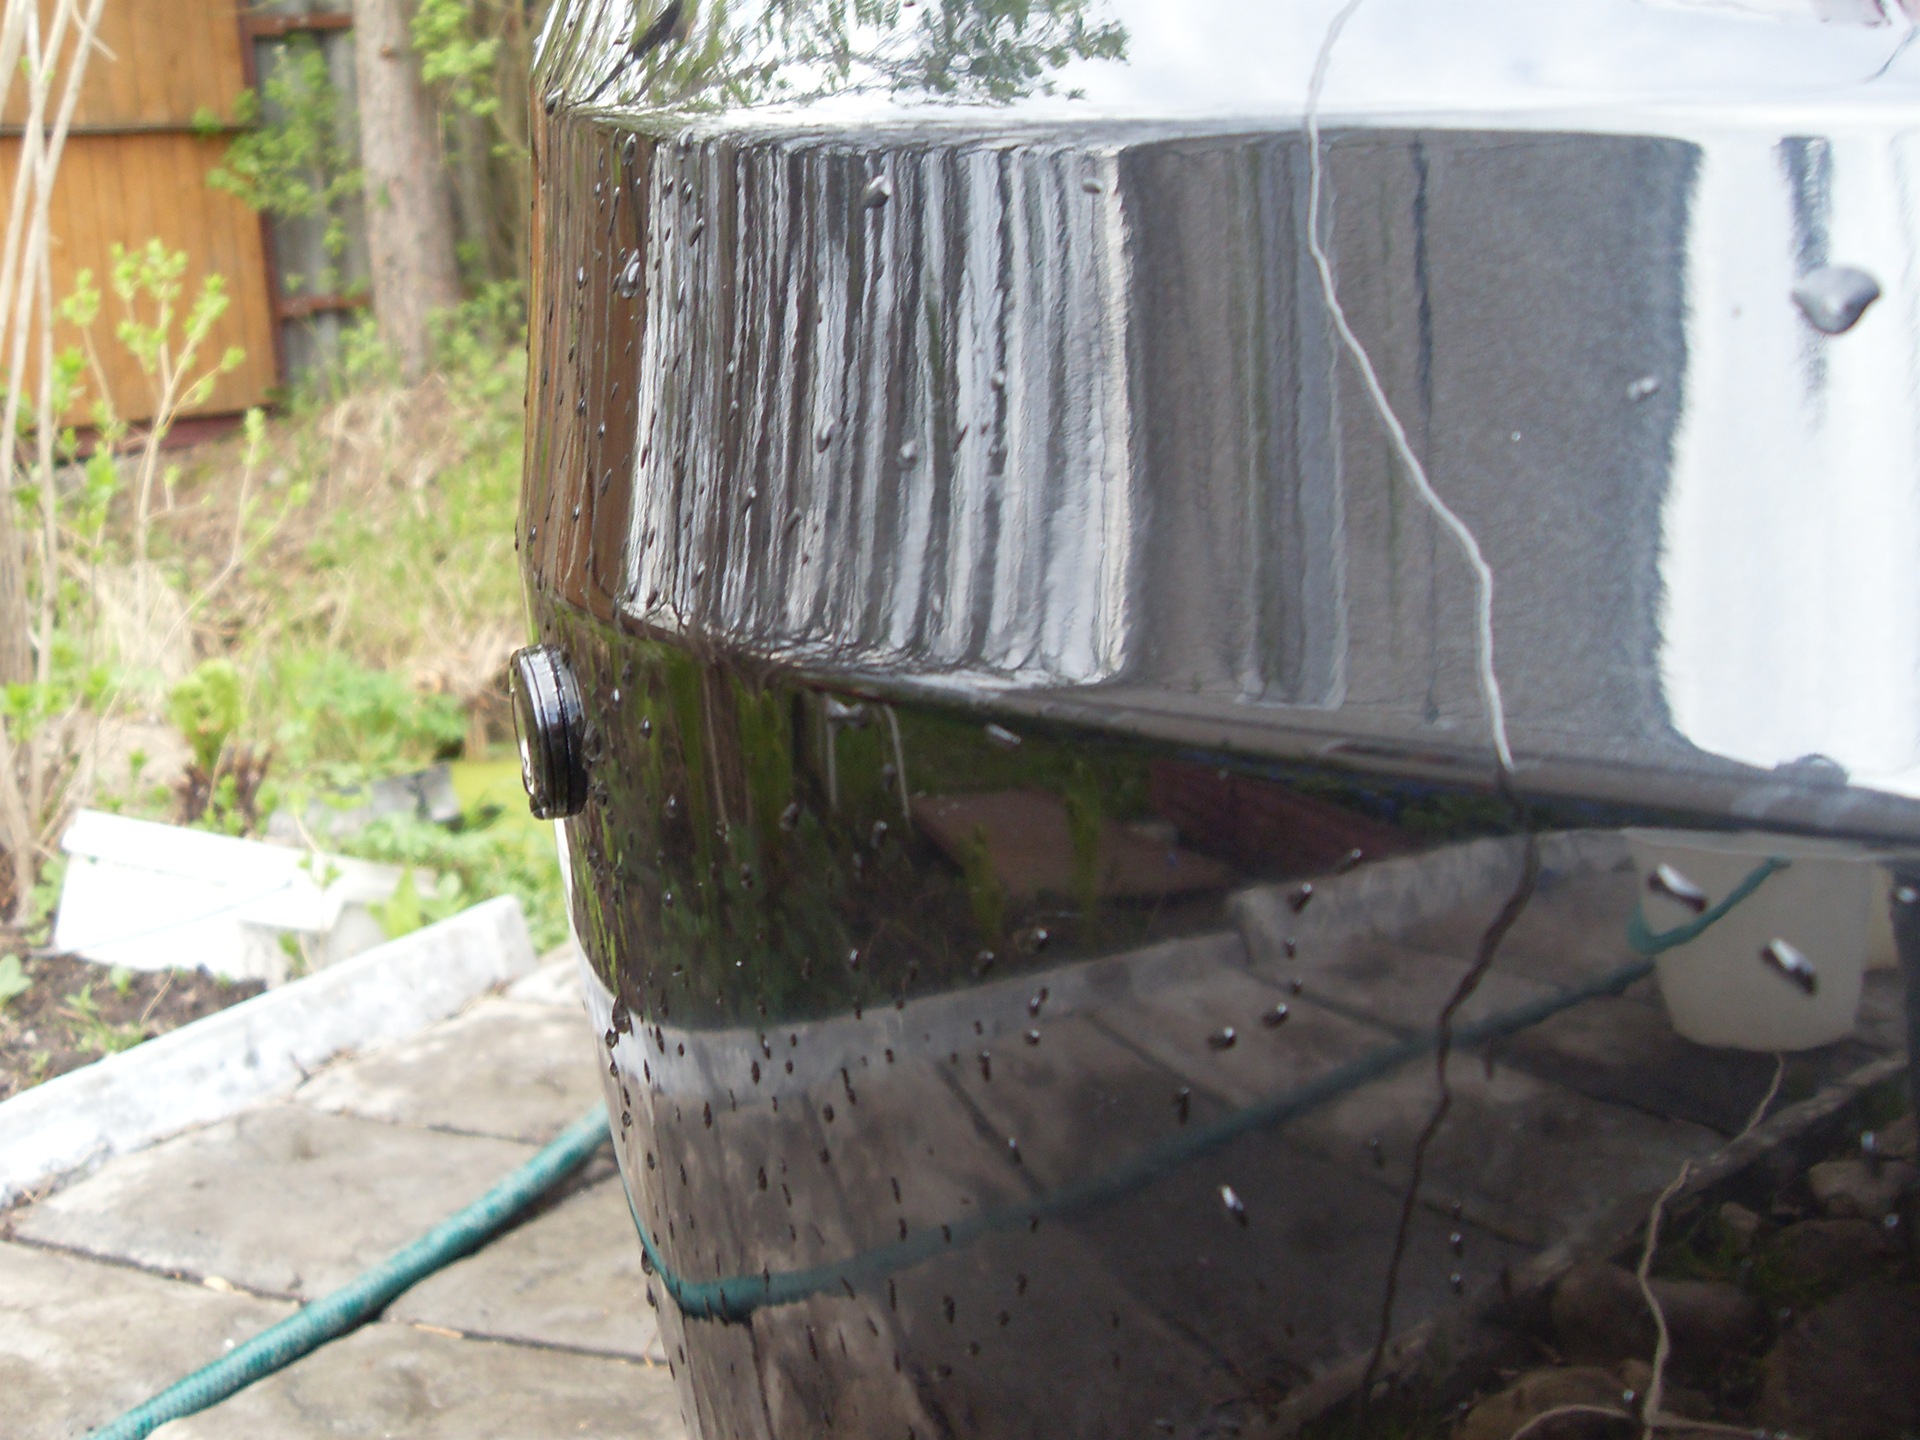
Here is the result after polishing with colored polish. Mirror! The surface is absolutely smooth and glossy. The black color became deep and saturated. Of course my camera will not be able to reproduce the whole effect = (
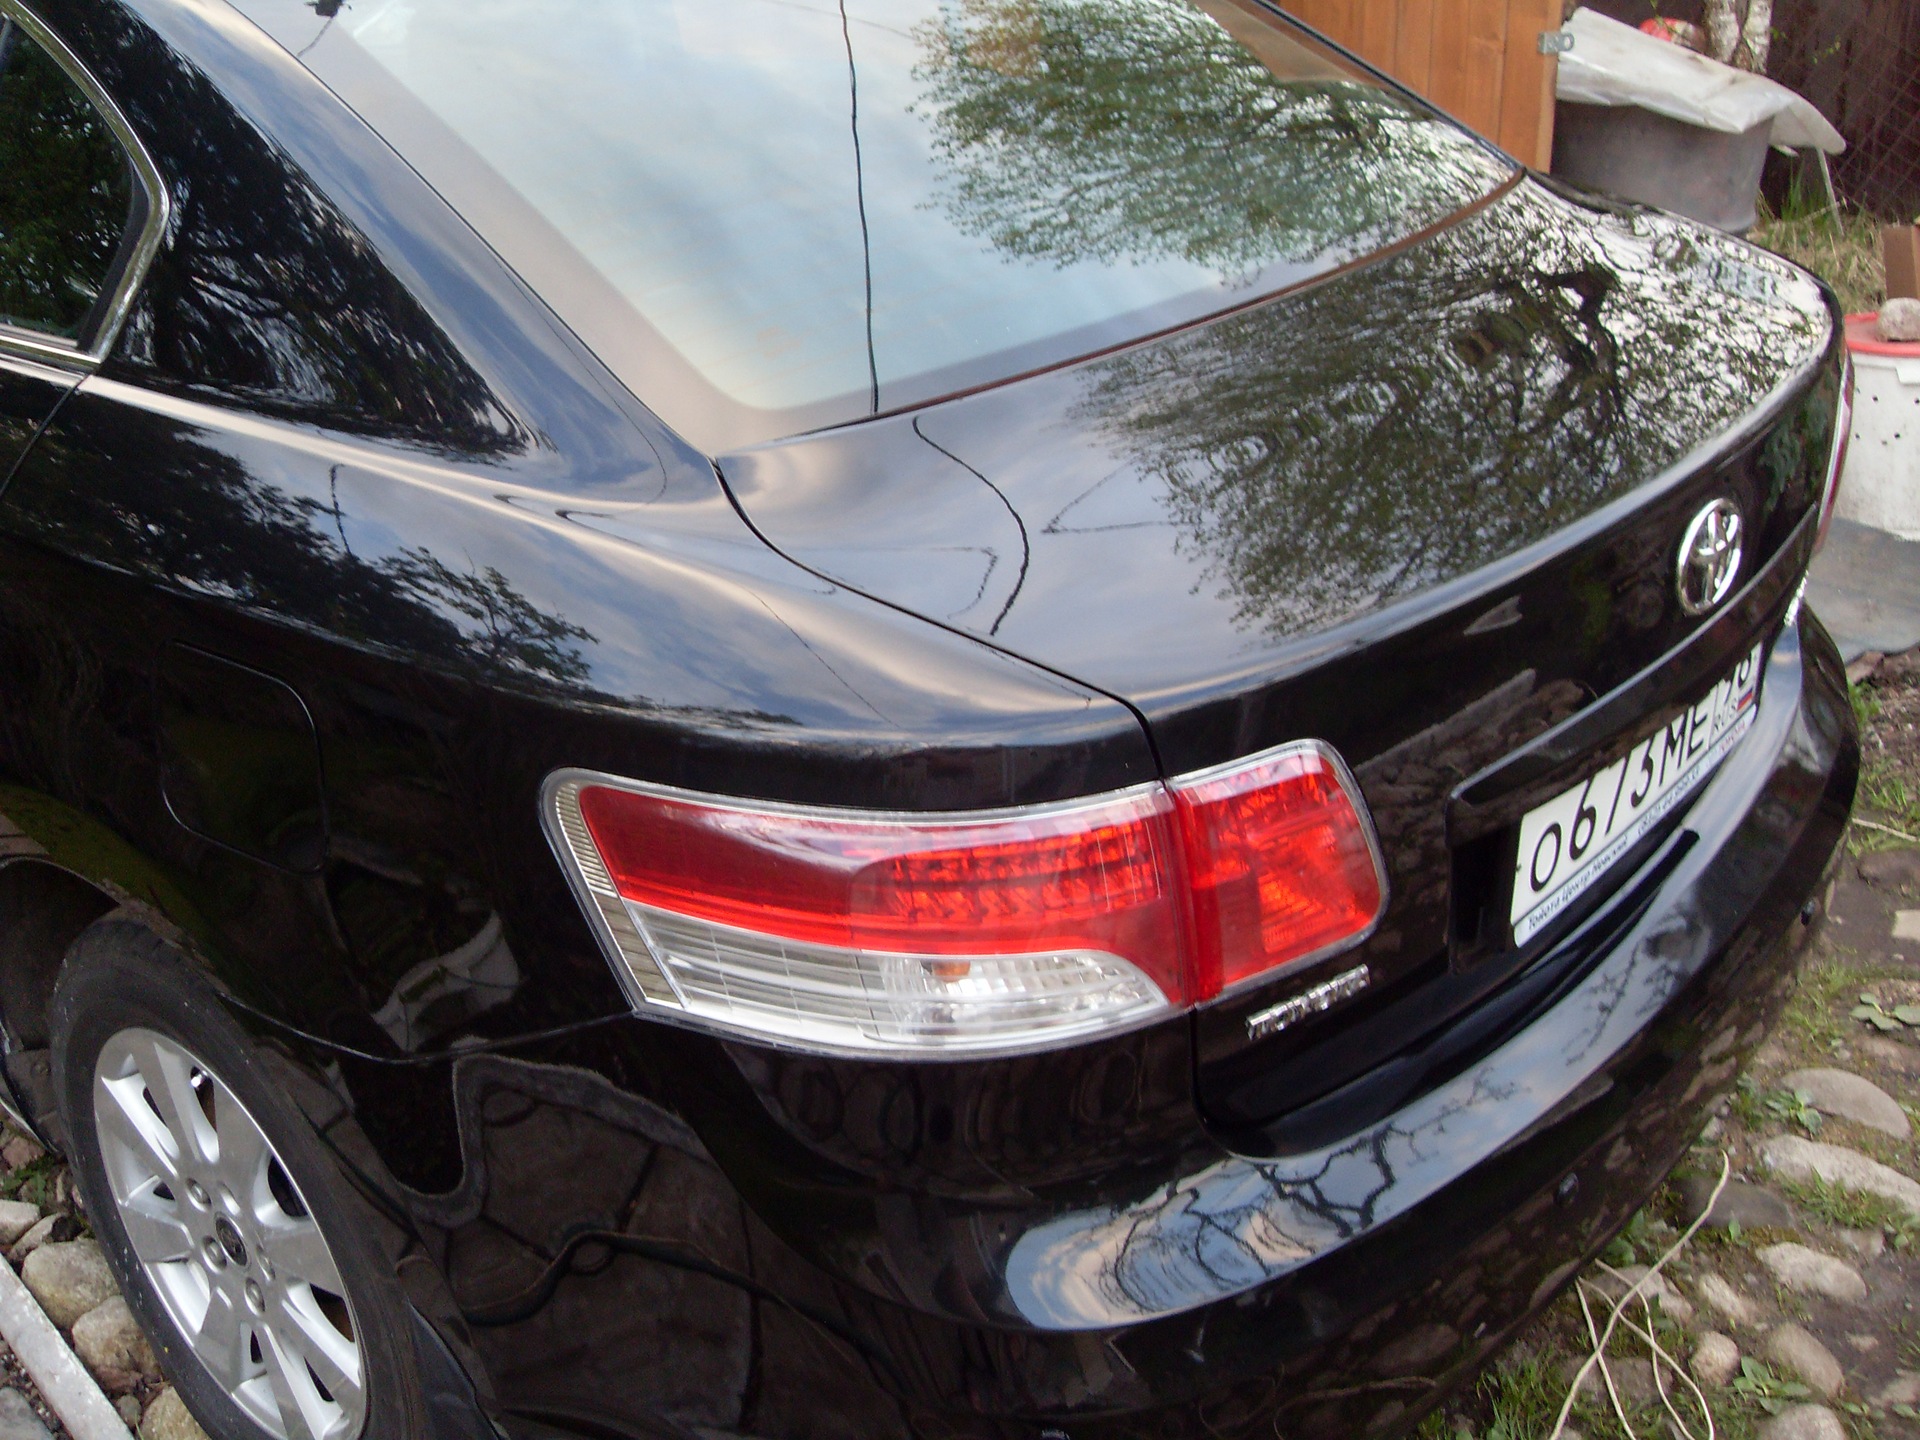
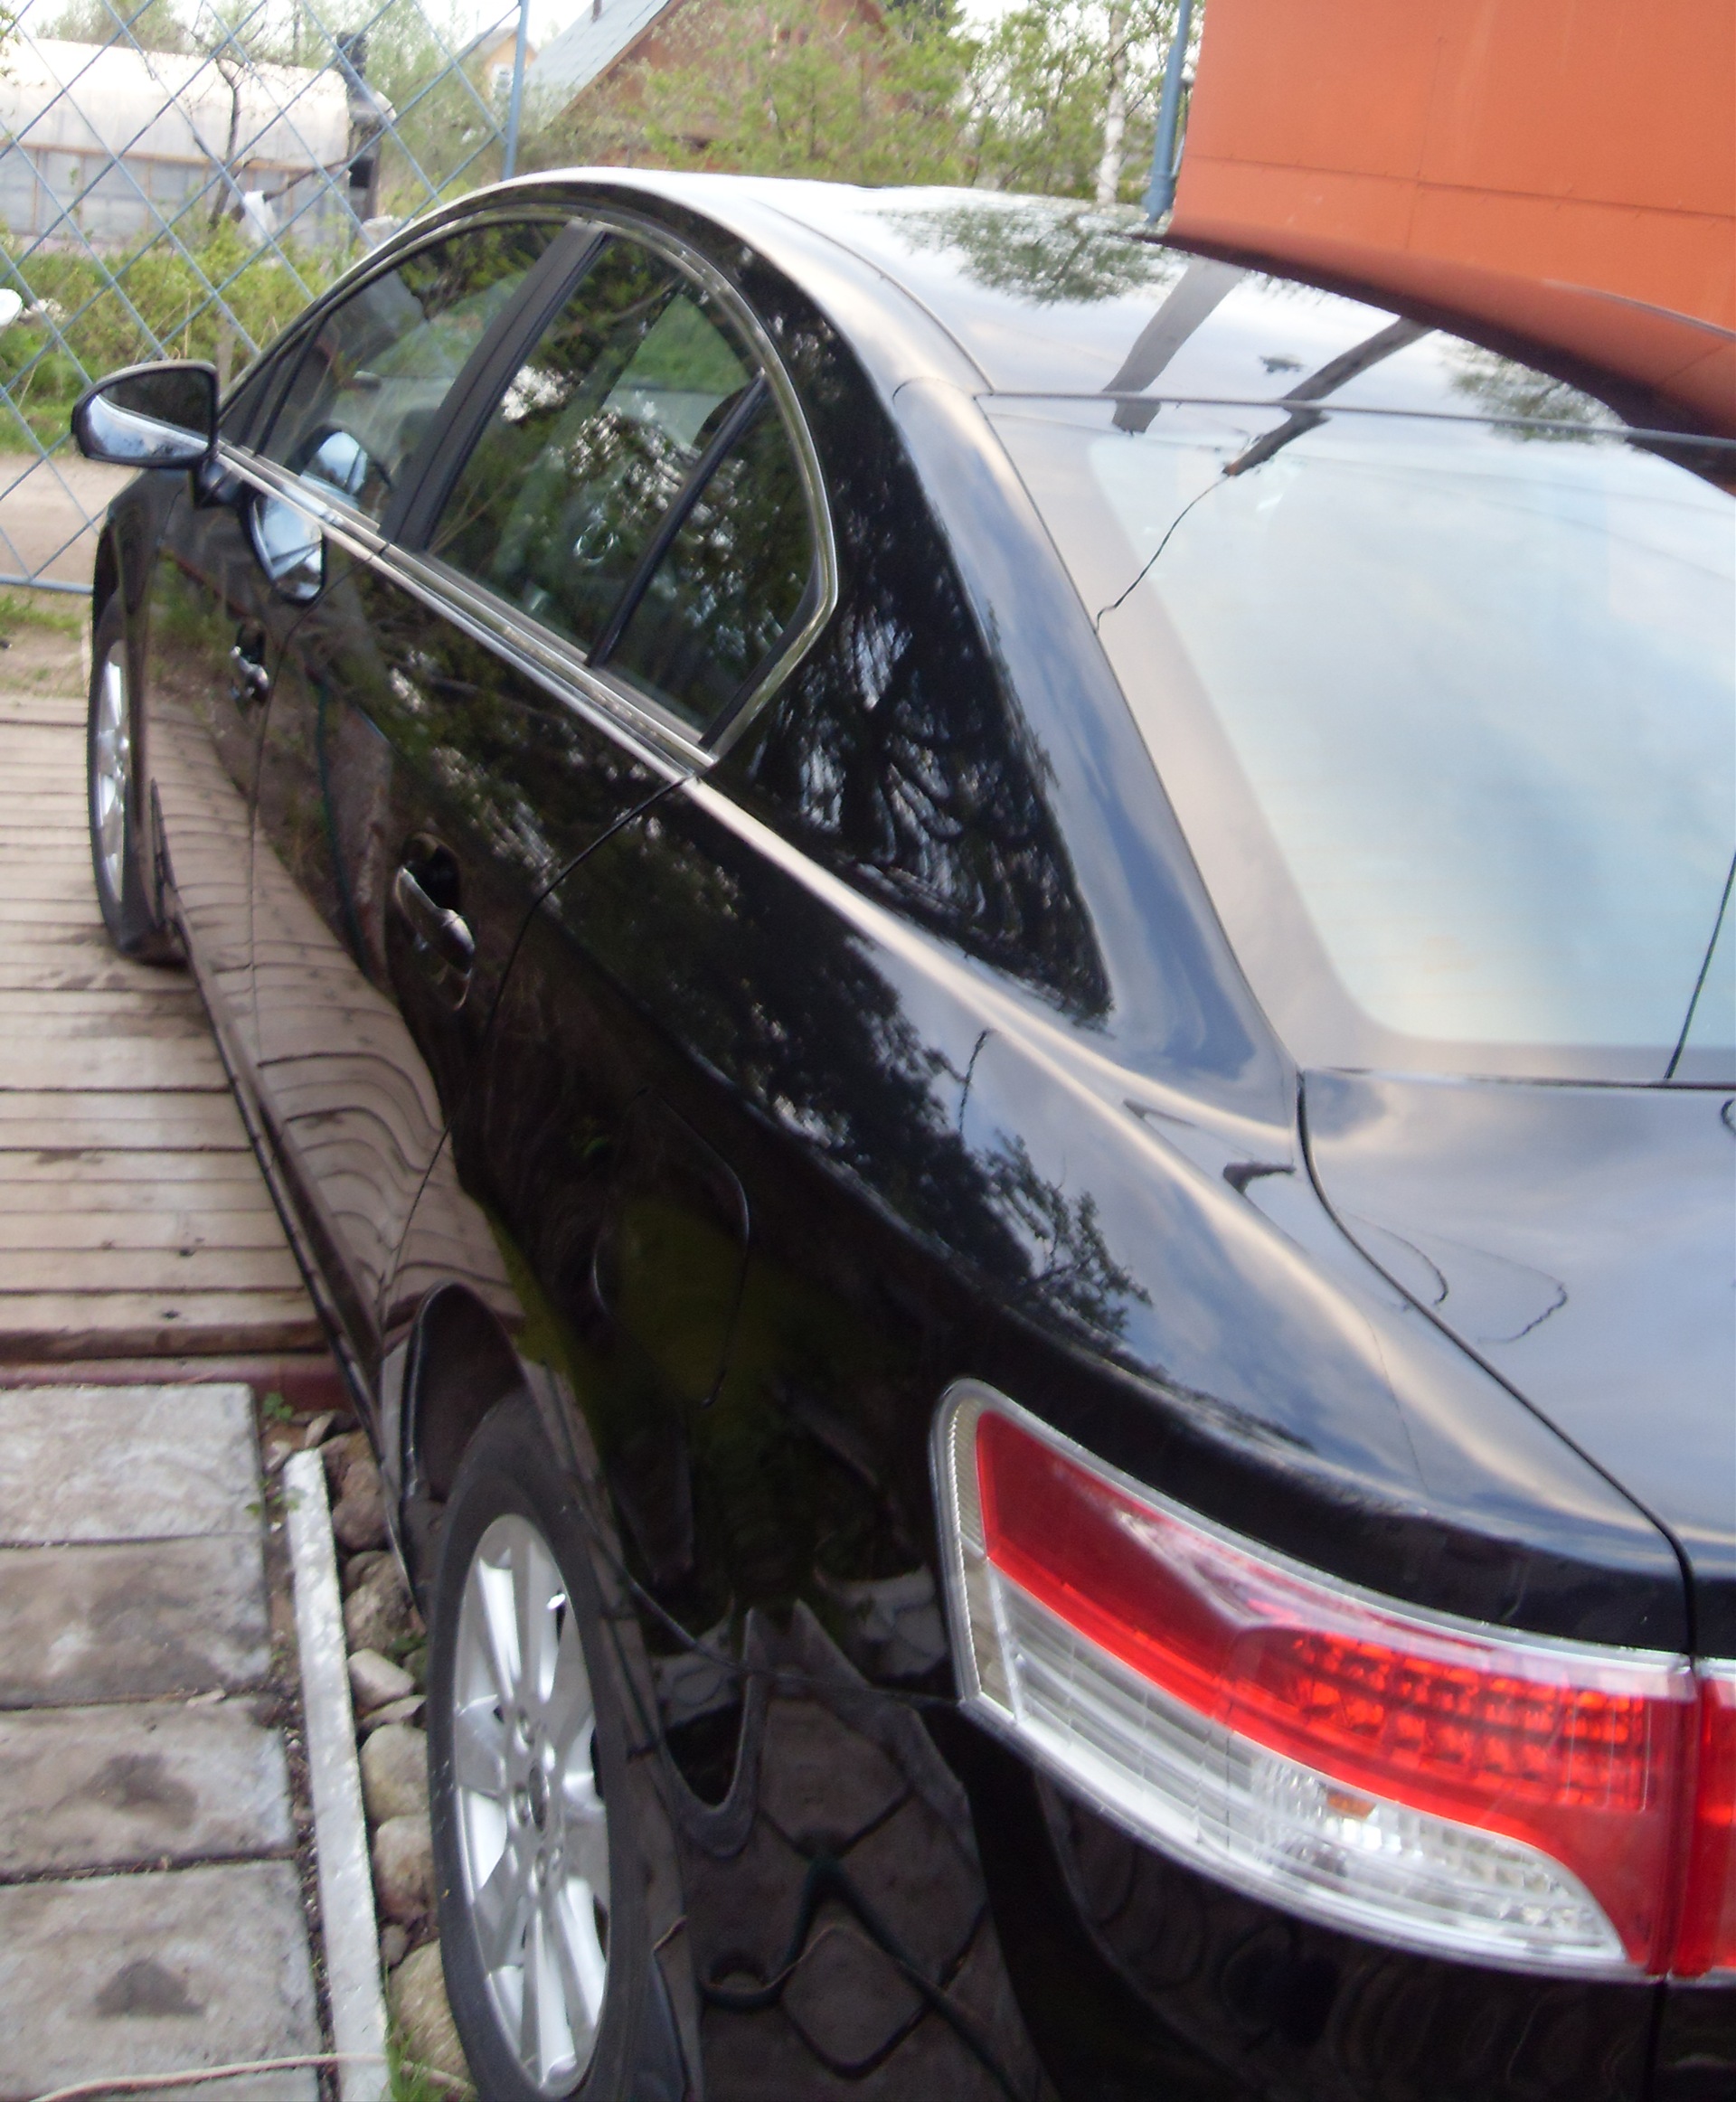
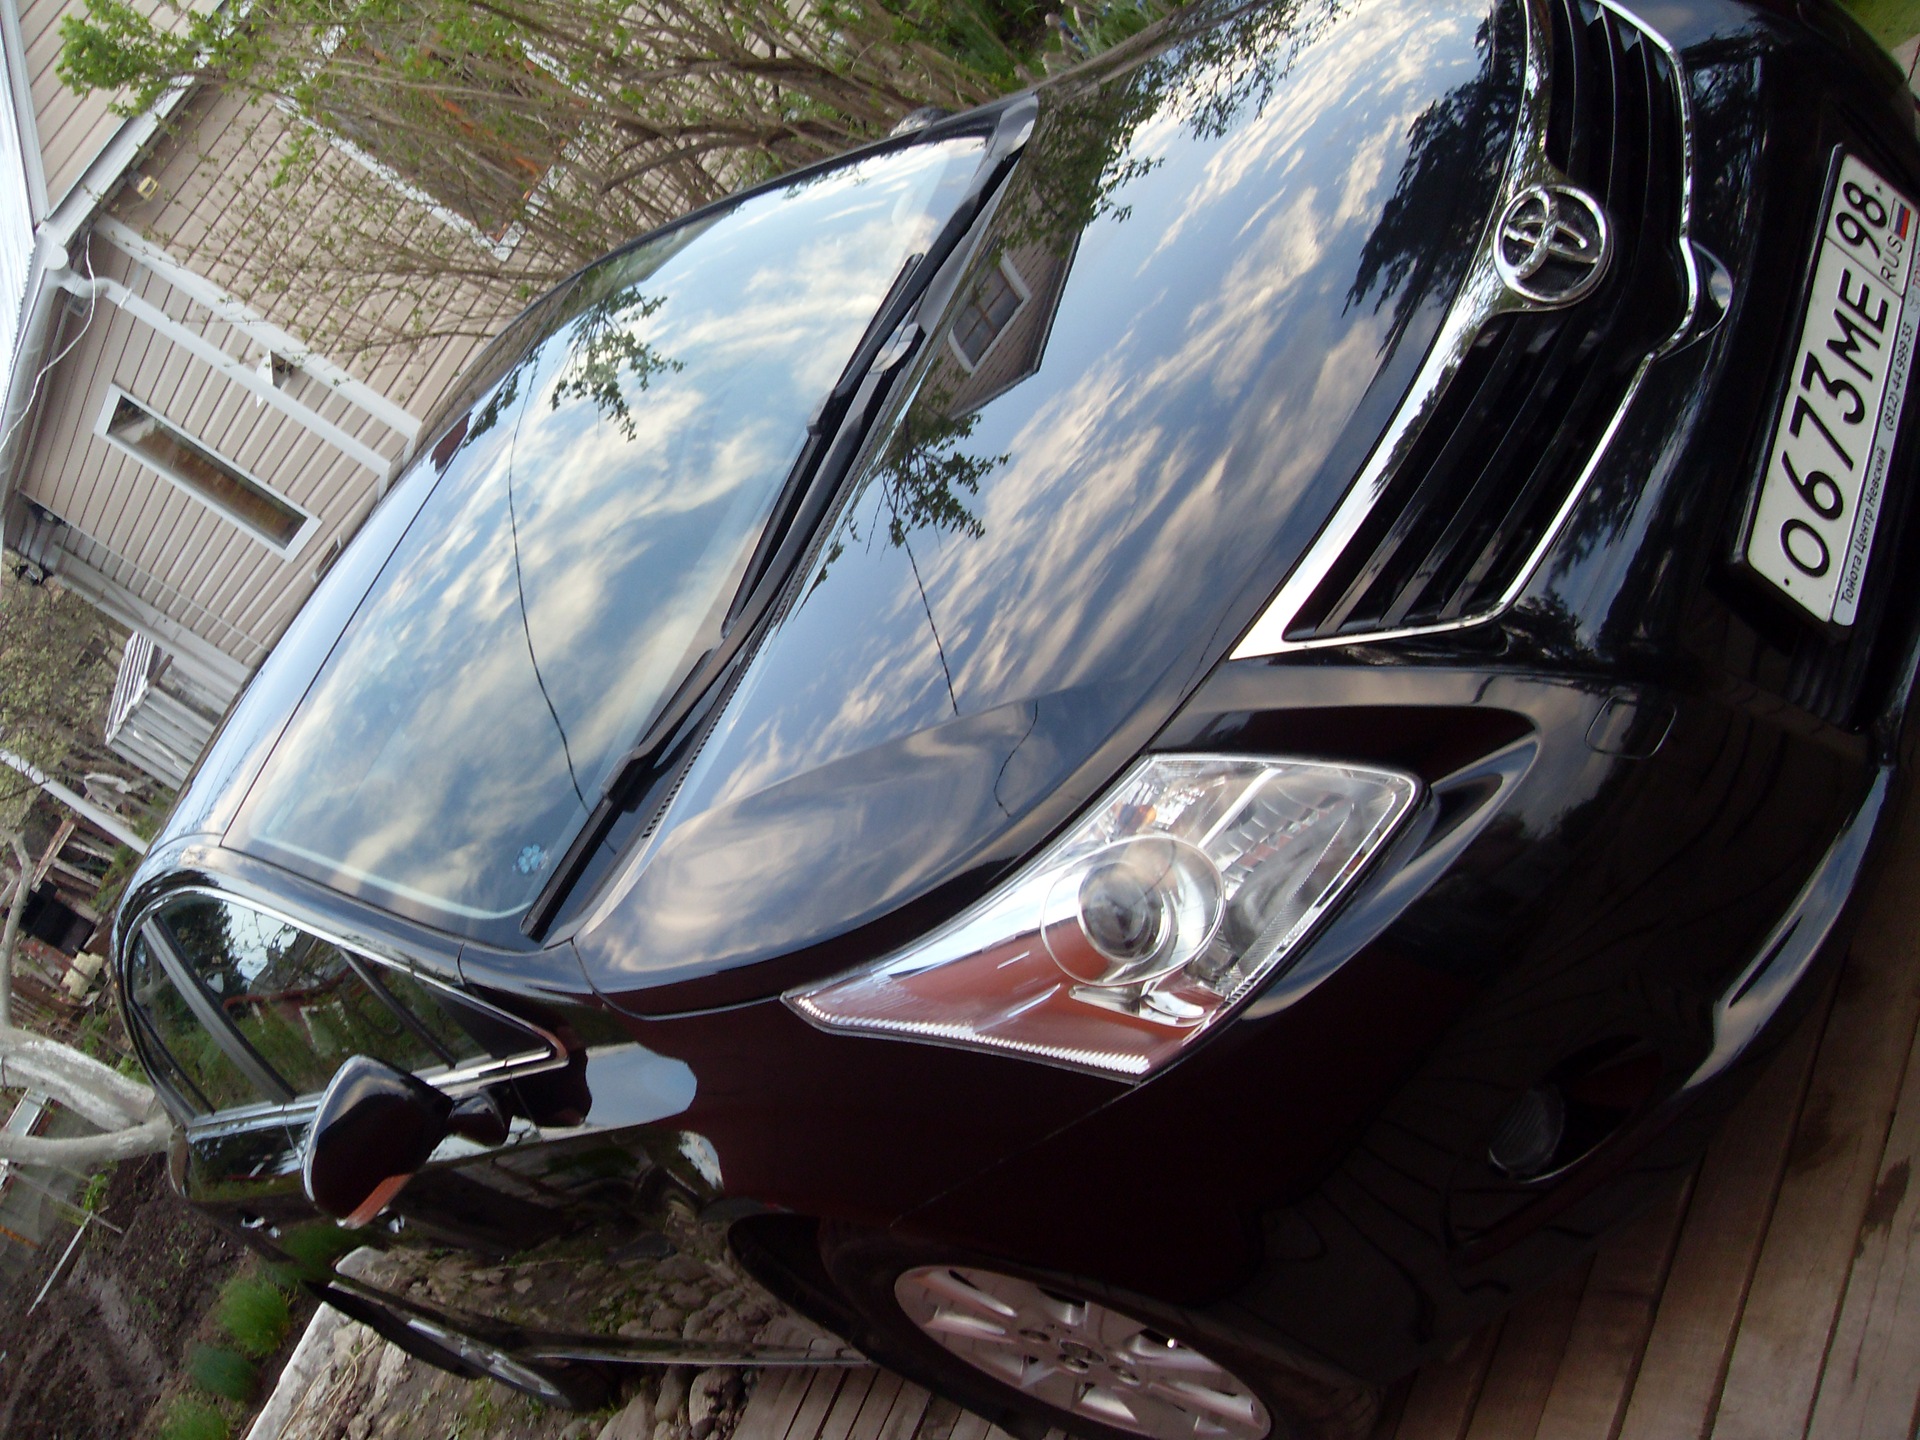
After polishing with colored polish, the machine must be thoroughly wiped with a lint-free cloth in order to remove the dust remaining from the polish.
Unfortunately, you cannot insert more than 20 photos into one post, so I will post about waxing and photos of the completion of the process in another post.
* end of the first part *
the second part - www.drive2.ru/cars/toyota...4062246863888369942/#post
Mileage: 12,000 kmGreat! highest praises! thanks for the step by step description! Now I also want to try to pull off such a miracle!
I polished for the first time and spent the whole day. from 12 noon to 11 pm. with smoke breaks and lunch =)
colored polish is available in different colors, for black it is required, because after polishing with an abrasive polish, the car becomes whitish. for your color, I think it's worth buying a colored polish. it is optional only for grays.
Fine! I've been going for a long time, but I can't get my thoughts together in time.
By the way, how long does the process take?
And by the way, do you need a colored polish for black? For mine it is not necessary, or is it?
Yes, of course, the car isn’t even a year old, and you have already walked the entire body of a professional in vain, you will walk 2-3 times more and you will no longer see the varnish on the car.
Korolka we have already 3 years old cobweb scratches while the norms, simple polishing decides everything.
I may be late) But such a question. I purchased a drill attachment. More precisely, a small set. One of them is parolon, the second is soft to the touch, like woolen. Which one should you use?
Nothing will happen. The main thing is white spirit not to be confused with a solvent)
Thank you very much for the experience! I described everything clearly and clearly! At least put it in the repair book)). My question is not big, you are talking about degreasing the body. That is, rub it completely with this business? Nothing will happen to the paint?
Of all the posts I have read about polishing and removing scratches, this is your most zachotny one. Thank you for not being too lazy to describe in such detail. Now I’ll probably take care of my scratches myself. But tell me, are the drill bits made of foam rubber or what?
If "not himself" - then "the main result". And if "himself" is without qualifications, both are important. (And like the result)
I have such a question, but the fact that you ripped off the varnish on the bumper, after washing, such abrasions remain or like varnish and did not rip off? otherwise it turns out that you wash the car ten times and this place again needs to be polished with abrasive paint.
Well done, test! I'm going like this myself, I just want to manually, without a grinder
It is difficult to assess from the photo. Perhaps it will do, just a different designation. In general, as I understand it, P2000 grit means that there are 2,000 grains per square centimeter of sandpaper. If the P400 means the same, then it's too coarse sandpaper.
it is clear, but what is presented in 220 V for polishing will not work right? Maybe they have different numbers just for example p2000 corresponds to a different P?
Very strange ... Maybe it has already disappeared from sale, but before there were no problems with the purchase of P2000 sandpaper. On the occasion I will go to a hardware store and ask if we have such paper.
Hello! How long have I been looking for this p2000 grinding paper. in stores they say there is no such large grain. they say there are 60 100, etc. even at 220 volts there is only p20 to p400
www.220-volt.ru/catalog/shlifovalnyye-listy/ how so?
where to look for such paper?
Colored polish for black is required. Scratches from bushes can be easily removed with abrasive polish.
Thanks for the article, color polish is expensive and you definitely need it on black and what to do with varnish, the bushes will rub, thanks
Enjoyed. Yes, Teflon is really better than wax and does not wash off after the first wash.
Hi! Have you ever used Teflon coating? They say it is better than wax, it lasts longer!
Hello! Yes, it is imperative to wet so as not to overheat the varnish. I don’t know about holograms, I didn’t have them)
I also want to polish myself, there are small scratches and cobwebs. I got nazhd.2000,2500, Farekla G3. Since I'm a newbie in this business, I have questions ... When polishing, it is necessary to thoroughly moisten the polished surface with water? remove holograms, silver color? Tell me if you know you really need!
I also used foreklo g3 on a fully painted car. Removes risks even from 1500 sandpaper, which is very convenient when there is a large shagreen. I also noticed that the longer it is polished, the finer its abrasive becomes, that is, you can use this polish as one + dark colors from holograms
Hello! If only the varnish is scratched, it will sand itself. If the scratch is up to paint, then no.
Hello! I practice polishing on my bumpers)) I don't mind messing up for painting anyway. But it's scary to switch to iron. Can you tell me how to determine if a scratch is sanded or not?
Hey. And how long did the turtle last?
And is there any sense in it and the anti-scratch yet?
ATO painted the roof in black acrylic, and after polishing with G3 / G6 it is FULL of SCRATCHES. (
thanks!
People, tell me, for the final polishing of a car, you only need a black password circle or, for example, with a felt one?
