Headlight styling - Toyota Corolla, 1.6 L, 1999
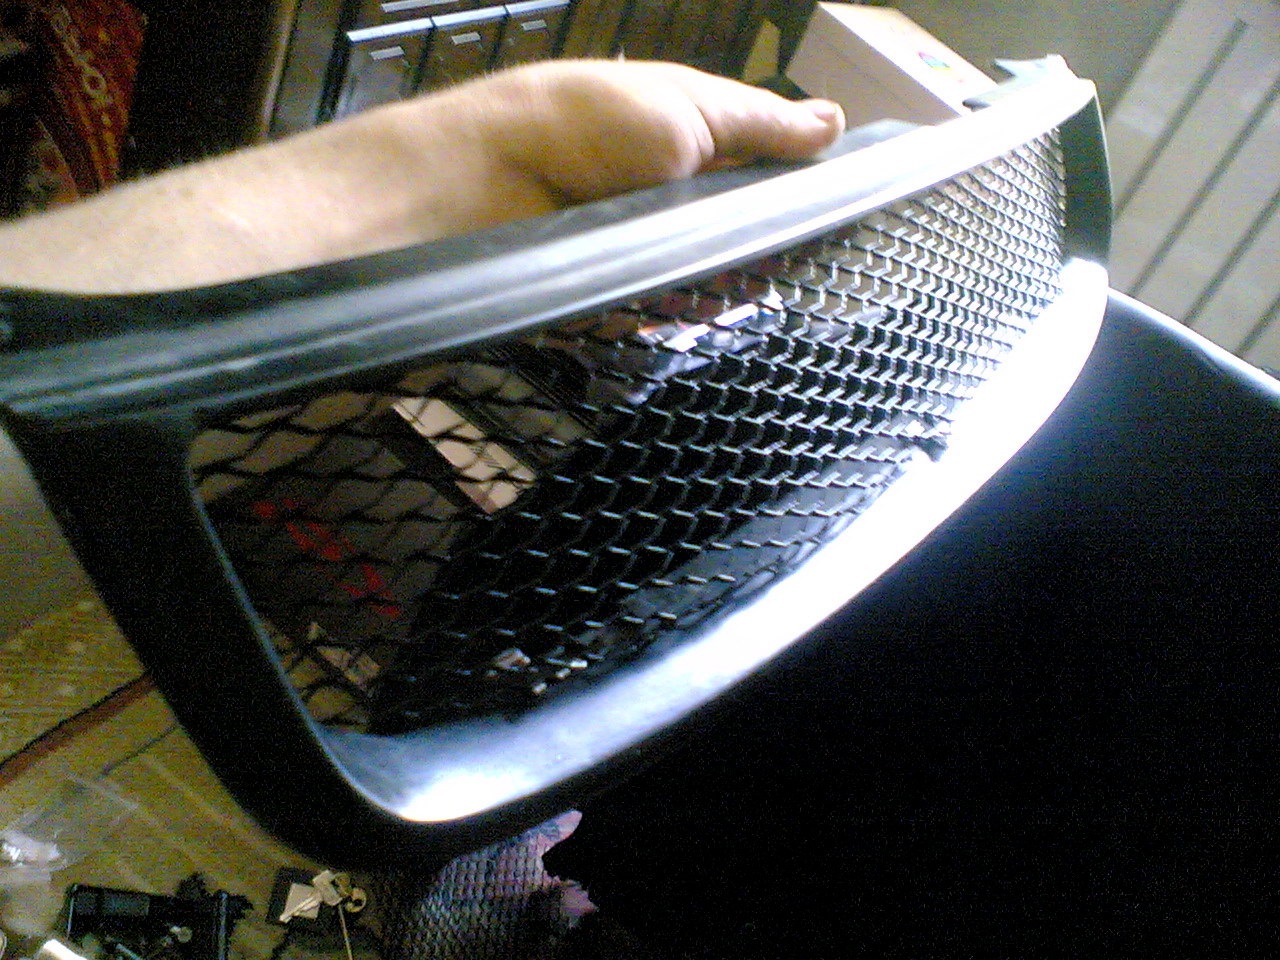
I decided to make headlights with black inserts and also update the mesh on the radiator grill.
Replacing the mesh took 20 minutes. unscrewed the old slightly bent and lost its former appearance, measured out the new one, changed the fasteners, ready.
With headlights, everything is more complicated, with the help of a construction hair dryer (not to be confused with a home one :))
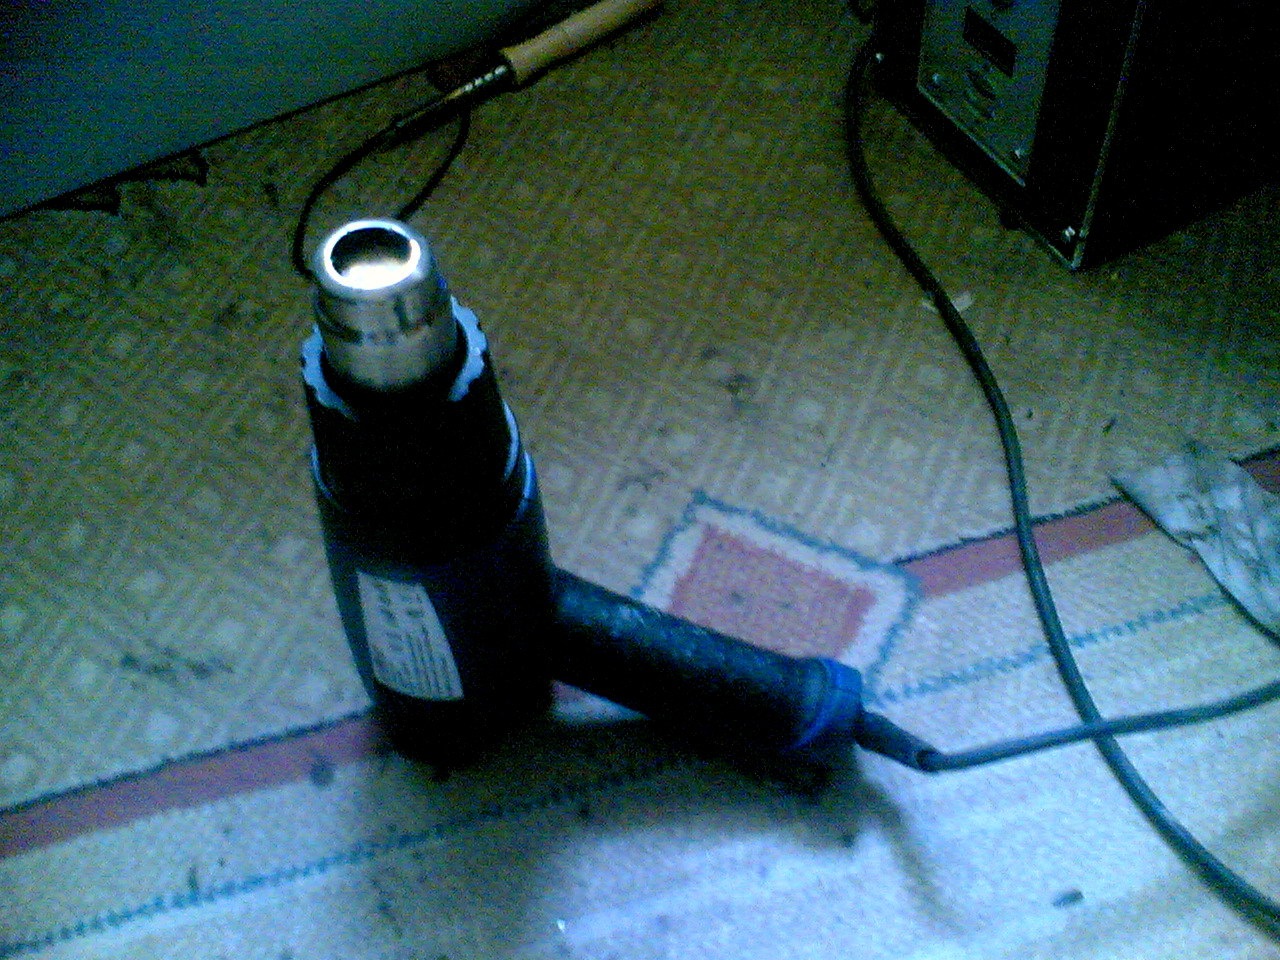
warmed up the sealant along the headlight contour (along the groove where the front part is connected to the body). Using a minus screwdriver, very carefully prying the front plastic of the headlight, removed it from the groove of the headlight housing.
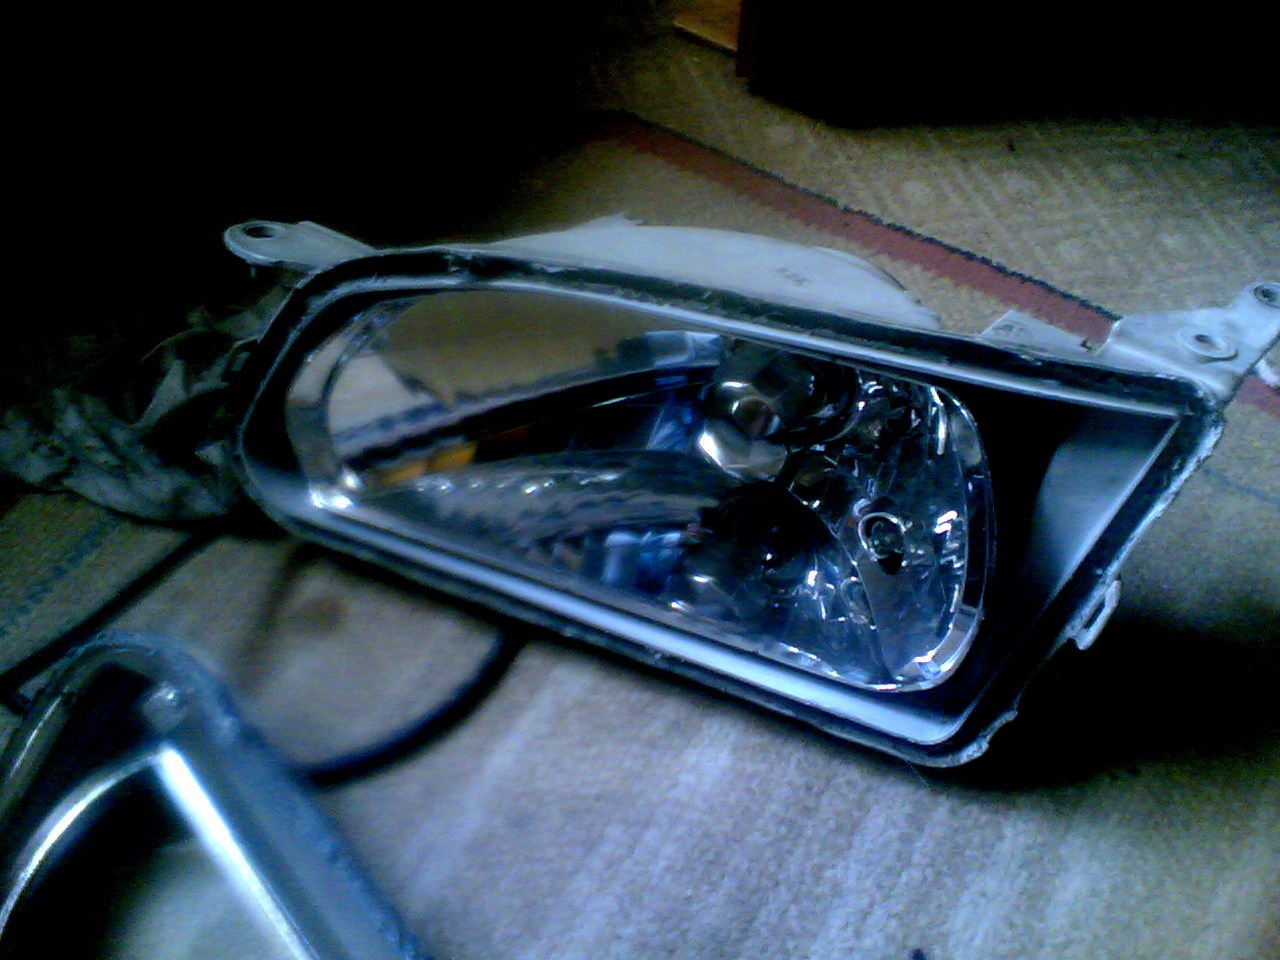
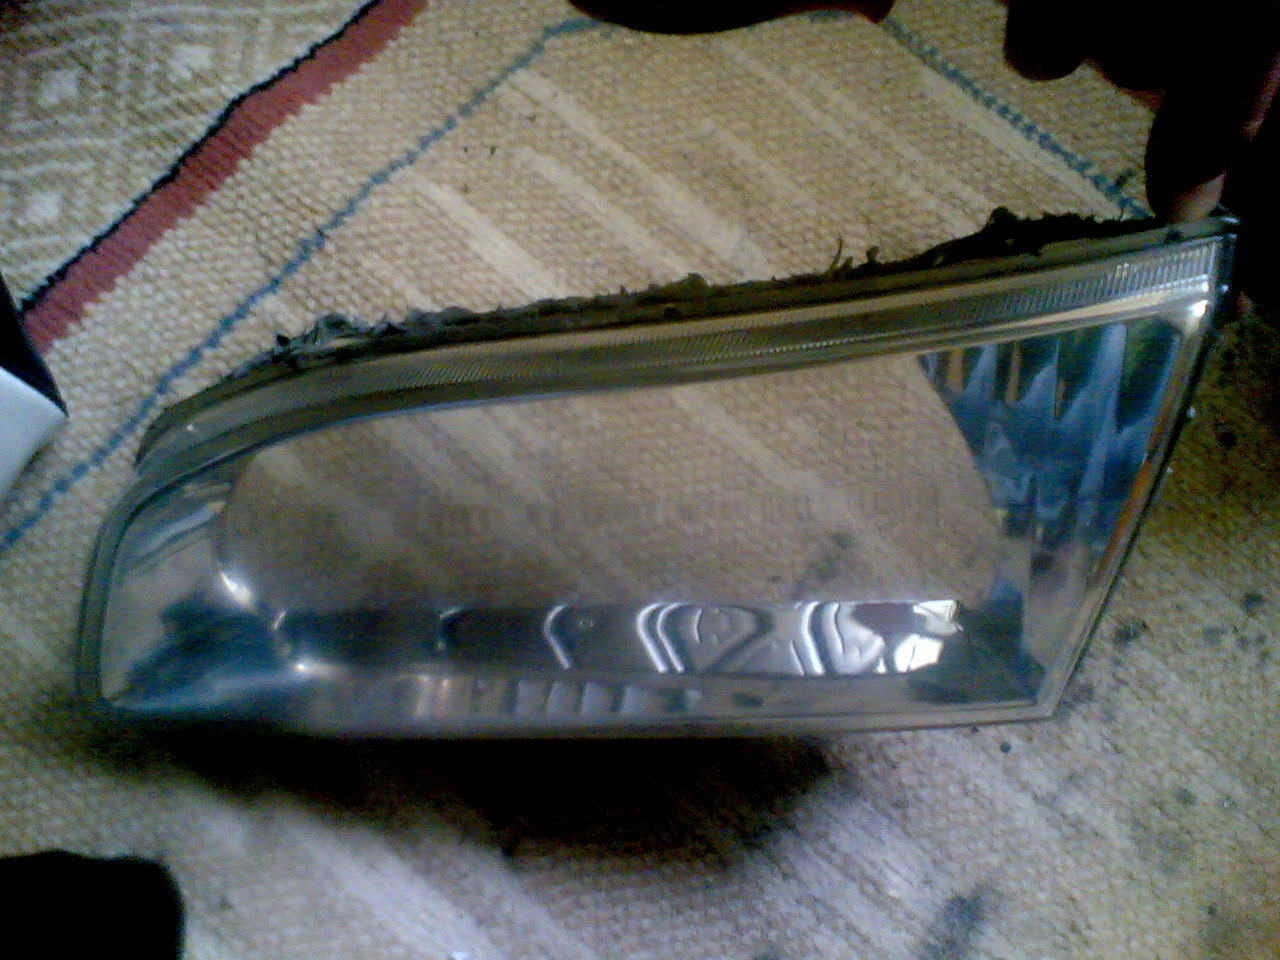
The part of the plastic that needs to be painted is located very conveniently, namely, attached with 2 screws to the front side, unscrewed it. With the help of 400th 3M sandpaper, I covered the required surface. Degreased and painted matte black, applied paint spray
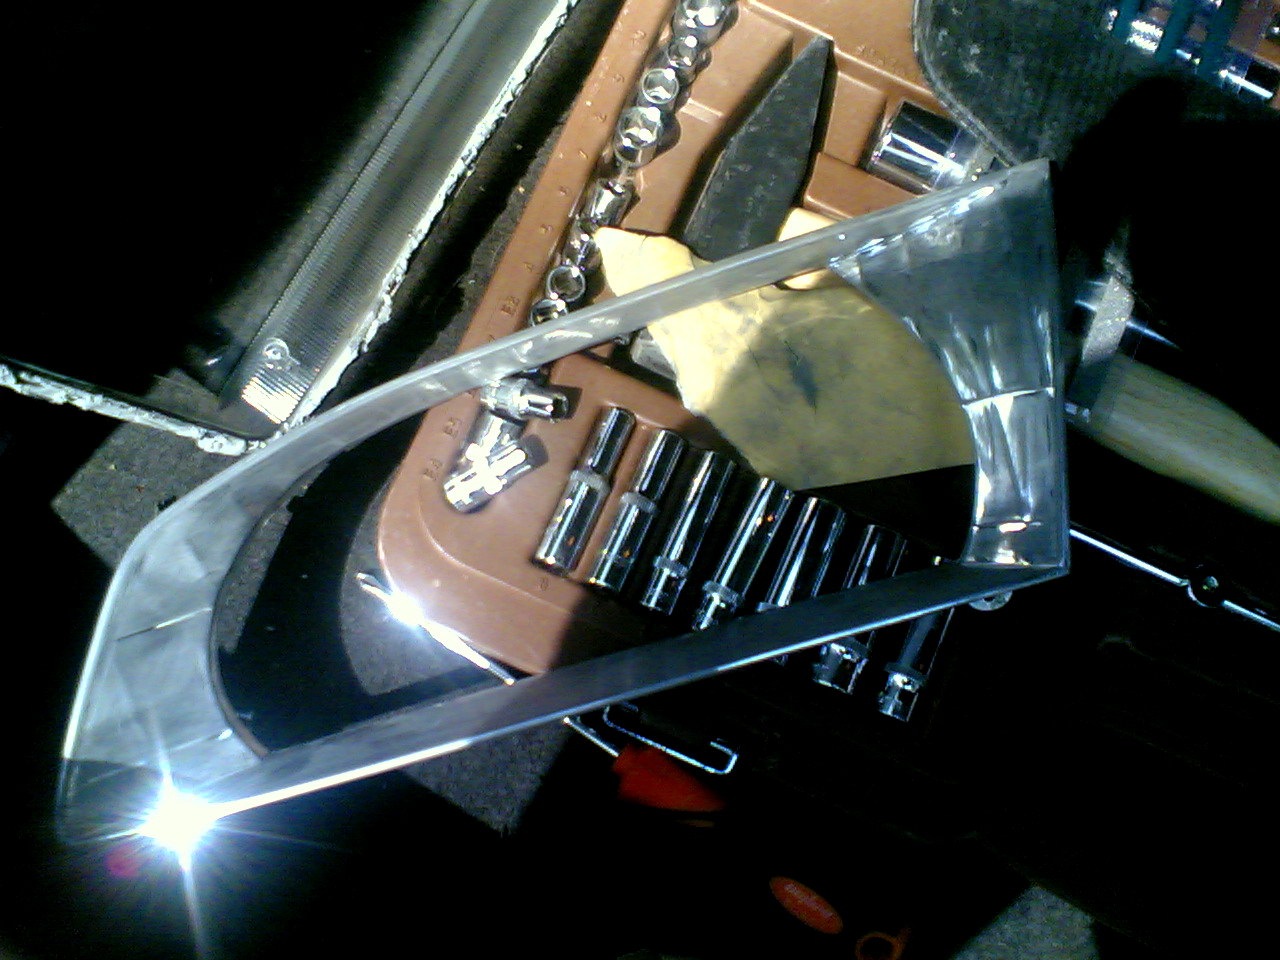
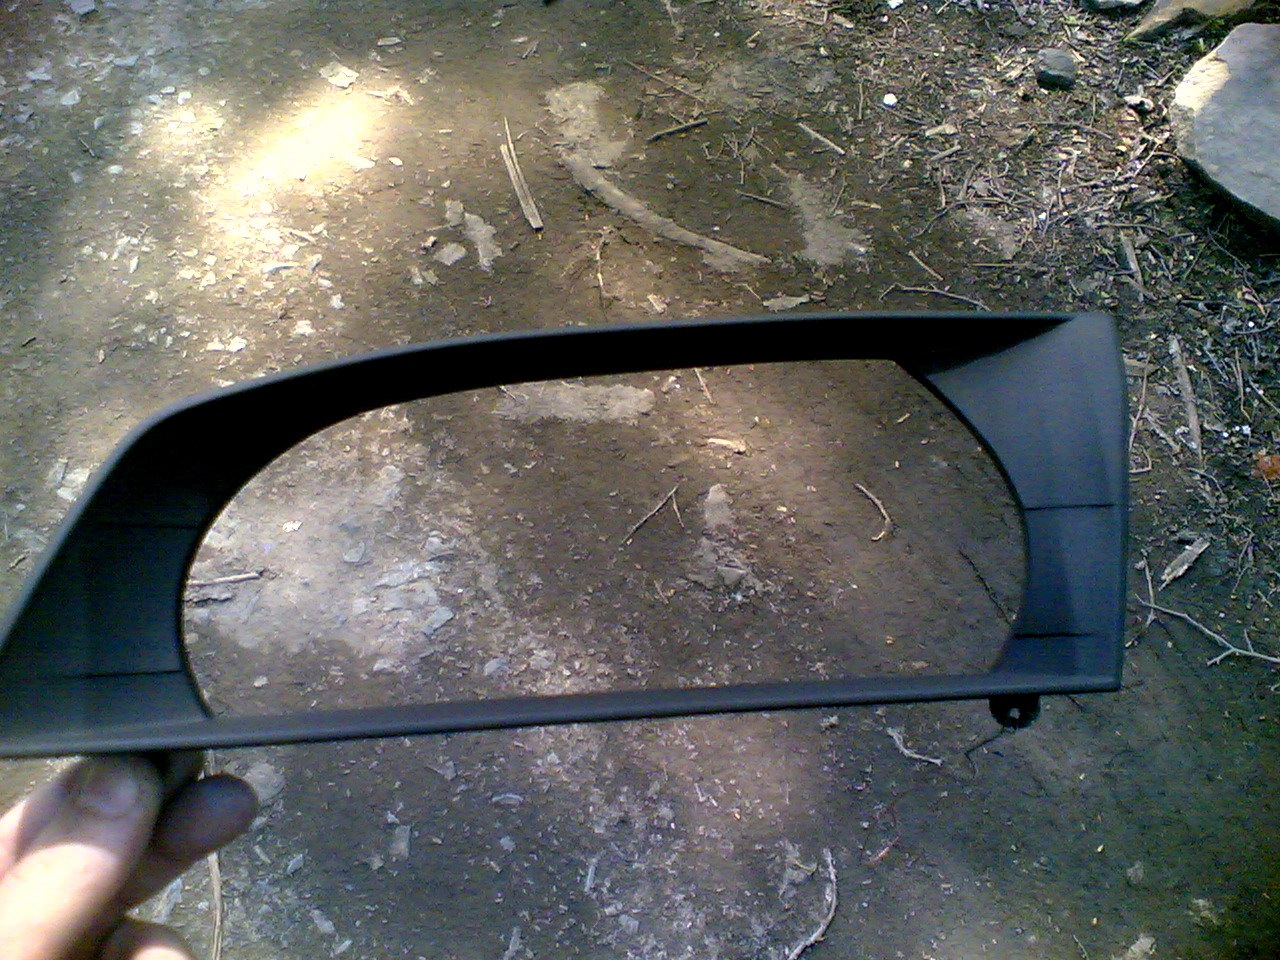
After drying, he began assembling, warming up the frozen sealant in the groove, as well as along the contour of the face plastic, connected everything as it was, smeared the joint on top with silicone sealant (it does not hurt).
It is even more difficult with dimensions, since the front plastic is connected to the body of the dimension not by a sealant, but by a very strong glue (or simply fastened with the help of temperature exposure, I still did not understand), I took it apart with a clerical knife. He heated the plastic along the contour of the size in order to minimize the likelihood of chips and bursting plastic, forcefully inserted the knife into the groove for fastening the front side and the body, moving the knife along the groove, the front side seemed to break off the body, thus disassembled both dimensions (I note that everything must be done with dimensions slowly and very carefully, because in previous attempts, with a sharp movement of the knife, two dimensions were damaged, the front plastic simply broke not at the junction but in half). The part that does not need to be painted was pasted over with paper tape,
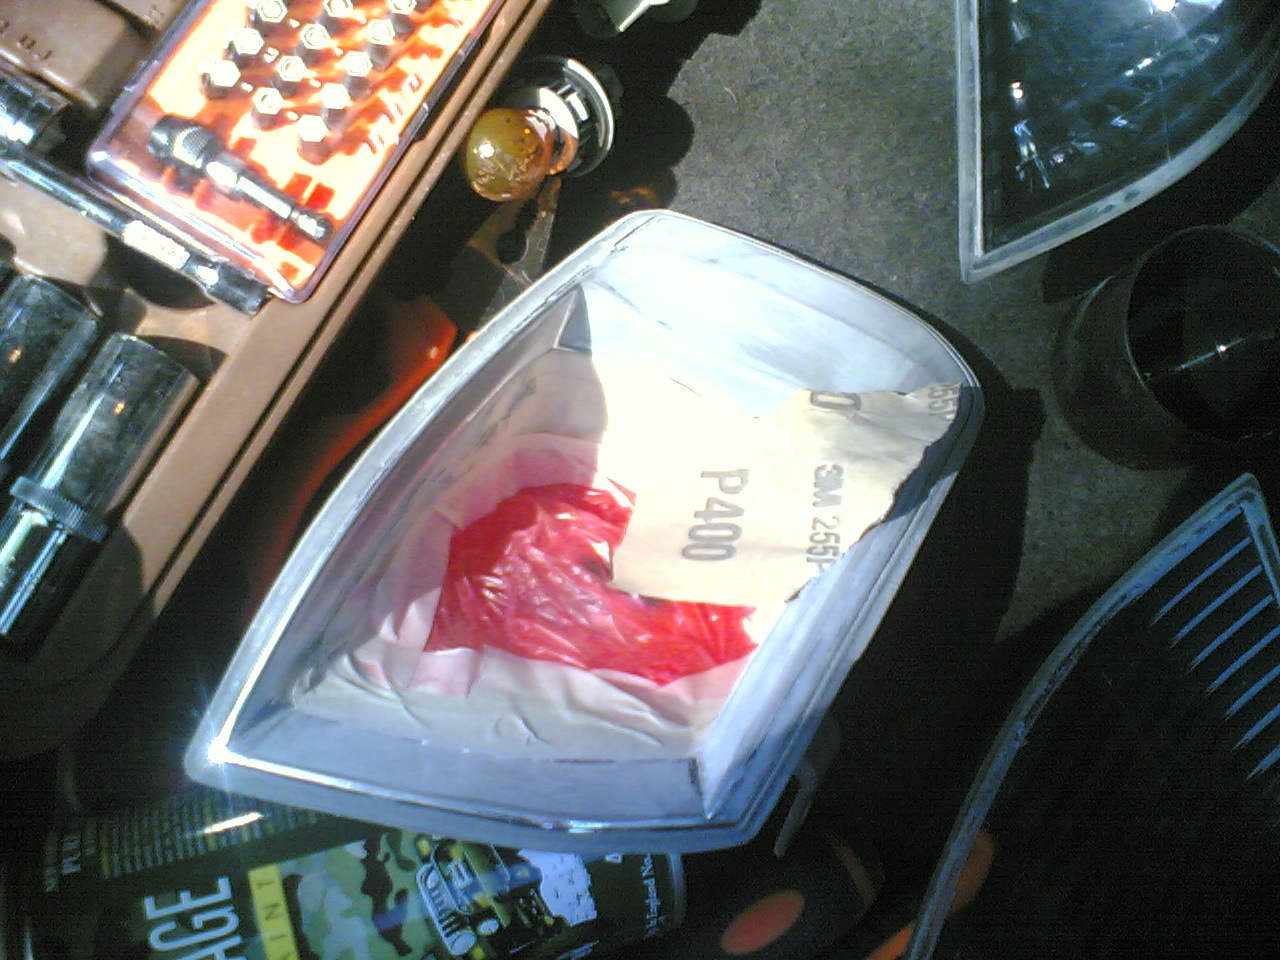
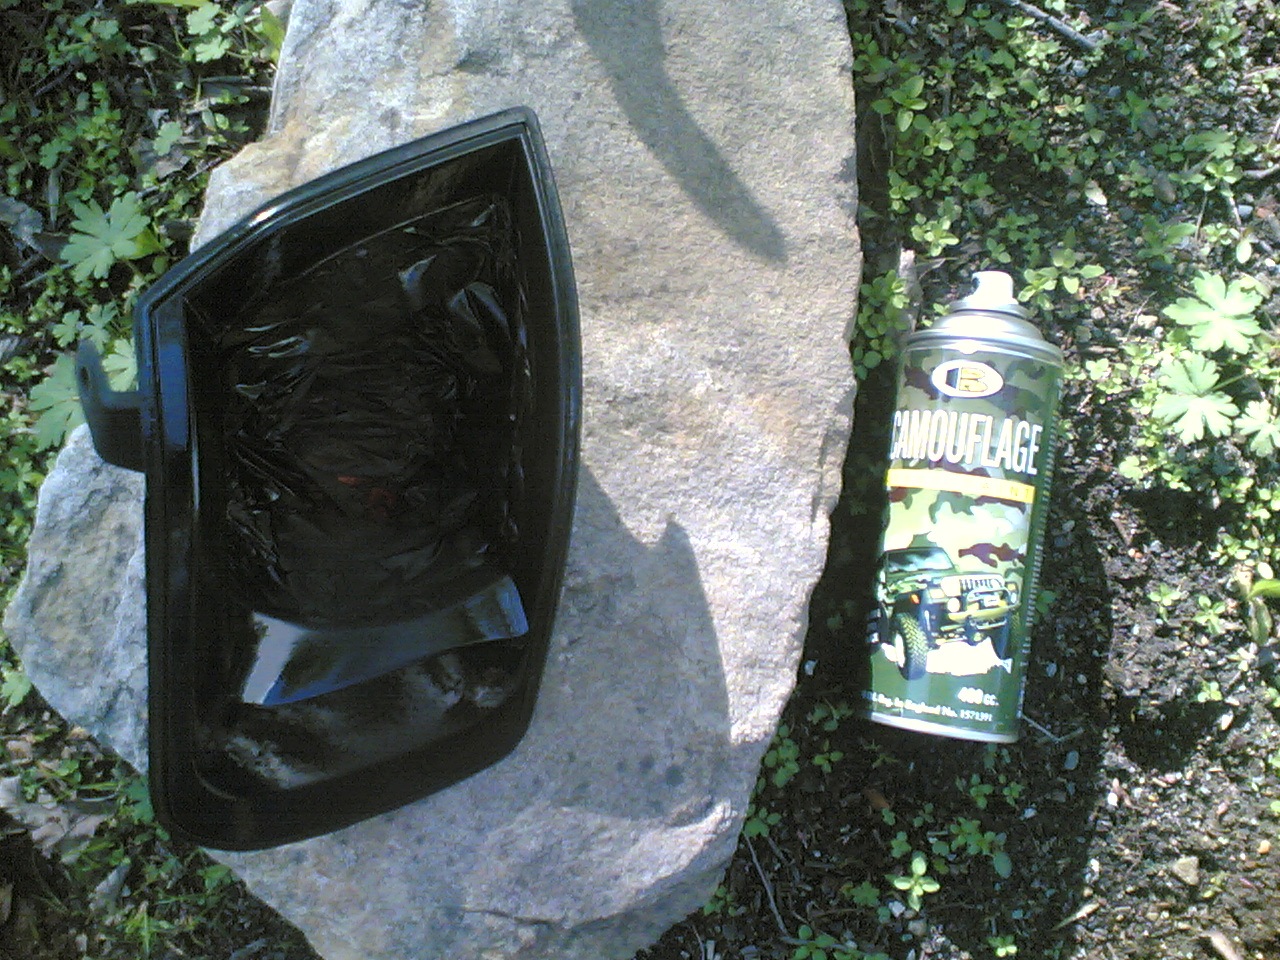
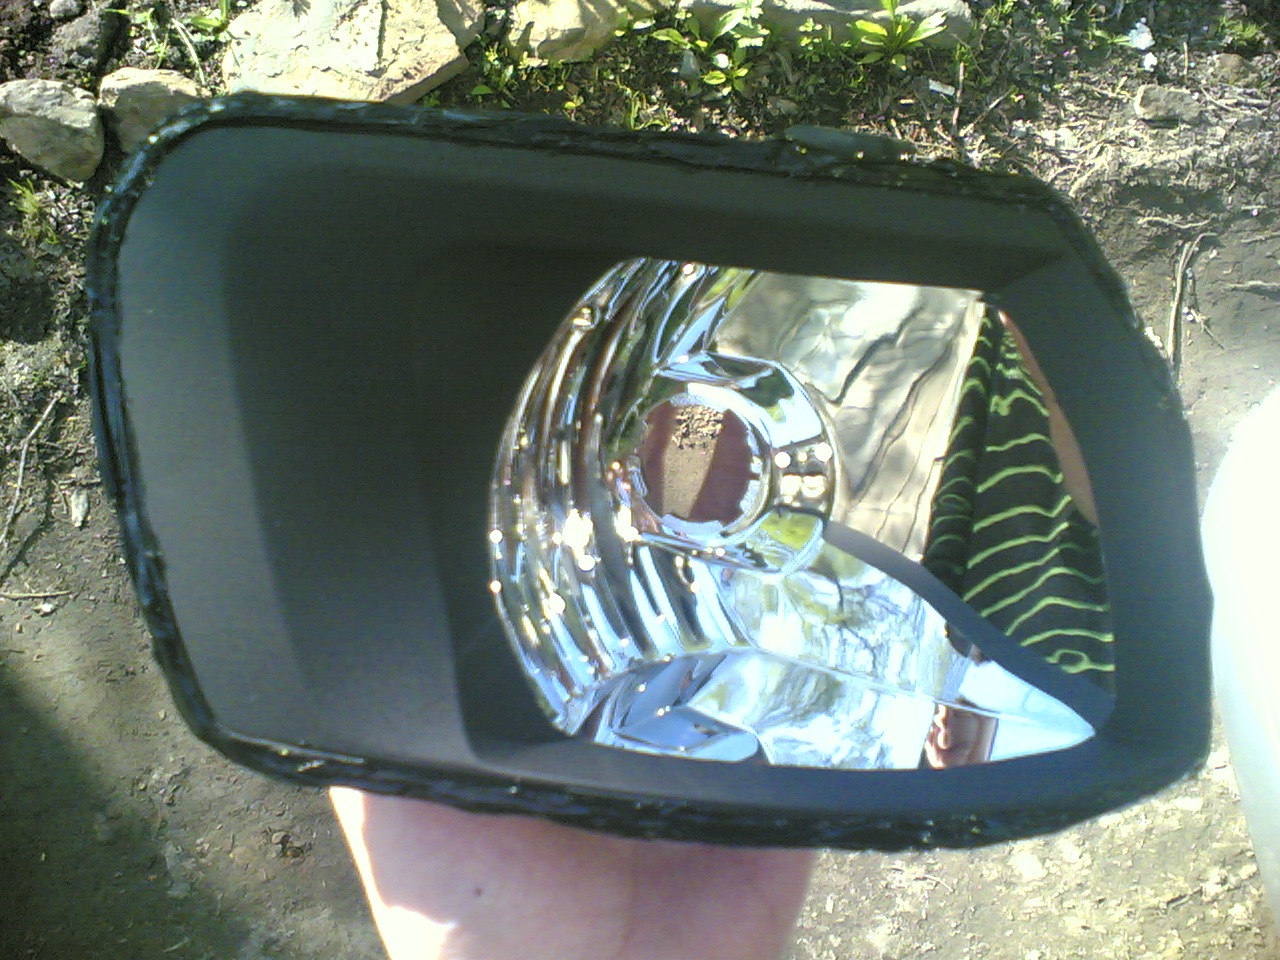
The dimensions were collected on a silicone black sealant, after the sealant dried out, the edge of the dimensions along the contour was also painted in a black matte spray to hide the parsing defect.
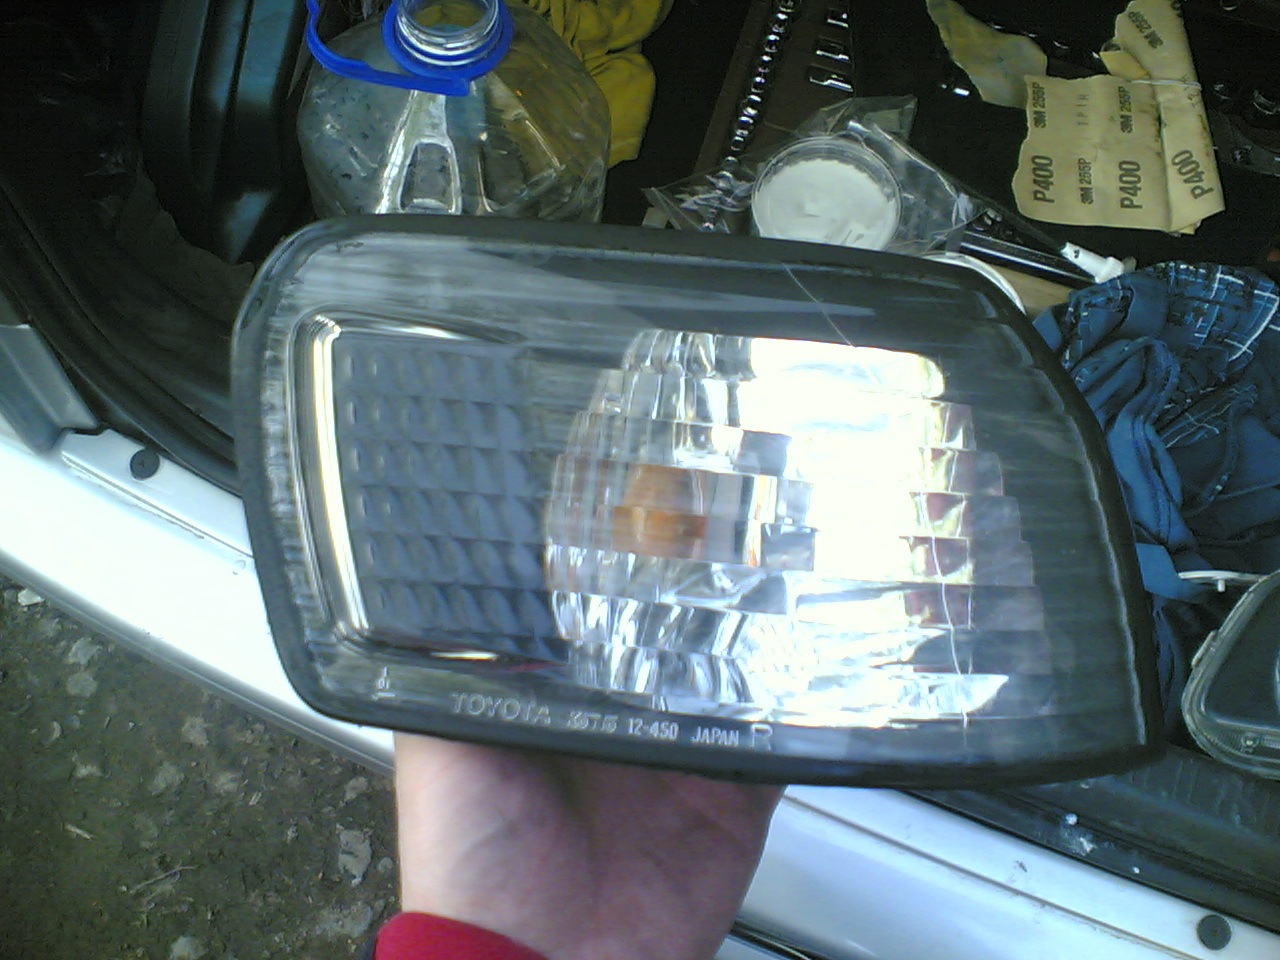
Then he proceeded to install and polish.
I polished with the old method, sandpaper 3M 2000 (by water), then liquid polish 3M to remove scratches, haze and marks, and polish 3M to add shine.
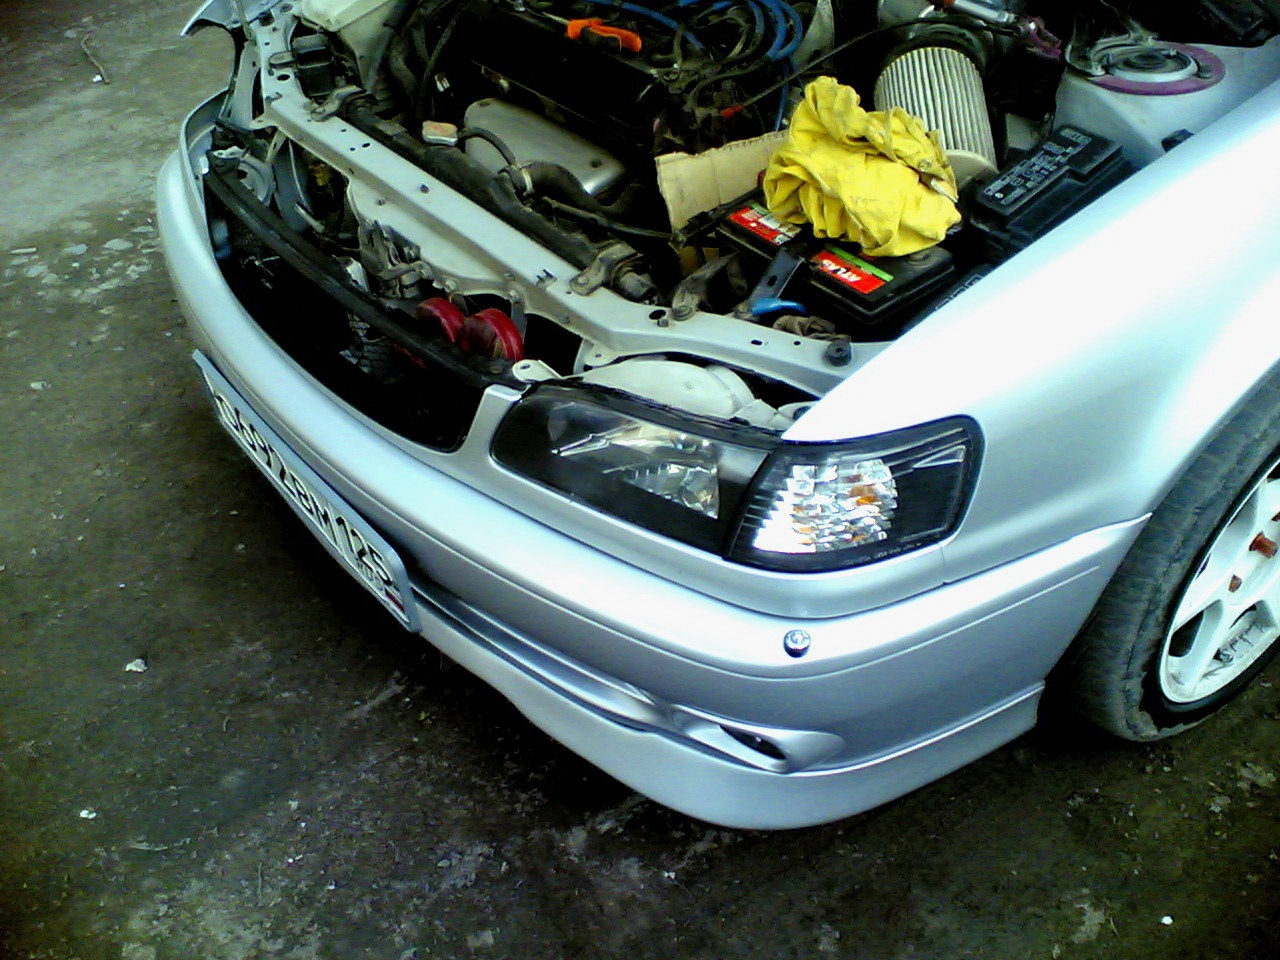
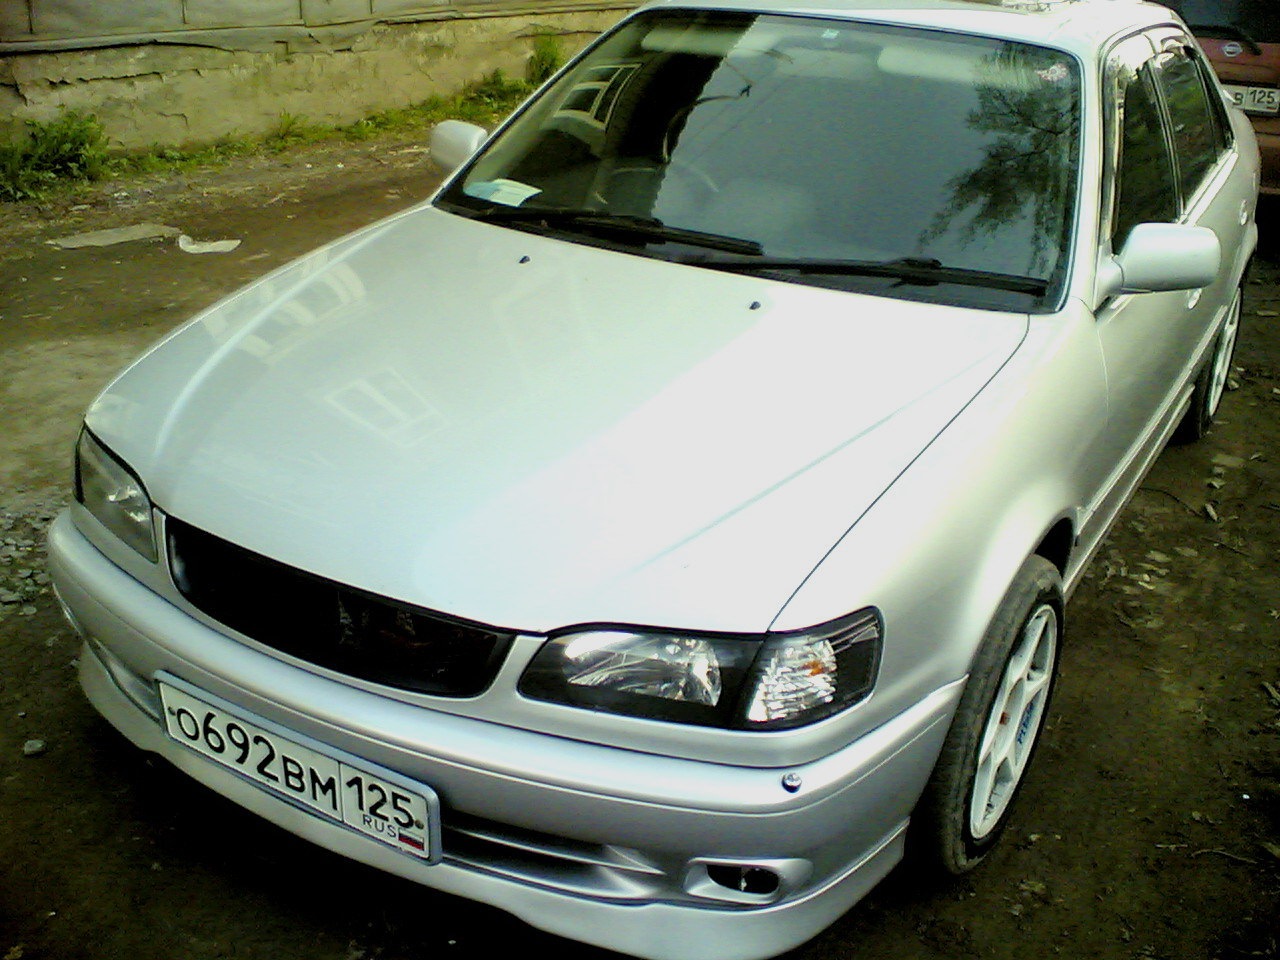
Cost of work: matt spray balloon 250 rubles, sandpaper 3M P400 1 sheet 40 rubles, 3M 2000 1 sheet 50 rubles, paper scotch tape 120 rubles, 3M polish 100g each. 2 types of 240 rubles. And 4 hours of time.
Thanks to funser for providing the hairdryer!
PS I apologize for the poor quality photos, the camera is dead, all the photos were taken by Nokia 6630. Price tag: 700 ₽ Mileage: 143,020 km
We urgently need to find a person who will figure out what you wrote here and will do the same with my headlights =)
not affected in any way, the part of the lens that is responsible for light output is not affected
here: injapan.ru/search/do/mode...e=2084196966&description=
and here injapan.ru/search/do/mode...e=2084196967&description=
I will transfer the pigs as you did.
I blew out: blew out too little, one might say, along the edge of a centimeter 2 wide.
fa.d-cd.net/7b7a2a4s-960.jpg