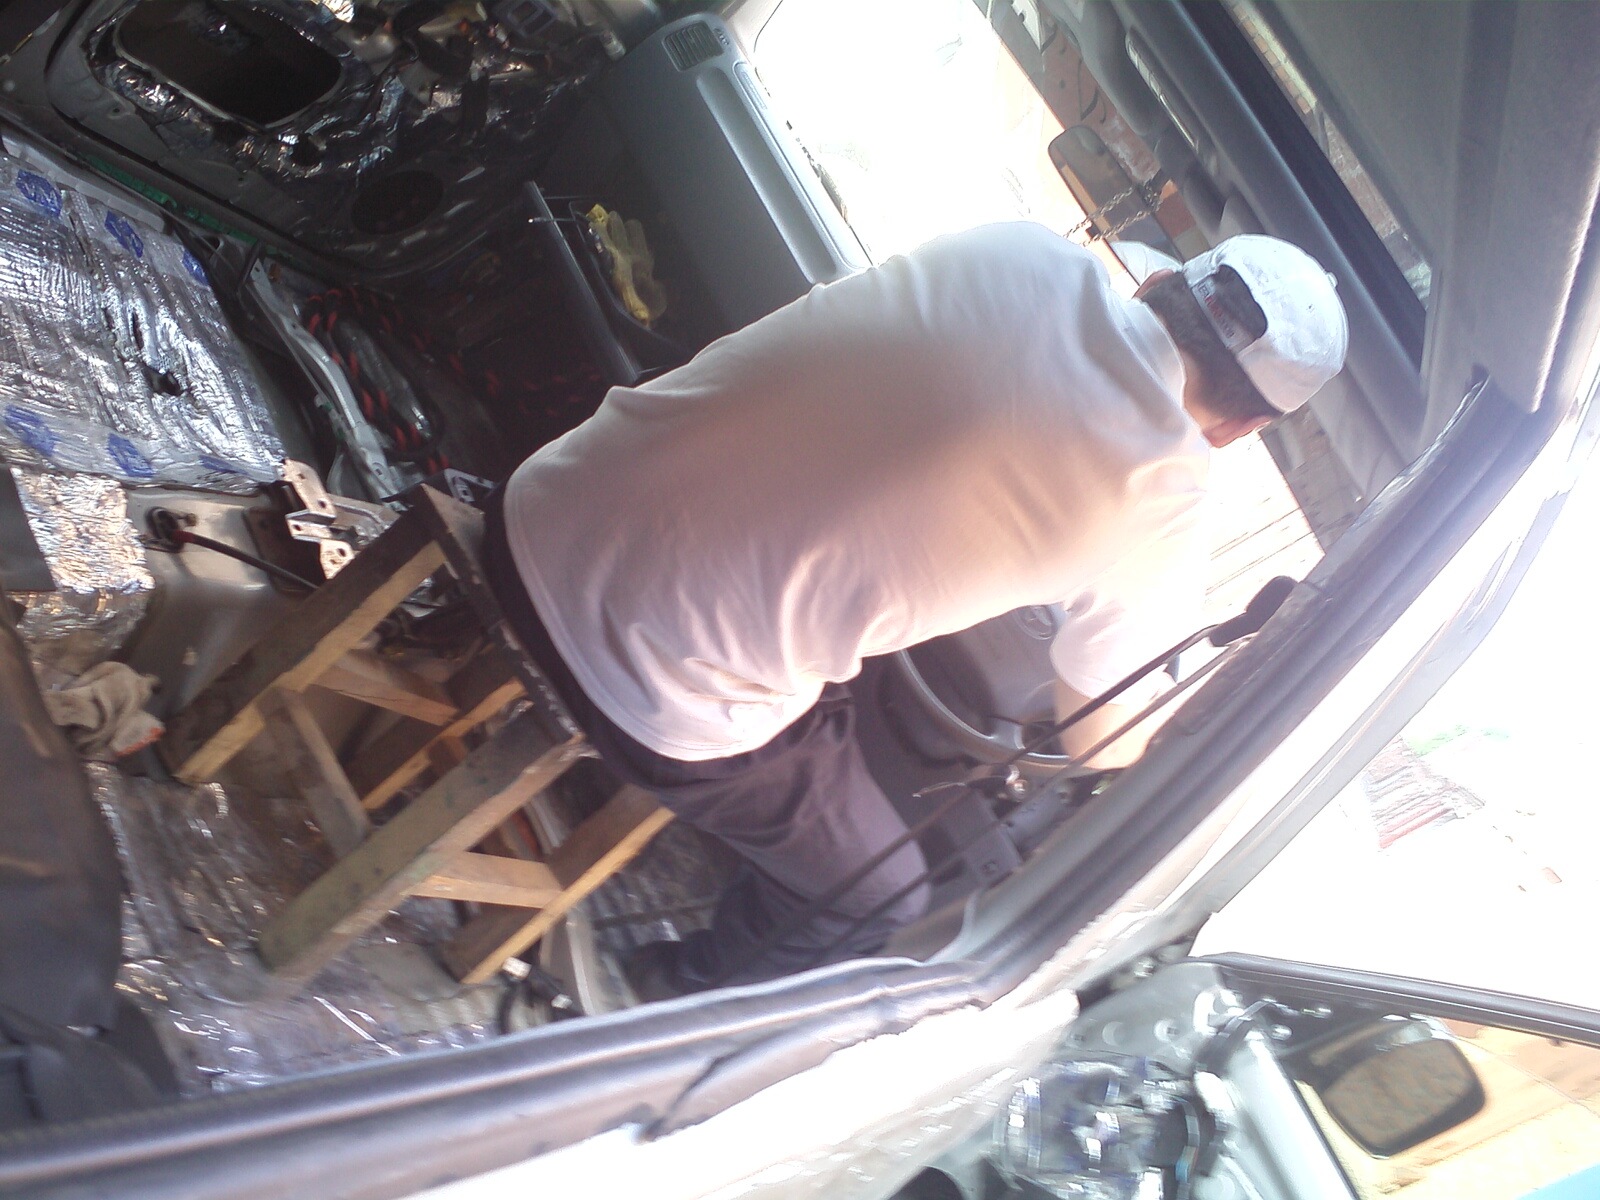
Building a garage show car, part 3 - Toyota Land Cruiser Prado, 2.7 L, 2000
Over the weekend, I managed to do quite a lot of everything, considering that I was released and went to the garage only in the afternoon.
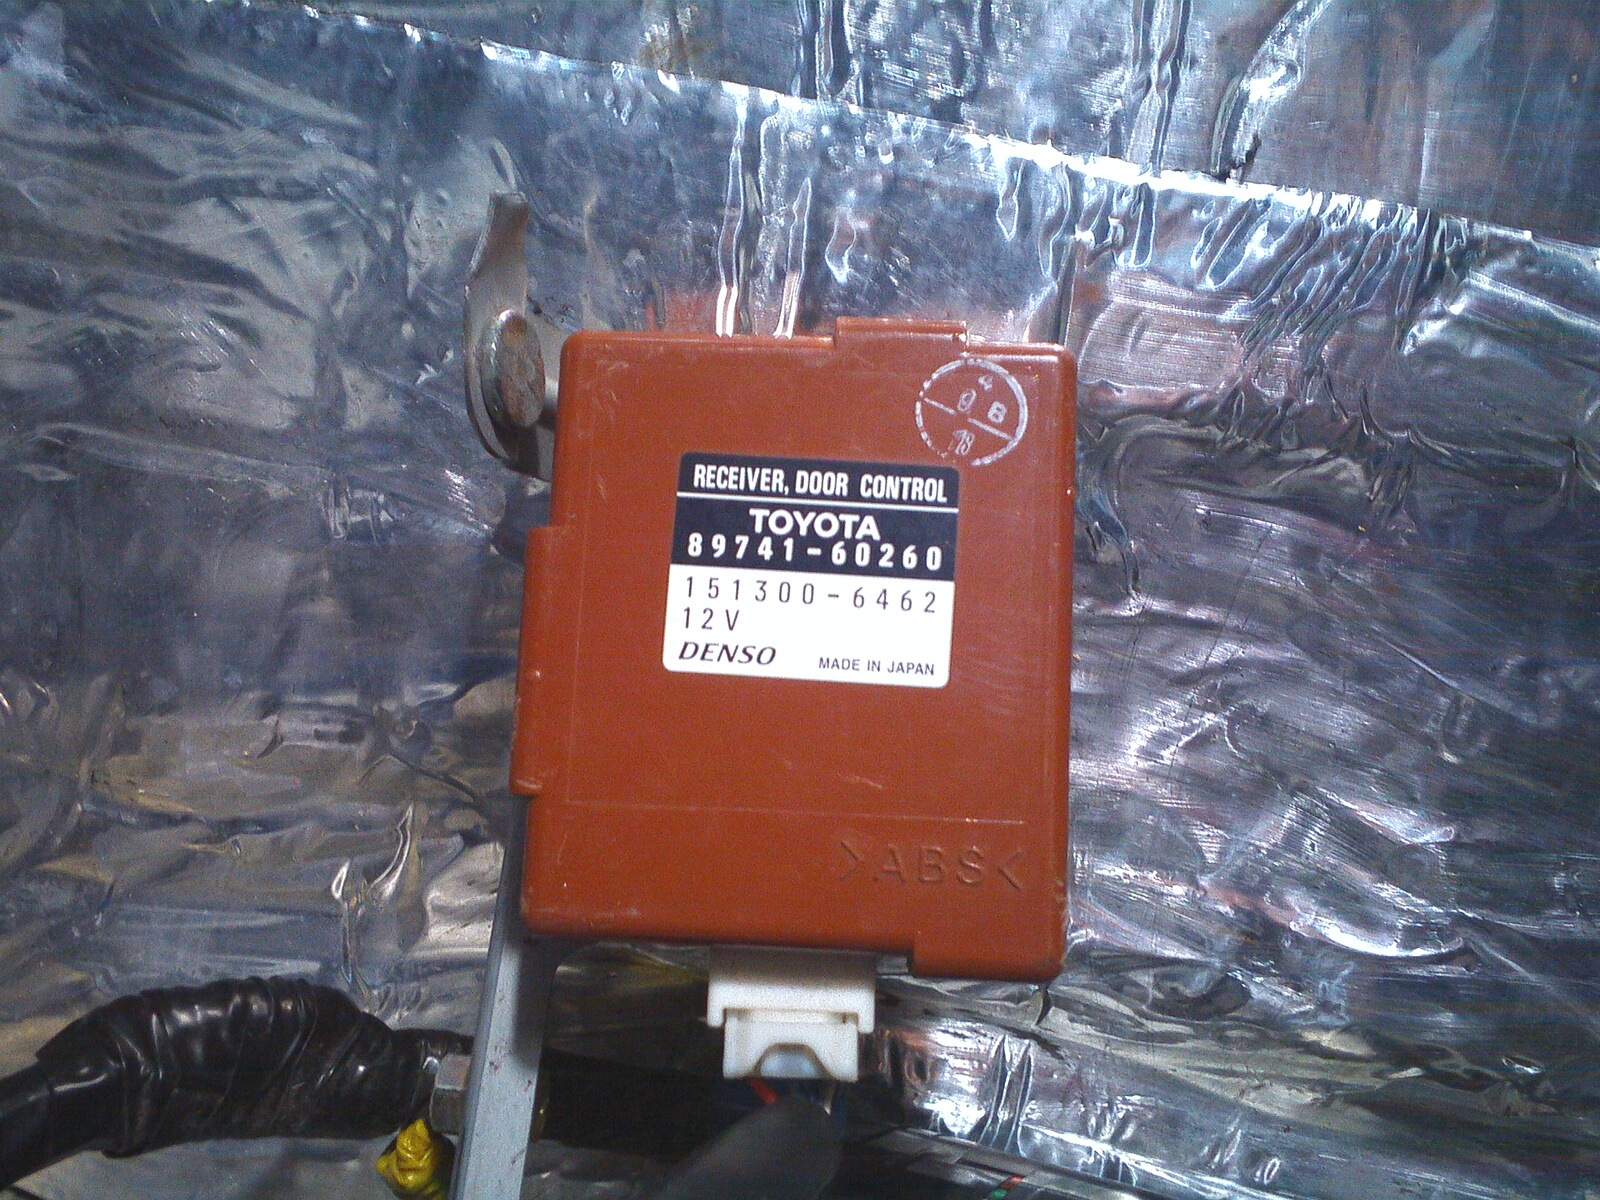
The first step was to move the door reciever control block, because before, it was attached to a metal stand on the right, which I had to cut out so that the stealth went in normally, without loss of volume. Plus to everything because the whole structure will not be removable - that means you need to transfer it somewhere, so that in case of something, there was access to it.
the sensor itself:
unravel the braid of wires and find the ones we need there:
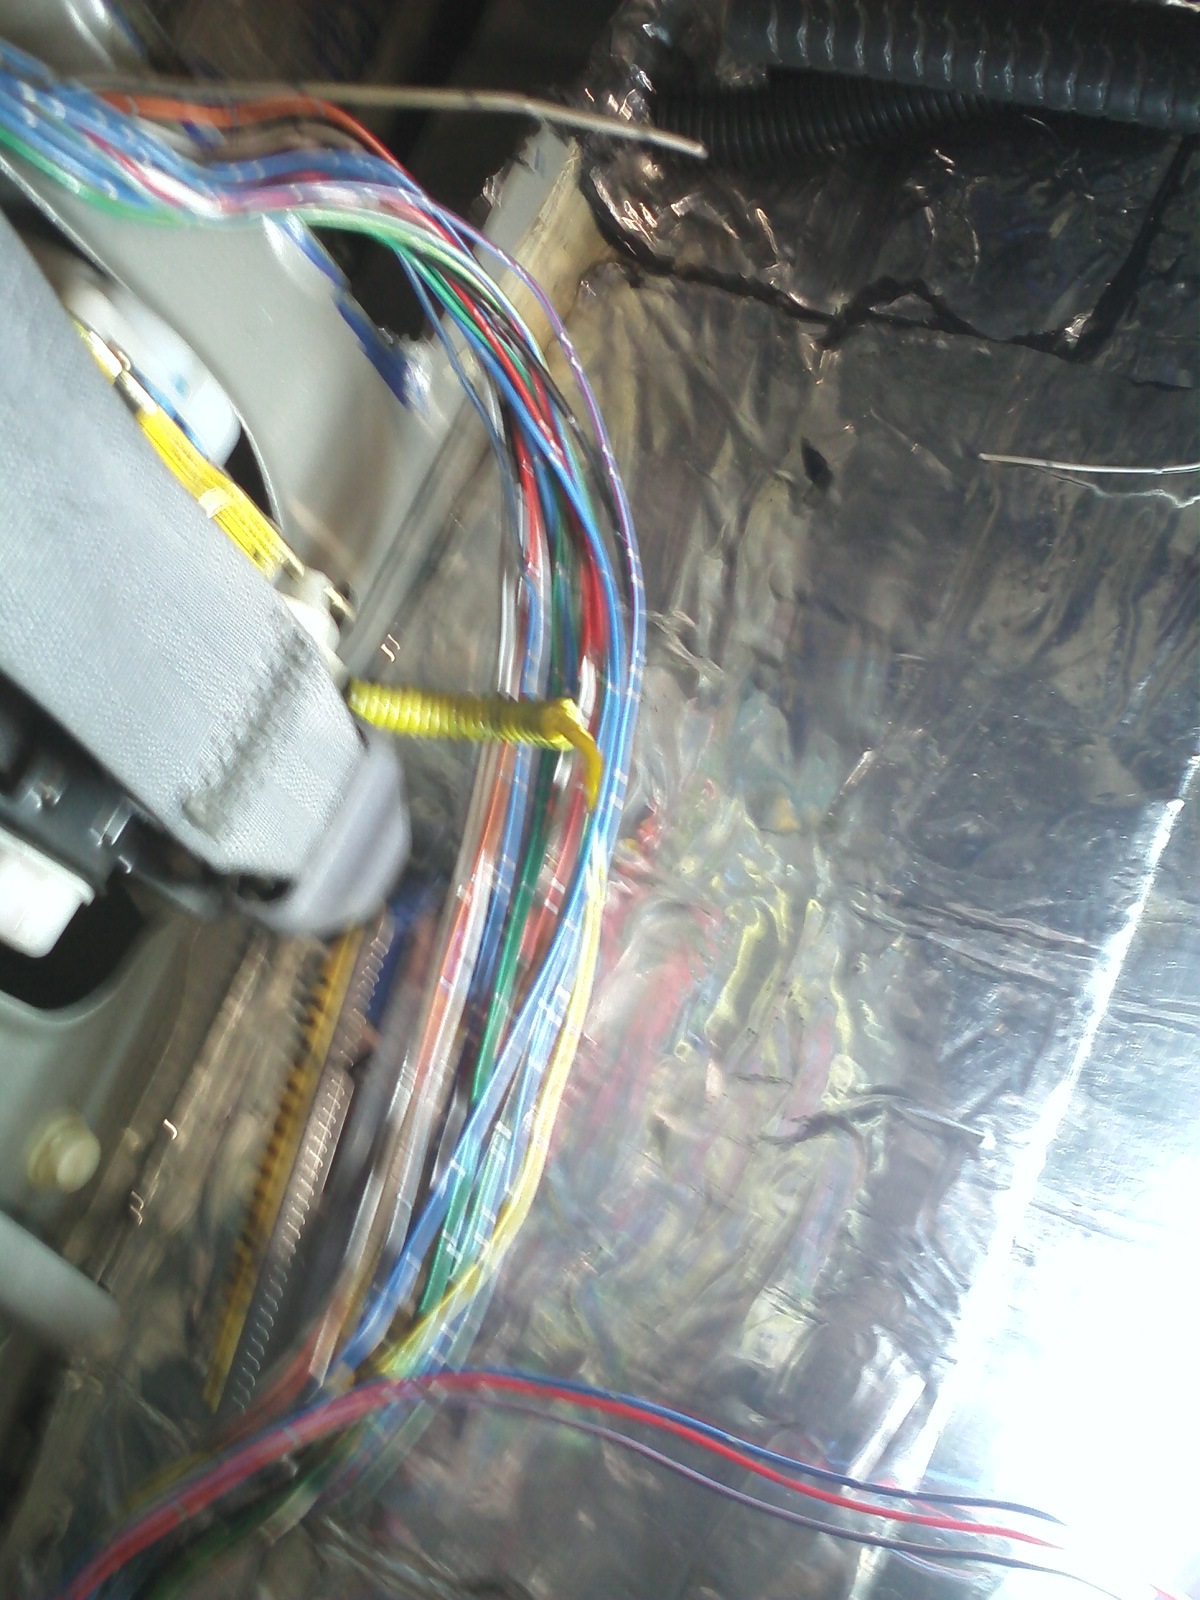
lengthen the wires, put everything in the corrugation (surprisingly, the wires were normally not even in the corrugation, but just in electrical tape)
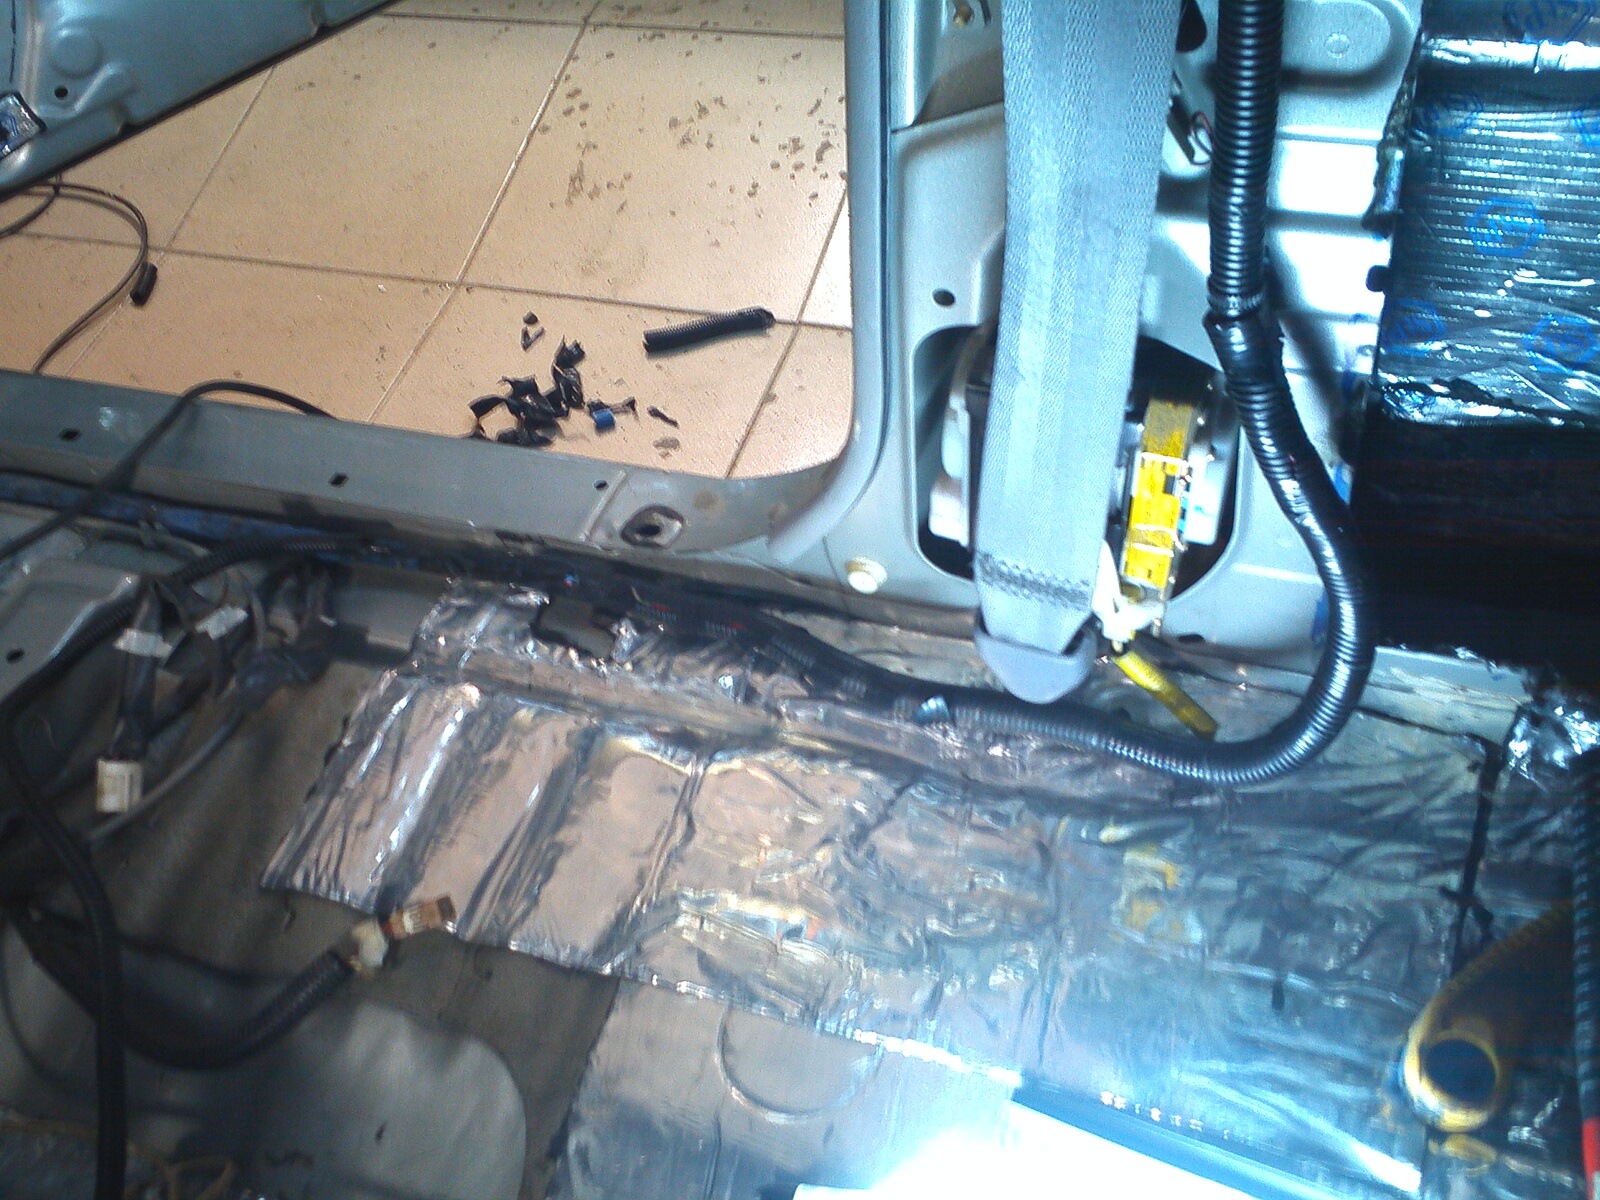
We hook the block itself almost tightly onto the M6 ​​bolt exactly under the driver's seat
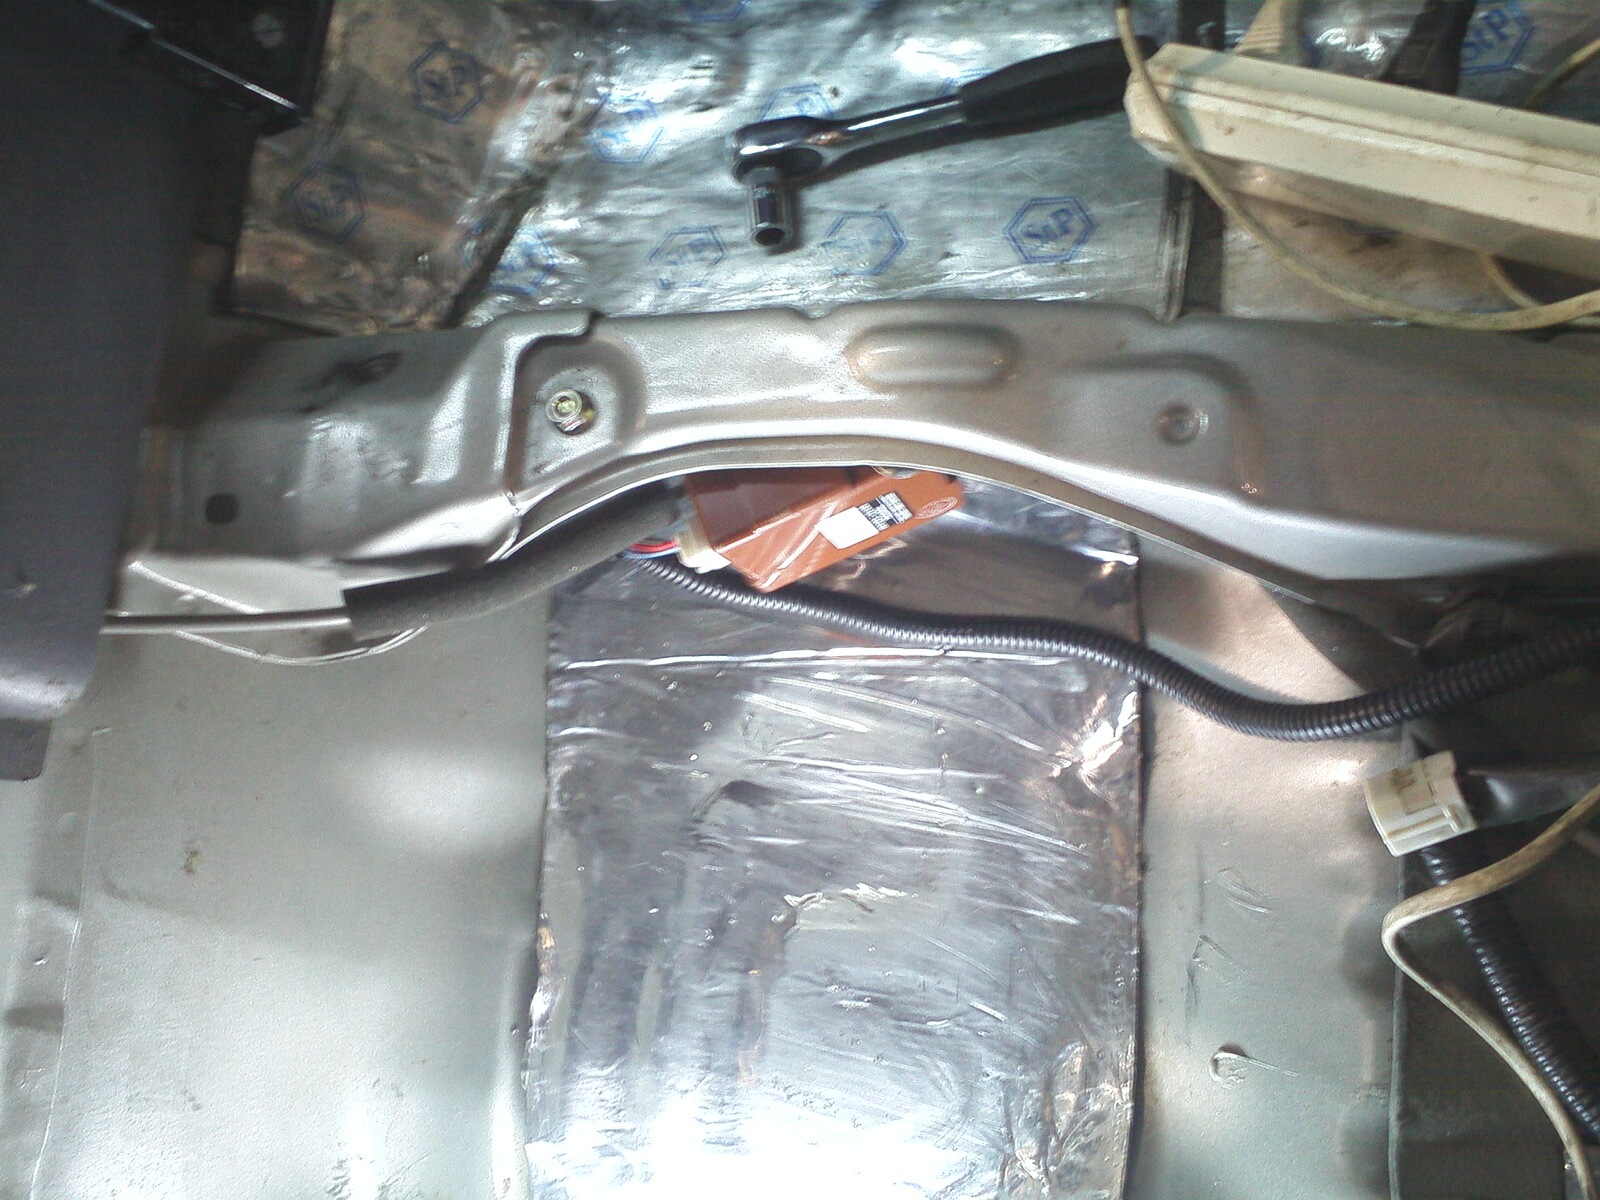
In general, we solved one problem :)
We move on, we need to close up everything that is left with a vibra, and then with a spleen, in order to avoid later various overtones, bounces, etc.
I must say right away that I specifically use span, and not bitoplast, kmk in my case suits me better.
To begin with, we vacuum the entire interior, because during the time of standing, too much debris of various kinds has accumulated even on the metal :)
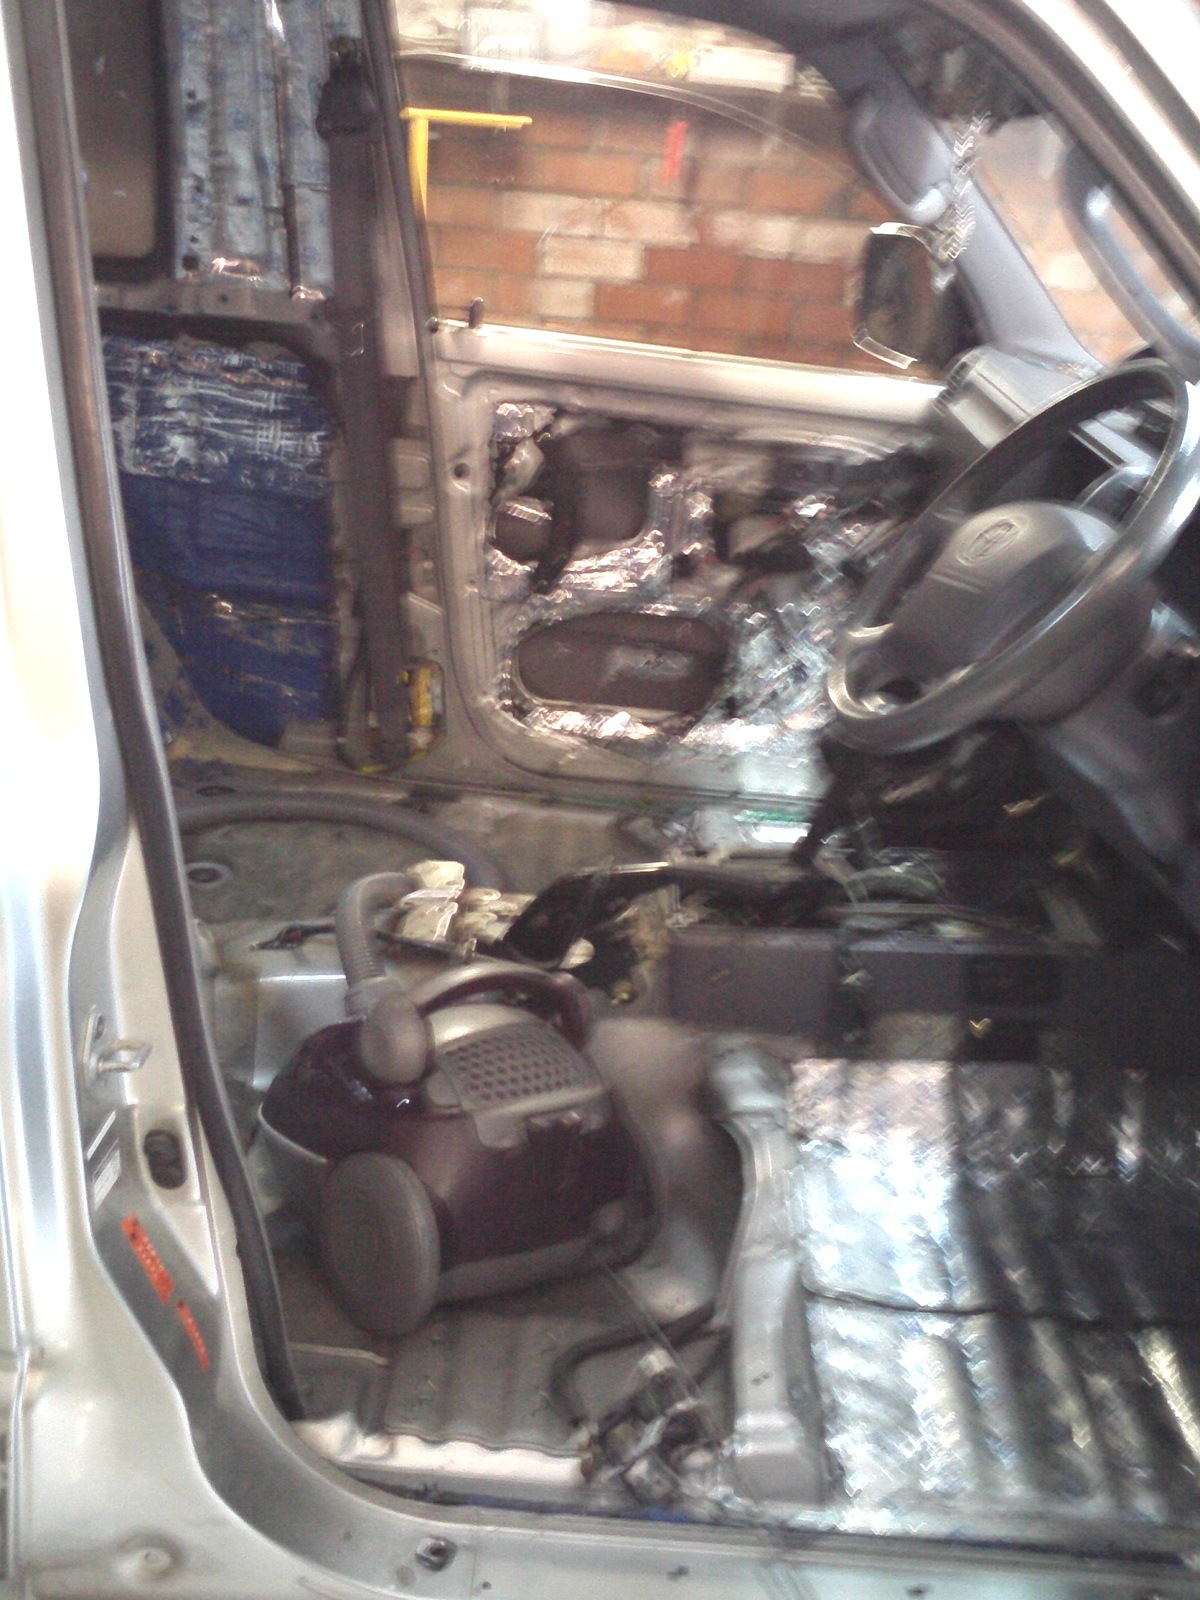
Well, then I went into vibration, until I closed up everything behind the seats, because while I'm only interested in this area :)
Vibra was used in different ways - and ECO-4, etc. in general, everything that is 3mm thicker :)
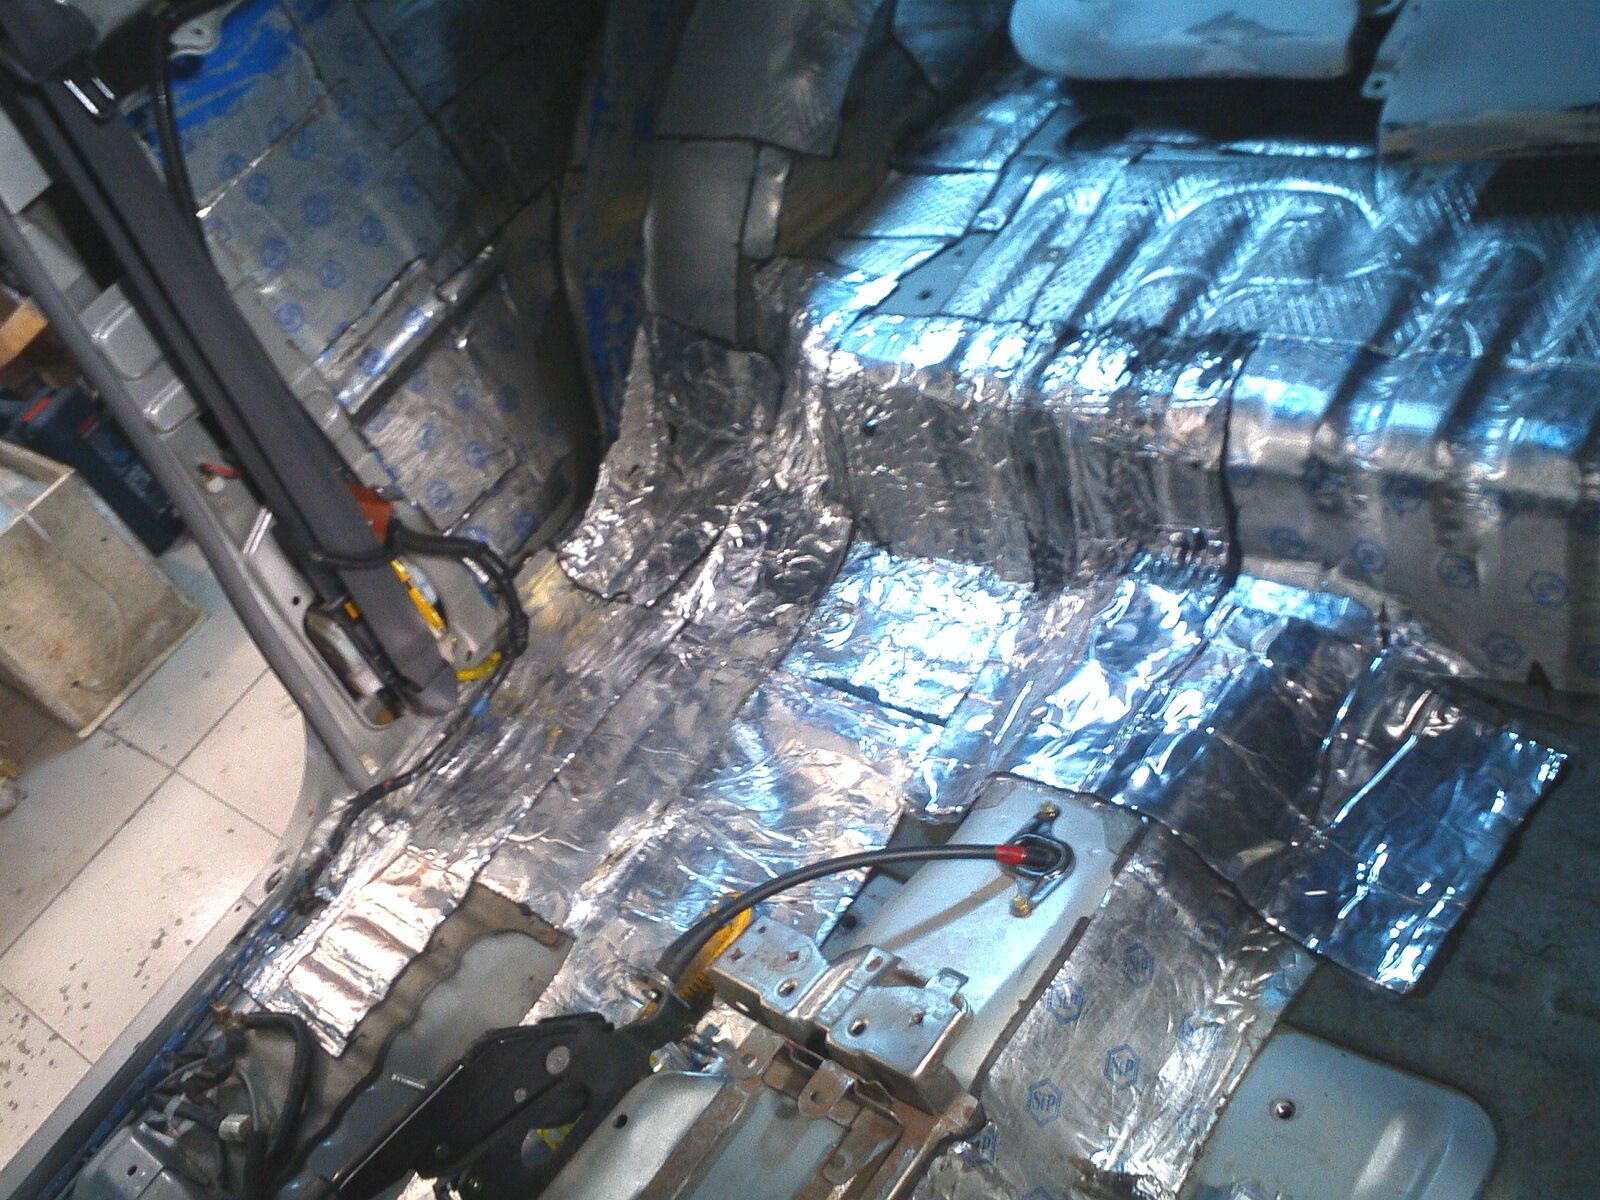
But this was a regular Shumka! The thickness was about 5mm, in general, it was very good, though I had it already crumbled and peeled off
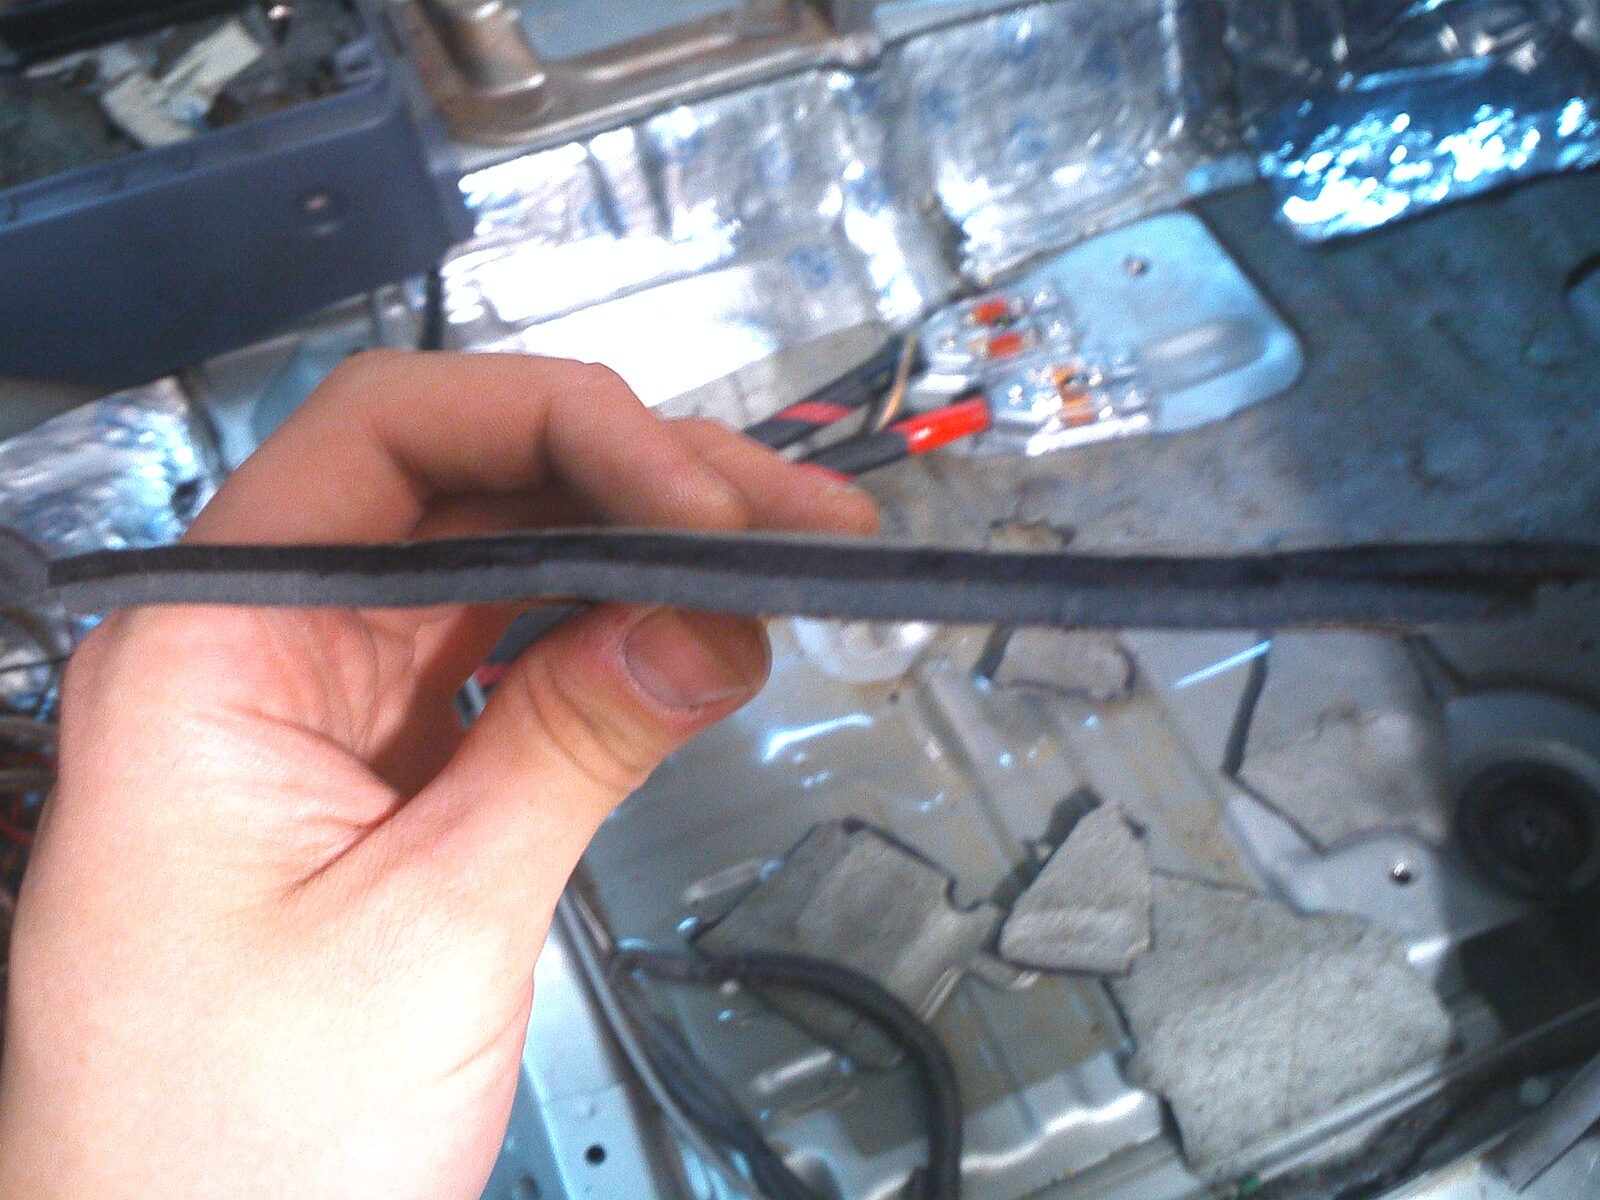
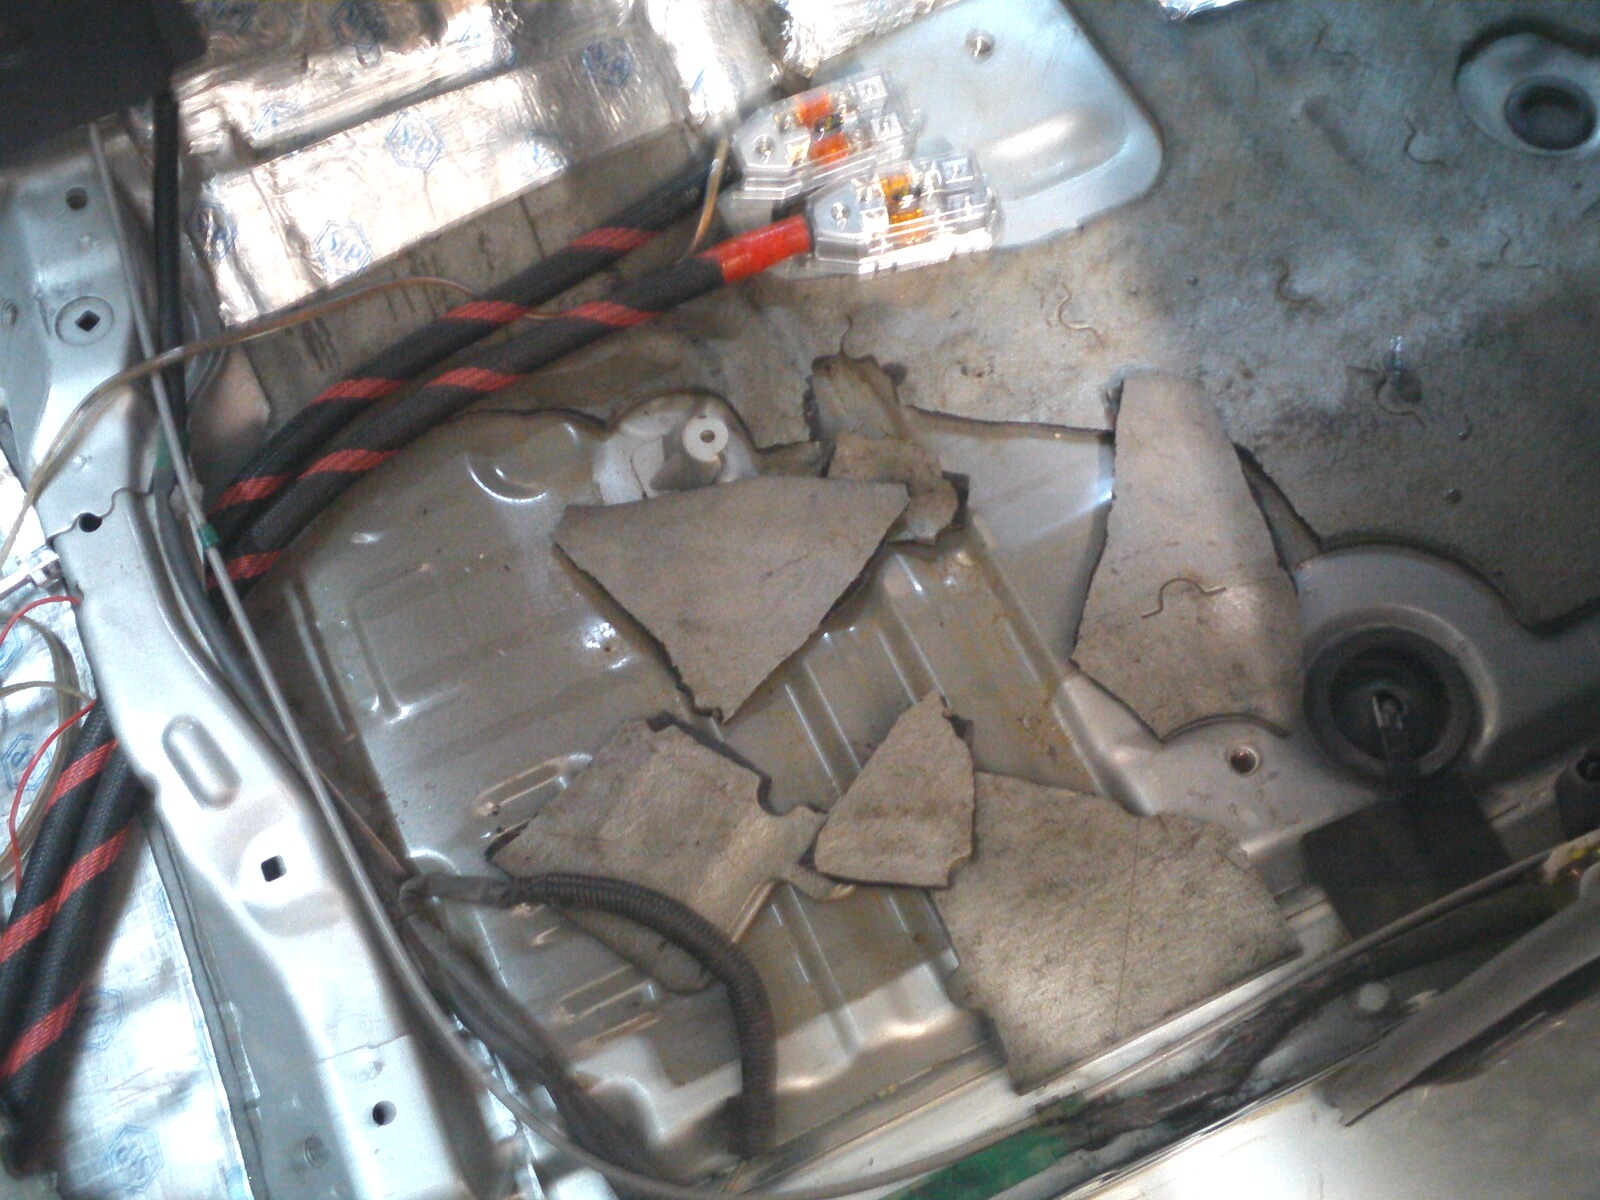
I didn’t do anything by the vibration of the final photo, but oh well, there’s nothing new in principle ...
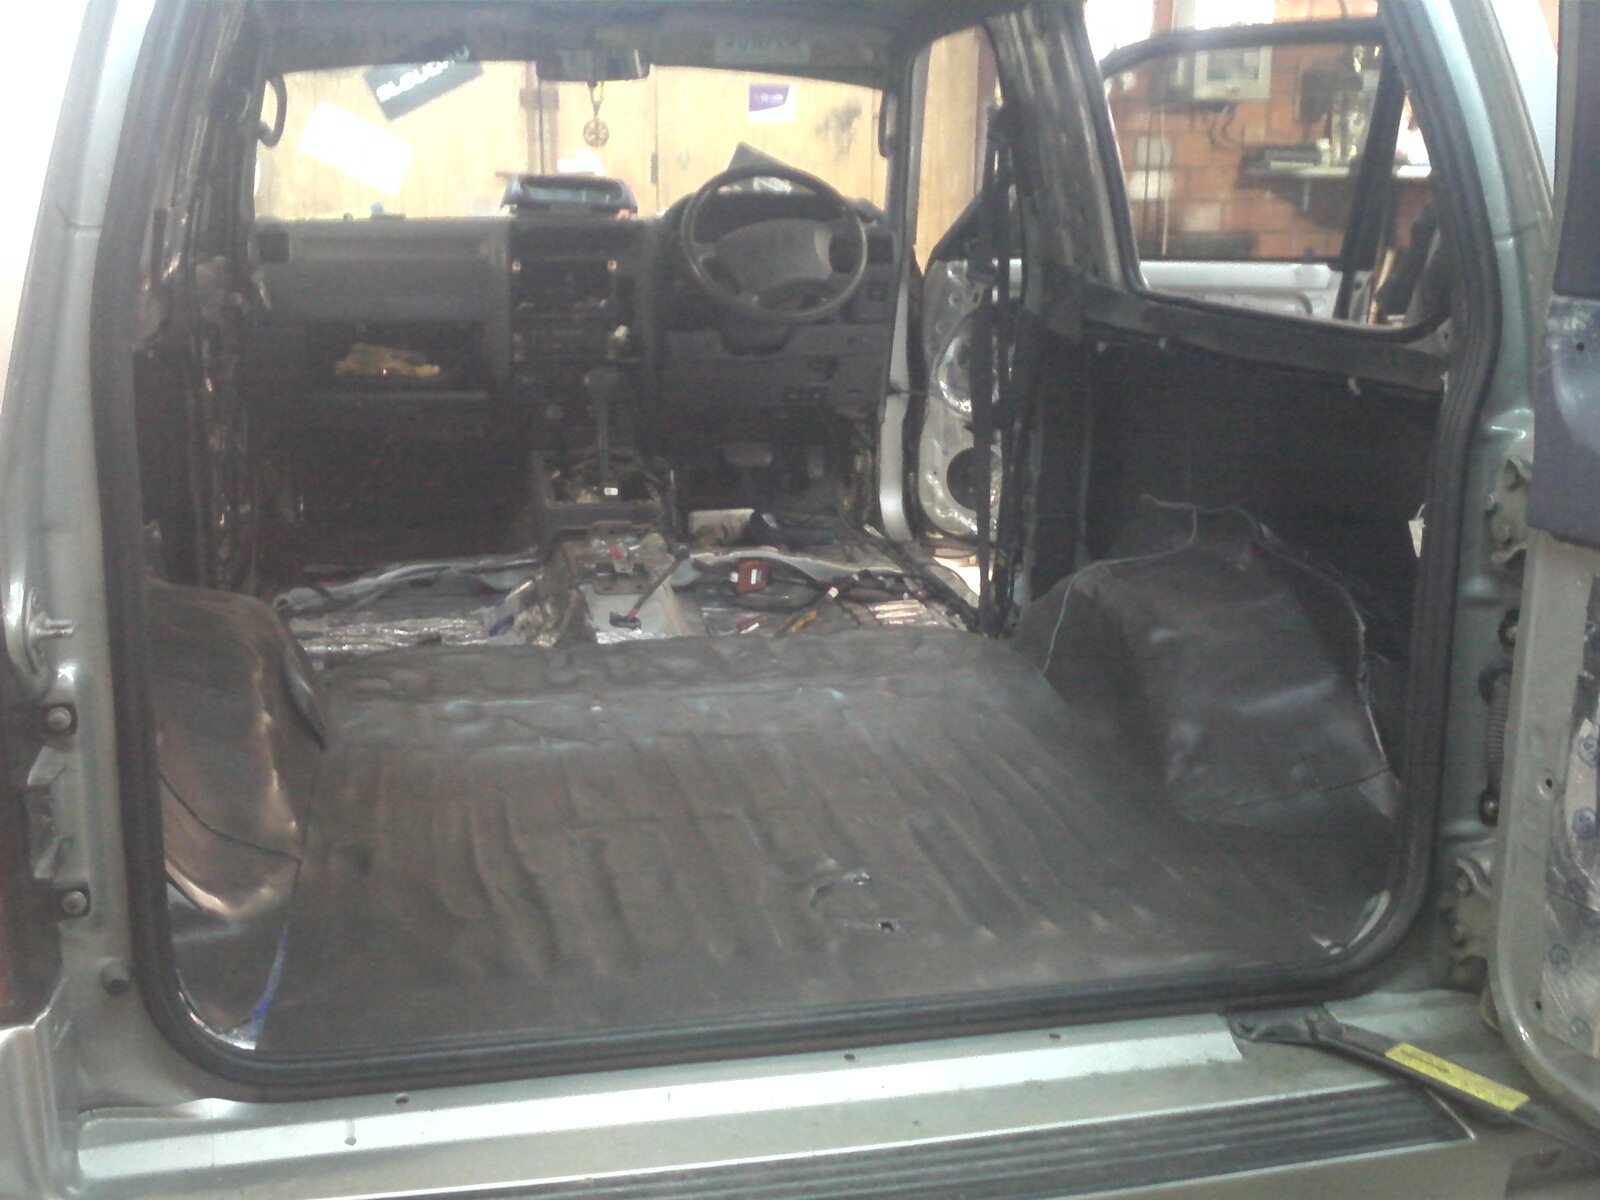
I covered everything up with a splan (it took 5 meters):
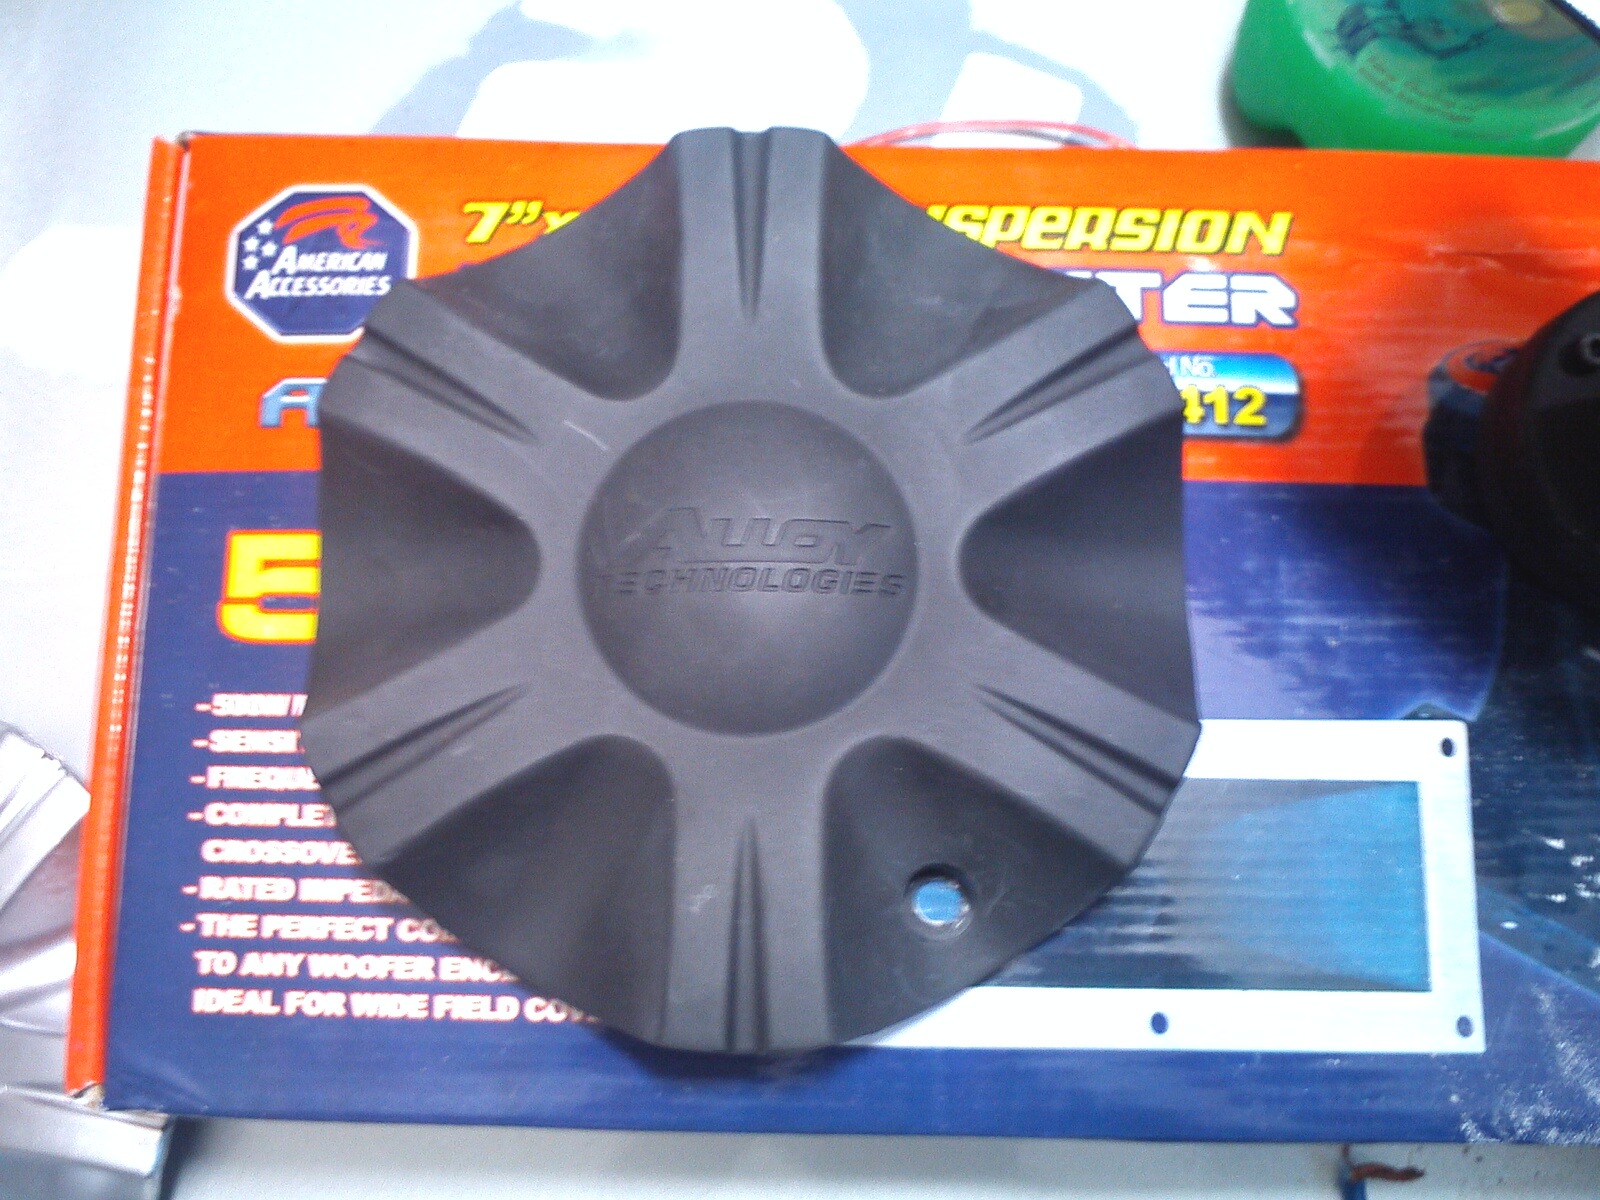
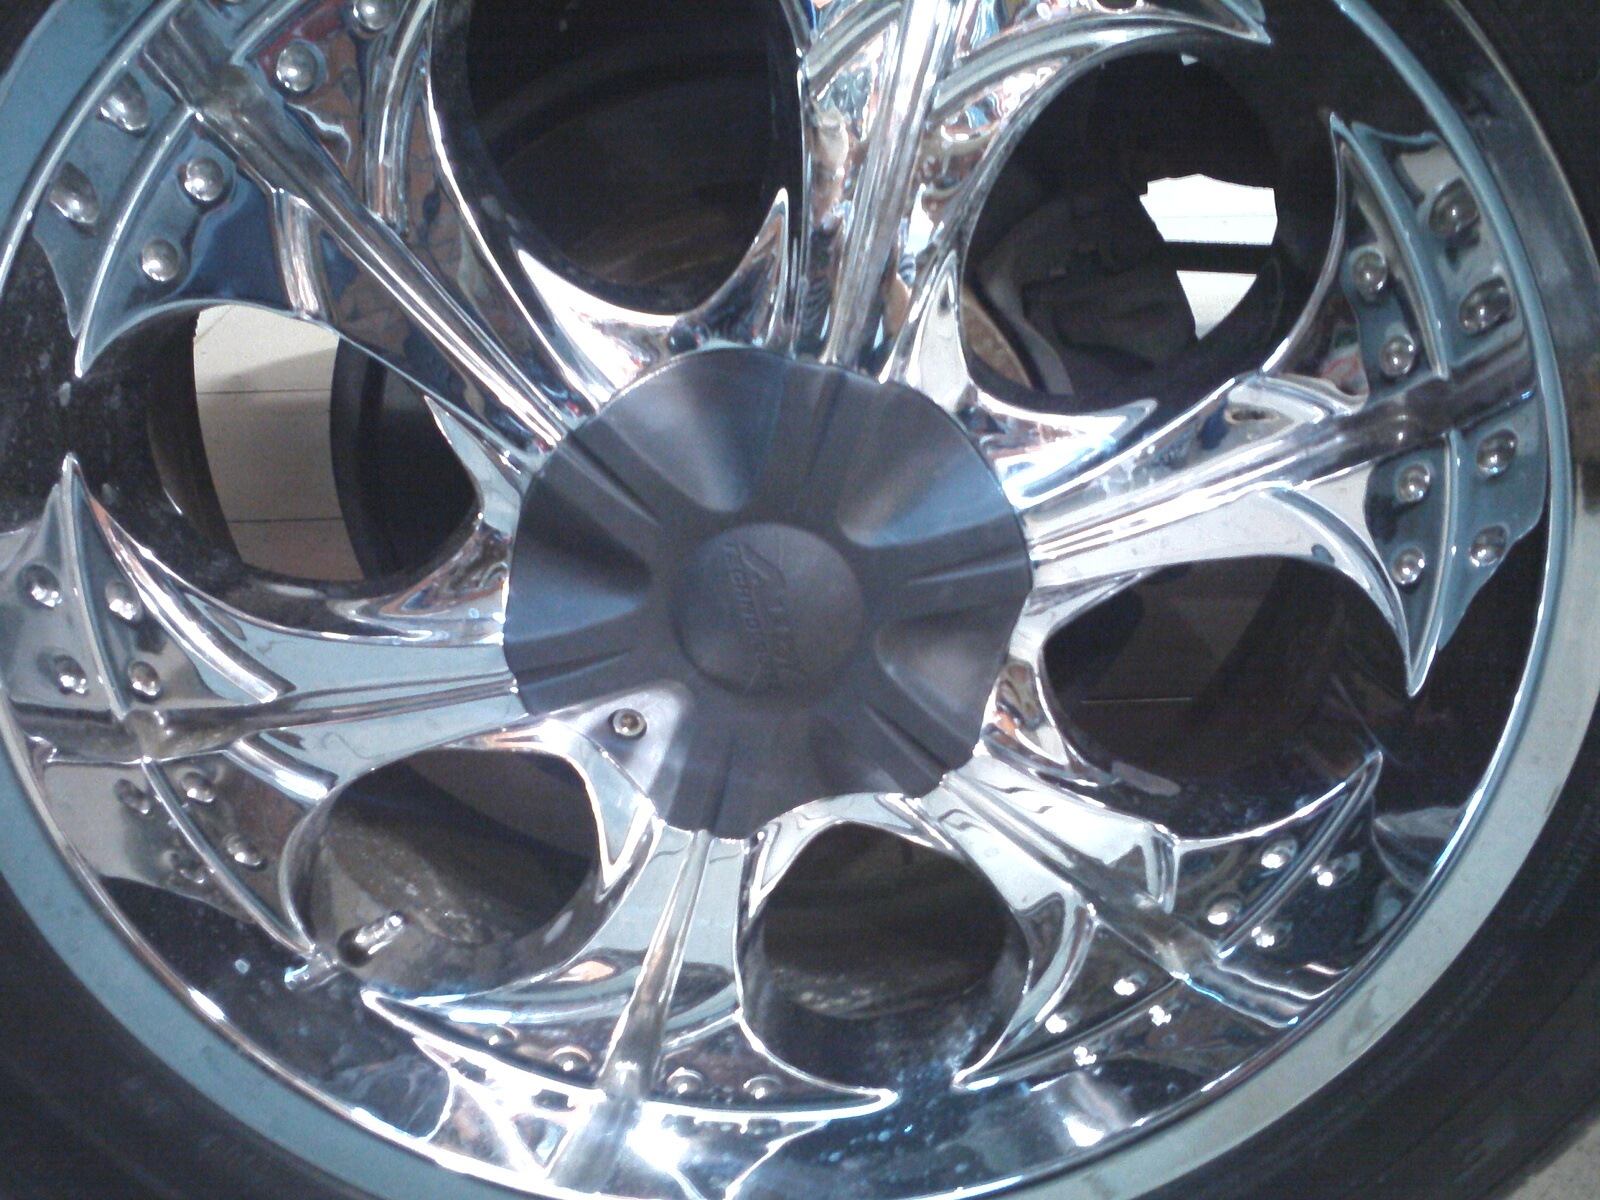
Finally, I made a copy of the cap for casting! In the end, I did not do it myself - I gave it to an intelligent guy, he made me a matrix and 3 caps for a symbolic fee :))) In general, how I will chrome - with a separate Temko, I will probably write everything down in detail how and what is being done
while a couple of pictures, I will only say that it turned out awesomely simple, like family!
I started to make the back door,
first of all we rip everything off from the standard panel:
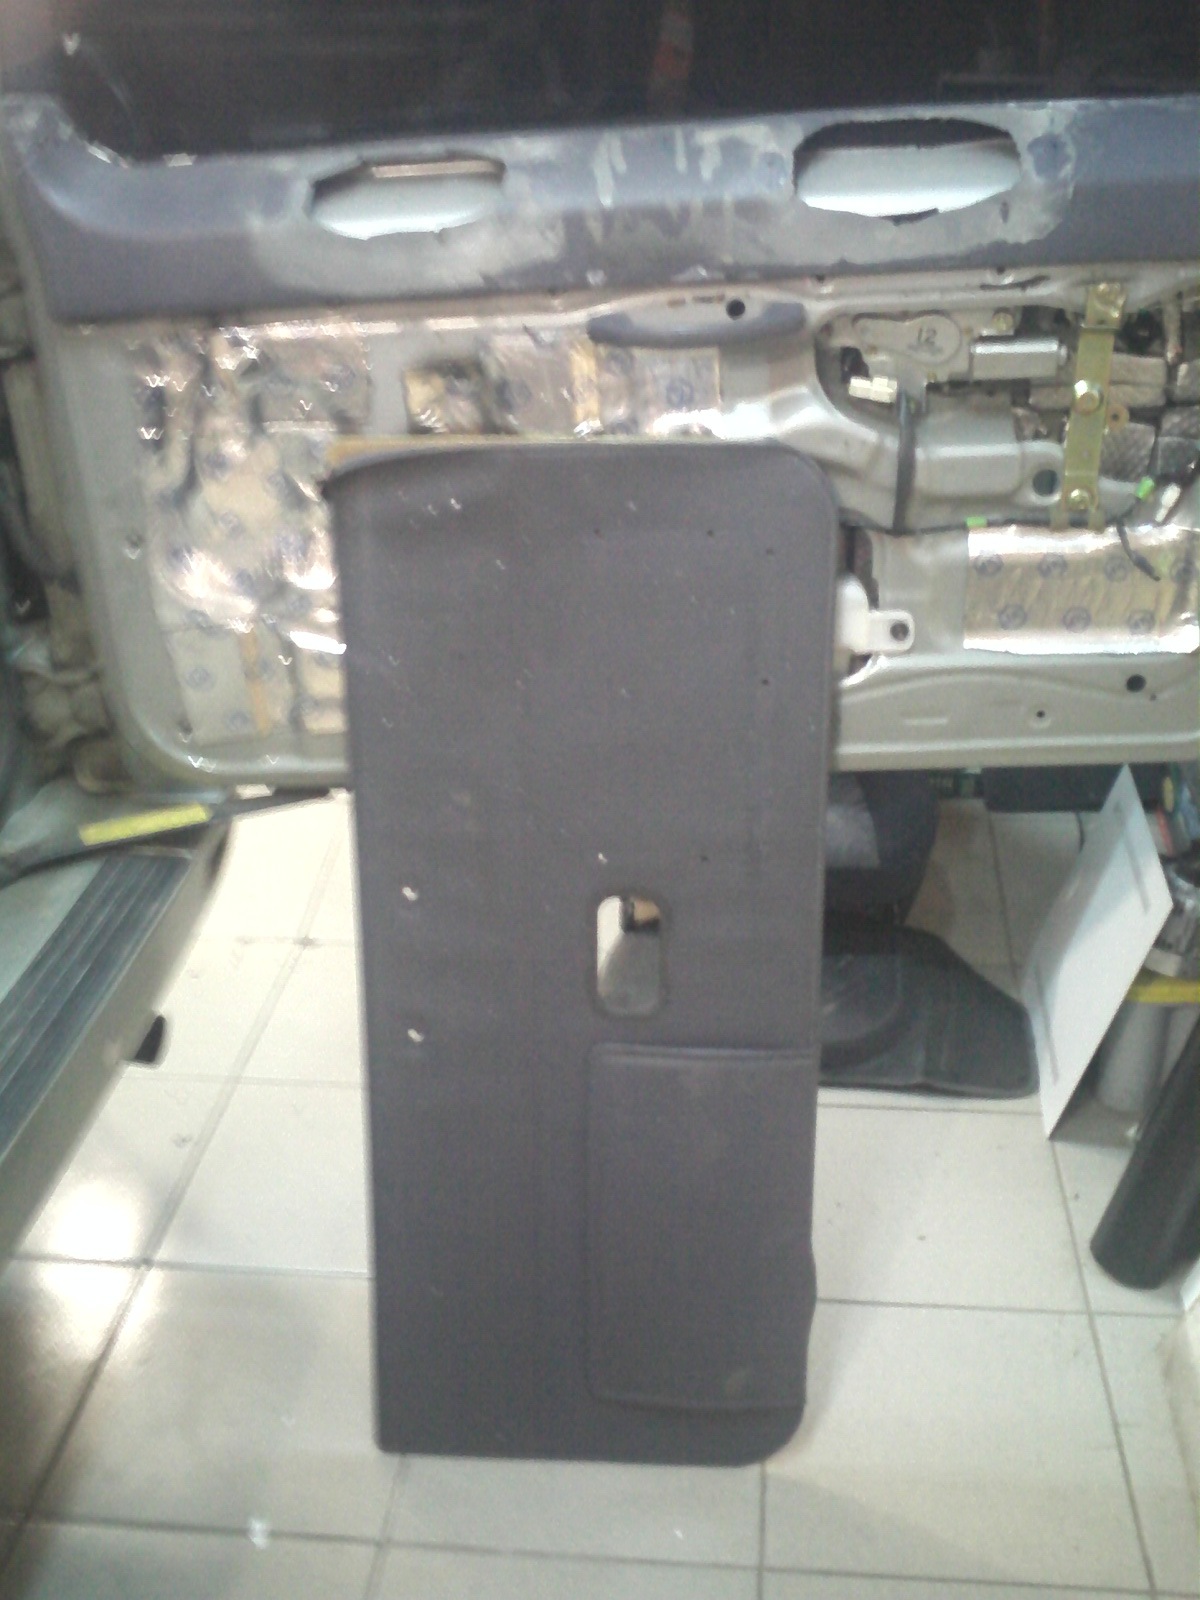
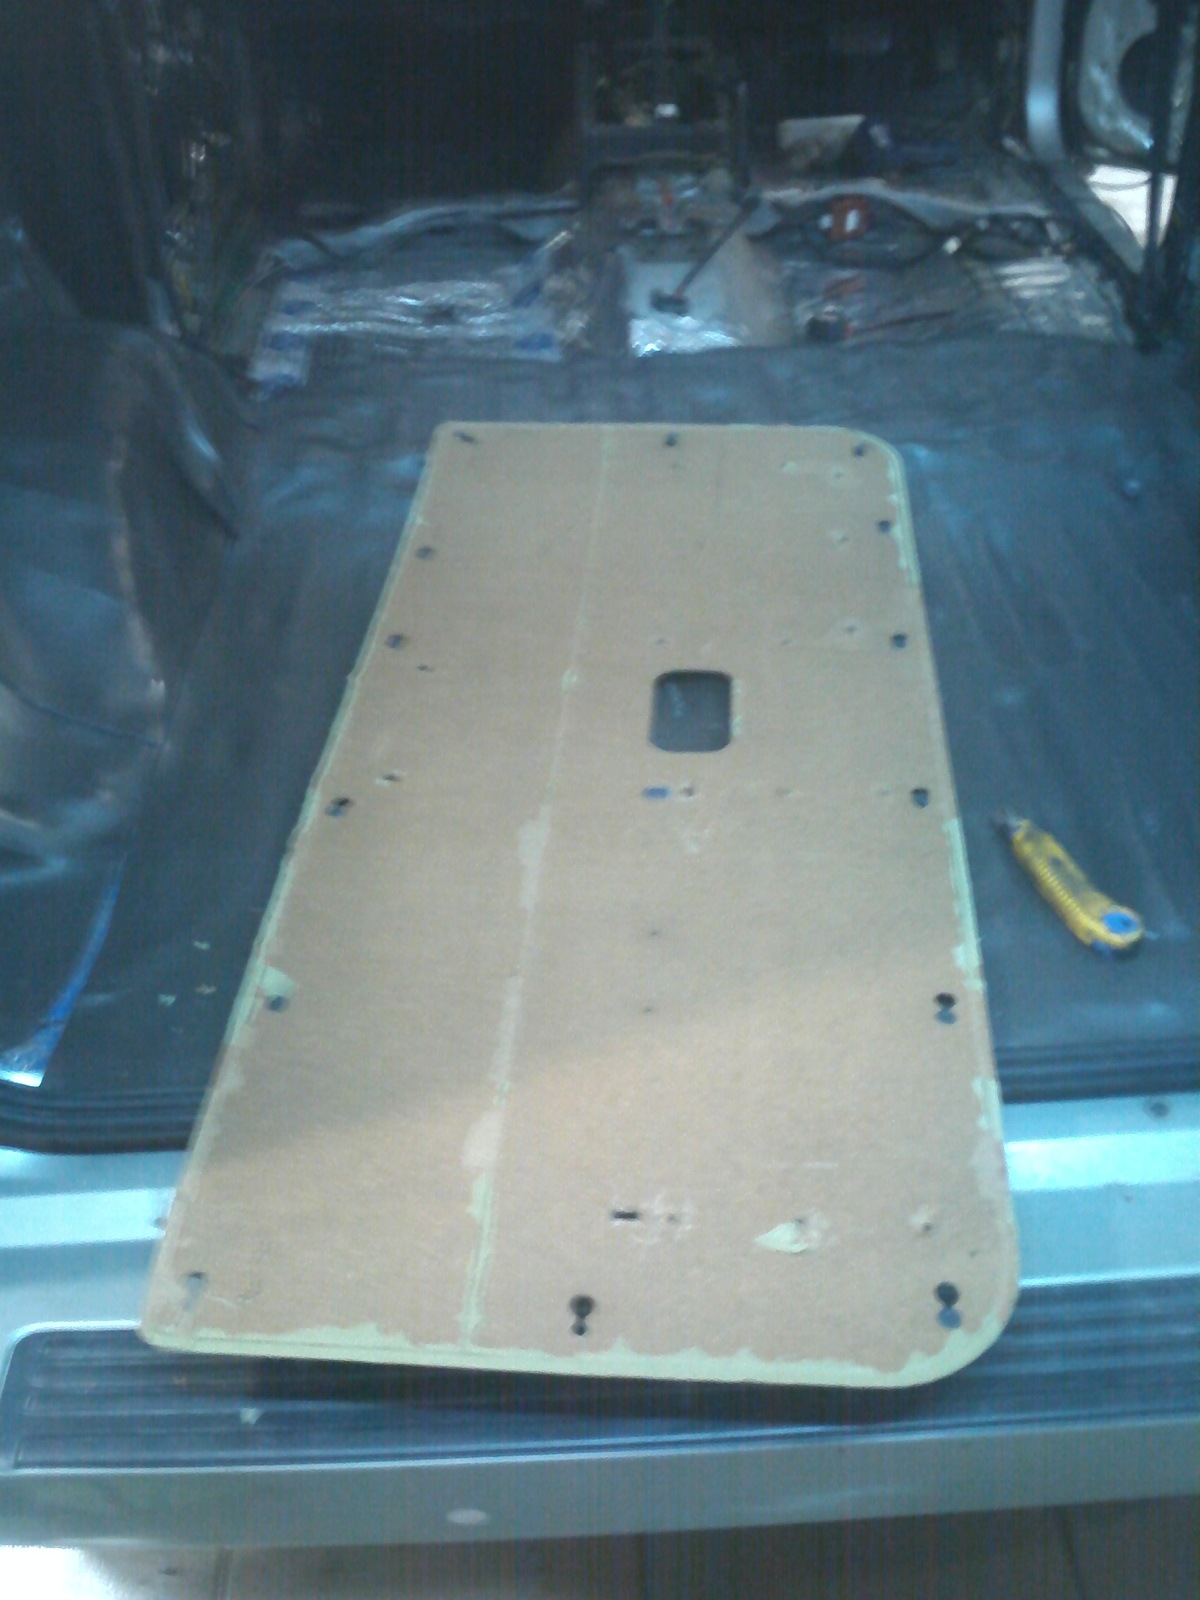
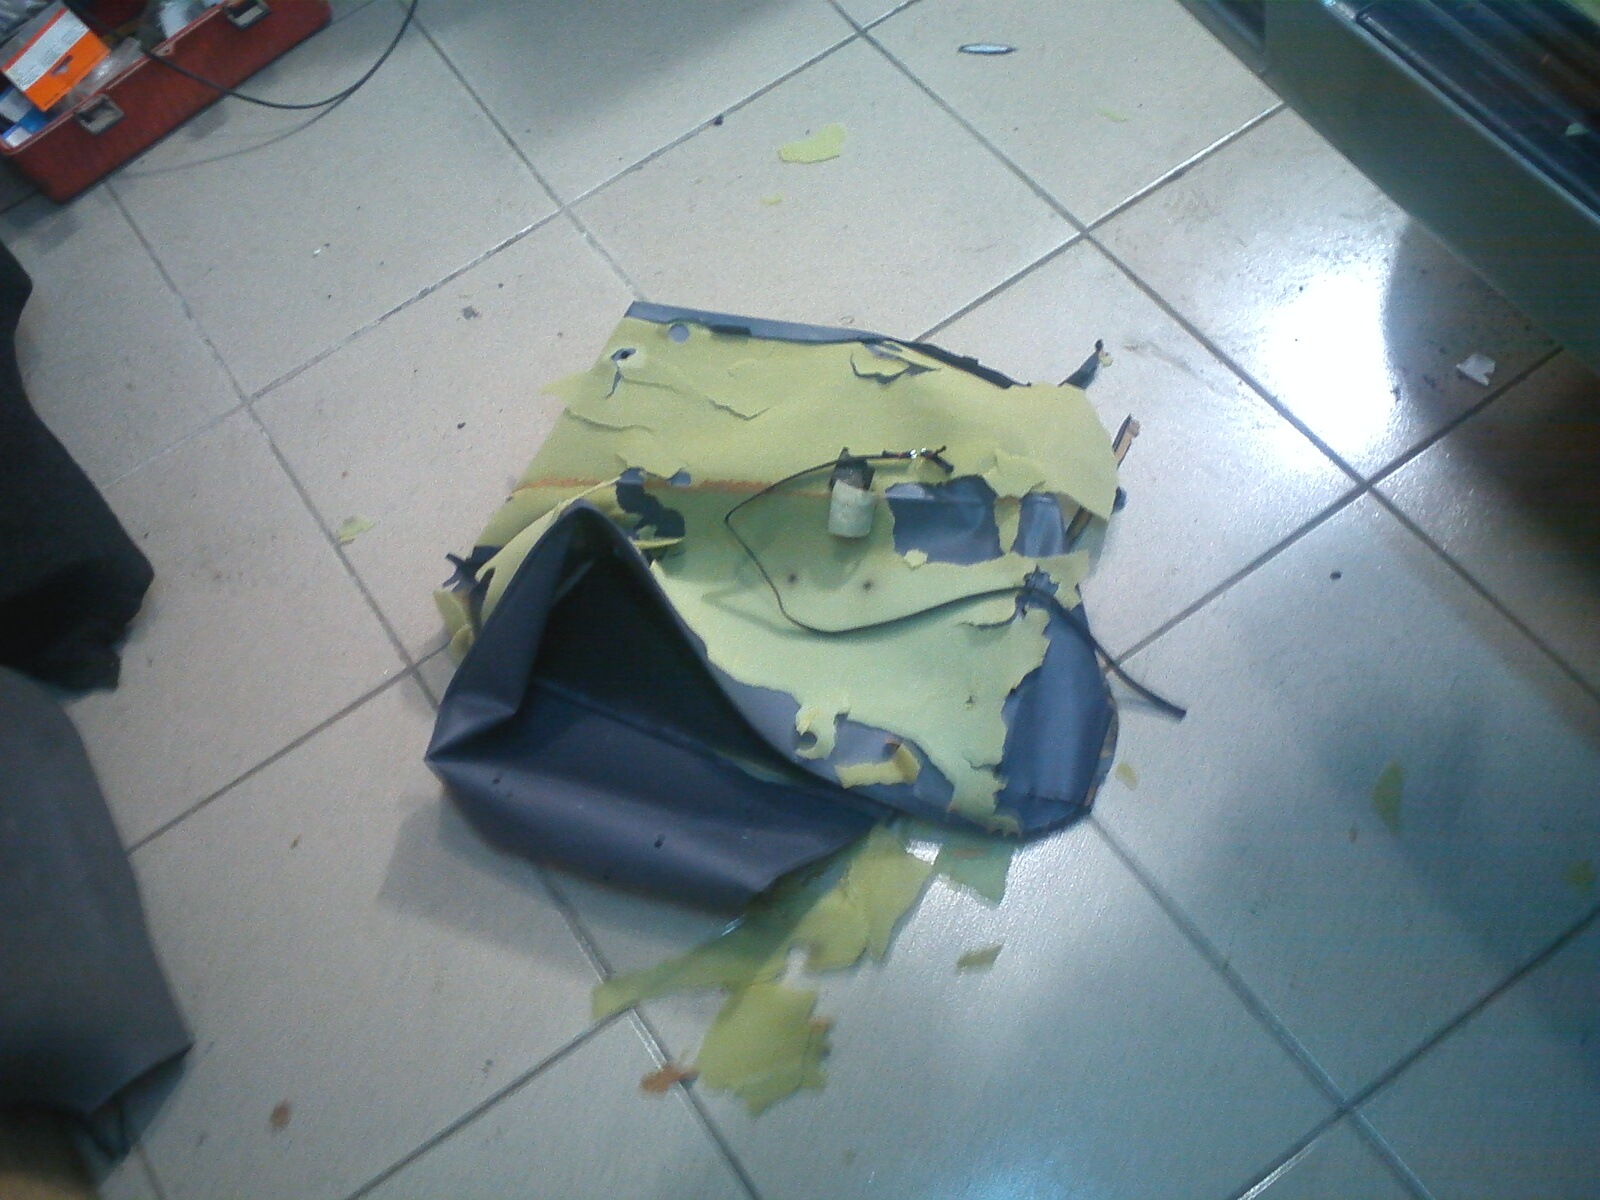
Next, we make rings for broadband + tweeters (thick, from 22mm plywood :))
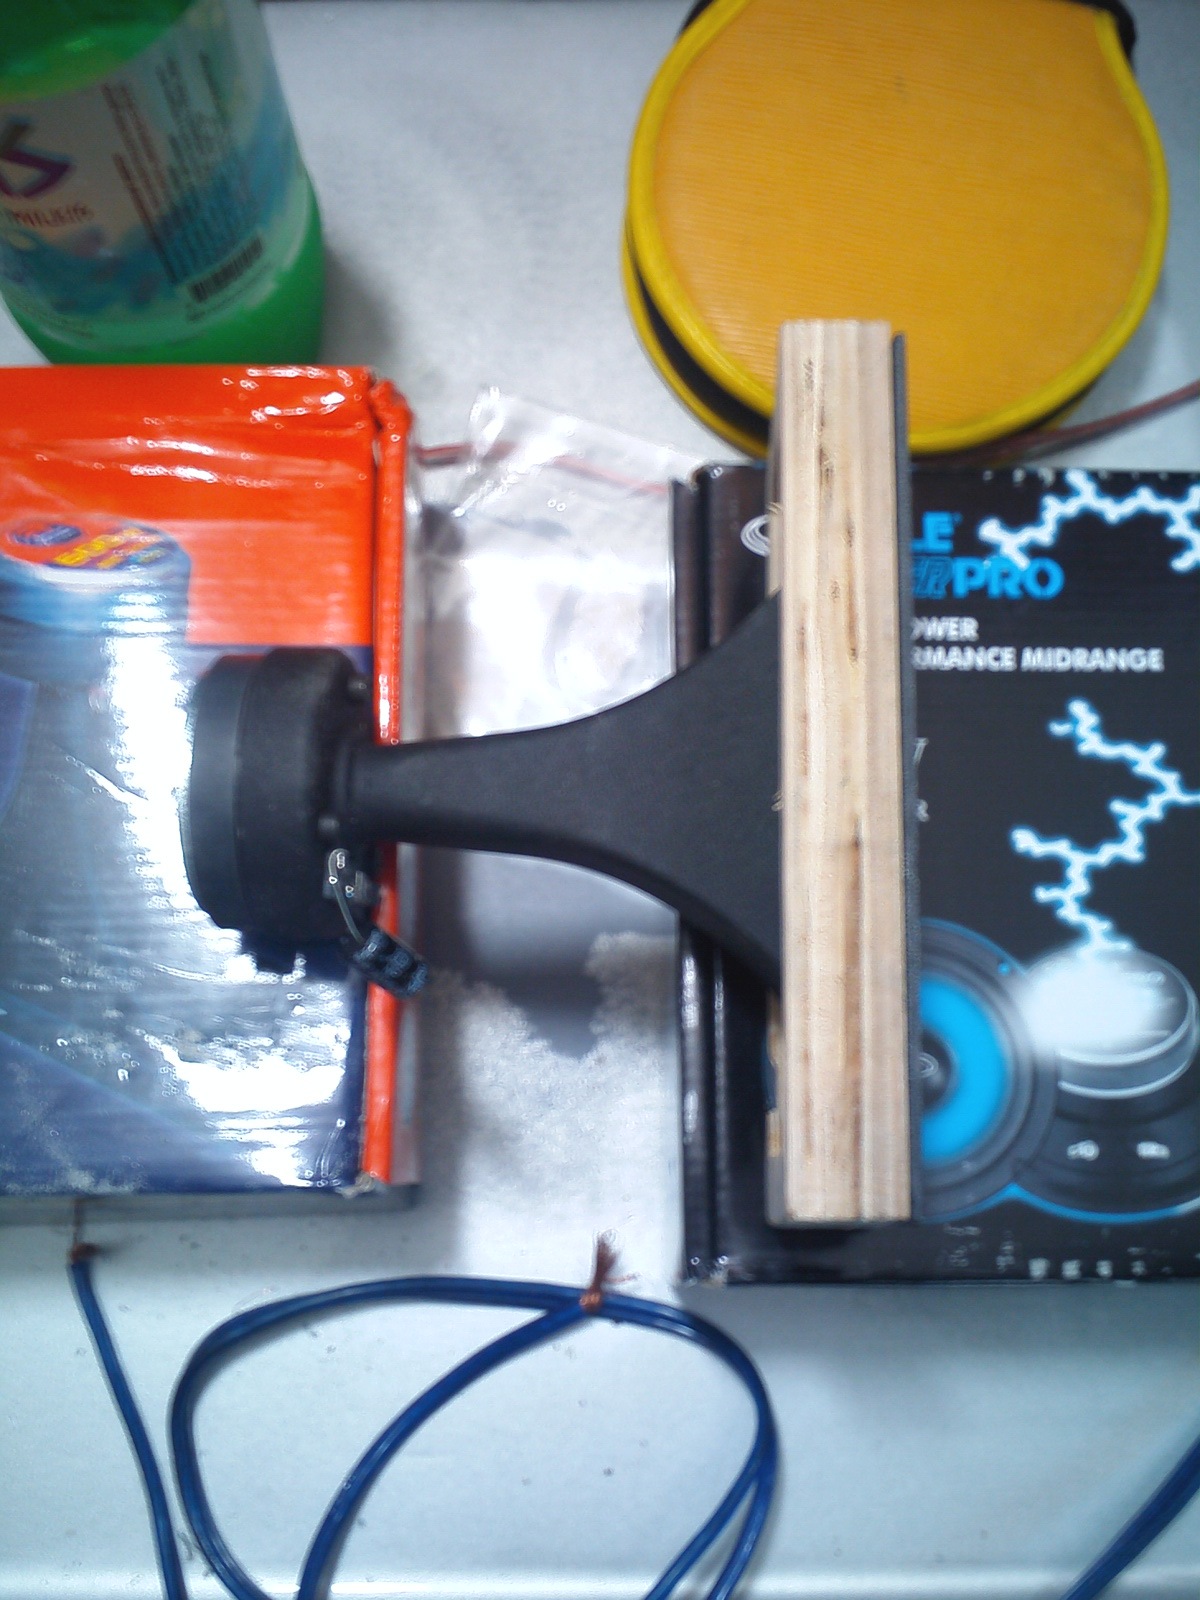
We glue everything with a film, do not get Schaub dirty :)
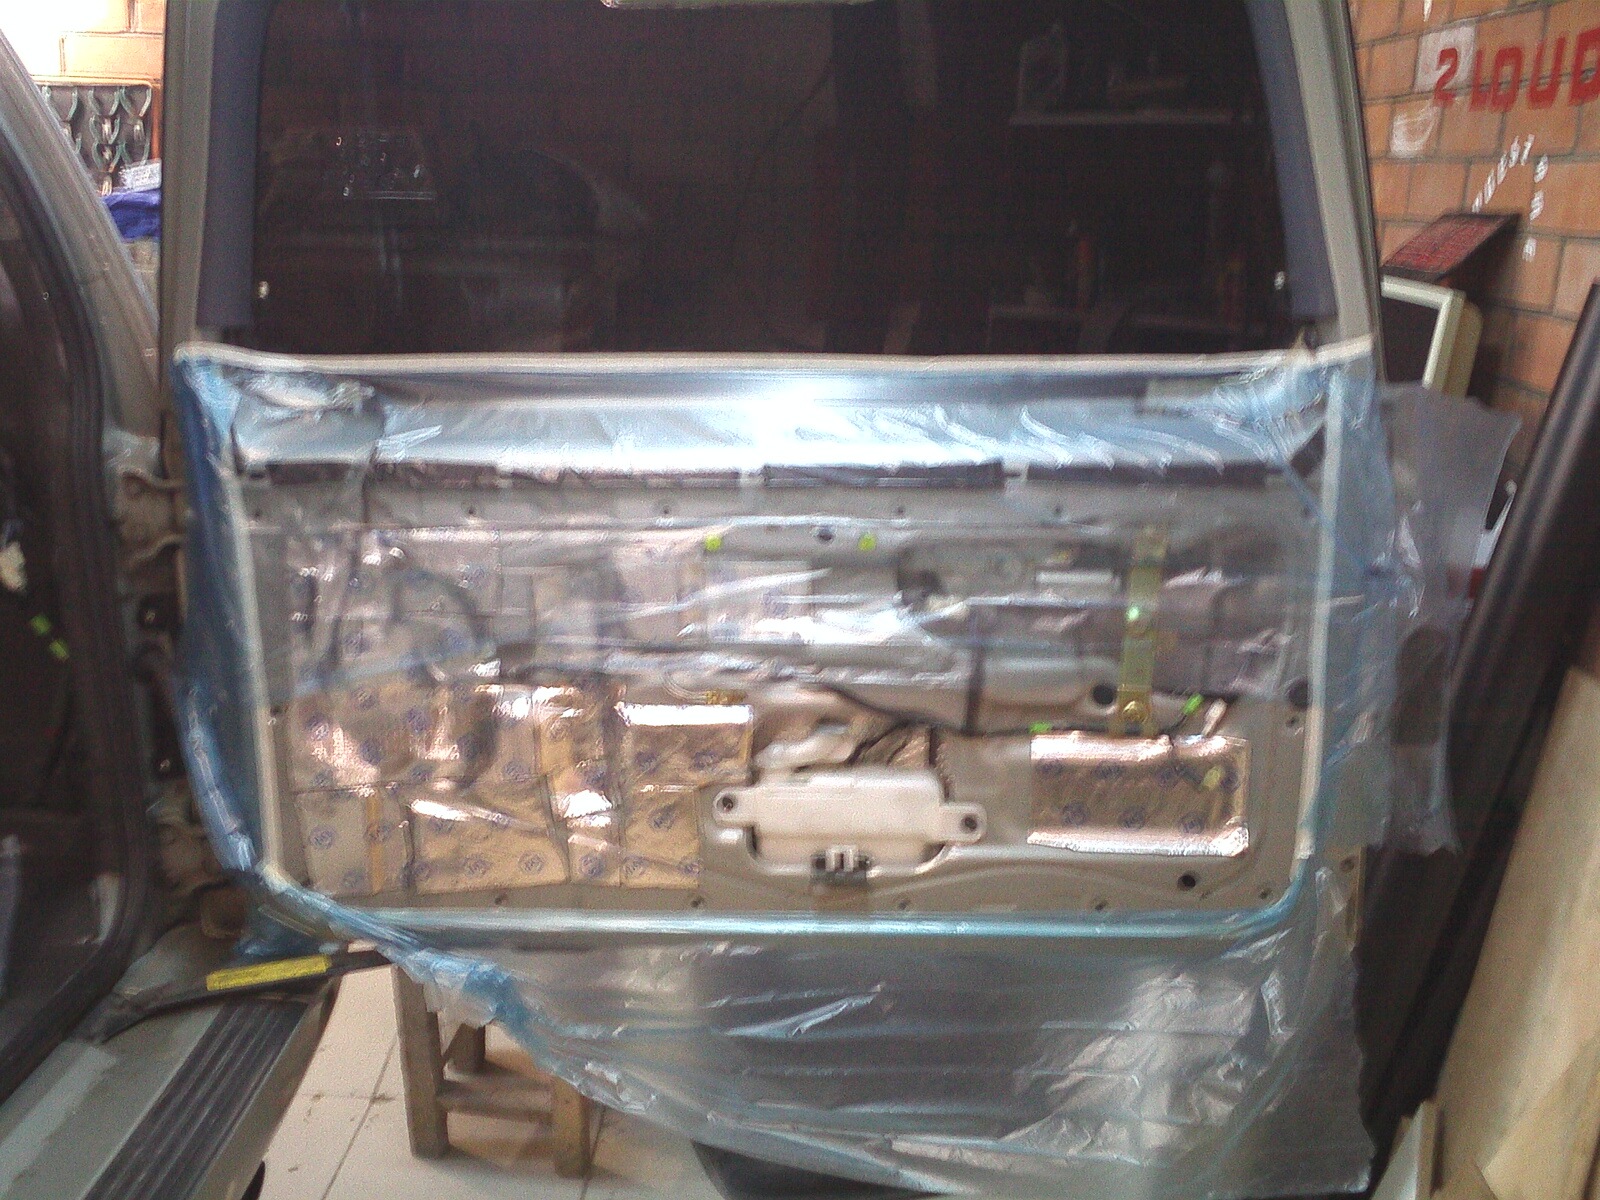
We add a 22mm plywood "frame" to the standard panel (first fixed with hot melt glue, then screwed on the back with self-tapping screws) onto which we will then stretch lycra.
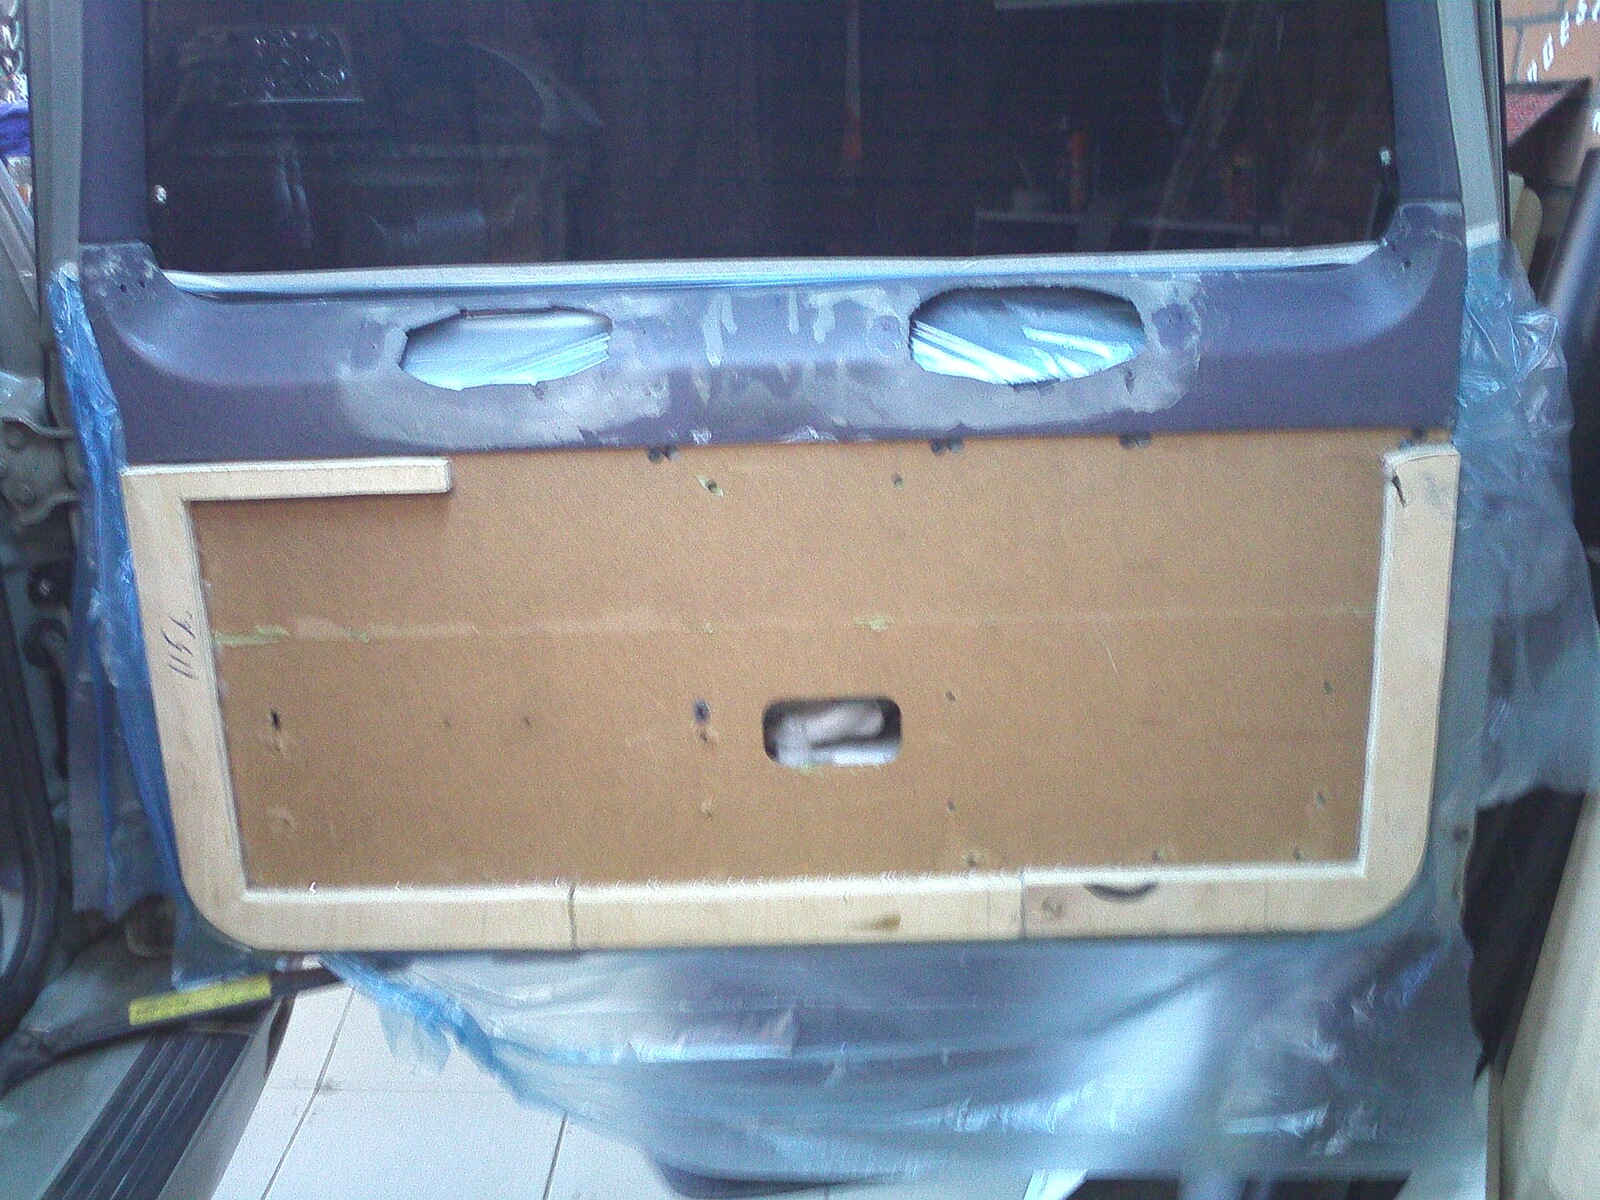
Well, then work begins with our favorite material - resin + glass mat :))
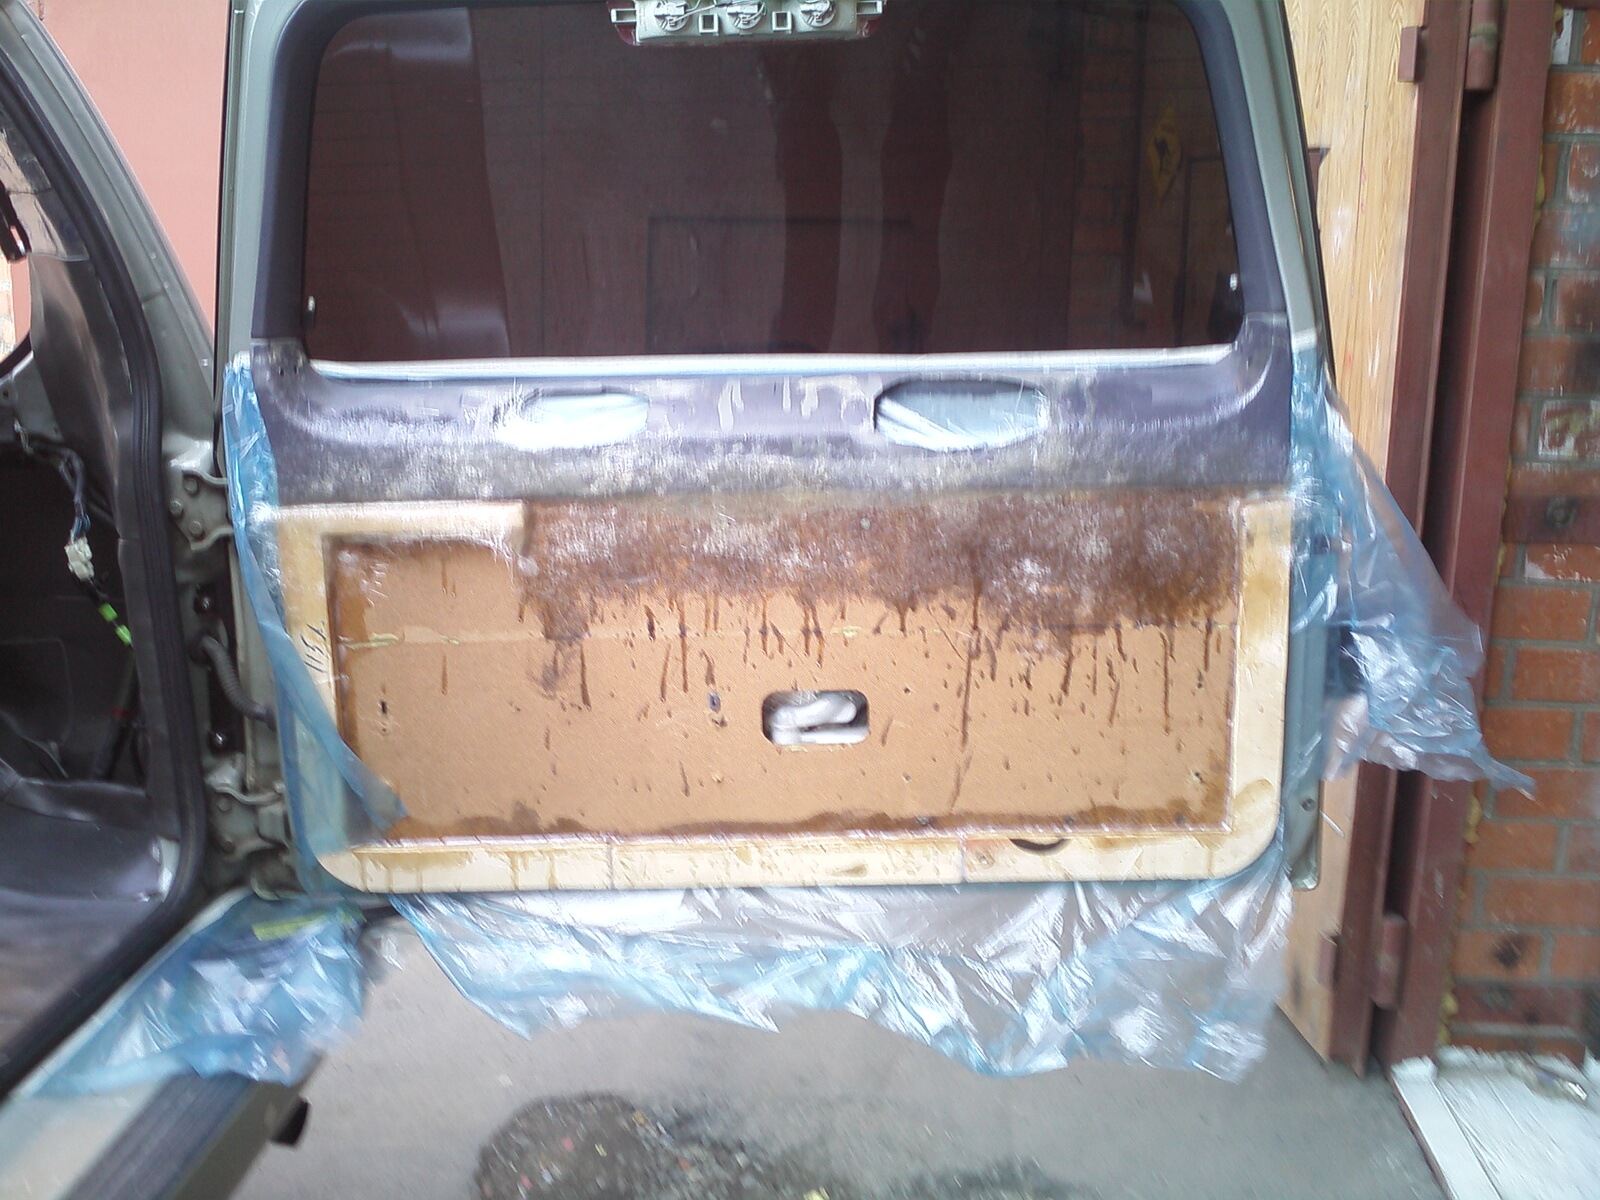
not everything is missed in the photo, i.e. with resin and glass mat, we "fasten" these two panels tightly into one
On which the rings are then squeezed out under the dyns, stretched lycra and again impregnated with resin + glass mat.
Also, the left stealth is almost ready - that is, the thickness there is about 1 cm. Also there he made not only resin + glass mat, but in some places he also laid a layer thicker than 1 cm between the layers with thick Shumka (not foiled).
In general, one stele has already spent about 10 kg of resin, xs how much glass mat - in general, it's already quite difficult to lift it alone: ​​(
And finally, a funny photo - this is how I am now driving a pradik :)))))
