Do it yourself! - Painting Calipers and Brake Discs, PAD REPLACEMENT. - Toyota Corolla, 1.6 L, 2002
The story began in the same way as the majority of car owners: one (not very) fine day, a nasty creak began to be heard from somewhere ...
Verdict - "run out" of brake pads. You need to change.
---------------------------------------
Preliminary inspection
--------- ------------------------------
First, the sound source was set: the front wheels. Further it is easier: we simulate the wheel, unscrew and remove the caliper and take out the brake pad (see below how). The rest of the brake layer is only 1 mm, which means you need to buy a set of new pads and change them ... However, from purchase to replacement for about 7 days (so many pads go to order), I really want to ride, and ride without these heartbreaking squeaks. Moreover, one millimeter of the brake layer can cover more than a thousand kilometers.
The solution is to cut (pull out, saw off, break off, twist, bend, turn off, grind off, melt, finally beat off ...) metal strips - squeaks. They are installed one by one on the INNER PADS and touch the brake disc when the brake layer runs out. Actually, they publish this heartbreaking creak.
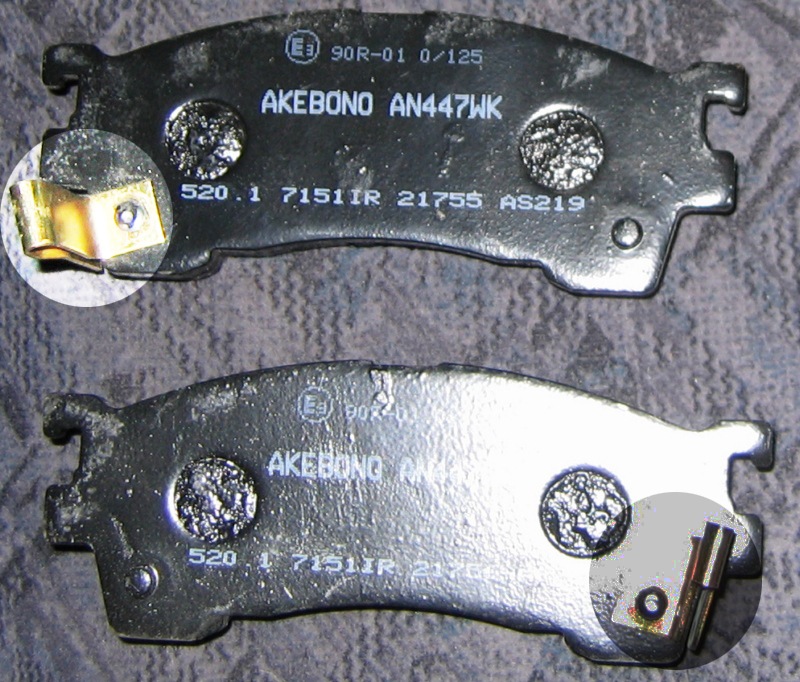
This piece of iron needs to be broken off.
Somehow I didn’t think of taking a picture of the Korolovskie pads, so I downloaded the first ones I got from the Internet for clarity.
------------------------------------------------
Well finally - THE PROCESS ITSELF
---------------------------------------------- -
Now, in order: what and how to shoot :)
First, we remove the wheel, the car remains on the jack (well, excuse me, I didn't take pictures of that).
Oh yeah - don't forget to fix the rear wheels by placing bricks on both sides.
Unscrewing 4 bolts and removing the wheel, we get such an unsightly sight :(
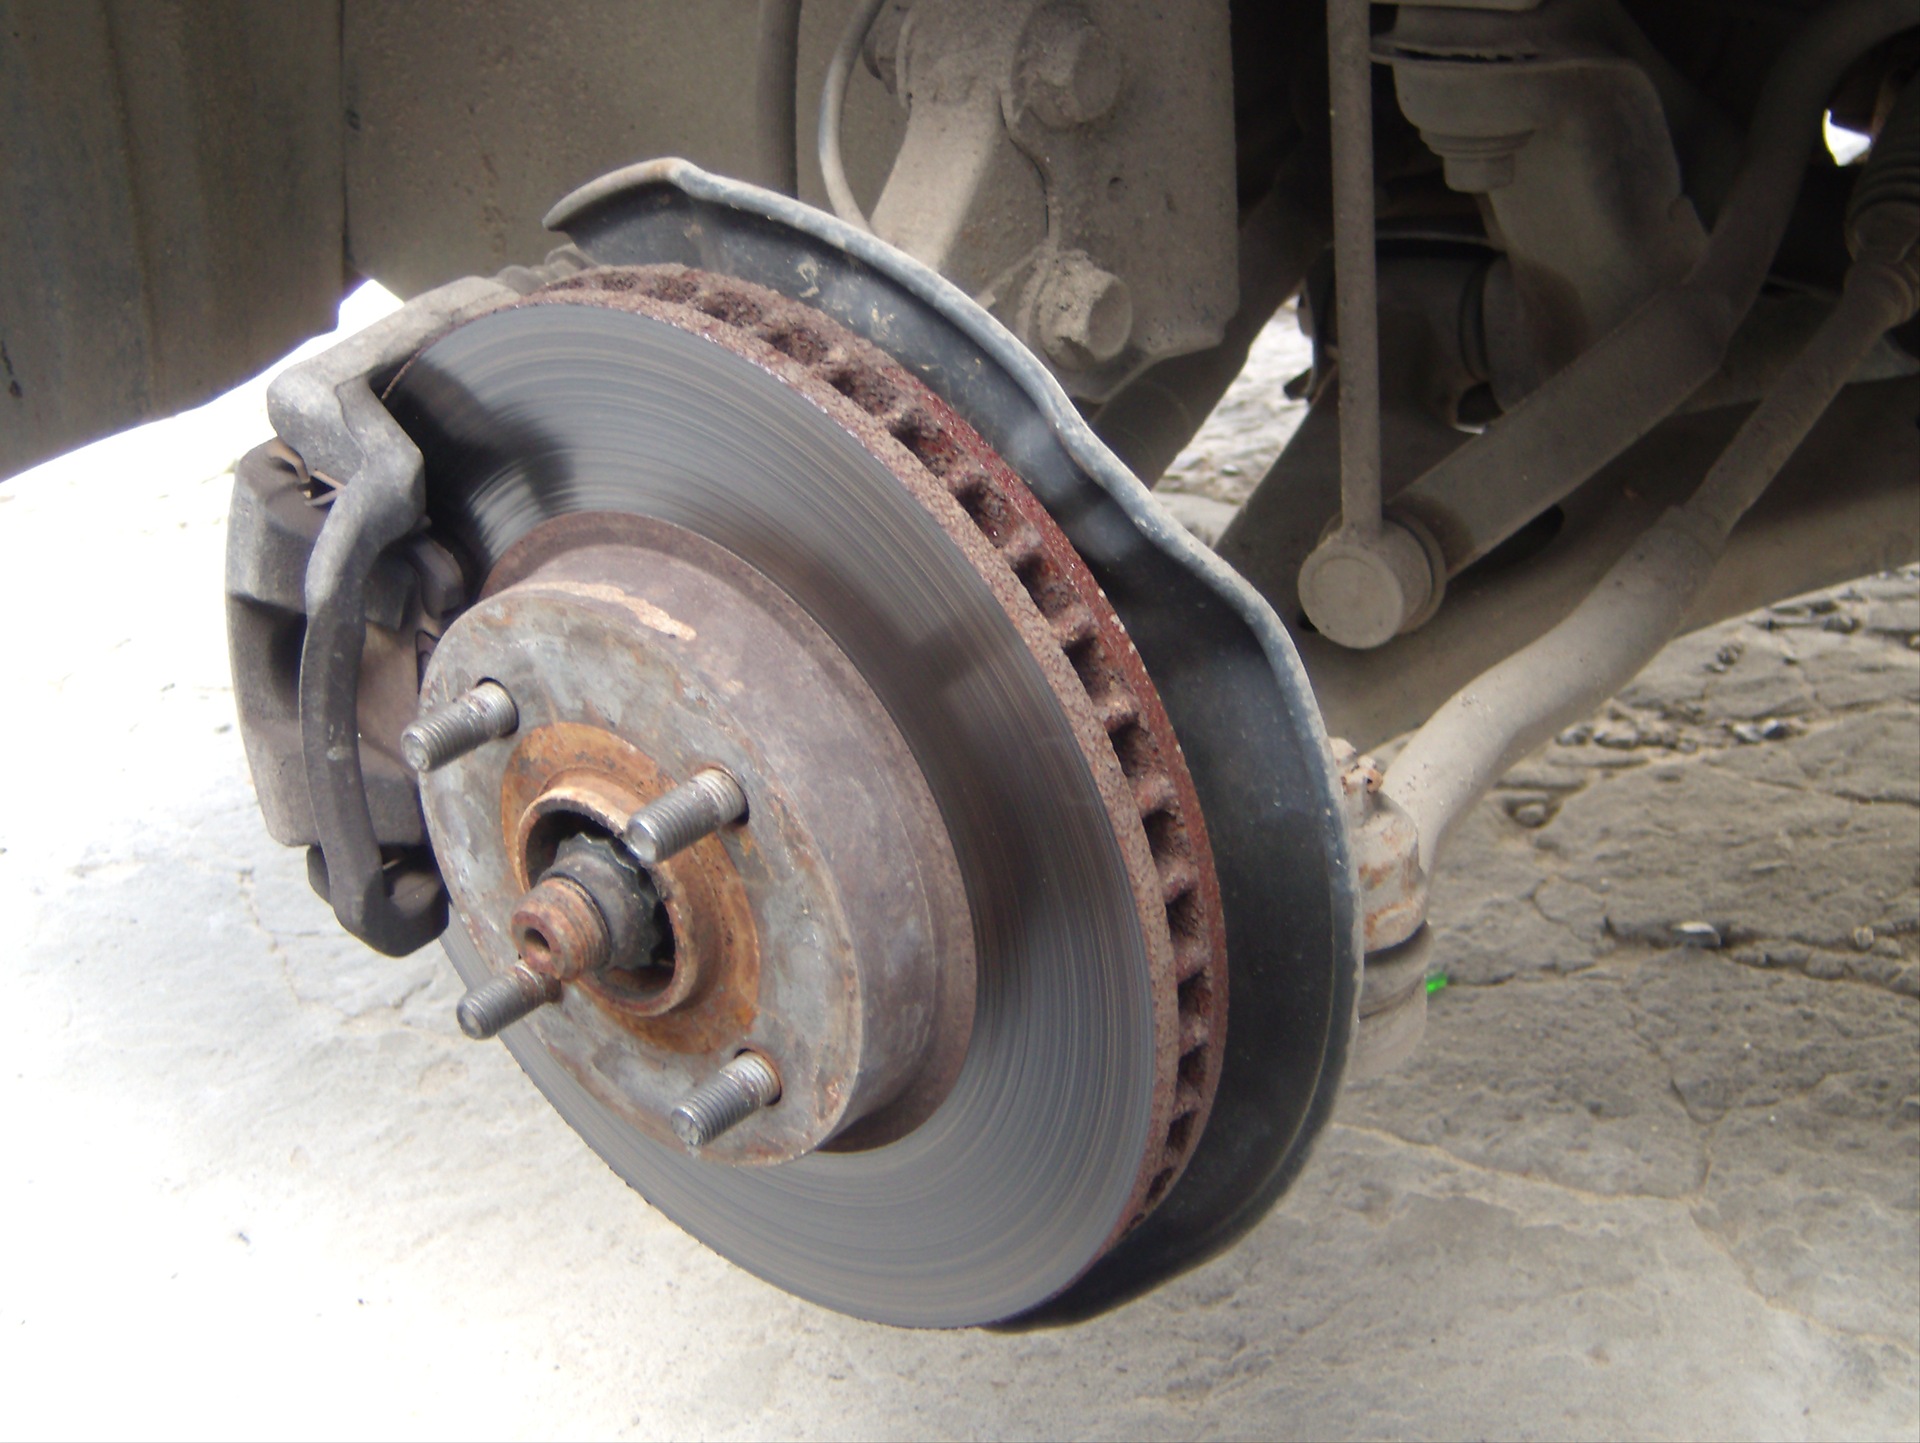
THIS IS HERE and it was decided to put everything in order, especially since on disks this whole picture looks very unattractive.
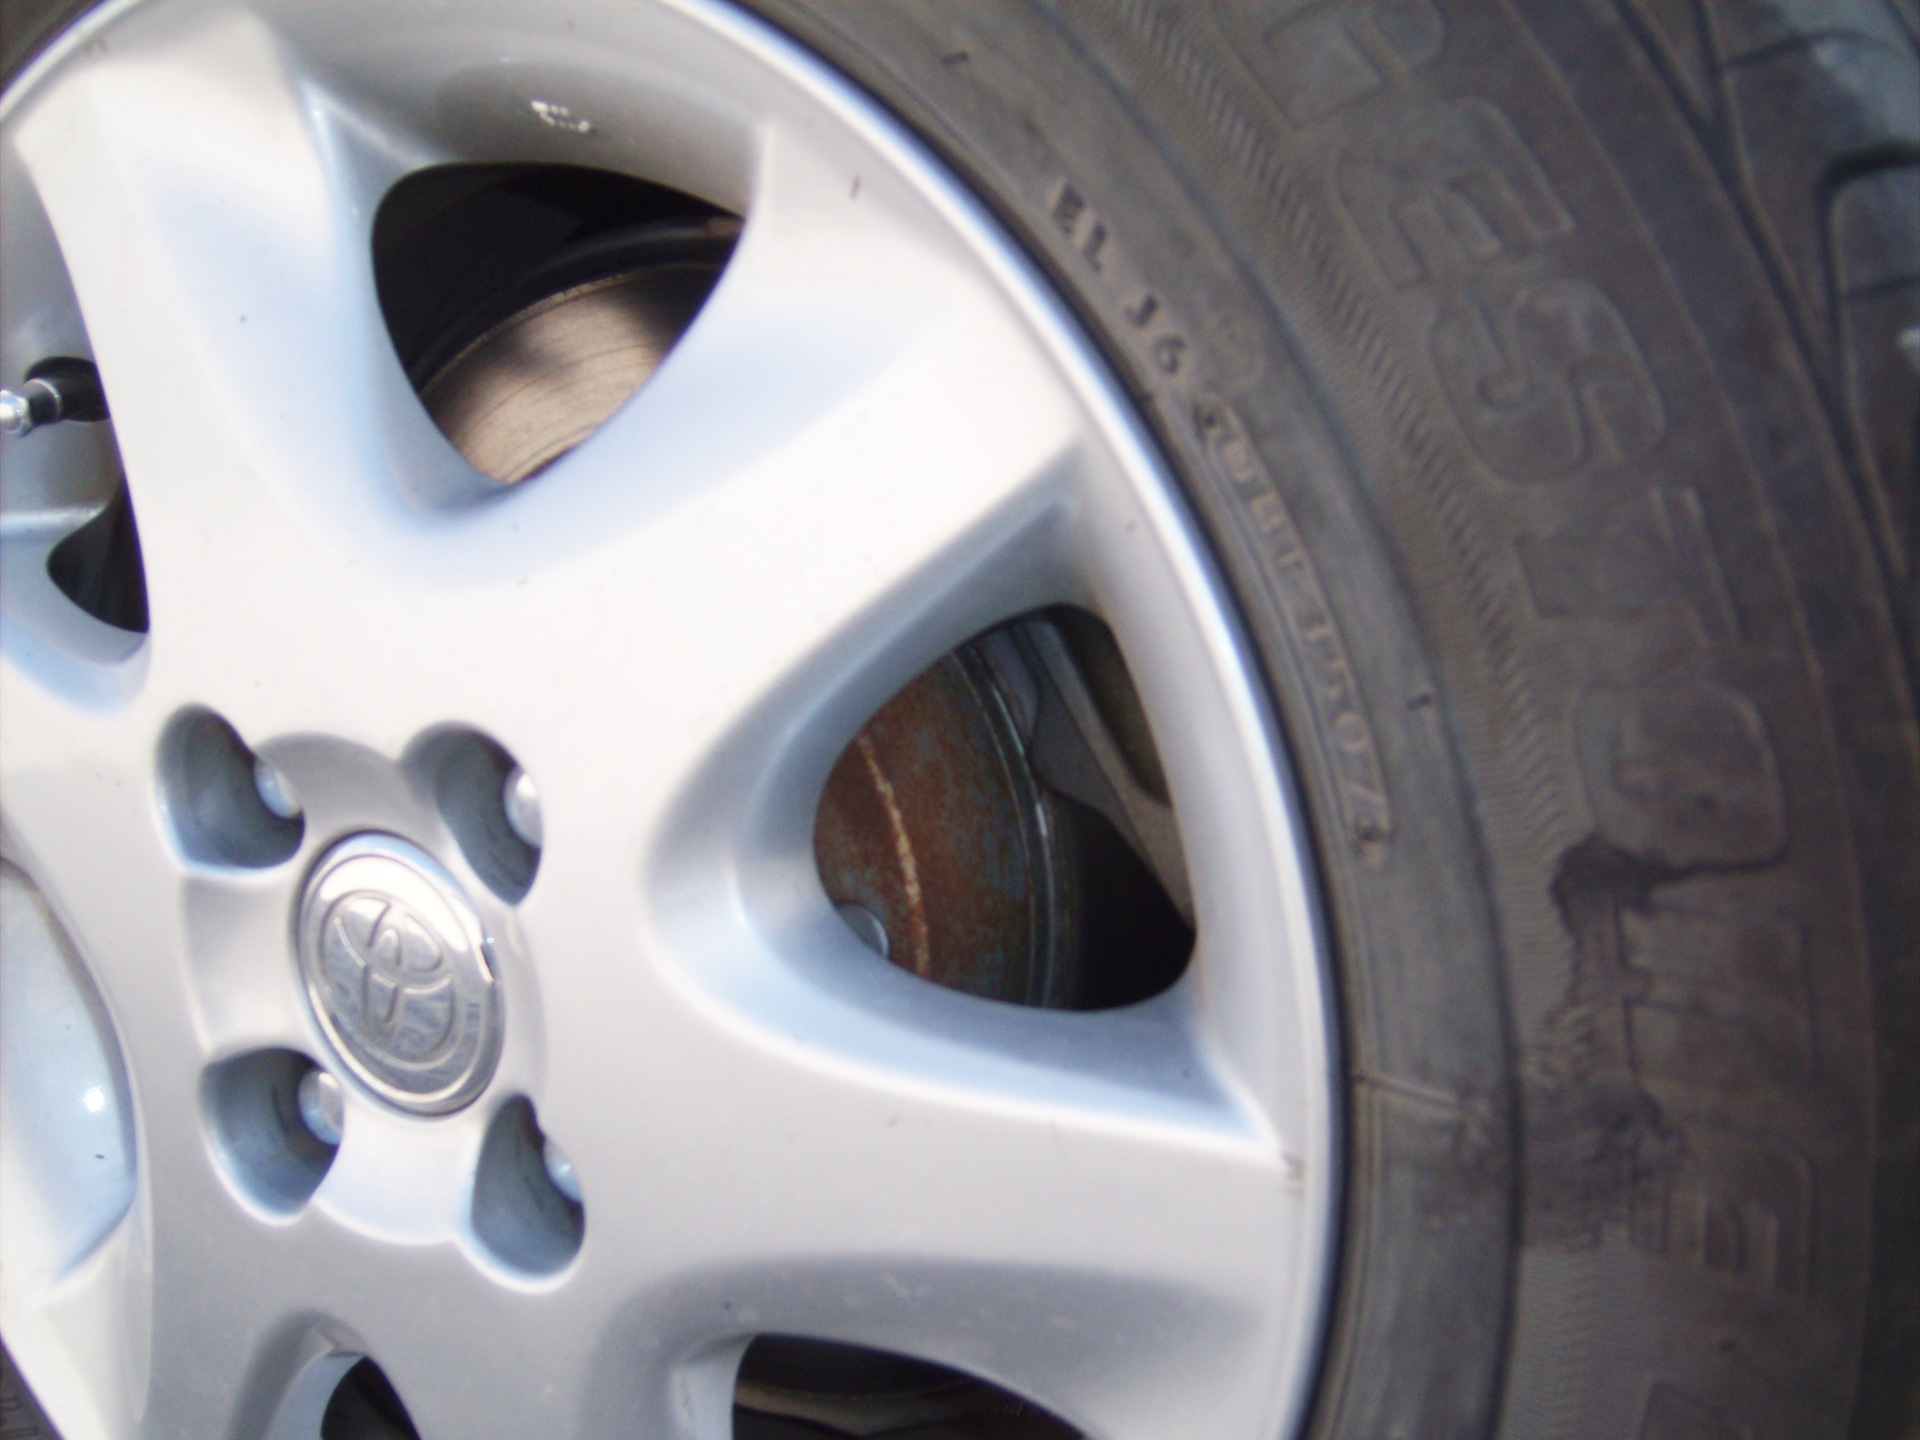
Let's go! Having purchased everything necessary, and having gained patience, we get to work.
---------------------------------------
This is what we need.
---------------------------------------
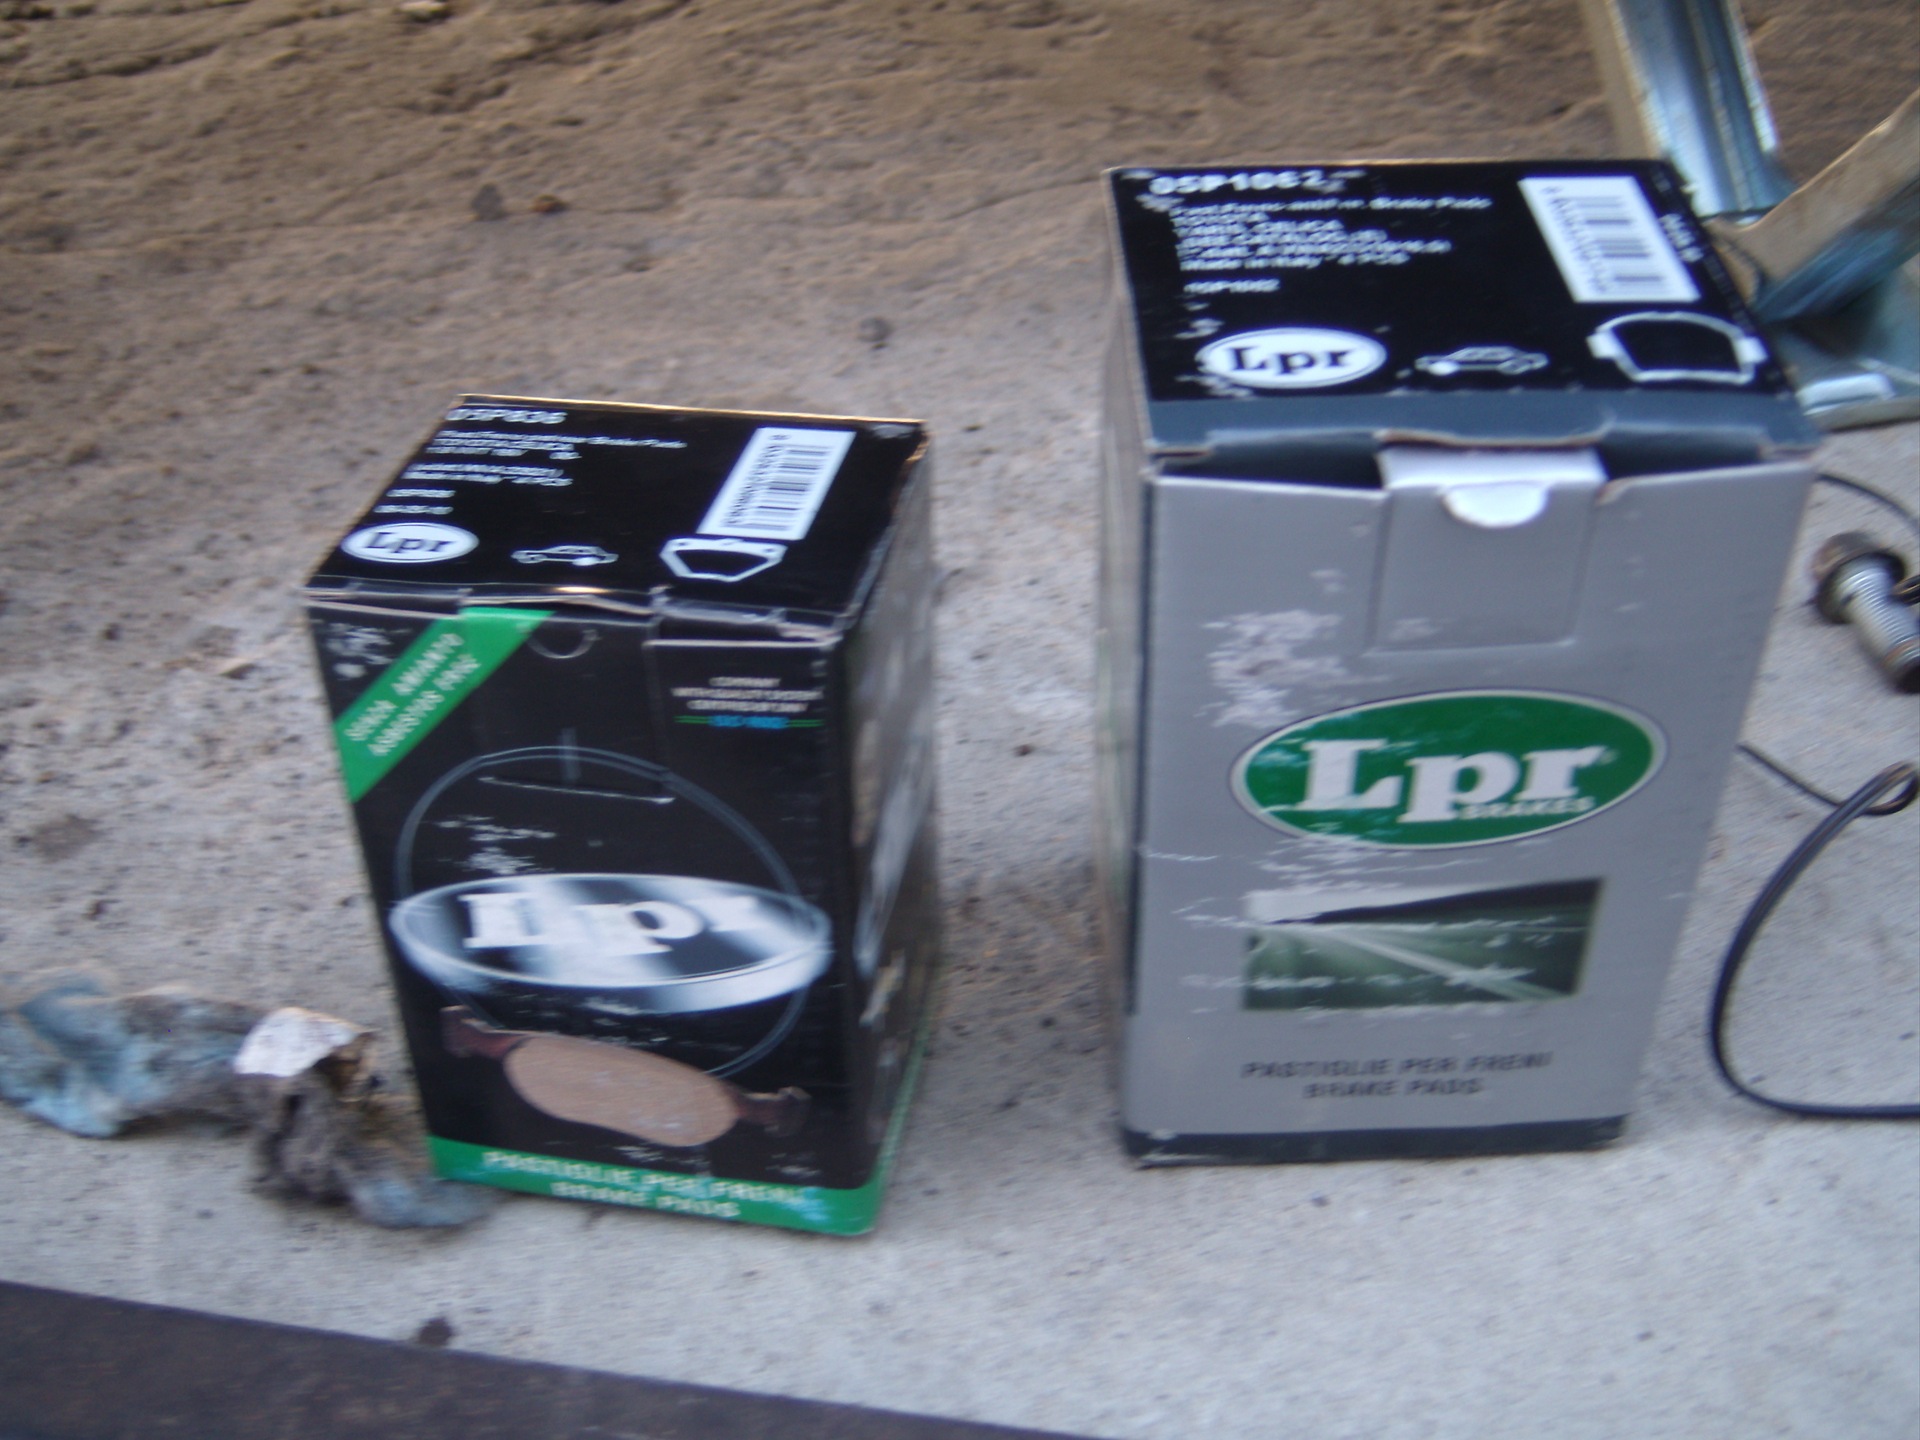
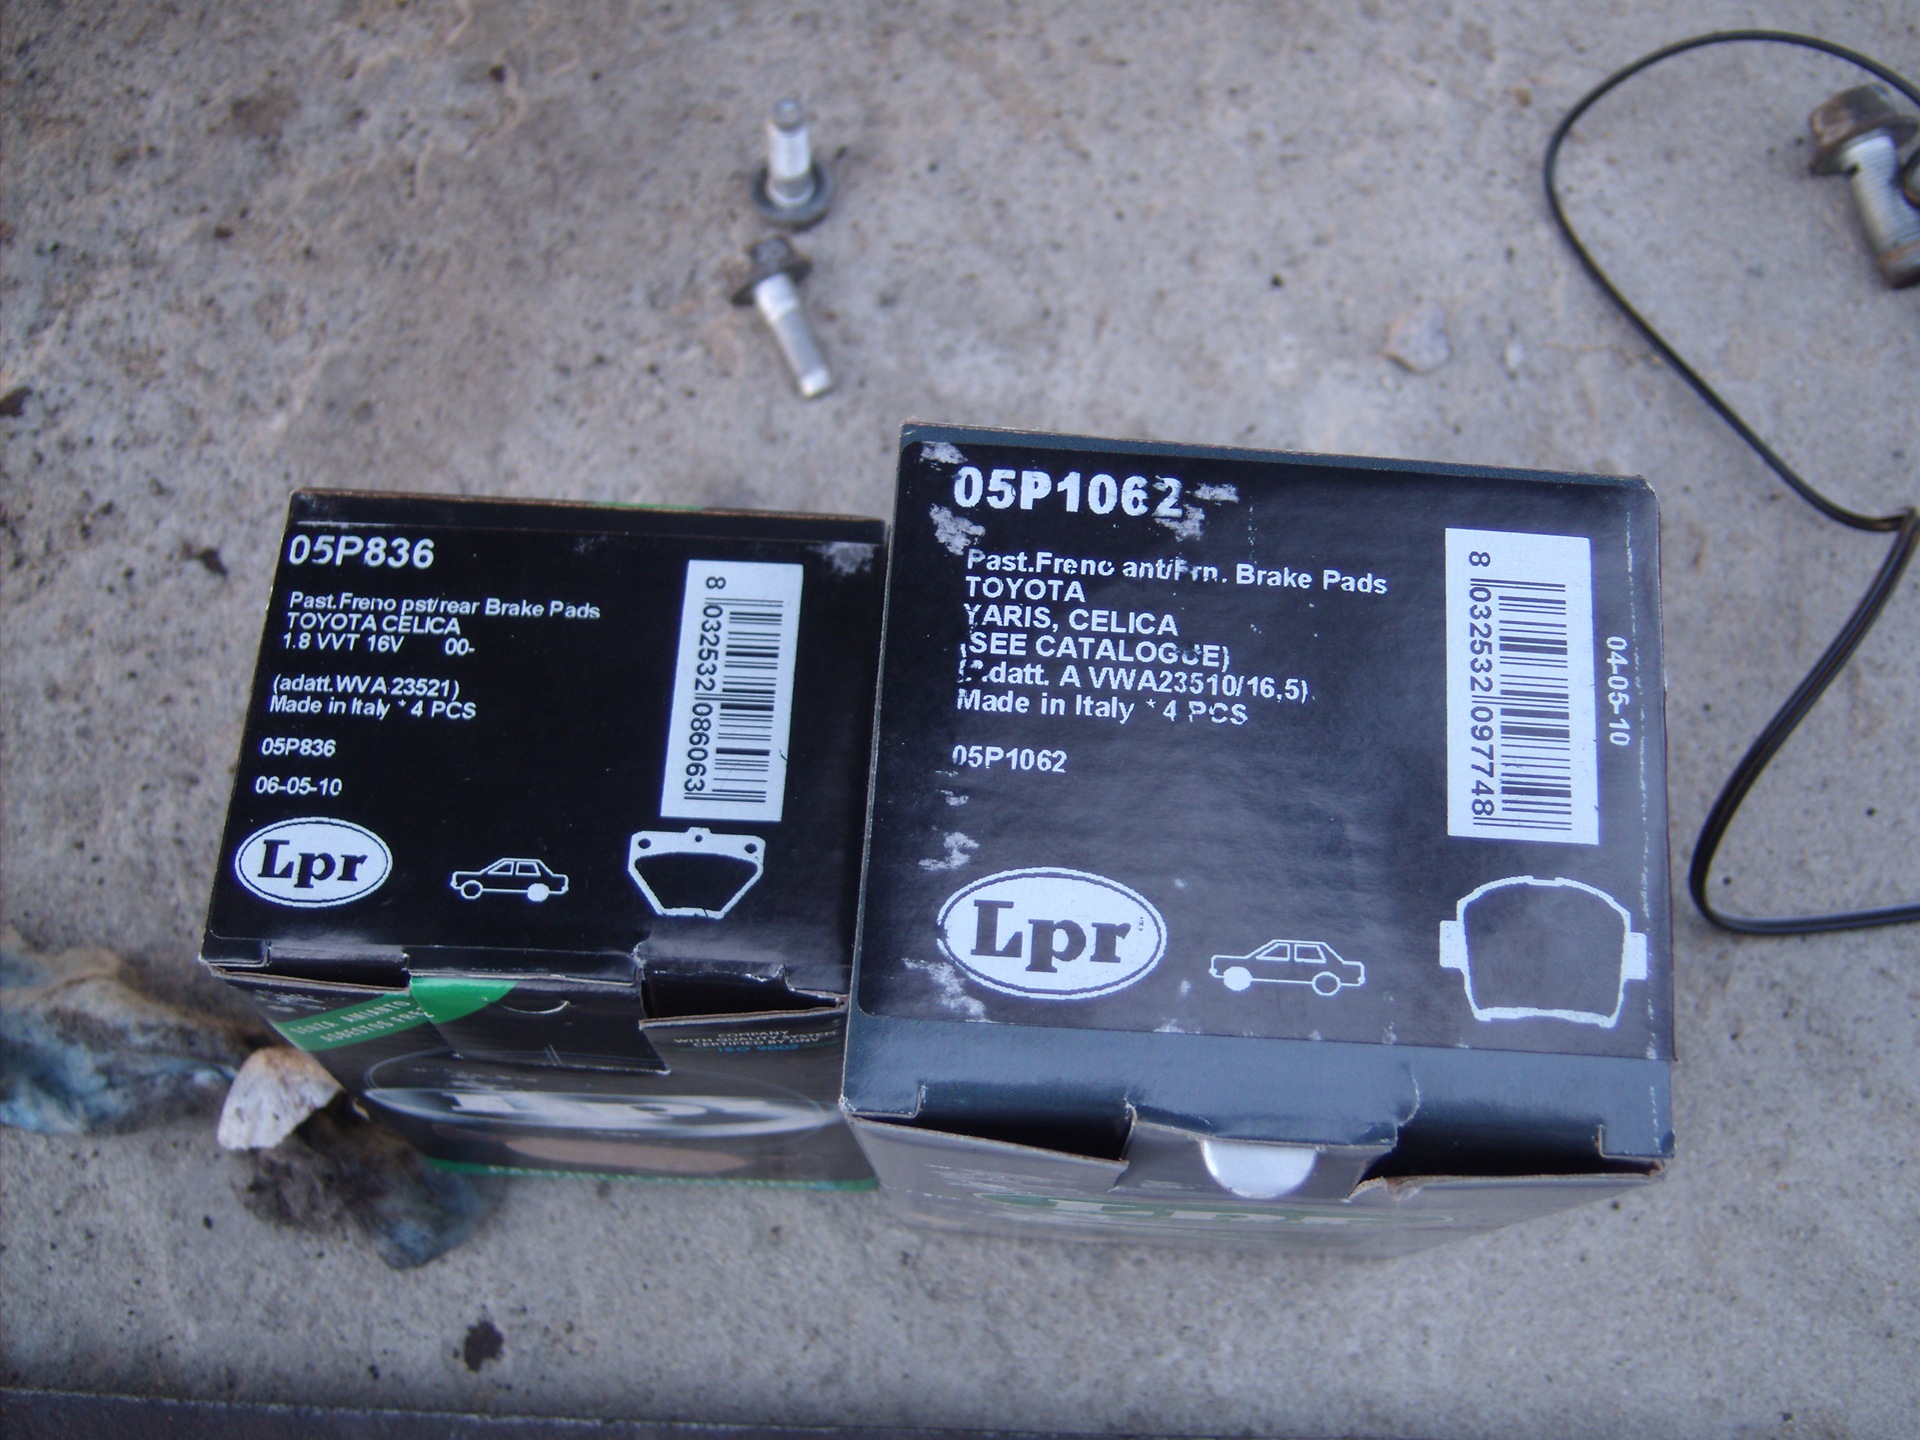
I bought the bells L-PRo for 1600 rubles. The choice was between Japanese Koshiyaba (1500), Italian L-PRo (1600) and Estonian or Chinese Akyoto (1000). Prices are for a set, rear and front. After reading the reviews and finding out what and how, I settled on L-PRo.
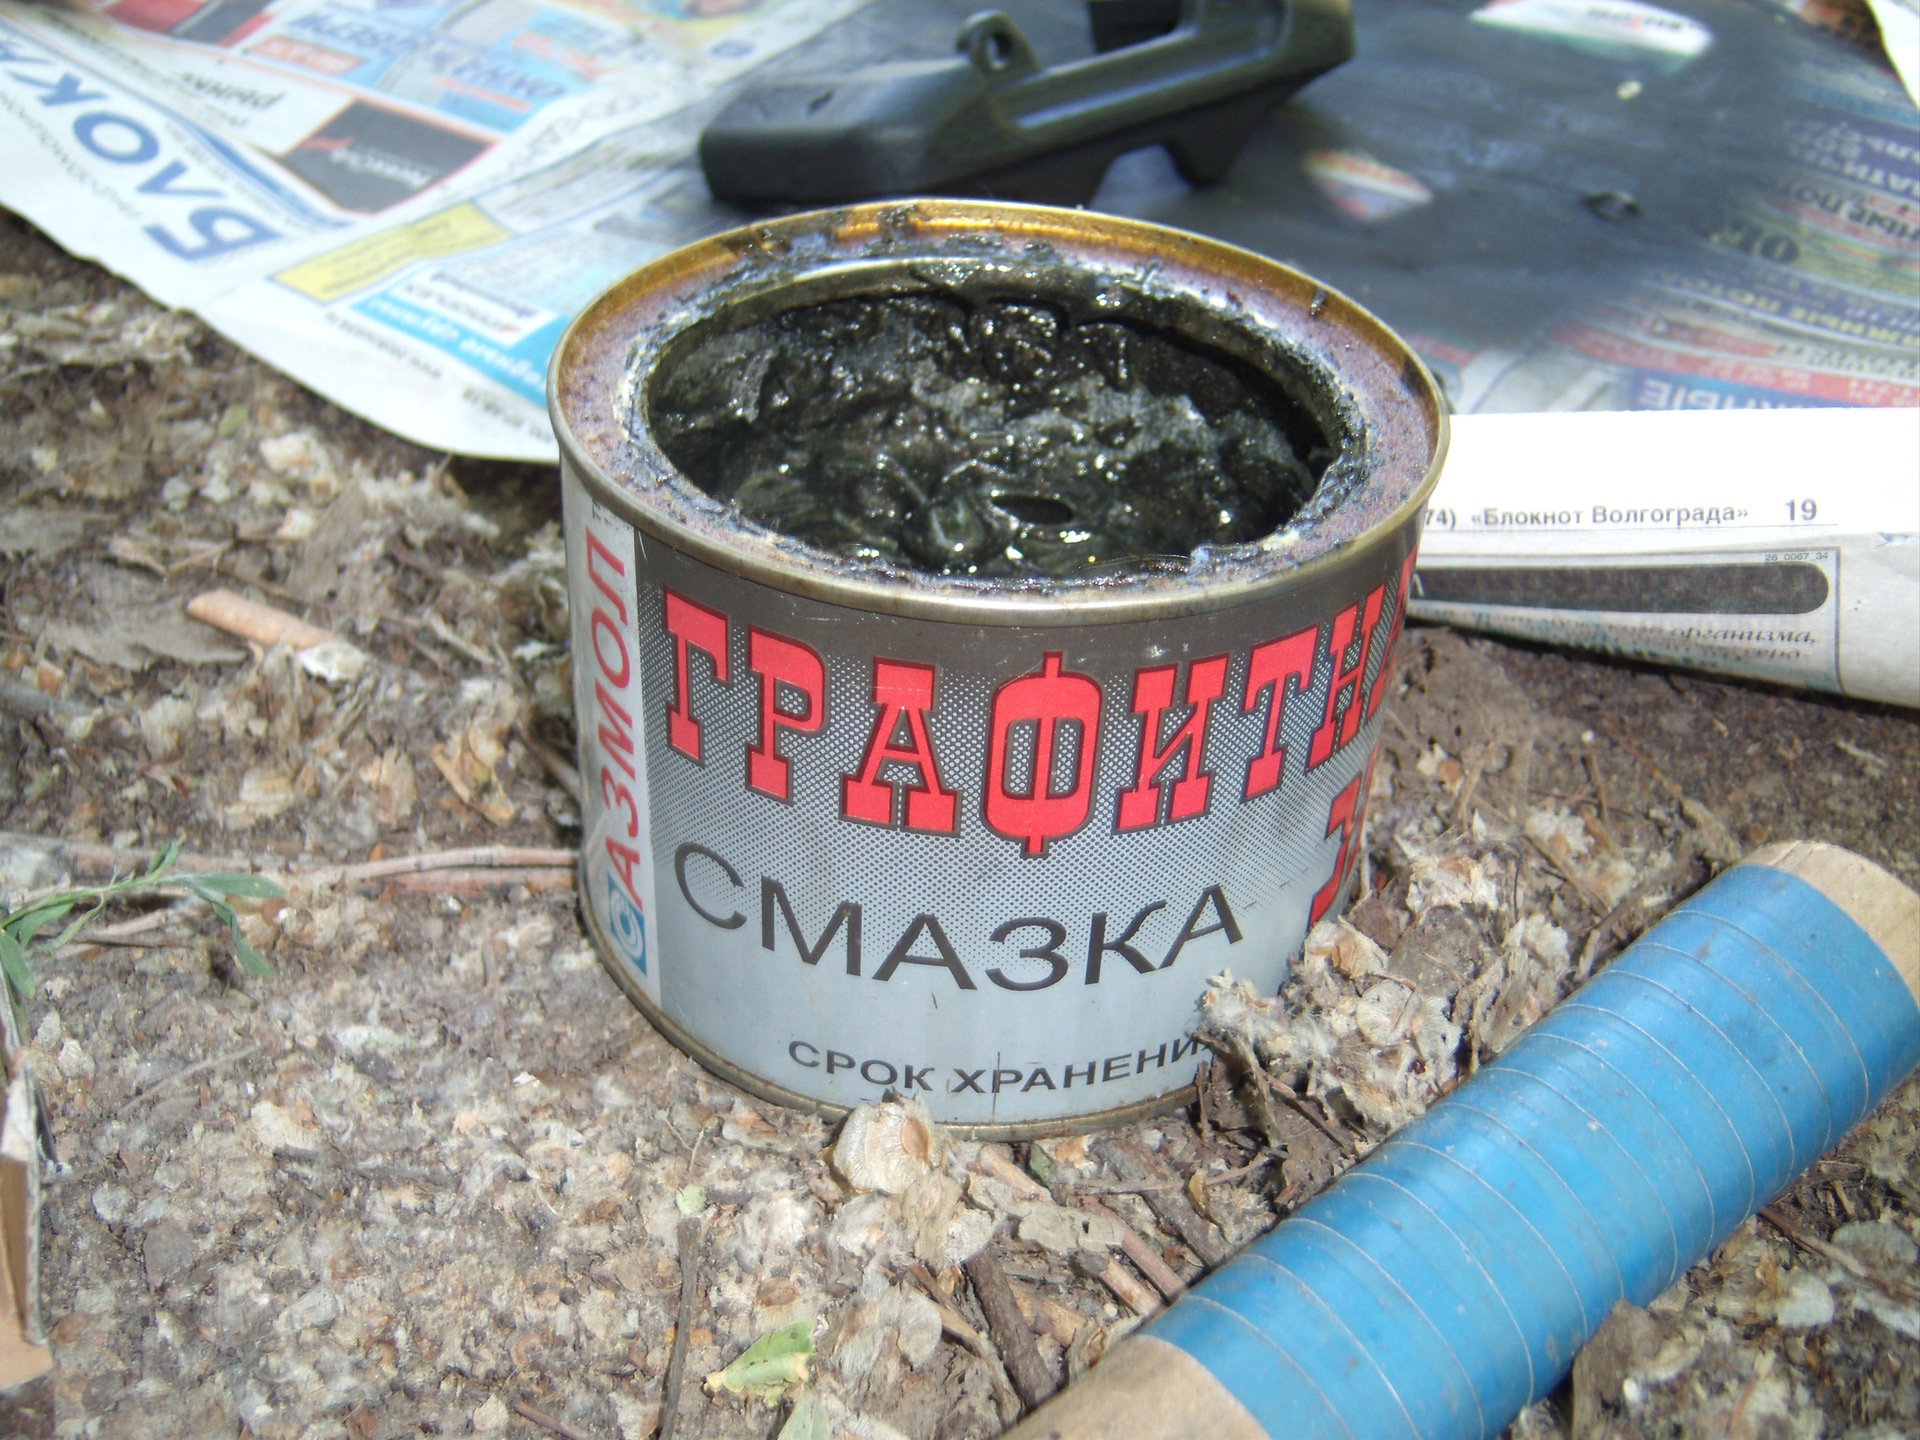
Lubricant Graphite, required to lubricate the guide pins.
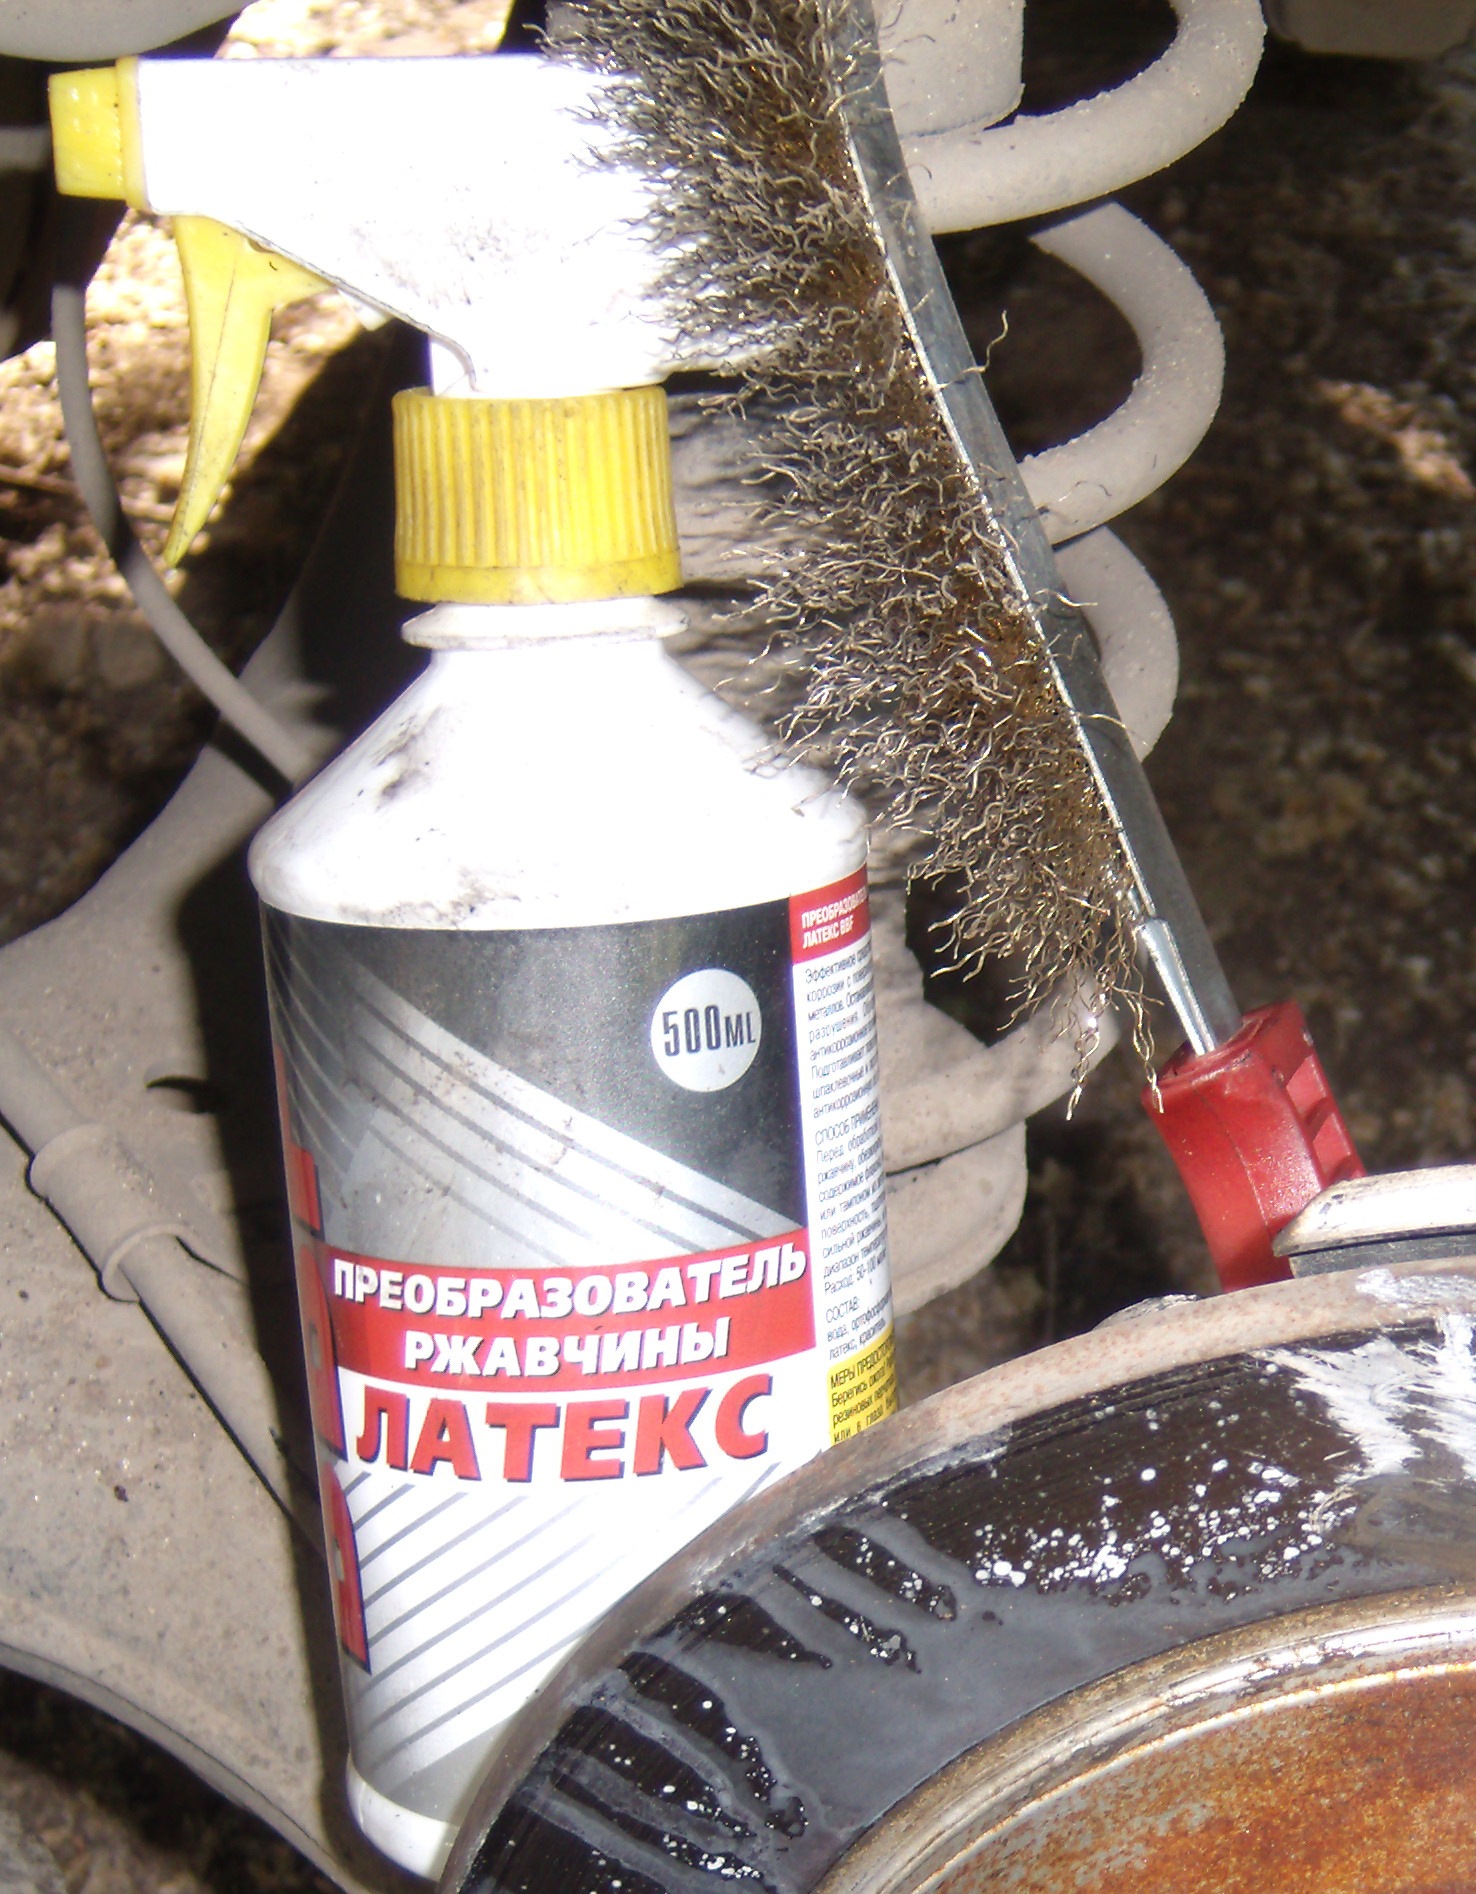
A metal brush and a rust converter, marked Latex (it says that immediately with the soil :), I also wound a spray bottle on it for convenience.
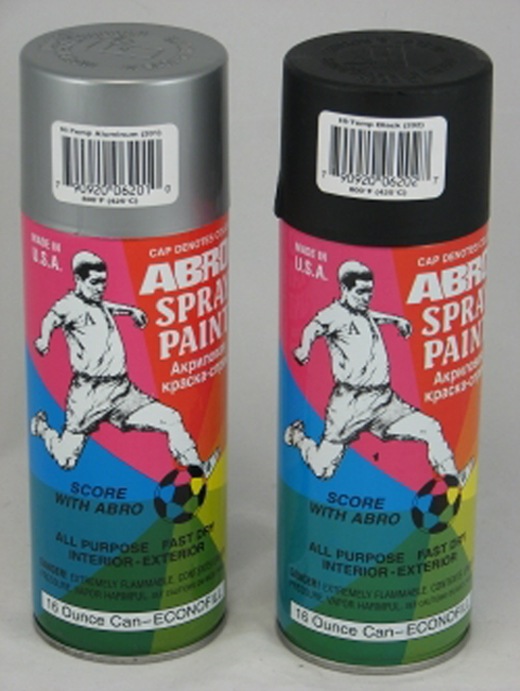
And of course the same High-temperature paint. I took matte black.
The description states: It is used for painting plastic, metal and wooden surfaces of various objects, both for indoor (domestic) and outdoor work. After drying, it is non-toxic. After drying, the paint can withstand temperatures of 425 ° C and is ideal for painting exhaust pipes, radiators, gas stoves and water heaters, boilers, stoves and barbecue makers. Resistant to oil, grease, gas, rust, salt, moisture.
I think it suits our needs :)
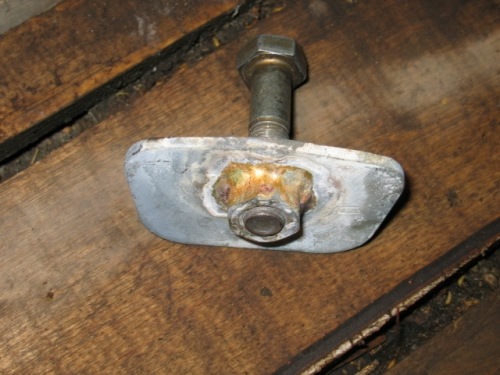
Homemade brake piston PRESSER. (you can do it yourself in almost any garage).
I haven't photographed my own, so I turn to the Internet again, but the meaning is the same.
WE WILL STILL NEED:
"GARAGE" gloves, scotch tape (preferably paint, but you can also use regular), a bunch of rags, a couple of newspapers, enthusiasm and patience.
Everything about everything will take about 700 rubles.
--------------------
LET'S GO.
--------------------
Our car is on a jack, already with the wheel removed.
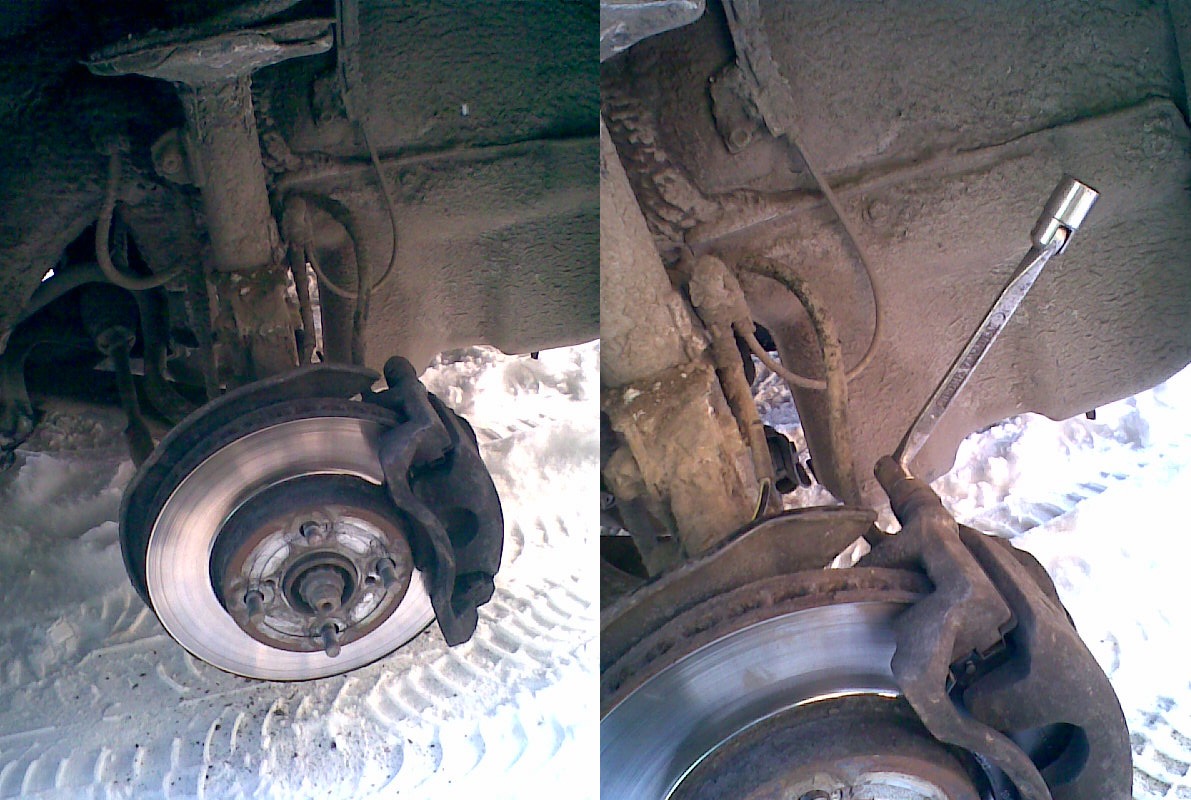
We look at our brakes. Then we unscrew the upper and lower bolts of the caliper bracket using a 12 key, and also 2 17 bolts at the back that secure our calipers.
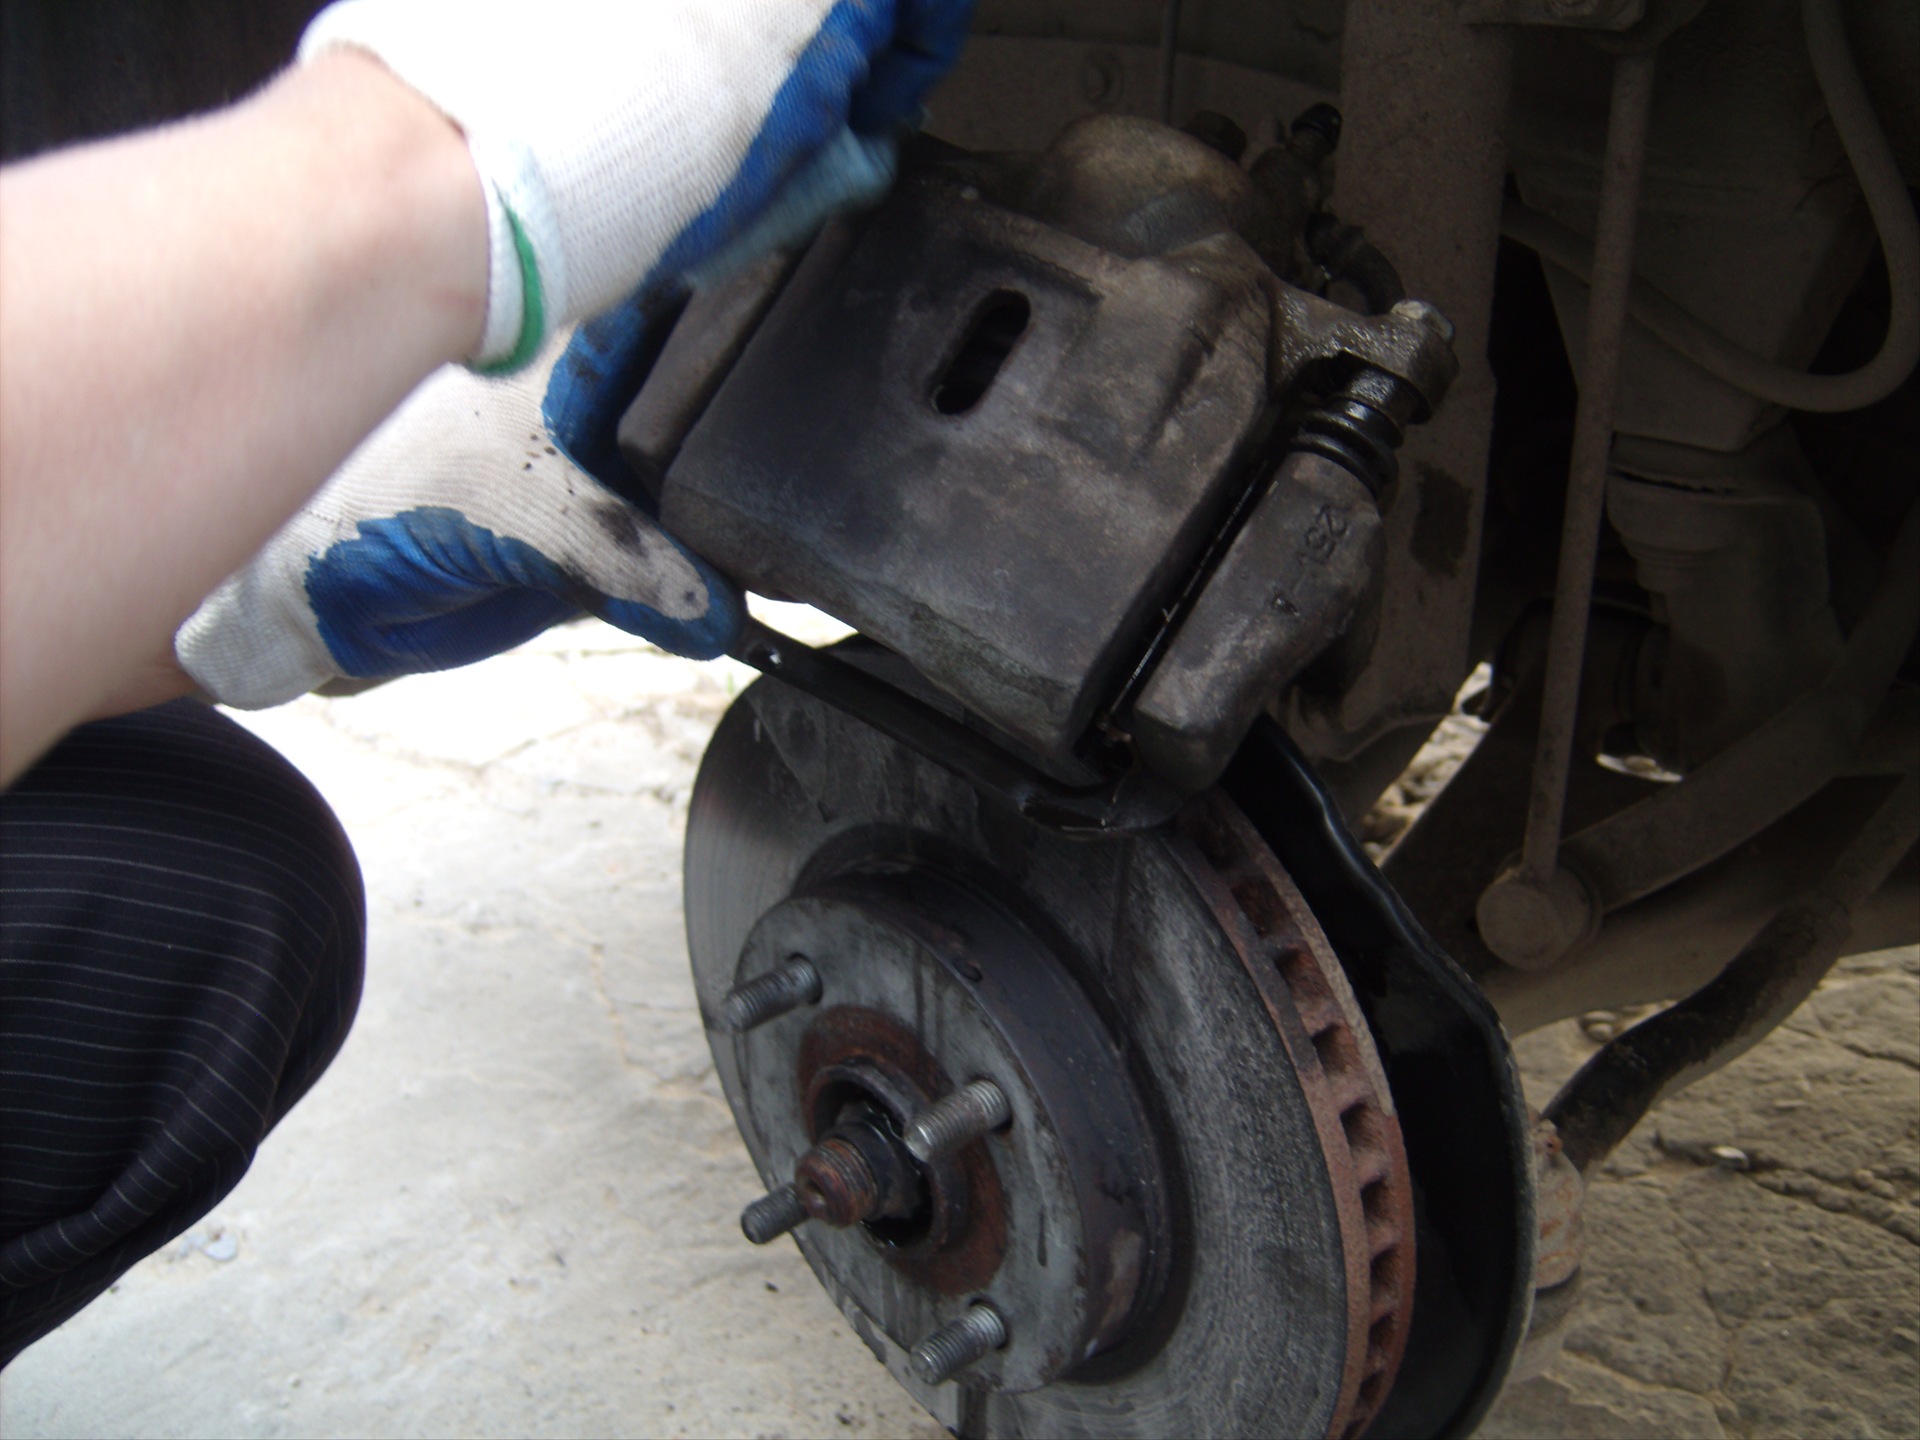
In general, we remove and "scatter", only very carefully, do not lose anything, it is better to put everything in one place prepared in advance.
Next, I wanted to try out the services of the nearest car service and PRESS the front calipers.
And so it was done.
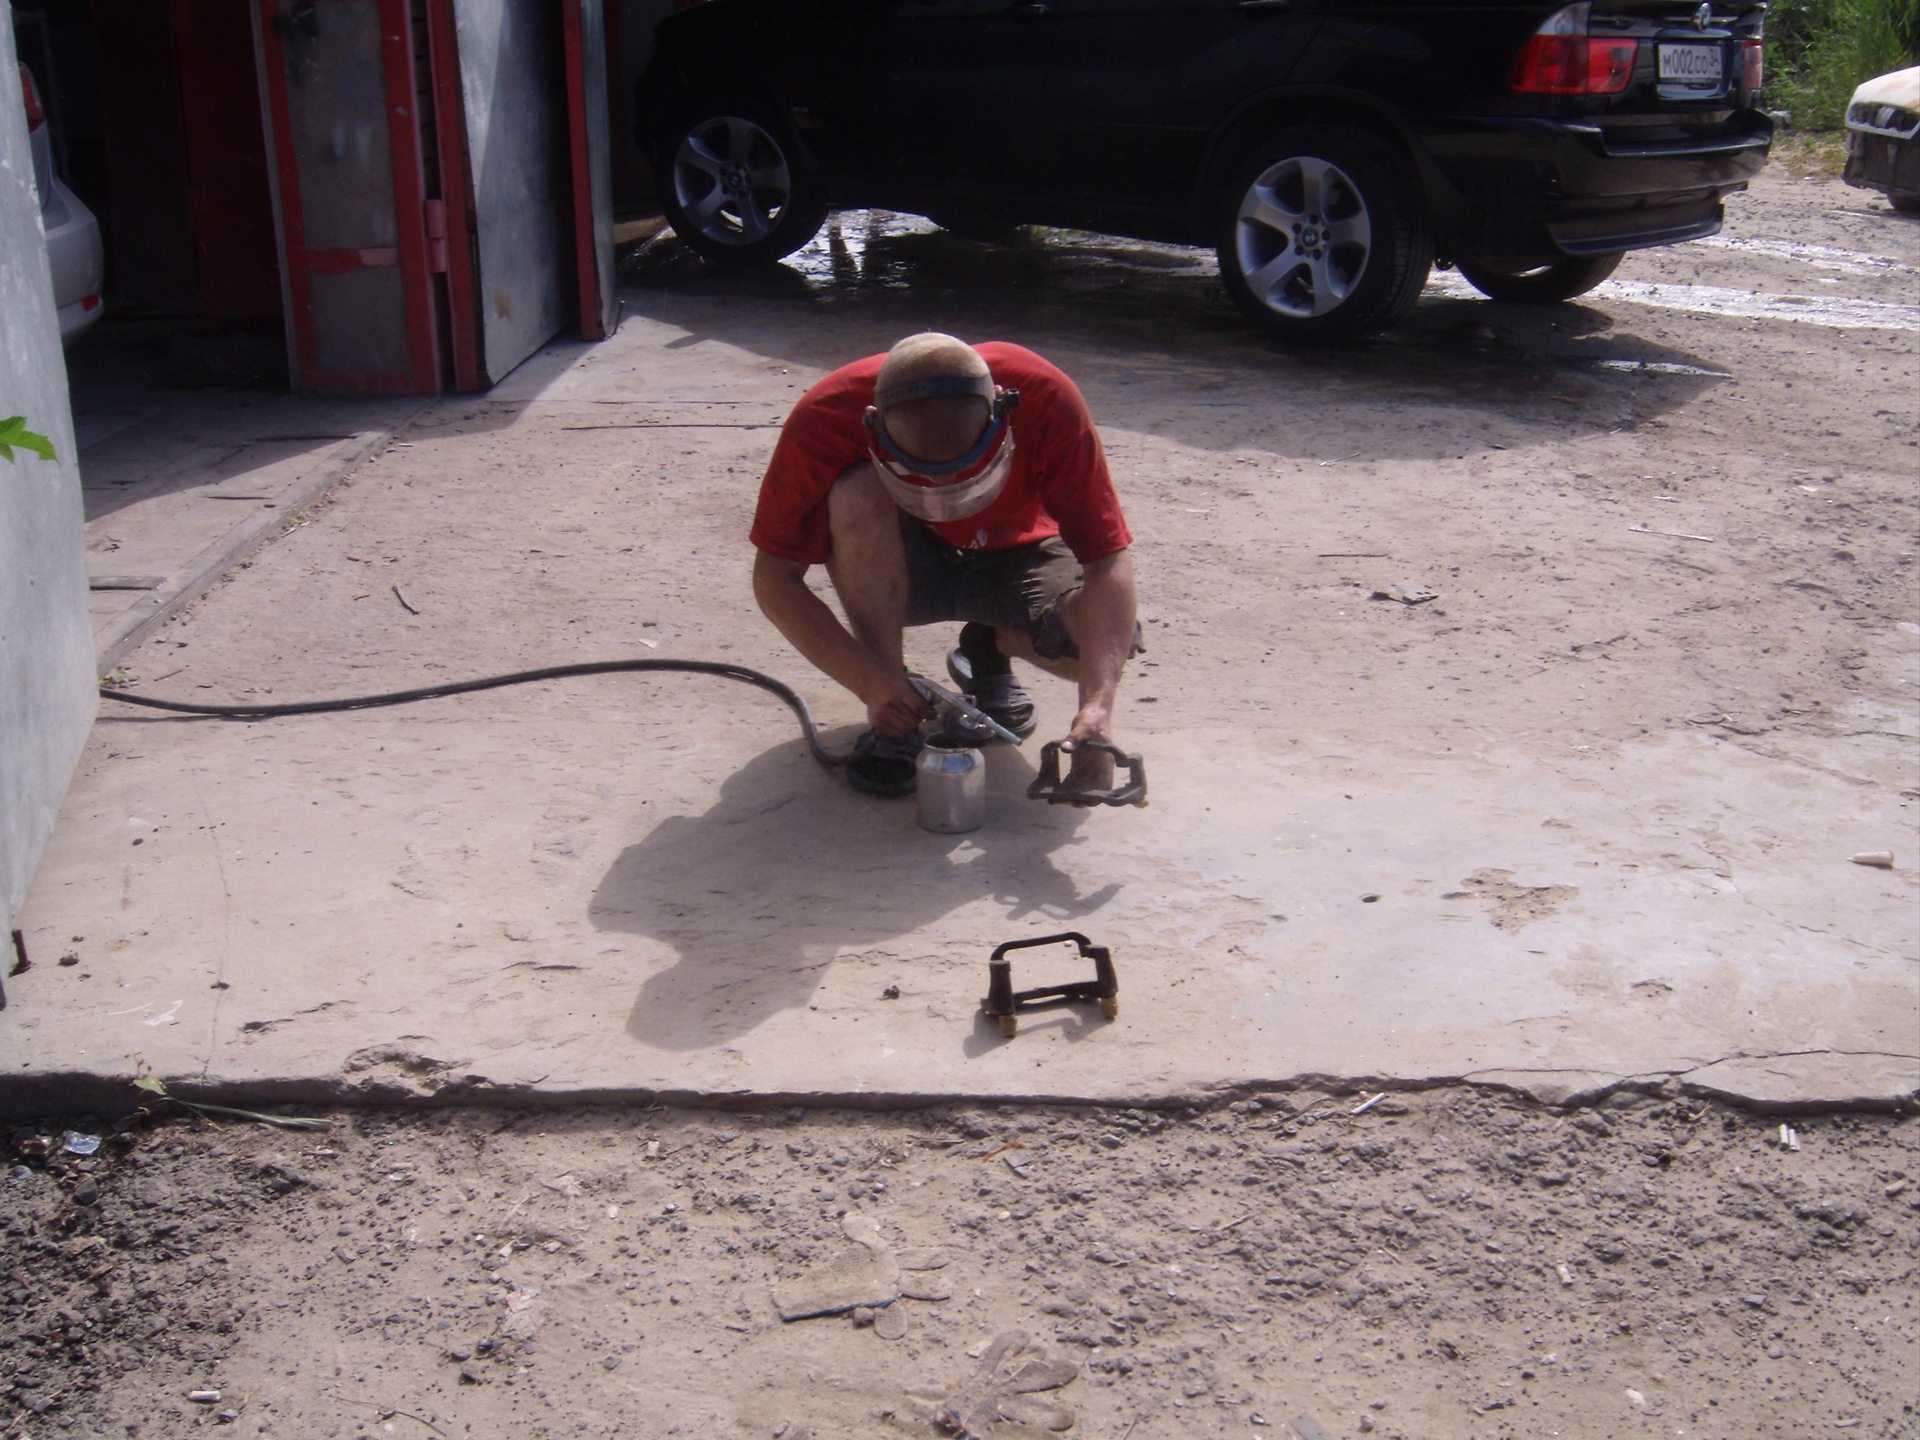
The master scrupulously does his job.
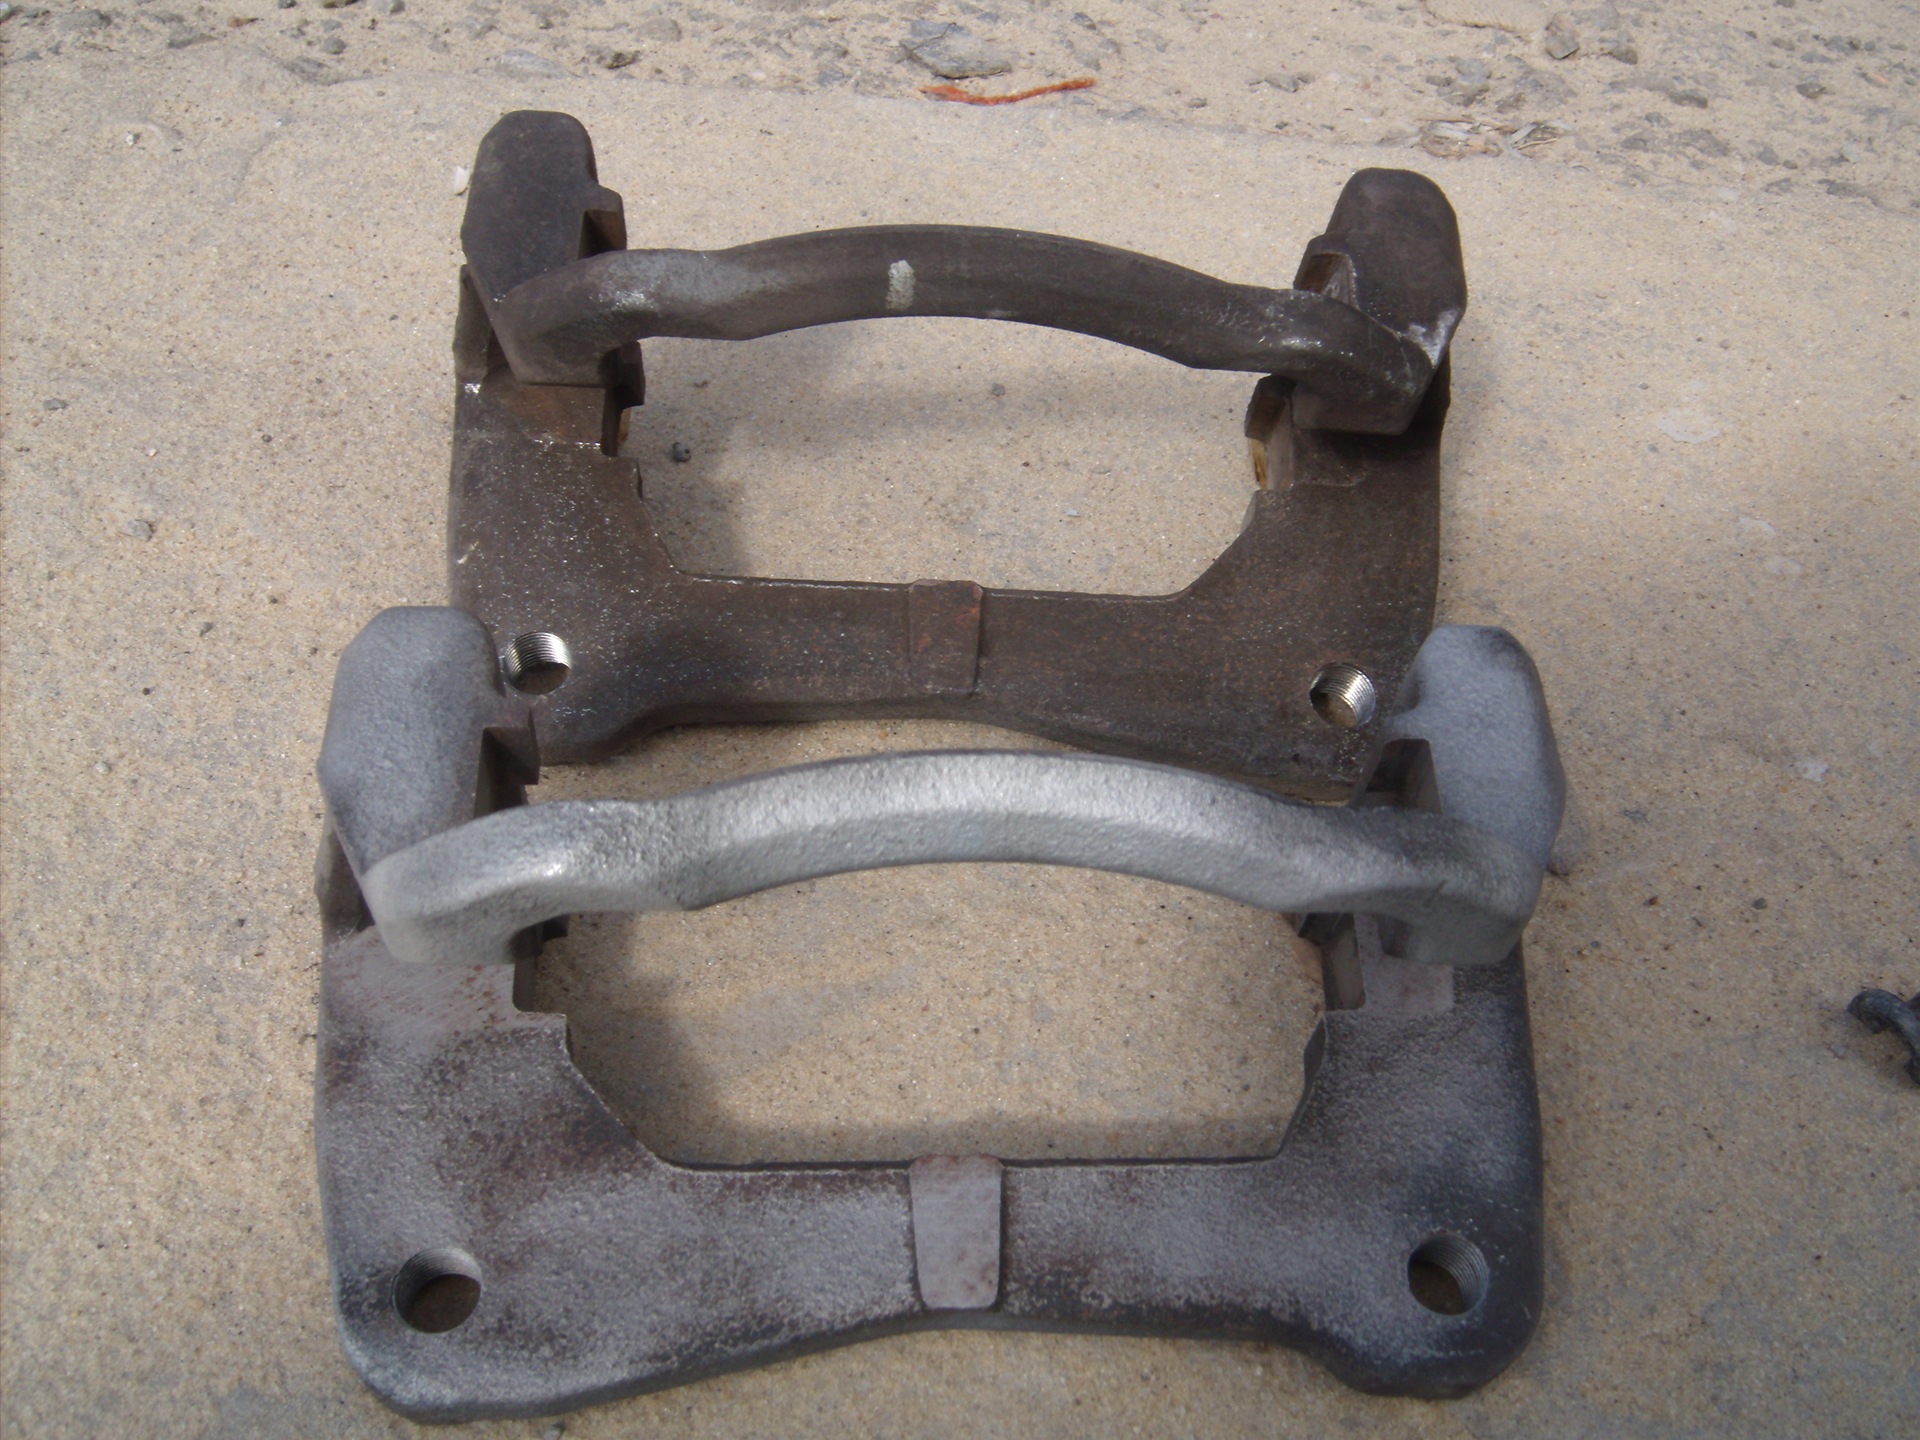
Result BEFORE and AFTER
As a result, for 2 of these pieces of iron and 5 minutes of work, they took 150 rubles from me, I didn’t go there anymore and just as successfully managed with a metal brush. Damn expensive. :)
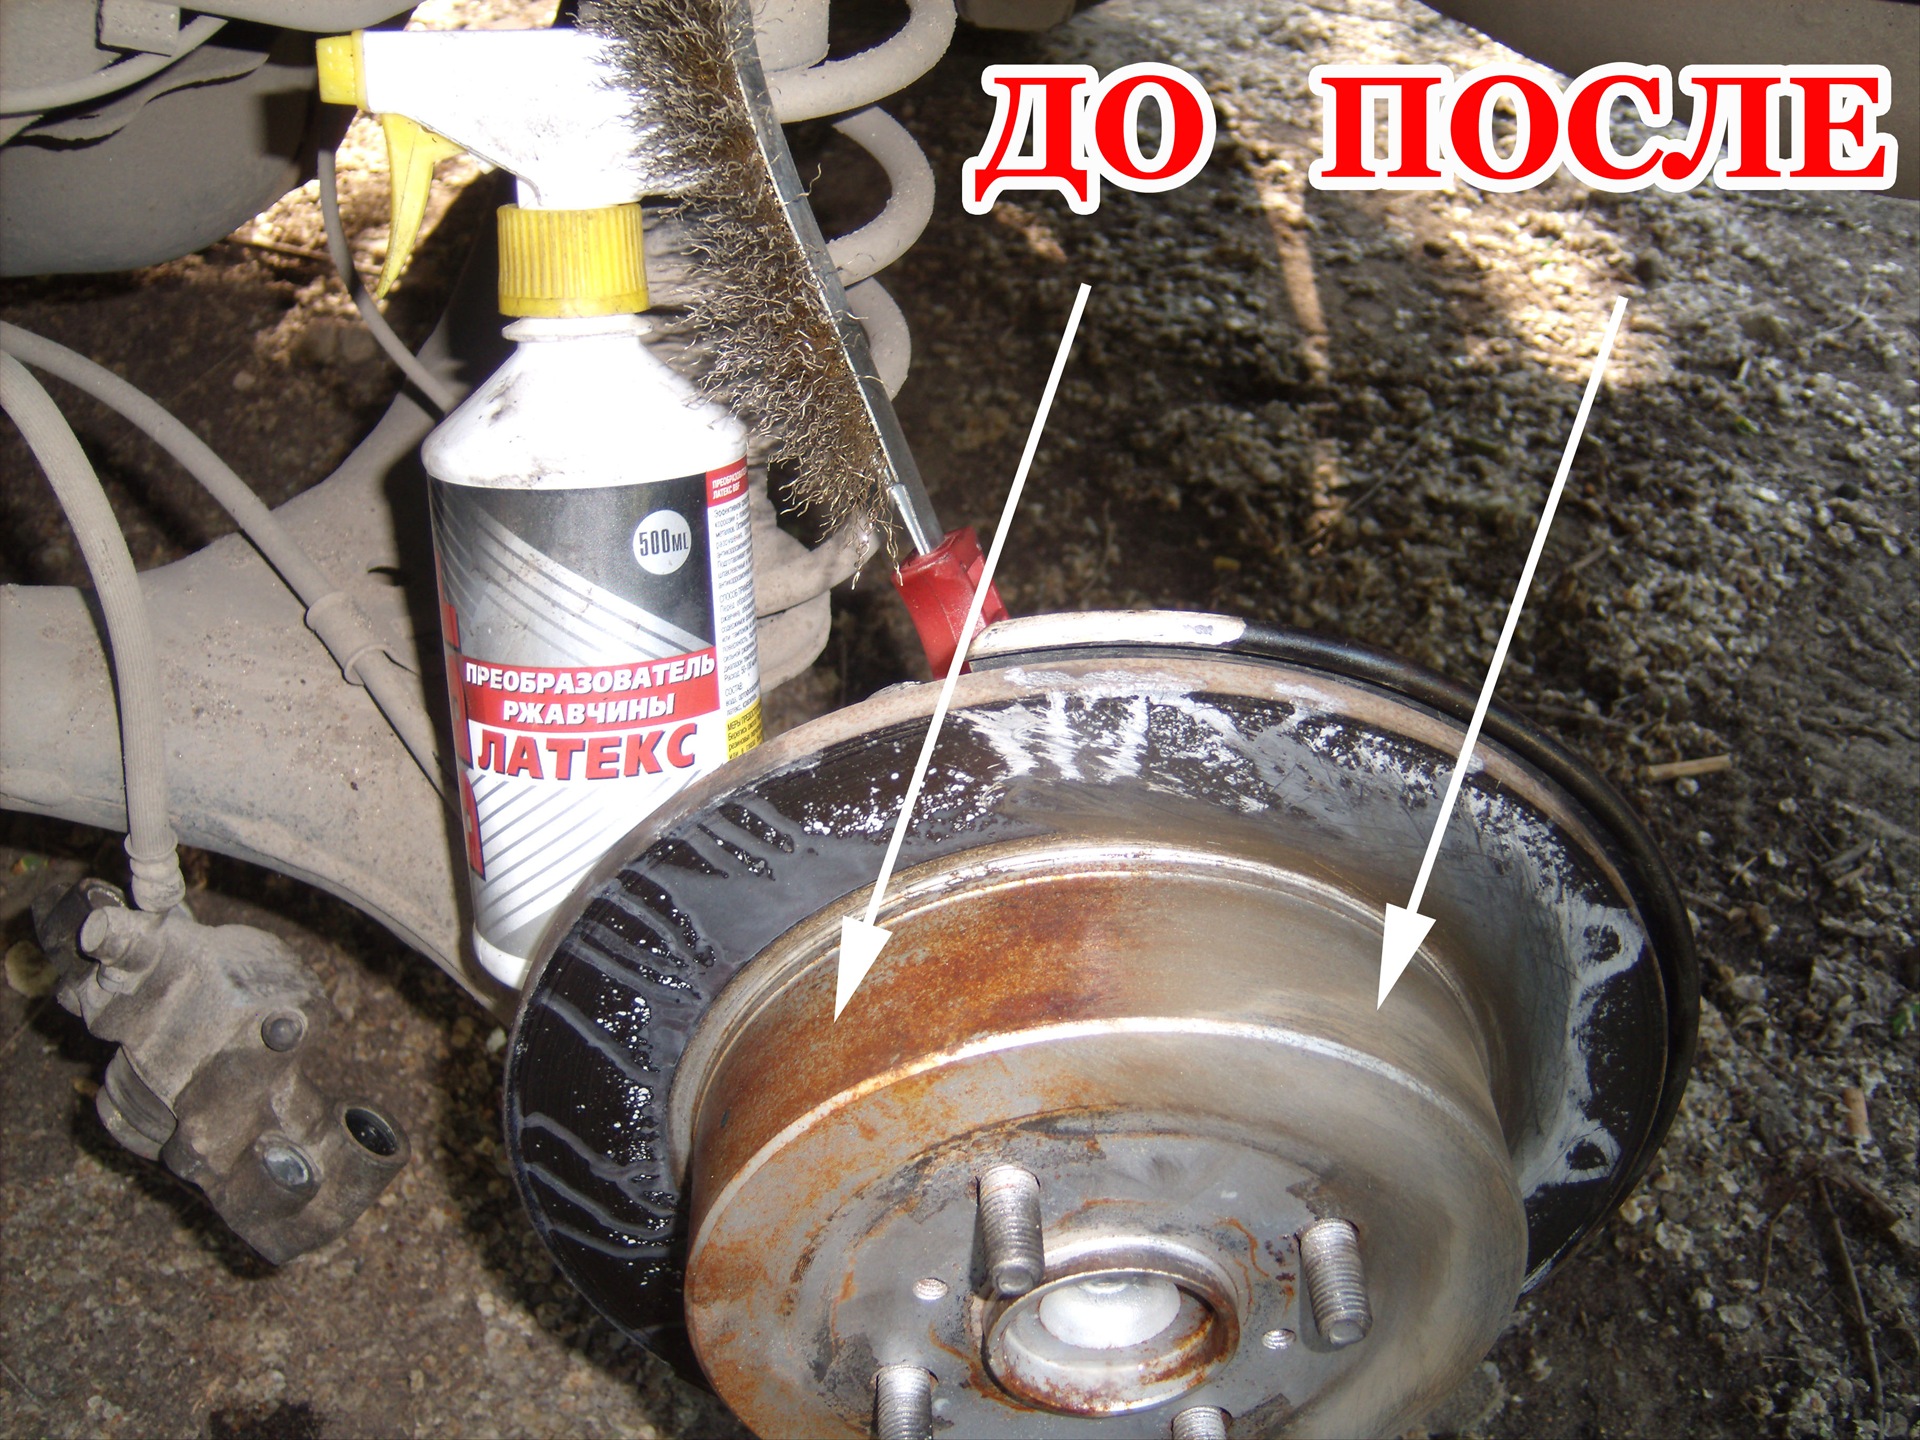
(rear brake disc in the photo)
Carefully scrub the dirt with a metal brush, then spray everything with the converter, and again we go through with a brush, wipe everything dry with rags and again spray with the converter. Leave to dry. As a result, we see metal with a whitish coating (the ground probably :)). We do the same with the piston.
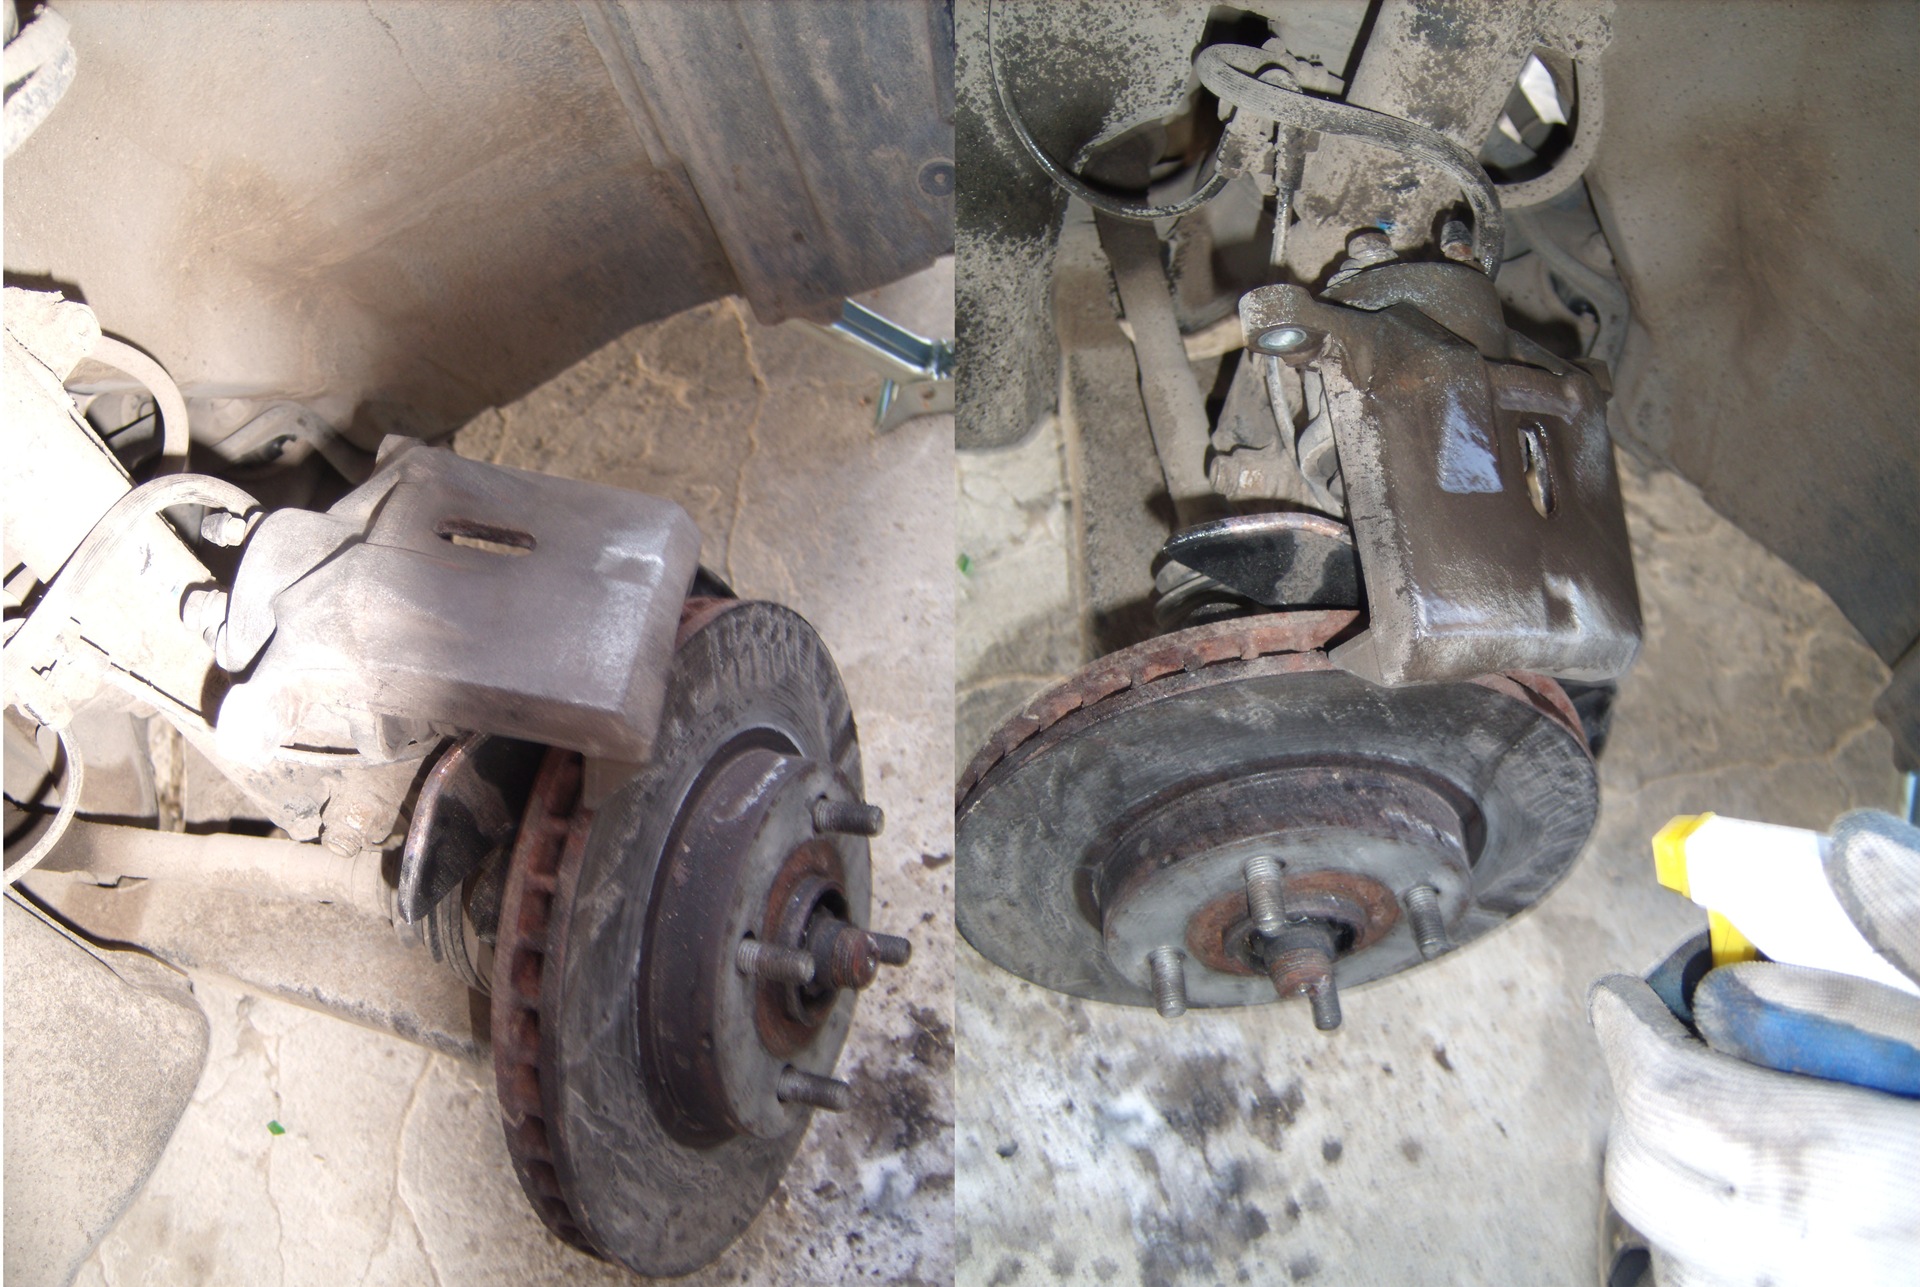
A metal brush turns out to be no worse than sandblasting, and most importantly for free :)
ALL - READY TO PAINT!
-----------------
WE PAINT
-----------------
We spread the newspapers and paint our parts in 2-3 layers.
Allowing each layer to dry for 15-20 minutes.
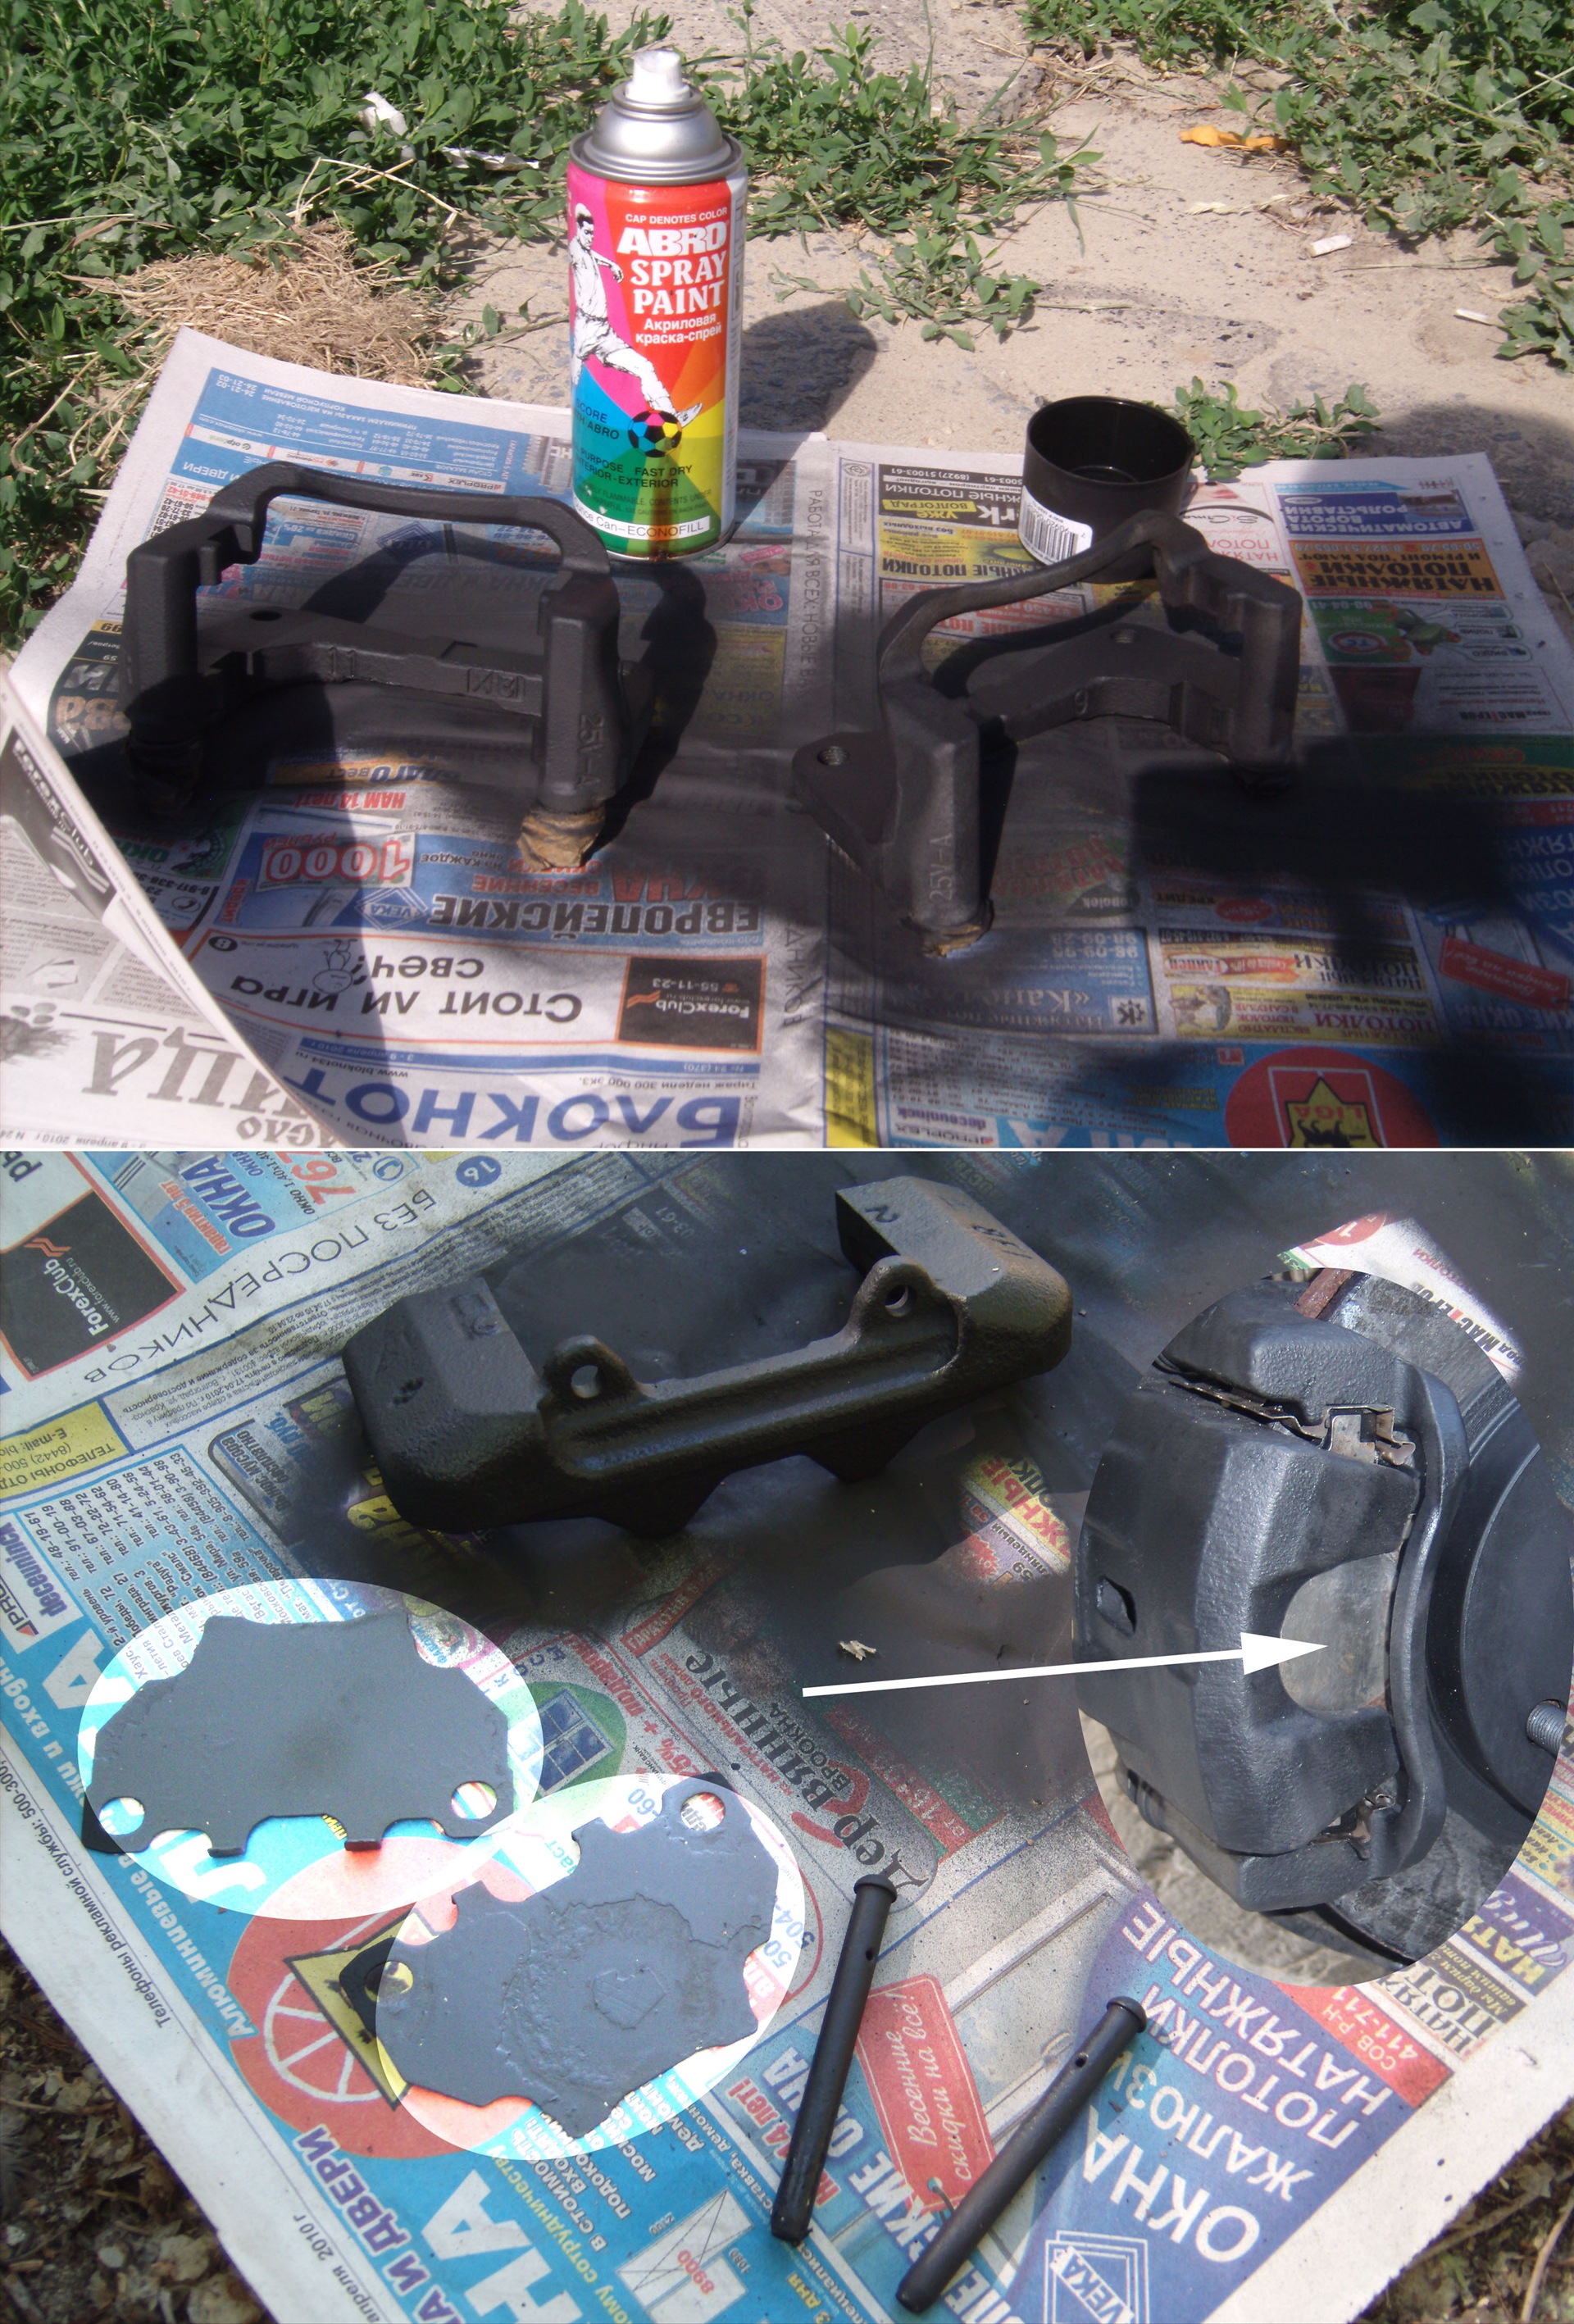
(Rear calipers on 2 photos) The marked glands do not need to be painted, I tried paint on them. These are fasteners from the previous pads, they need to be thrown out. IN NO EVENT DO NOT mix up the ANTISCRIPTS from the front discs (they are marked with an arrow) with similar pieces of iron, they must be cleaned of carbon deposits and plaque and MUST be put back. It is unnecessary to paint them.
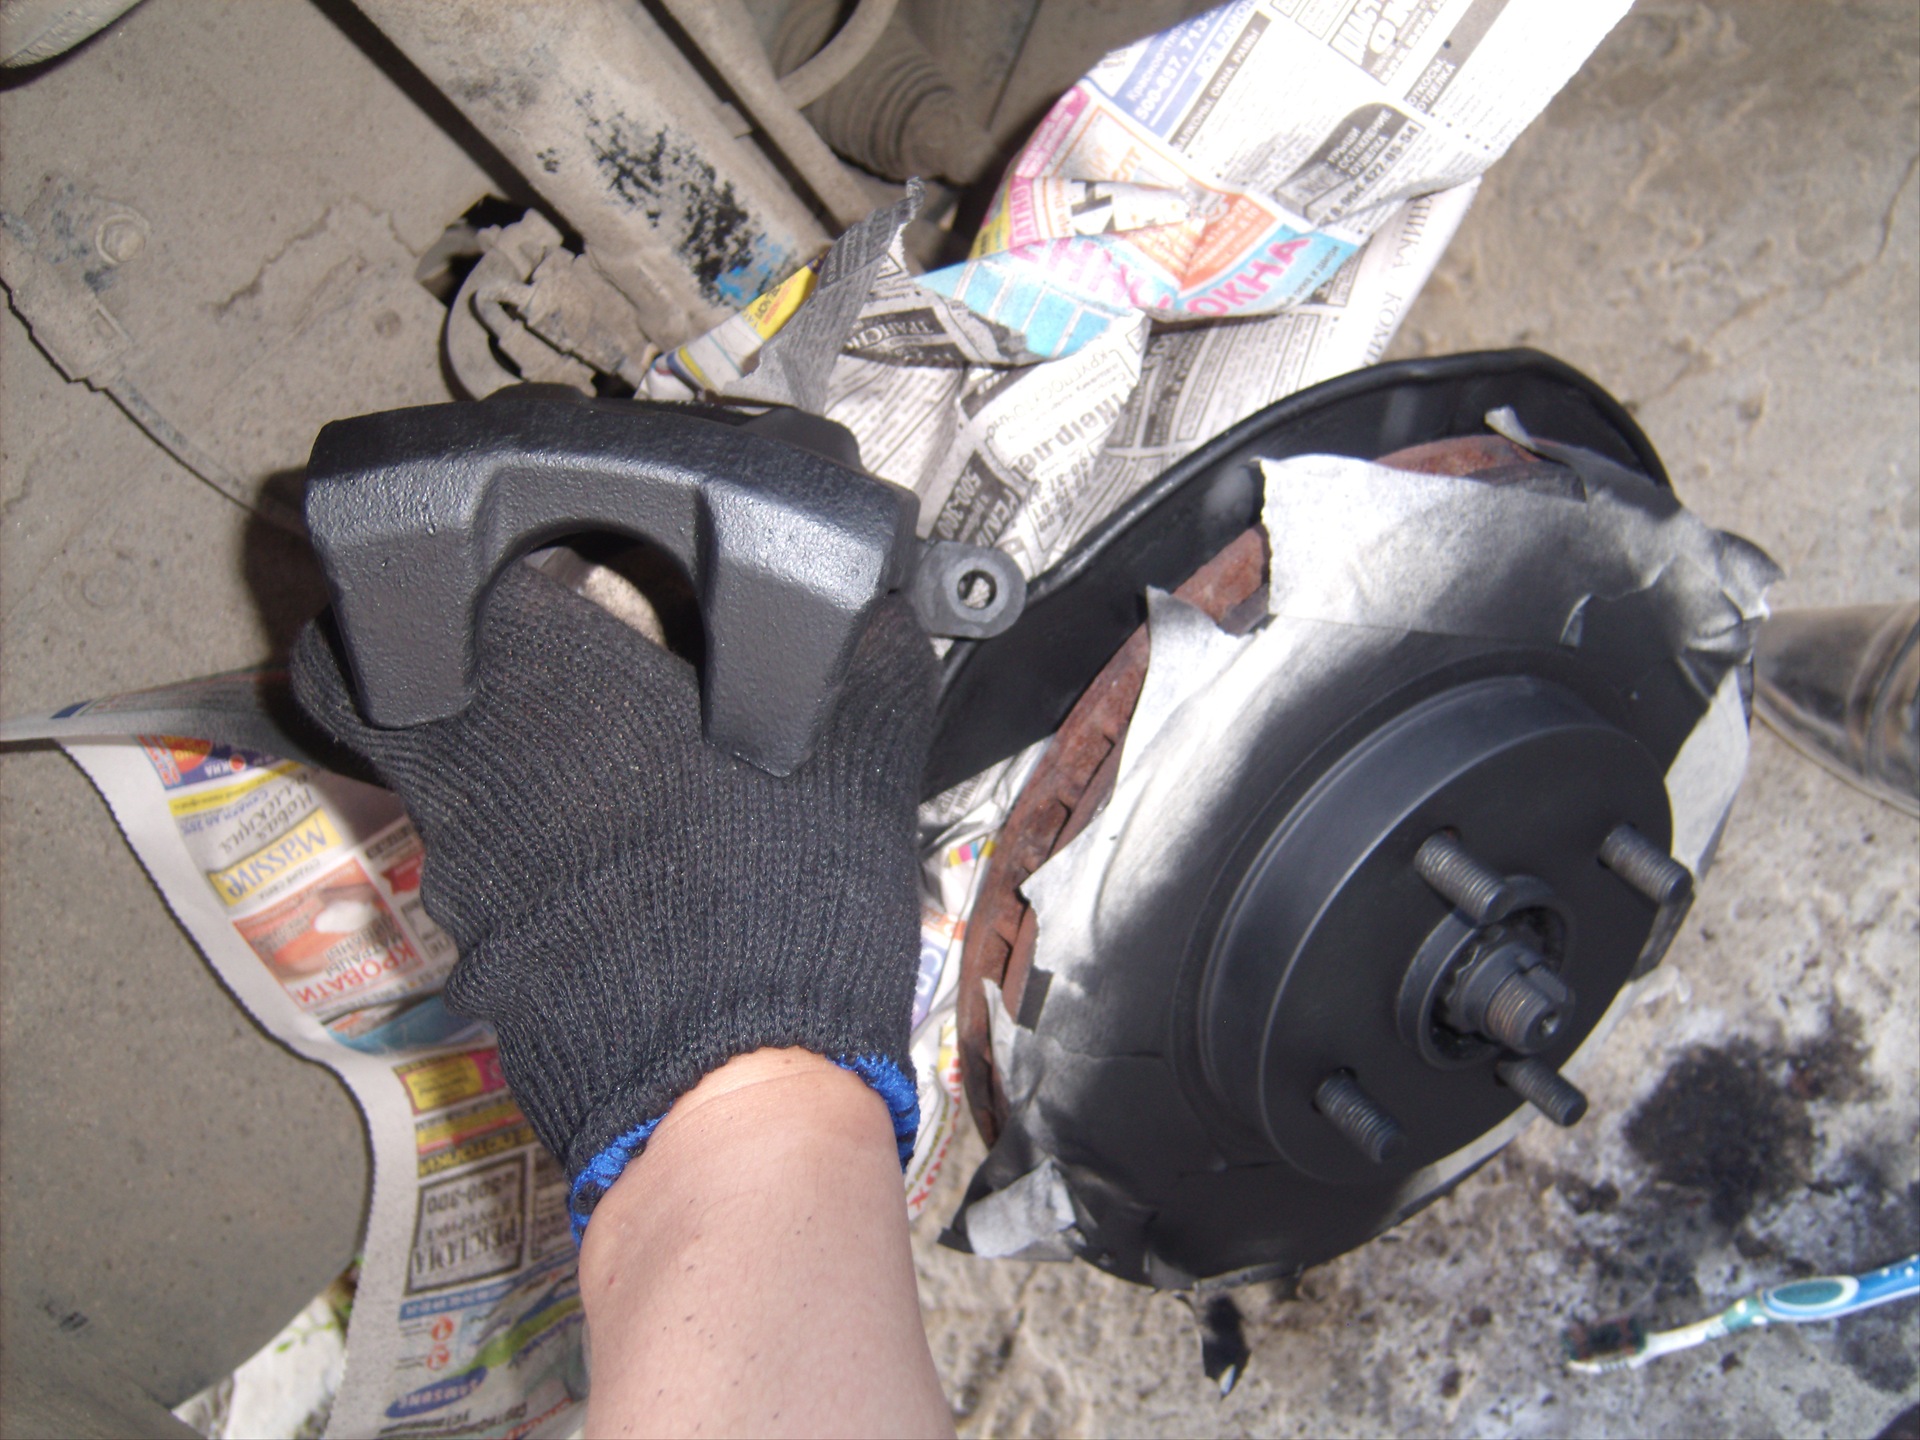
We also paint the Brake piston and brake disc, BEFORE GASKETTING it with masking tape.
WE DO NOT FORGET TO LET THE PAINT DRY BETWEEN LAYERS, BUT WE HAVE THEM 3.
------------------------
LUBRICATE
------------------------
For grease we need Graphite grease or something similar. Vaseline, Litol, Solidol are not suitable for this :)
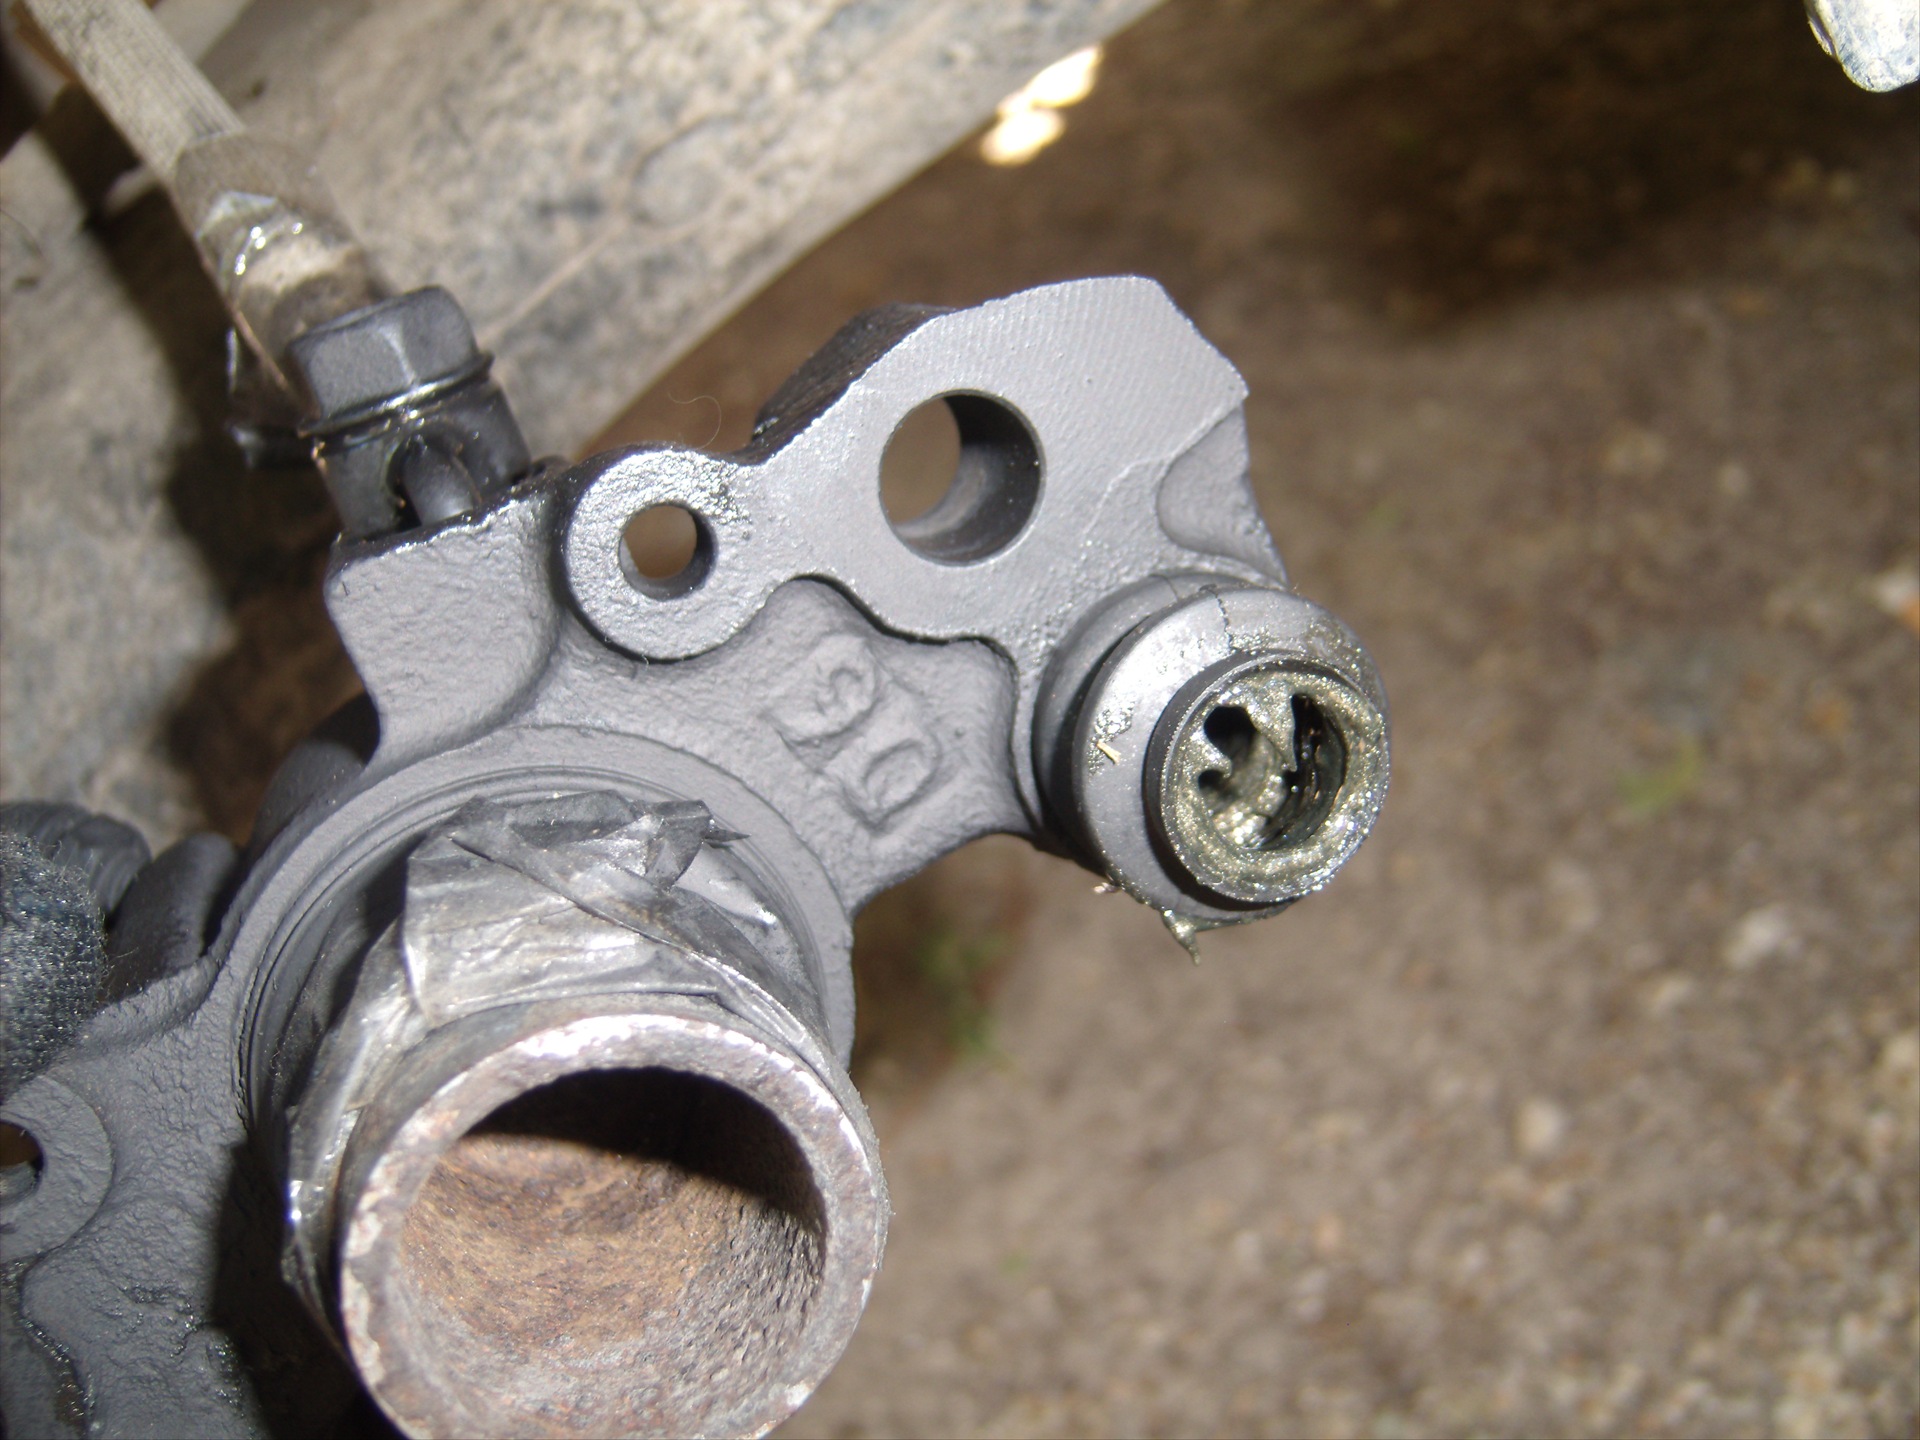
(pictured rear piston with already stuffed anthers) We don't stuff a lot of grease. We insert metal fingers there and squeeze the excess out of the gum together with air. Wipe the rubber bands and piston dry. Finally, we push our fingers back and forth so that everything works out, goes well and does not sour in the future.
DONE!
-----------------------
ASSEMBLING
-----------------------
Before assembly it is necessary Push the brake piston back. That's why we need our handicraft device "PRESSURE". This is done somehow.
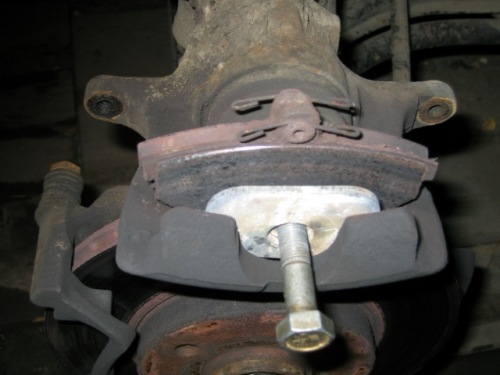
Of course, I didn't take a picture of this, so again the Internet will help :). The meaning is, we push our "PRESSURE DEVICE" into the caliper, put the old shoe and start screwing the bolt into it until the piston goes to the end.
After the piston is completely pushed inside, it is necessary to assemble everything in the reverse order and check that there are no unnecessary parts left :)
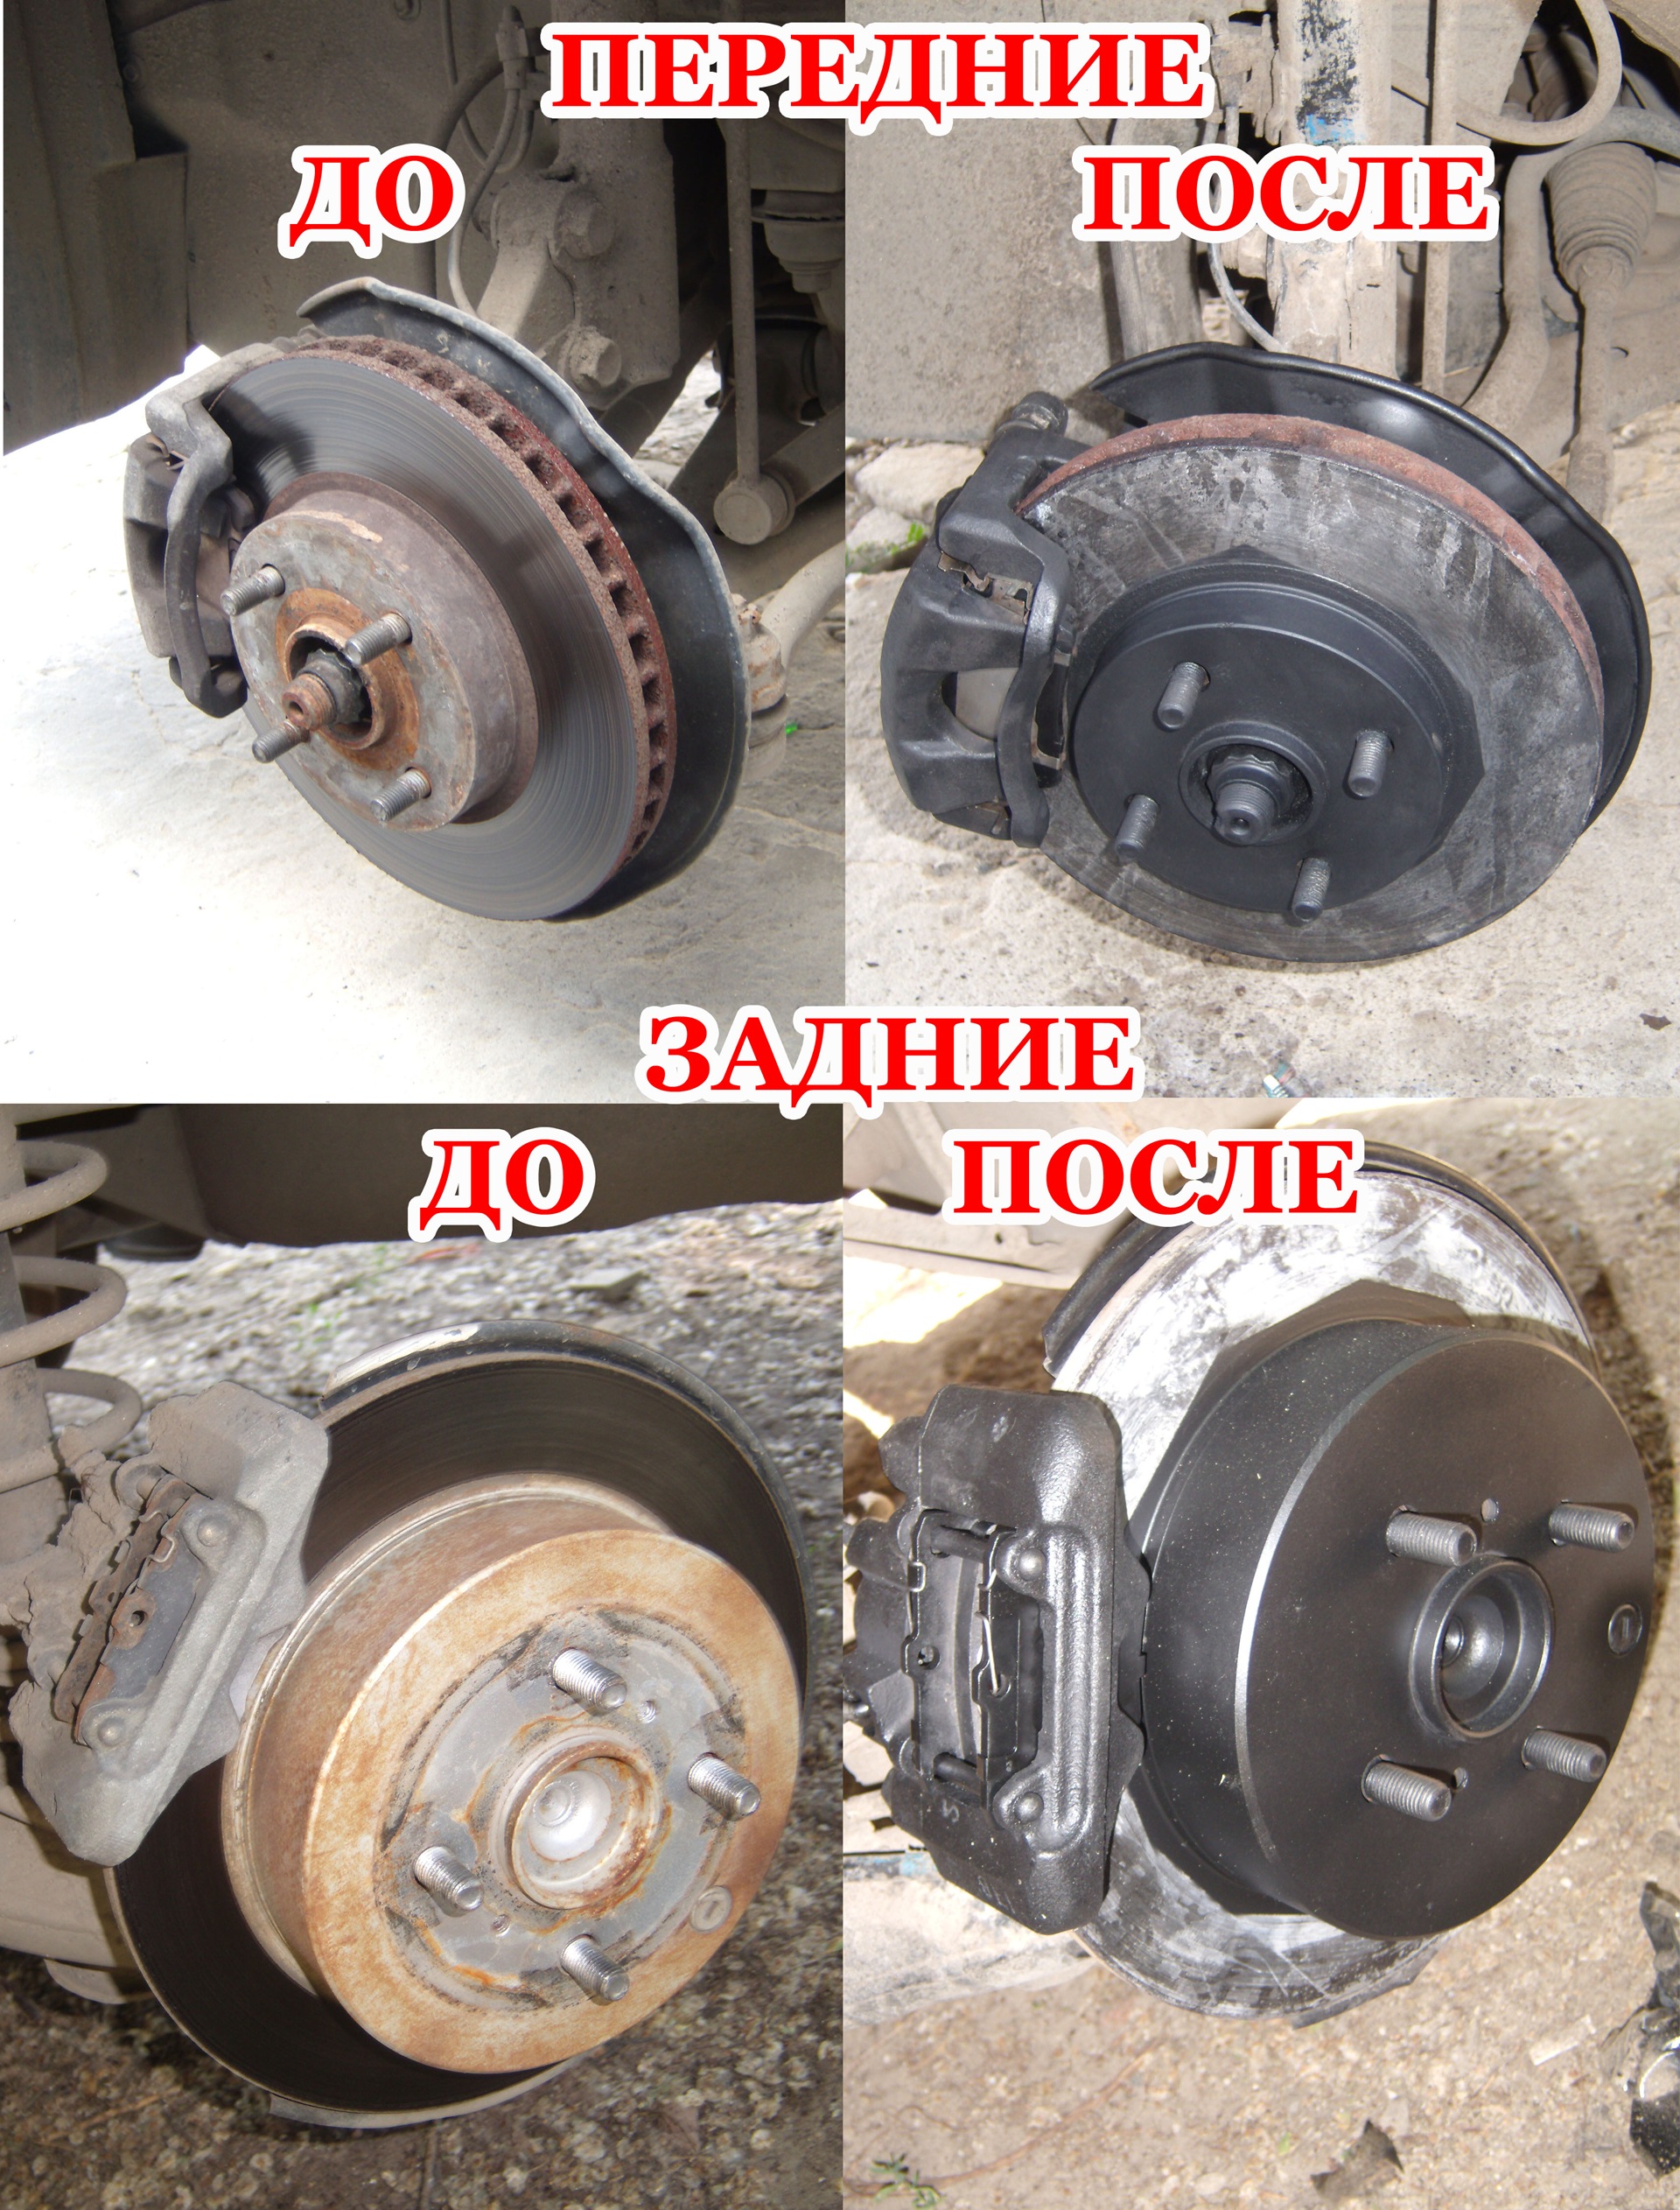
After assembling the wheel, press the brake pedal several times: the first time the pedal will "fail", this will happen due to the fact that the caliper brings the piston and pads to their new places.
At the end, please note: the pads are new, not lapped, the braking efficiency is lower than usual. How long does it take for the pads to get used to it is a question ... But after one day of driving around the city, I no longer notice the deterioration of braking: i.e. either already got used to it, or already got used to it :) But rather, got used to it.
-----------------
Conclusion
-----------------
After I have covered 2000 kilometers, I can say the following brakes work perfectly, pads frankly NEPHANTAN. Anyone who wrote on the forum on the Internet that he installed them 5 times in a row and everything is fine, you need to cut off your hands :)) They creak, as it turned out. I creak when I lightly press the pedal. But it should be noted that the front discs were slightly "grooved", maybe because of this. Although over 2 thousand kilometers, the risk of "corrugation" has decreased by an order of magnitude. I did not find any more complaints, although I would advise you to buy a better lubricant, although this one behaves well. And as for the paint, here some spoke out negatively, it behaves perfectly, like new. Well, that's all for now.
Good luck to everyone on the road and GOOD brakes :))
Finally I decided to write a report on replacing the pads, all hands did not reach :) Fuh.
everything is exactly wrong ... but I'm not talking about it because of the appearance but the effect of the brakes
By the way, IT WILL LEAVE ANYWHERE 8 HOURS FOR THE WHOLE WORK, but it's worth it, it looks like new. And the drum, when put in order, also looks very good :)
Damn, when will I do this ... I'm tired of rust, I want an aesthetic look :)
and I also envy you, just a little bit ... you have rear disc brakes and I have a drum :(
At the expense of painting, everything was somehow simpler for me. Bluntly took off the wheel, brushed it over the metal, wiped it with a solvent (degreased), painted it in 3 layers together with the brake disc itself without pasting anything. At the beginning of the movement, you hear a sharp knock (paint cracked, which poured between the caliper and the disc). It is only advisable to first drive around the tuda-syudy garage so that the paint from the brake discs flew off. It took me 1 hour to paint.
By the way, I painted the headlights with this paint. Tfu-tfu-tfu for 3 months already I drive everything is in order. You can take a look at the front optics tuning is called.
kurgan45rus
I also bought this dumb paint, painted the mirrors, and it began to crack a week later, in dry weather it drove fine, but after the rain it all collapsed, I probably gave a very cheap one for 1 piece 150r the same can as yours!
It is cracked because probably poorly degreased and applied too much paint. Speaking Russian - flooded! )
Already skated 300 km and 2 rains, temperature drops were not weak, not winter, of course, but still. The paint is fine, the flight is normal. She just "breathes" plastic.
I also bought this dumb paint, painted the mirrors, and it began to crack a week later, in dry weather it drove fine, but after the rain it all collapsed, I probably gave a very cheap one for 1 piece 150r the same can as yours!
solid report! good work) and the choice of the color of the norms, otherwise yellow, red) there will be time - I will also do
Well done! Special thanks for taking the trouble and making a detailed report! This is often more difficult than the work itself) How do the brakes look now? Is the paint still holding?
Offset! Record book on the table! I go on the same pads - I removed the anti-creak spacers immediately when I put them on. They whistled at the beginning while new ones, and then stopped. Now they creak again when braking, but not much, although the stock is still mm 3 probably. In short, I will not take these more, although they were advised in the Euro car from not expensive ones. In short, I decided that on the oil filter and brakes - I will not save, I will put all the original or Brembo!
I painted brake discs and calipers with exactly the same paint, after winter everything peeled off and again corrosion, although I thoroughly processed everything before painting, the output or paint sucks, or the Moscow authorities should use less reagents from road icing ...
Thanks for the detailed description of pad replacement and painting. The only thing I want to add is LPR China. The office is registered in Italy, and production in China.
I also painted discs. New! I dried it in the oven. All the same, all the paint peeled off for the season.