Lights… everywhere) - Toyota Camry, 2.4 L, 2004
I thought what could be done with this machine and decided to make LED backlighting ... and more) I
did not do everything all at once, but gradually: first, the trunk lighting - 4 boards with 3 powerful SMD diodes (the same 3-chip SMDs are used everywhere).
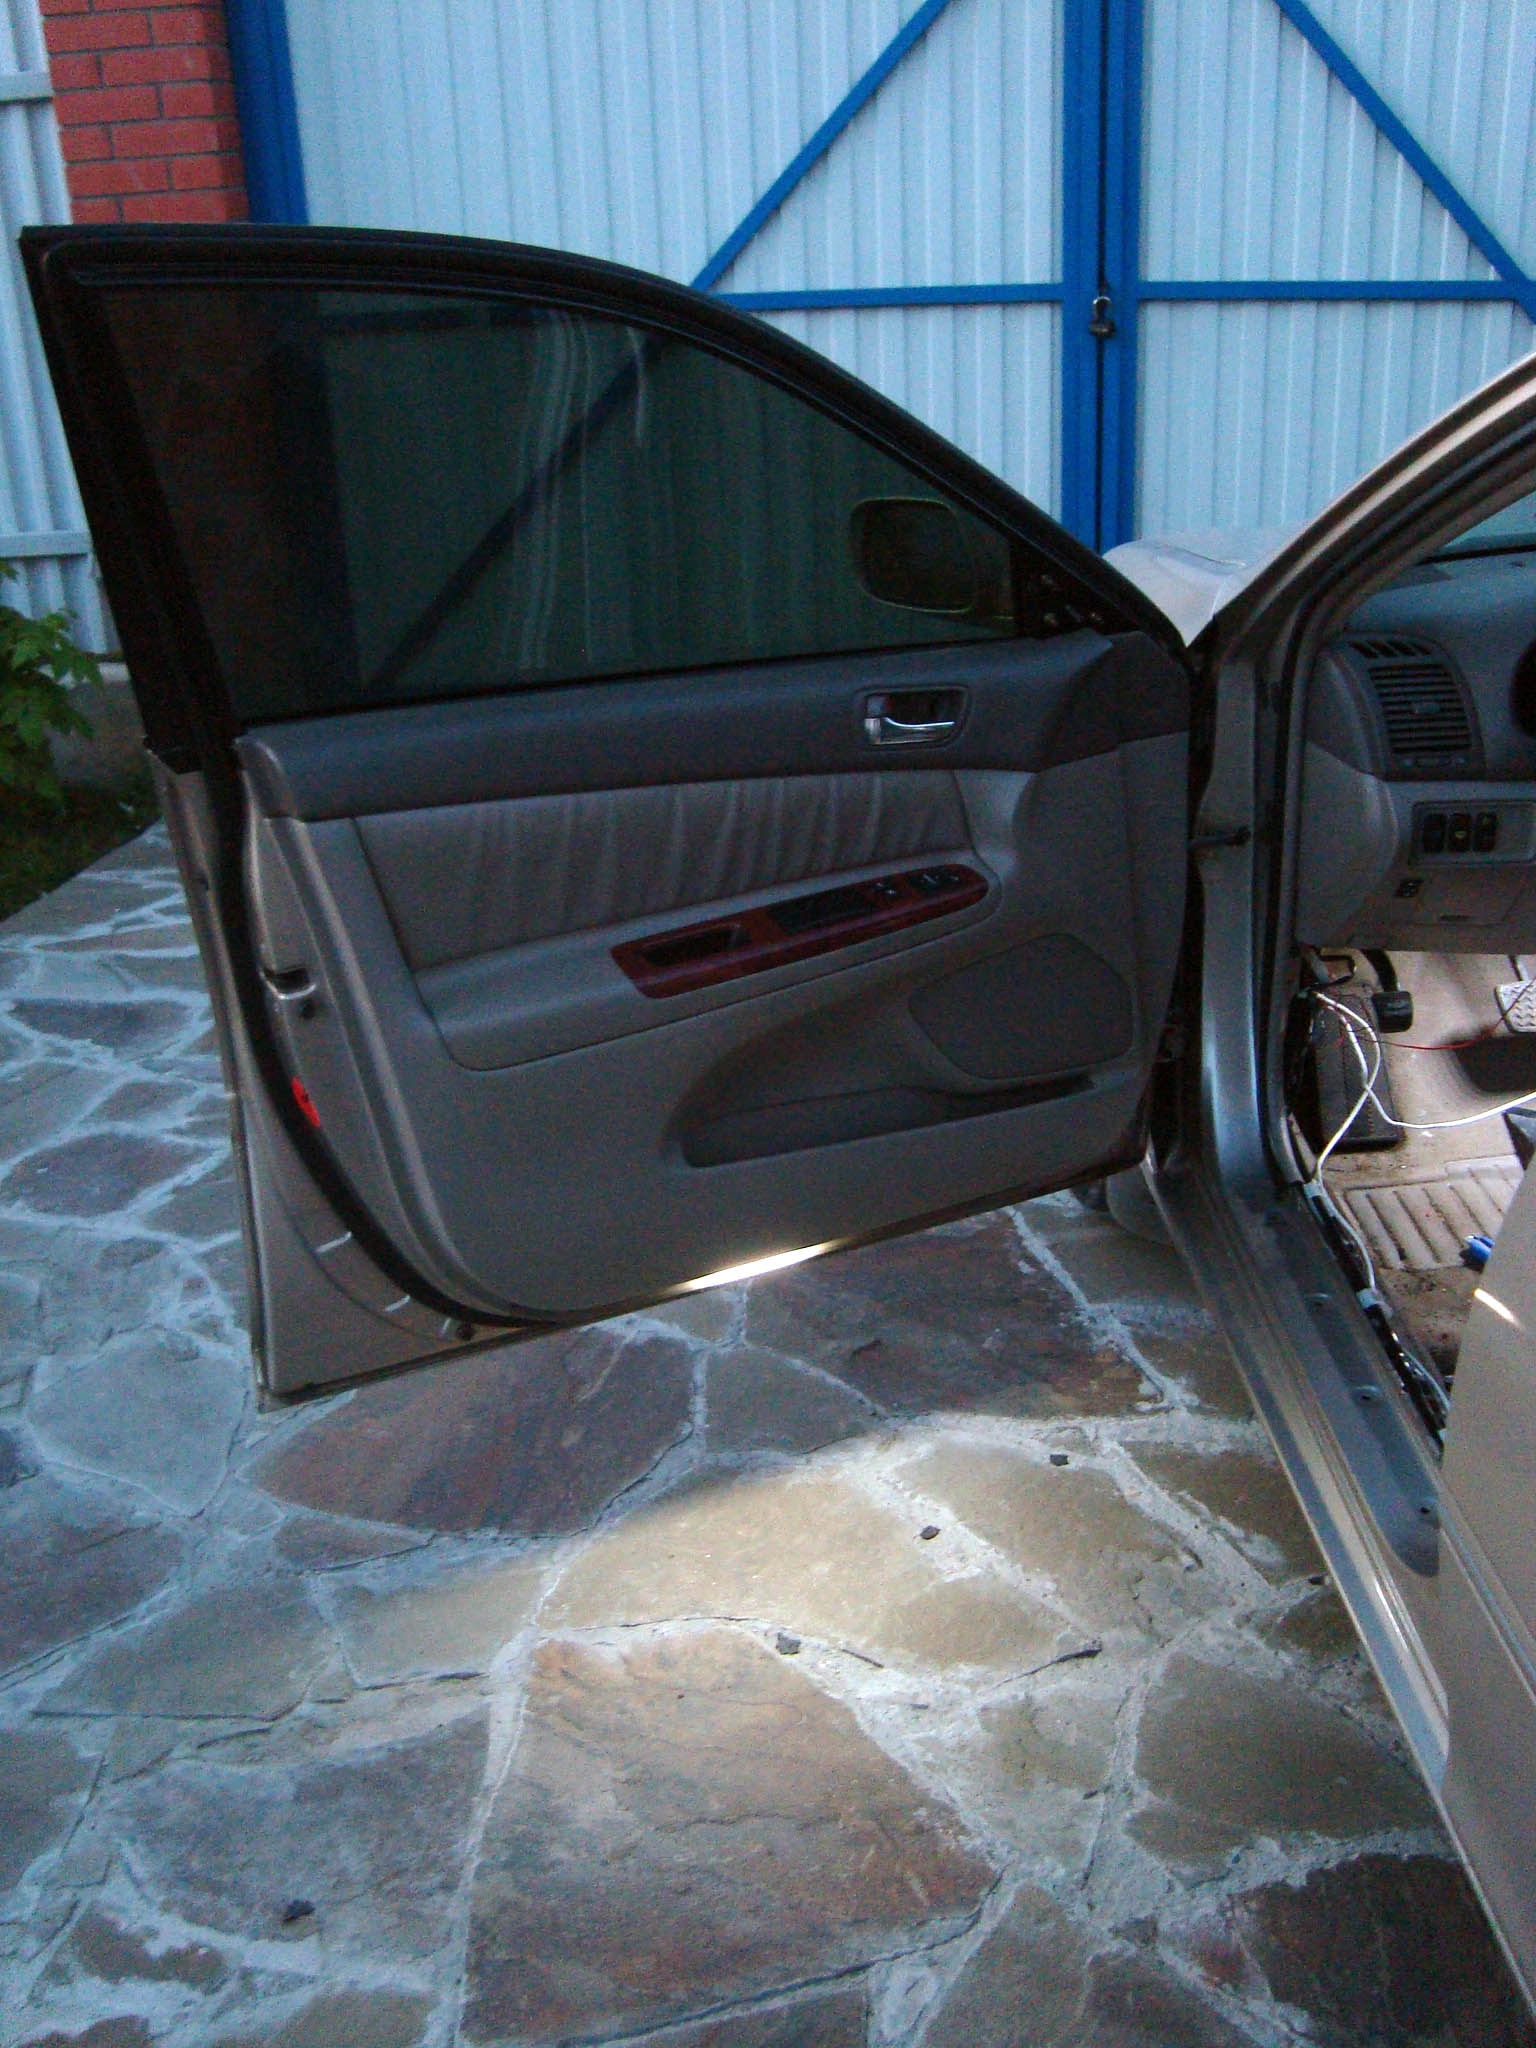
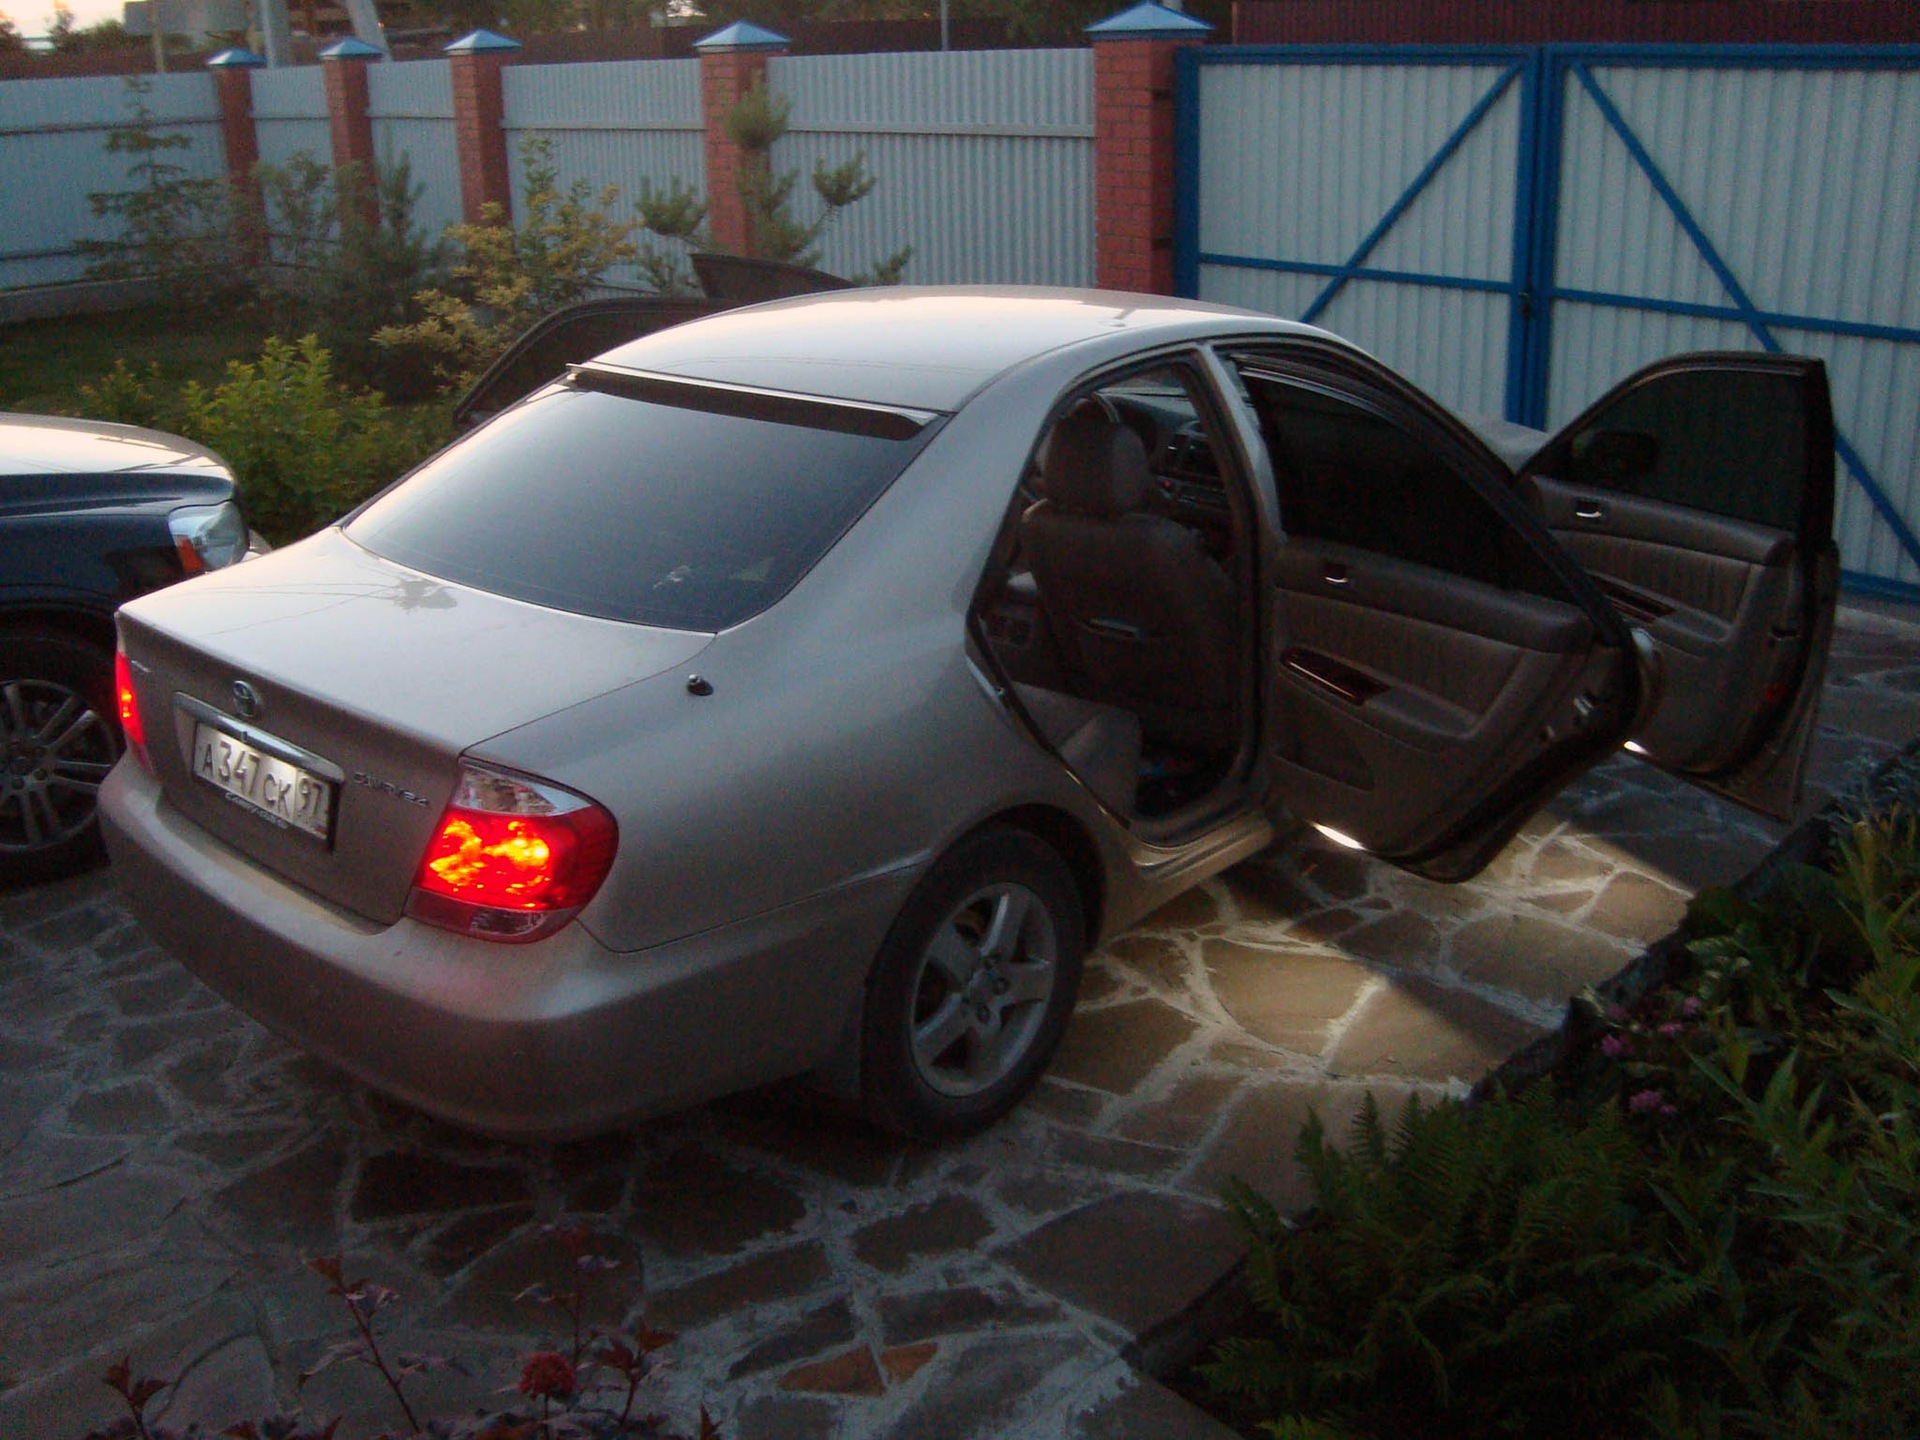
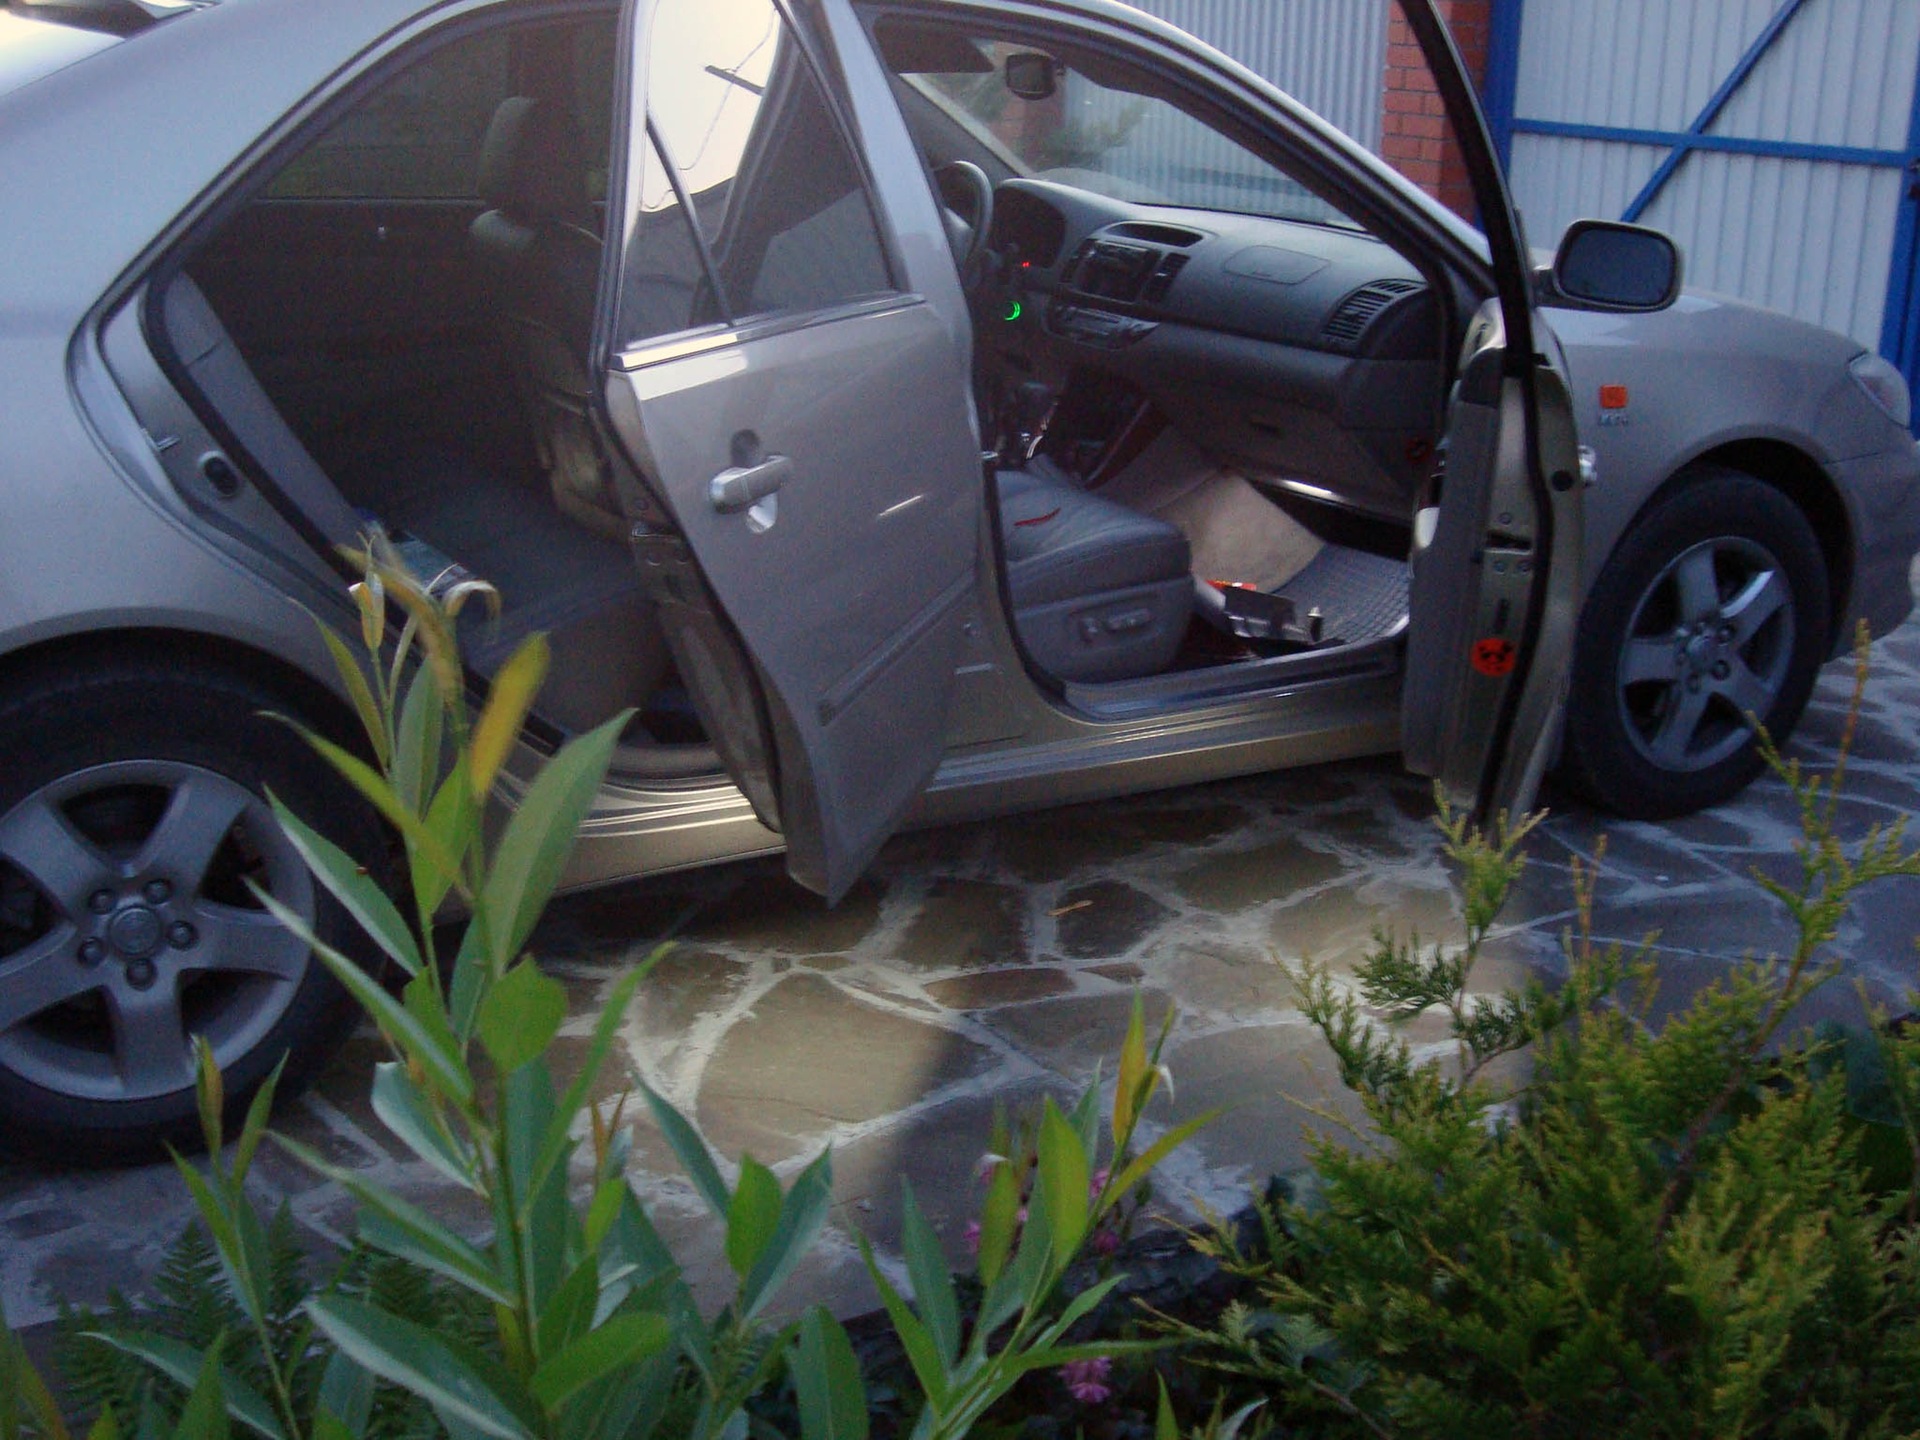
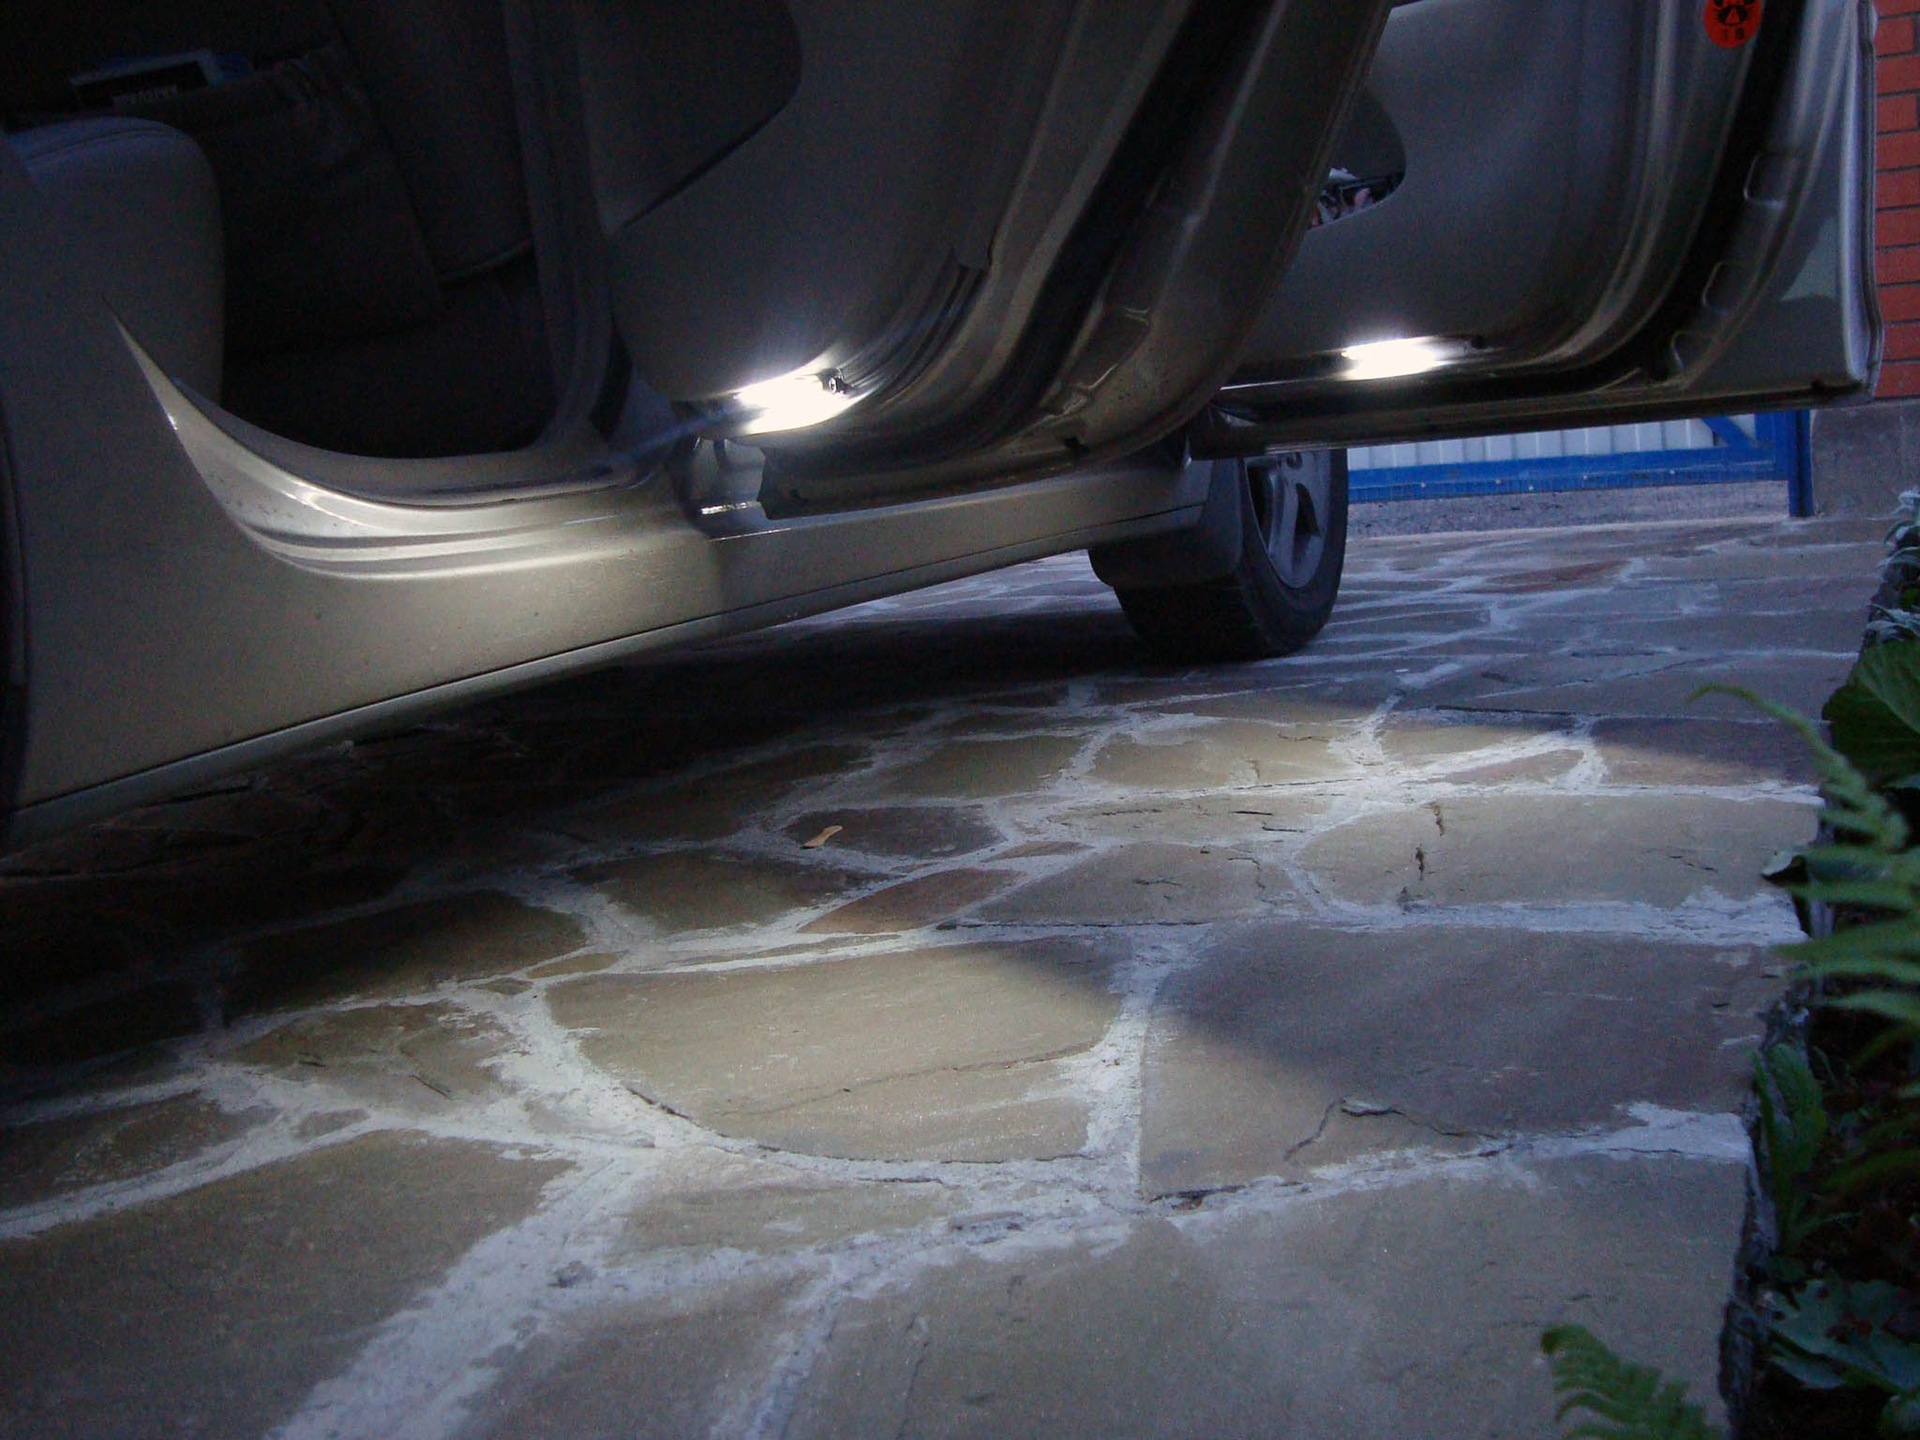
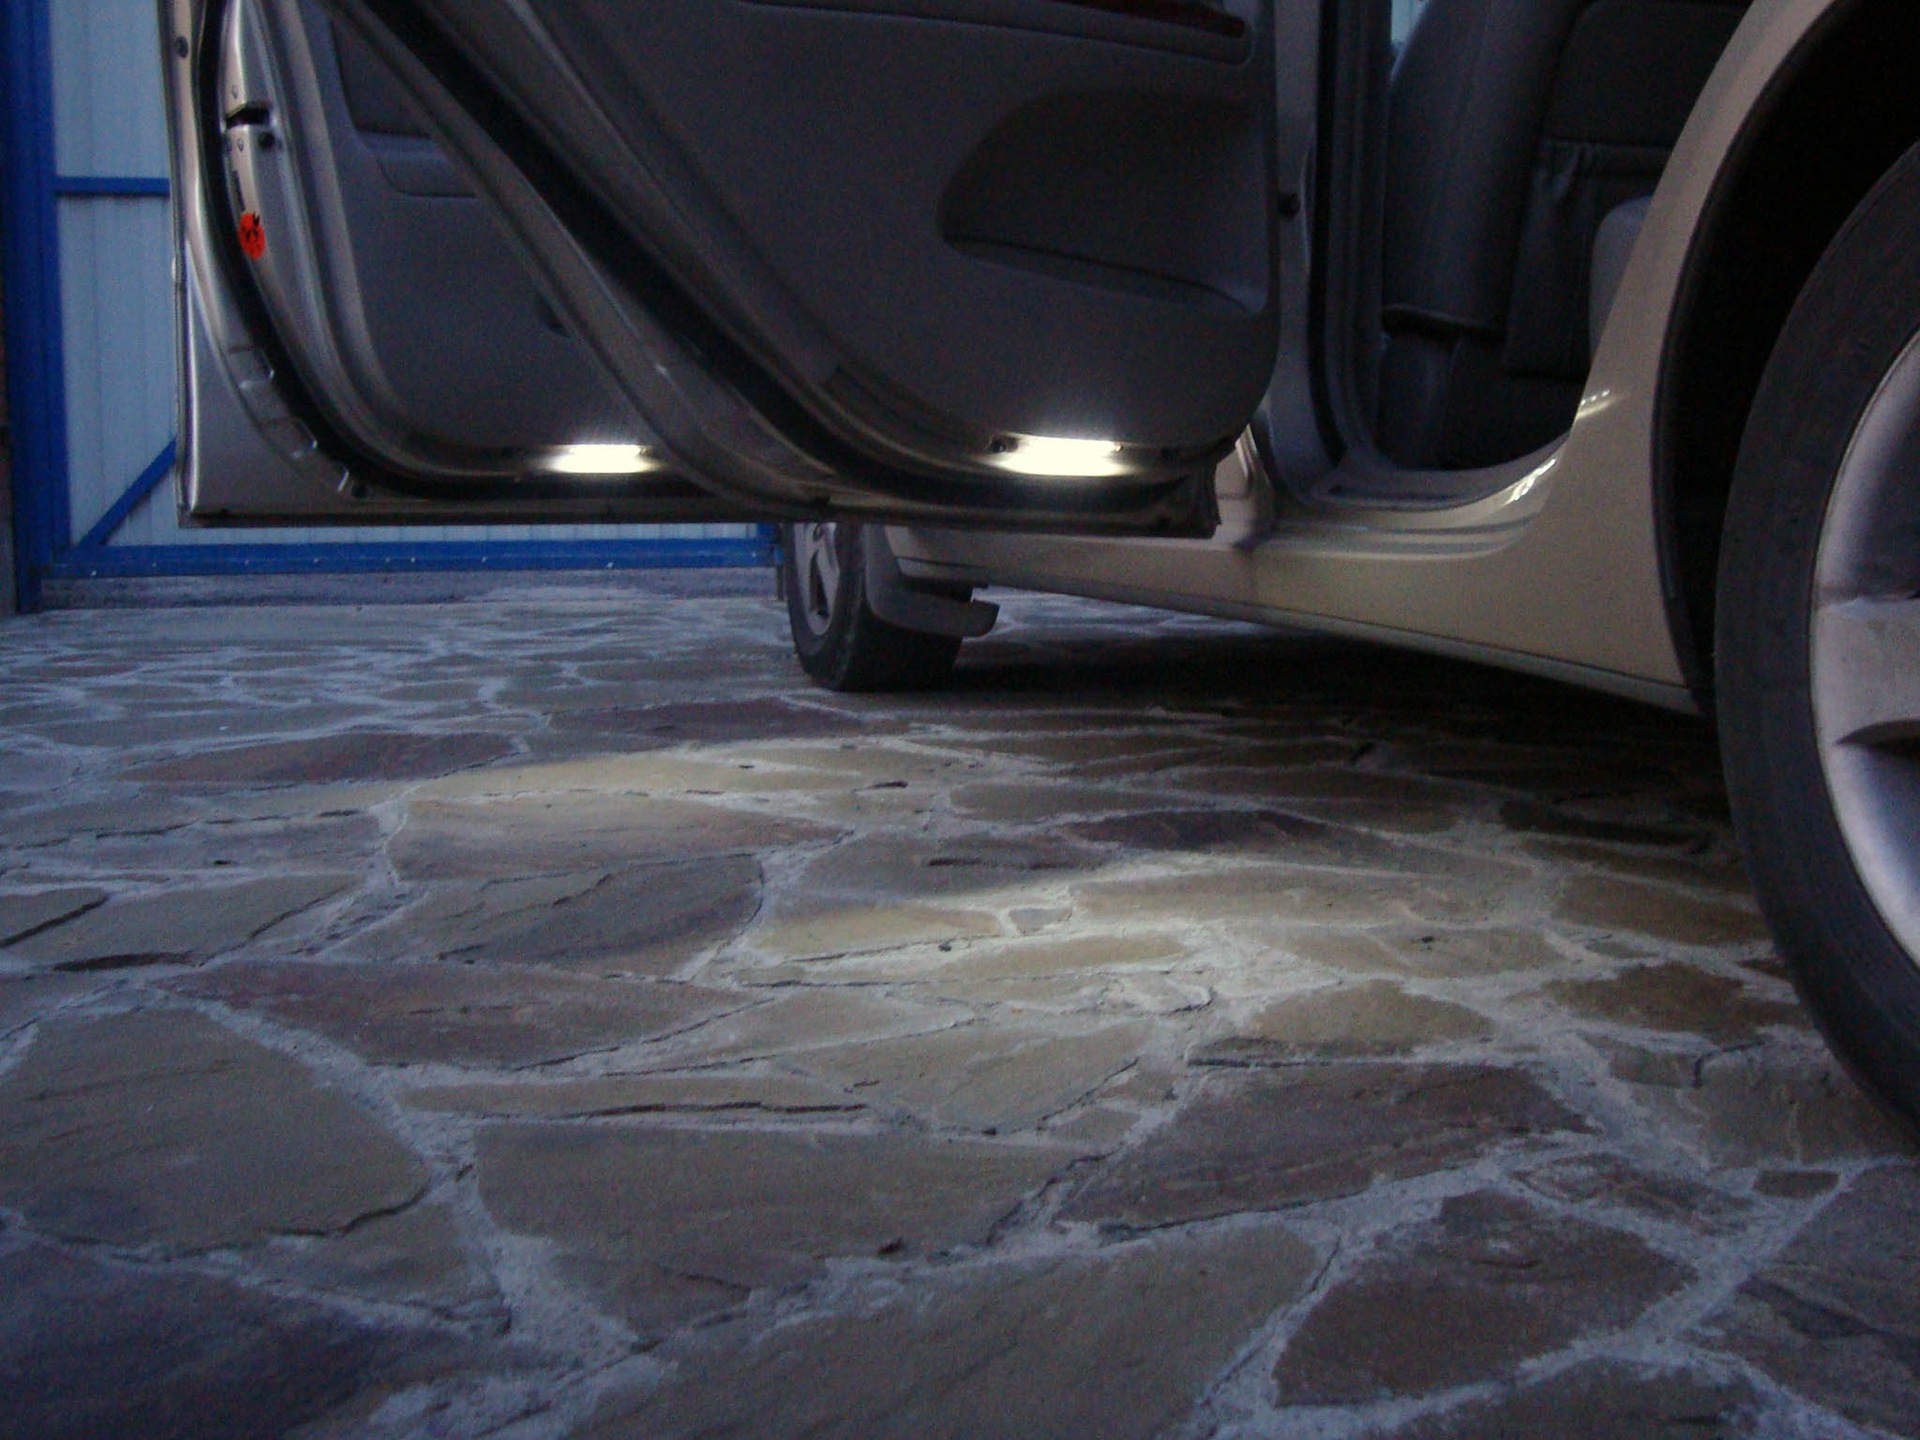
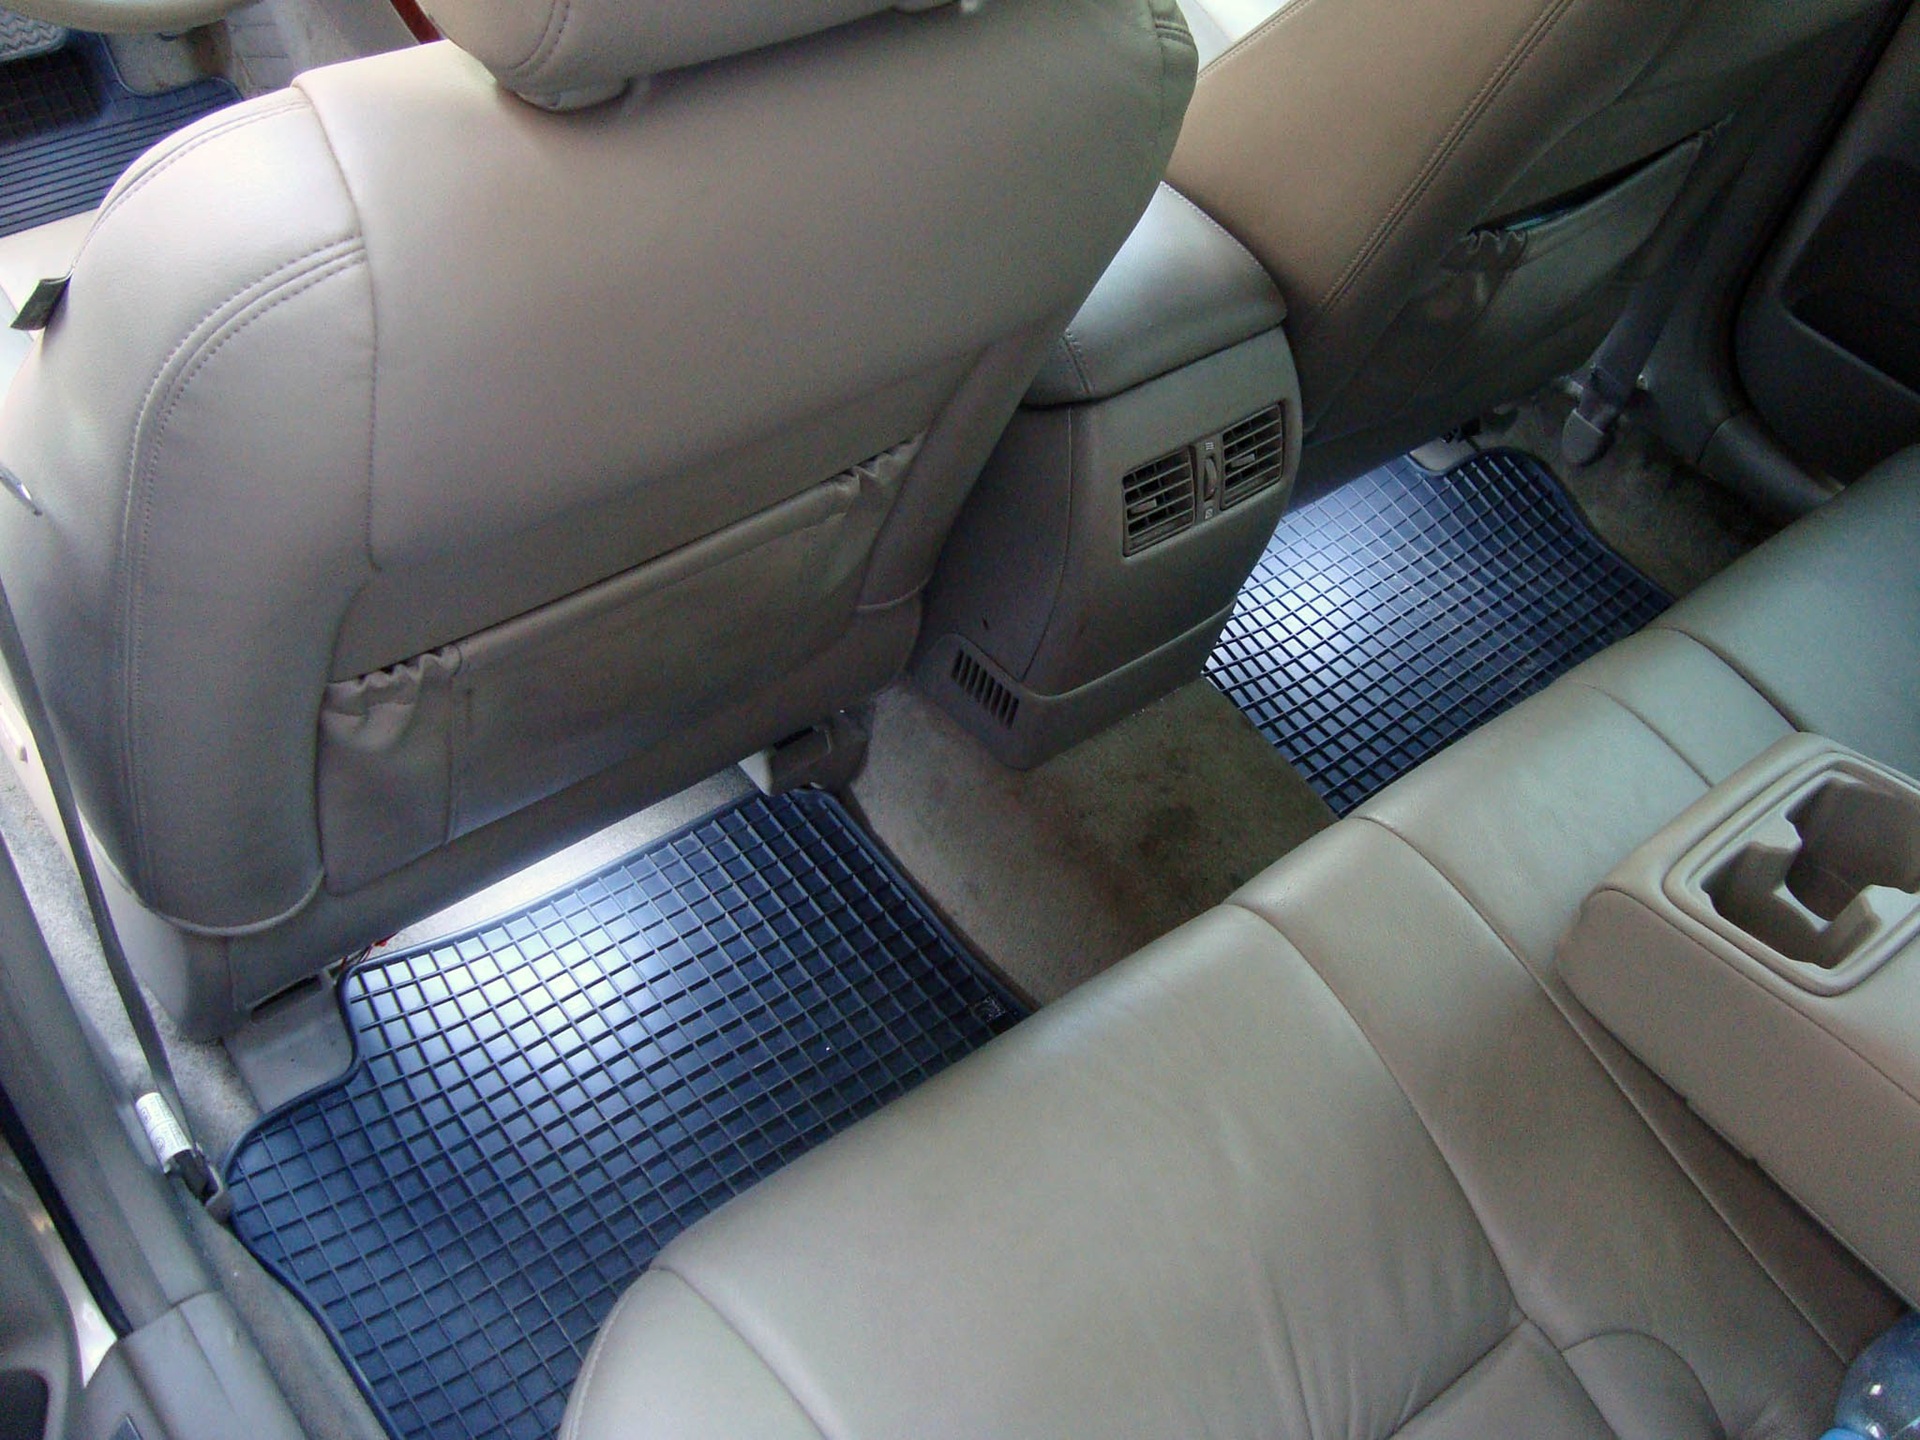
Then I decided to highlight the bottom of the doors so that at night you could see where to step with your foot ... I made the rear doors and then the front ones, as well as the front and rear leg lights ...
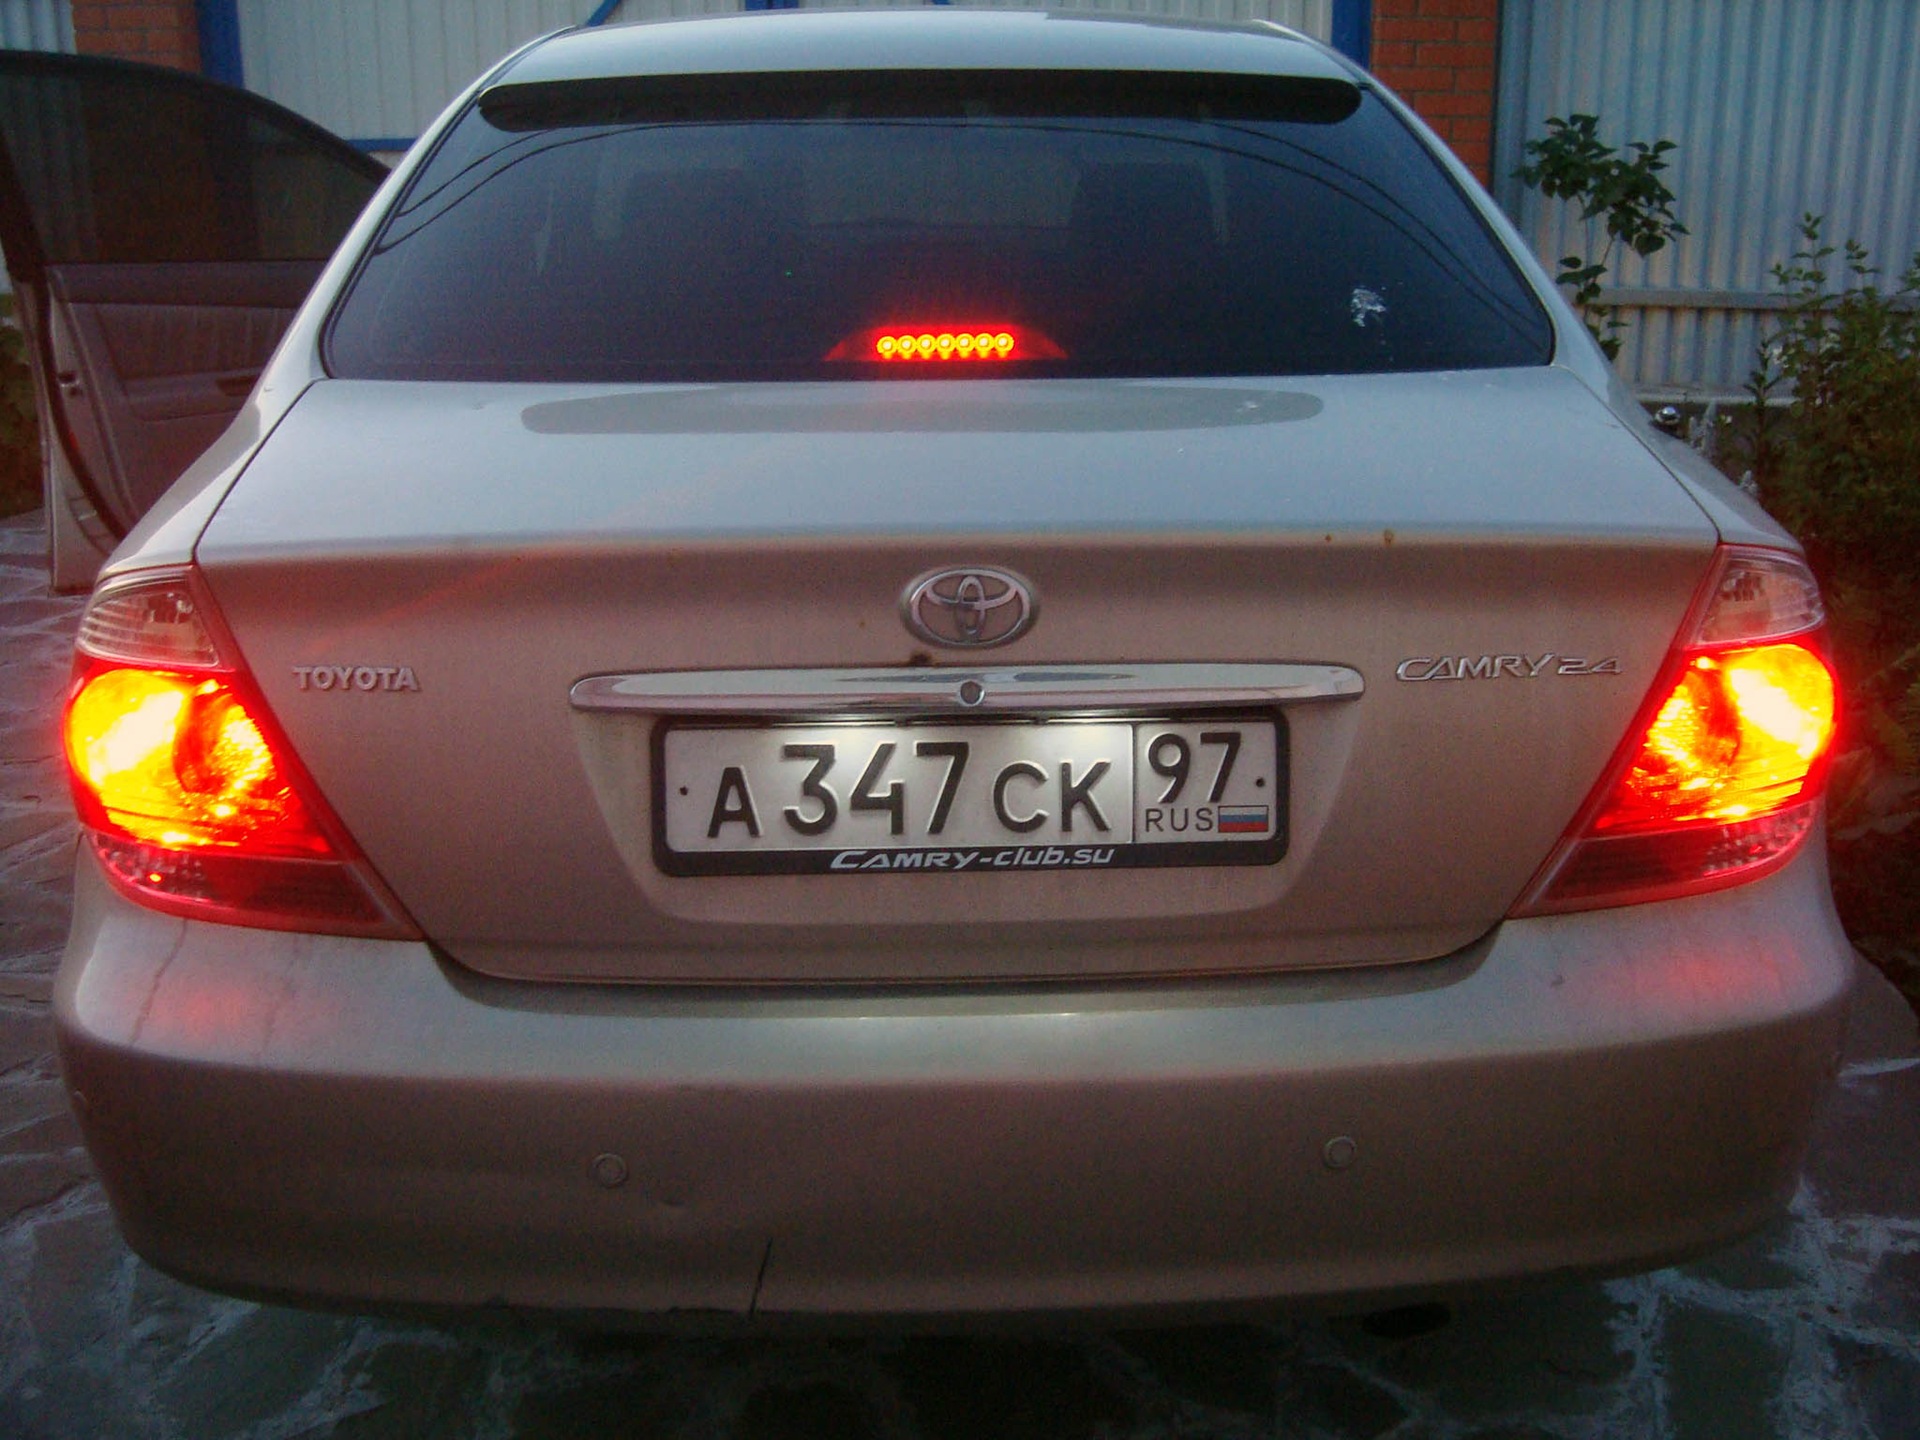
The 30th body has an additional brake light not diode - and I decided to fix it. The same diodes, reflectors were added - and it turned out quite well)
Well, of course, it was impossible to leave the room lighting without diodes ...)
There are no diodes in the front dimensions. There is no xenon and I pulled out the bulbs from the dimensions - I like it when only tumanki are on)
In the future, insert lenses into the headlights ...
Total in the car is done by lighting:
- Illumination of the feet in front and behind (4 boards 6
each ) - Illumination of all doors (4 boards 6 each)
- Trunk lighting (4 boards 3 each )
- LED additional brake light (7 with reflectors)
- License plate light (2 bulbs with 2 diodes)
I don't want to make a plafond in the cabin ... I always have it turned off - I like it better) I
connected and installed everything myself, only my friend soldered the boards)
 Price tag: 2 650 ₽ Mileage: 83 650 km
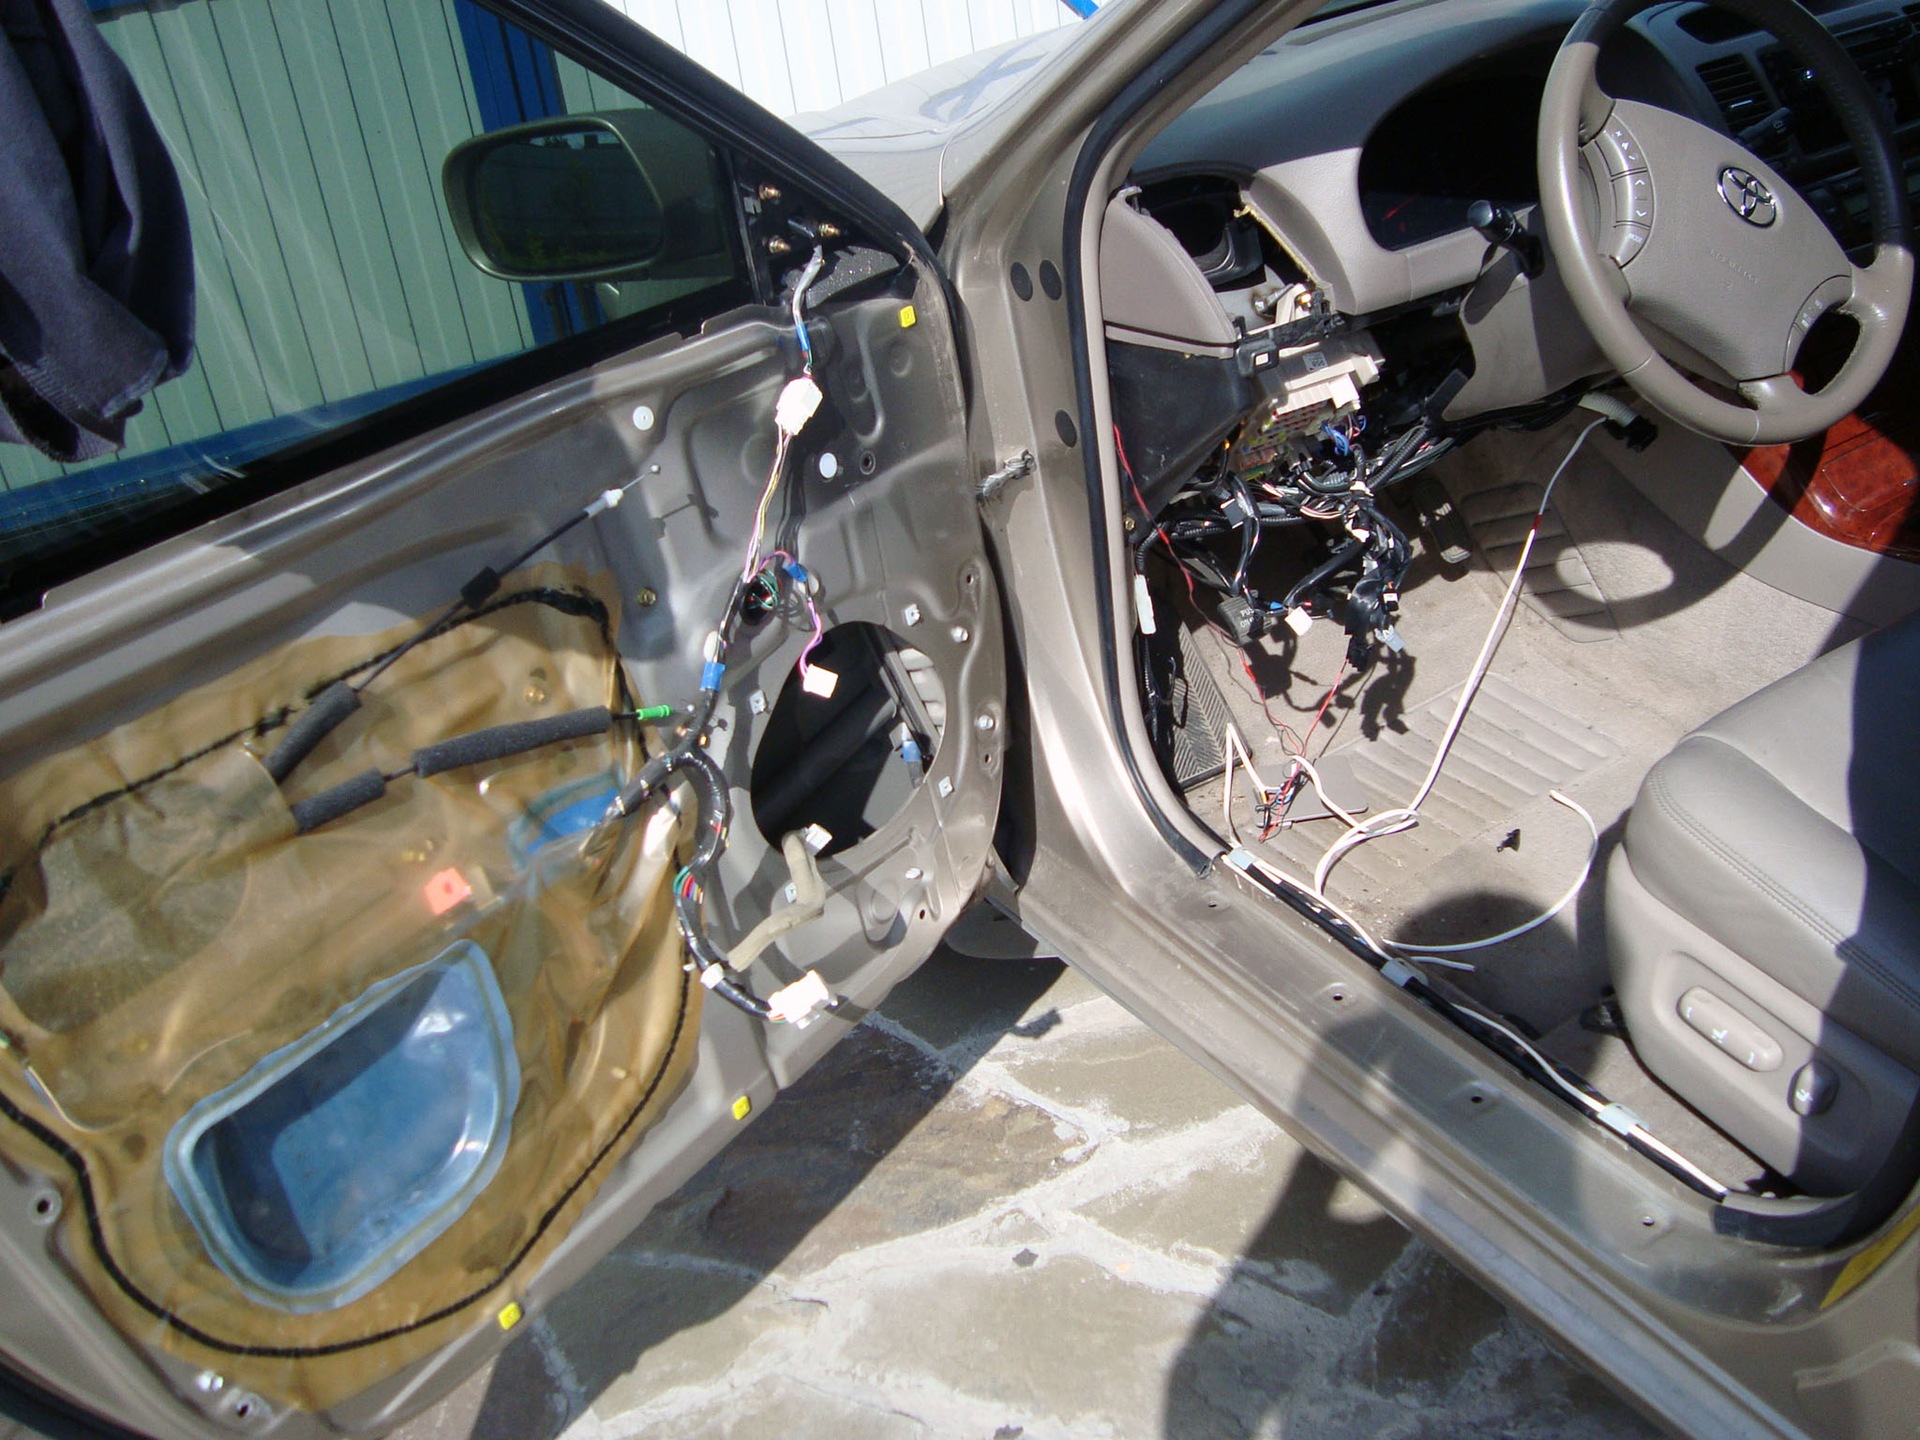
Well, it's not like a torpedo, I just removed a piece of plastic from the bottom)
To crawl up more conveniently and thread the wires through a hole in the body ...)
HEMI-87
A hole in the pants XDDDDDDD hole in the body Was it
connected where?
A hole in ... opera)))
It was originally connected to the salon shade, the wires go in the windshield rack ...)
I have these ashulgin.webasyst.net/shop/product/01203a/ It's
not very difficult to install . I bought diodes in the car market. Diodes consume less than conventional lamps, and heat up less, so there will be no wiring.
3110
In principle, not fatal and not critical, but I like each one separately;) Anyway, you got it super :)
What is the light controller and how will it be connected? :)
and what diodes do you put? :)
By the way, about the voltage, do they hawk a lot? I mean that I poke them everywhere and everything will be fine with the wiring?
Thank you! This was the first experience, so to speak, before that I did not even know where + and -)
In principle, not fatal and not critical, but I like each one separately;) Anyway, you got it super :)
Simultaneously on all doors, or on each one separately, depending on when they are open? :)
When you start it, everything turns off smoothly for me ...) Together with the salon lamp - this is how it was originally arranged)
Well done! :) I myself made a similar illumination, plus I hung a light controller on each door. It smoothly turns on and off the light. If the engine is started, it turns off with a delay of 1-2 seconds, if not, it’s like 8 seconds. In general, it is more pleasant with such controllers :)
Super turned out! I also want to do it myself. I will only use LED strips. I just think it will connect to the rubber button in the rack.
Hi)
Well, there is nothing complicated ...)
For example, the driver's door:
- We open, in the upper right corner there will be a plug (the place is in the panel joint where), you remove it, there is a screw.
- In the door handle you pick a rubber band, there is a screw under it.
- 2 bolts on the lower edge of the door
- Remove the wooden trim with the handle and power windows - under it is the last screw.
- Well, you need to remove the triangle near the mirror
Look like that's it.
Hey. Look, I just can't seem to remove the door trim. Can you tell me how to do this, maybe there is a detailed instruction somewhere? All my life I shot them twice, but with Kamryusha I went to a dead end. Found only one bolt.
Well, of course - connect to the button for closing the door, which is in the opening ...
I didn't want to bother with each separately - I like it when everything lights up ... I turned off the upper lamp, so only the bottom is beautifully illuminated)
Thank you, I just want to stretch cold neon along the doors, so the question arose as to how best it would be to glow separately or all at once ...