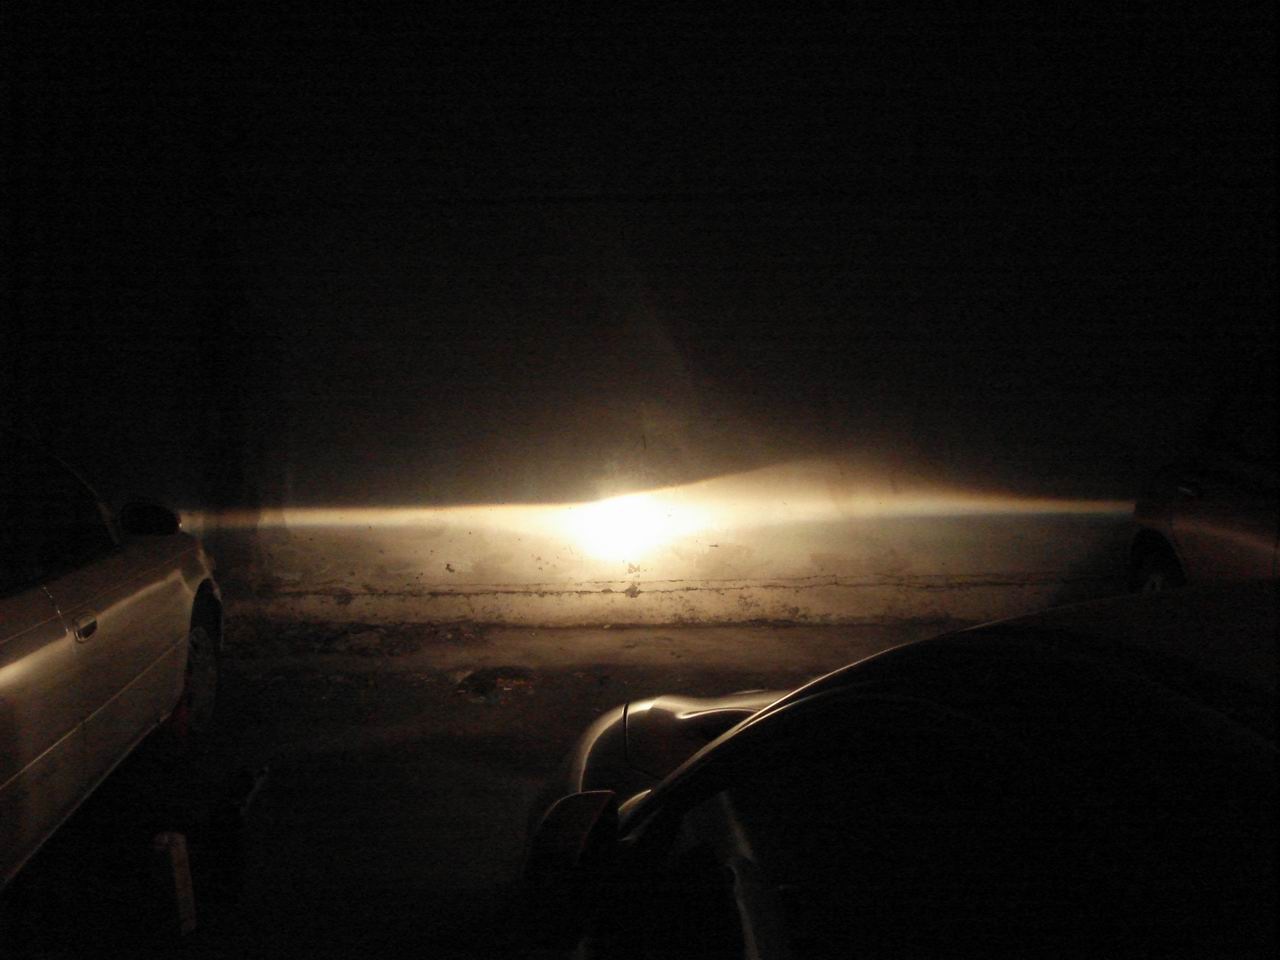
Headlights alteration - Toyota Celica, 2.0 L, 1998
For a long time I had been planning to do the alteration of the headlights so as not to blind oncoming drivers and it was possible to raise the headlights higher. And here it is Saturday, it was decided, I go to shoot and go to the end.
Noon, in Krasnoyarsk a little more than 30 degrees of heat, heat. I decided not to go to the garage, but to shoot in the yard. this is not the first time and less time is spent on it than on traveling. Twisting the wheels to the left and starting from the right side. I unscrew part of the wheel arch liner so that I could bend it and reach for the bumper nuts. The top nut is very inconvenient in this place, the rest are easy. I also do the same with the left side, first unscrewing the wheels to the right. 4 bolts on top and the bumper is removed. =)
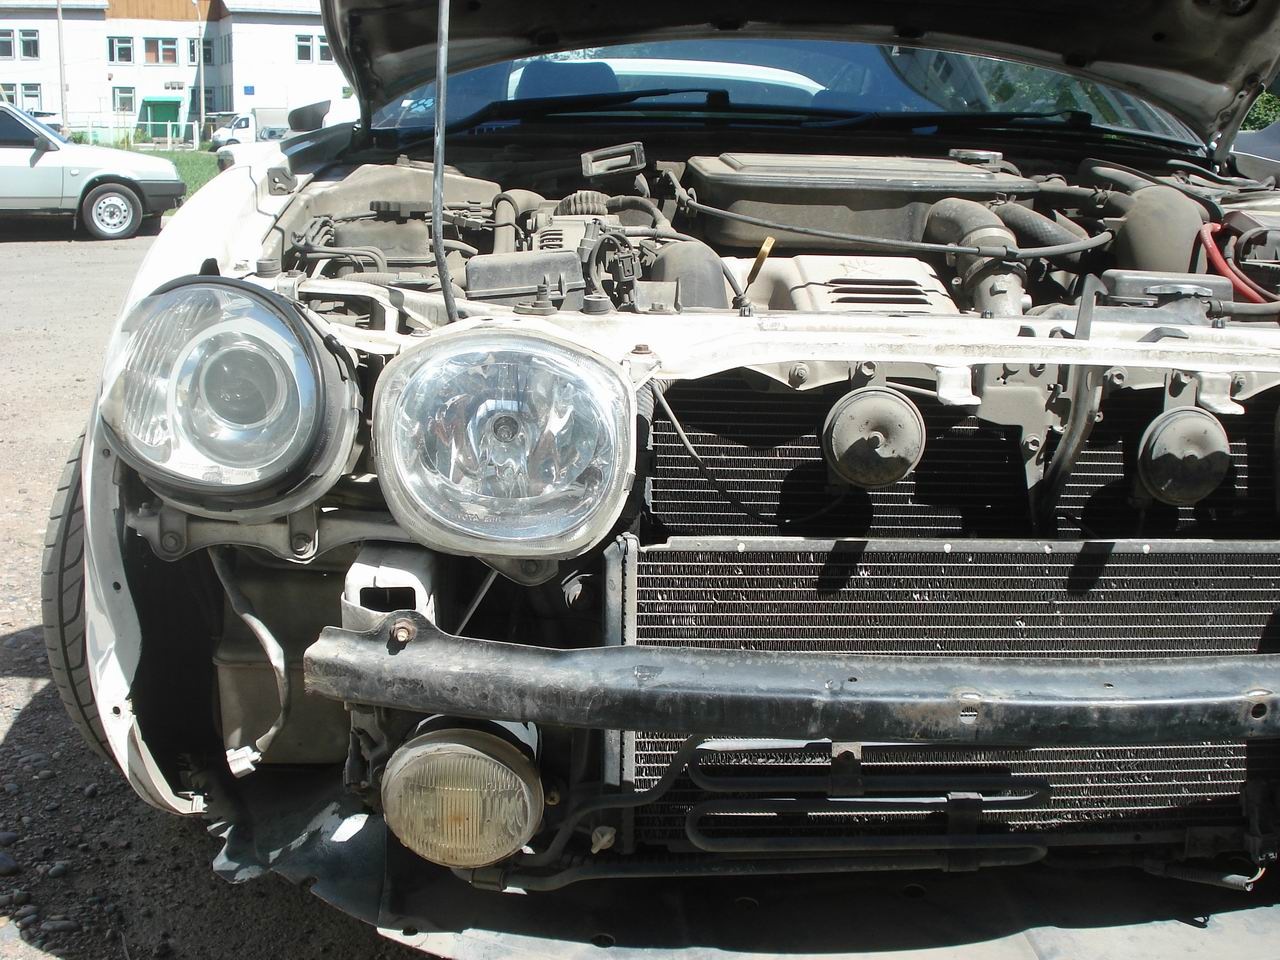
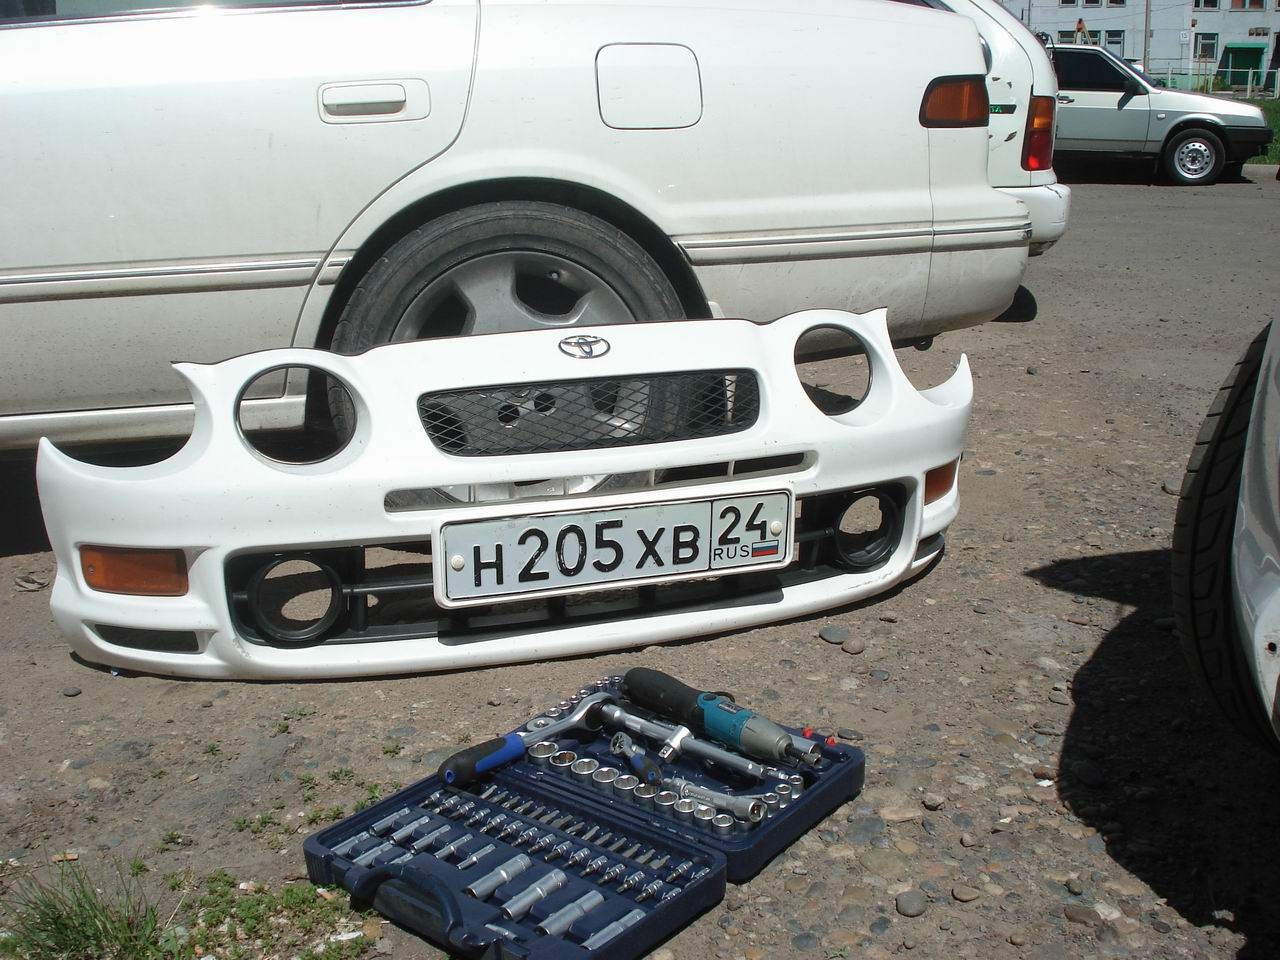
I put the bumper back on a couple of bolts and take the headlights back home. There are several options for how to open the headlights. Hair dryer, oven, boiling water. I try with a hairdryer, the usual one, 1200 watts, I get bored of twisting in a circle and I decide to put the headlights into the pan.
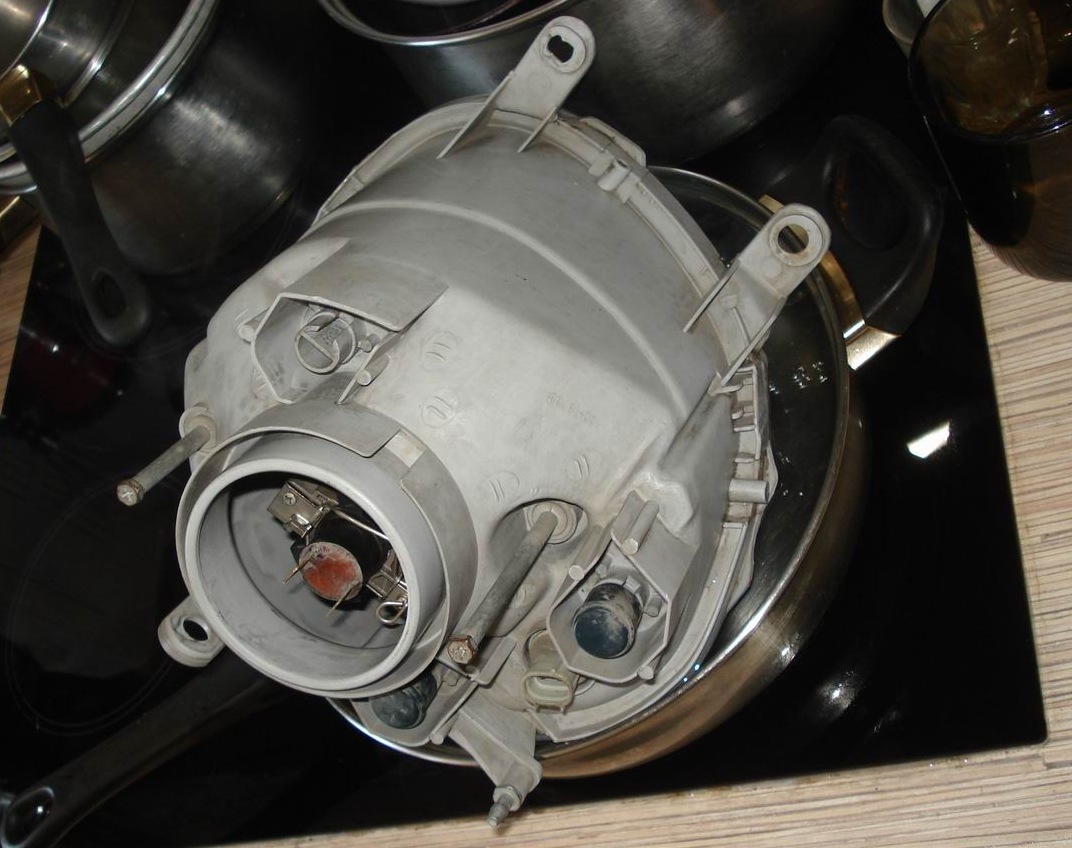
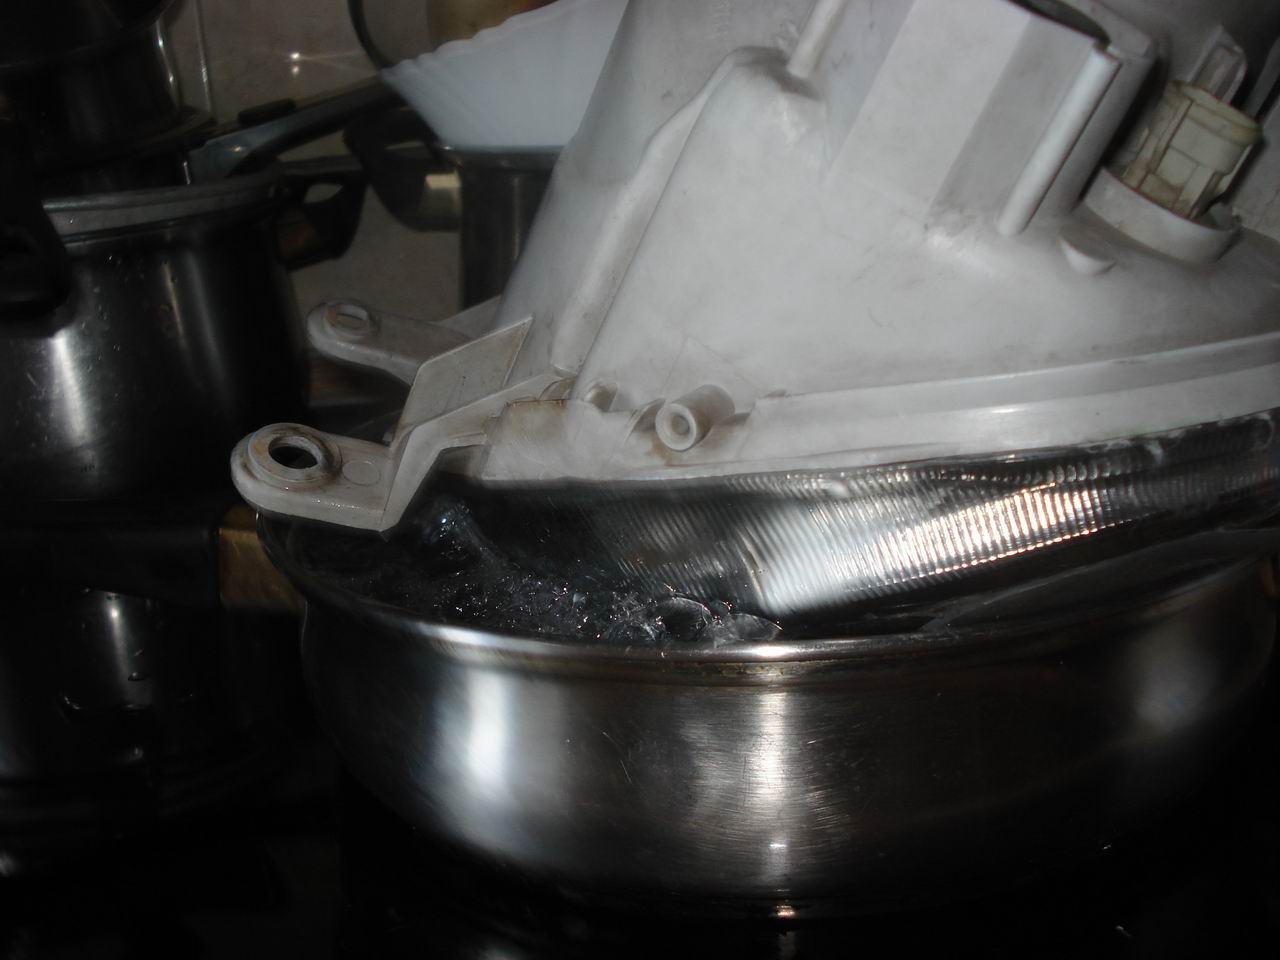
It warms up evenly and, most importantly, nothing needs to be done. The first headlight yields and the glass separates from the body.
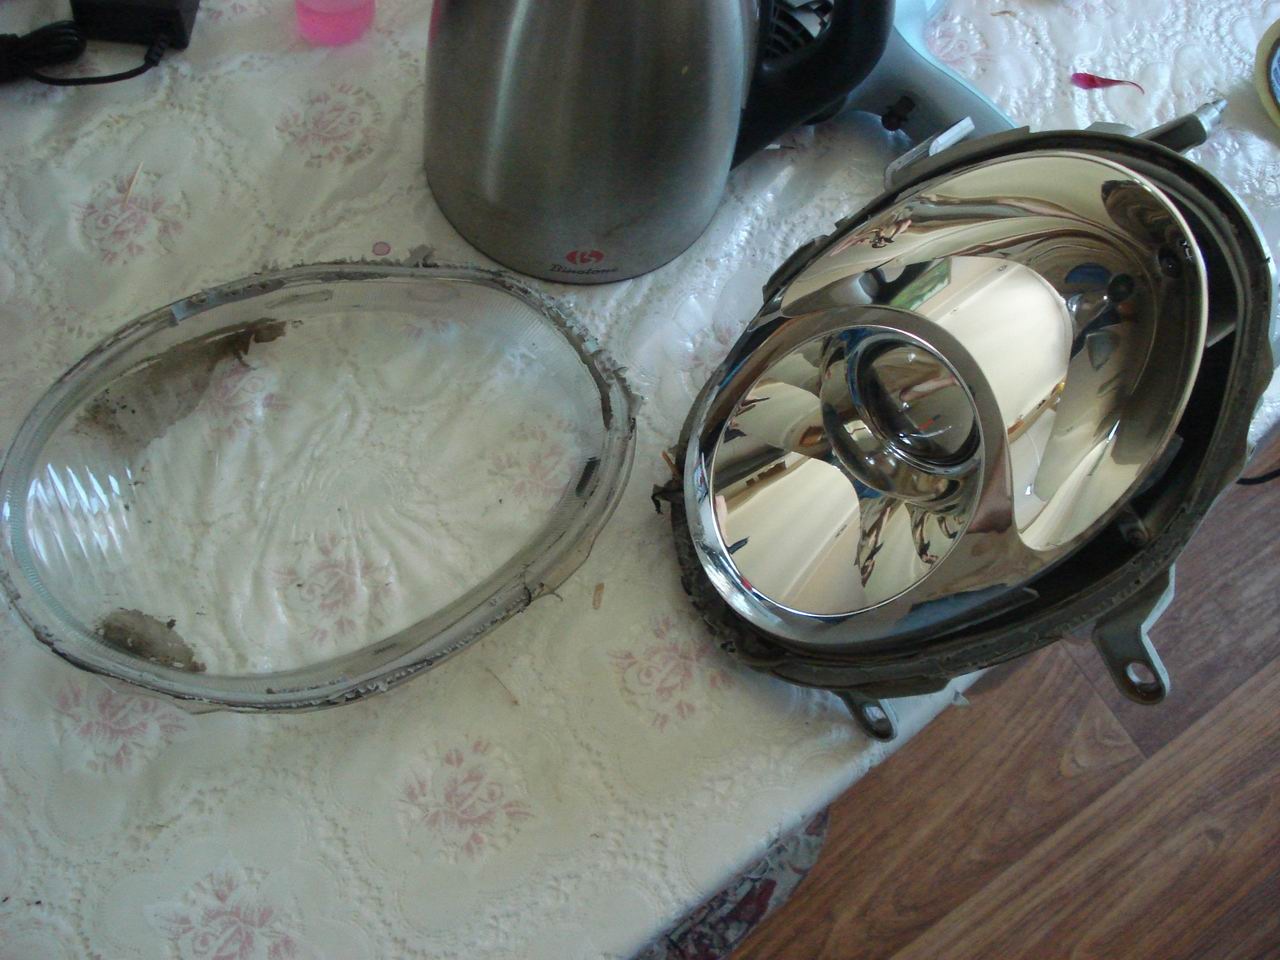
Further there are not many options for parsing, removes the reflector (held on 2 self-tapping screws), under it is a lens, is also attached to 2 self-tapping screws, I tore them off with pliers, hold on to the last =)
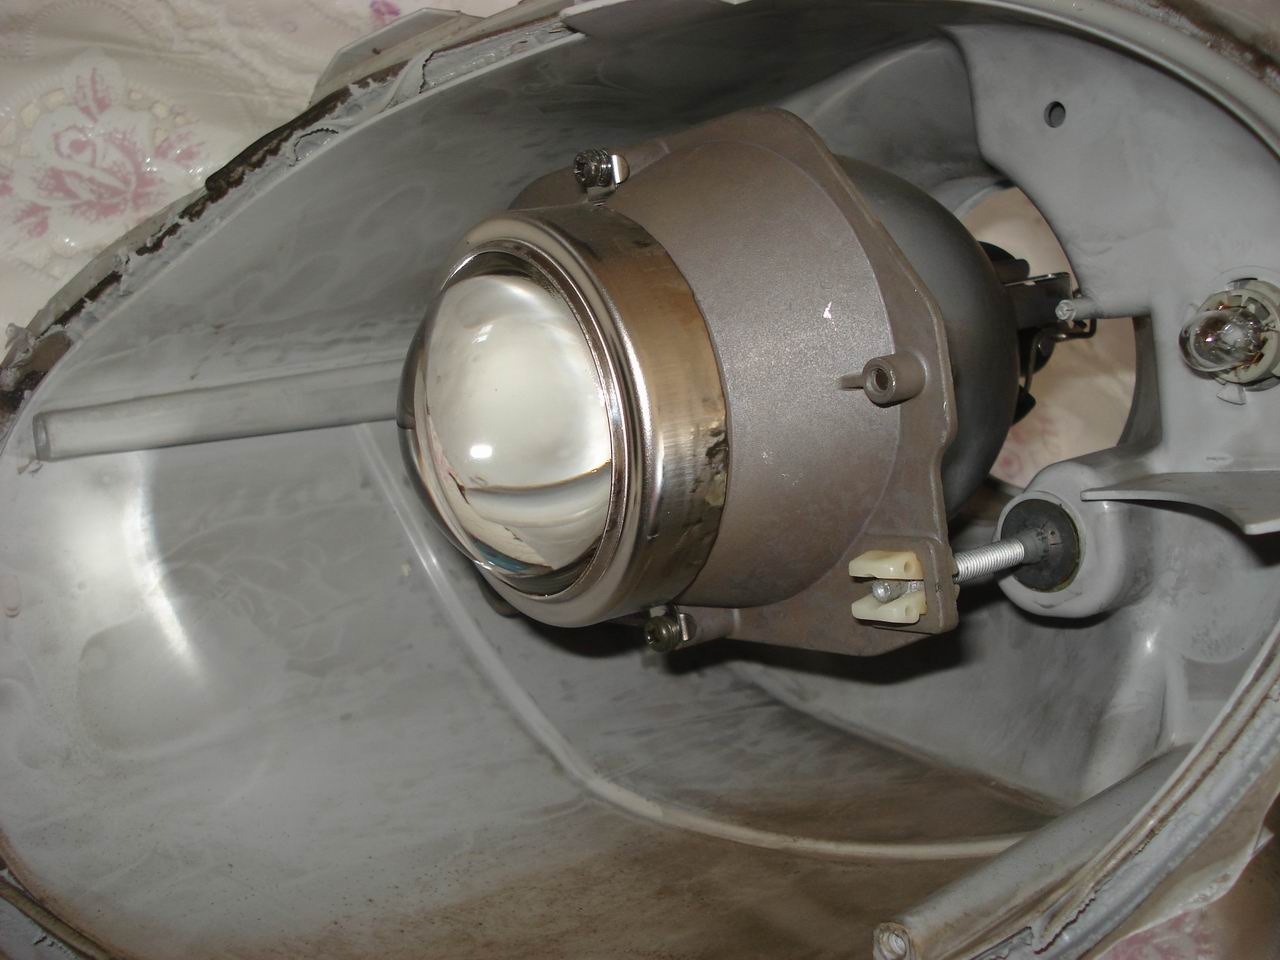
This whole structure is supported by 3 points, 2 adjusting bolts and one ball. I didn't even try to pull the ball out, unscrew it from the back inside. That's it, we are there.
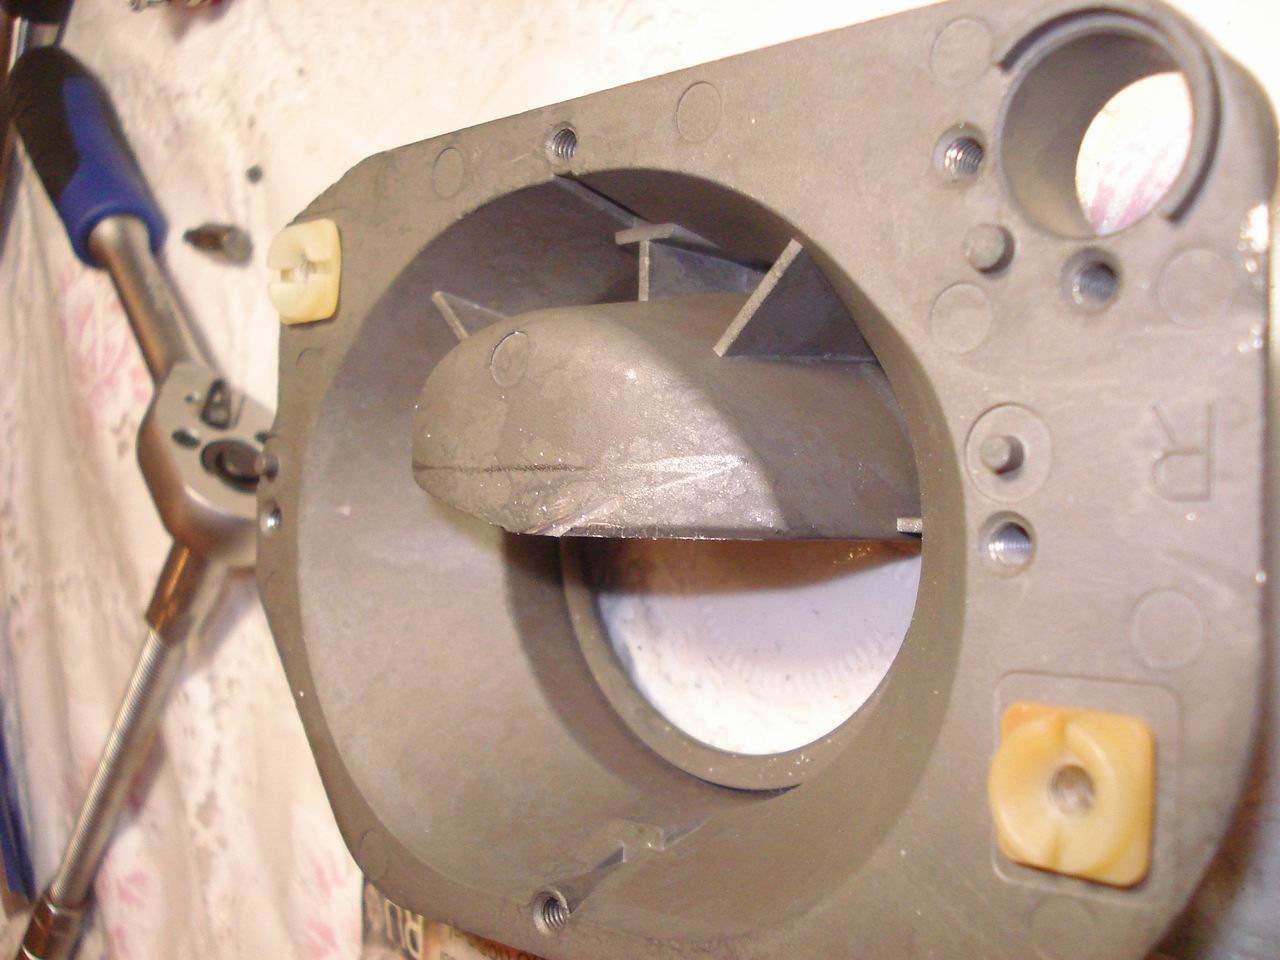
I mark the angle of the saw cut and take up the hacksaw for metal. It is easy to saw, I thought I’ll sit for half a day with this cut, but it gives in in 5 minutes. To build up the missing curtain, I went to the store for a can of soda (although someone here likes something, and from under the beer will do) I drilled a hole for fasteners with a drill for 2, and twisted the whole thing with a self-tapping screw.
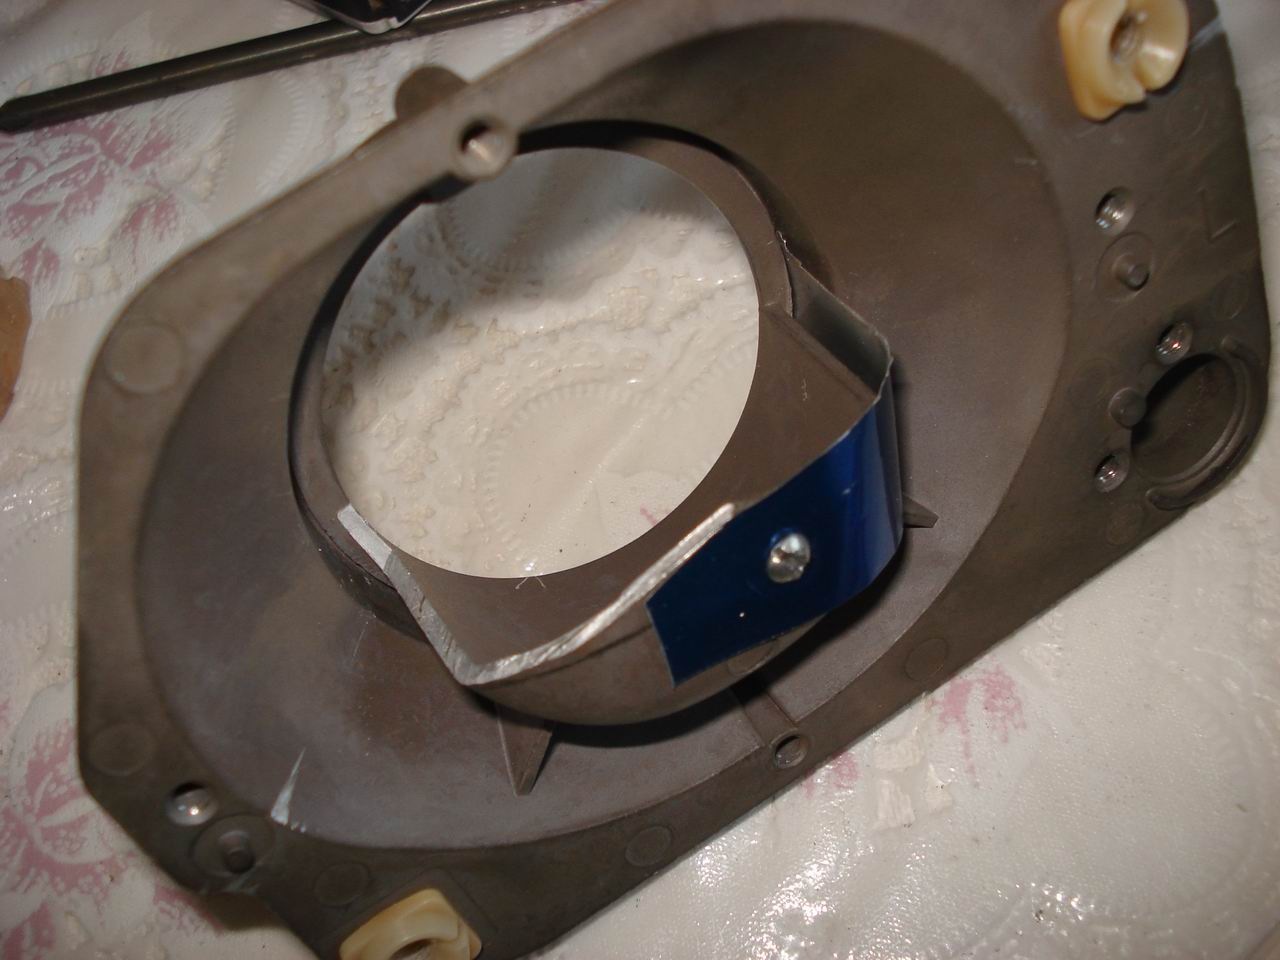
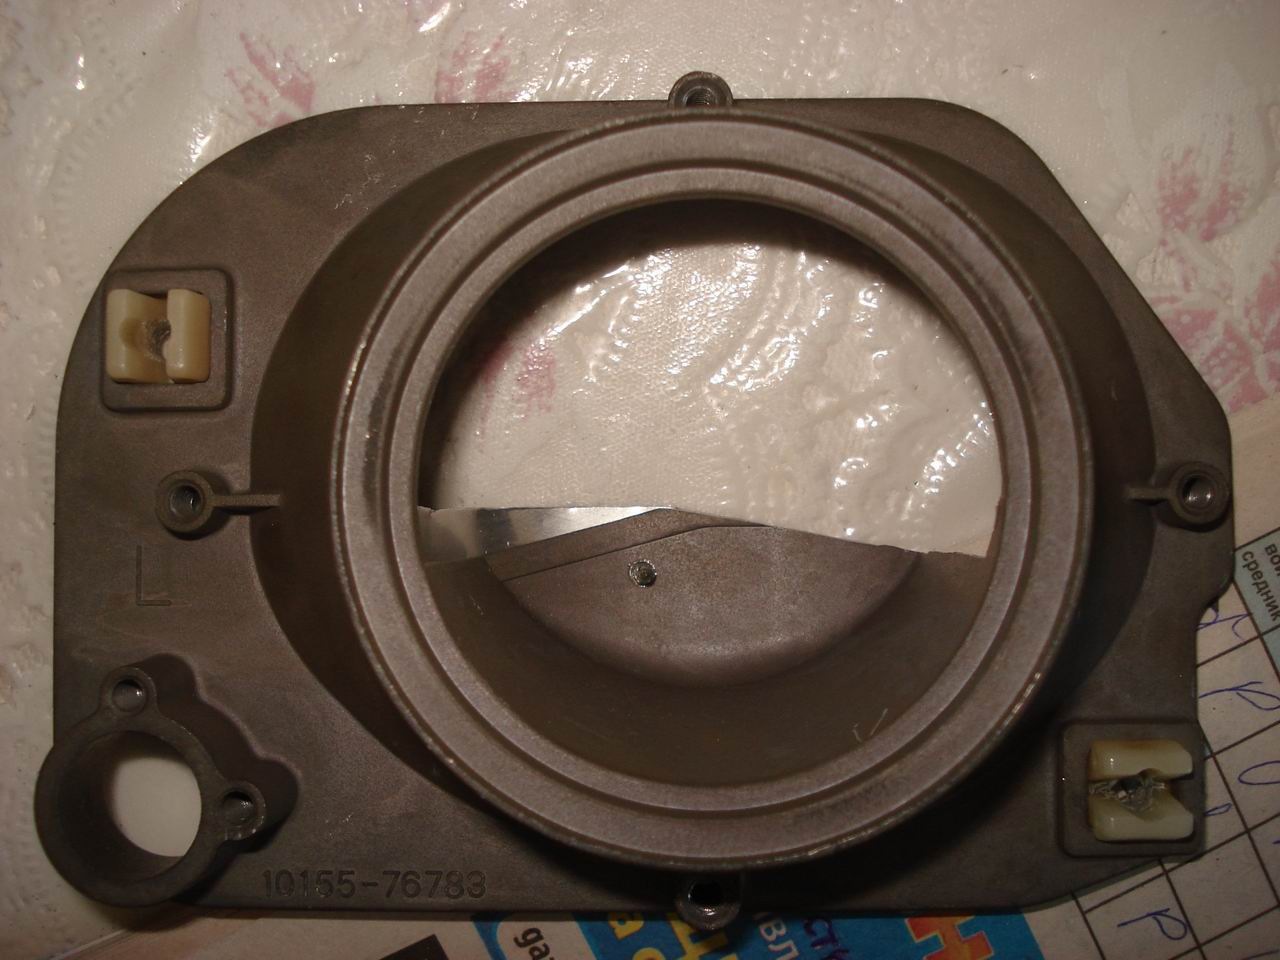
That's how it turned out for me. Then he twisted everything in reverse order, heated the sealant with a hair dryer and stuck the glass back. Then he just warmed it up and pressed, so that it would fall into place. For some reason it was more difficult with the second headlamp, in everything it took longer, but in the end the result was worth it. Test at 2 am… adjusting the left headlight.
