Replacing the timing on my Toyota Mark II, JZX93, 1JZ-GE - Toyota Mark II, 2.5 liter, 1994
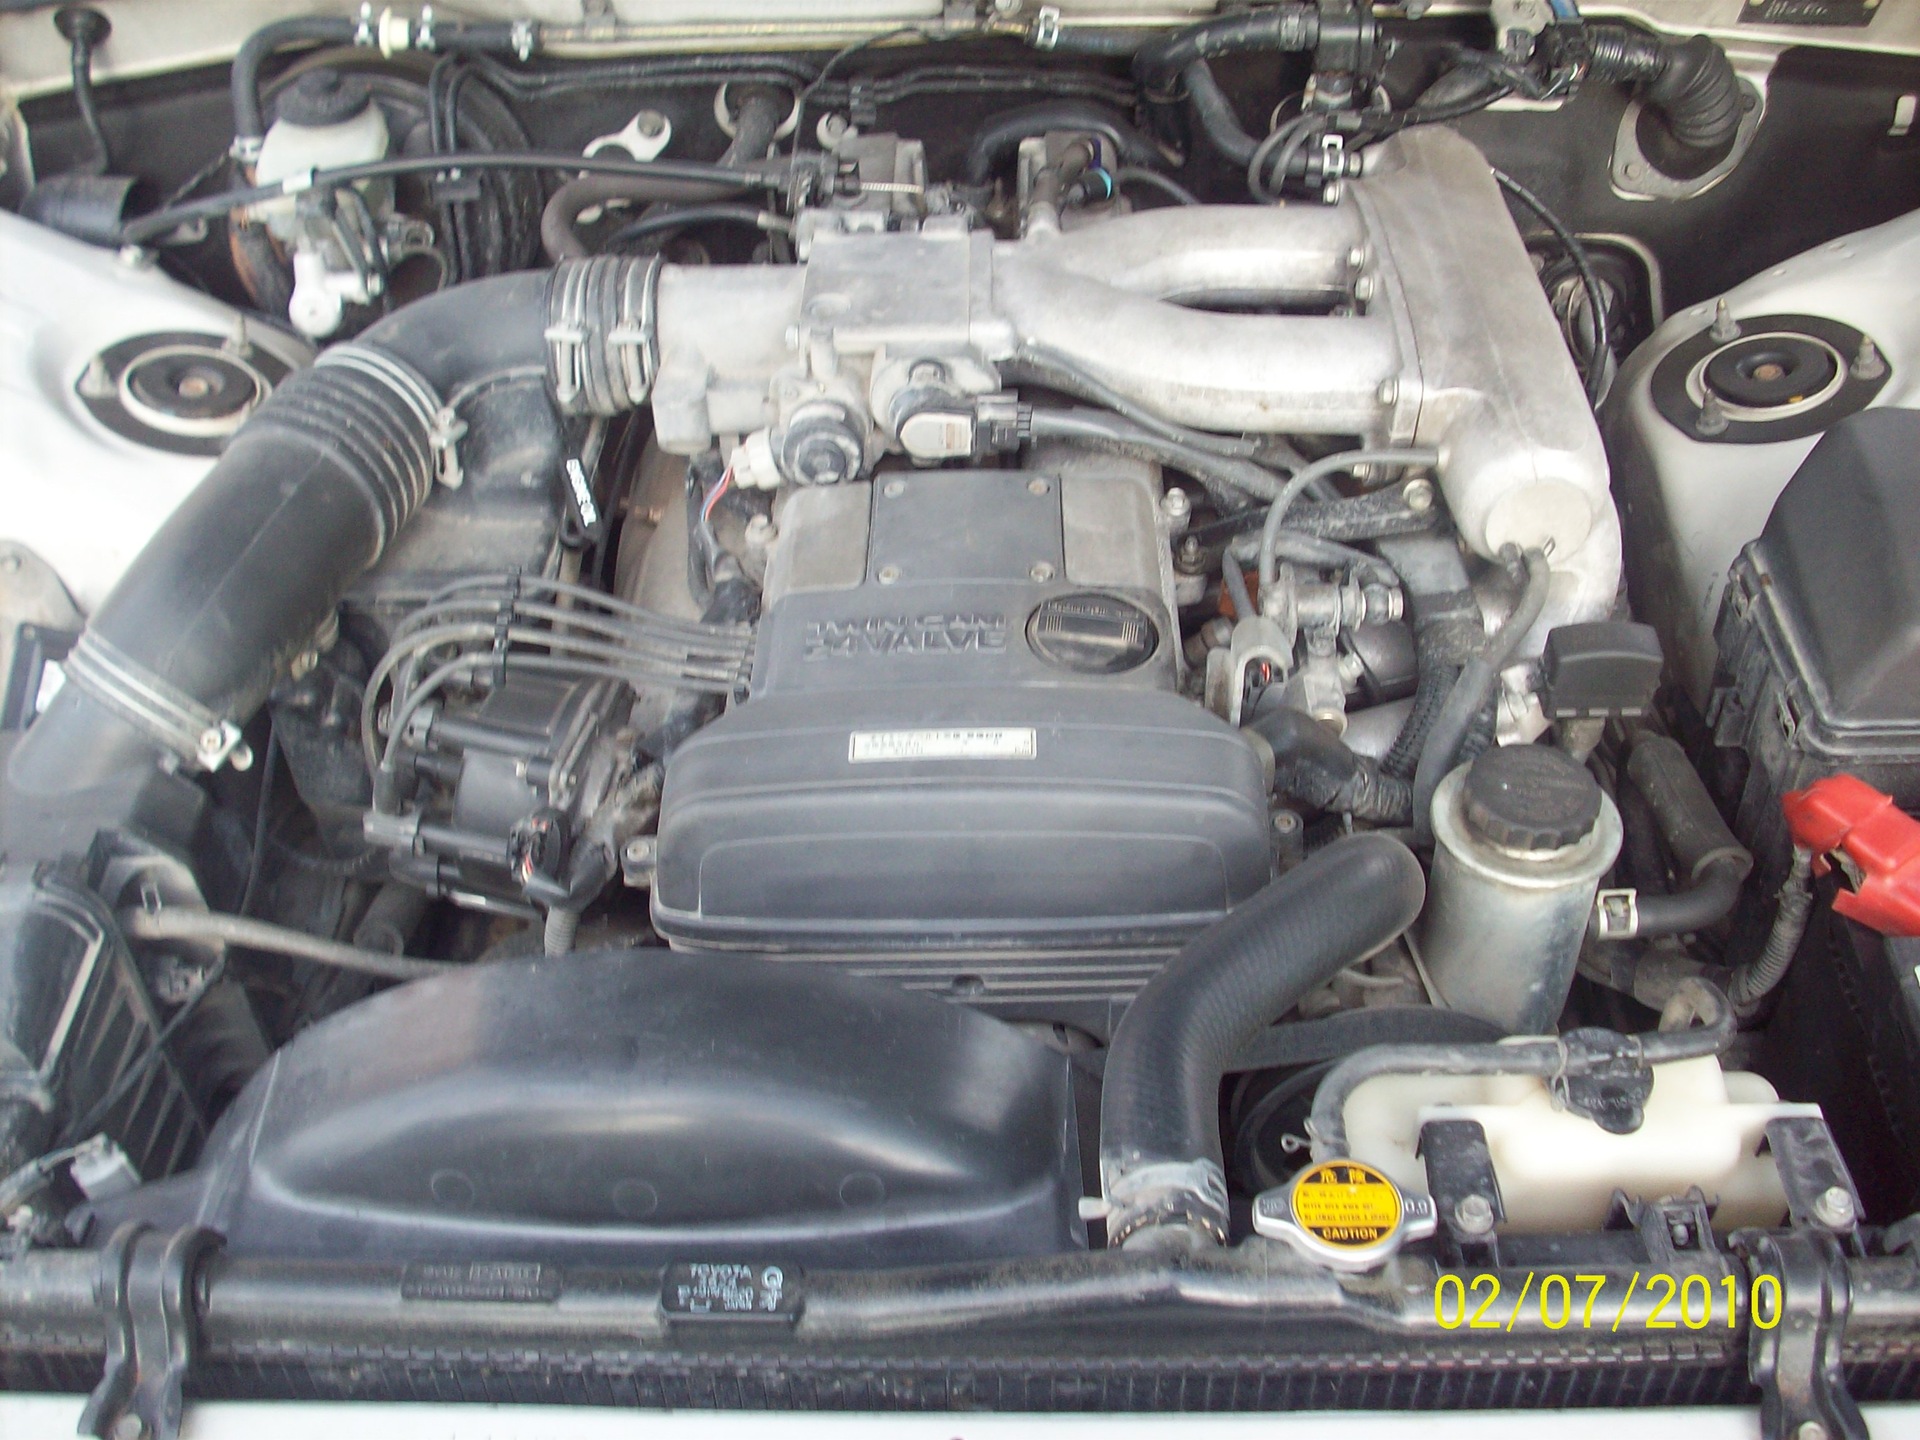
A lot has been written about replacing the belt, but in this case, everything went through from start to finish and I will say there is NOTHING DIFFICULT IN THIS! I posted a photo step by step, there will be questions, I will definitely answer, the most difficult thing in this whole process for me was to understand how to loosen the alternator belt, during assembly I realized by accident) So let's start:
1. Find a container for coolant
2. Drain it ( substitute the container, in my case it is an enameled basin, the tap is located at the bottom on the left)
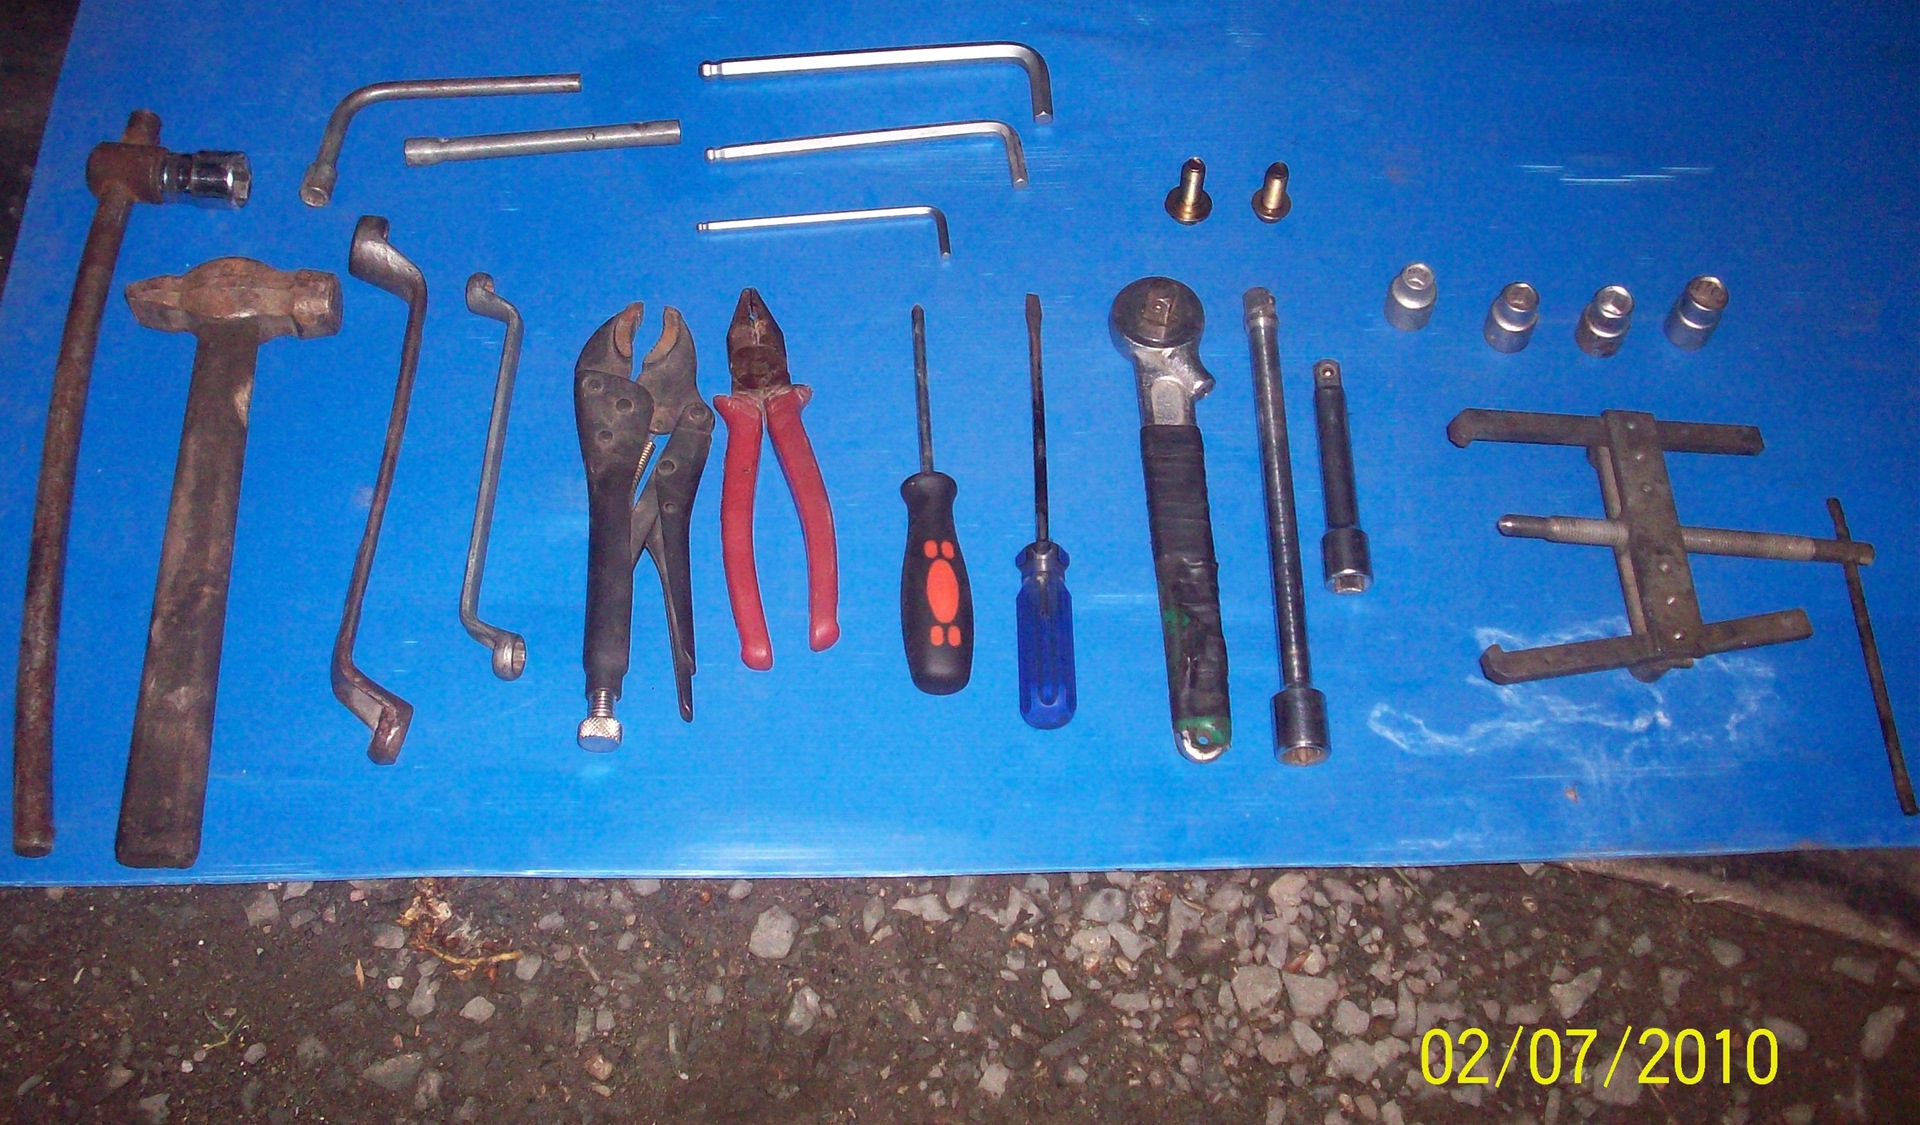
3. While the liquid is draining, prepare the necessary tool (there is a photo)
4. Disconnect the connectors of the sensor and the electric fan
5. Remove the expansion tank
6. Remove the pipes (first top then bottom)
7. We take two M12 bolts, remove the automatic transmission cooling hoses fixed at the bottom of the radiator and plug them with bolts or something else of this diameter, but the bolt must be with a cone at the beginning of the thread so that it easily enters the hose.
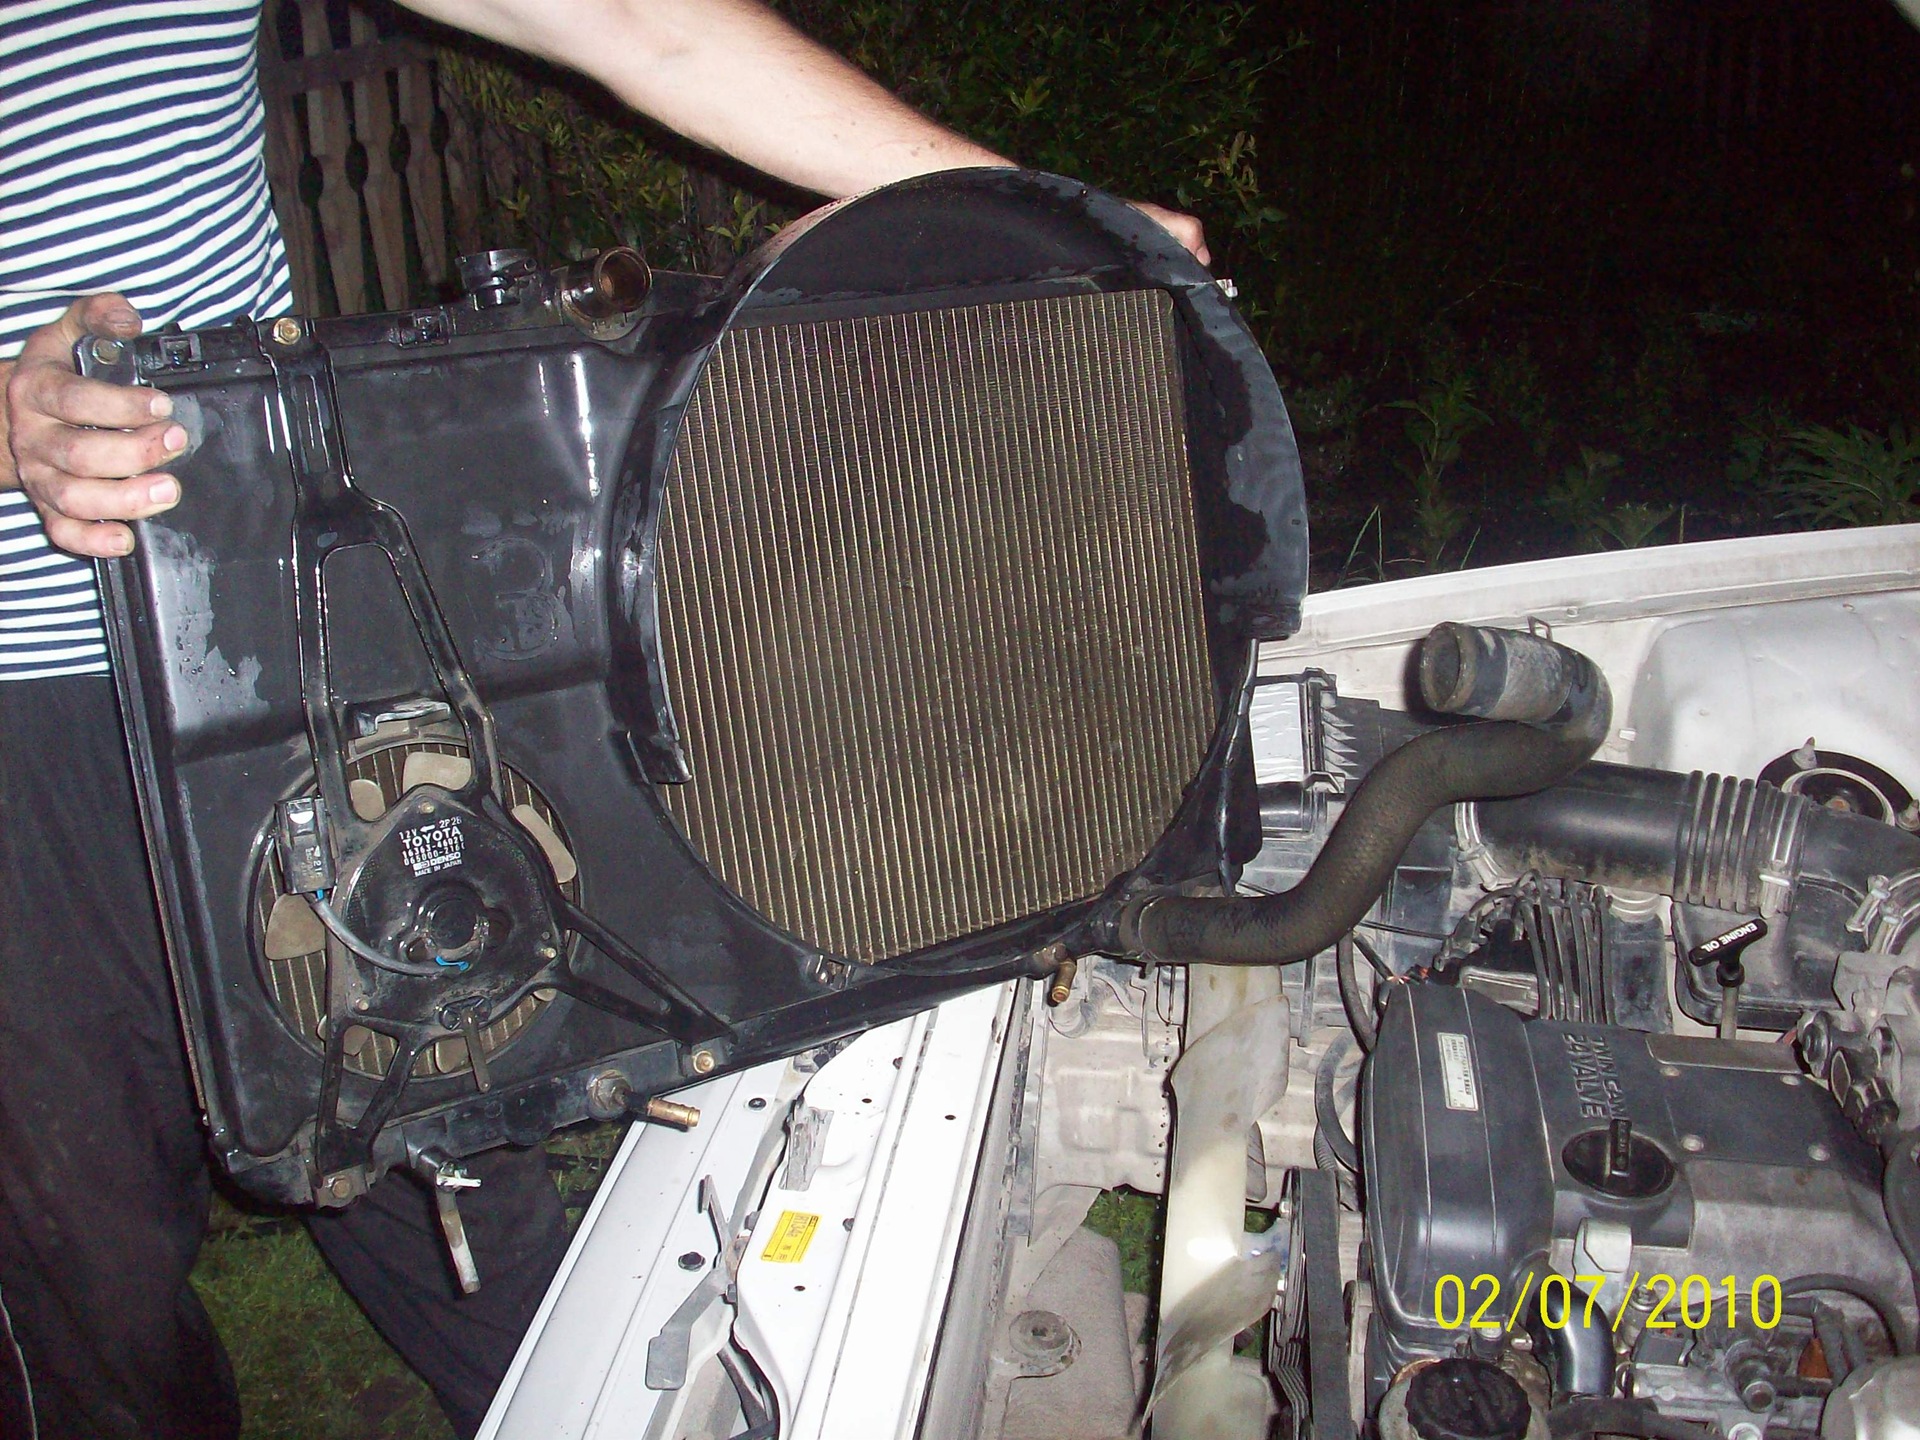
8. Unscrew the radiator.
9. Remove it (Radiator)
10. Loosen the fan nuts.
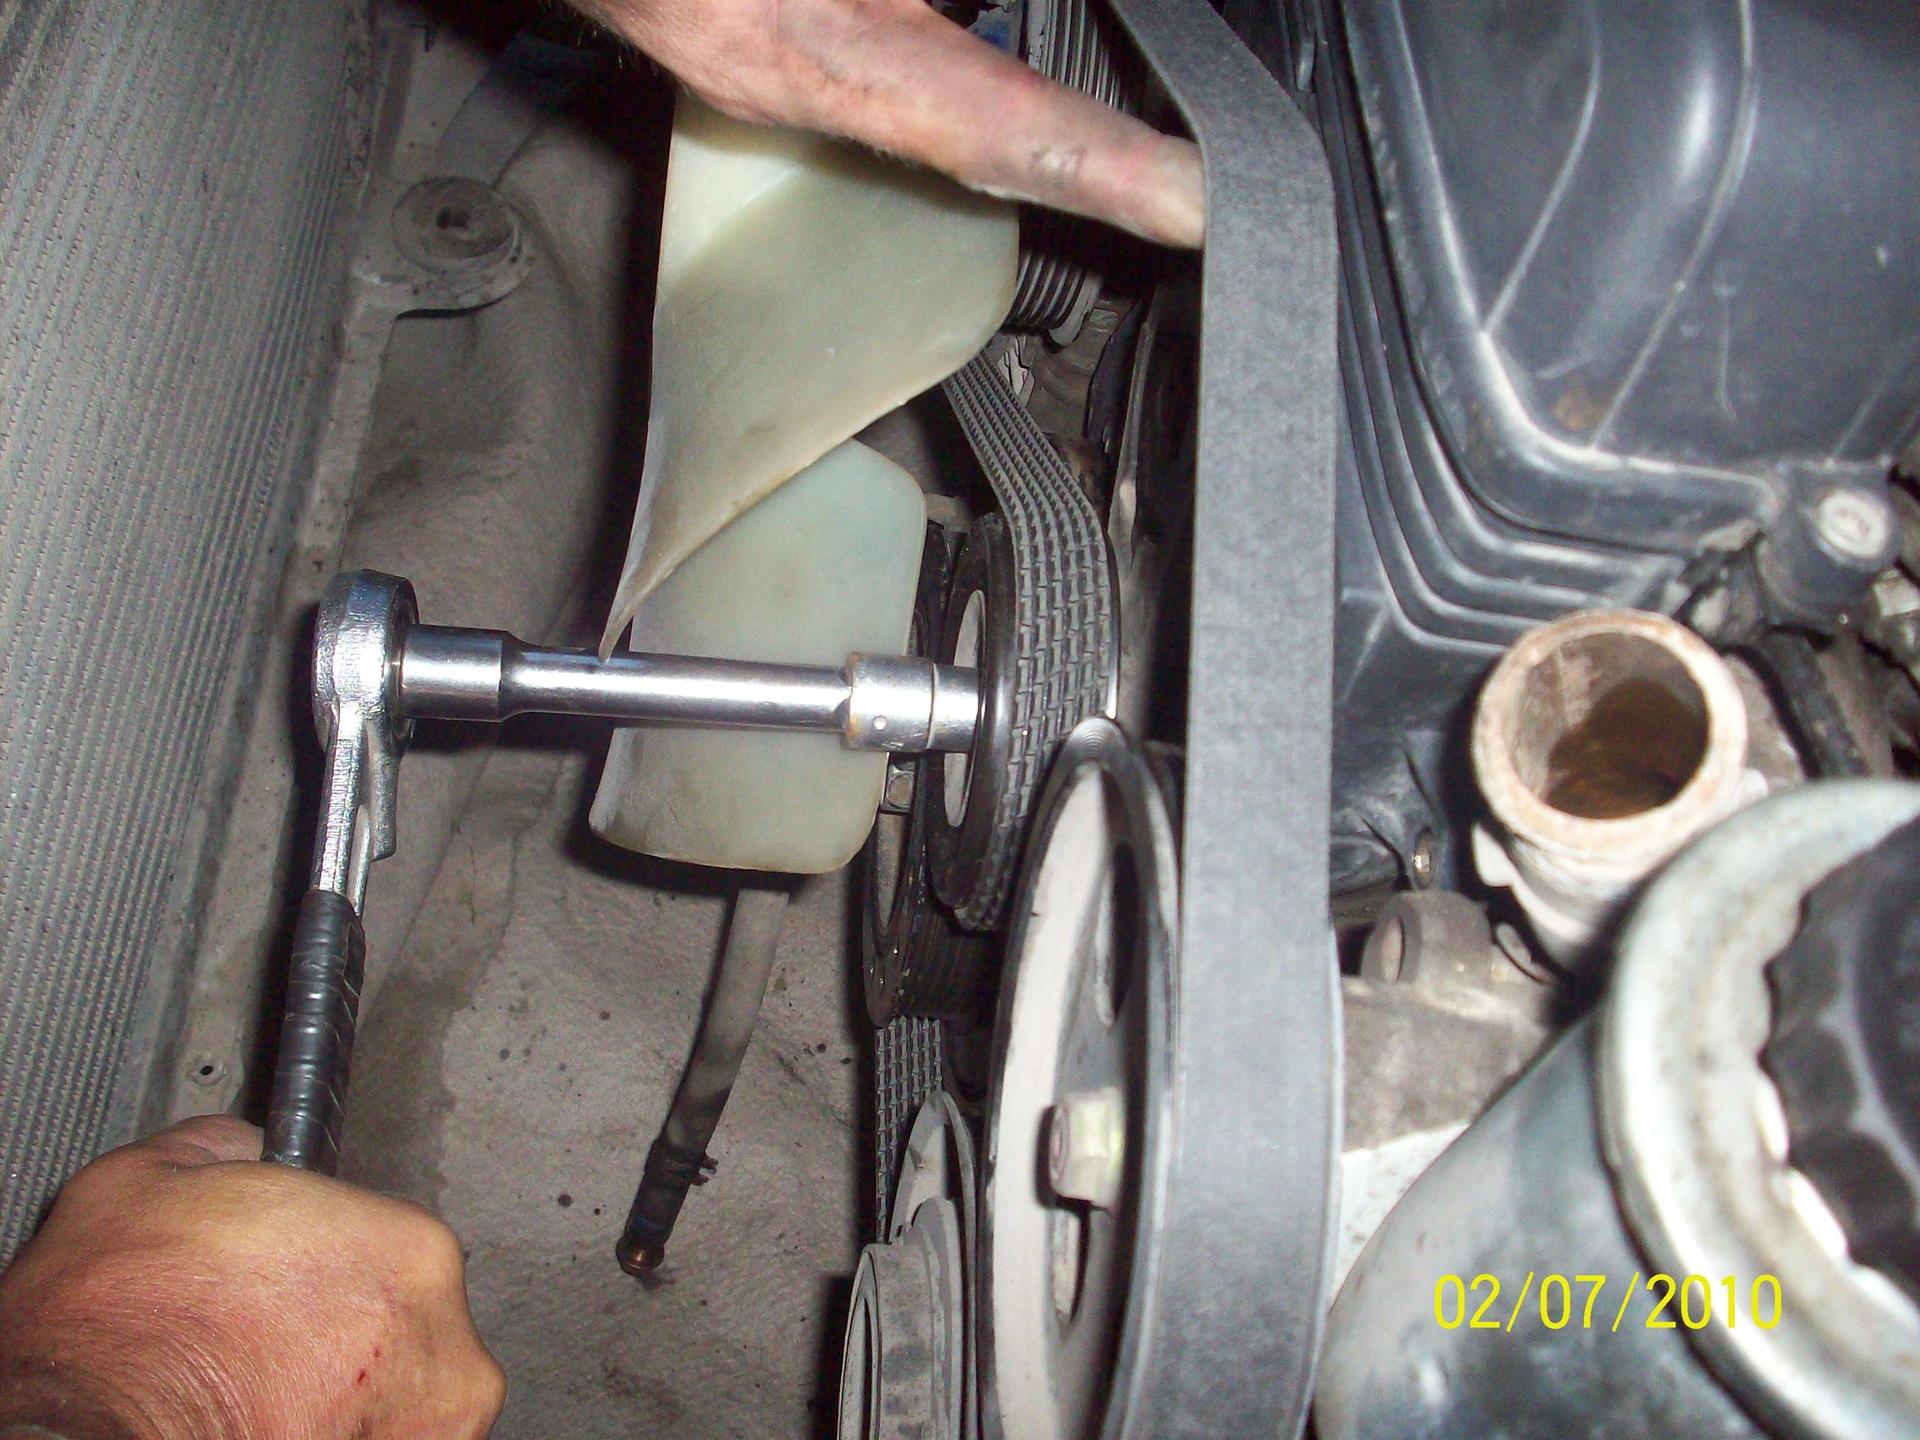
11. Loosen the alternator belt (Take the head or the ring wrench and try to tighten the tensioner bolt, it will loosen the belt spring-loaded and remove it) 12.
Unscrew the upper casing and remove it
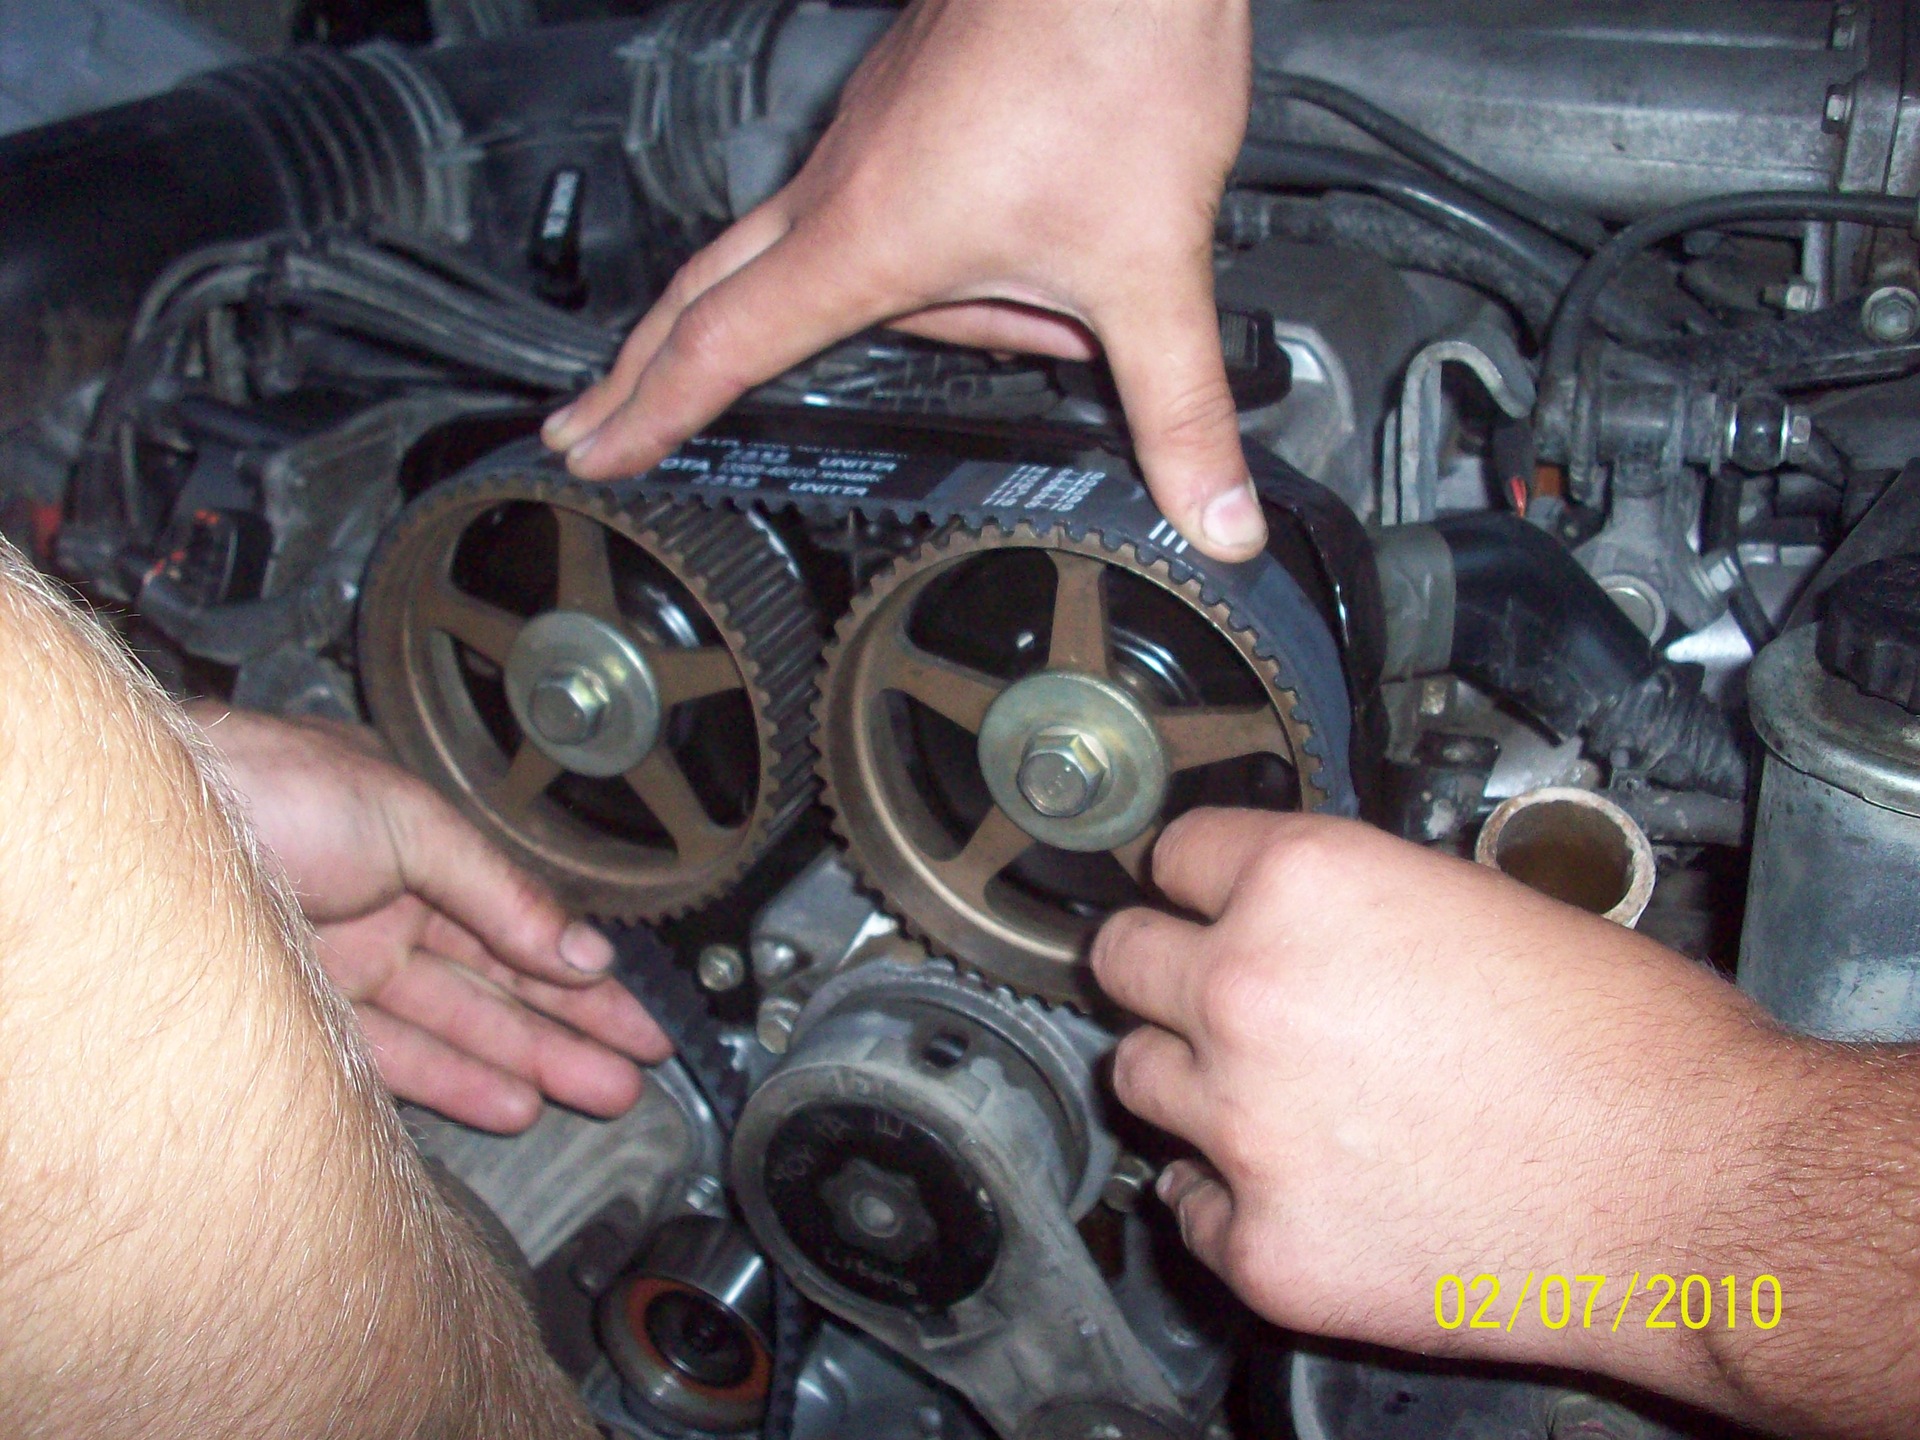
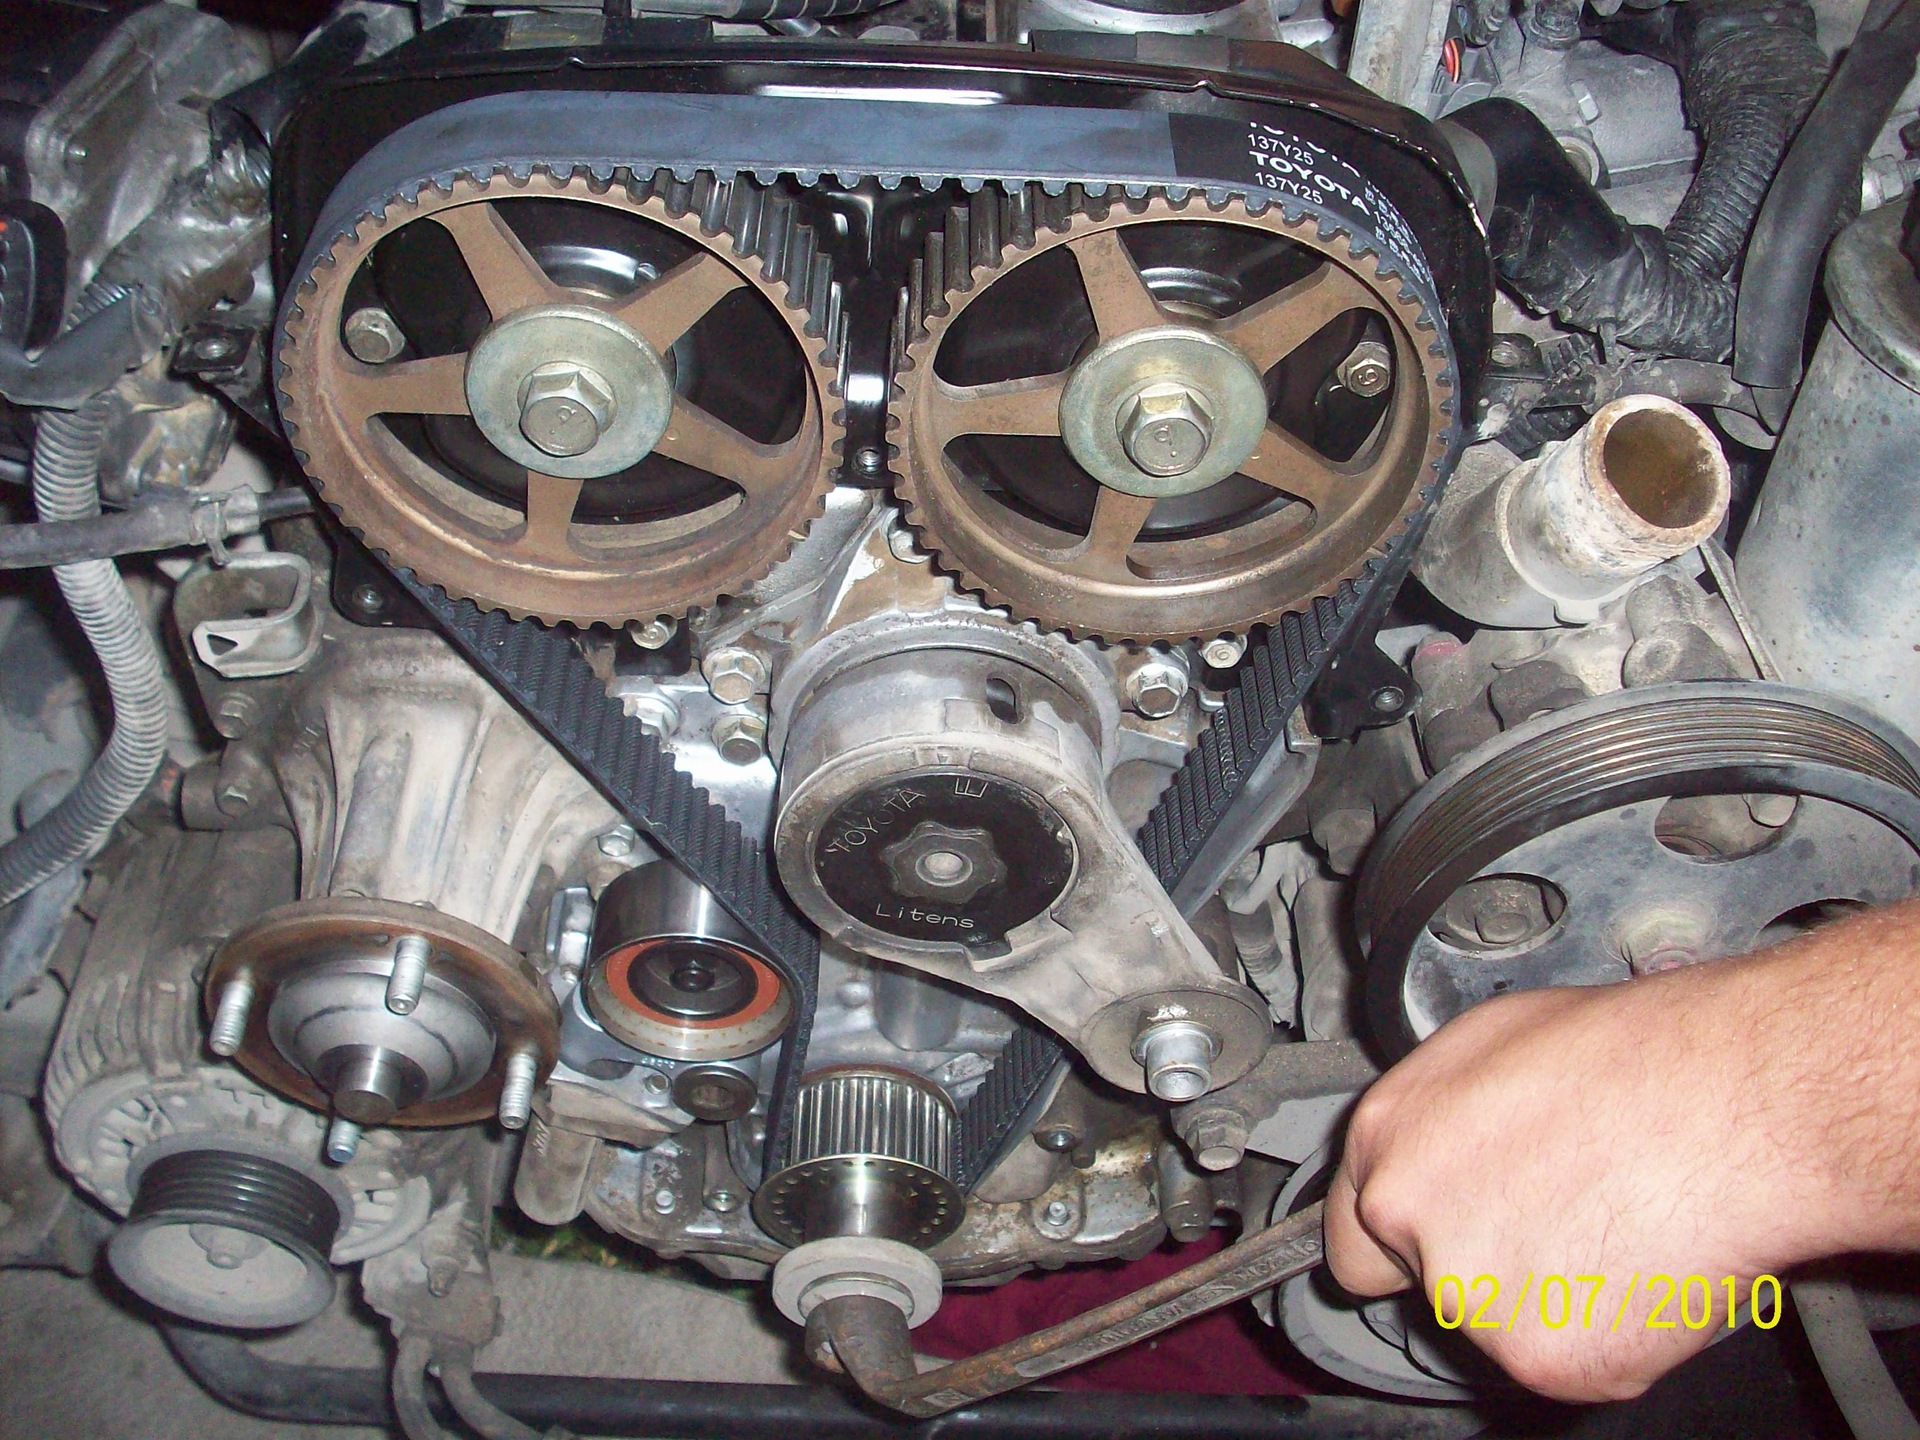
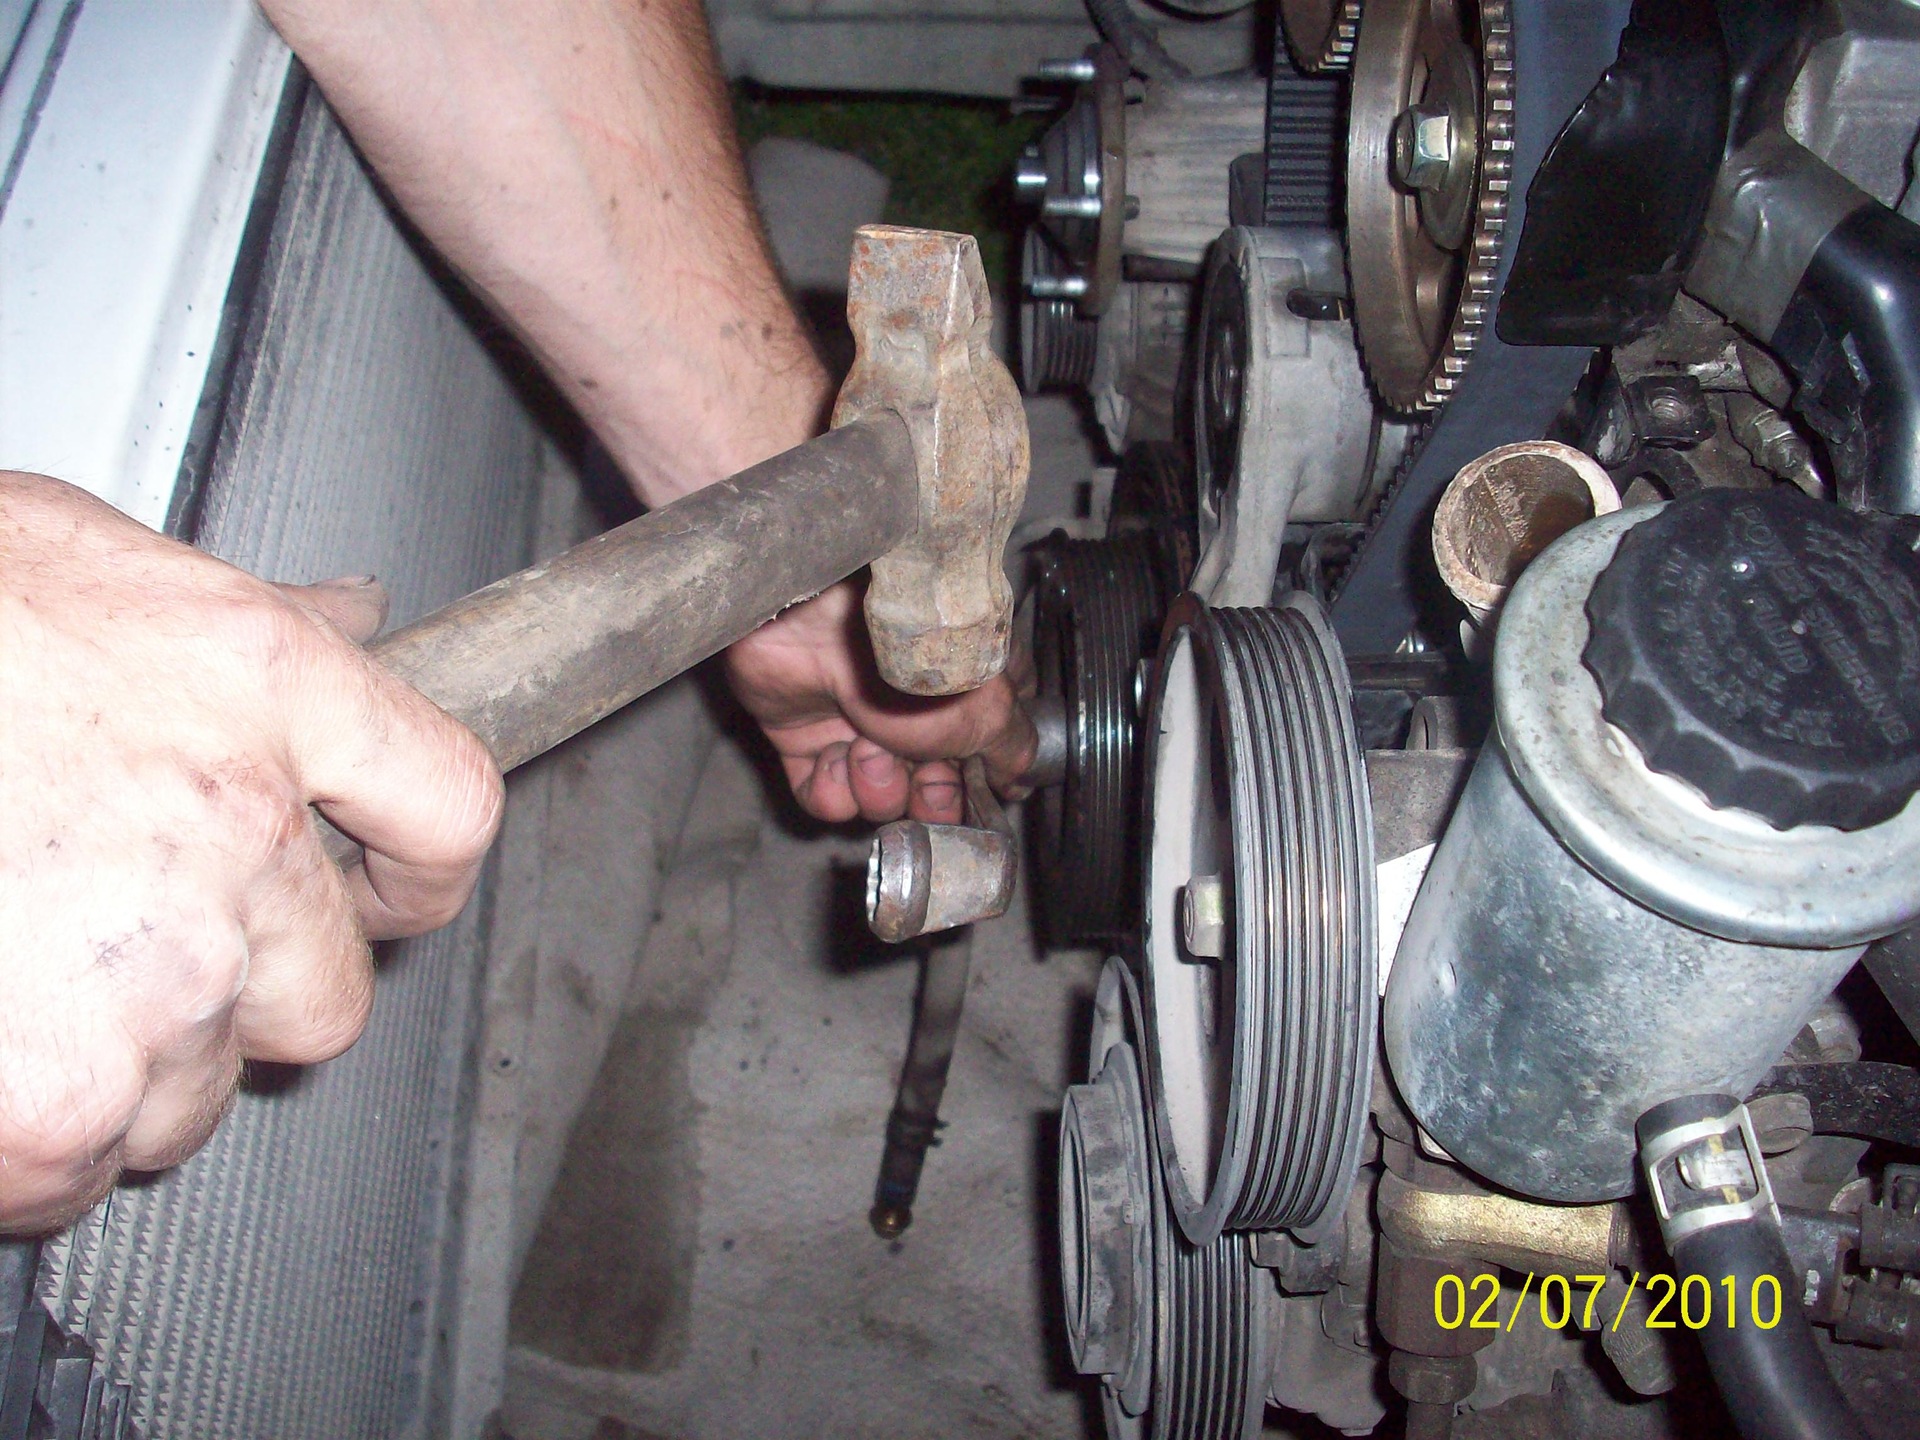
head on 22 with a good powerful knob, rest it against the right side member, strike the starter, voila, the bolt is unscrewed)
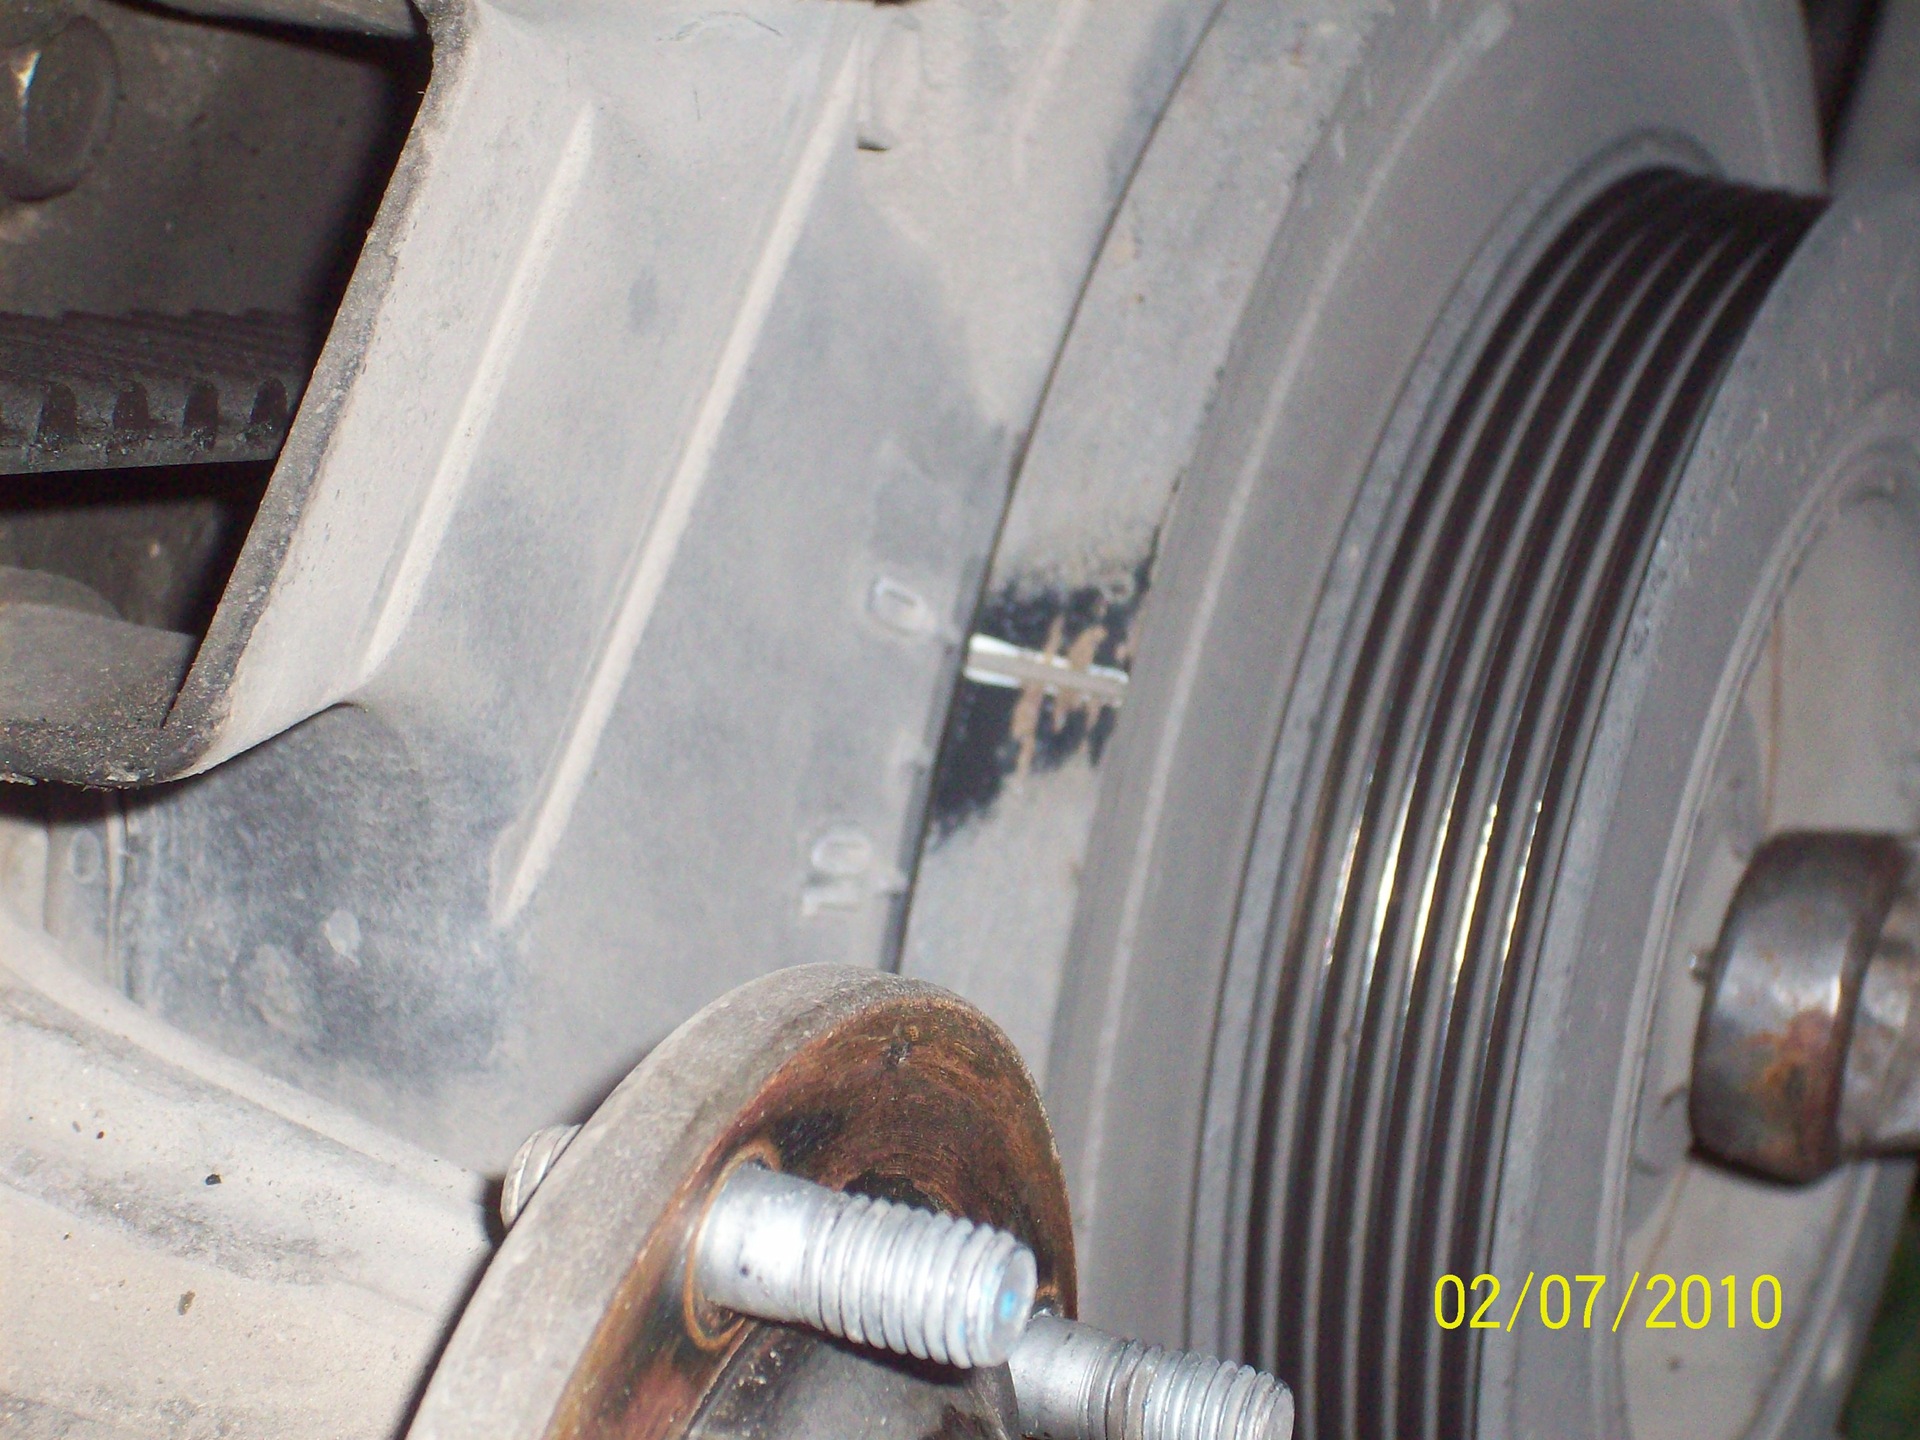
14. Set the marks (if the marks do not match,
rotate the engine for another circle, but remember that the engine can only be
turned clockwise!
) fastening the tension roller
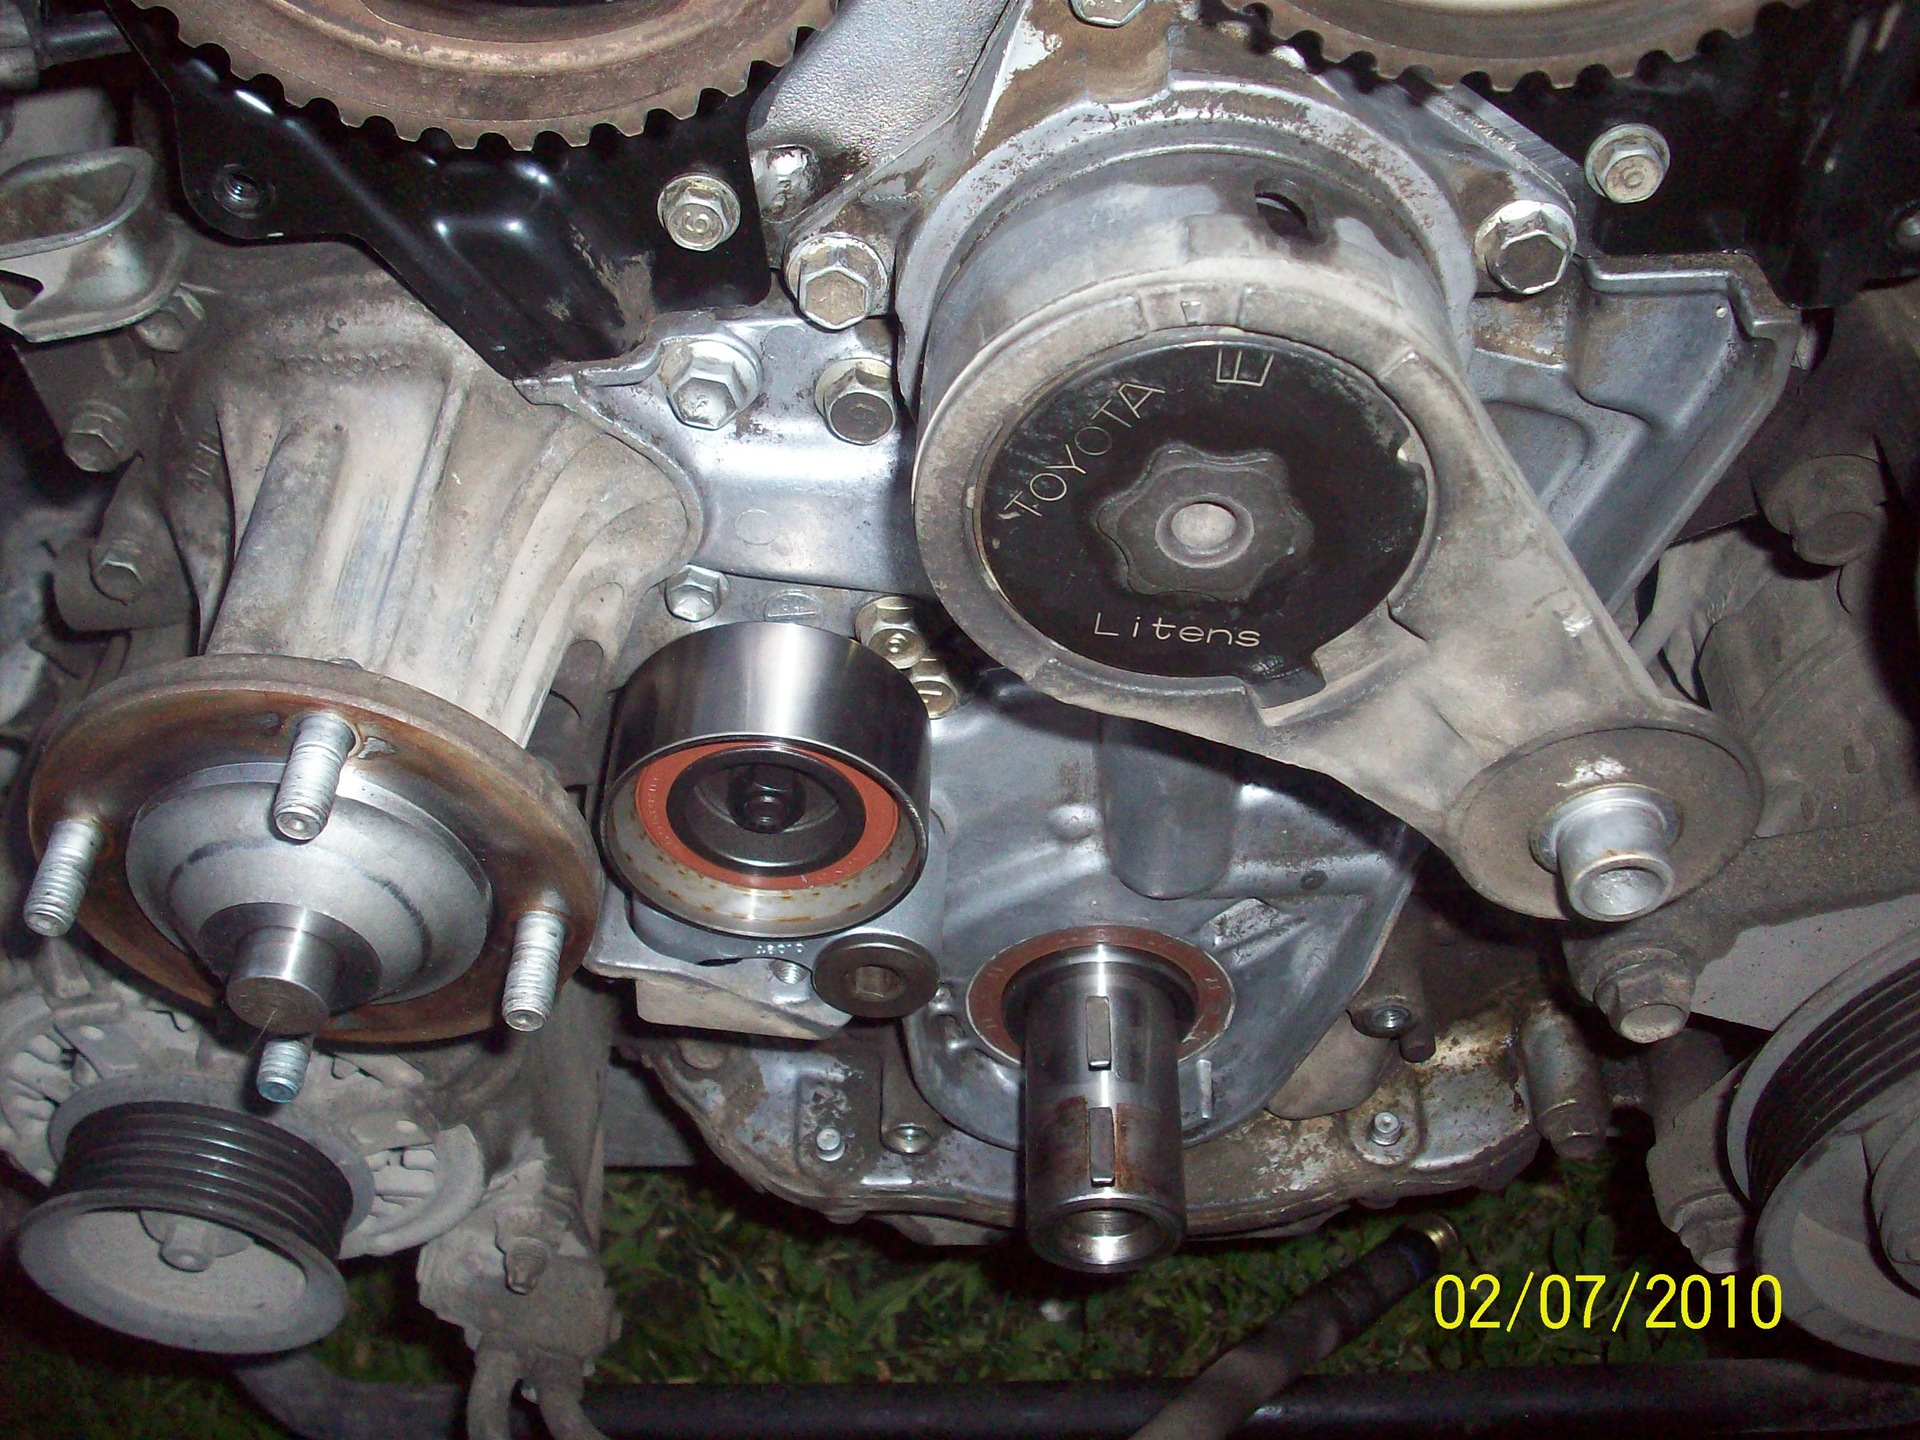
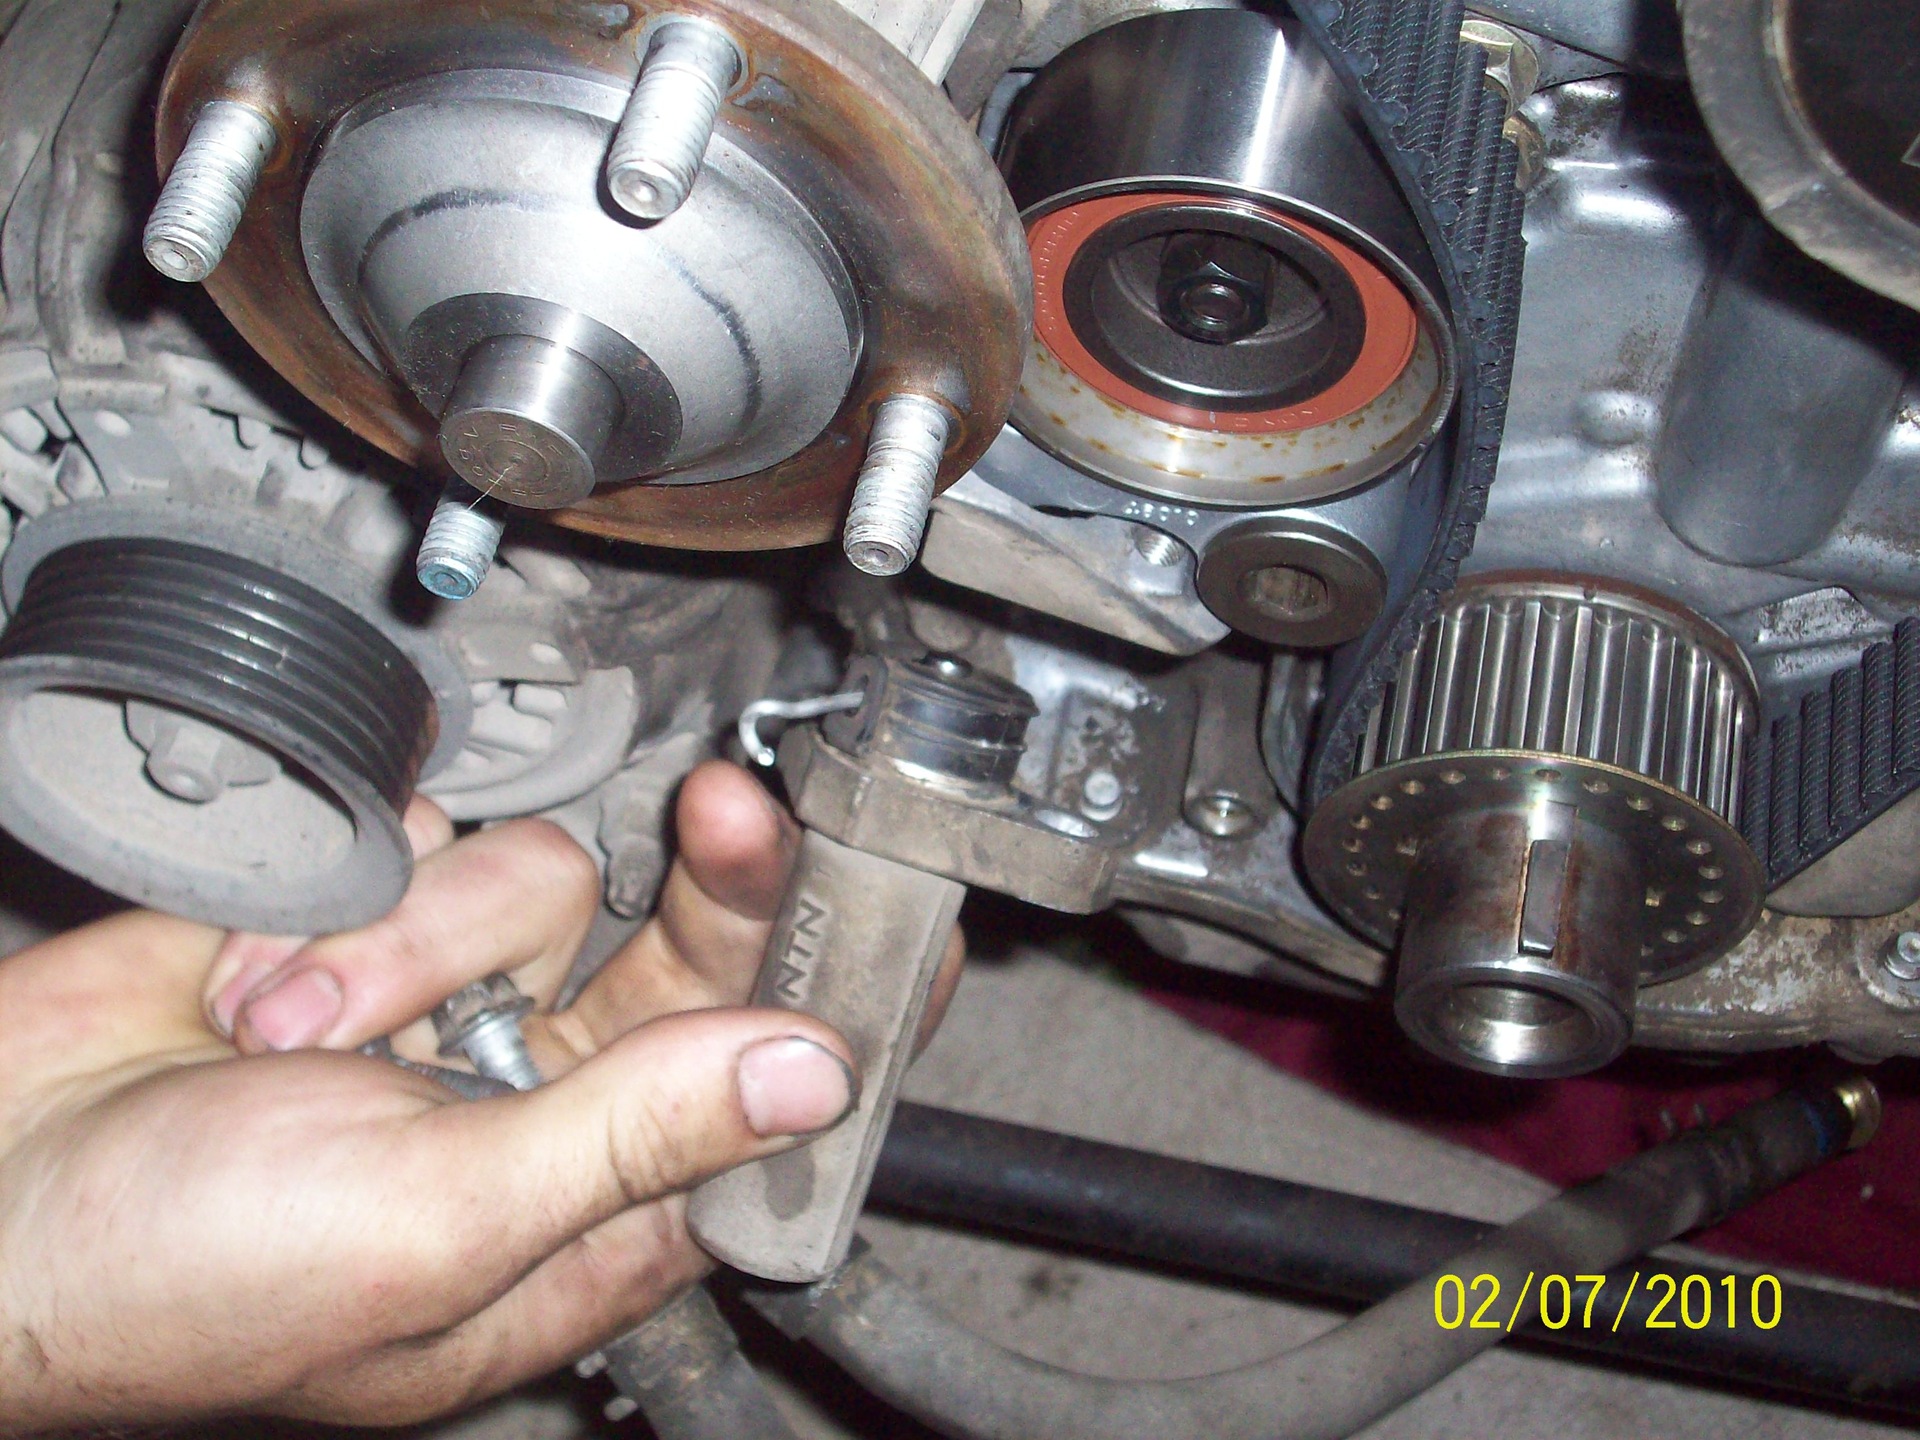
19. Unscrew the tension mechanism with a tube of 12
20. Unscrew the bolt securing the tension roller and remove the roller
21. In a yew, press the pusher of the tension mechanism and insert a steel wire, although aluminum was used in this one.
22. Wash the front of the engine (the most important thing is to wash the pulleys themselves, because there are rubber residues that will cause your new belt to wear out quickly).
23. We put the tension roller and tighten it.
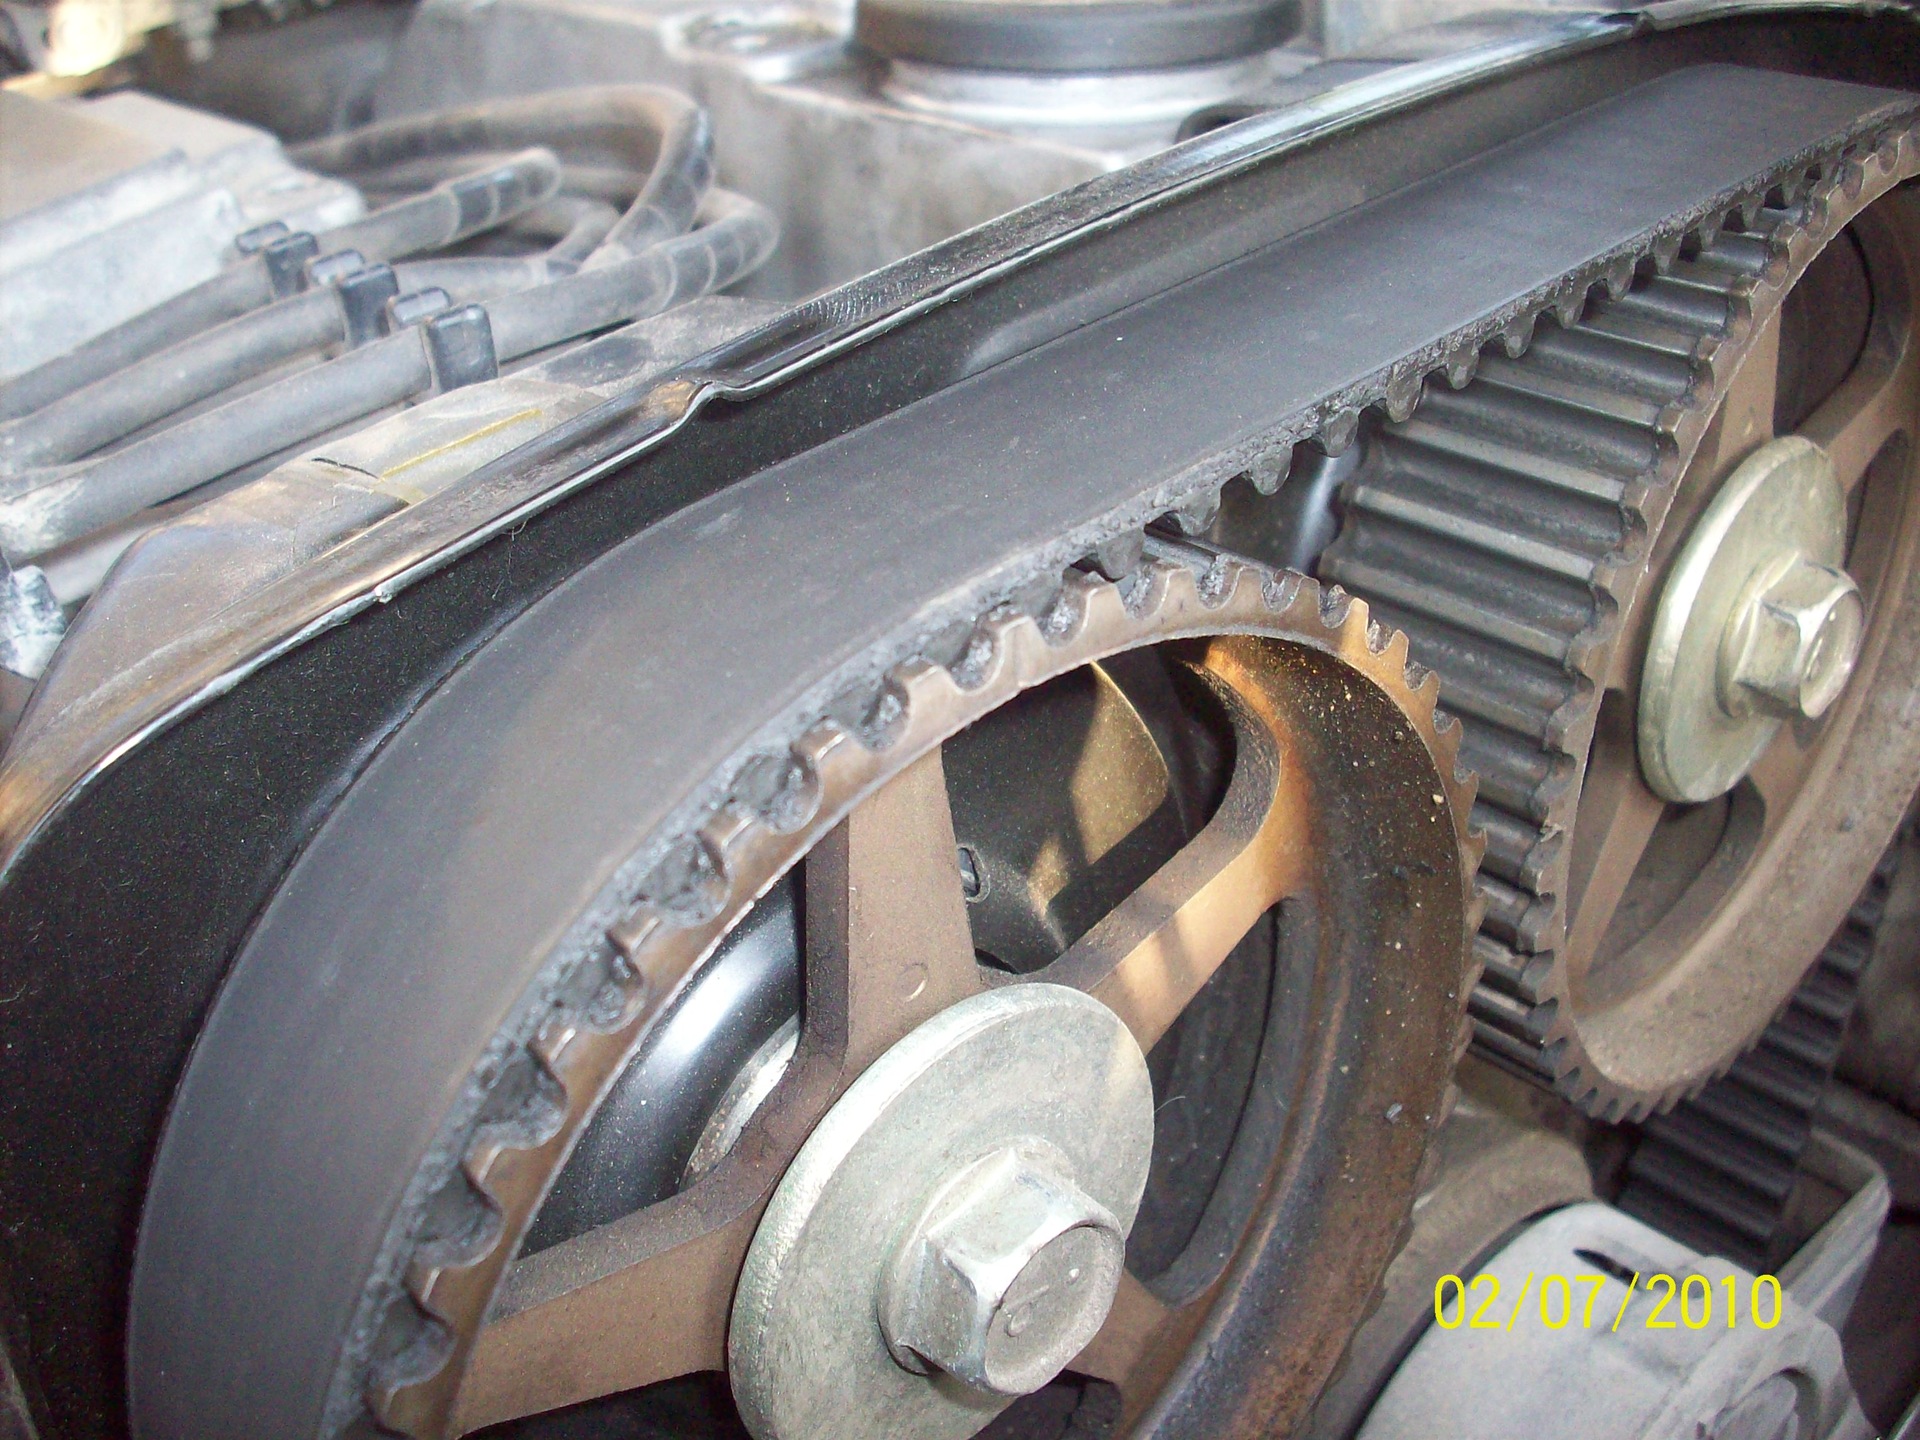
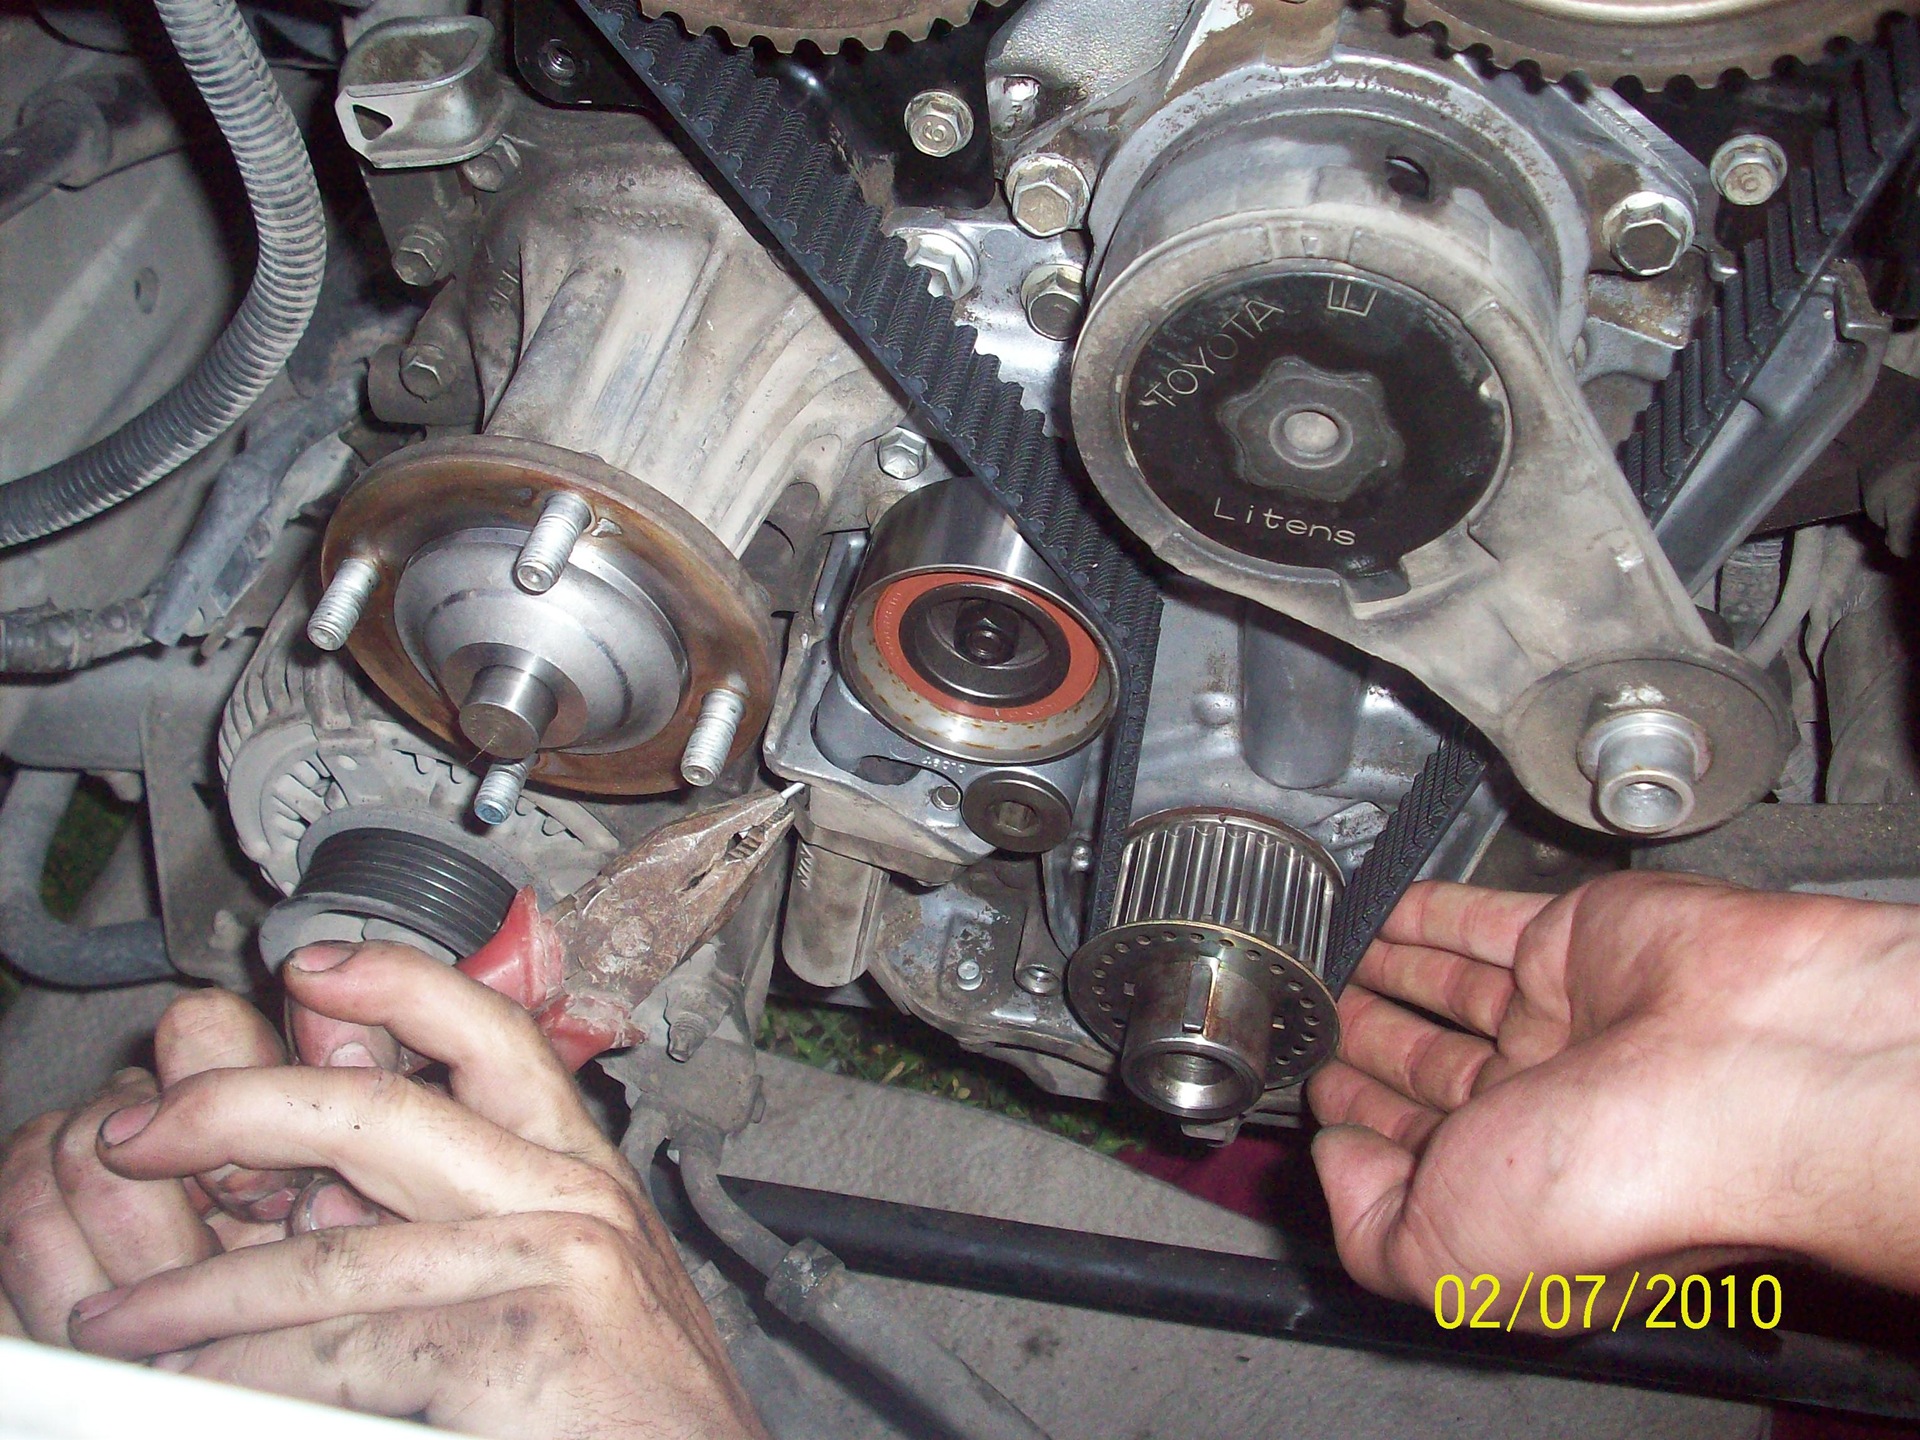
24. We put on the timing belt, observing its tension and matching the teeth between the camshafts, the left shaft and the crankshaft, and create the tension between the right shaft and the crankshaft with a tensioning mechanism.
25. We put the tensioning mechanism of the roller and the belt itself, after you have stretched it, but carefully do not drag the duralumin there!
26. We pull out the wire with pliers (the belt is stretched)
27. We wrap the bolt and turn the engine a few turns back to the marks!
28. Install the casing.
29. Install the pulley and tighten it with a sharp hammer blow.
30. Let's drink some juice)
31. You and I didn't unscrew the tension pulley as I have shown, it's too much, I lubricated it, it was dry for me.
32. We put and weld the fan.
33. We put on the alternator belt (we also put on the key and try to tighten the central bolt of the tensioner, it goes to the bottom; we put the belt on.
34. We tighten the fan.
35. We put the washed radiator getting into the lower rubber bands.
36. We fasten it from above.
37. We put on the automatic transmission cooling hoses
38. Put on the pipes. 39.
Put on the electrical connectors.
40. Put the expansion tank on.
41. Check that the coolant drain valve is screwed on.
42. Fill in the coolant.
43. Insert the central wire of the coil.
44. Shake it off.
45. Washing my hands
46. ​​We start!
Everything is cool, everything works!
47. we give auto warm-up!
48. We muffle.
49. We control the start, we gas, there are no noises? no knocks?
50. We muffle.
YOU MATED AND WE ARE THE SAME)
PS There are too many photos, and I can’t upload everything, if anyone doesn’t understand something, write me some photos to the mail in addition ...
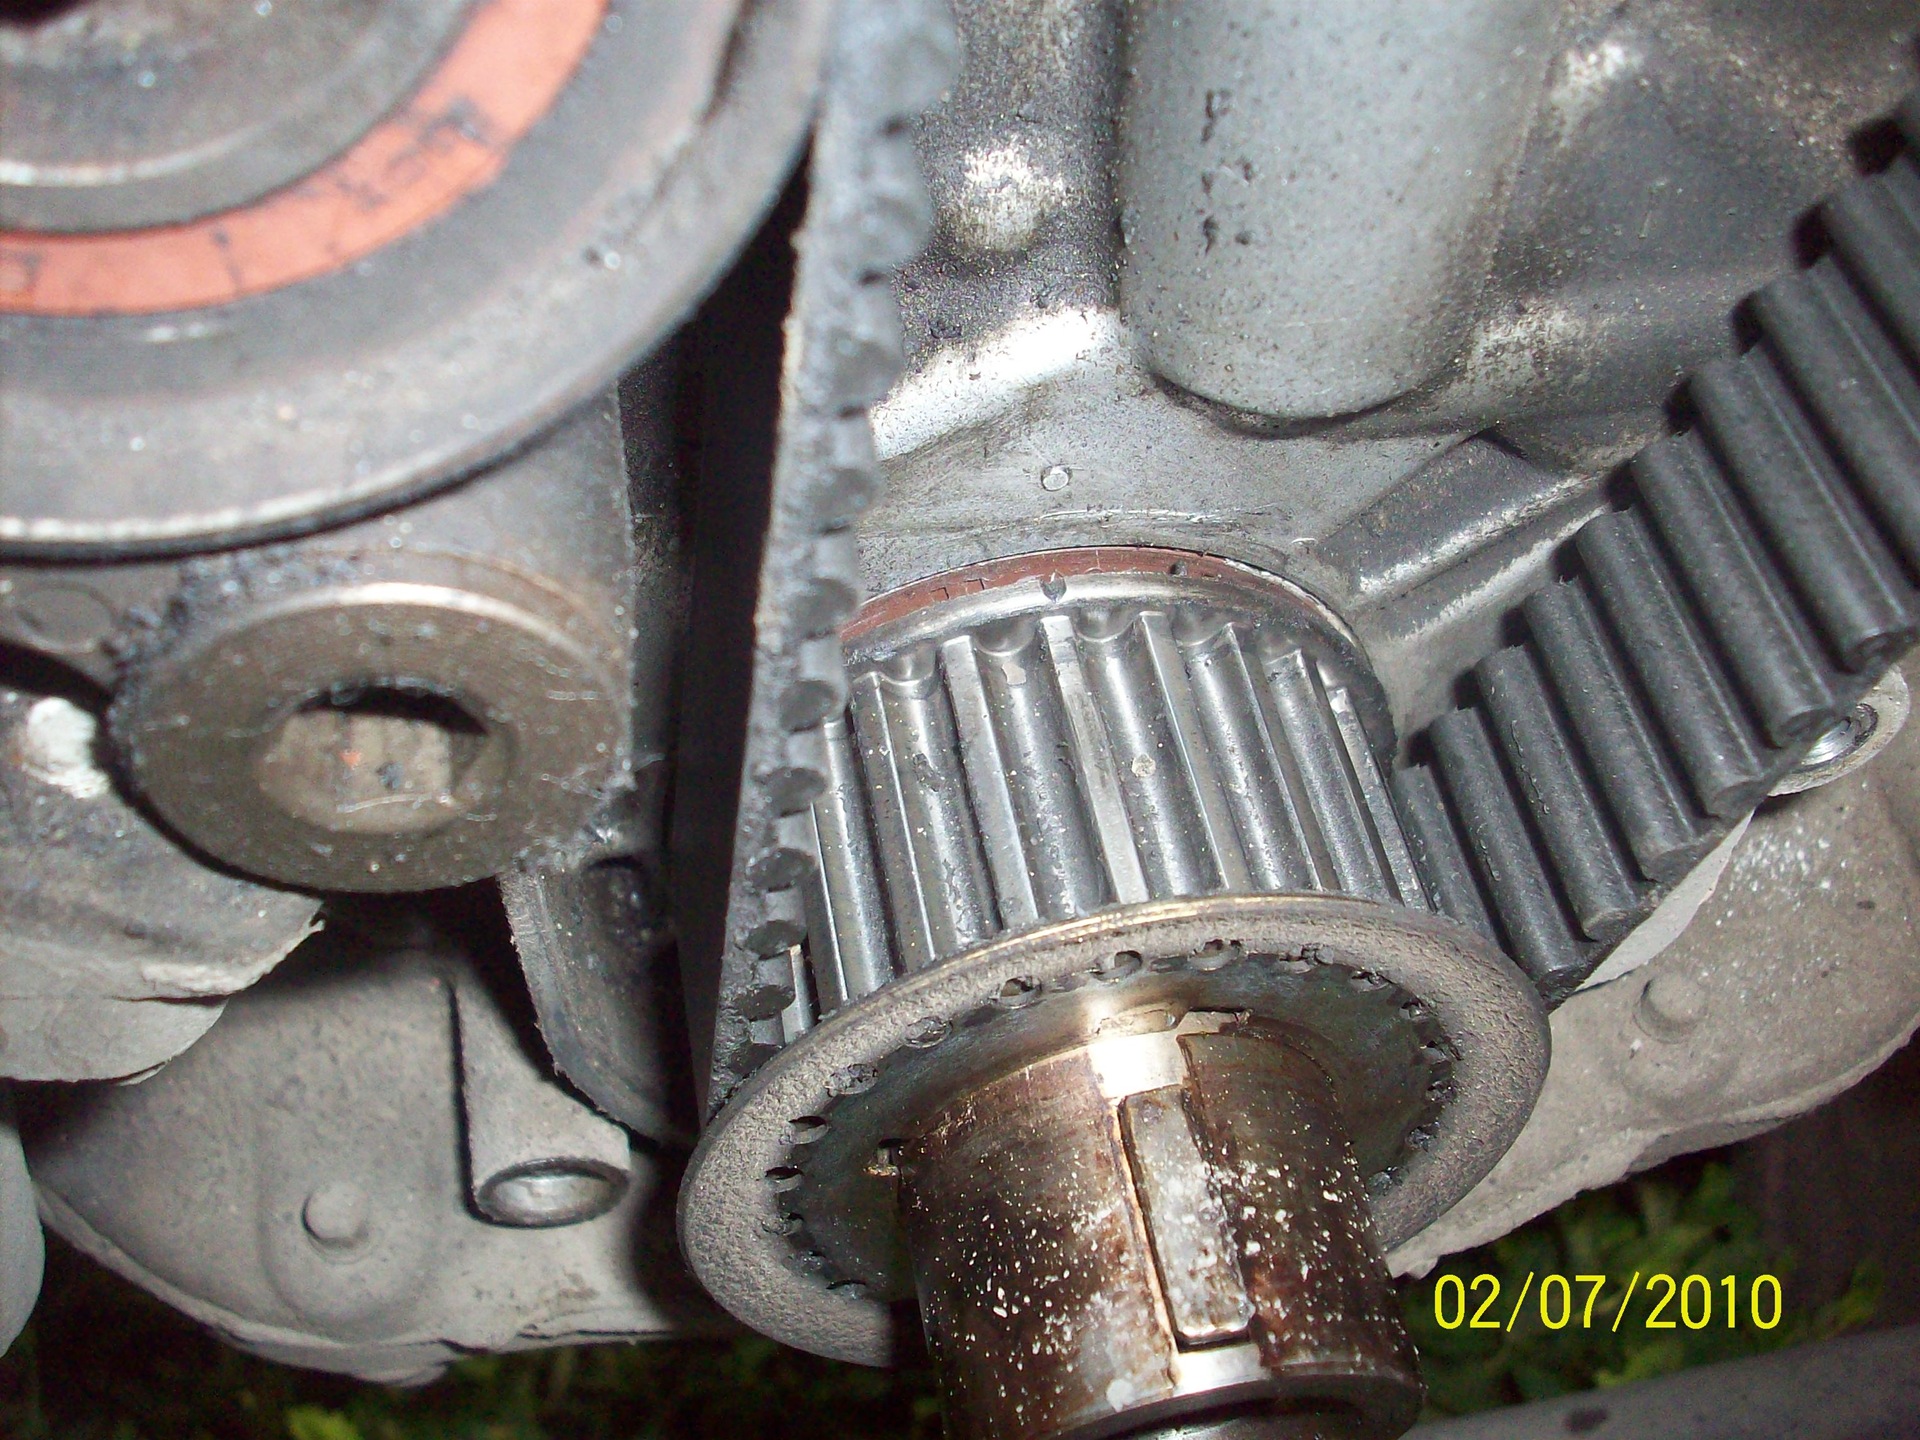
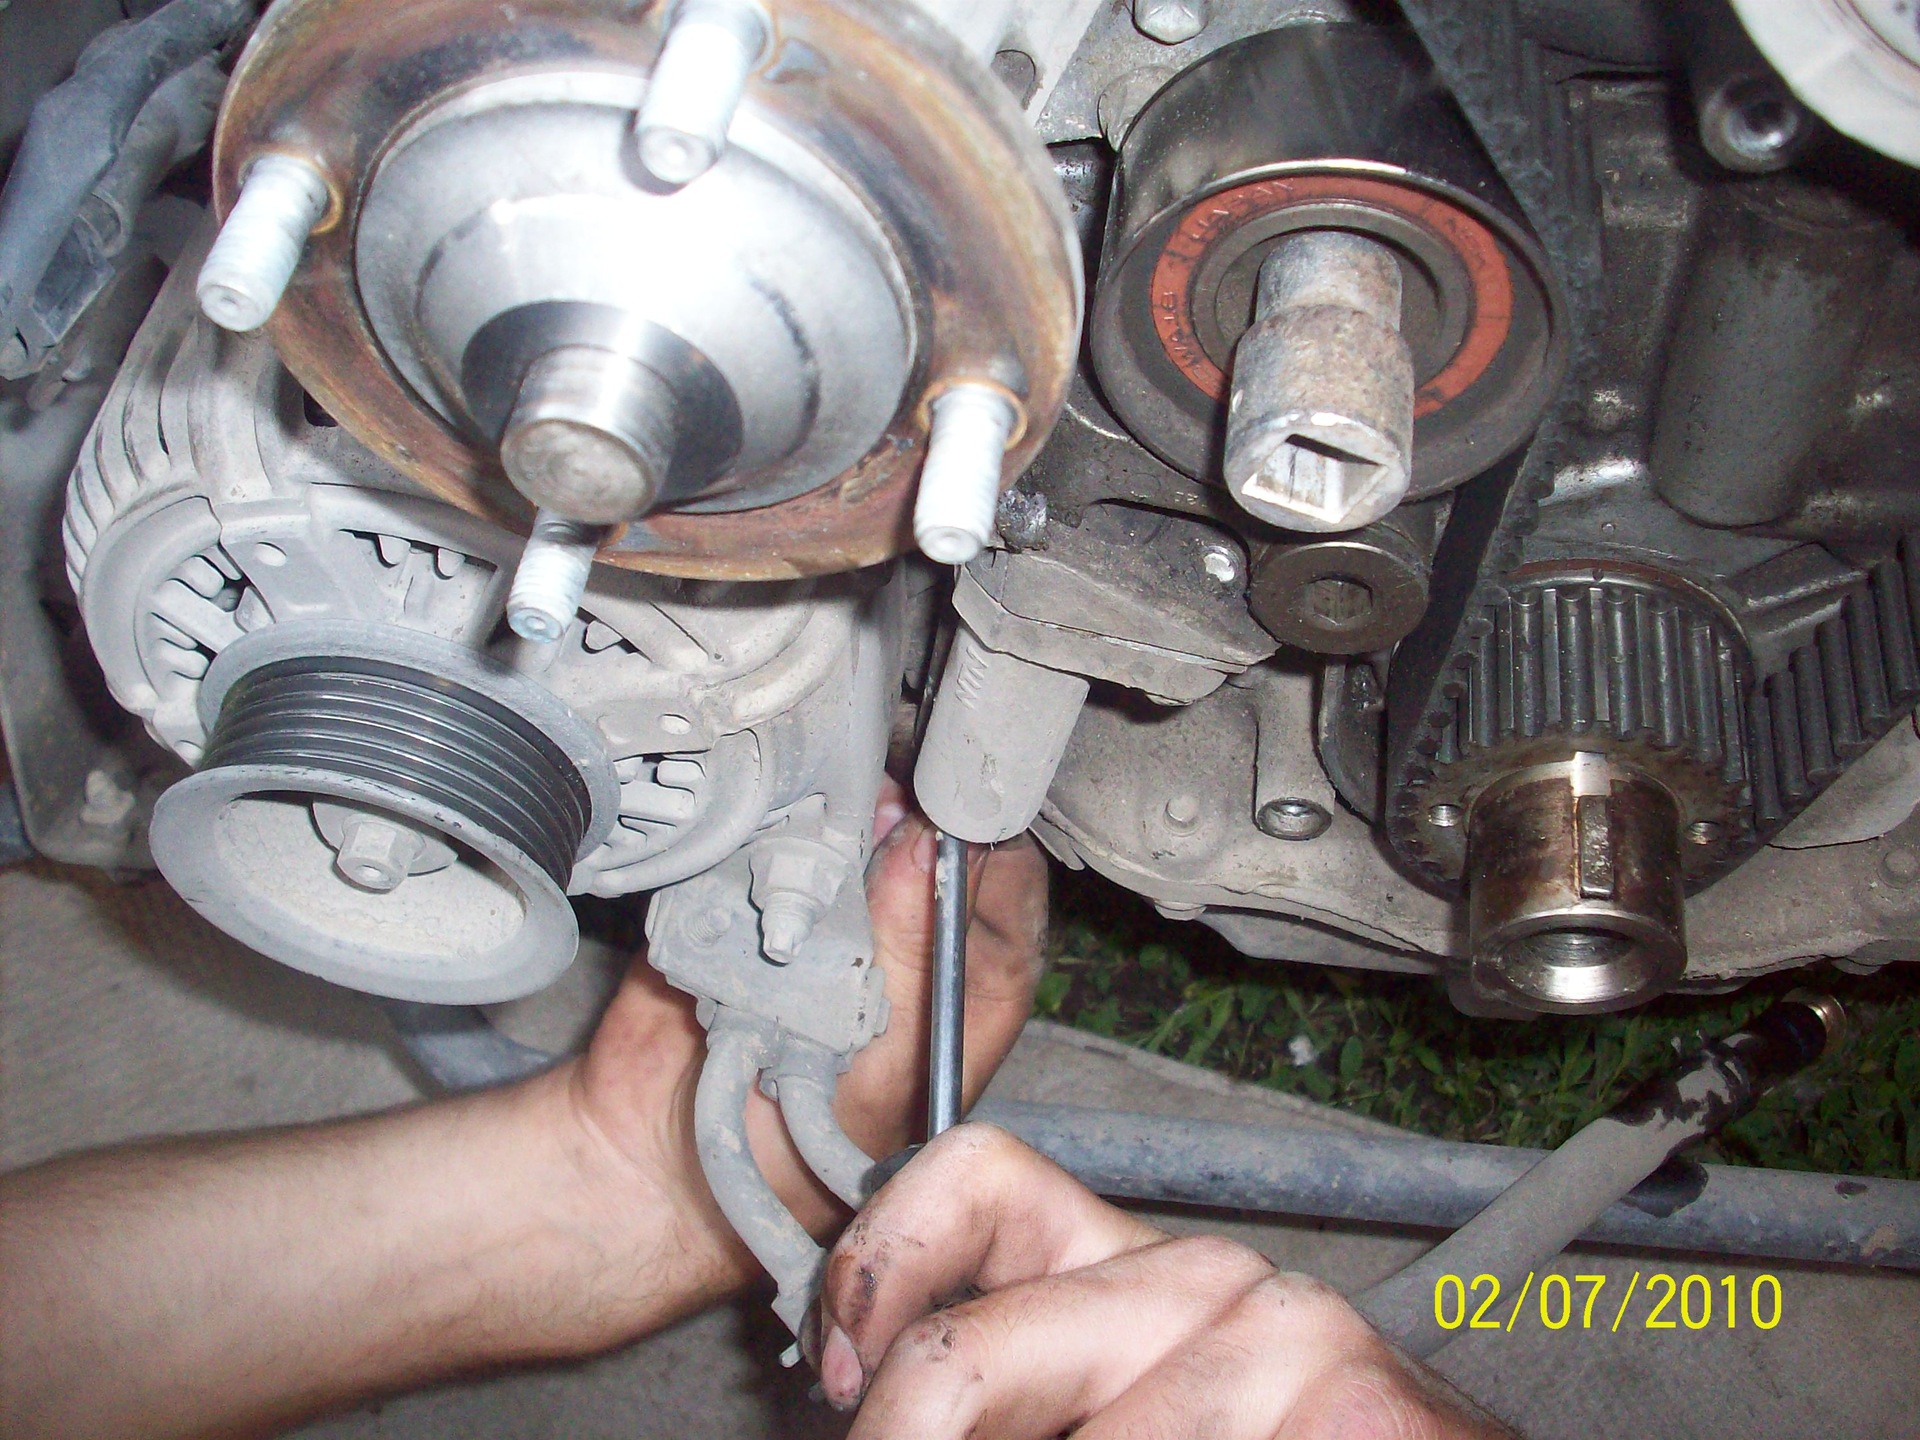
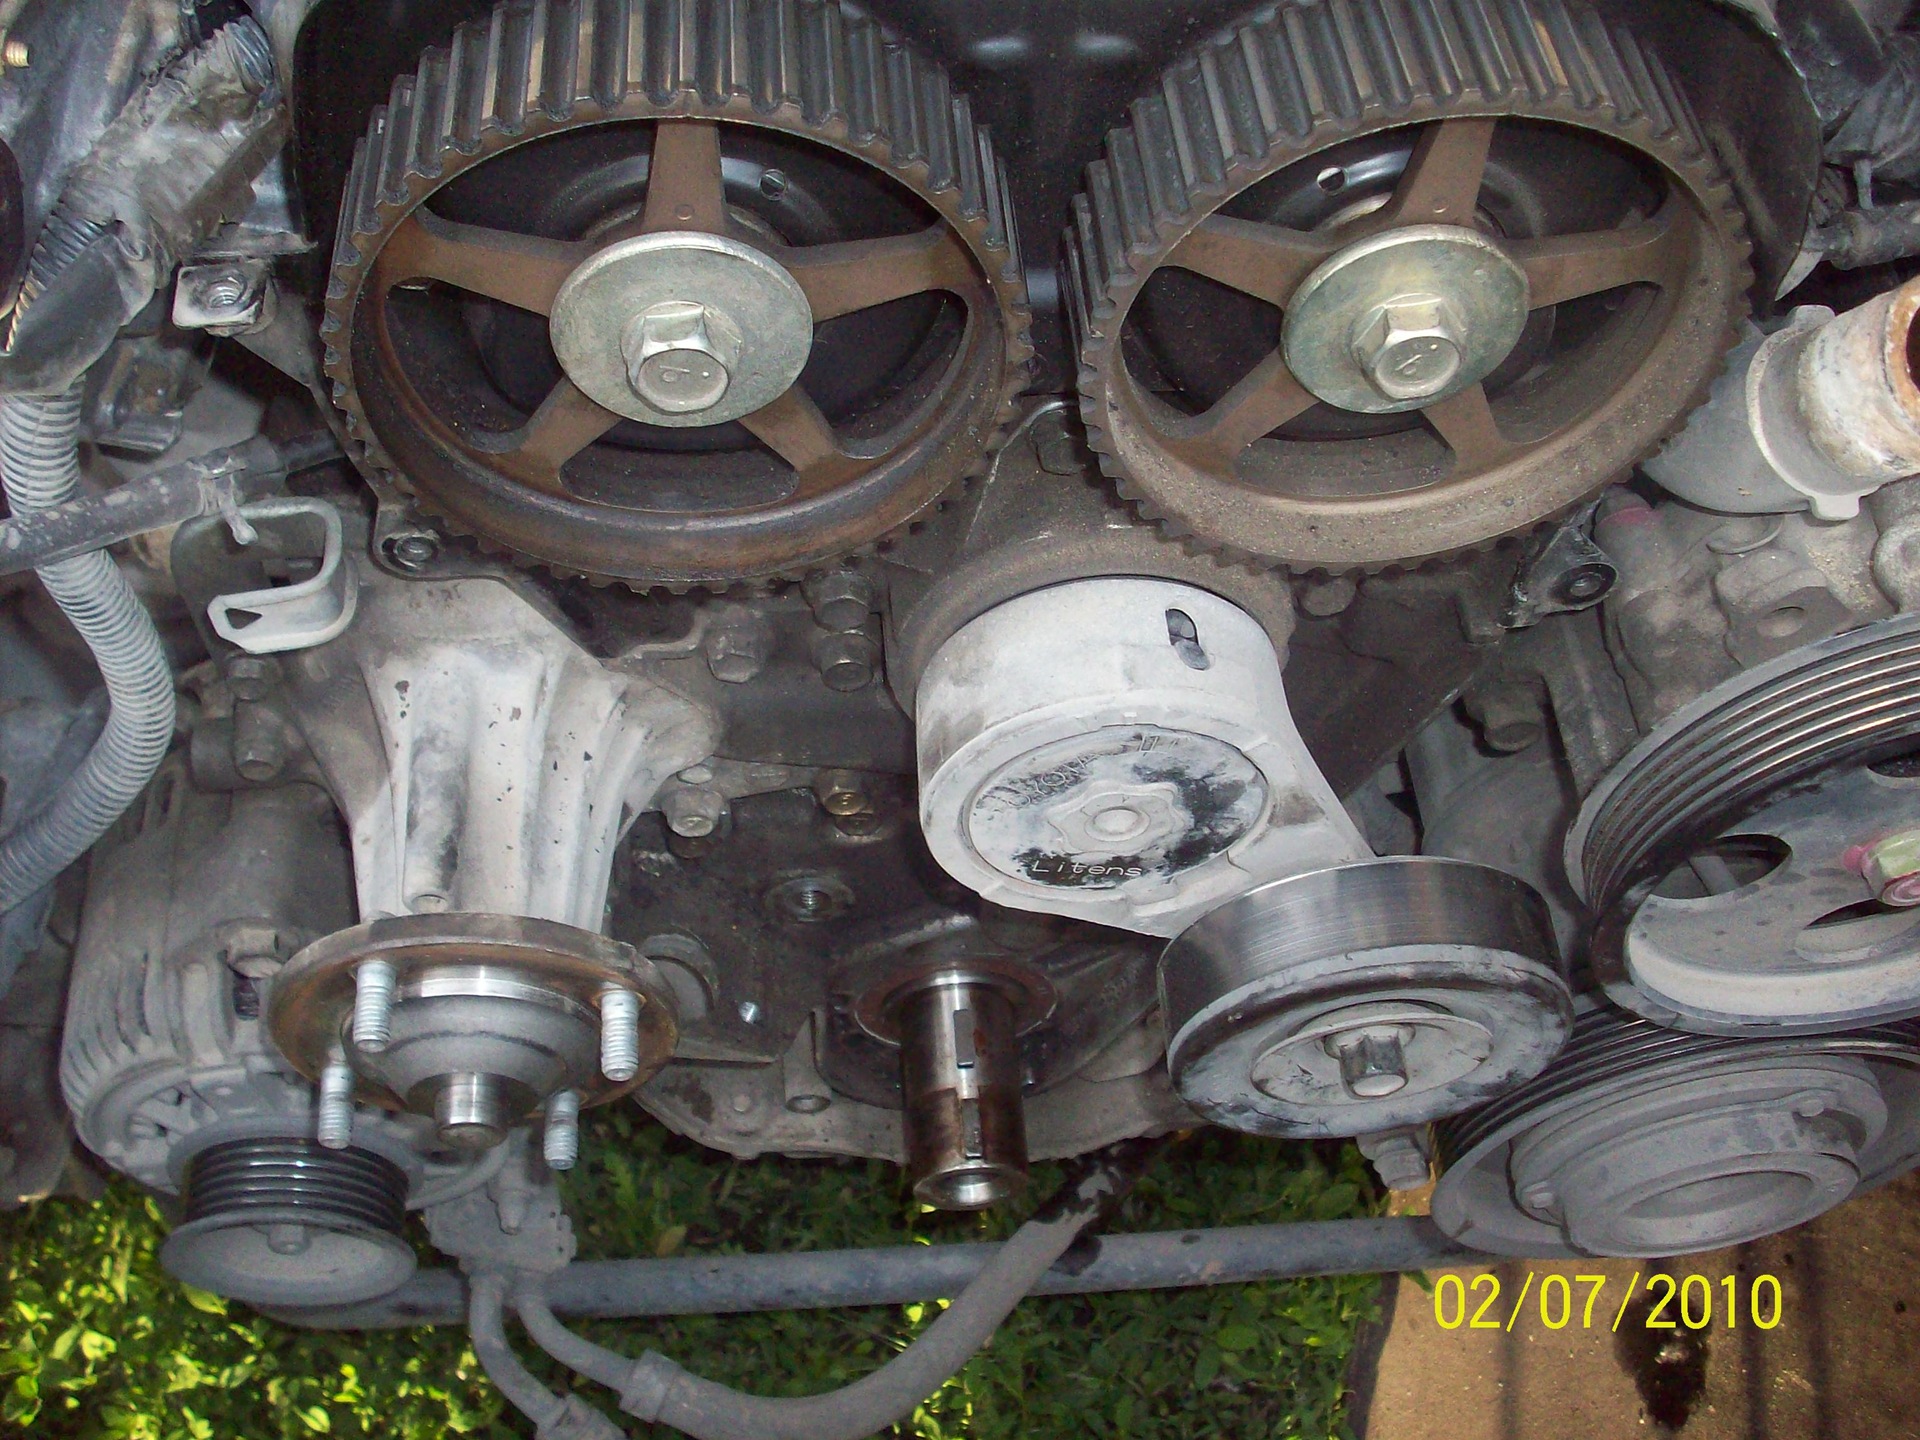
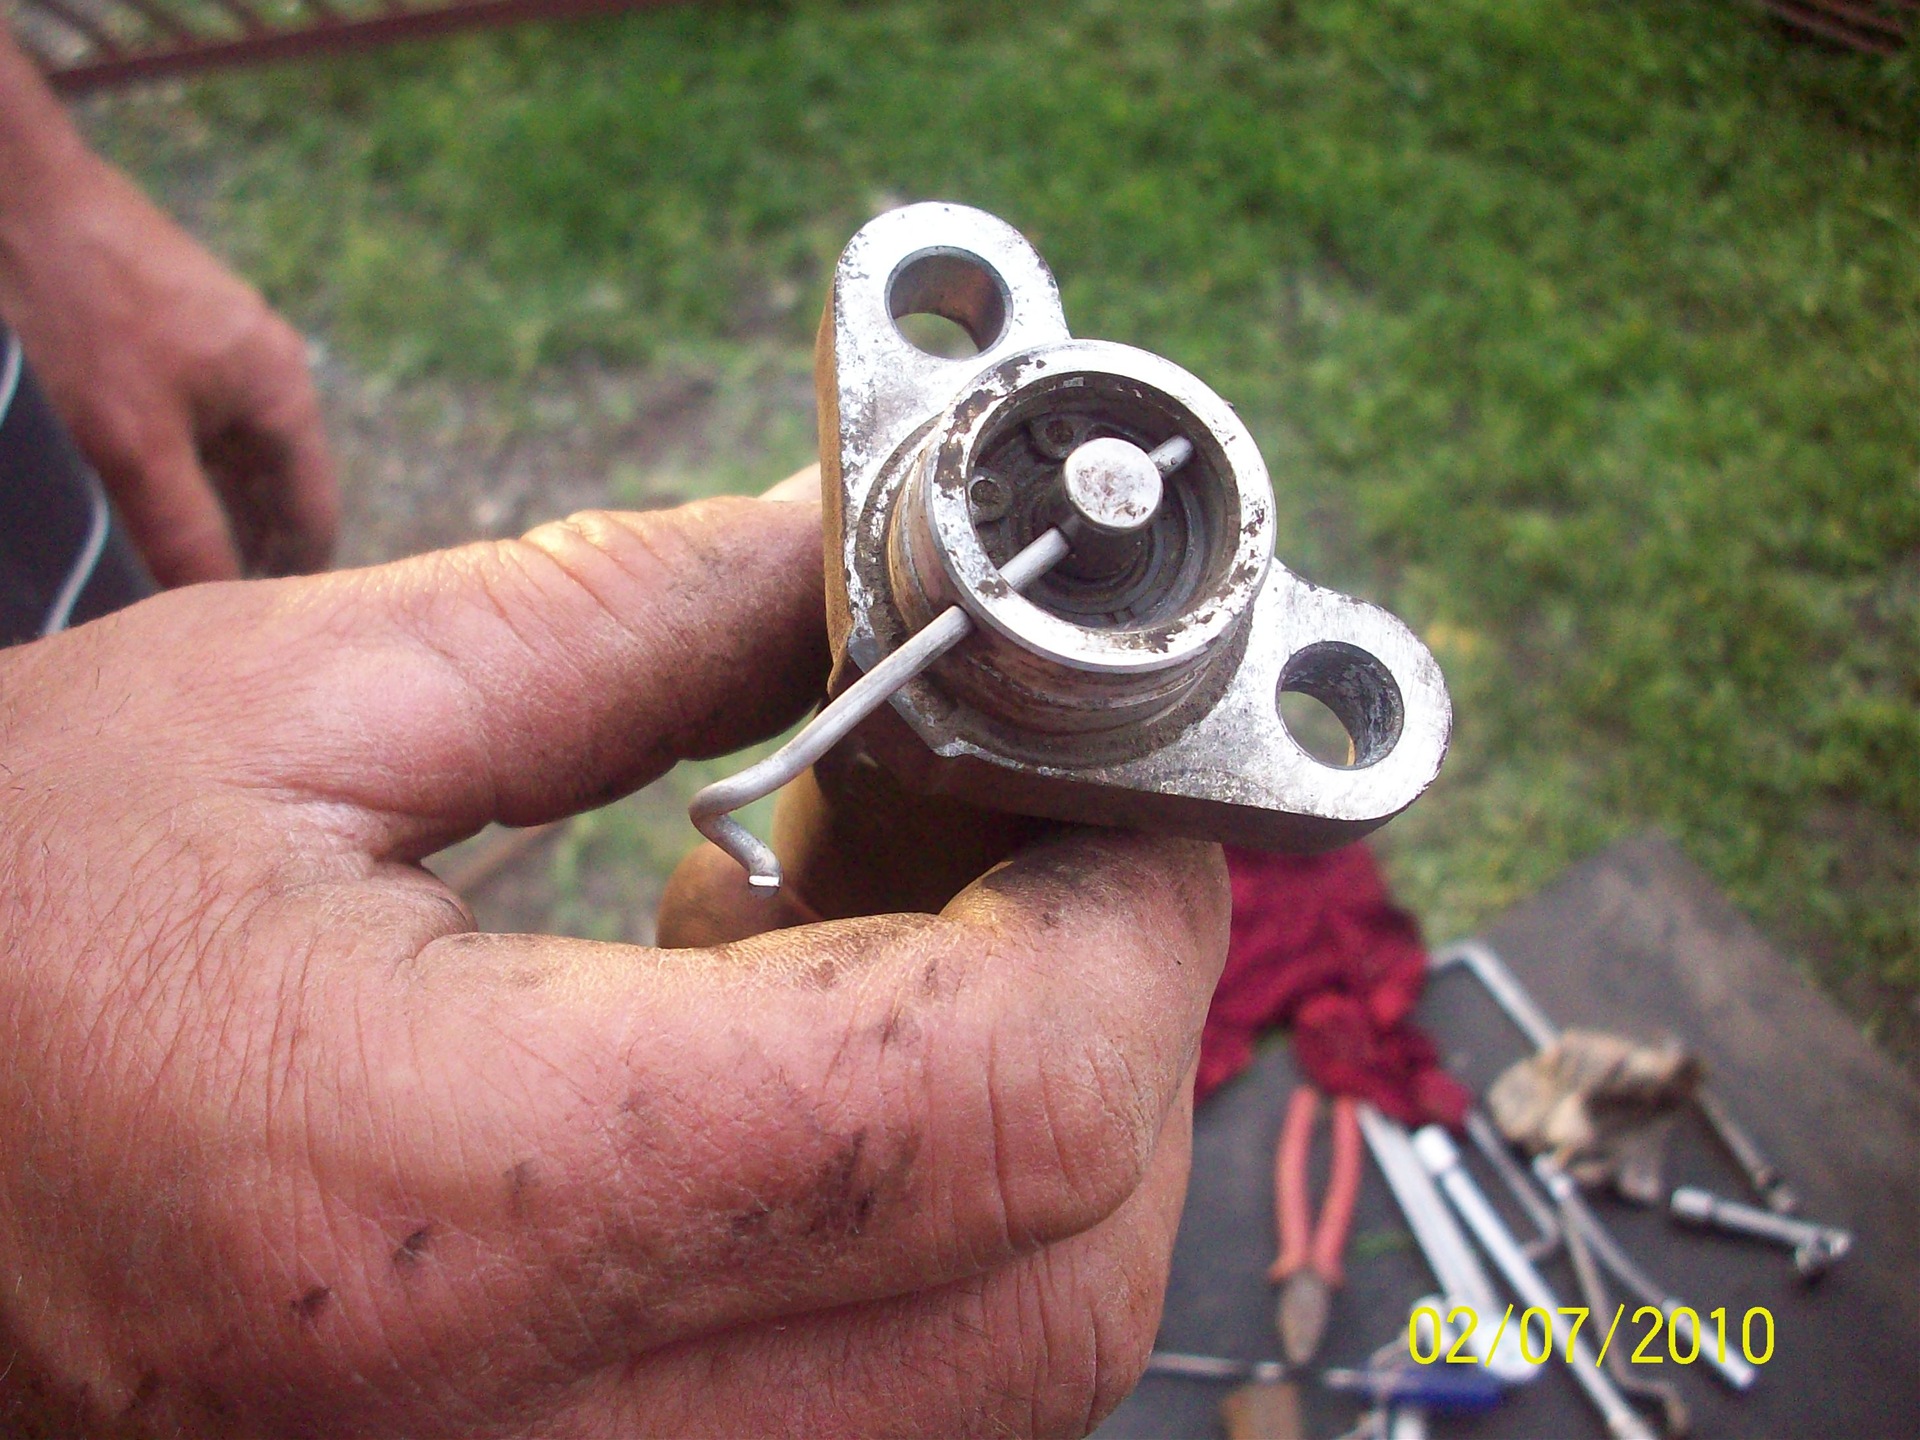

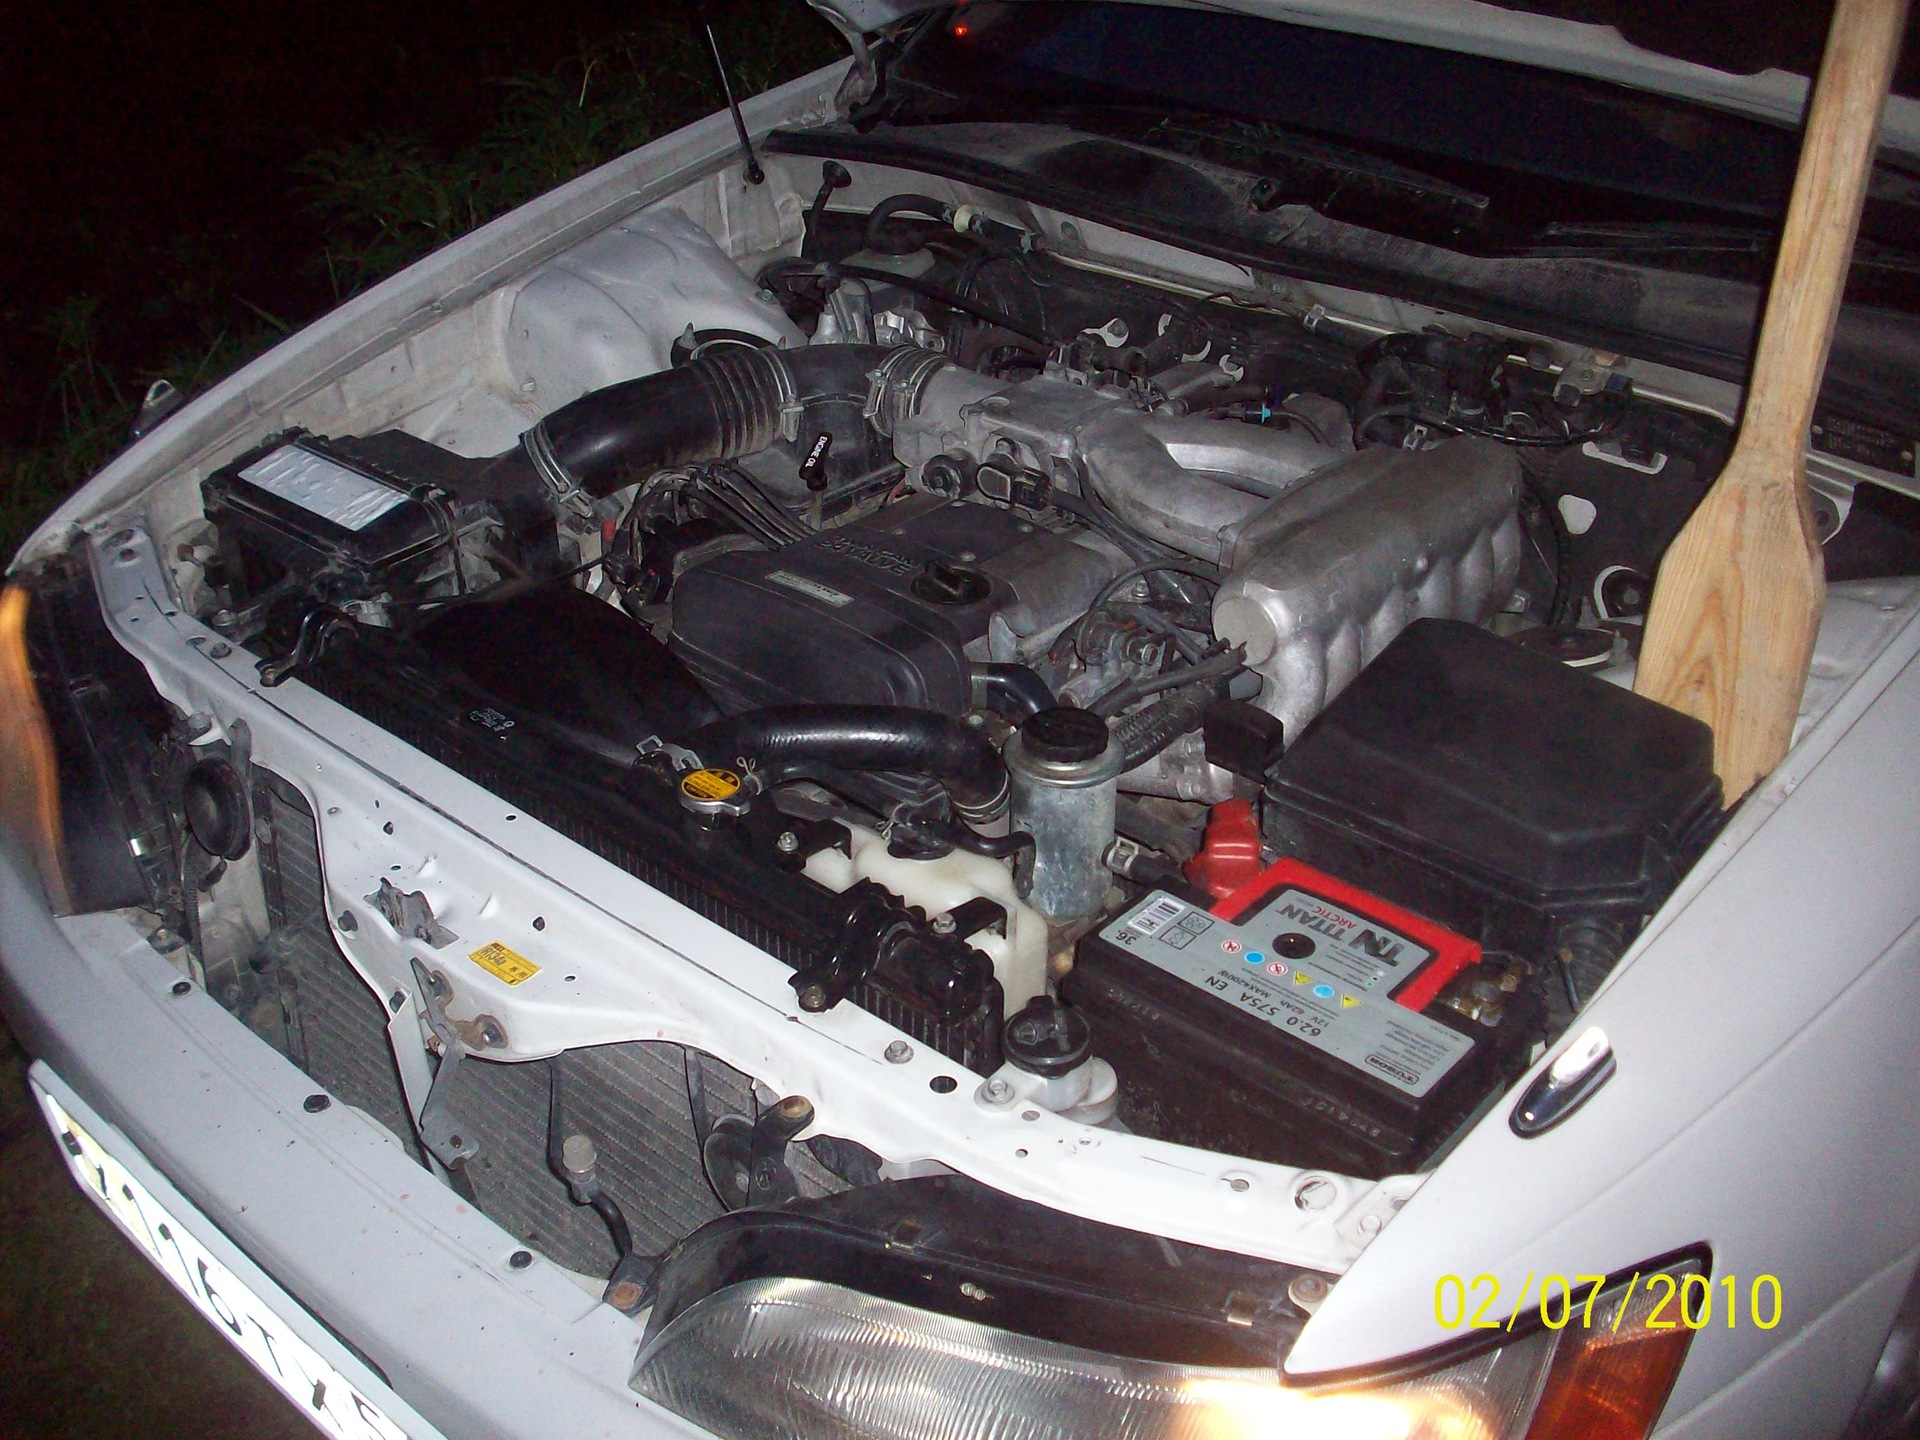
 Issue price: 1 400 ₽ Mileage: 167 600 km
13 point, original)) it was difficult for me to unscrew this bolt and then remove the pulley - there was no puller, then I took out the puller and everything was removed for one or two :)
I haven’t changed the belts on such an engine yet, I can’t know for sure, but what about the assessment, how can you)))
well done! respect!
and on jz-fse there is such a detailed report with the replacement of oil seals and rollers, or is it exactly the same? I look at the engine almost one to one. we differ in injection current =)
unfortunately, I can’t rate the record for 5 - the rating is disabled (((and I would gladly put it down!
Handsome! Thanks for the great report! I, too, will soon have this procedure, and everyone says that without a pit it is unrealistic to do this%)
"13. Turn off the flywheel (remove the central wire from the coil so that the car does not start, take the head at 22 with a good powerful knob, rest it against the right side member, strike the starter, voila, the bolt is unscrewed)"
Pulley (:
And with this method of unscrewing the pulley bolt, the starter will not suffer?
Do you need to rest the collar on the spar or not to rest, in order to unscrew it with a blow?
Is there no other way, only a starter?
You don't need to drive the starter, but just strike! My starter did not suffer a few ... the collar to the spar, in my case, did not reach a few centimes.
Nene, change the belt and seals 100%, thinking about the tensioner :)
I think you won’t need to change it, today I talked with a guy at work, he has a kettle with the same 2 life, the tensioner has already left two incomplete belts, only with him ...
As for the tensioner, it worked properly, there are no signs of wear, I decided to leave the old one. The belt is brand new. On the issue of replacement, take off the belt cover, set the crankshaft marks and look at how much the marks on the camshafts have shifted, also visually inspect the belt for cracks in the repins ...