Replacing the backlight in the climate control unit ... - Toyota Camry, 2.4 liter, 2004
If you are tired of seeing the green (at least I have this) climate control backlight every evening, then it’s quite inexpensive and not long to change it ...
Hello, buddy. A friend wants to replace them with white ones too, as I understand it, you replaced the others with white ones and that's it.
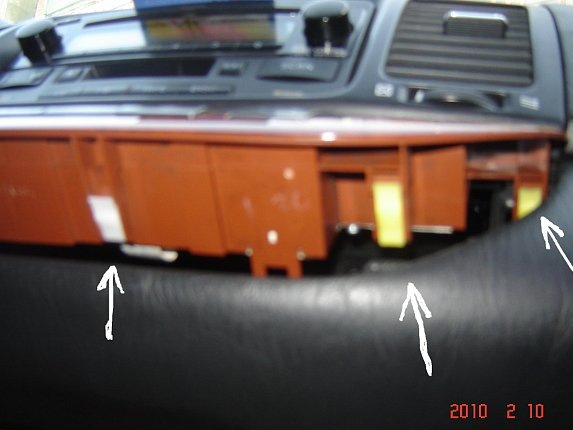
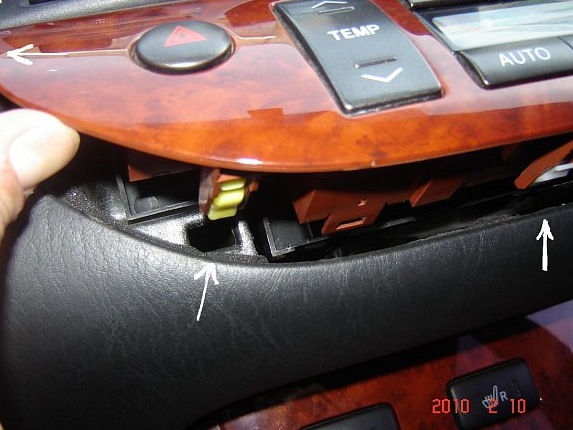
Remove the block by prying the latches with a screwdriver.
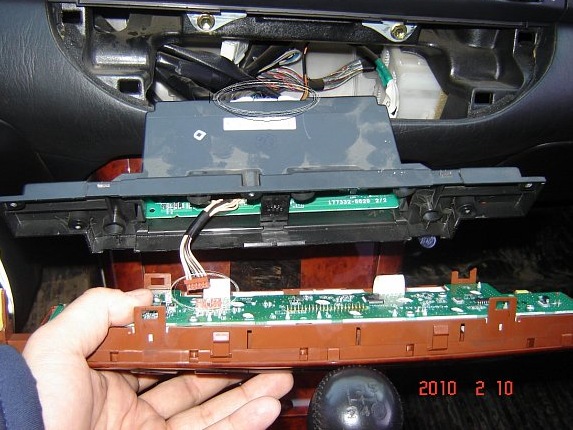
We disconnect 2 connectors, first a large one, then disconnecting it, "split" the block by unscrewing 5 screws, then we disconnect the second, small connector.
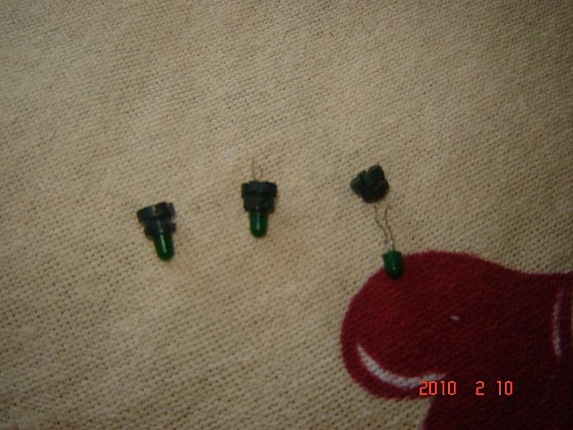
Having removed the cartridges, we remove the old green bulbs from them with a needle.
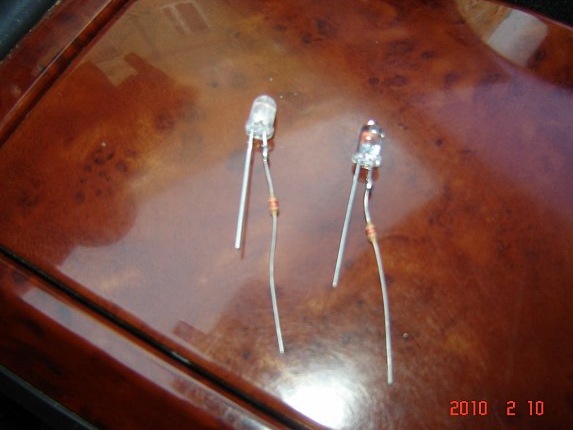
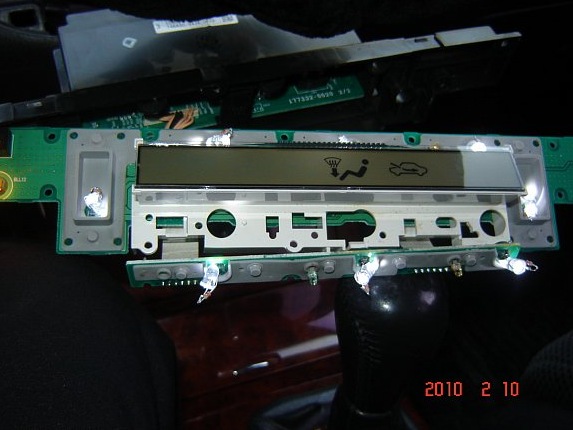
Having previously bought 11 white LEDs and 11 resistors with a resistance of 1.2 kOhm (kilo-ohm) in the store, we solder the resistor instead of the "+" "legs" of the LED as shown in the figure. Also at this stage, we make the LED matte with the help of a skin.
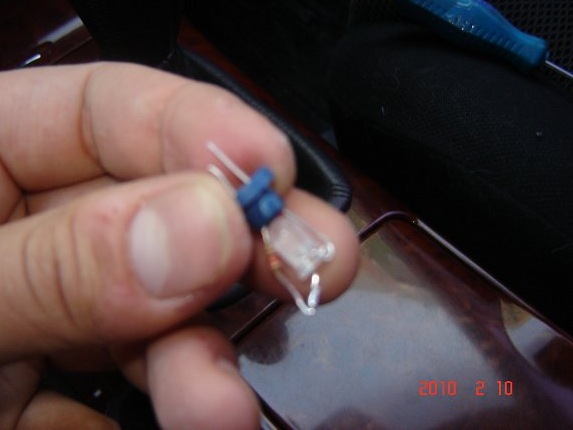
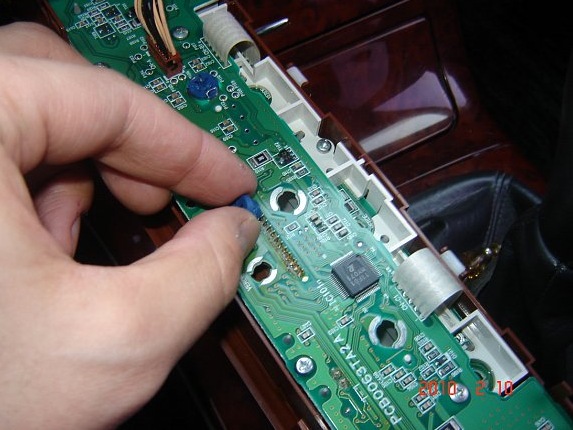
Prepared LEDs are placed in 3 display cartridges (they are slightly larger than the rest) in this way, because. if placed in the normal way, the display will show circles. The rest (button) are assembled as usual.
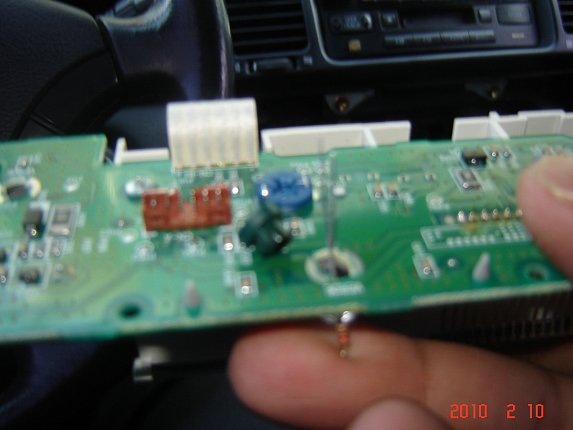
And mounted in place. ATTENTION! The "legs" of the LEDs should not intersect, because this will lead to a short circuit and the fuse will burn out (it happened to me), be careful!
Because I have LEDs with a diameter of 5 mm and do not fit into the hole of push-button cartridges, I mounted them in this way, if someone puts them in, he will figure it out in place, it's not difficult.
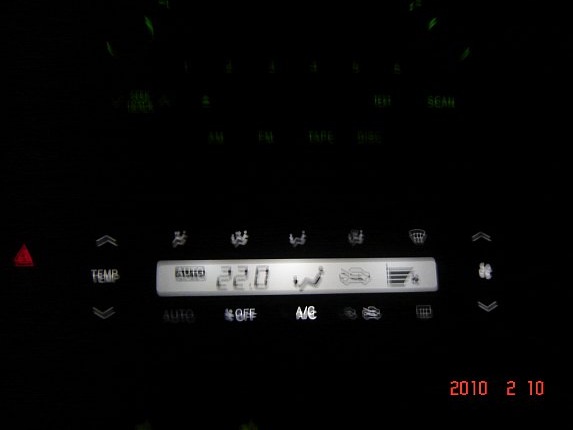
Here is the reward for my labors. The photo didn't come out very well, but in real life everything is much more beautiful. If everything works well, next in line are all the remaining buttons.