Headlight painting — logbook Toyota Corolla 2001
Here you go! Anyway, I made up my mind! It was free time and I started muddied with headlights! I thought I'd manage for 2-3 hours. But it was not there.
Everything is in order.
The first thing to do is to throw off the bumper (there are absolutely no problems there).
1) Be sure to first remove the bumper, because. one of the headlight mounts is under it.
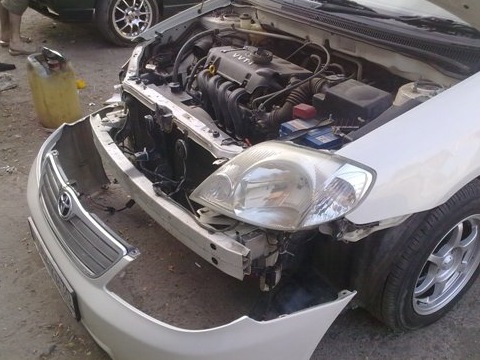
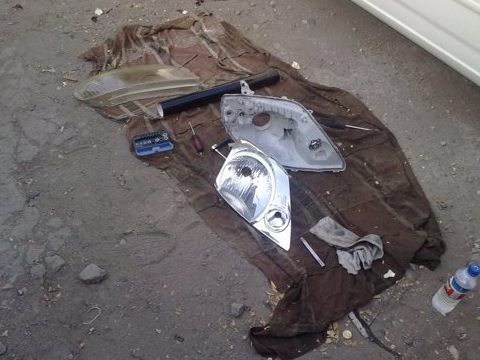
2) Remove the headlight. 2 bolts on top, 1 on the side under the bumper, 1 on the latch, which is important not to remove (I gently pry with a screwdriver). We pull out all the bulbs and remove the headlight.
3) Now you need to separate the cover from the headlight itself. Many people heat the headlight with a hair dryer before they climb to pick the sealant. I went the other way and got really screwed up. I thought that 50 degree heat would be enough and climbed to separate. Did not calculate the quality of the Japanese sealant! The sealant there is very strong, it's just ALARM! In general, the cover is removed, got off with a small crack on the headlight housing and one broken latch.
4) Next, separate the reflectors. This is done very simply. Stupidly unscrew the headlight adjustment bolts.
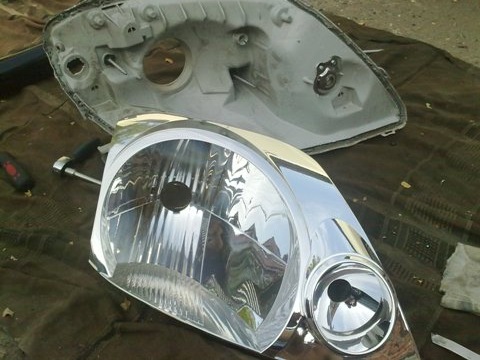
5) Do not lose the small bolt that holds the turn signal compartment (Japanese headlights).
6) Seal with masking tape the places that will not be painted (reflectors).
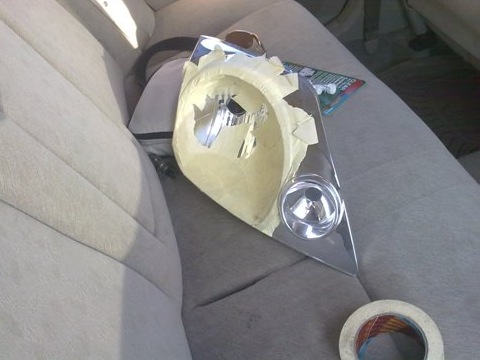
7) We sand the working surface with 1000 sandpaper.
8) Degrease with a solvent, or something else.
9) Paint (I painted in 3 layers).
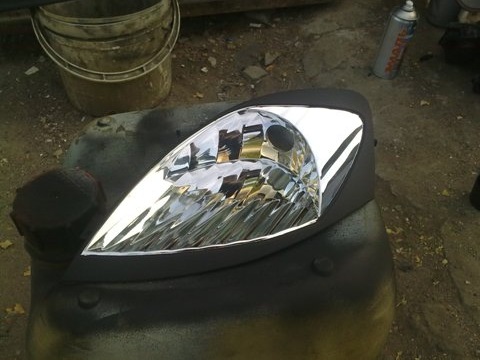
10) Let dry (I dried in the sun for about 2 hours).
11) Install everything back in reverse order.
12) Tried to polish the glass (yellowing). Nothing came out of this for me. I do not know why.
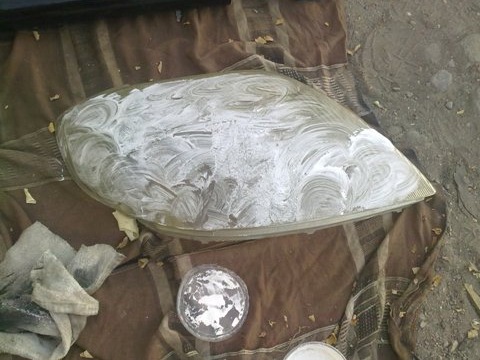
13) As we put the cover back, we thoroughly coat it with sealant.
14) I did not remove the old sealant, because it is very dreary and long, just pressed the headlight with great effort, smeared sealant on top and that's it. Hope it won't be missed.
Not without incidents. A good piece of chrome left with the tape. Balago, this particular part is not visible under glass.
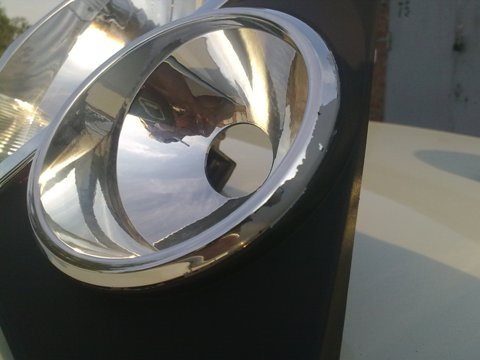
Many thanks to < Emil008 , who helped me a lot with this.
As a result, it took me about 6 hours, just one headlight. The second did not have time, because. already dark. I'll be wiser tomorrow. But you can clearly see the difference.
Here.
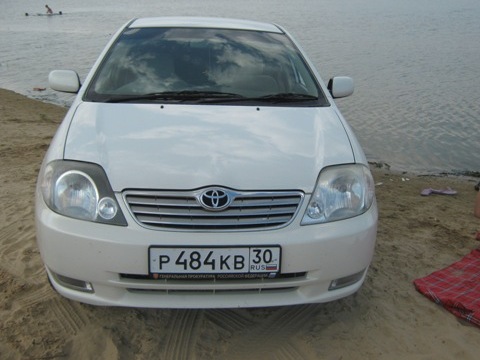
All people do this manipulation in their own way. I did exactly as described above.
 Issue price: 490 ₽ Mileage: 151 800 km
Understood! There are black headlights on the fielder from the factory! I saw those.
that's cool) well done, transforming a car)
can still discard practicality and underestimate it well? :) :)
Max. I knew that as soon as I change at least one small light bulb, I would not be able to stop! ))) I can’t underestimate, otherwise goodbye to the bottom, muffler, crankcase, etc. etc.
Now in my head what just does not spin at the expense of this machine. I don't even know where to get money! There, you want to either seal the hood or paint it, and hang cilia (ordered), and music, and discs. In short, hell, I'll stop before the cold! )