Optics Change Report - logbook Toyota Sprinter Marino 1992
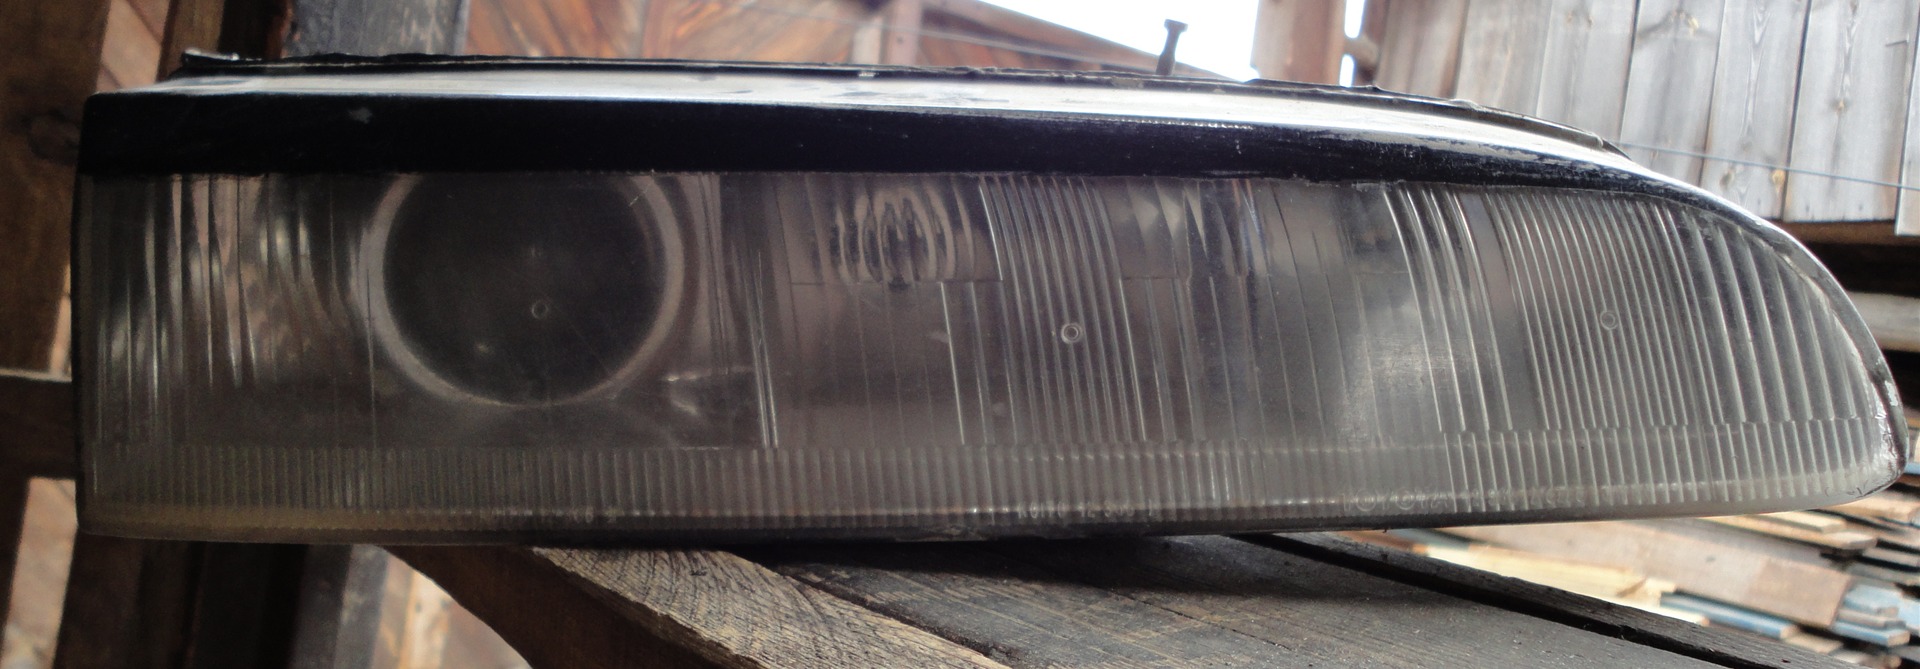
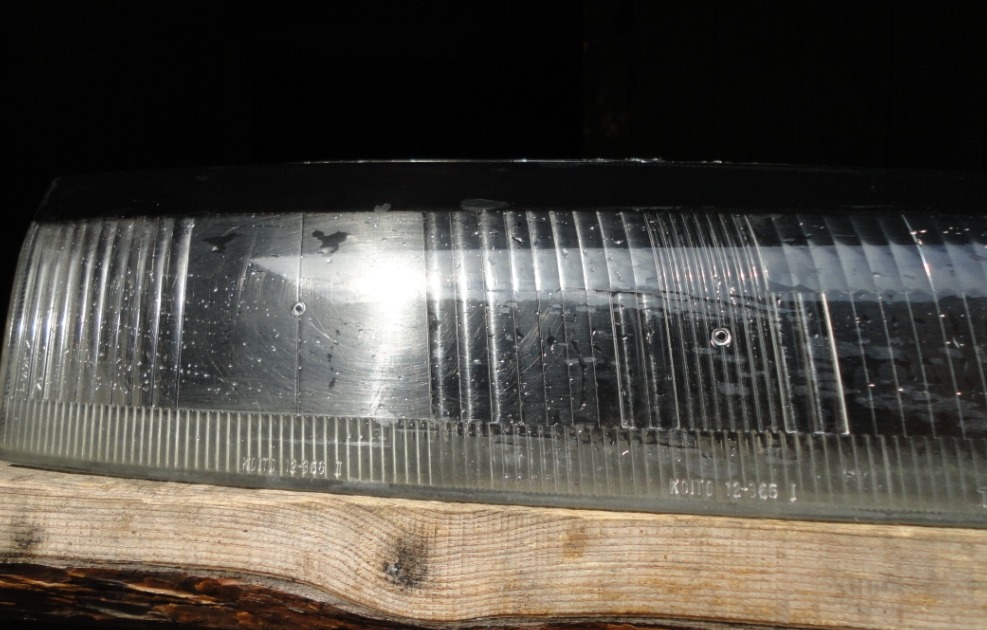
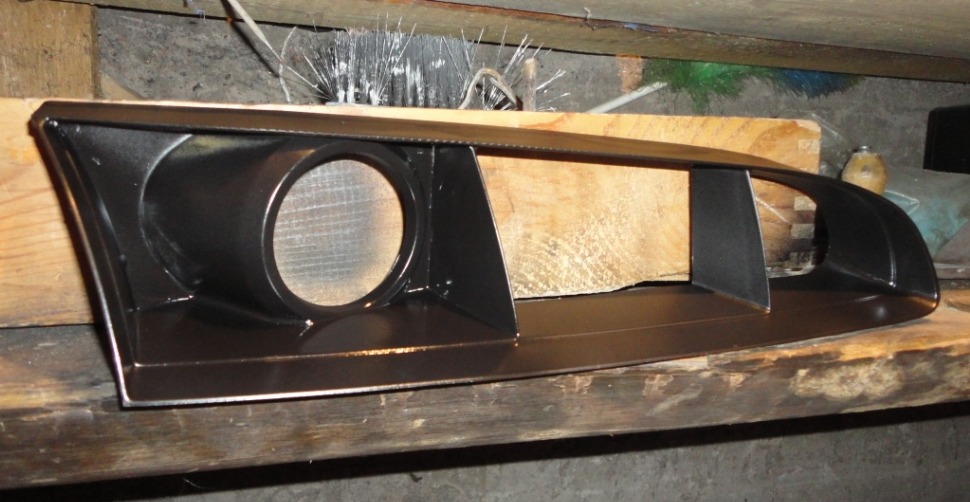
We take off the headlights. Then, to disassemble them, you have to heat up a lot. I used the oven. Disconnect the front of the headlight from the body with a screwdriver. Then I removed the inner part, it also serves as a reflector and painted it black matte.
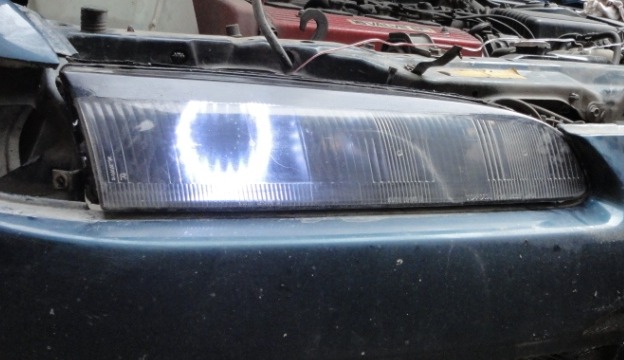
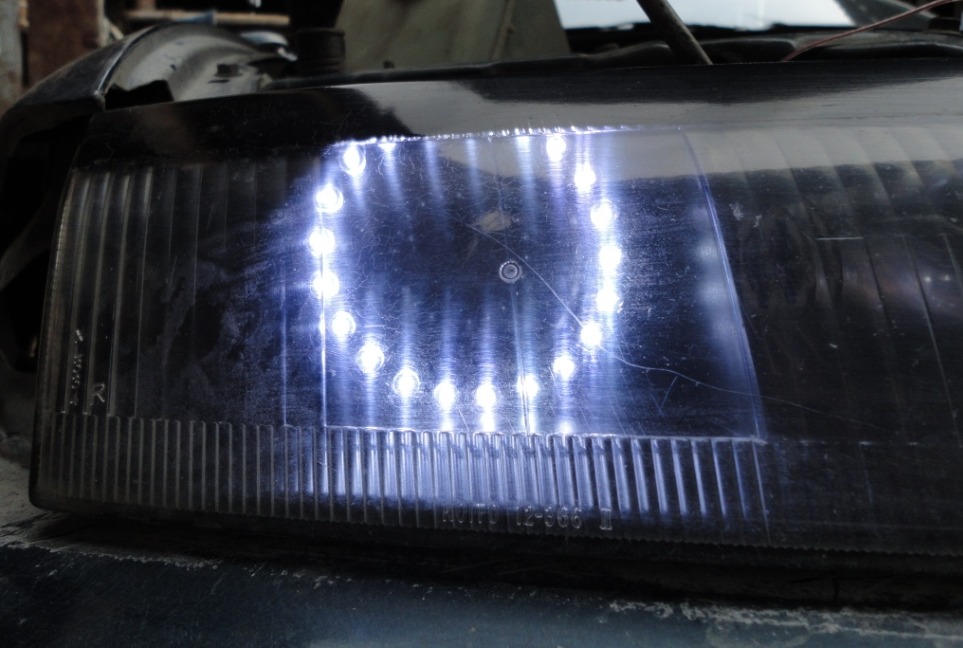
I bought a 24 cm tape, of which 3 diodes had to be cut. I glued them to the inner matte part around the lens.
To then assemble the headlight, you also need to heat it up.
We connect the LED strip to the dimensions.
In reality it looks better.
Photo below.
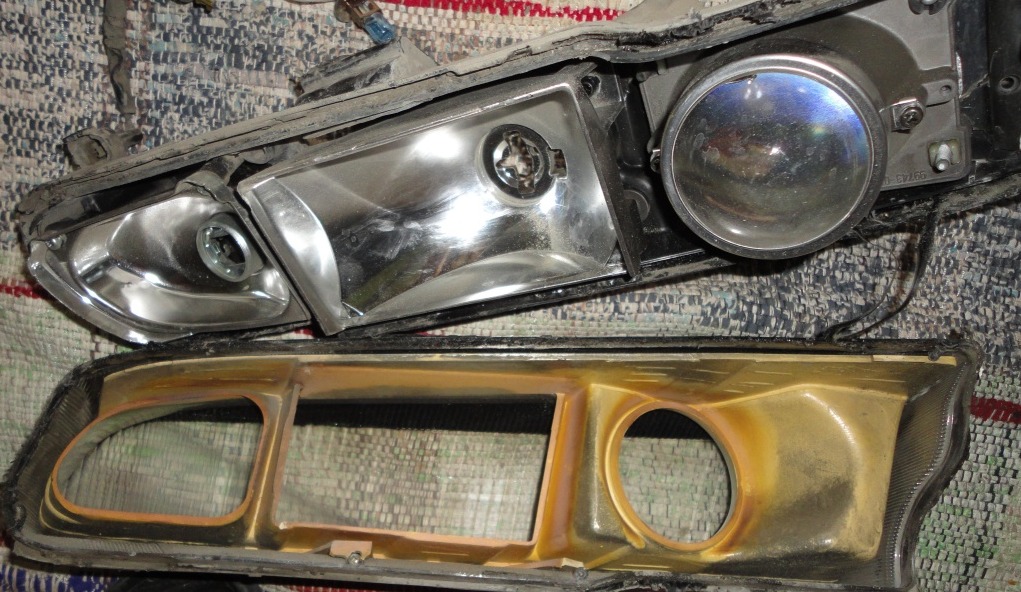
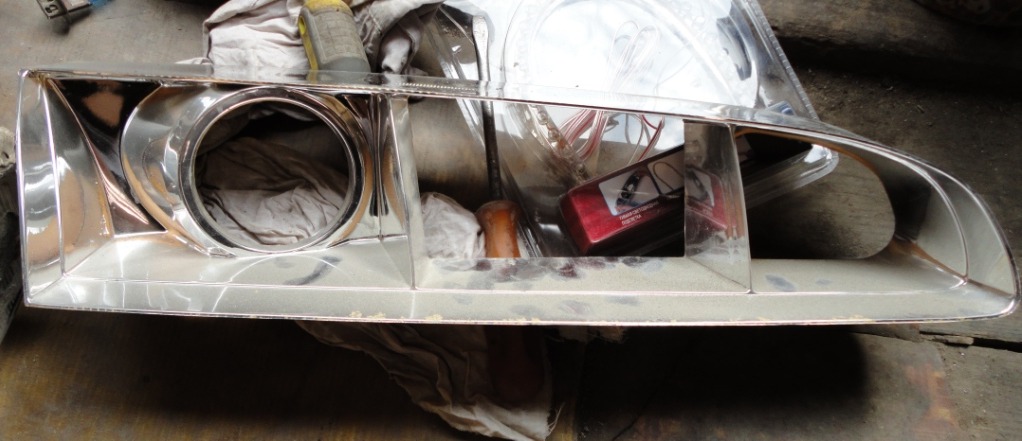
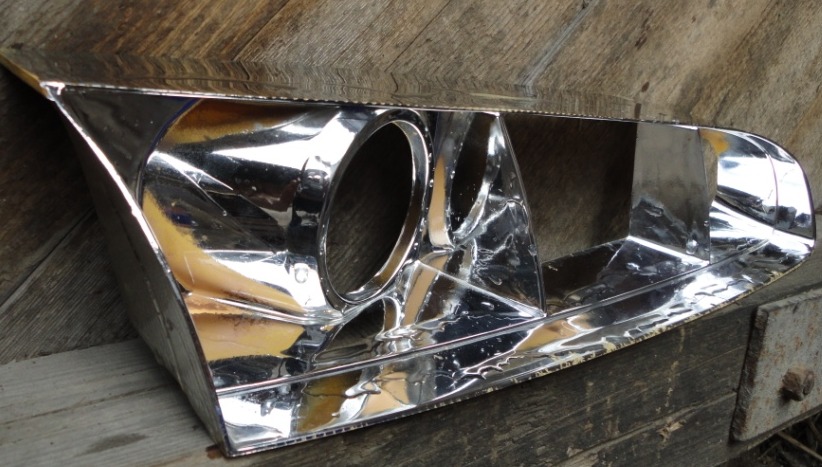
 Mileage: 262.000 km
already burned out 2 pieces of such tapes, the quality is poor. Now I go without them. I plan to buy circles already in size, which shine without diodes, but not so brightly.
Can you tell me what kind of tape? is it ok now? part of the diodes did not go out. I also did it for myself simply, on one headlight 3-4 diodes went out at the bottom ((they periodically light up and blink