Audio door preparation — logbook Toyota Carina 1996
We got our hands on soundproofing. Having studied the range of STP, it was decided to use BiMast Bombs and Splen 8mm.
The following materials and tools were required to complete the work:
- BiMast Bombs - 3 sheets;
- Splen 8mm - 1 hp;
- Acetone, rags;
- Stationery knife, scissors, marker, metal ruler;
- aluminum tape;
- Screwdrivers;
- Key for 10;
- Drill;
- Building hair dryer.
We remove the casing and see the following picture
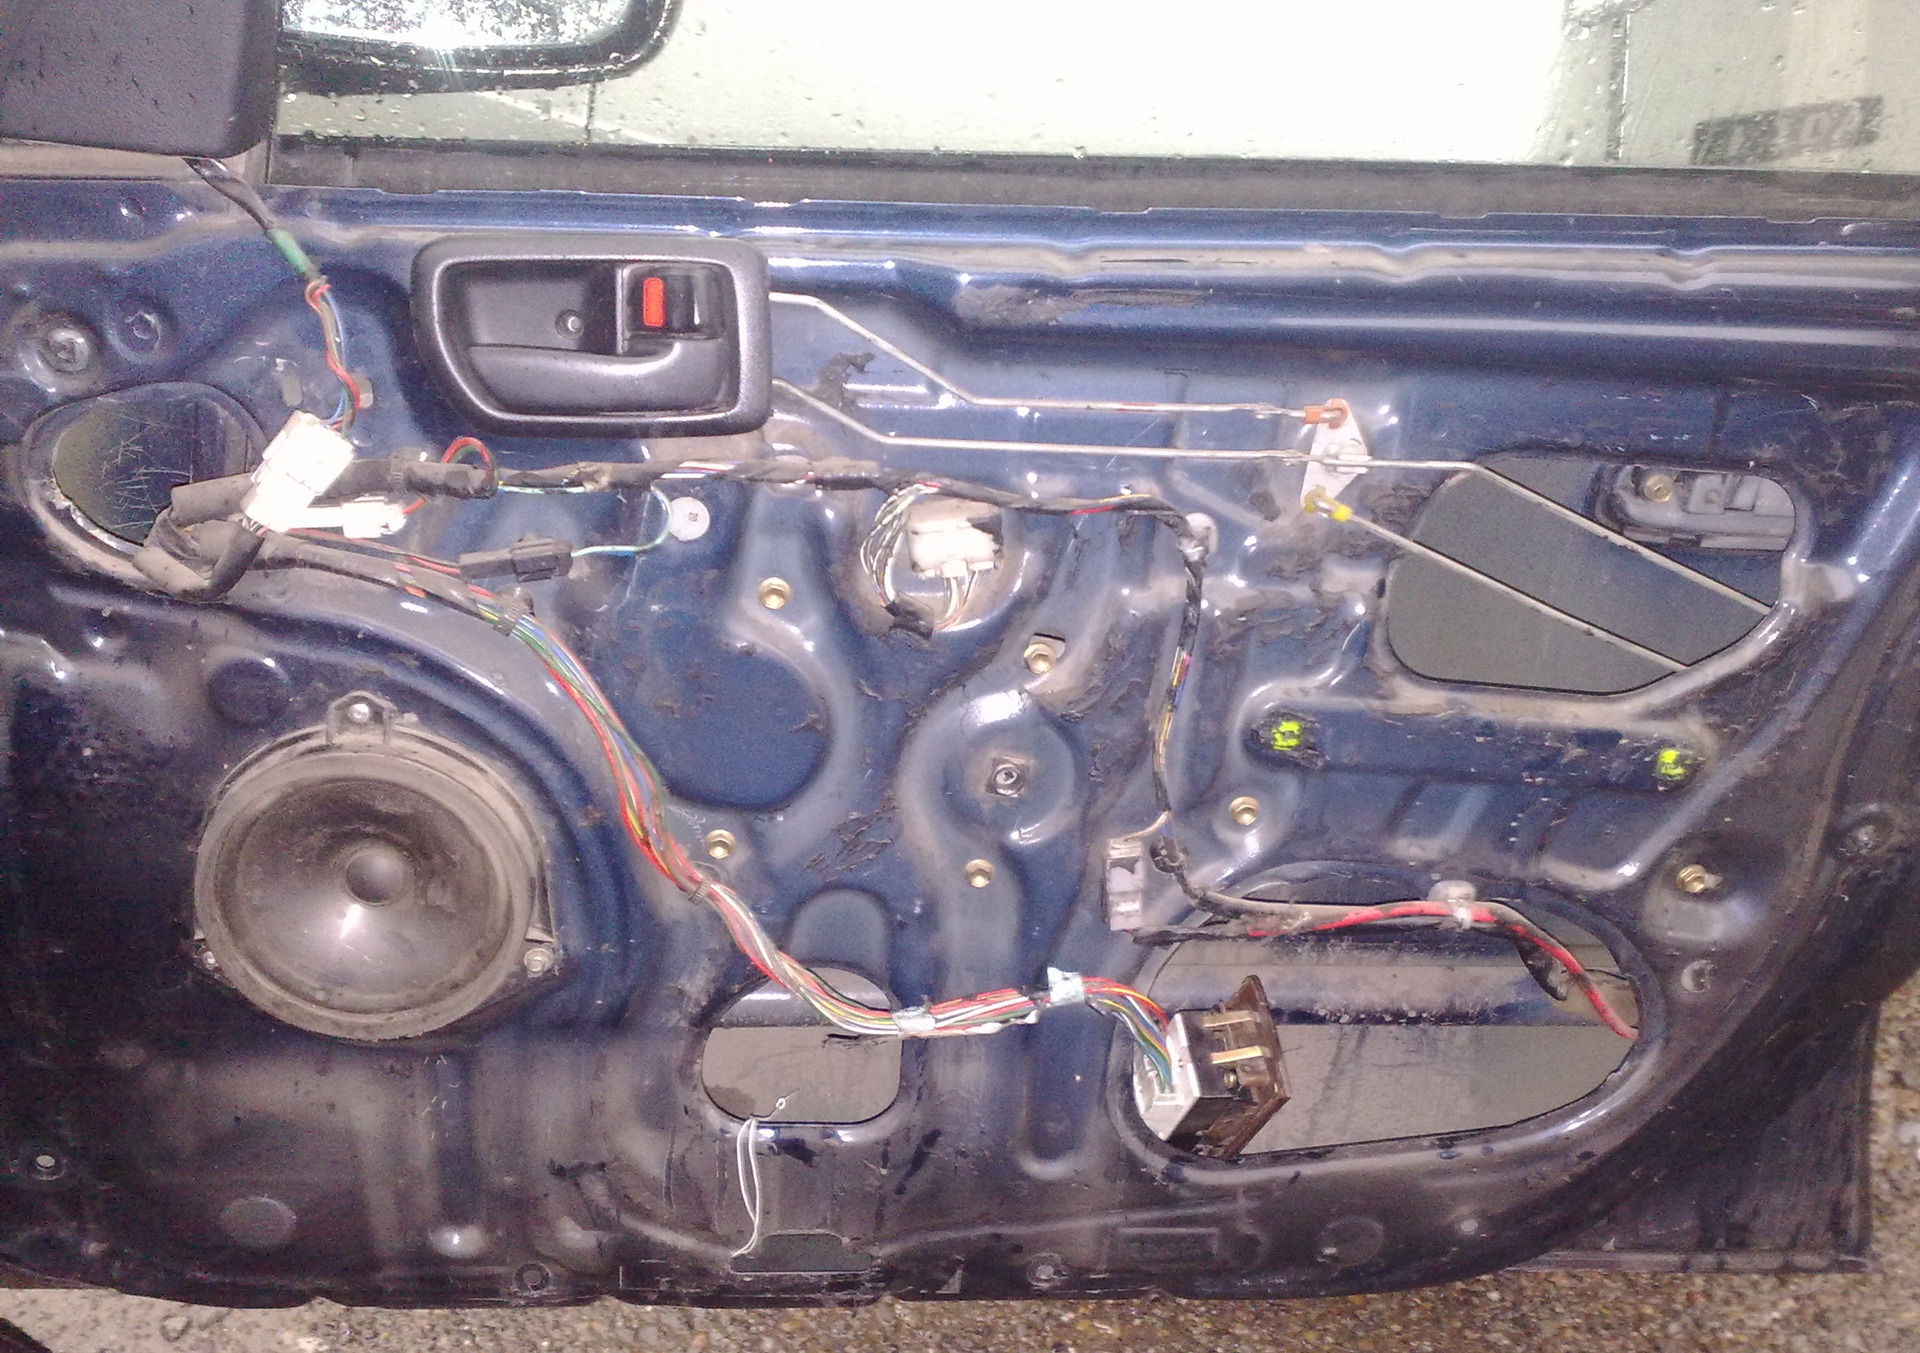
Drilling out an old speaker
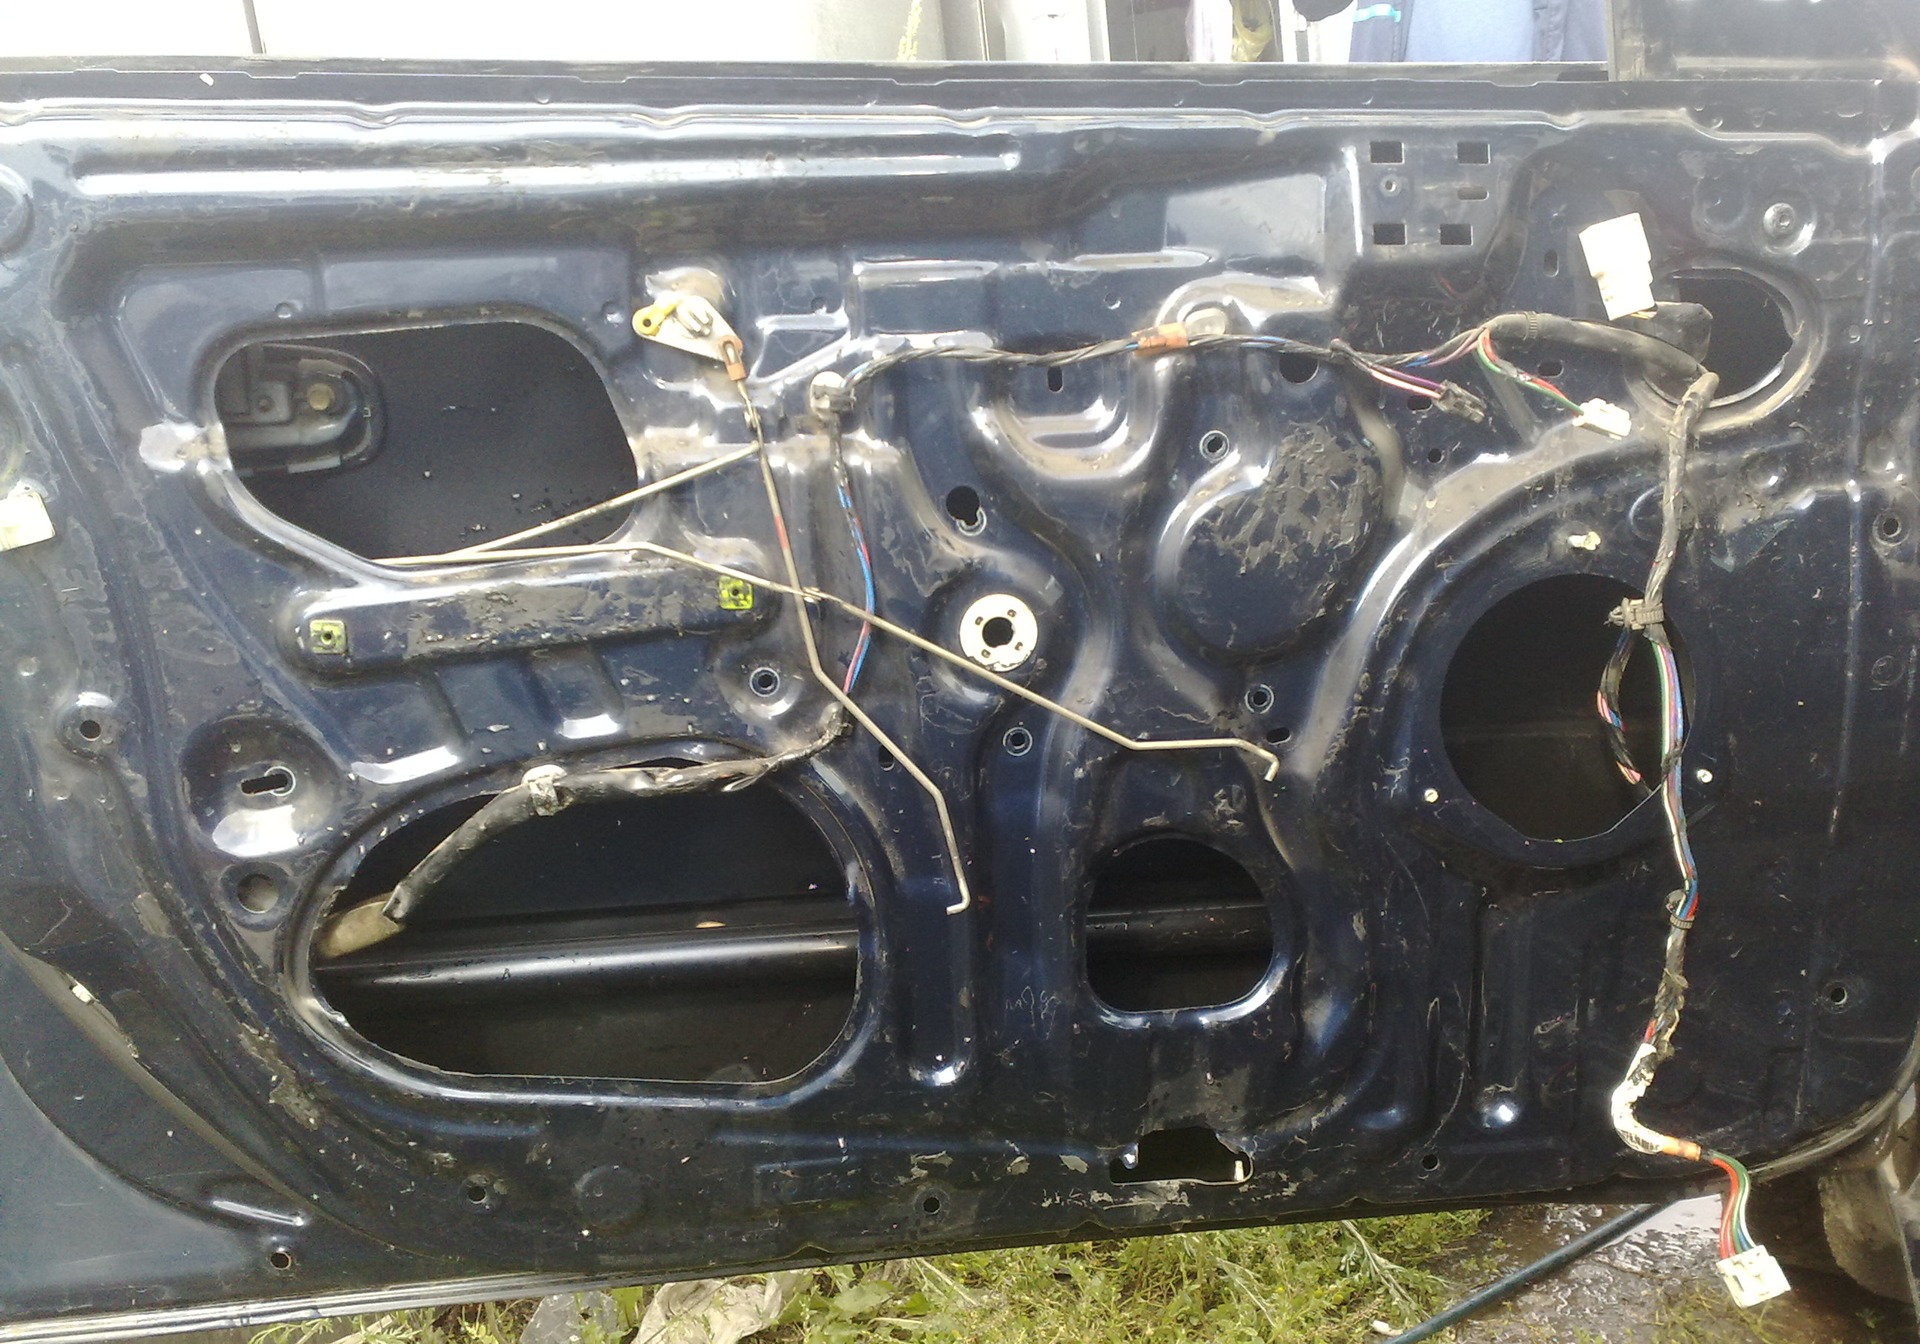
With a key of 10, we unscrew 6 bolts holding the window lifter and 2 bolts holding the stele itself
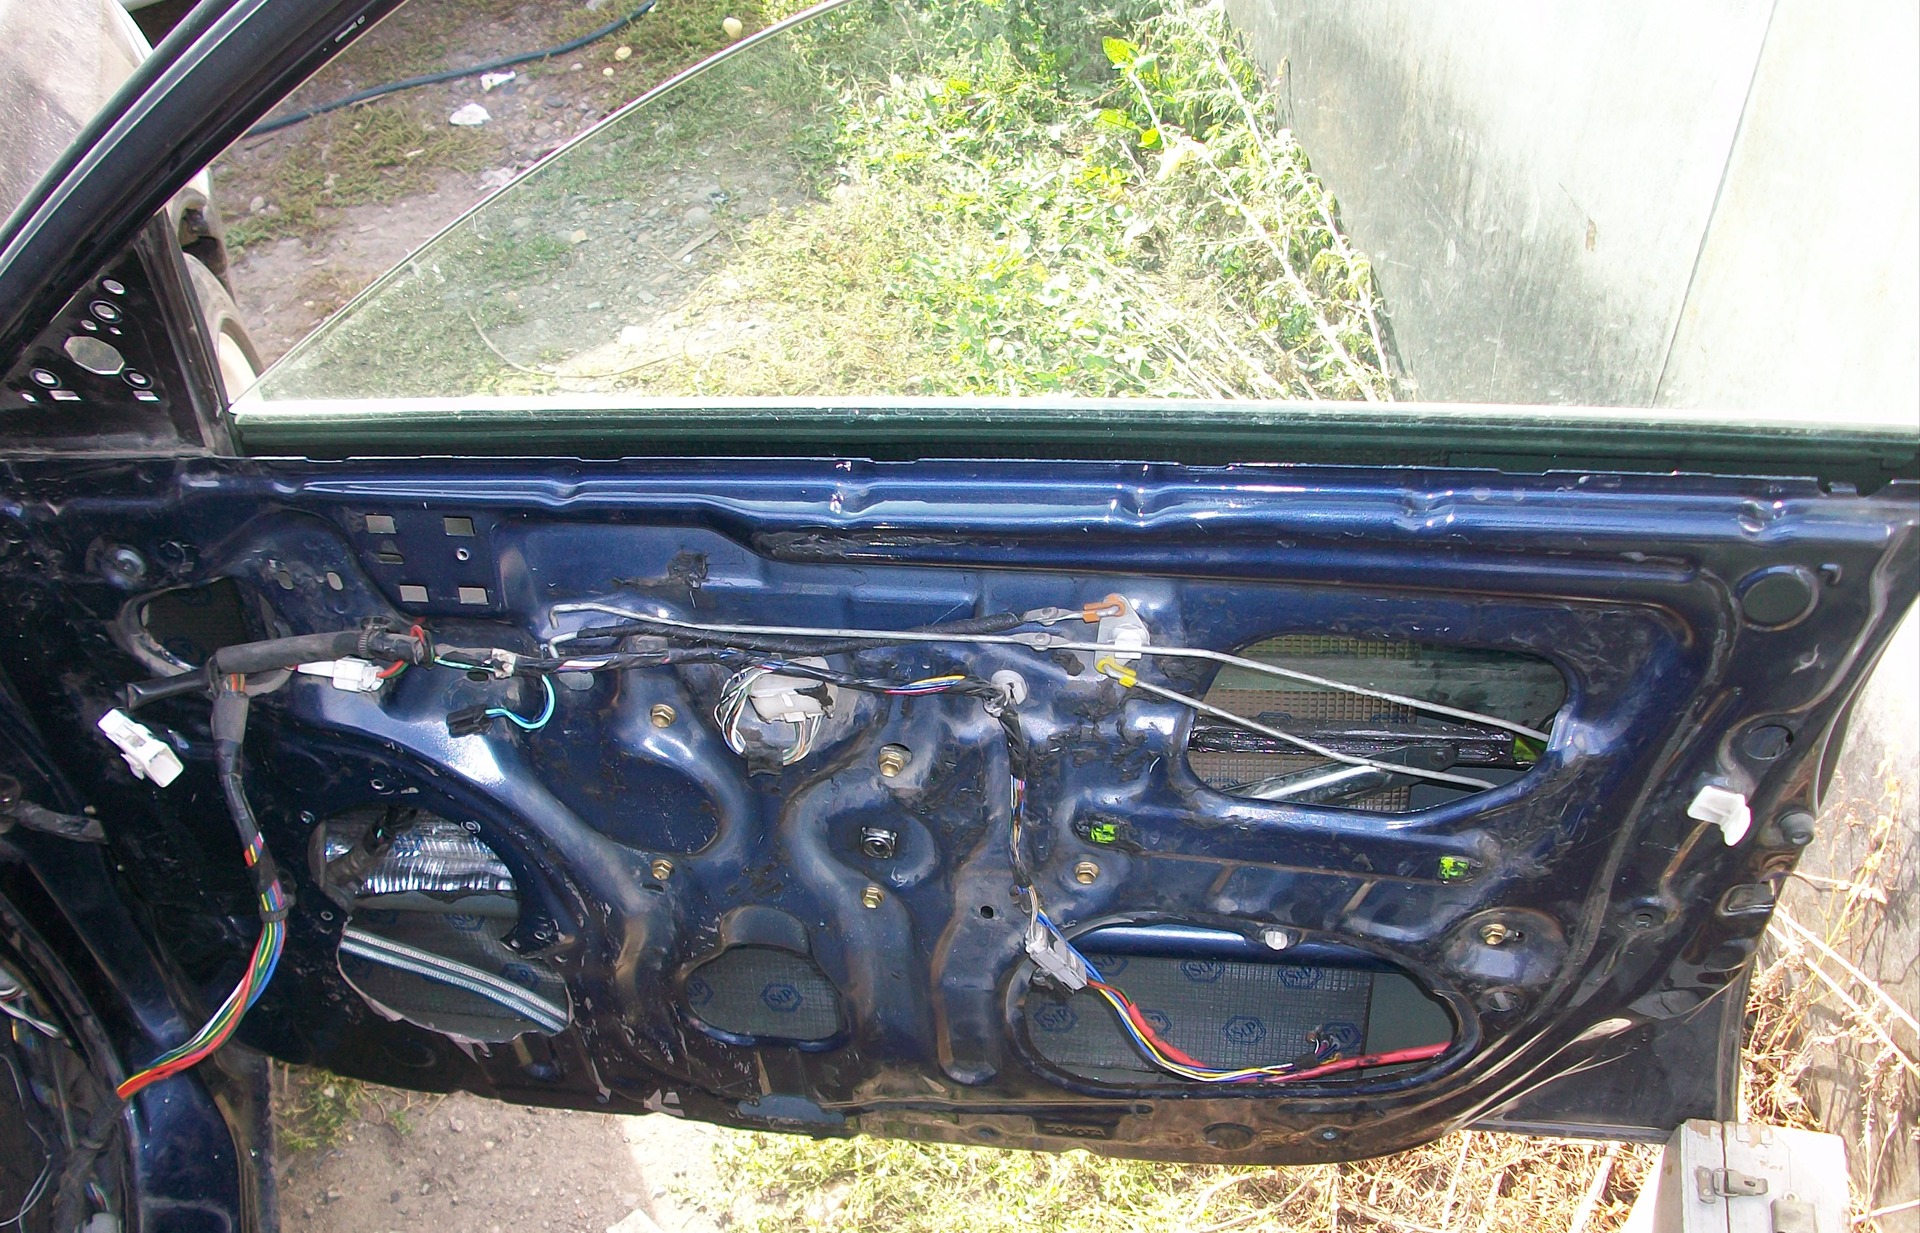
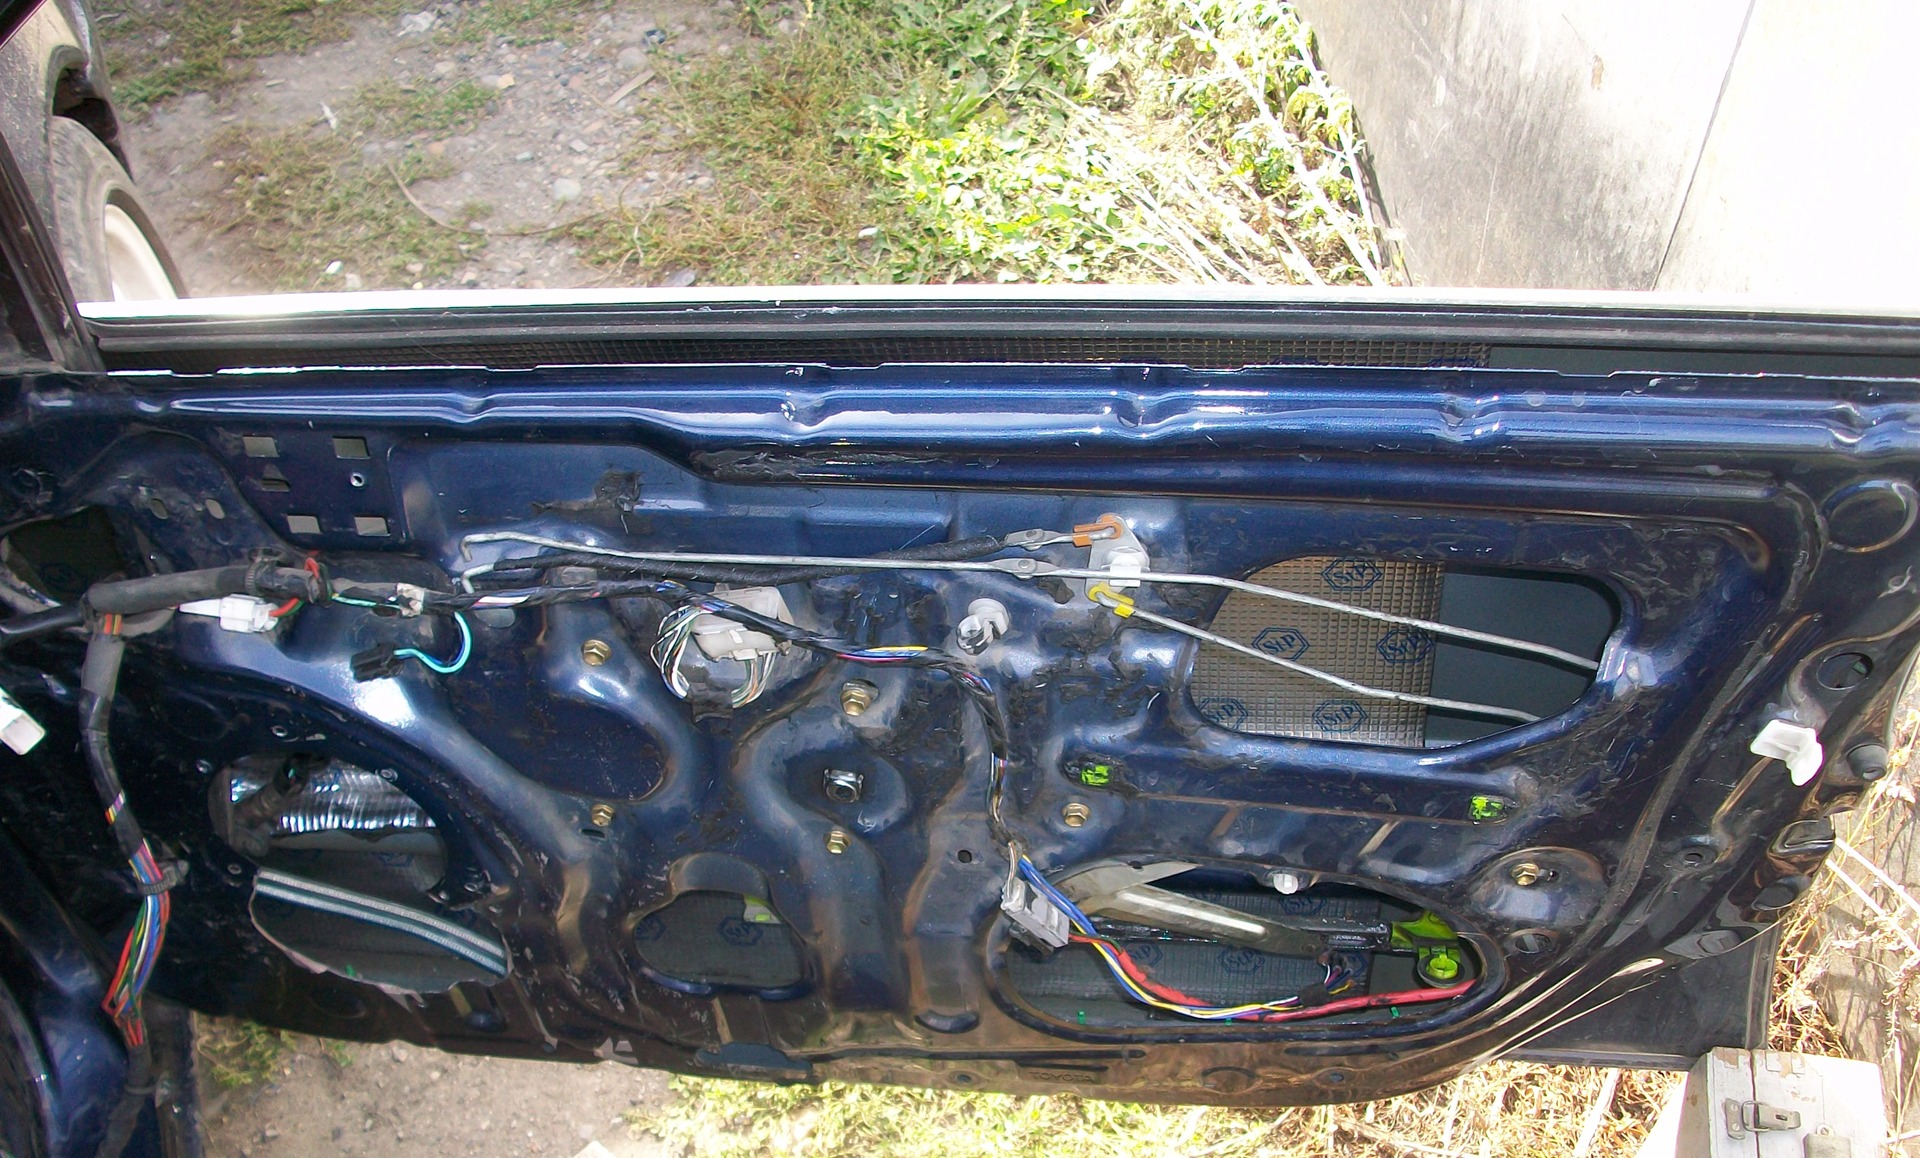
We take out the glass
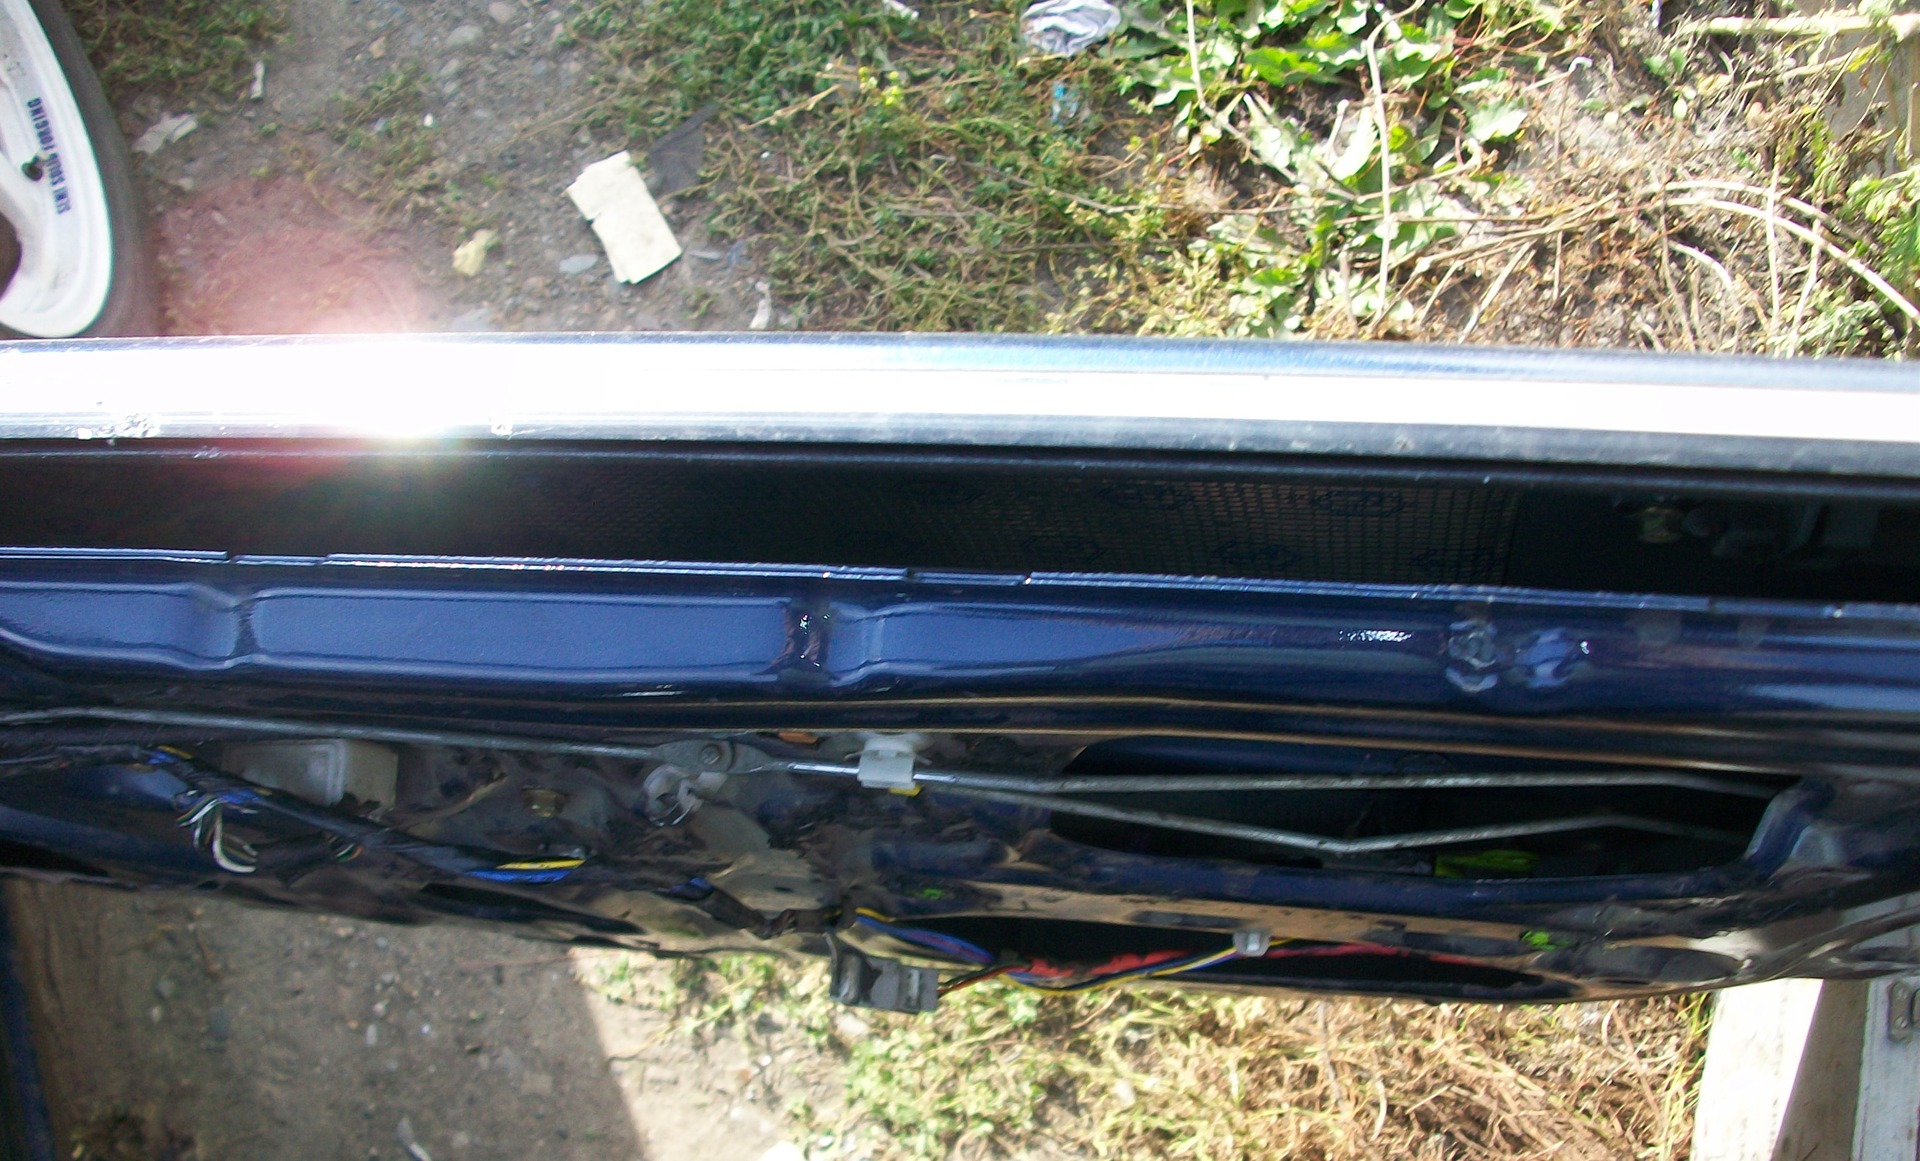
Removing the window lifter
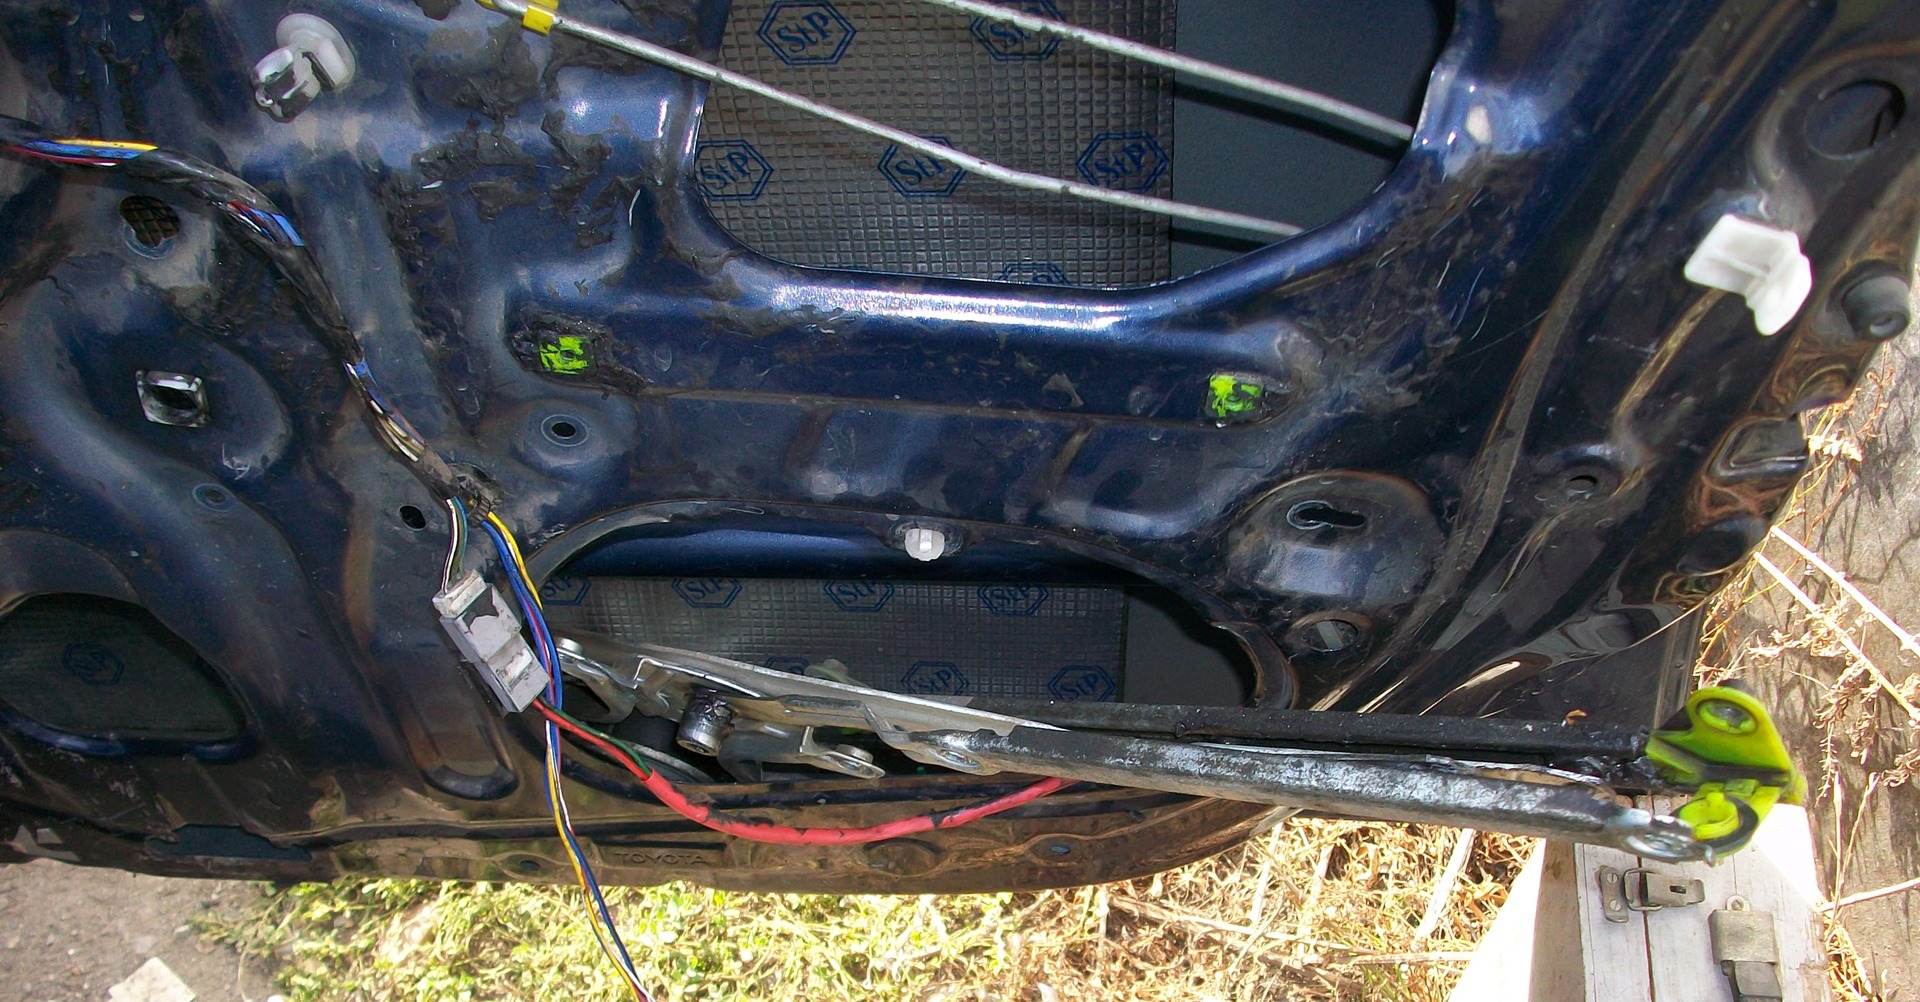
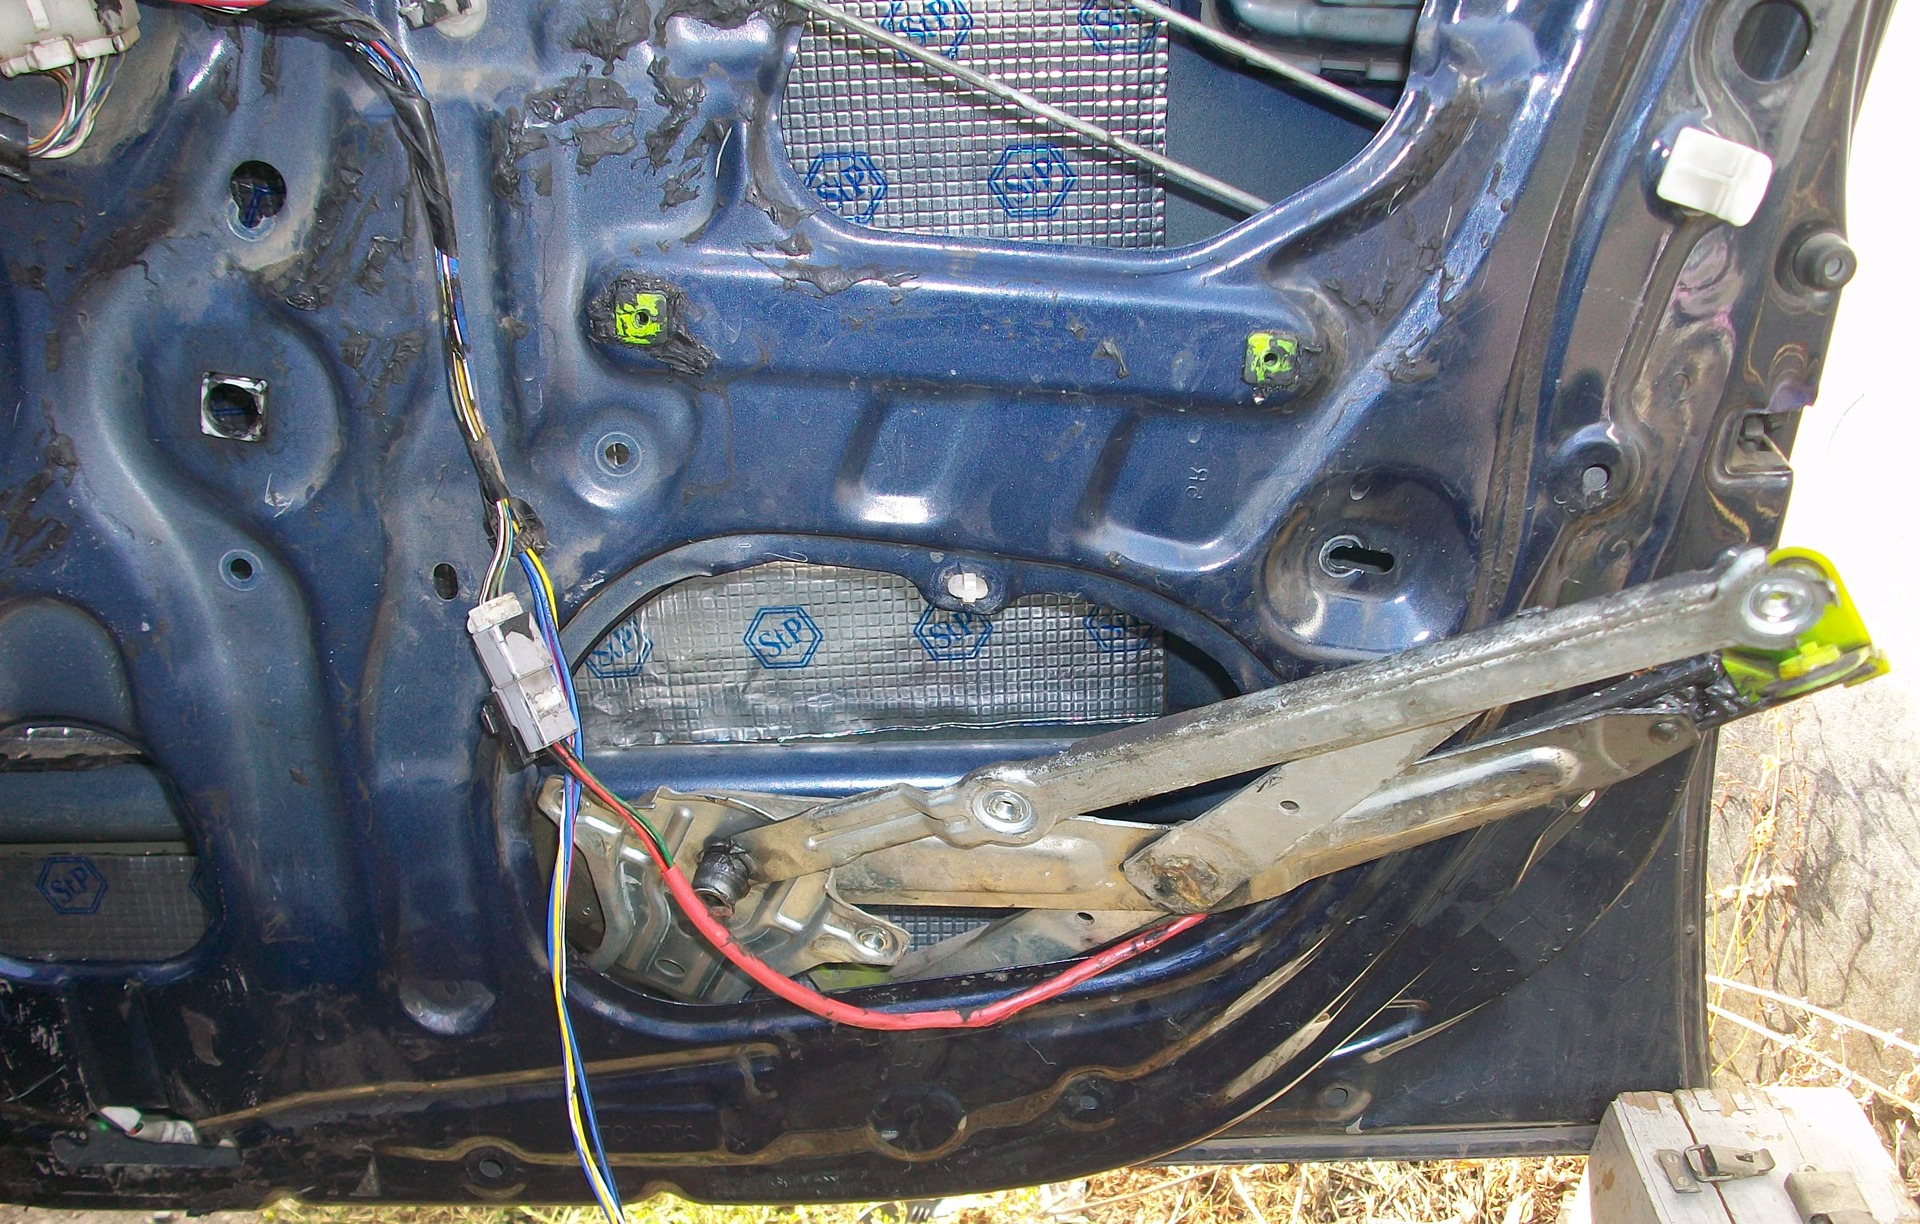
Now it's freer inside! We take a bucket of water and wash the door from the inside. We are waiting for it to dry.
We take a rag, acetone and degrease the entire surface of the door.
Next, after measuring the distance, we cut out a piece of the desired size and glue it, heat it with a hairdryer and smooth it with force.
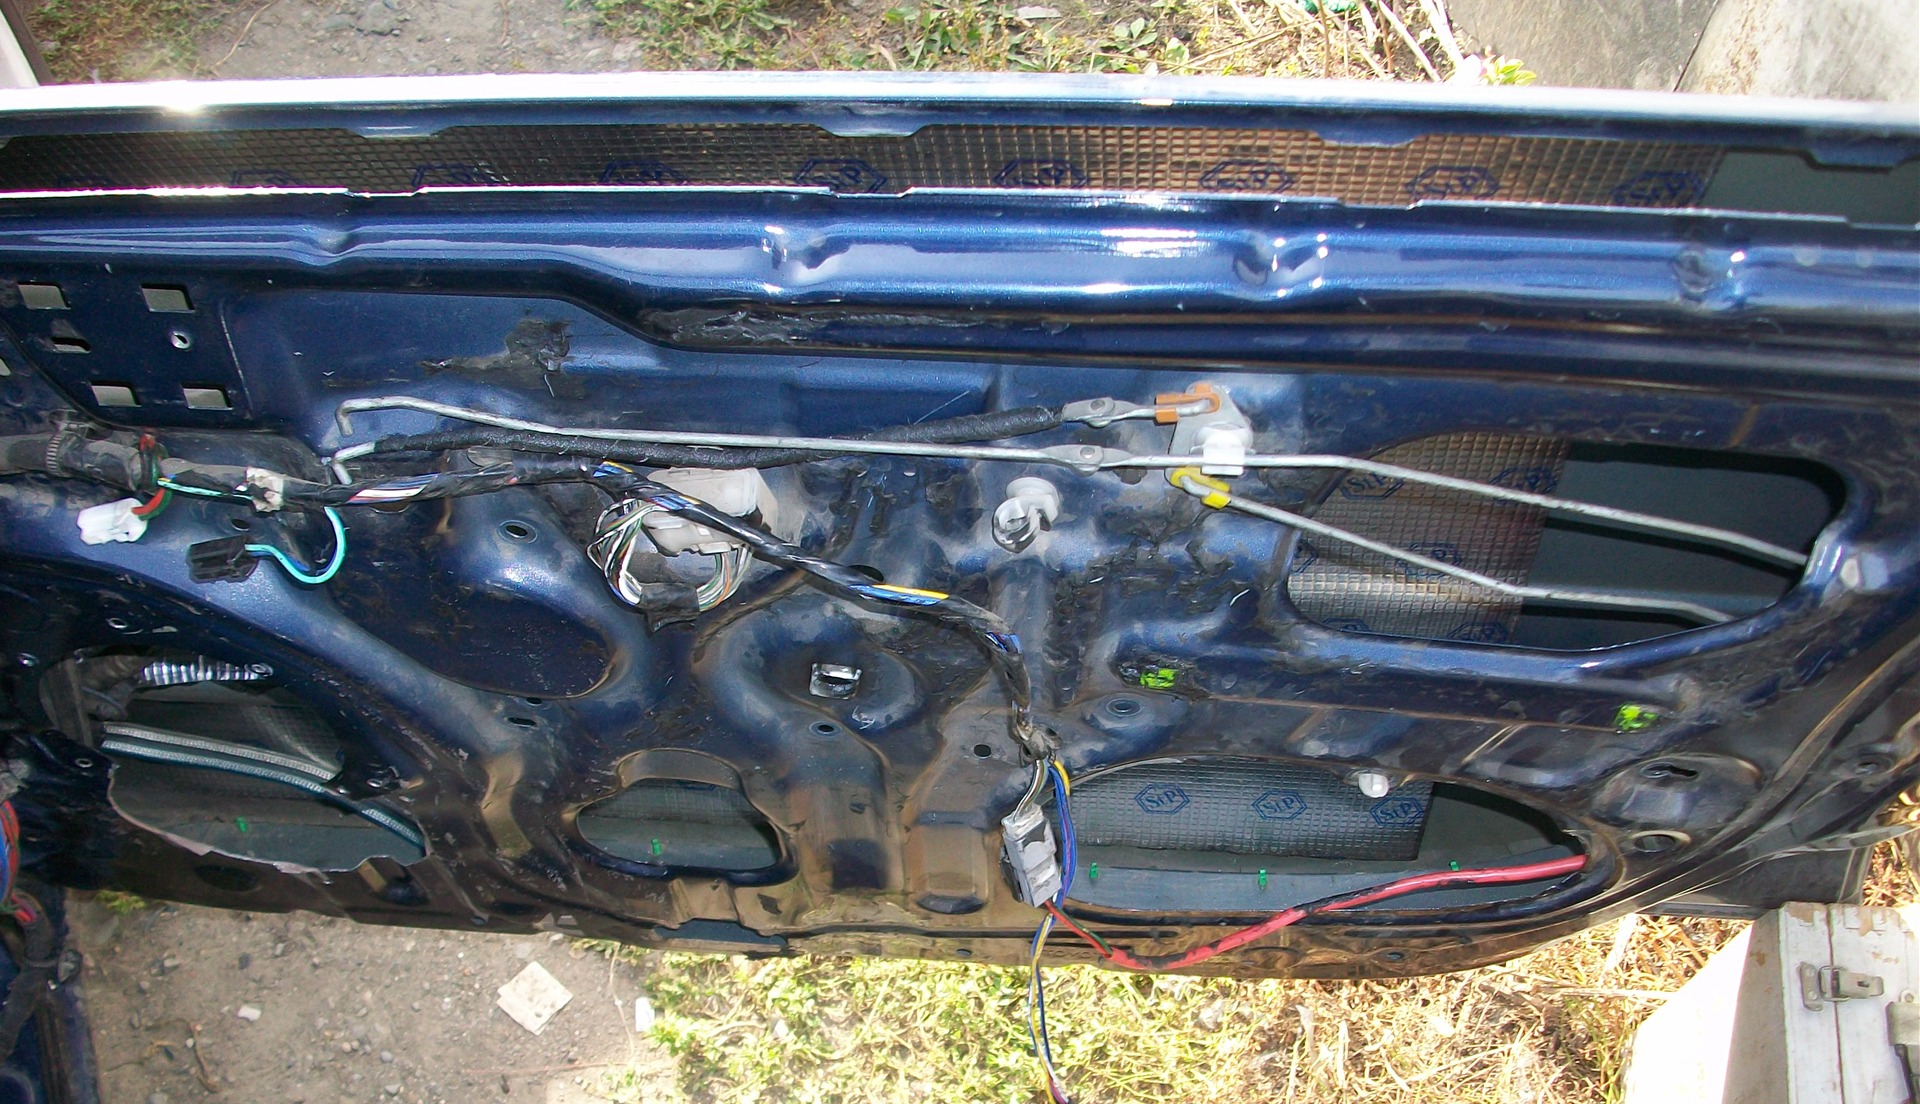
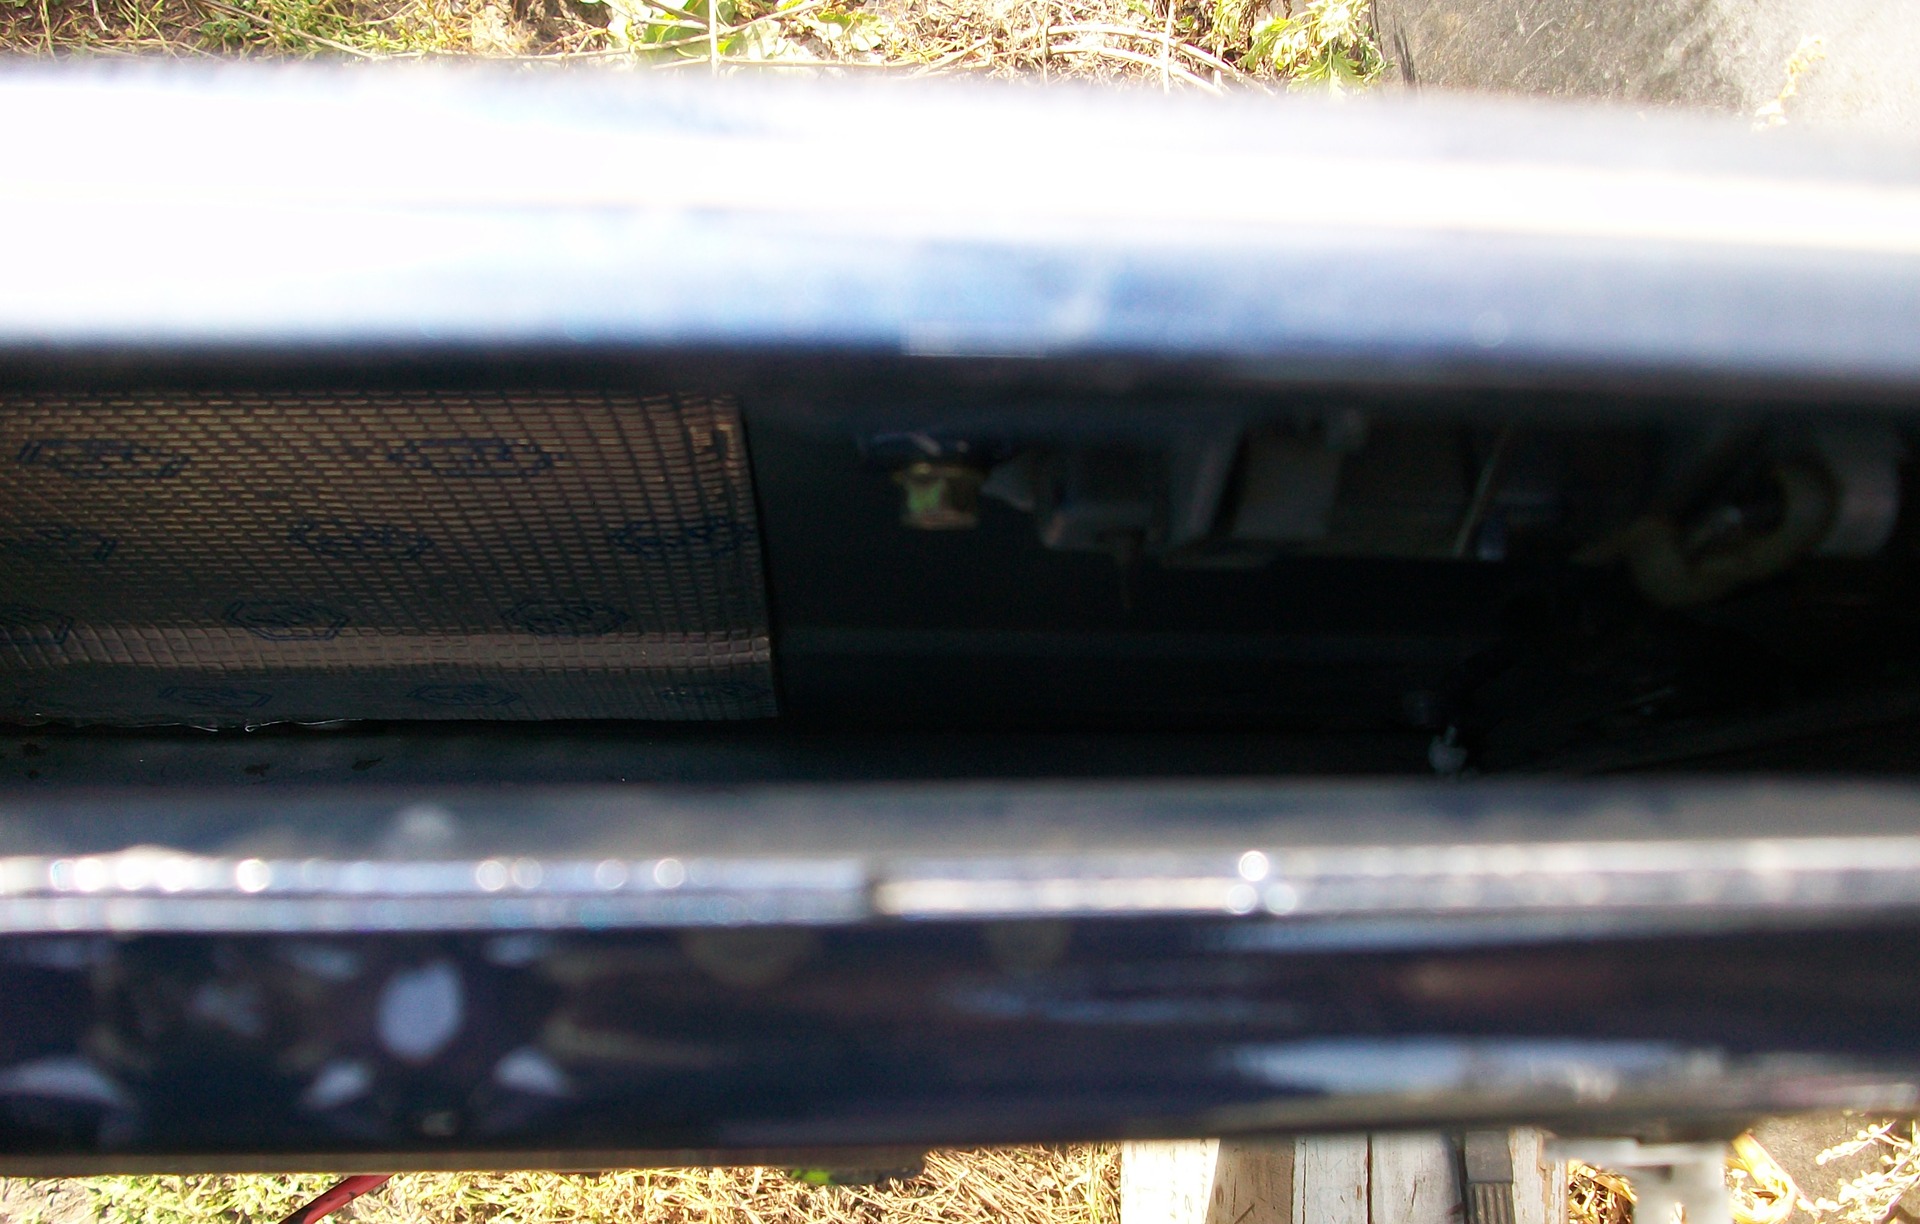
So around the perimeter of the inside of the door
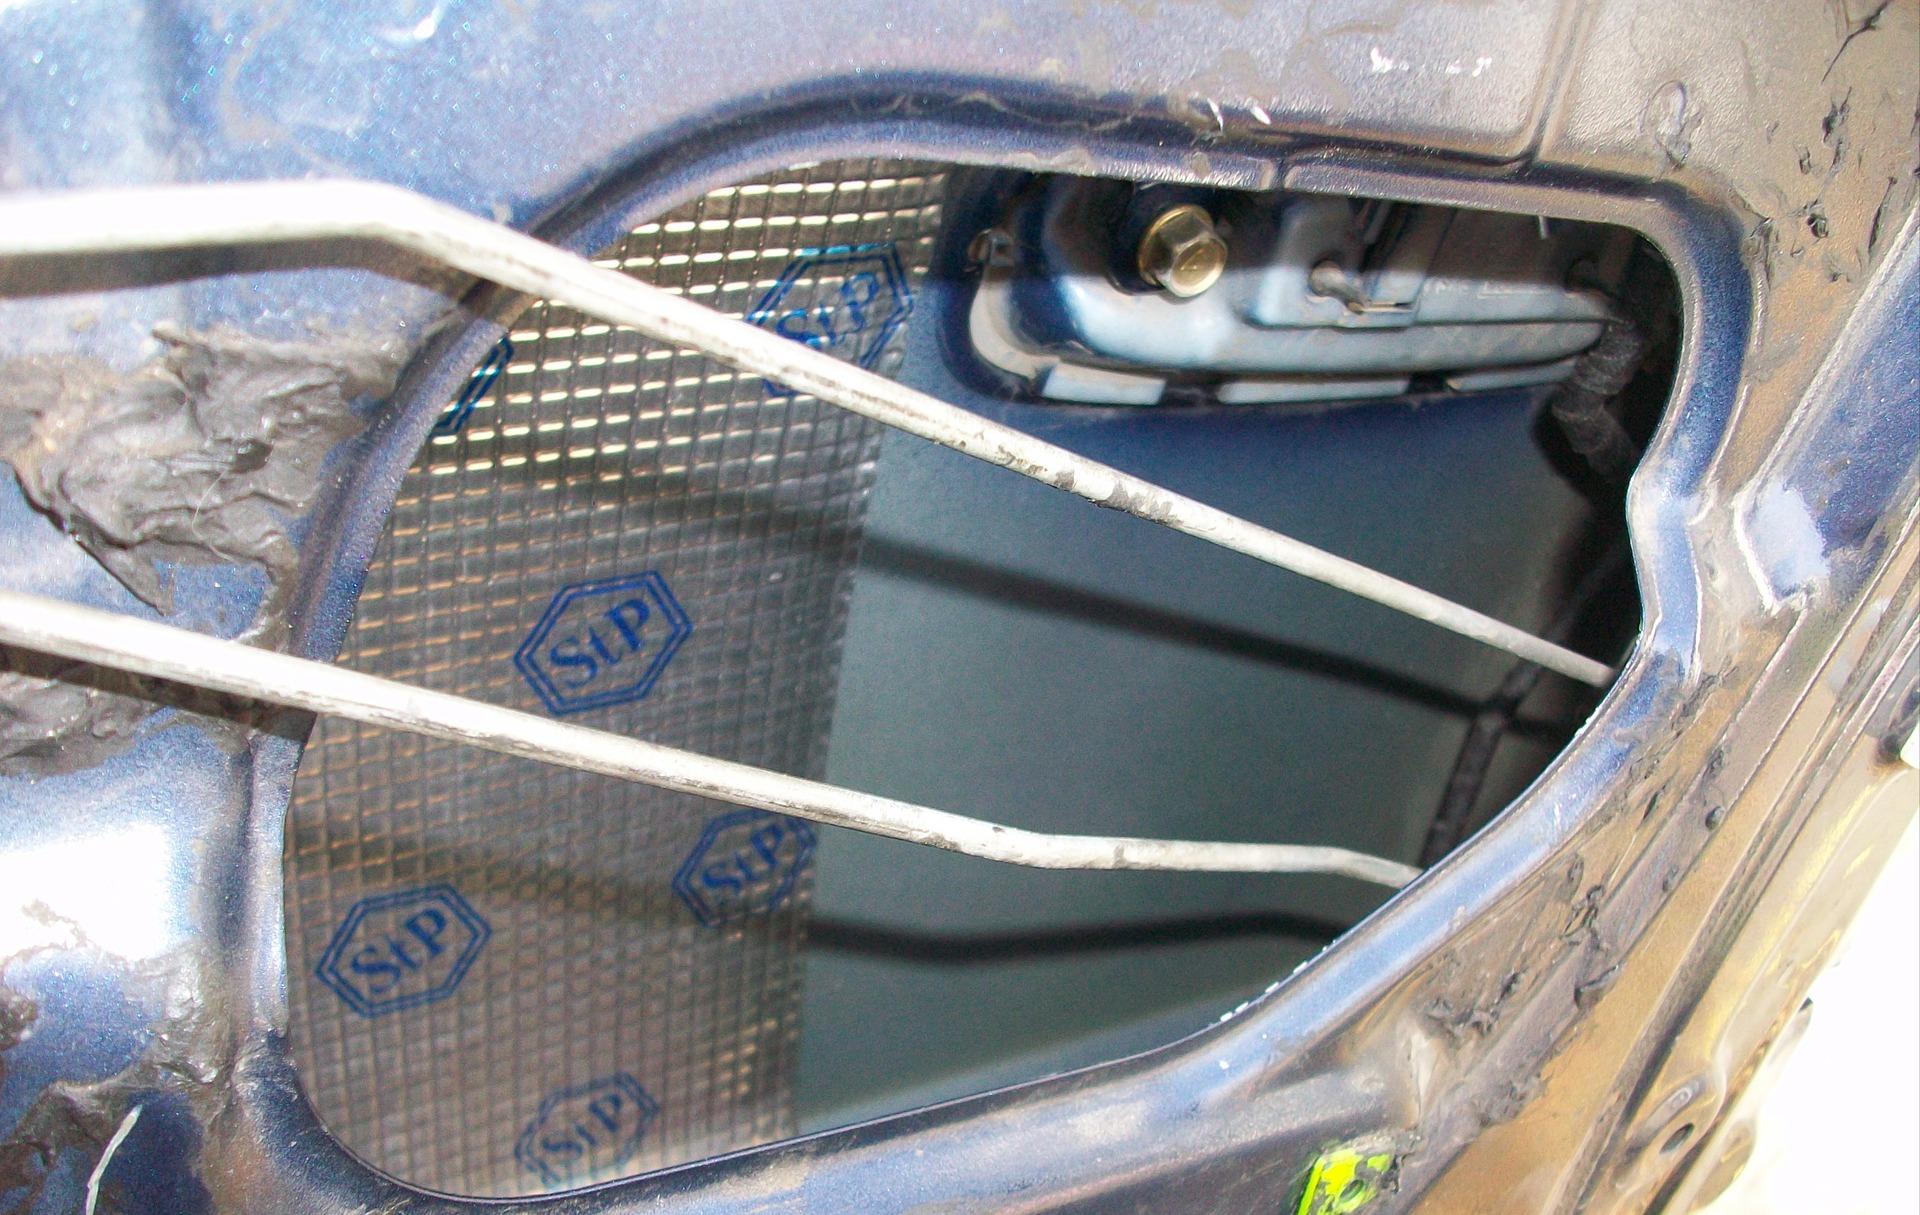
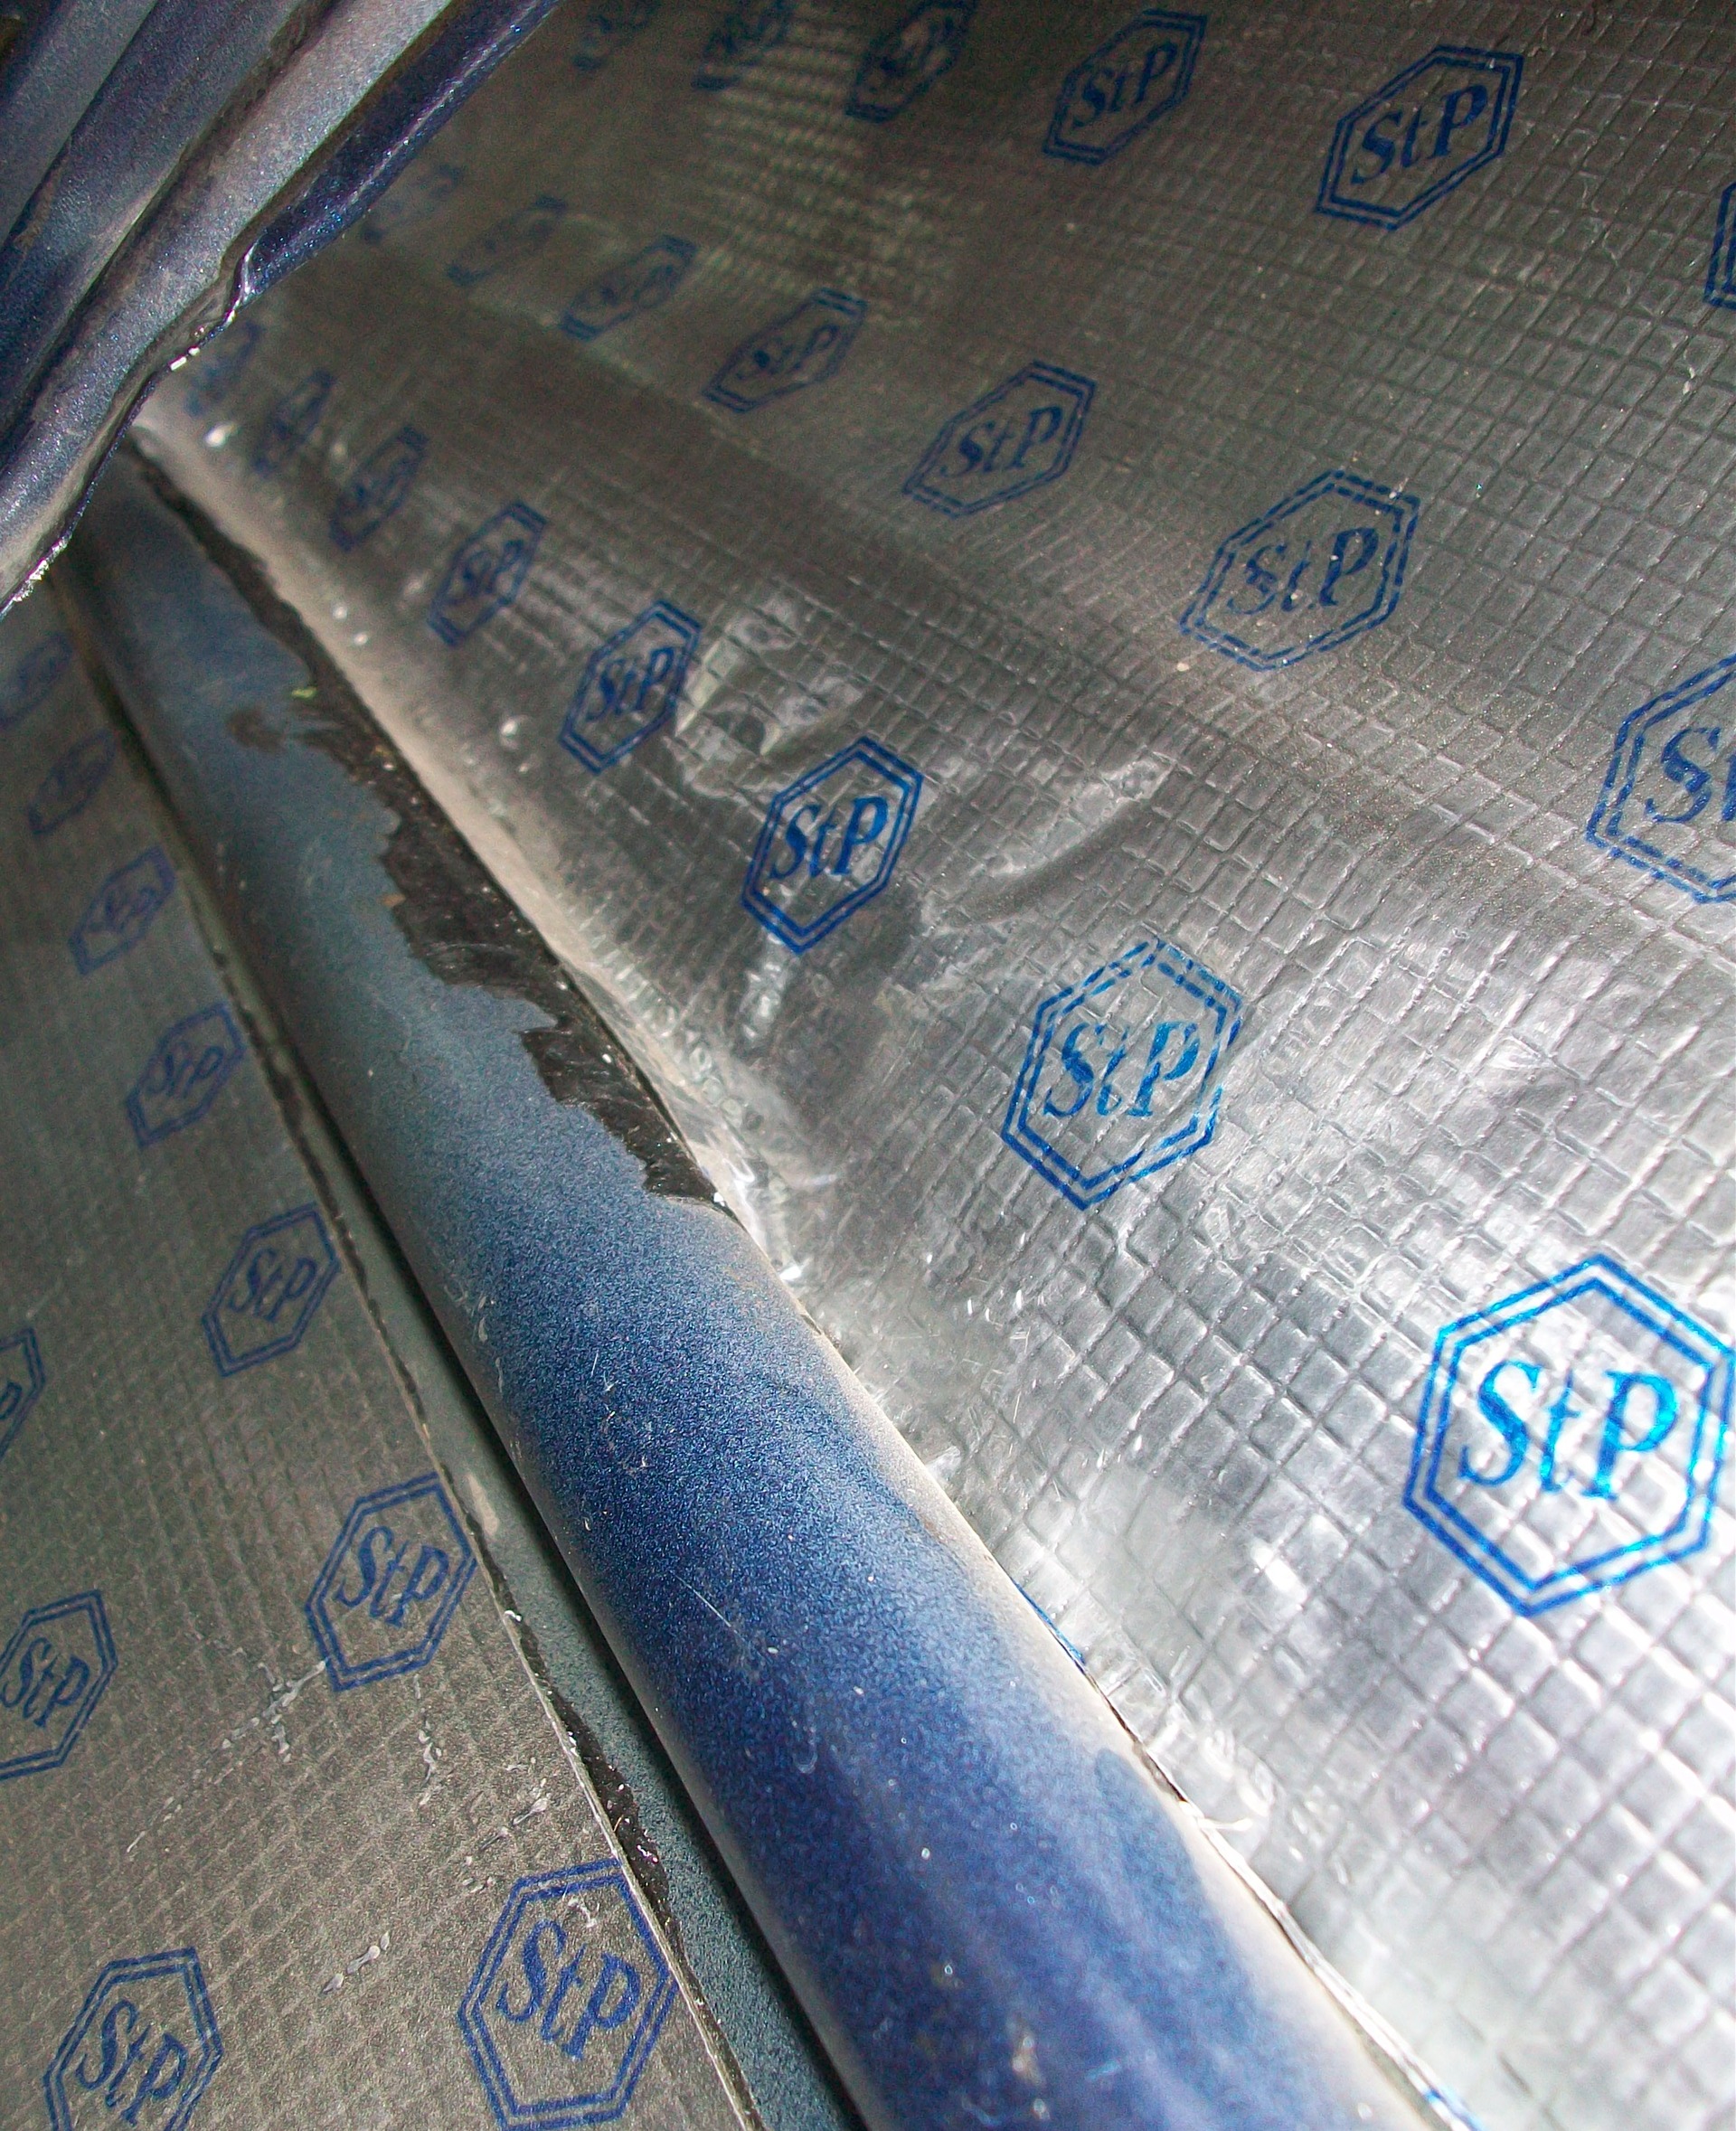
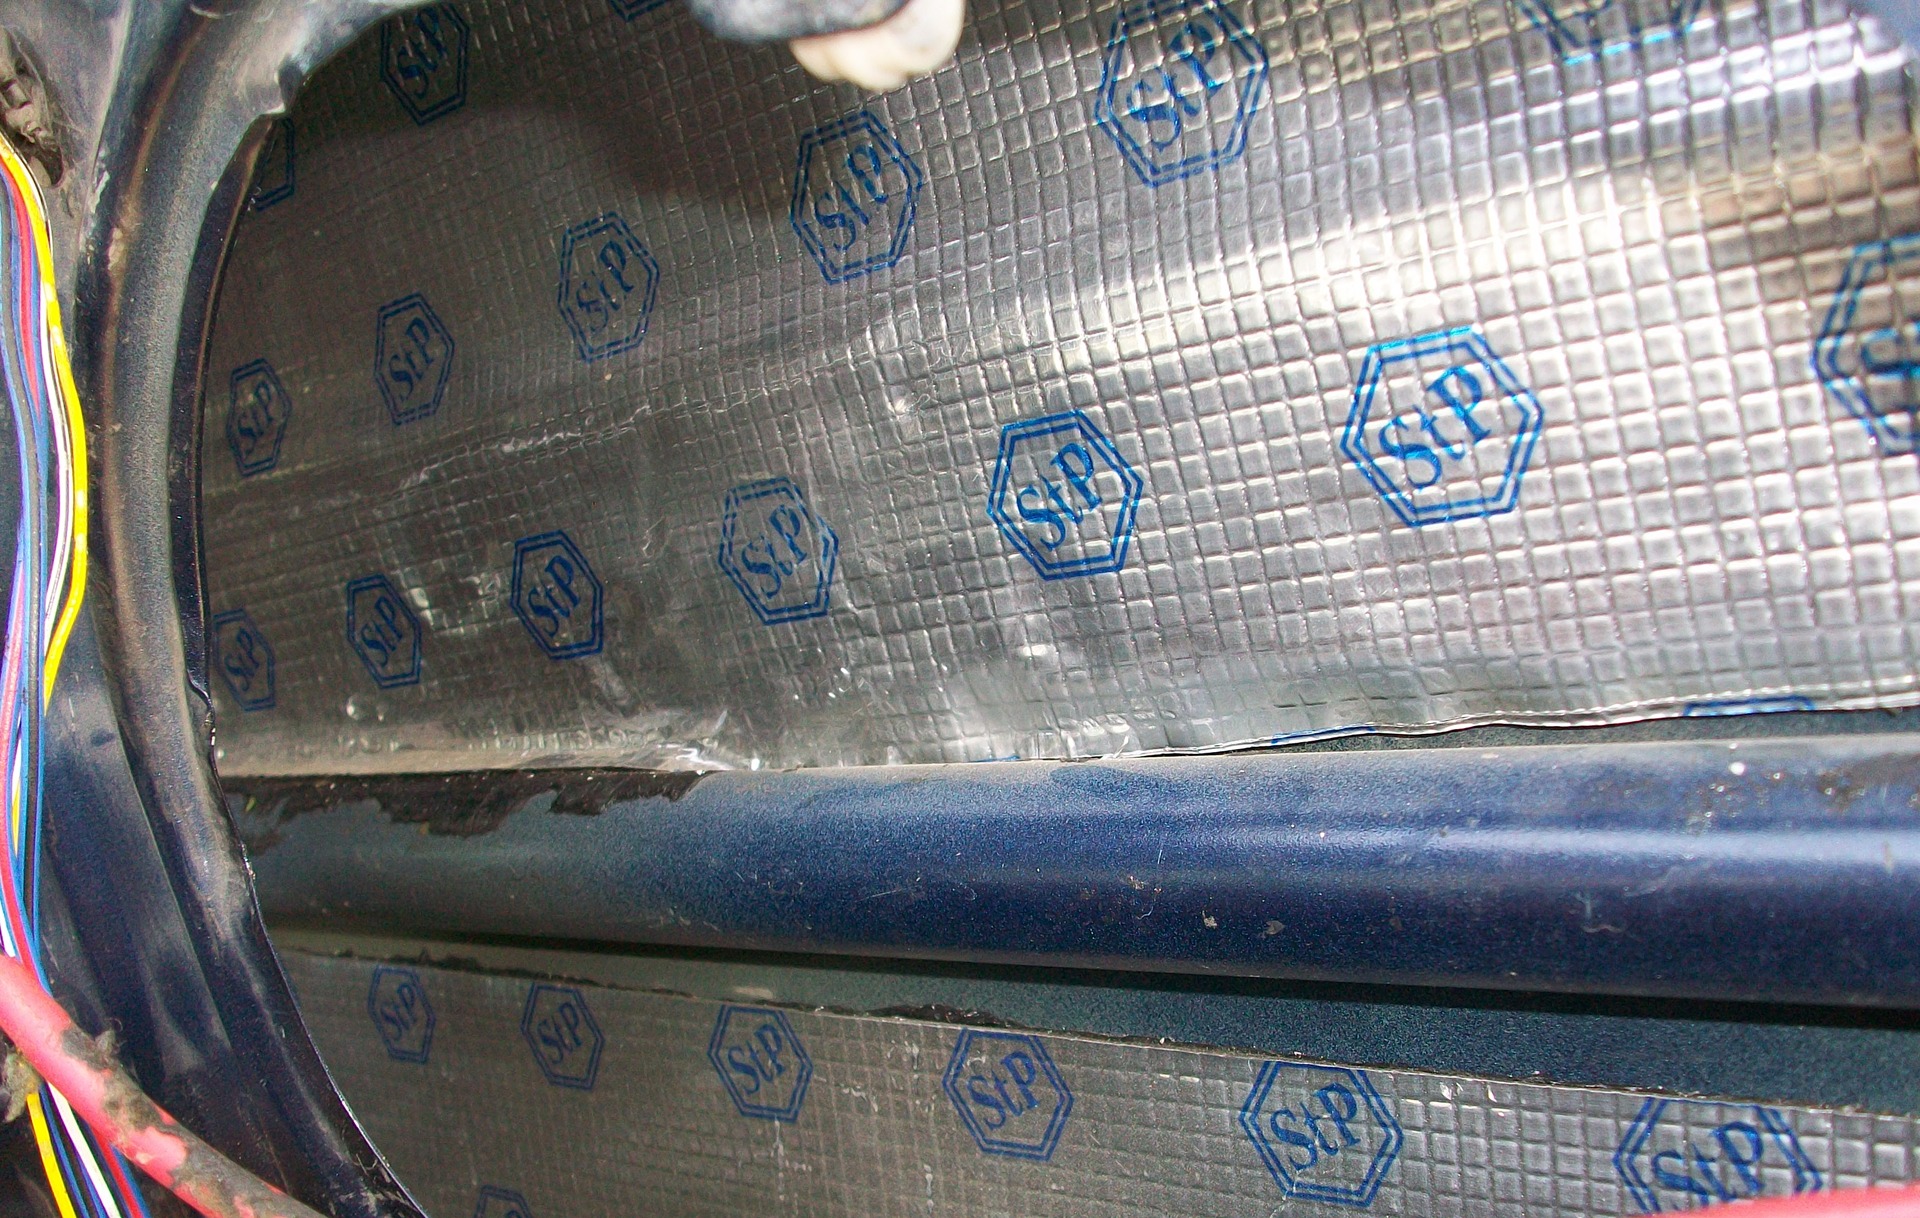
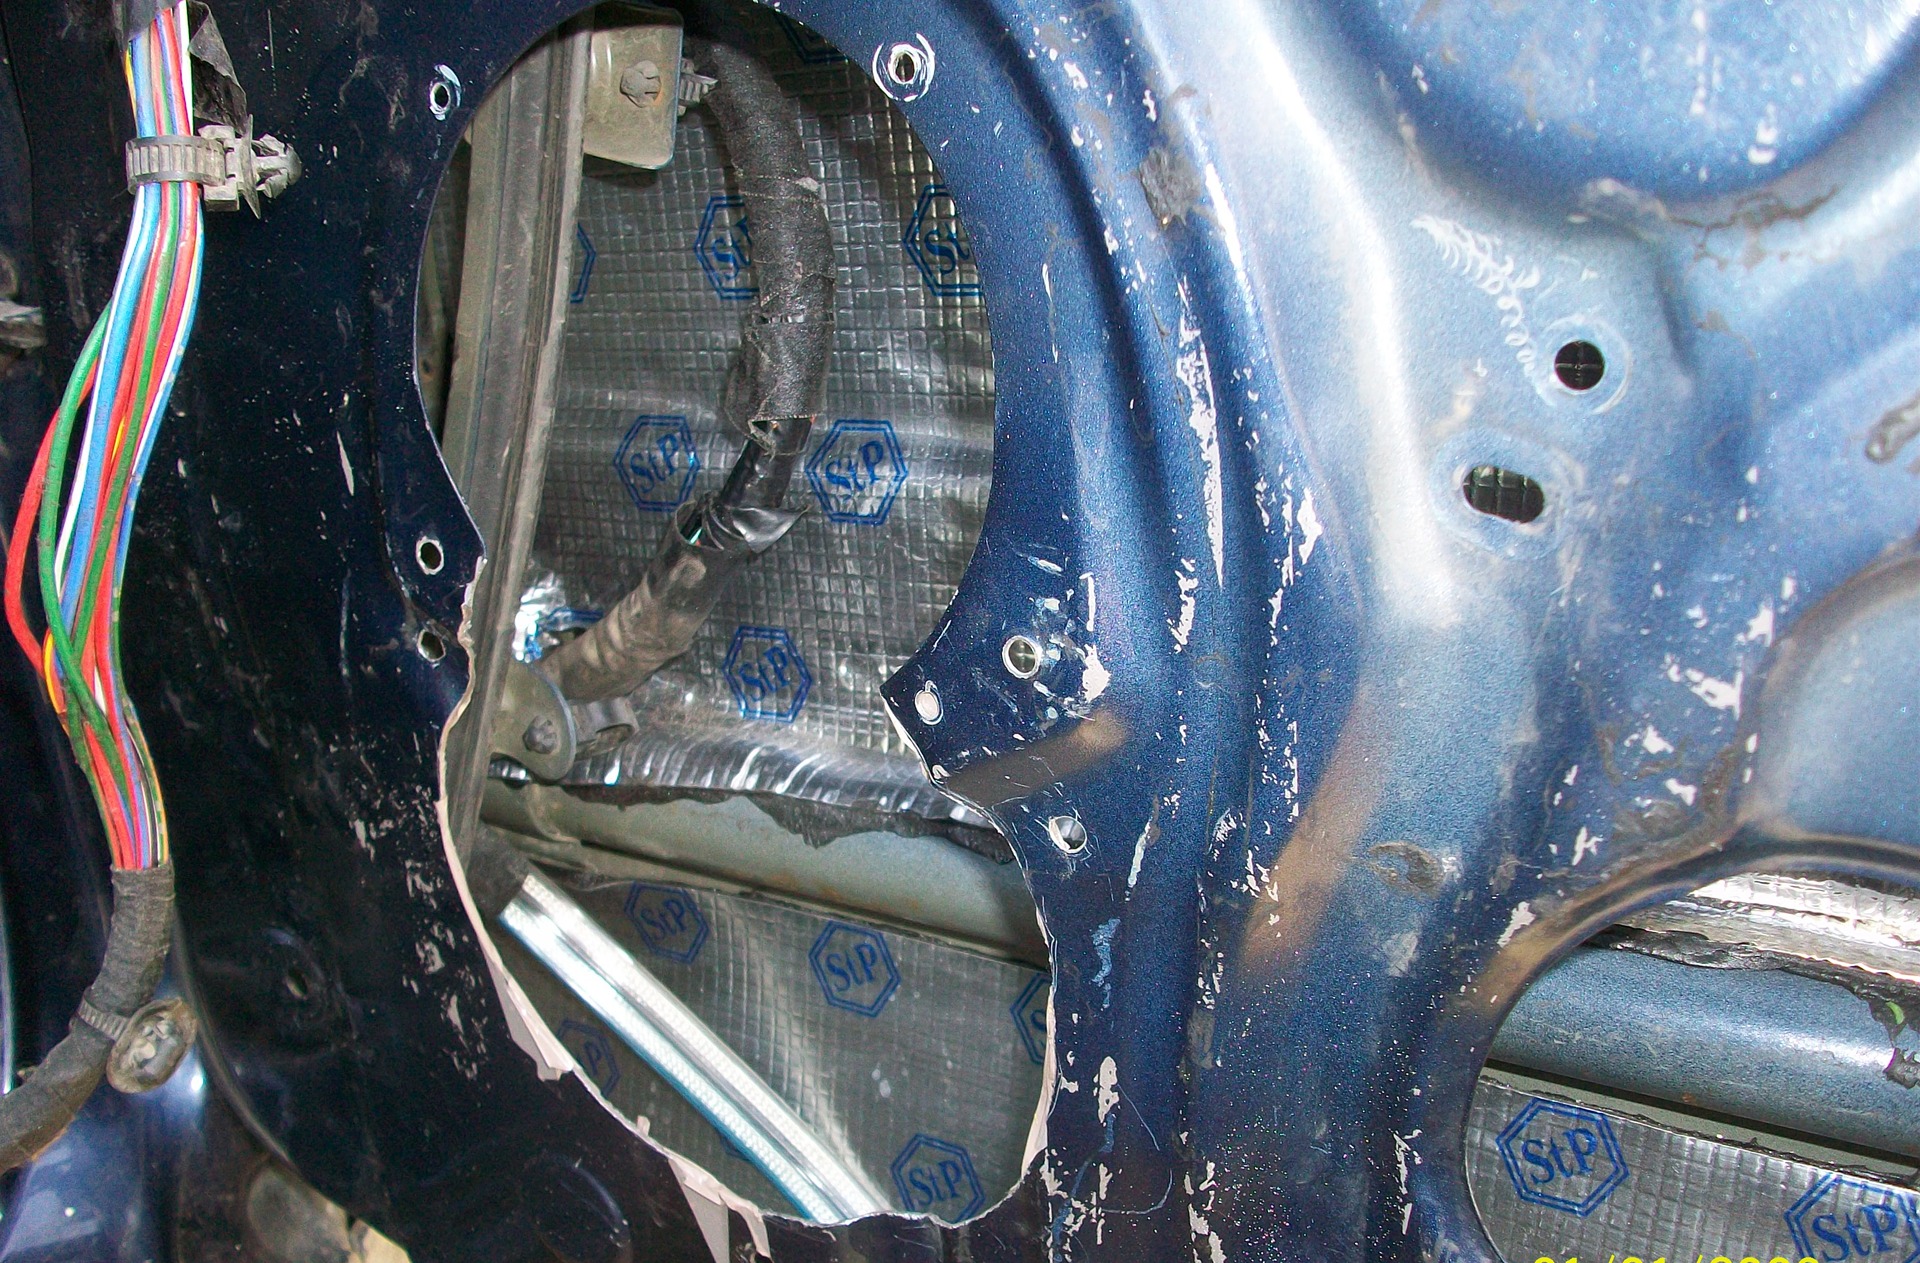
1st layer glued
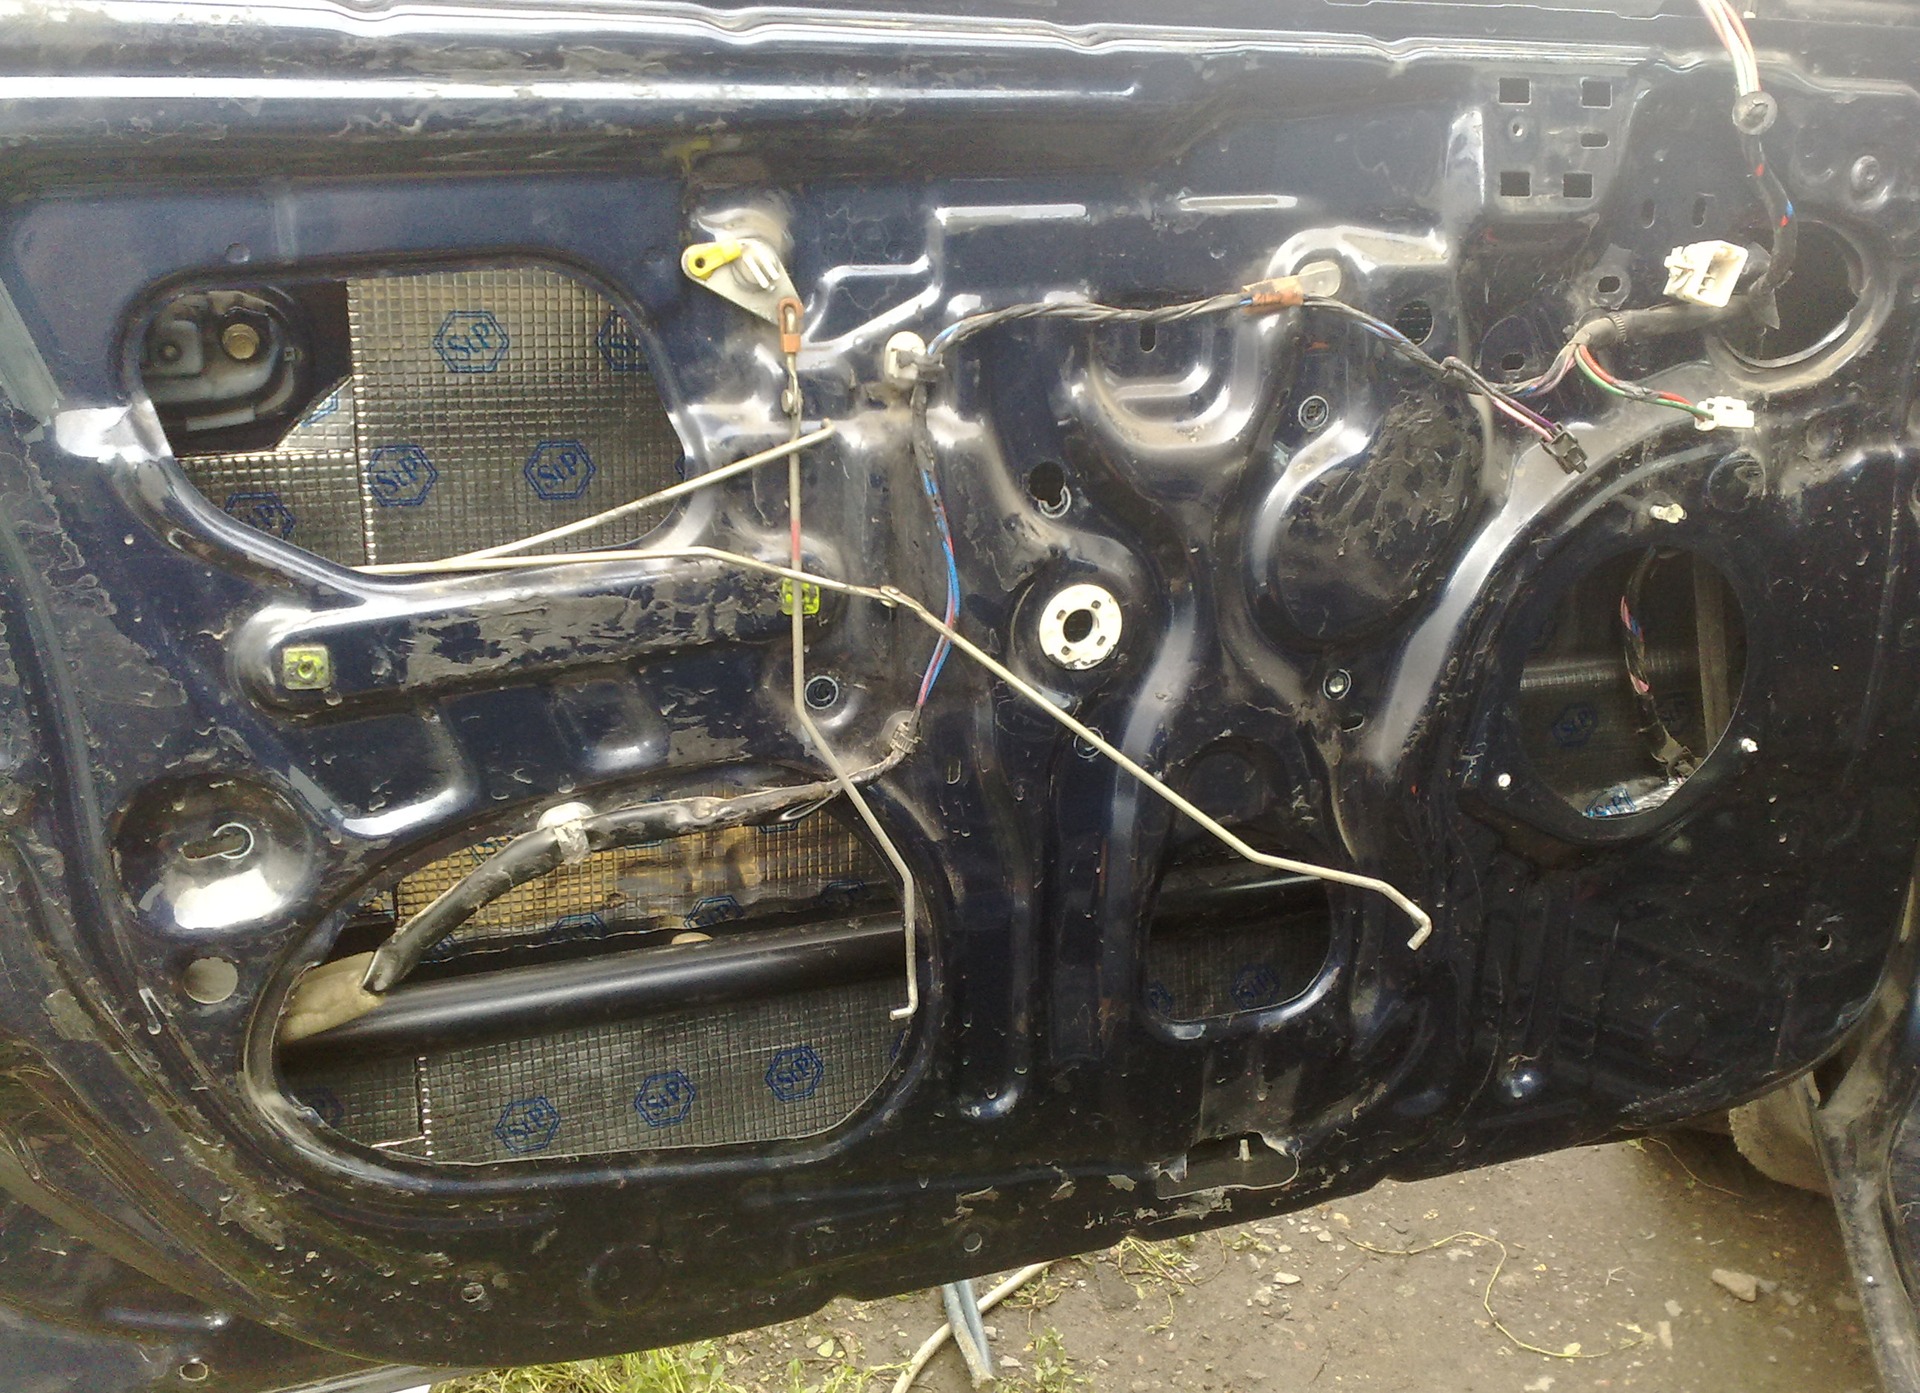
Then, according to the technology described above, we apply a layer of splenitis
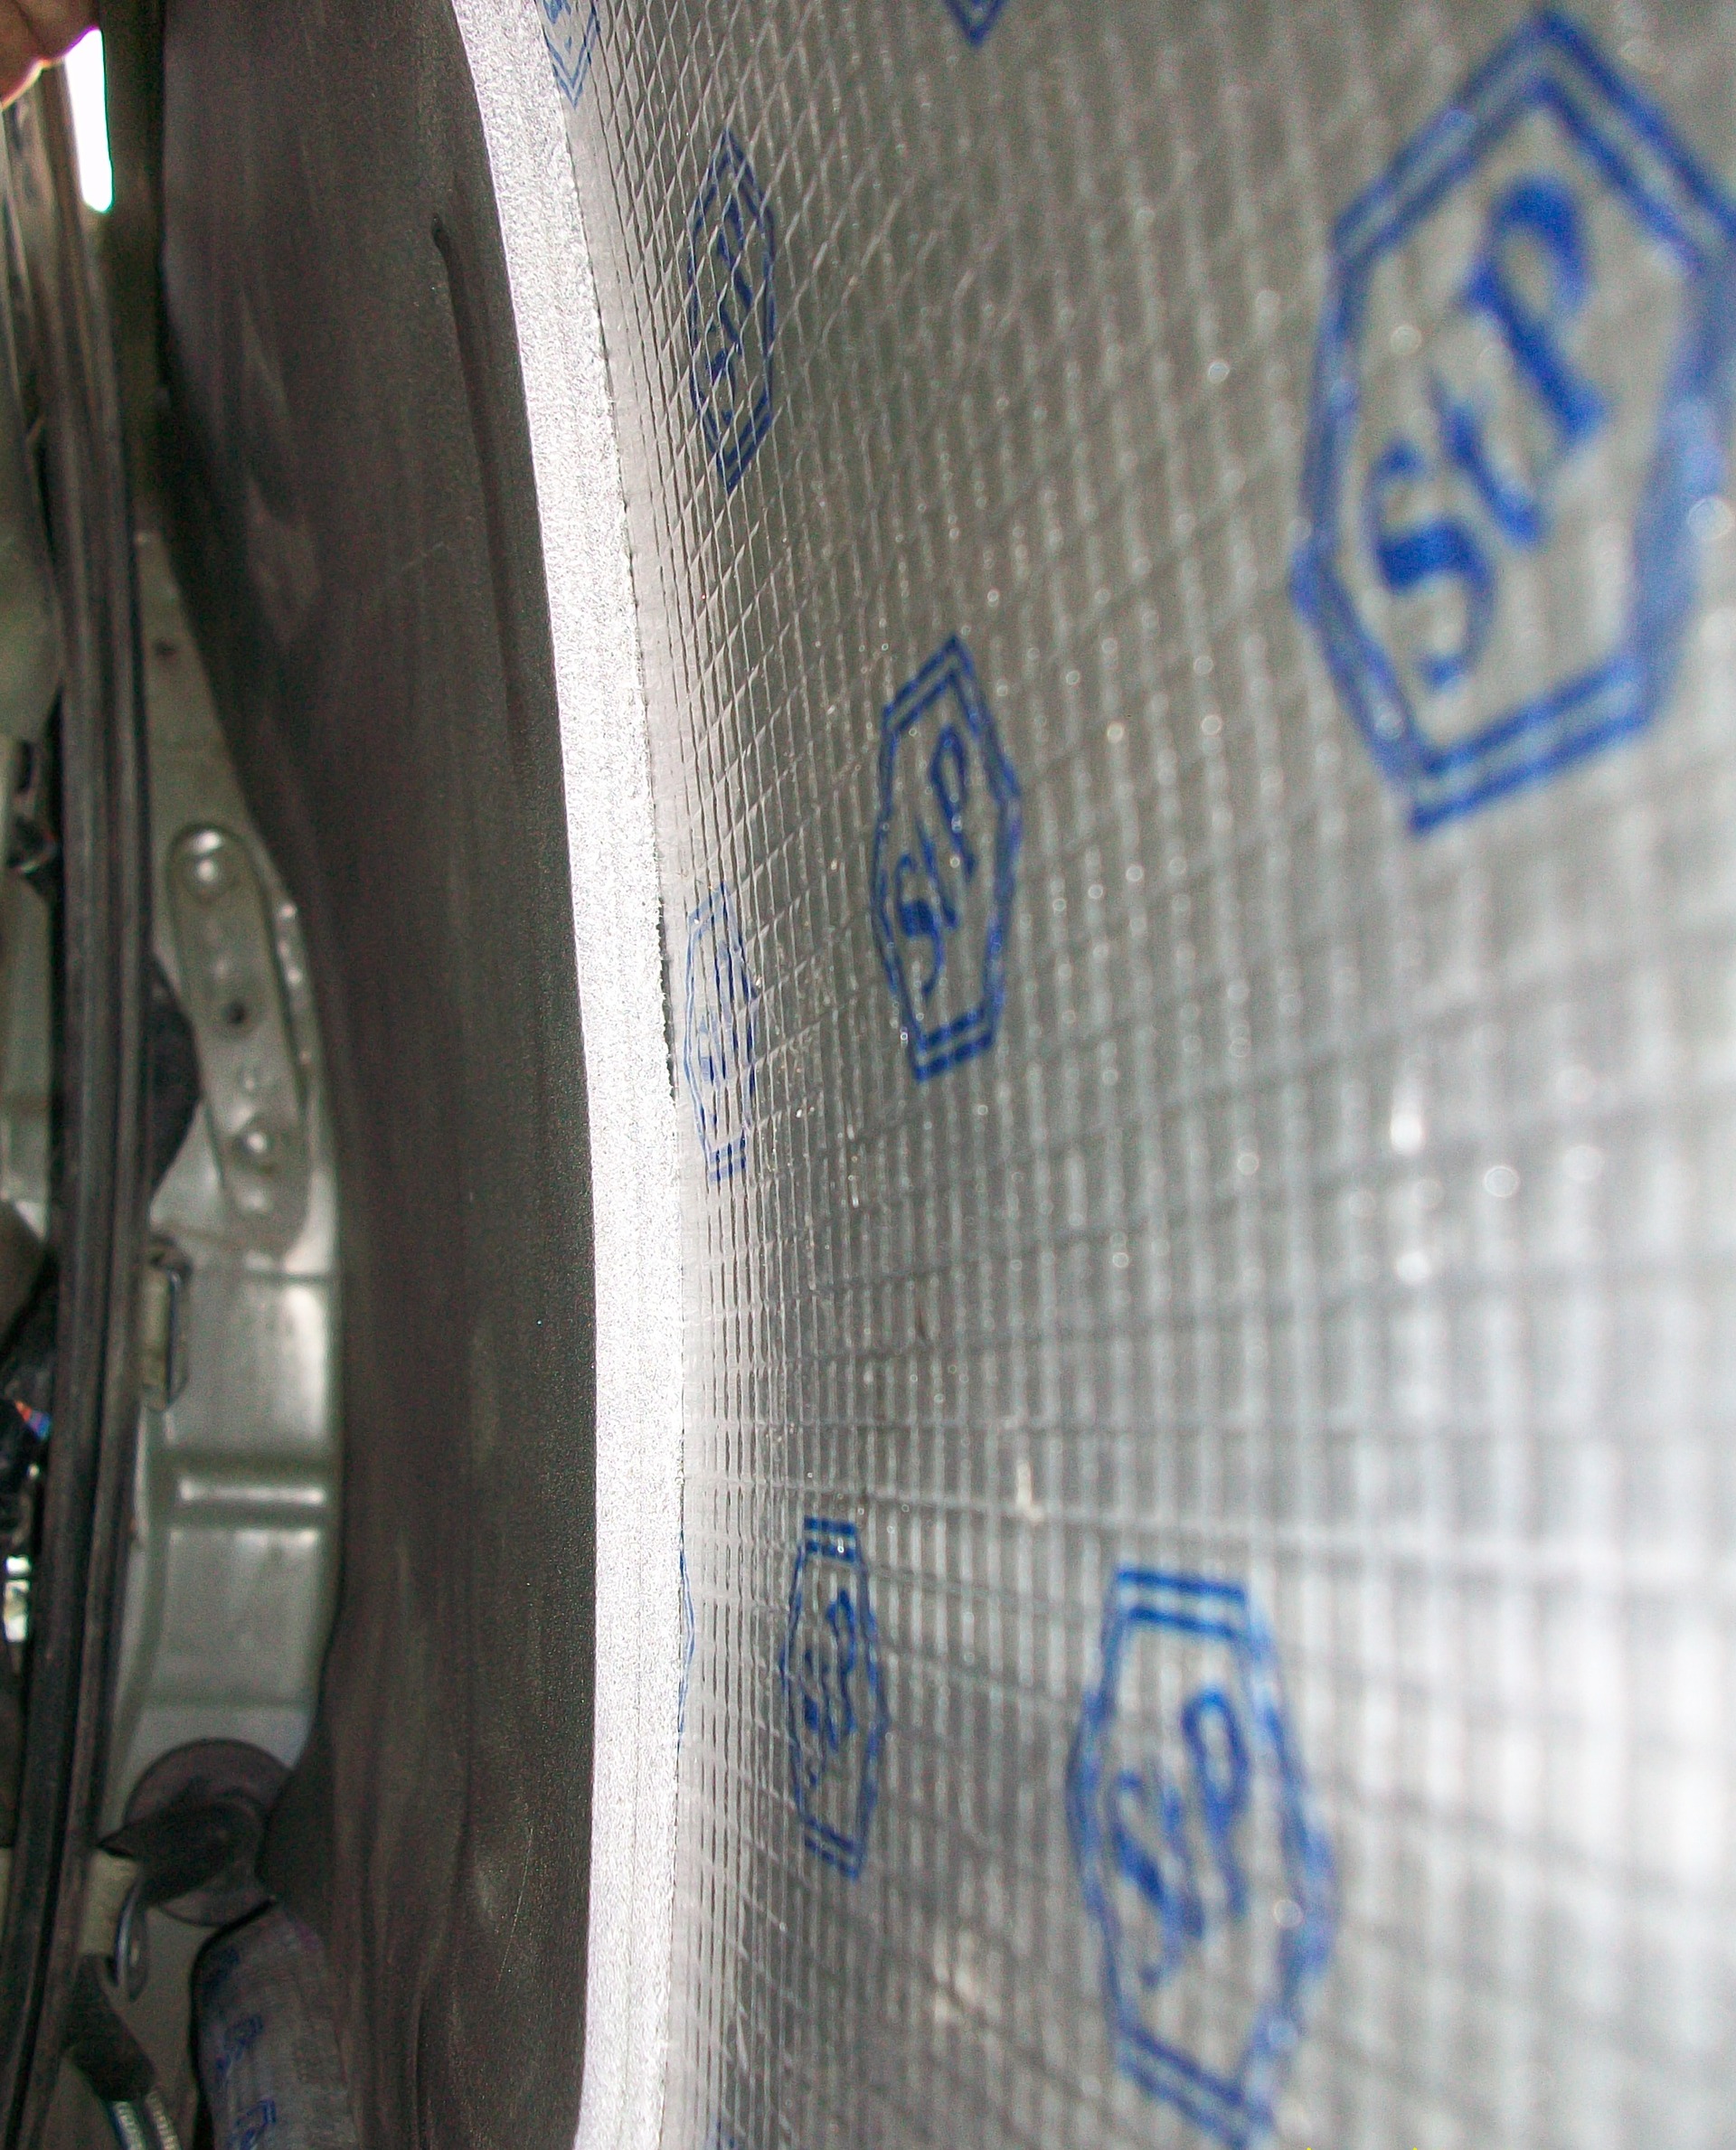
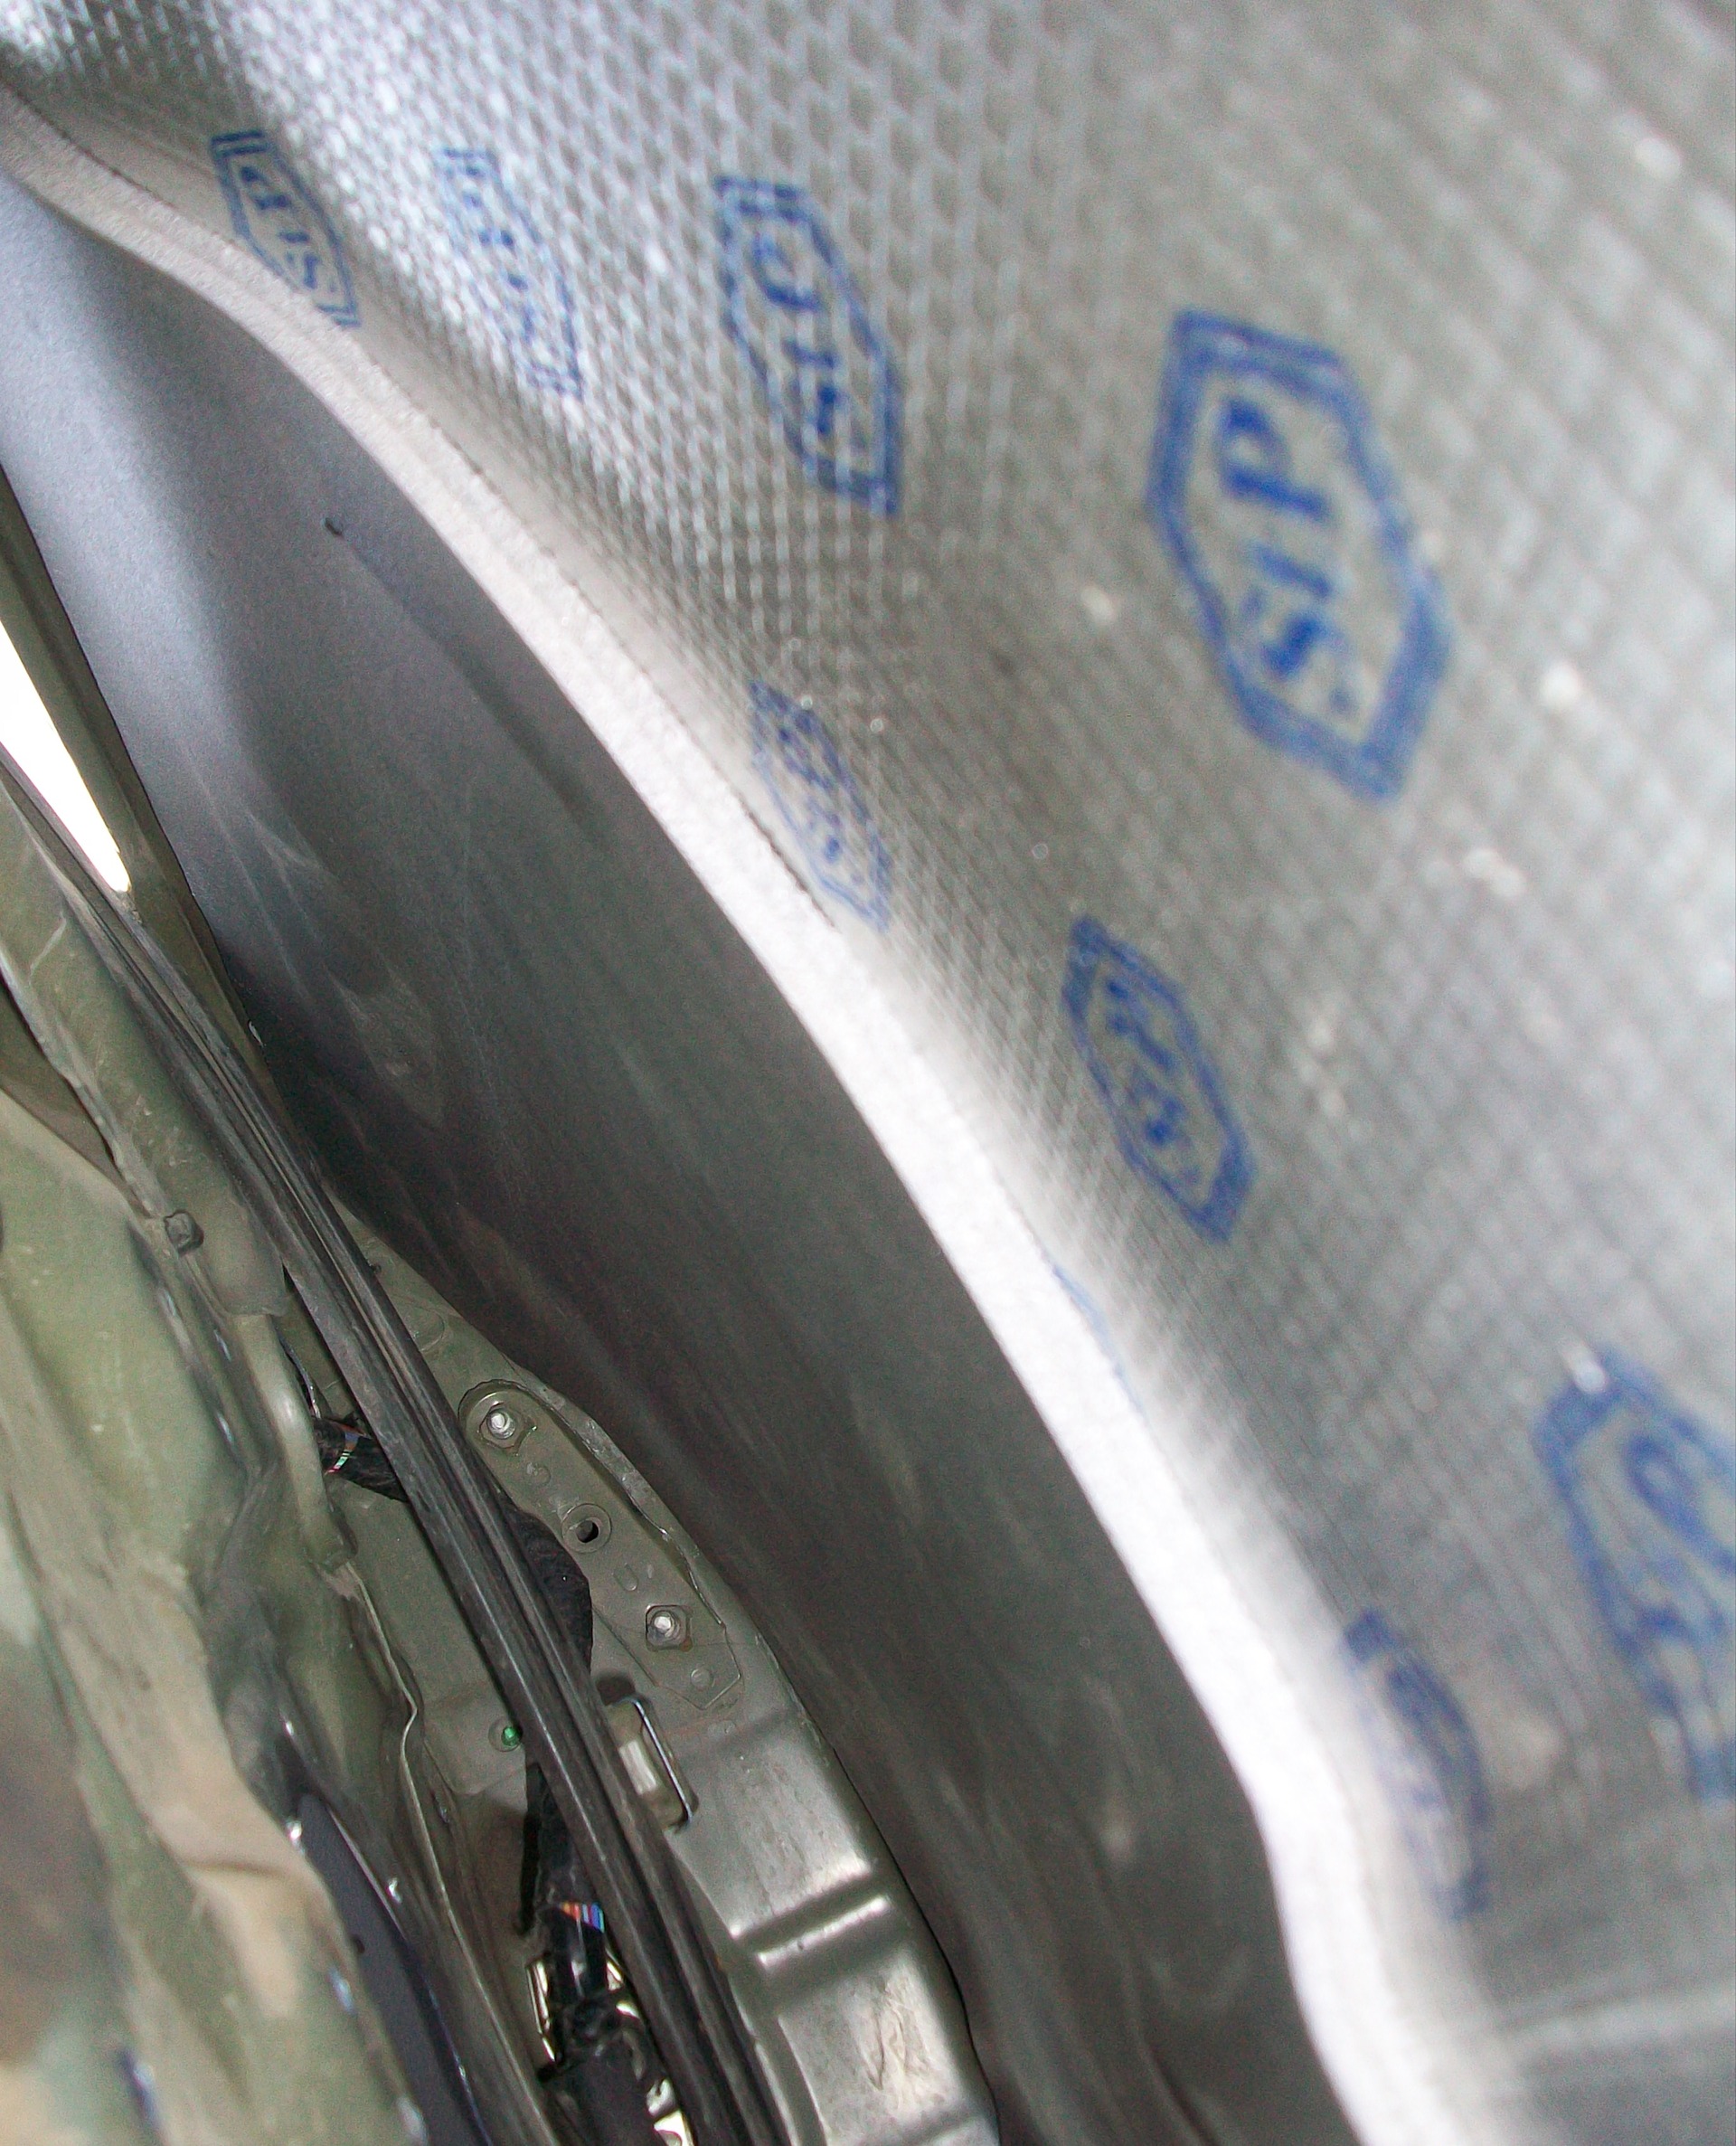
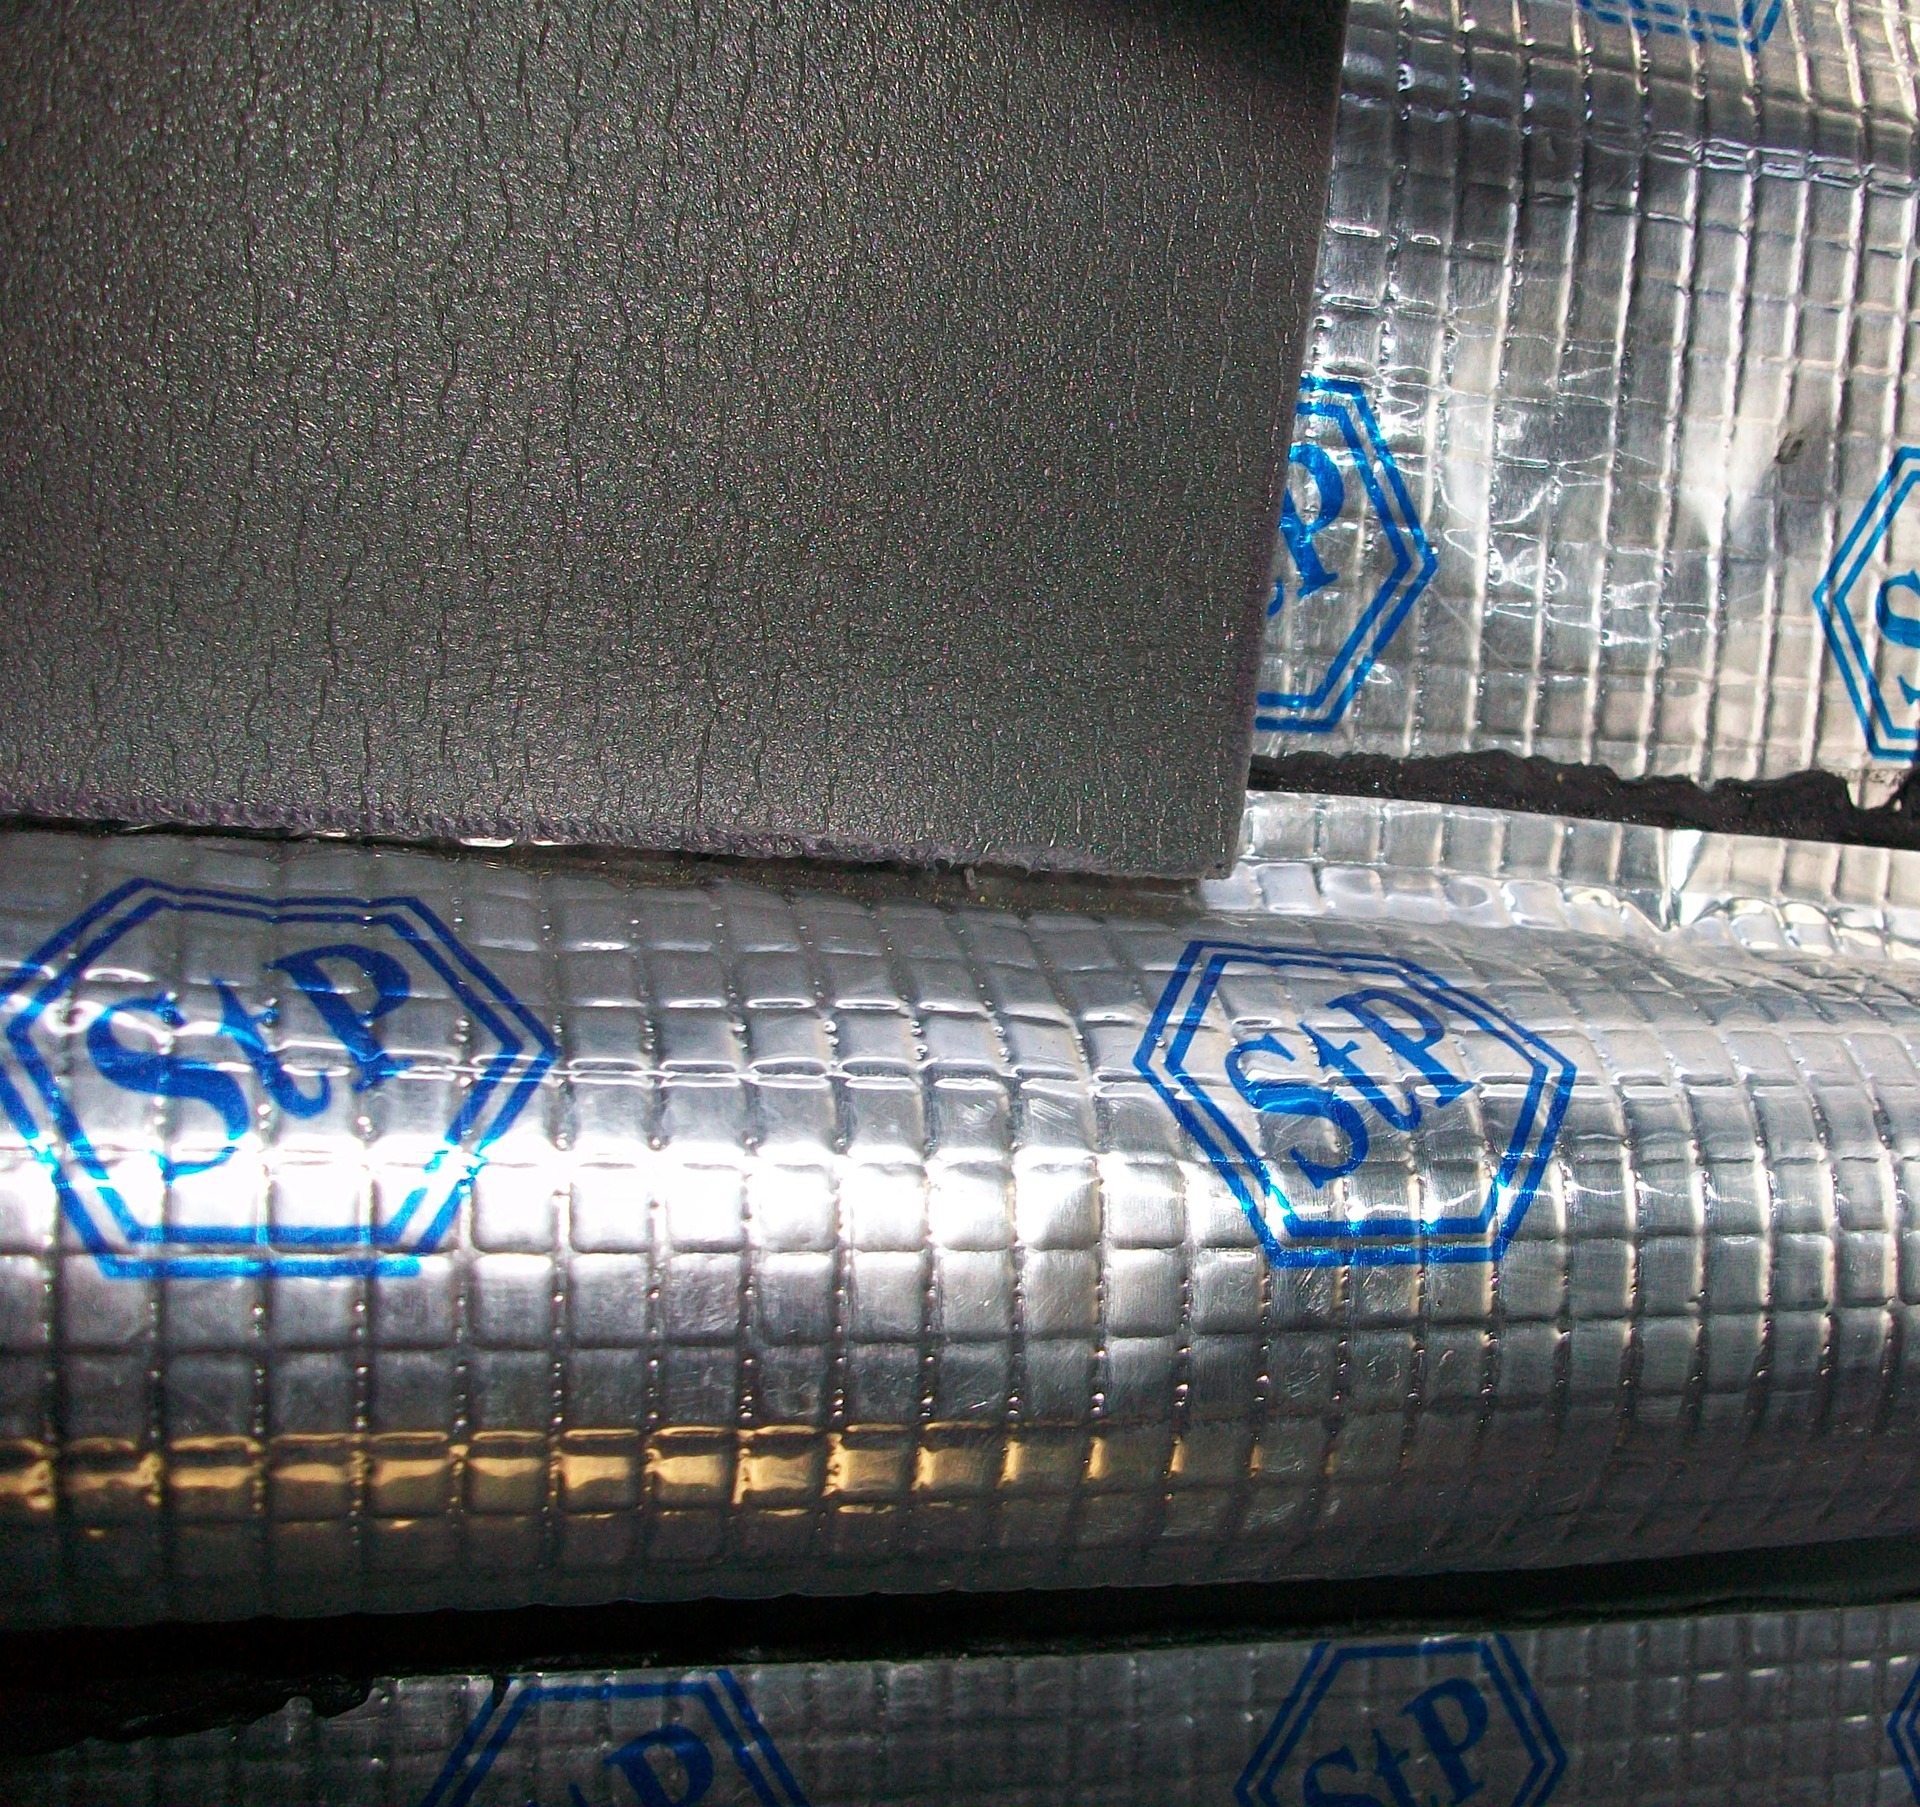
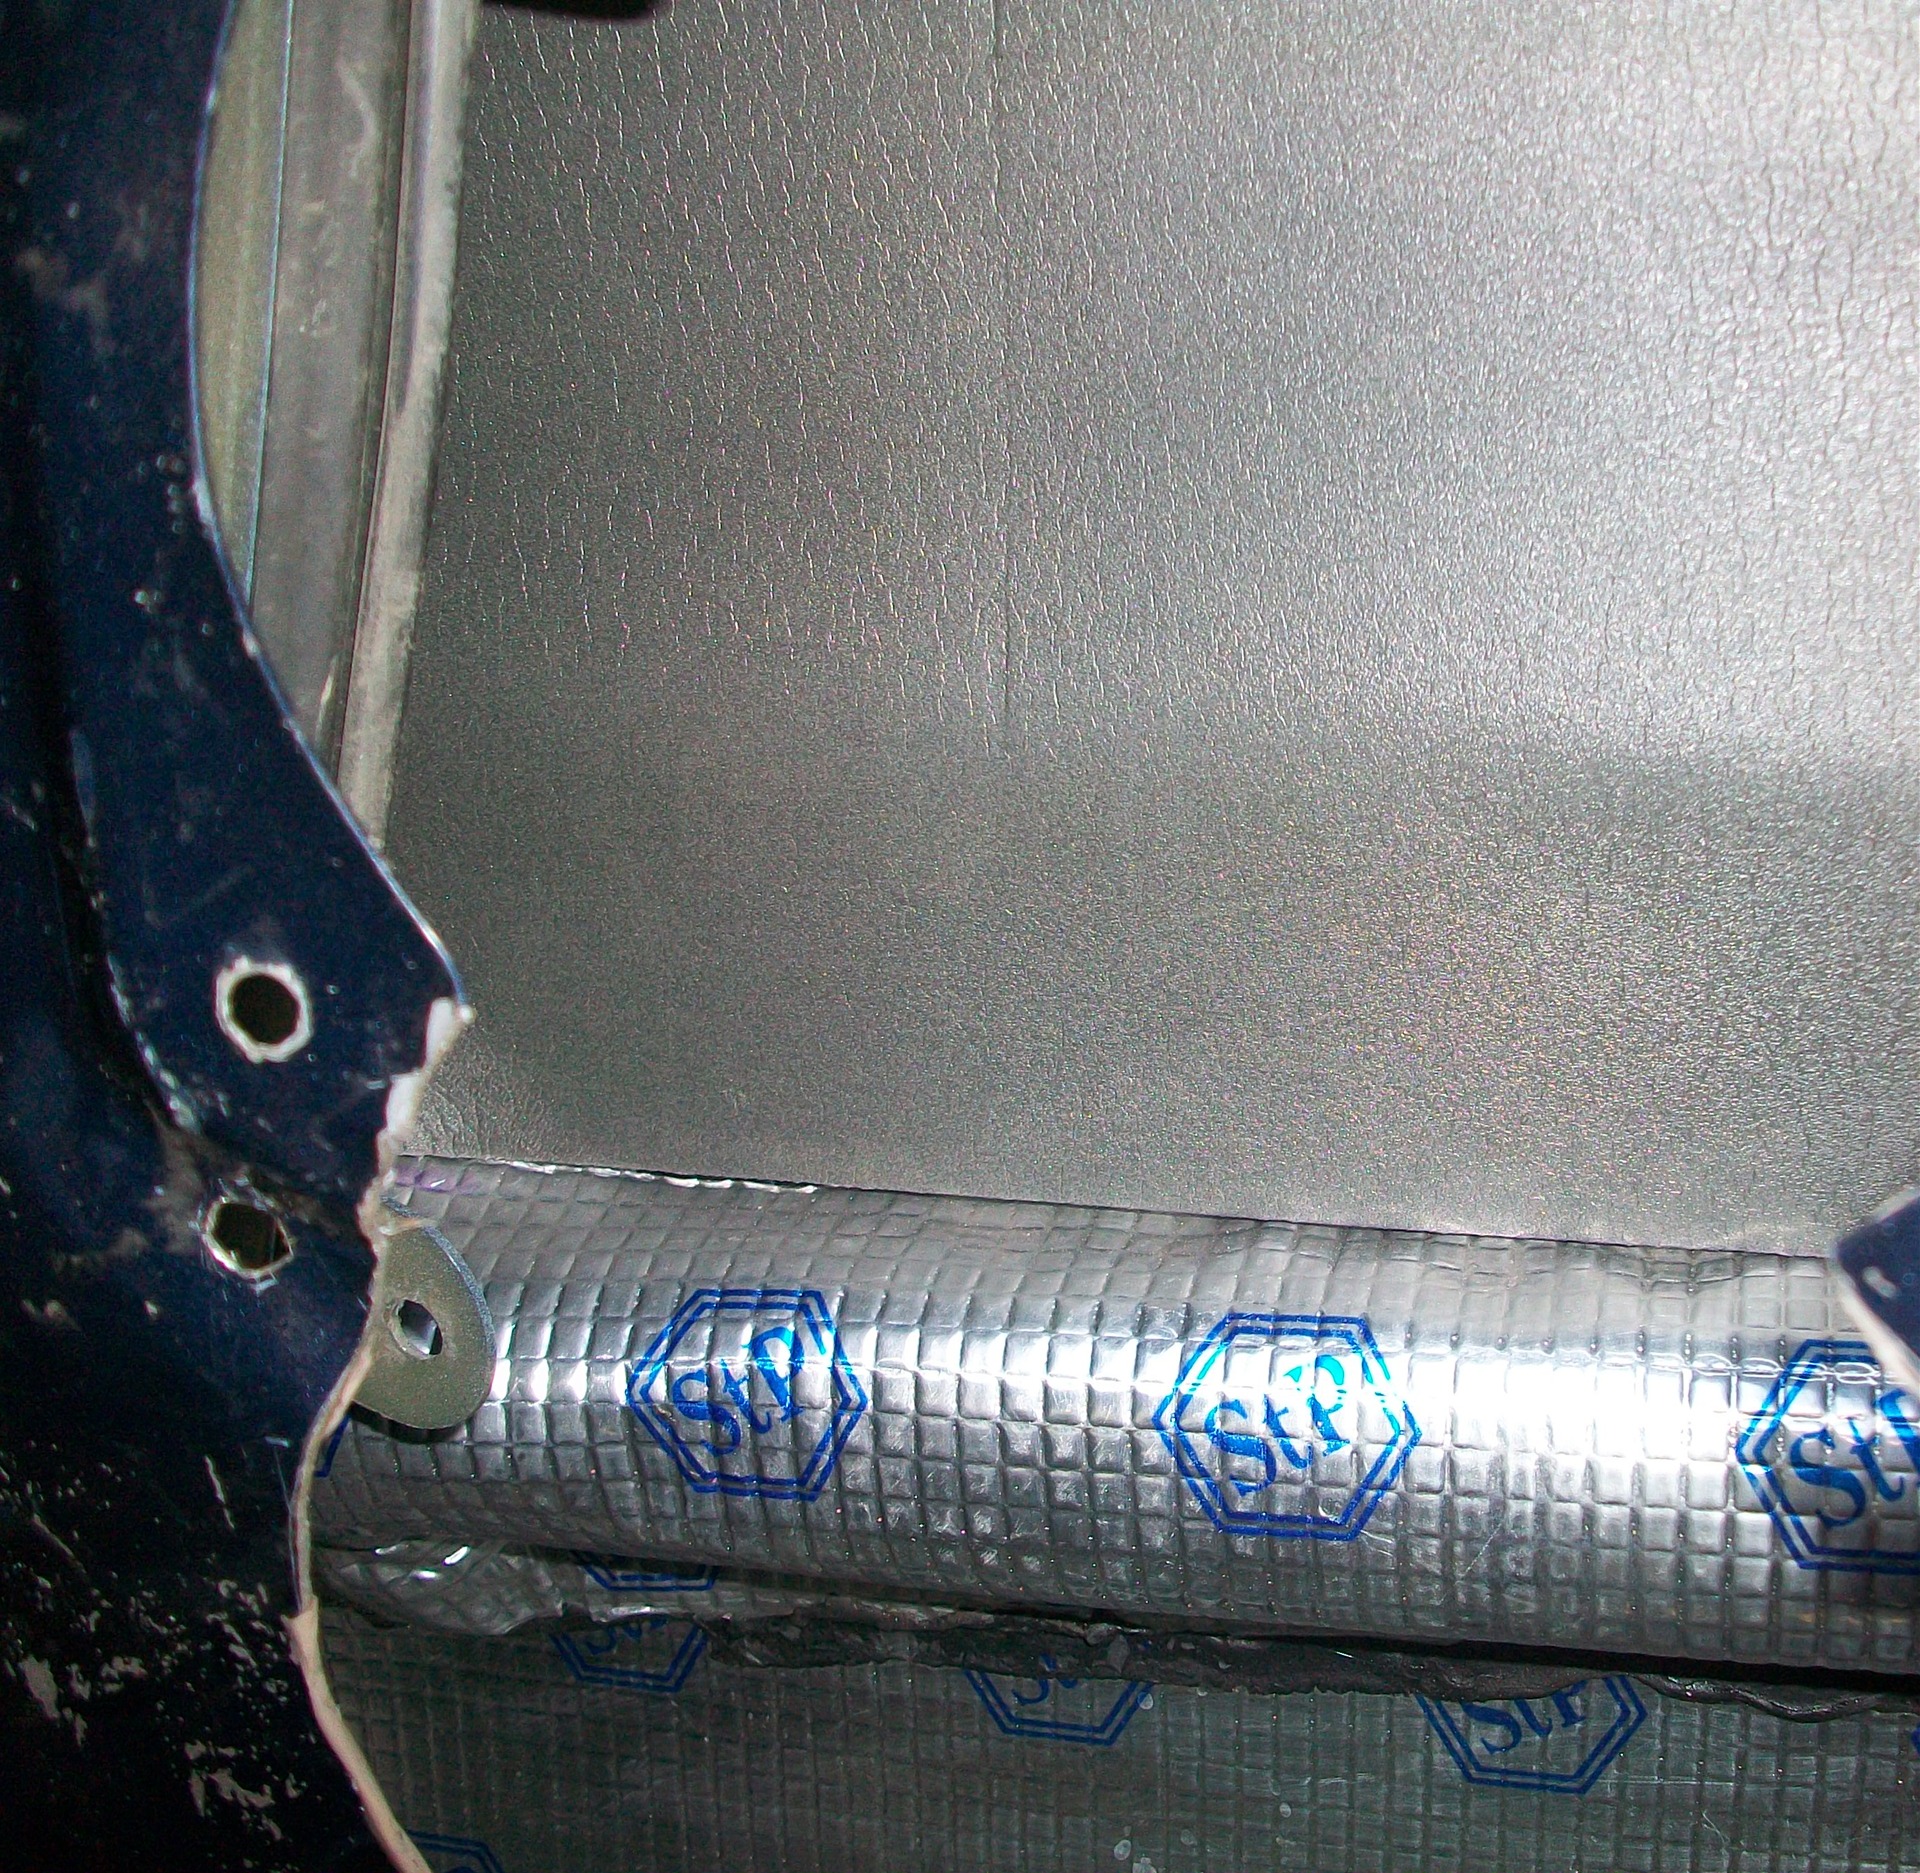
I glued all the joints with aluminum tape, the inside is ready
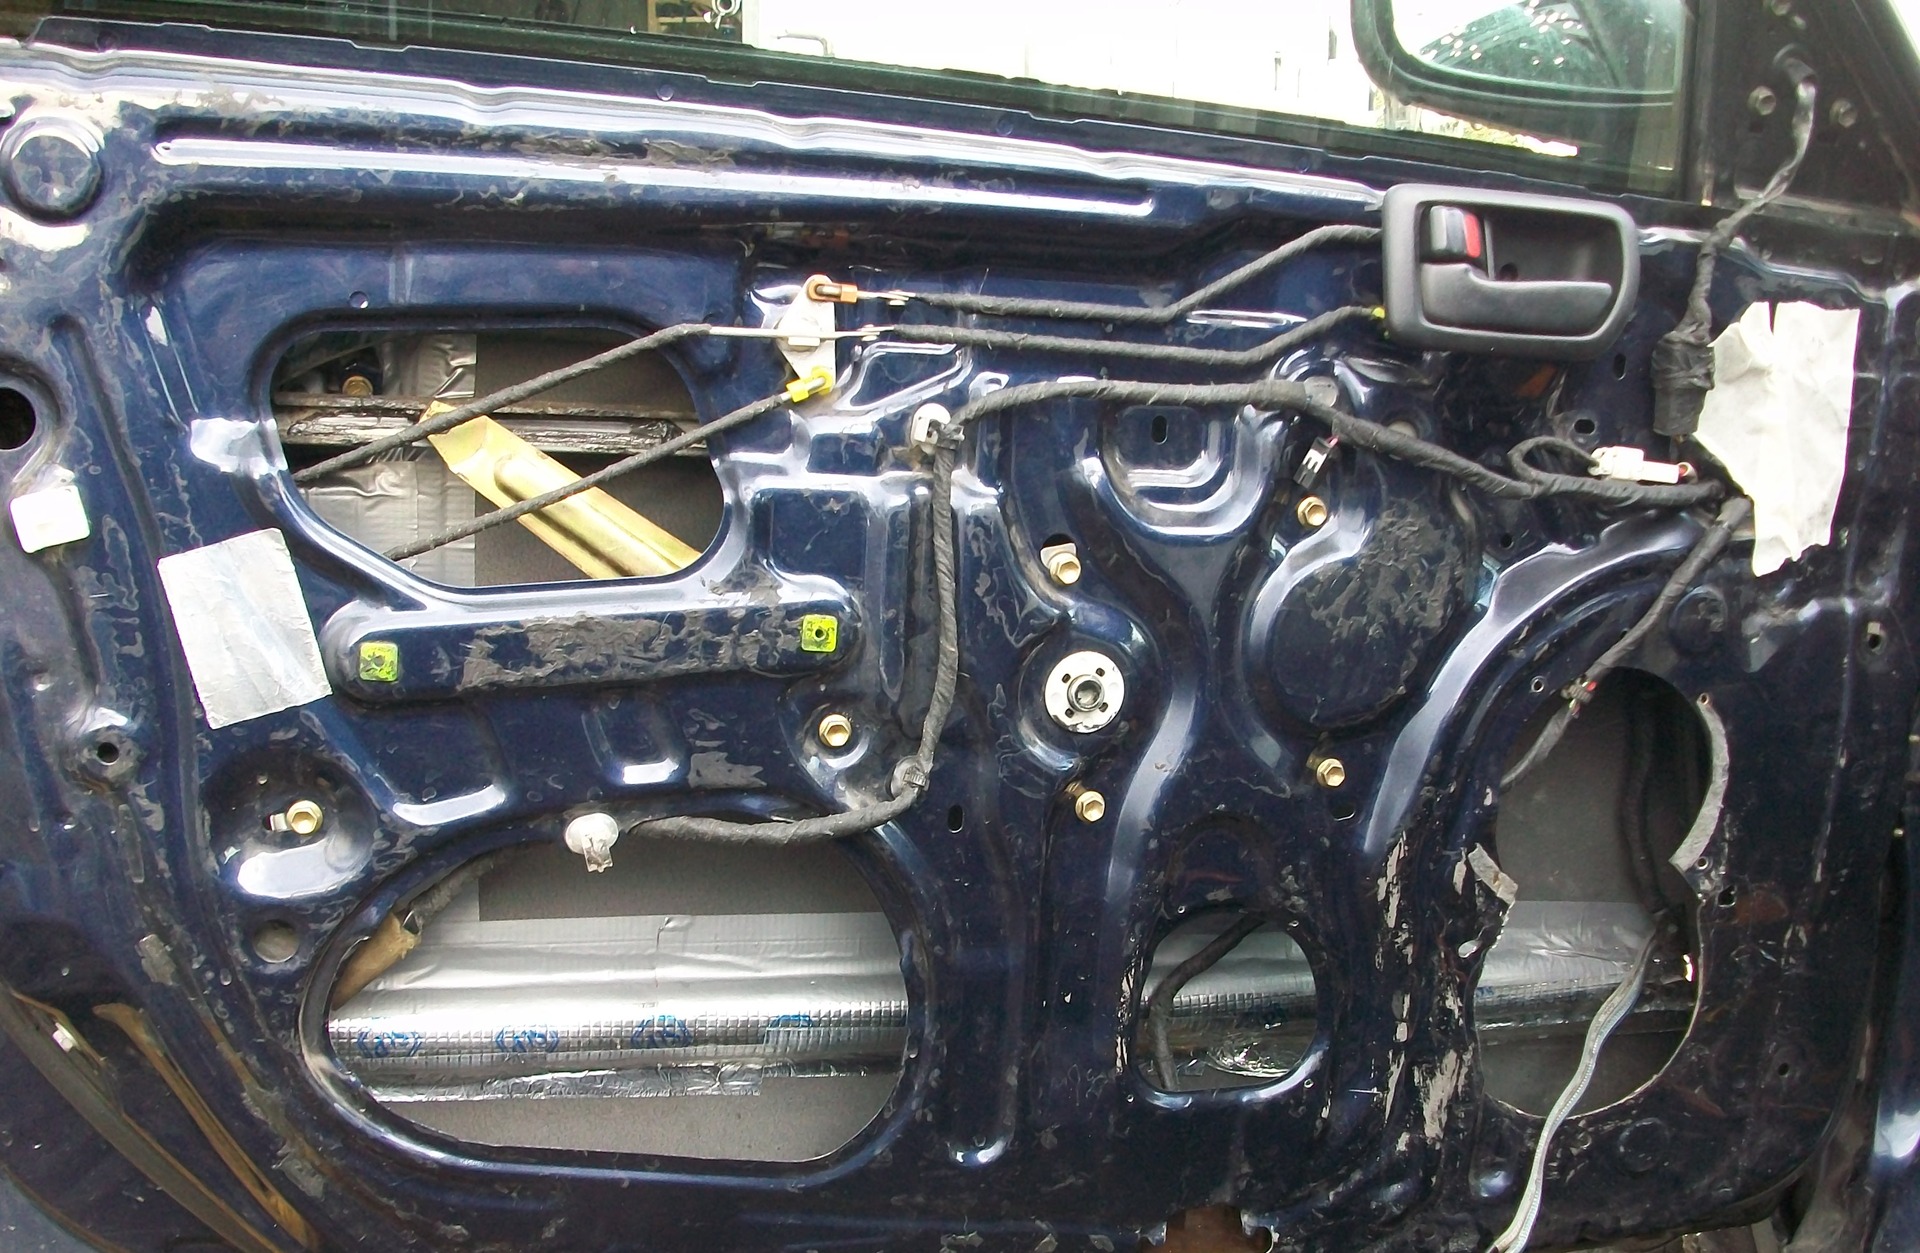
PS to be continued…
Issue price: 1 325 ₽Yes, it seems to be present))) If we compare before and after with the old speakers that were 15 W each, then heaven and earth))) Now there is not a hint of ringing. They did it to my brother at 14, so now he is happy like an elephant)))
and how does it feel? there is a difference?
All the best)
Good luck on the road) Not a nail, not a wand)
As I understand it, it had to be glued from the outside of the door? And the door trim from the inside is better to walk?