Complete change of illumination of the instrument cluster, as well as the climate! — Toyota Celica, 1.8 liter, 2002
Hello everyone !
Really do not like the initially orange light in the instrument panel, as well as in the backlight climate and cigarette lighter.
There are a lot of photo reports on the Internet how they did it, so I’ll tell you briefly :)
First of all, thanks for the high-quality scale ala lucifer to the lady with the nickname hashioki and lucifer himself for the tips.
So, let's begin !
I took out the tidy easily, first you need to unscrew the plastic behind the steering wheel and disconnect two cables from the priboka itself.
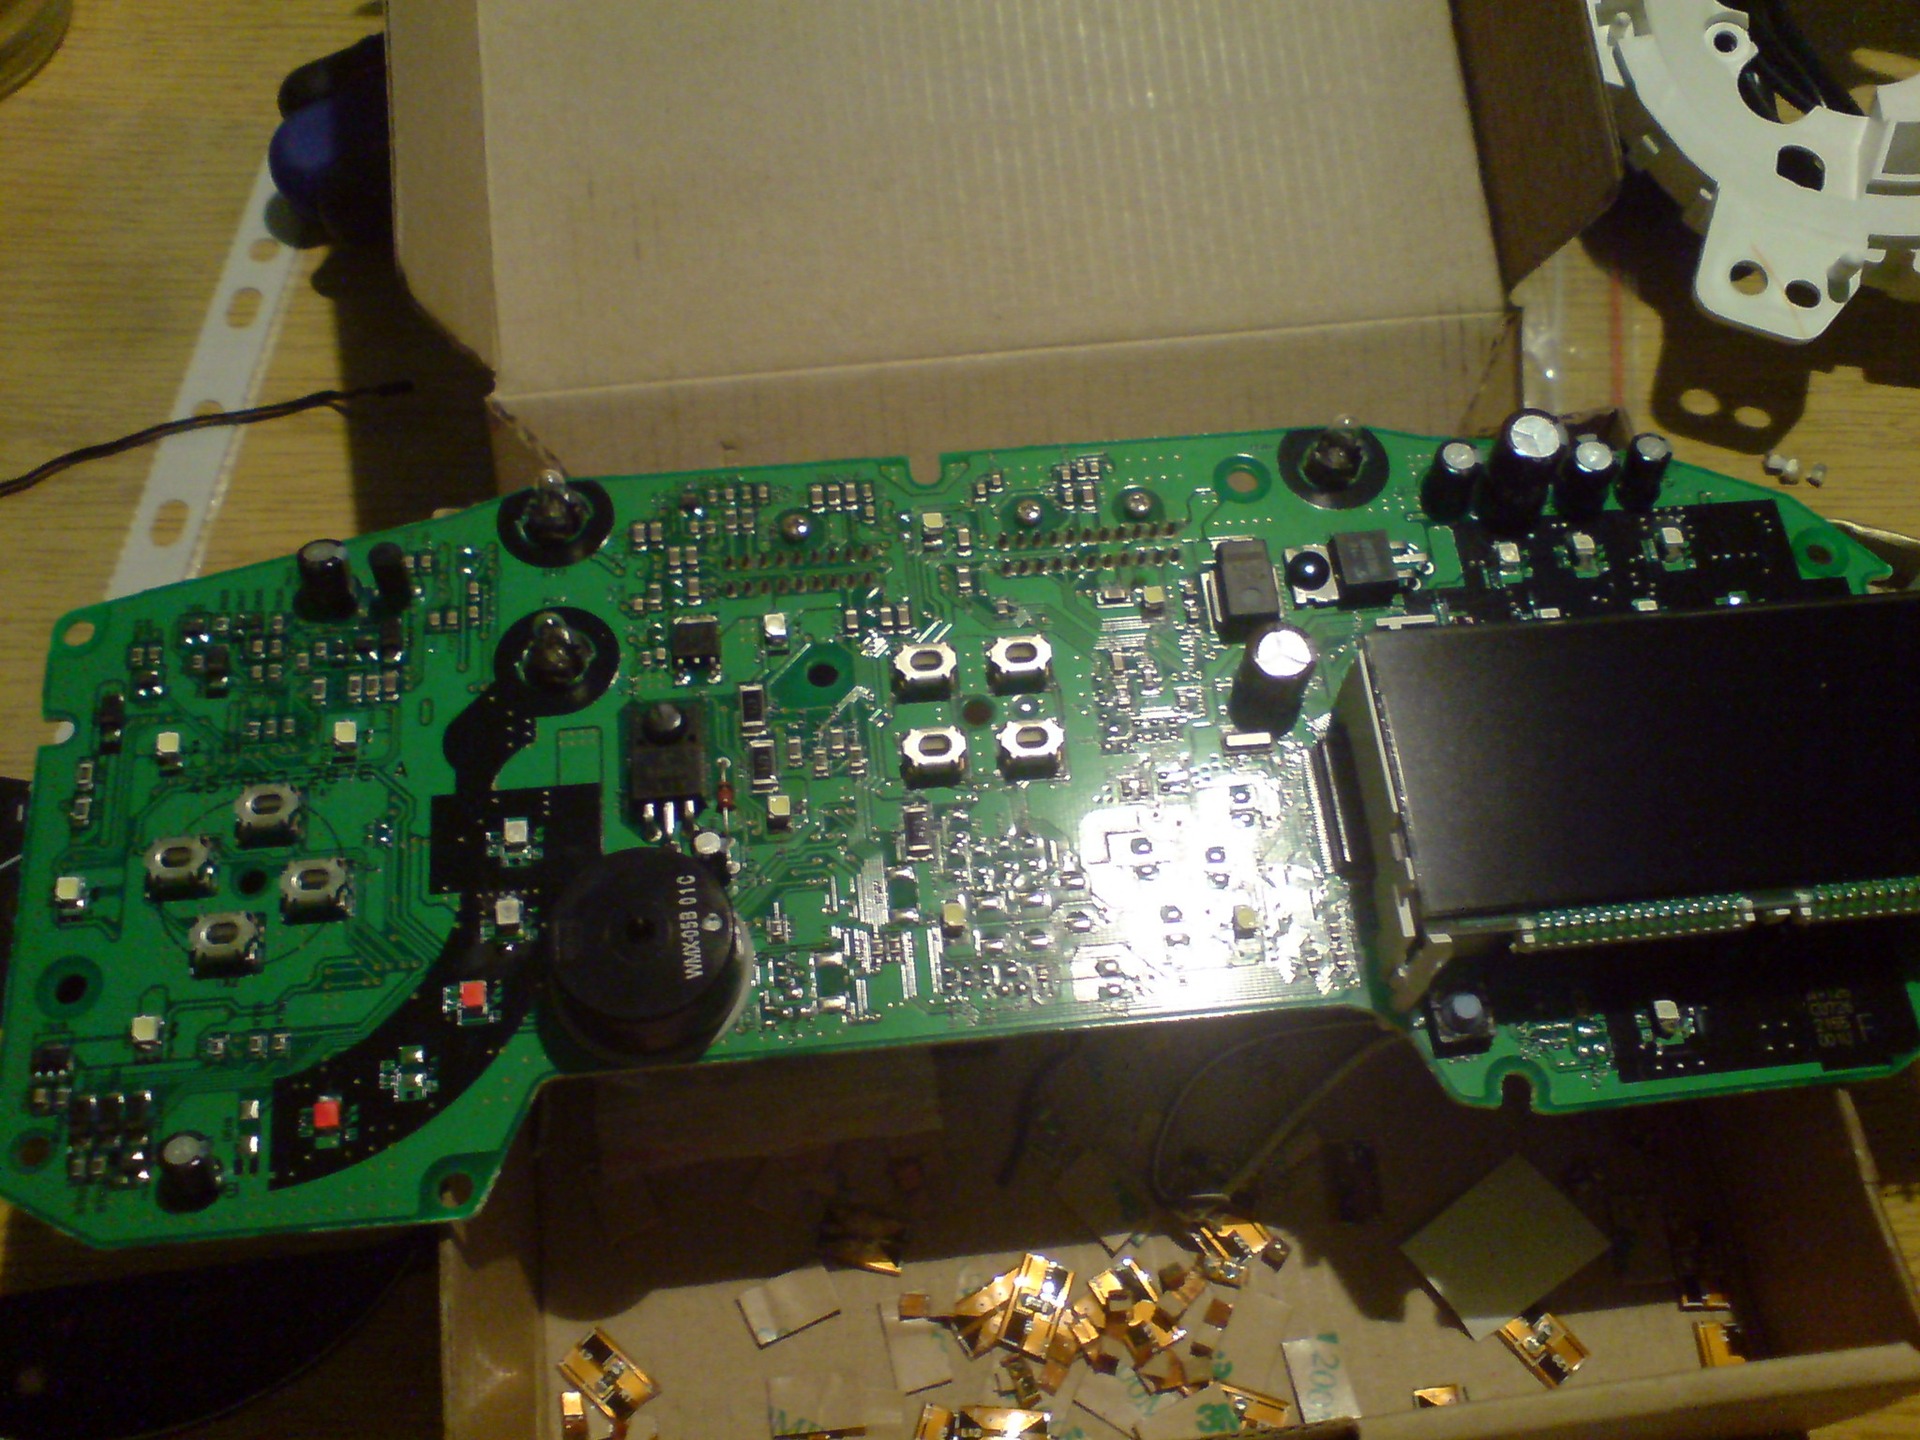
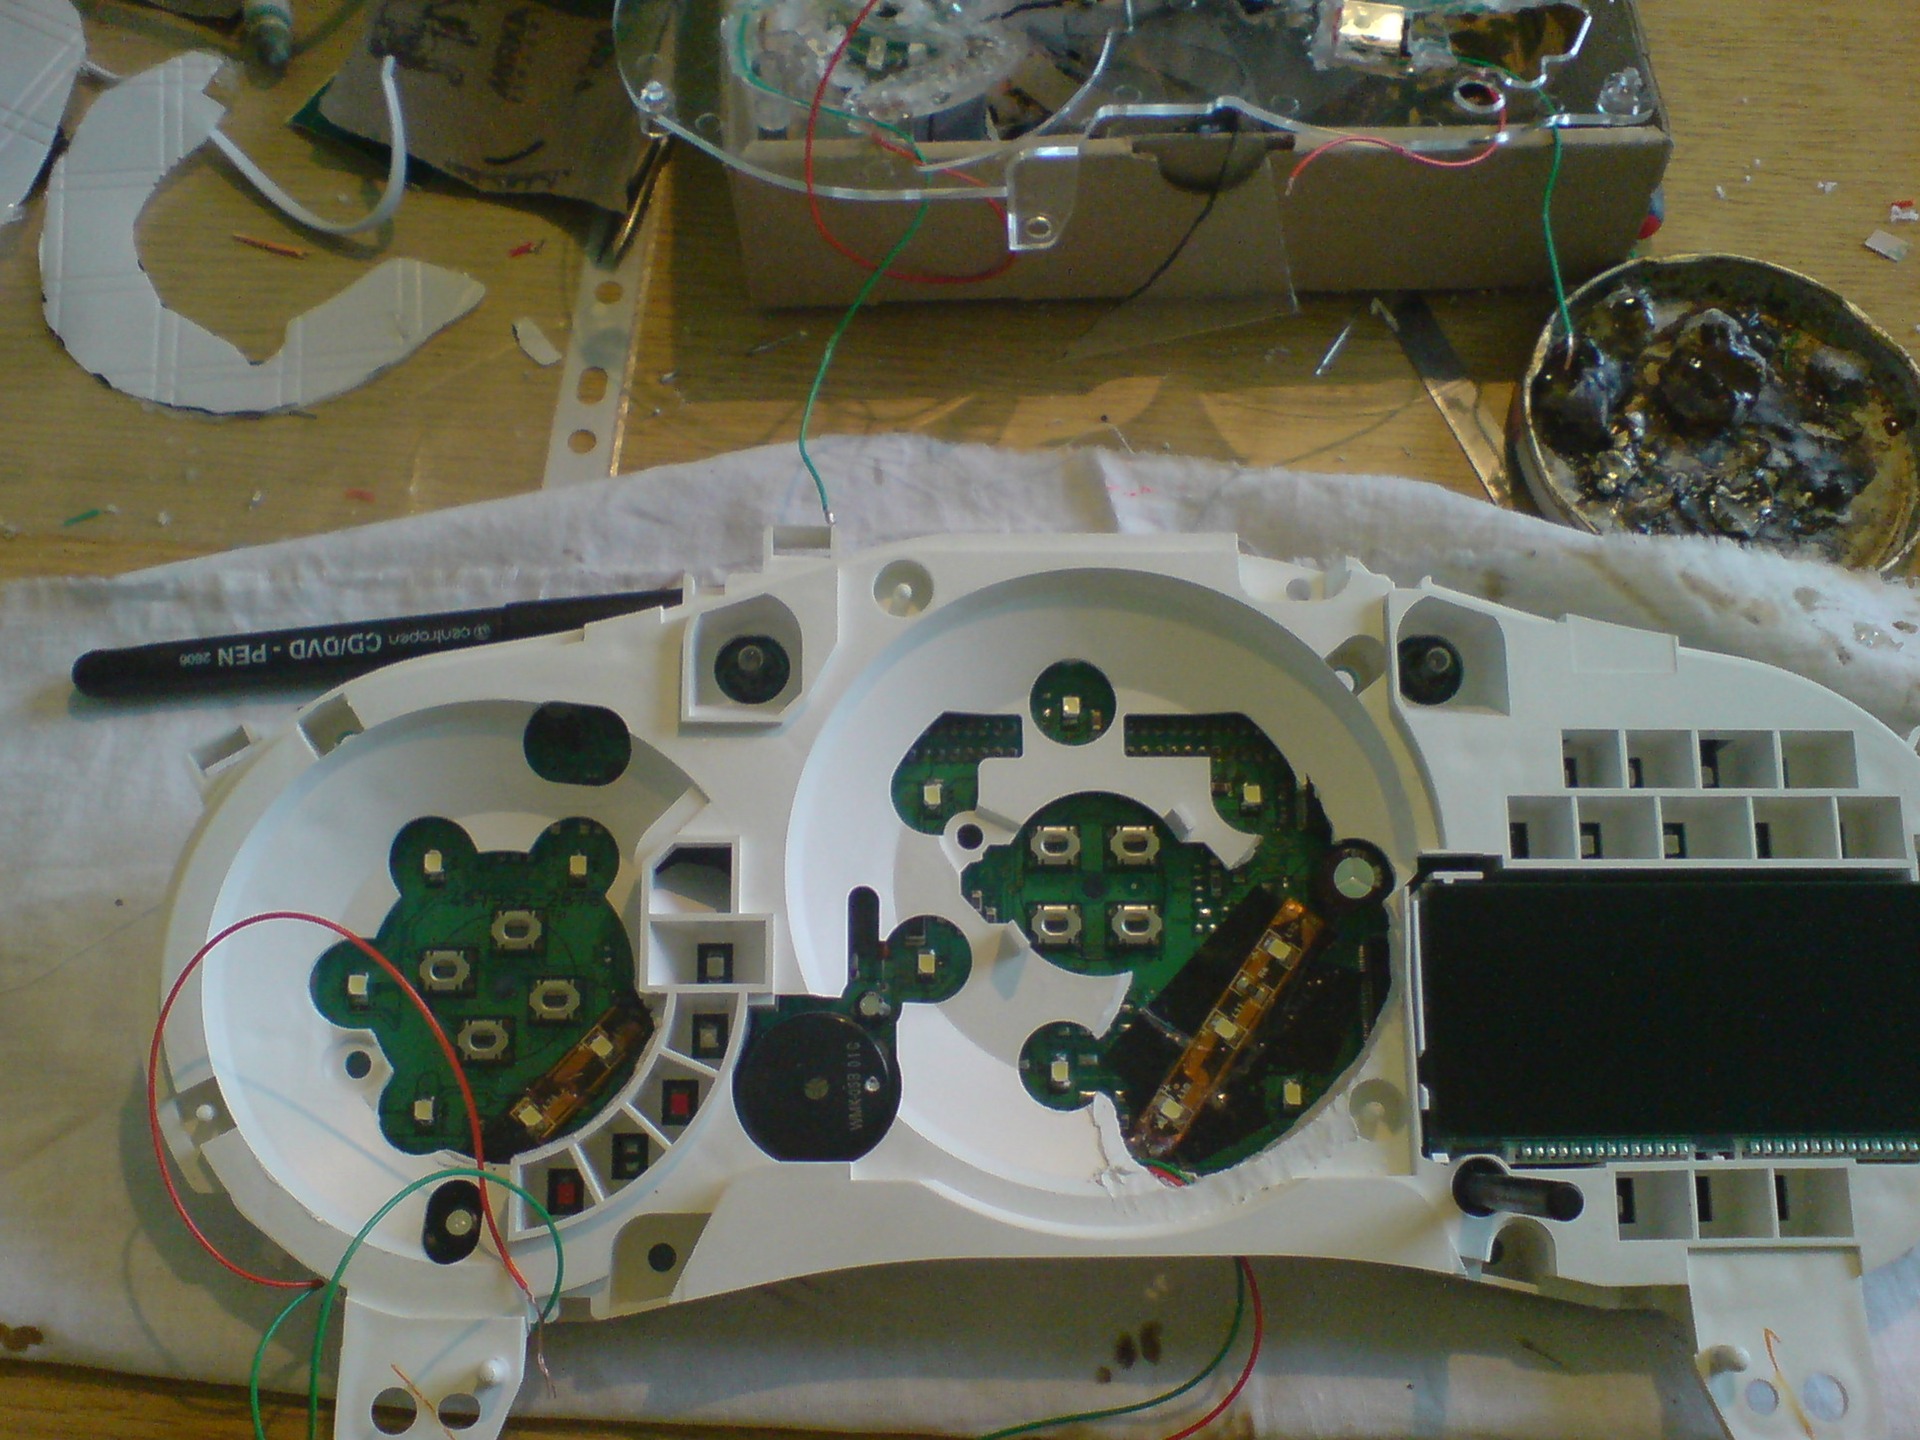
He took out a microcircuit and began to solder the old LEDs, and along the way, soldering the white ones.
I used SMD LEDs, very reliable and bright)
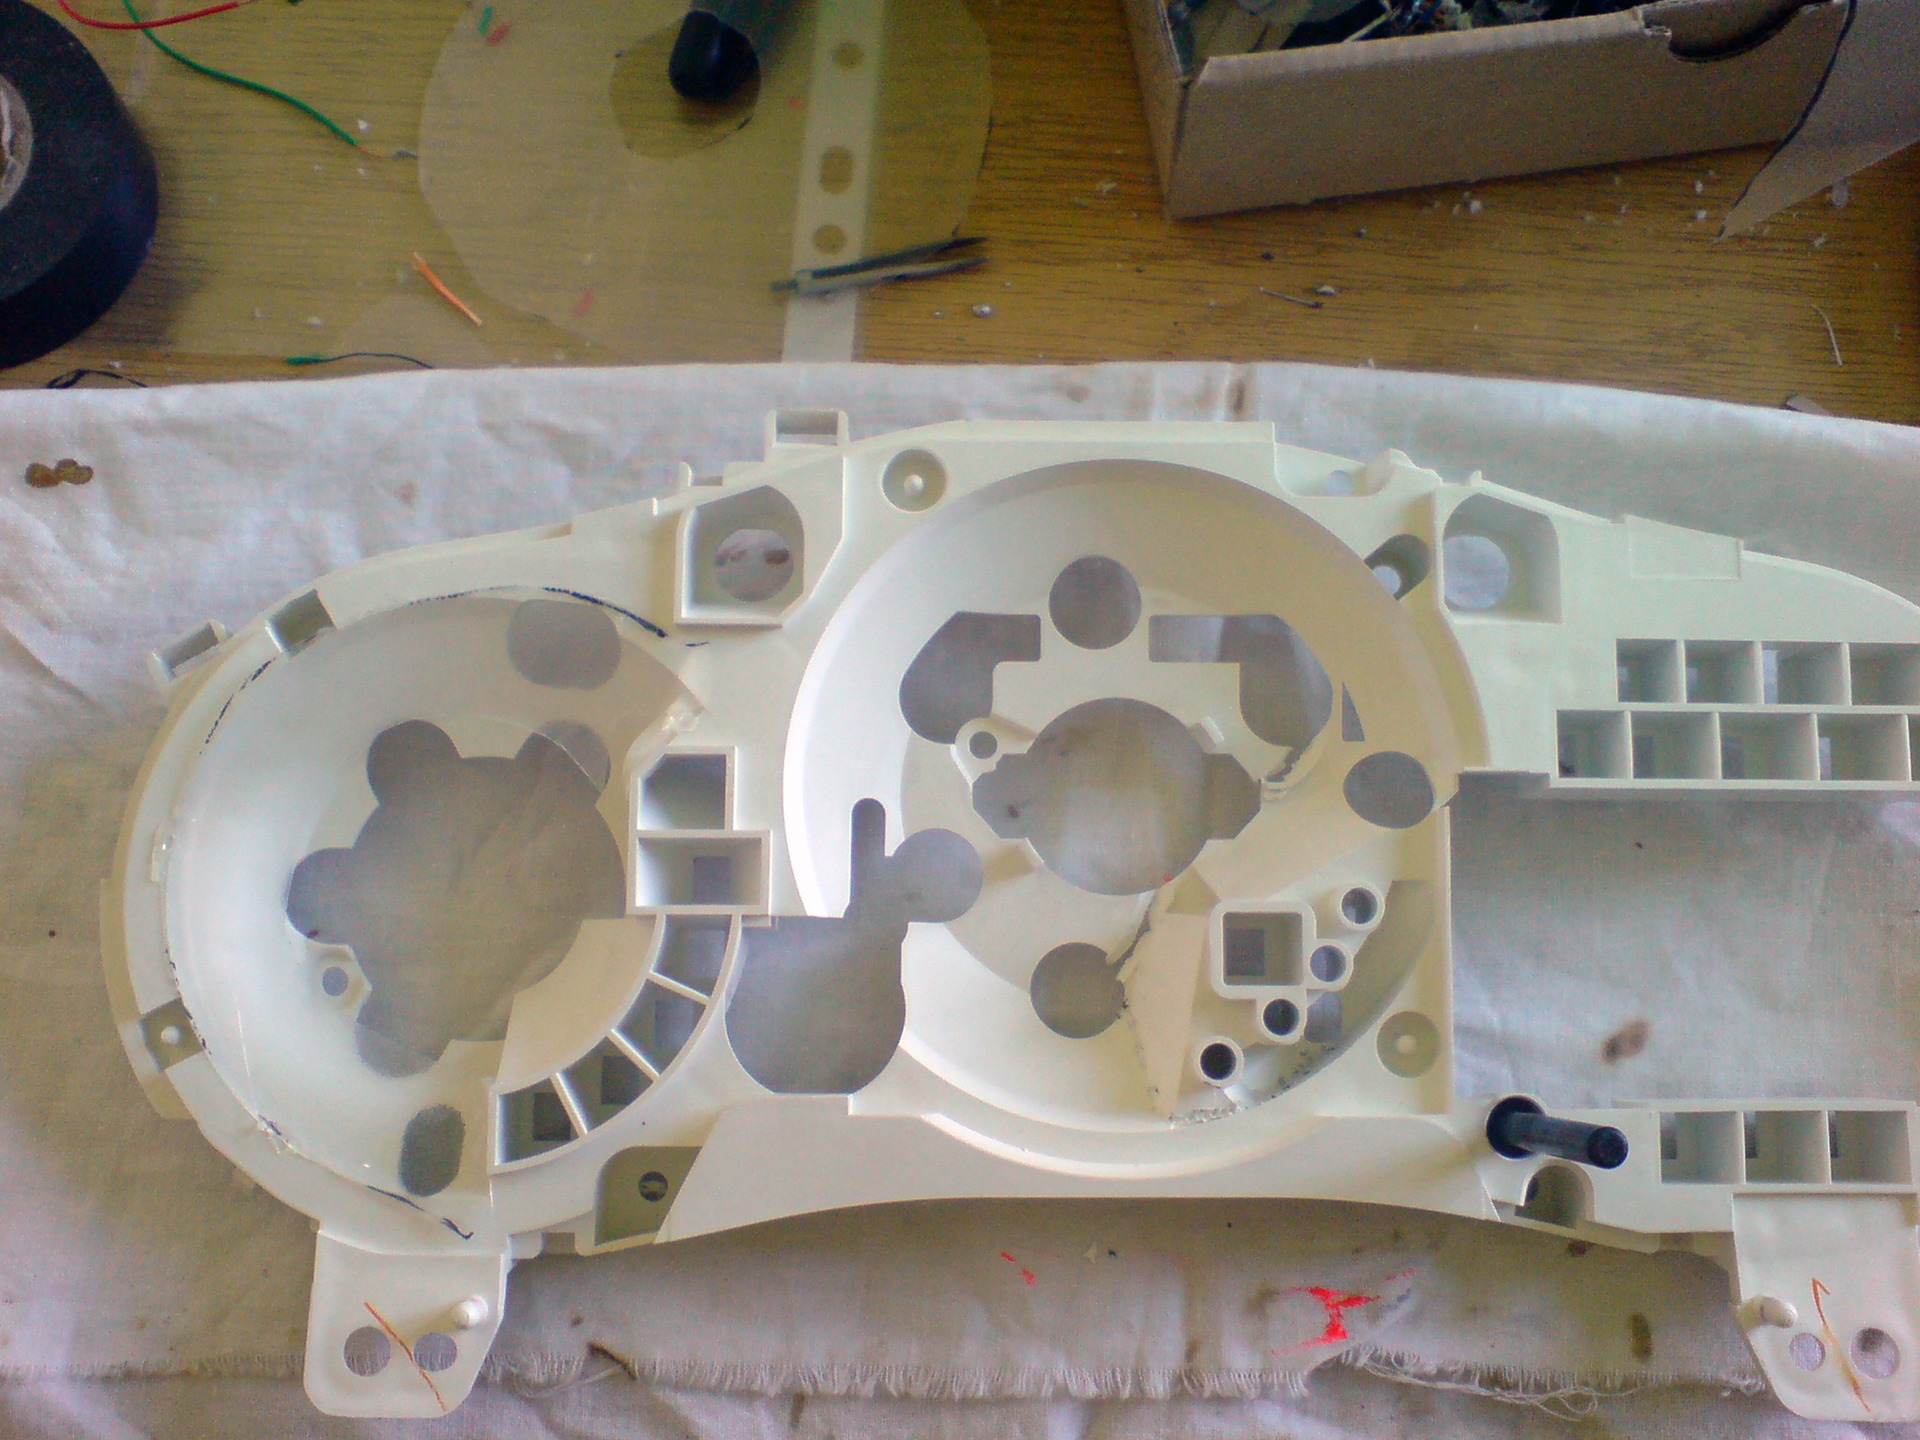
In order for the light to scatter evenly, I came up with a diffuser, it became an ordinary plate of disposable tableware)
In some places, in order for the light to be uniform, I soldered additional LEDs.
It took about 35-40 white LEDs + 6 red ones to illuminate the arrows on the tidy.
Speaking of arrows!
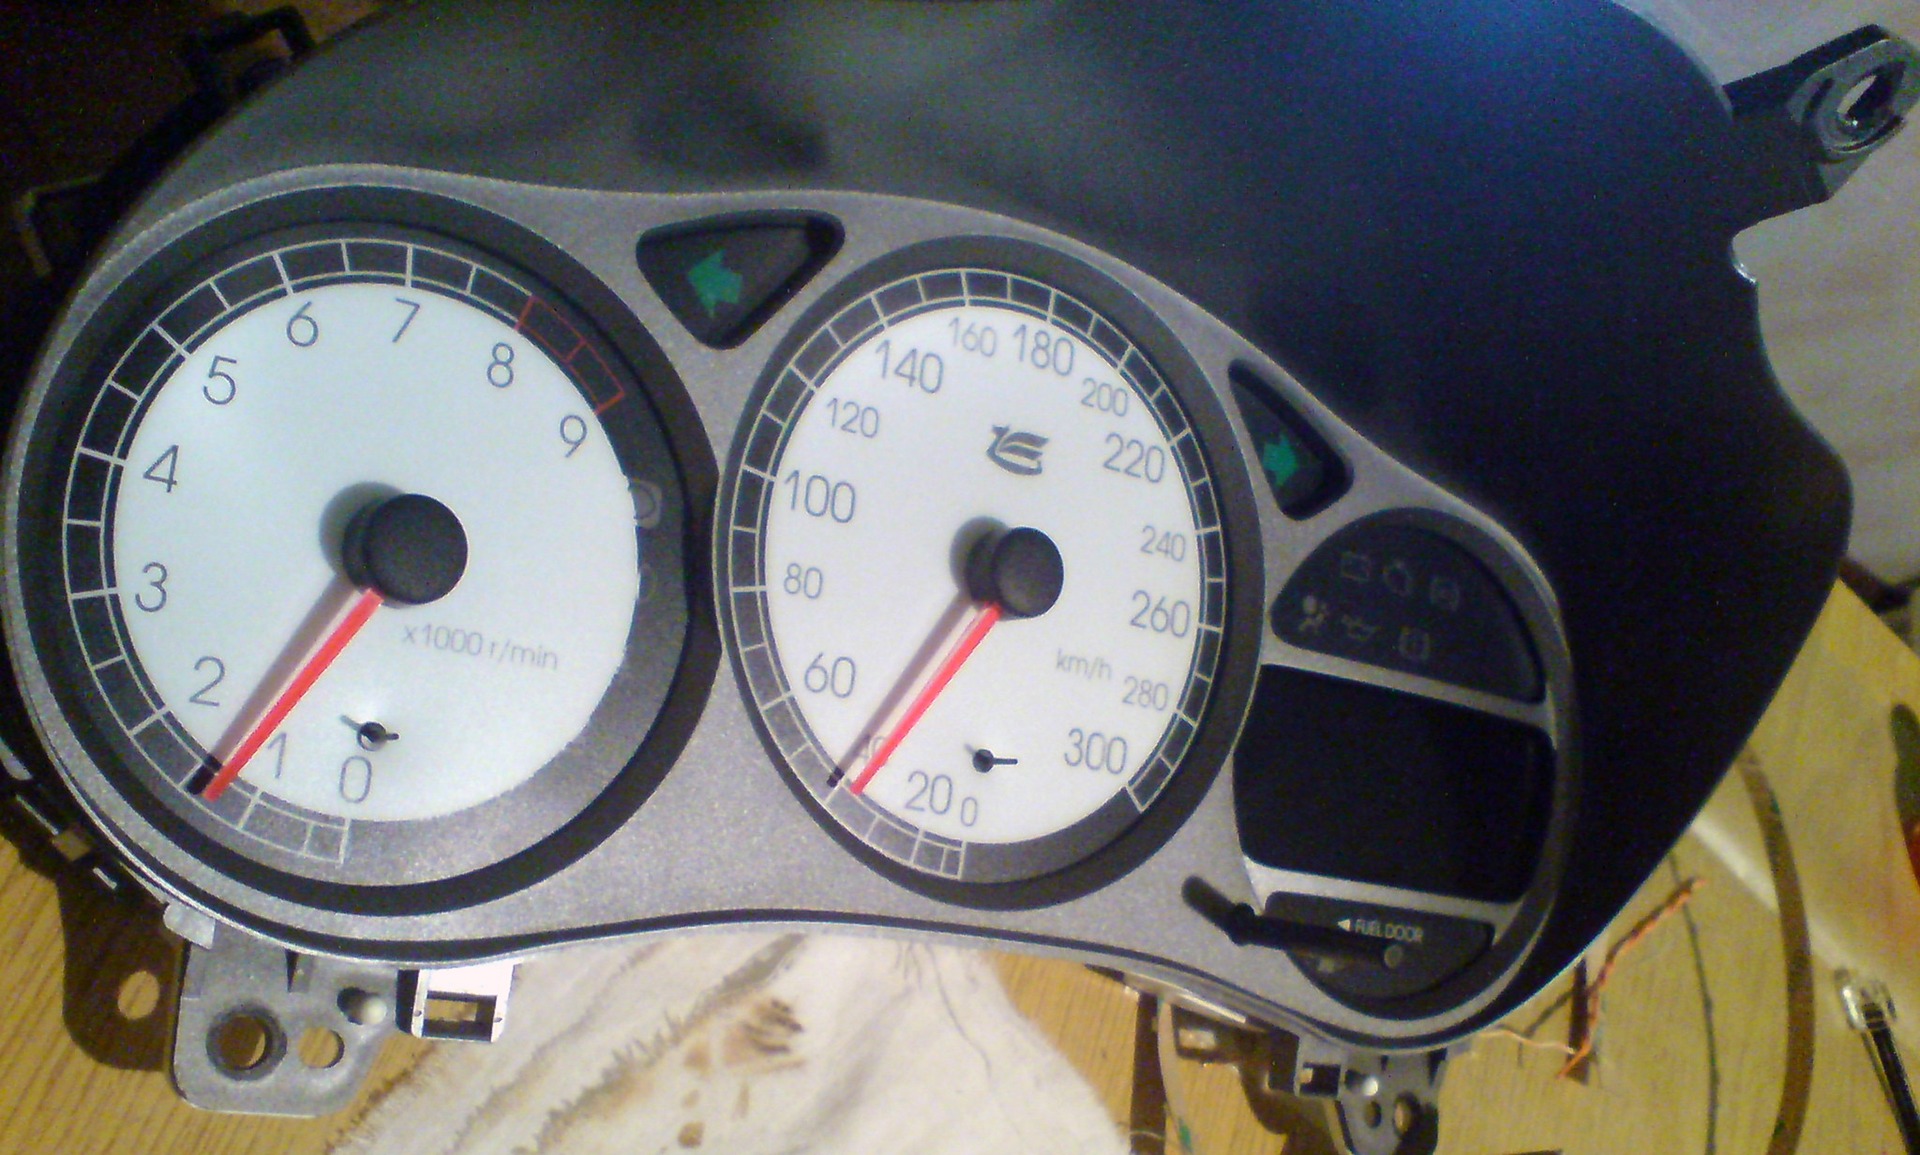
Initially, they are also orange, but the paint is peeled off very easily with a utility knife and subsequent grinding with fine sandpaper.
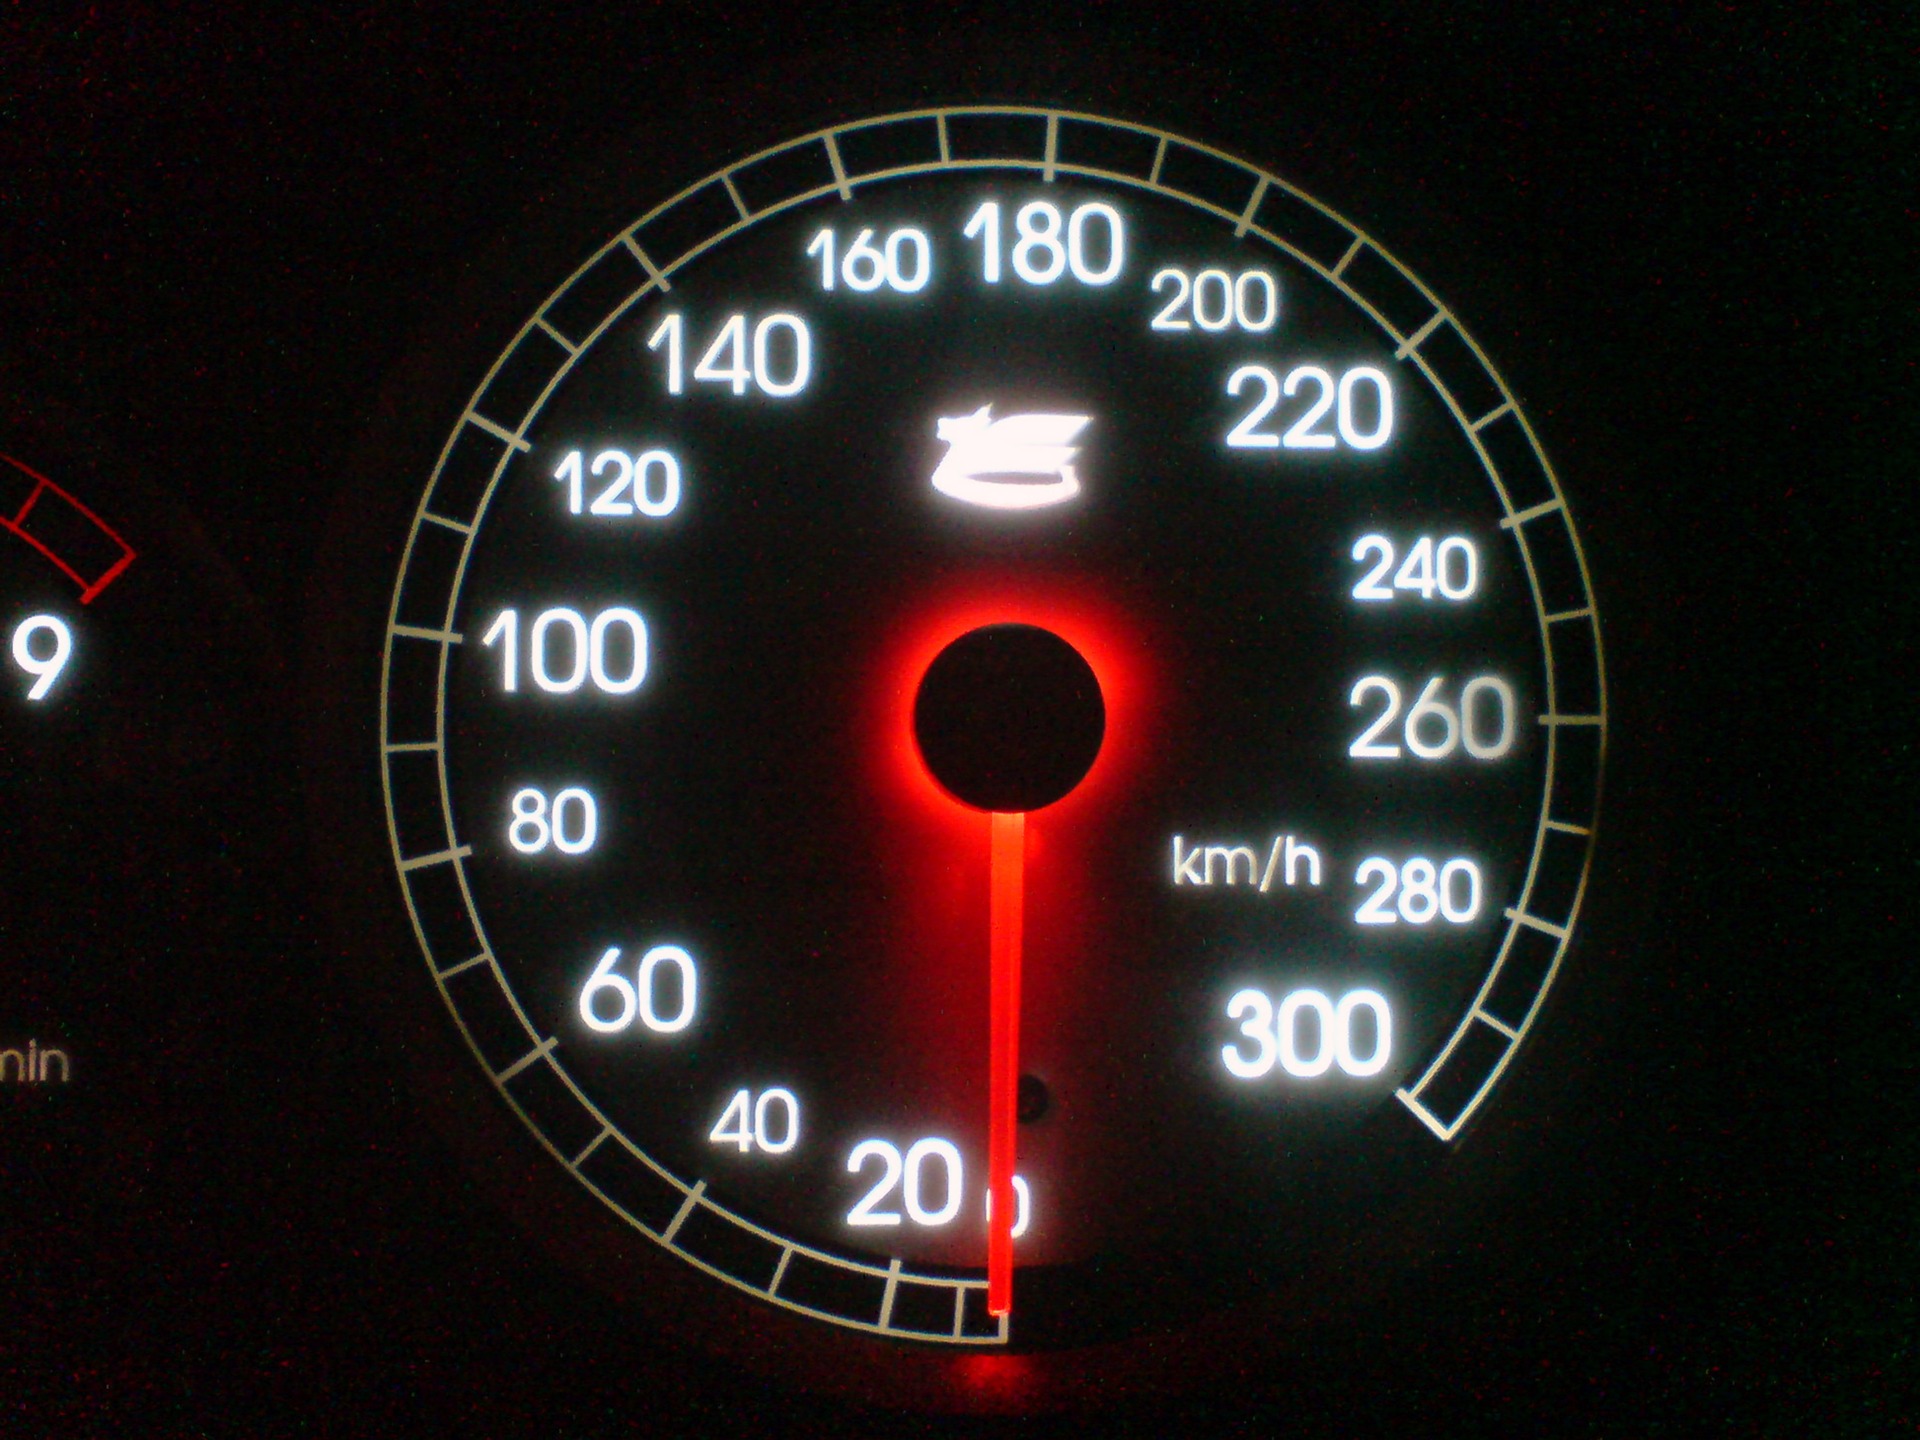
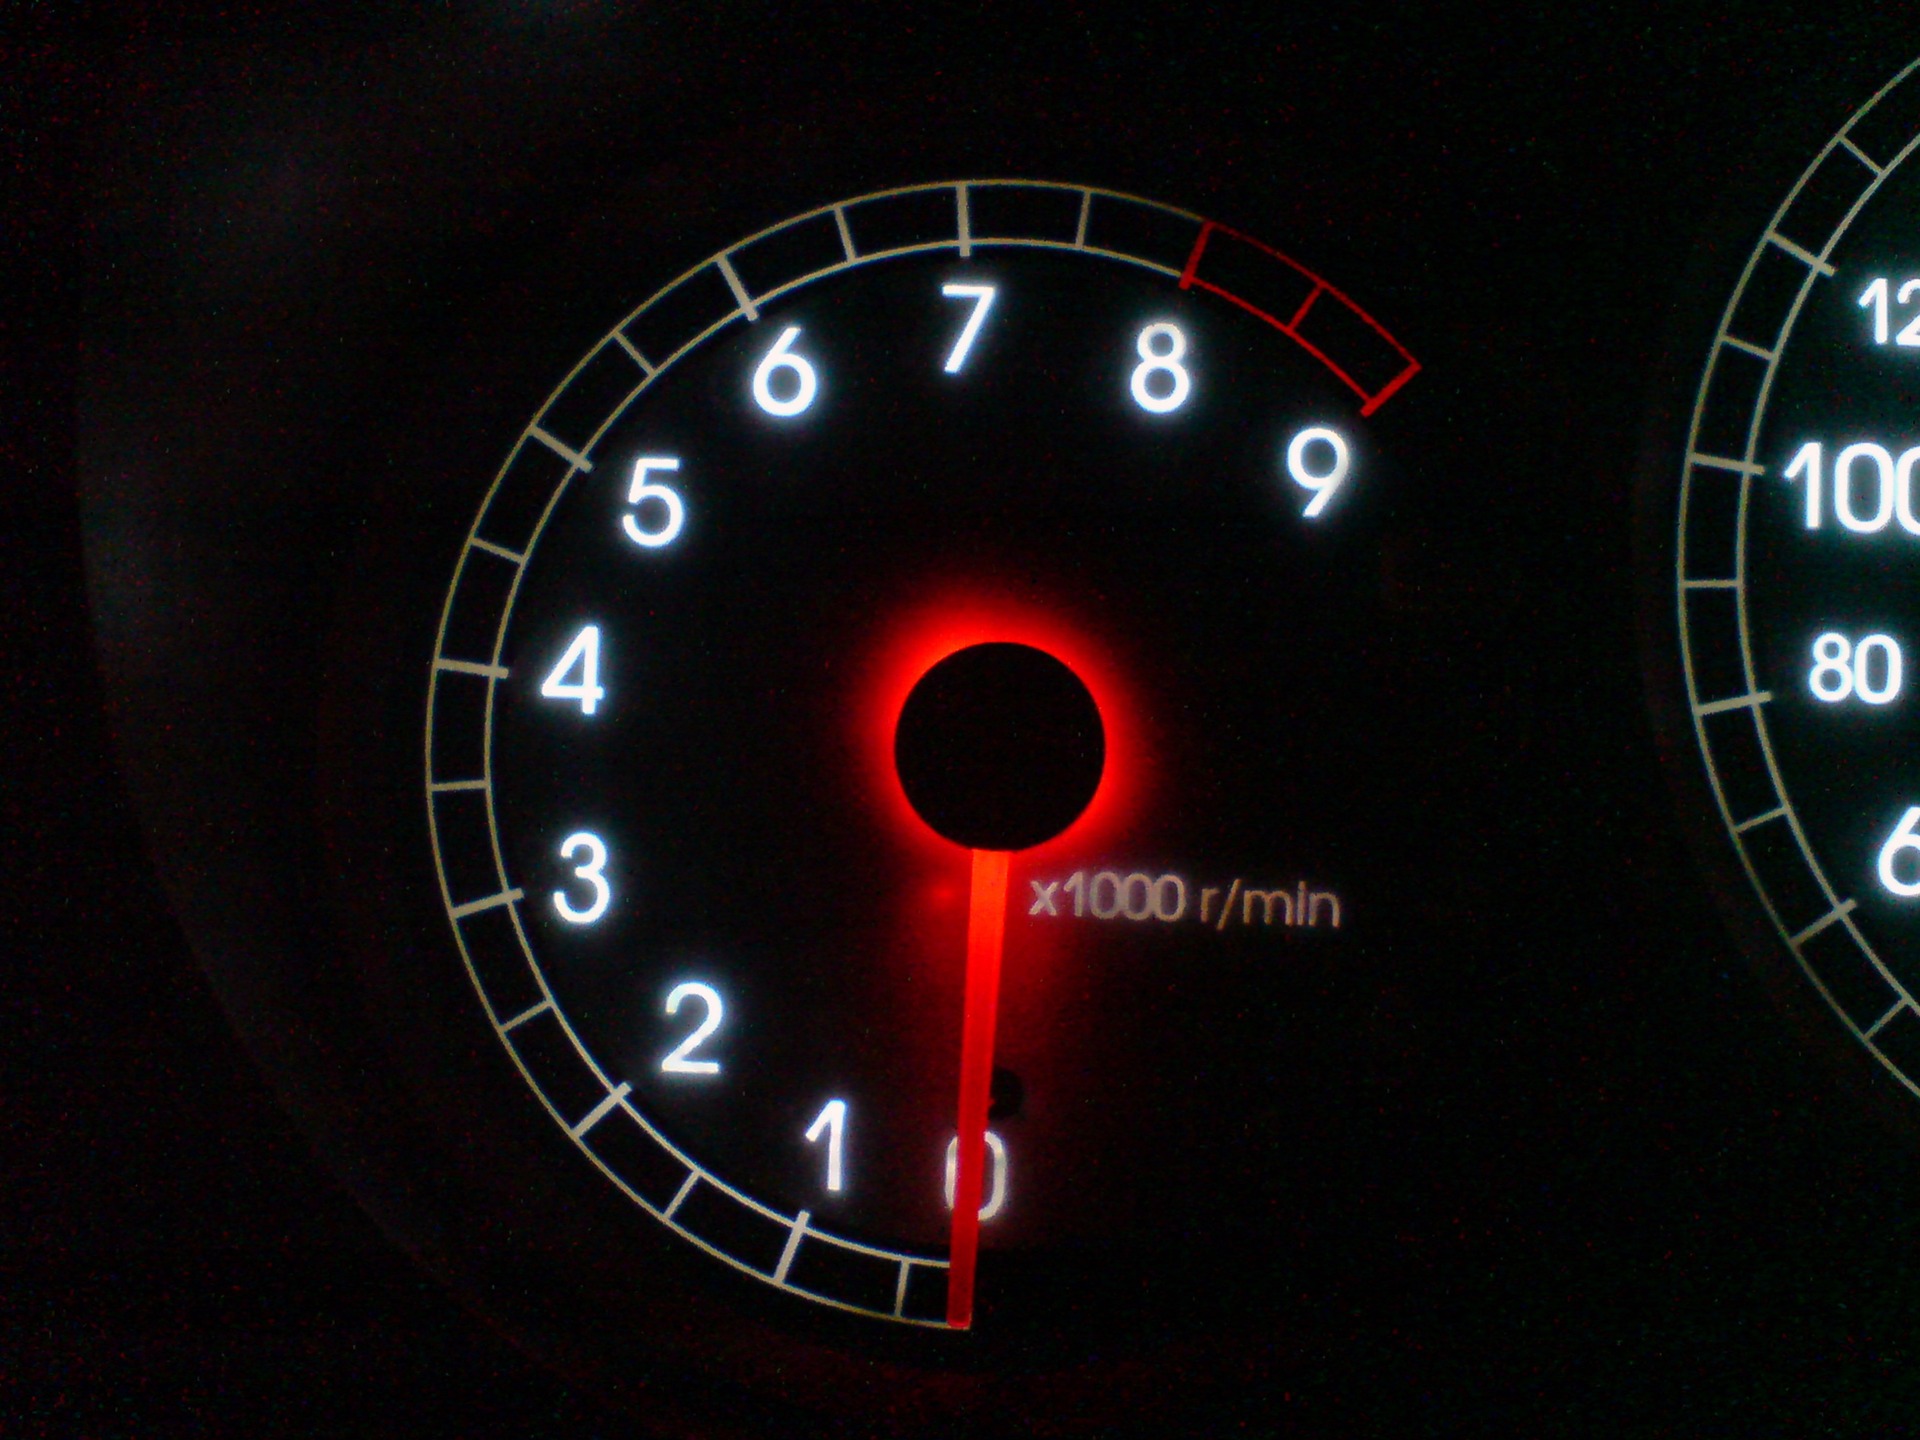
As I did this procedure, I immediately painted over them with bright red fluorescent paint.
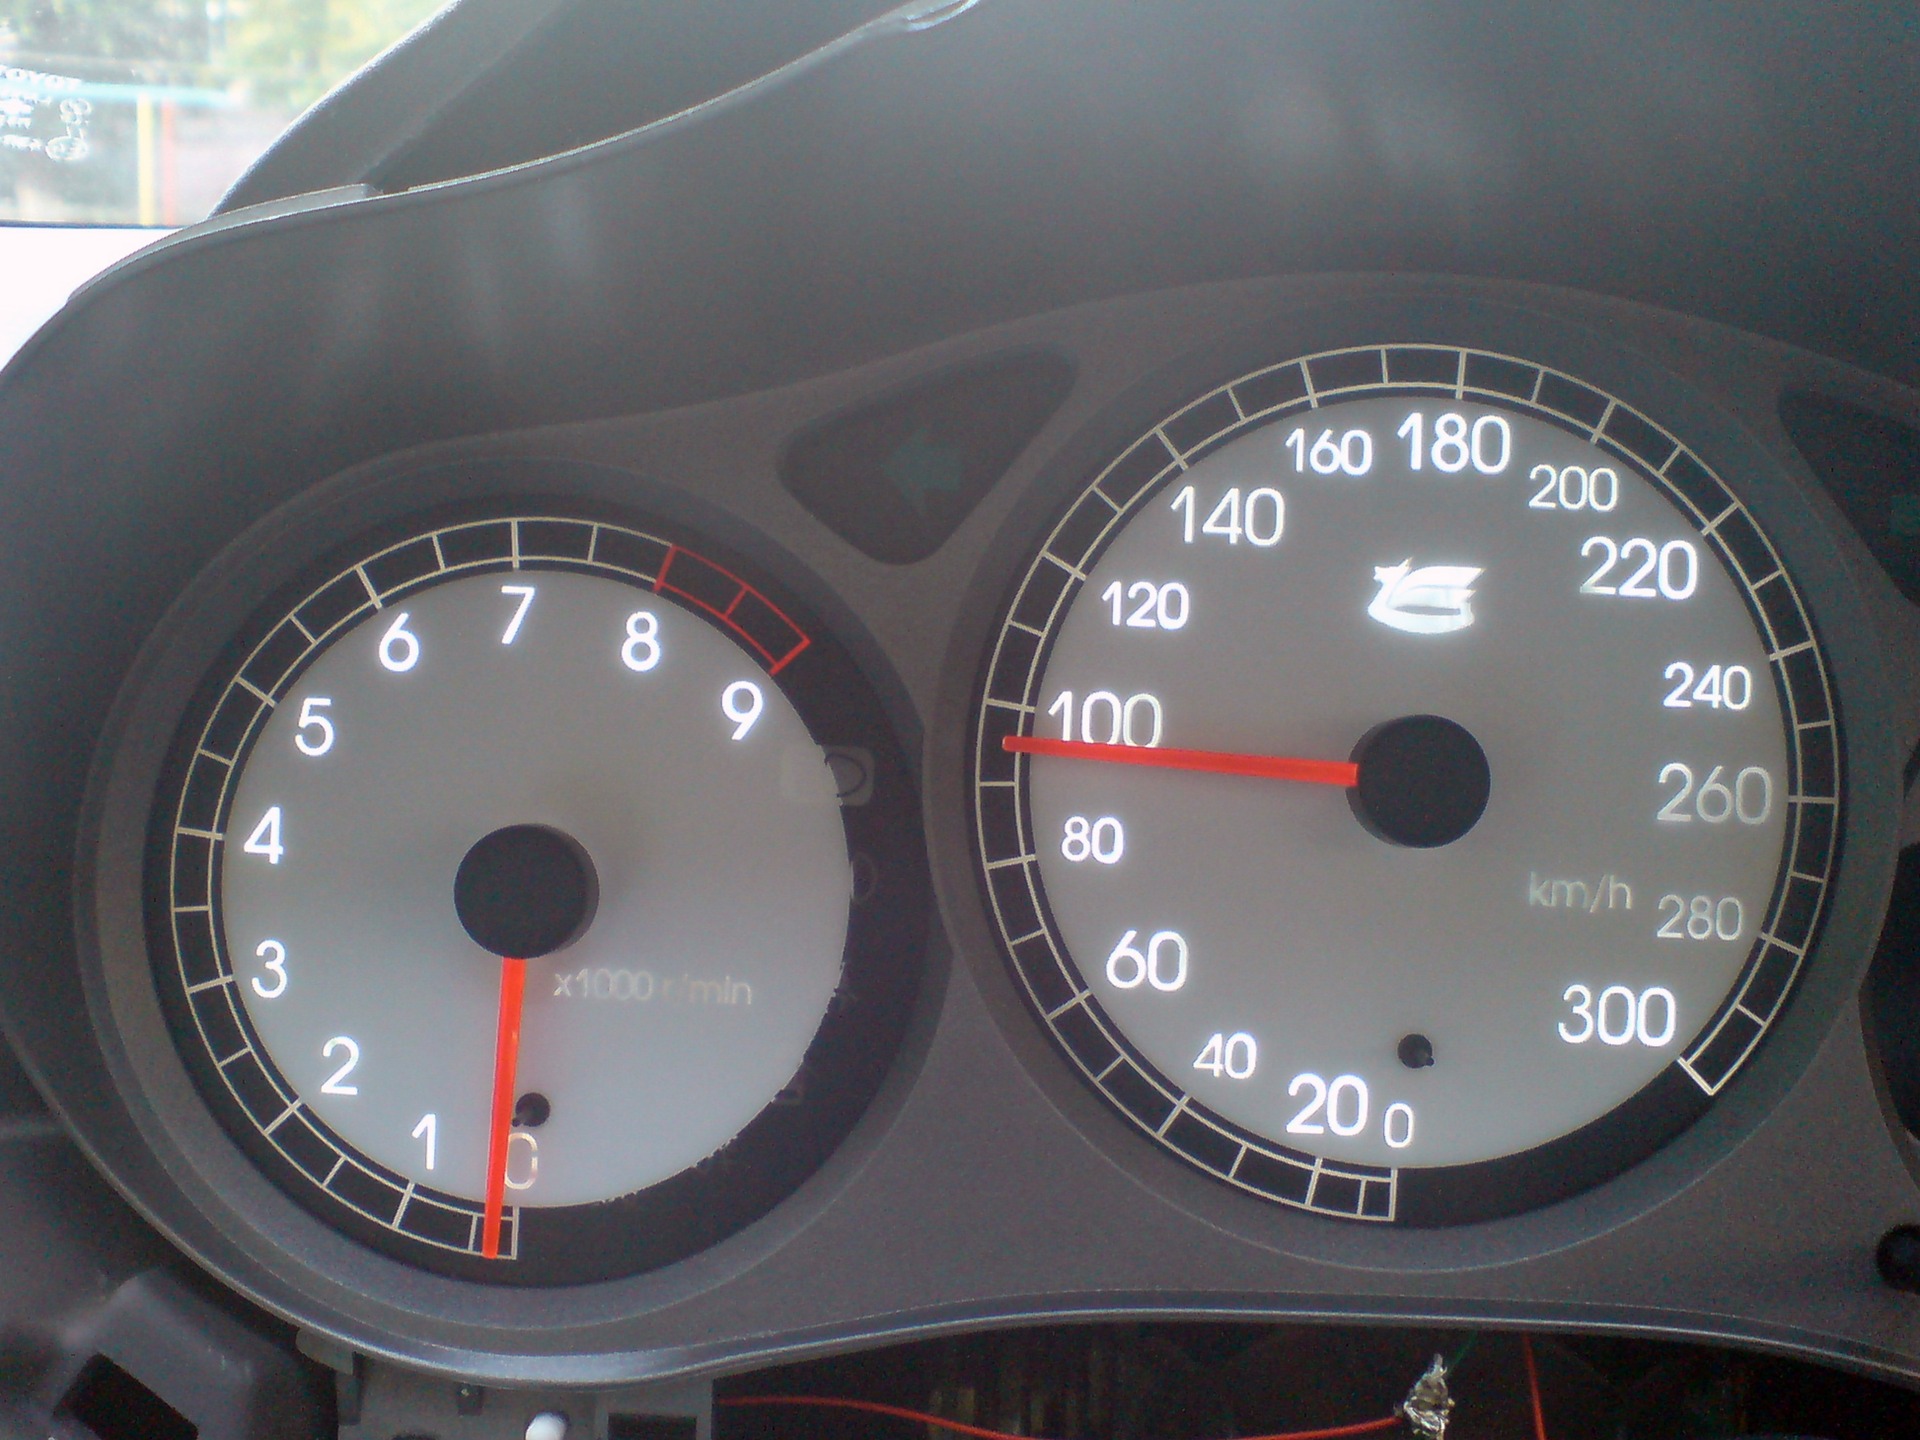
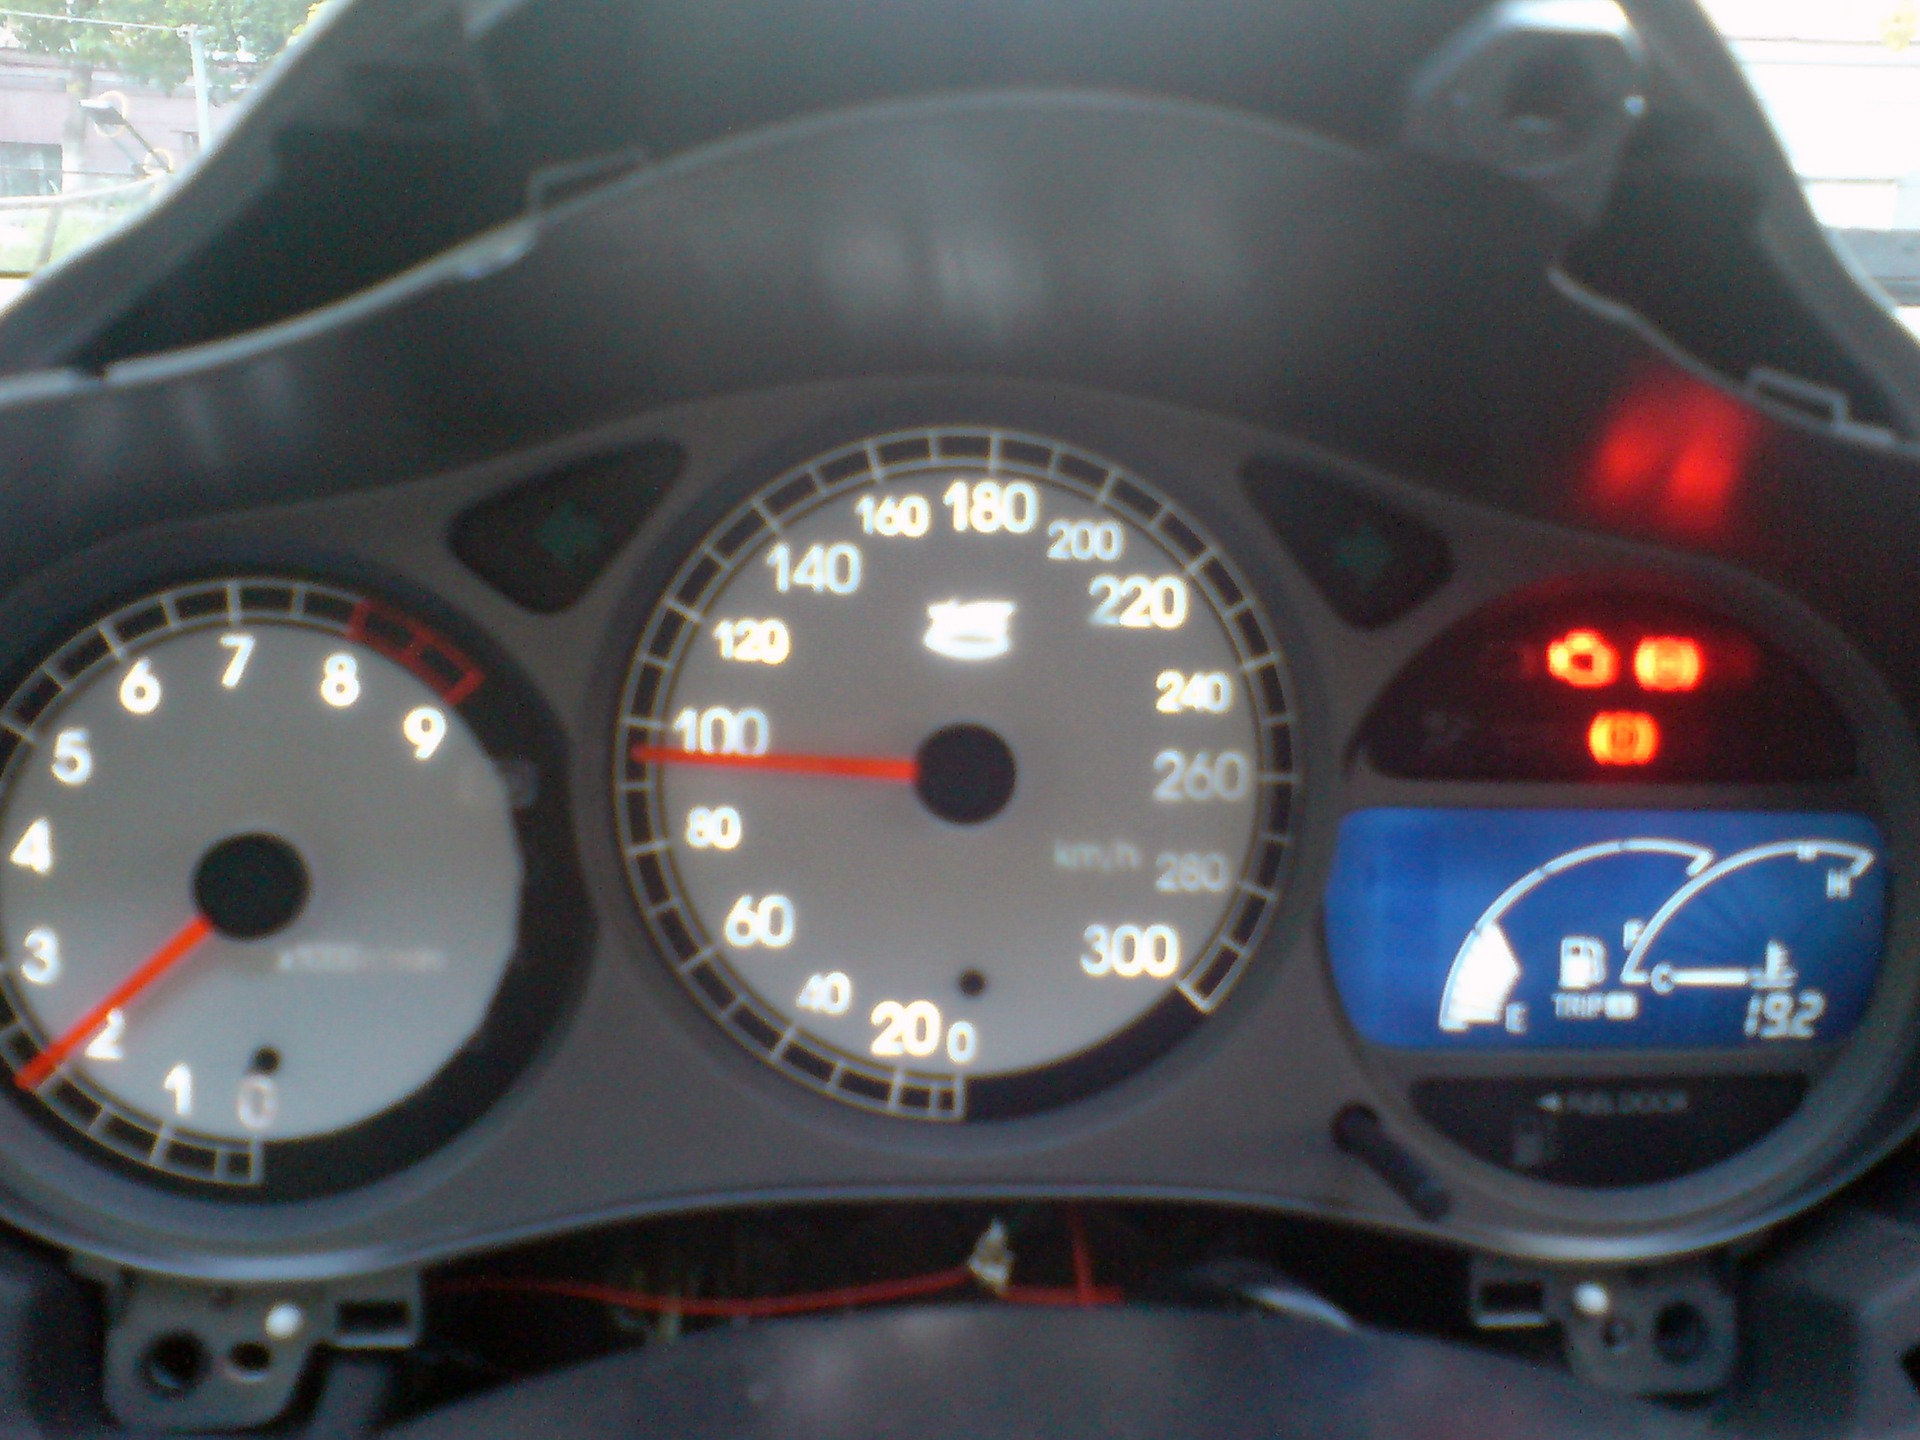
In general, it turned out not bad, it remains only to set the hands and change the color of the clock by inserting a light filter there.
The pictures show that in the region of 260 km / h and zero on the tachometer there is not enough light, this is where additional LEDs and a diffuser from the plate helped)
Later I will post the rest of the pictures, so monitor it)
Uptd:
So let's calibrate the arrows today))
remove the clear cover and silver bezel
remove the needle using spoon
Since needle is out, you can remove the orange paint with acetone? nail-polish
remover.break cleaner etc.
Paint it wih what ever color as you like i recommand white color? but dont use marker
(since it will reduce the brightness) paint only the side stock way.
Remove the gauge face (there is adhesive behind it, so remove carefully)
Remove the needle stopper by squeezing the needle stopper from the back side using needle nose plier.
Pleace a new gauge face(recommand putting double-side tape same way like stock)
Push the needle stopper back on using needle nose plier carefully, untill it snaps in.
Put everthing back together except clear cover
Put the gauge cluster back on the car with harness plugged-in
Turn the key to on position without starting the engine.
Refering to picture below, to place the needle back on
(For km/h marking is little different, but location of the needle is same)
tips on needle location
For left needle, it should be barely resting on the right side of the needle stoper .
For center needle, it should be about 7MPH tick to the right side of the zero mark.
Press the needle base to secure it in, but not too firm
Spin the needle couter clock wise back to zeno position
test drive
Adjust as need, but it should be accurate
Put clear cover back on and rest of the cover
 Issue price: 2,000 ₽ Mileage: 161,000 km
Excellent work, 5 points! I especially liked the Celica emblem on the speedometer.