After installation - logbook Toyota Corolla 1988
And so it finally happened.
The installation was not as easy as it seemed, while trying on the attachment points, I messed up a little and glued them below, so after installing the bumper, the headlights couldn’t fit in.
Many thanks to krasav4uk for their help in this not an easy task, somewhere at 2-00 after many attempts to lower the fasteners, it was decided to leave everything like that until the morning, and in the morning with renewed vigor and a grinder, we will try again.
In the morning, the grinder helped out a lot
quickly connecting only turns and dressed jumped to work.
Well, the pictures of the final result.
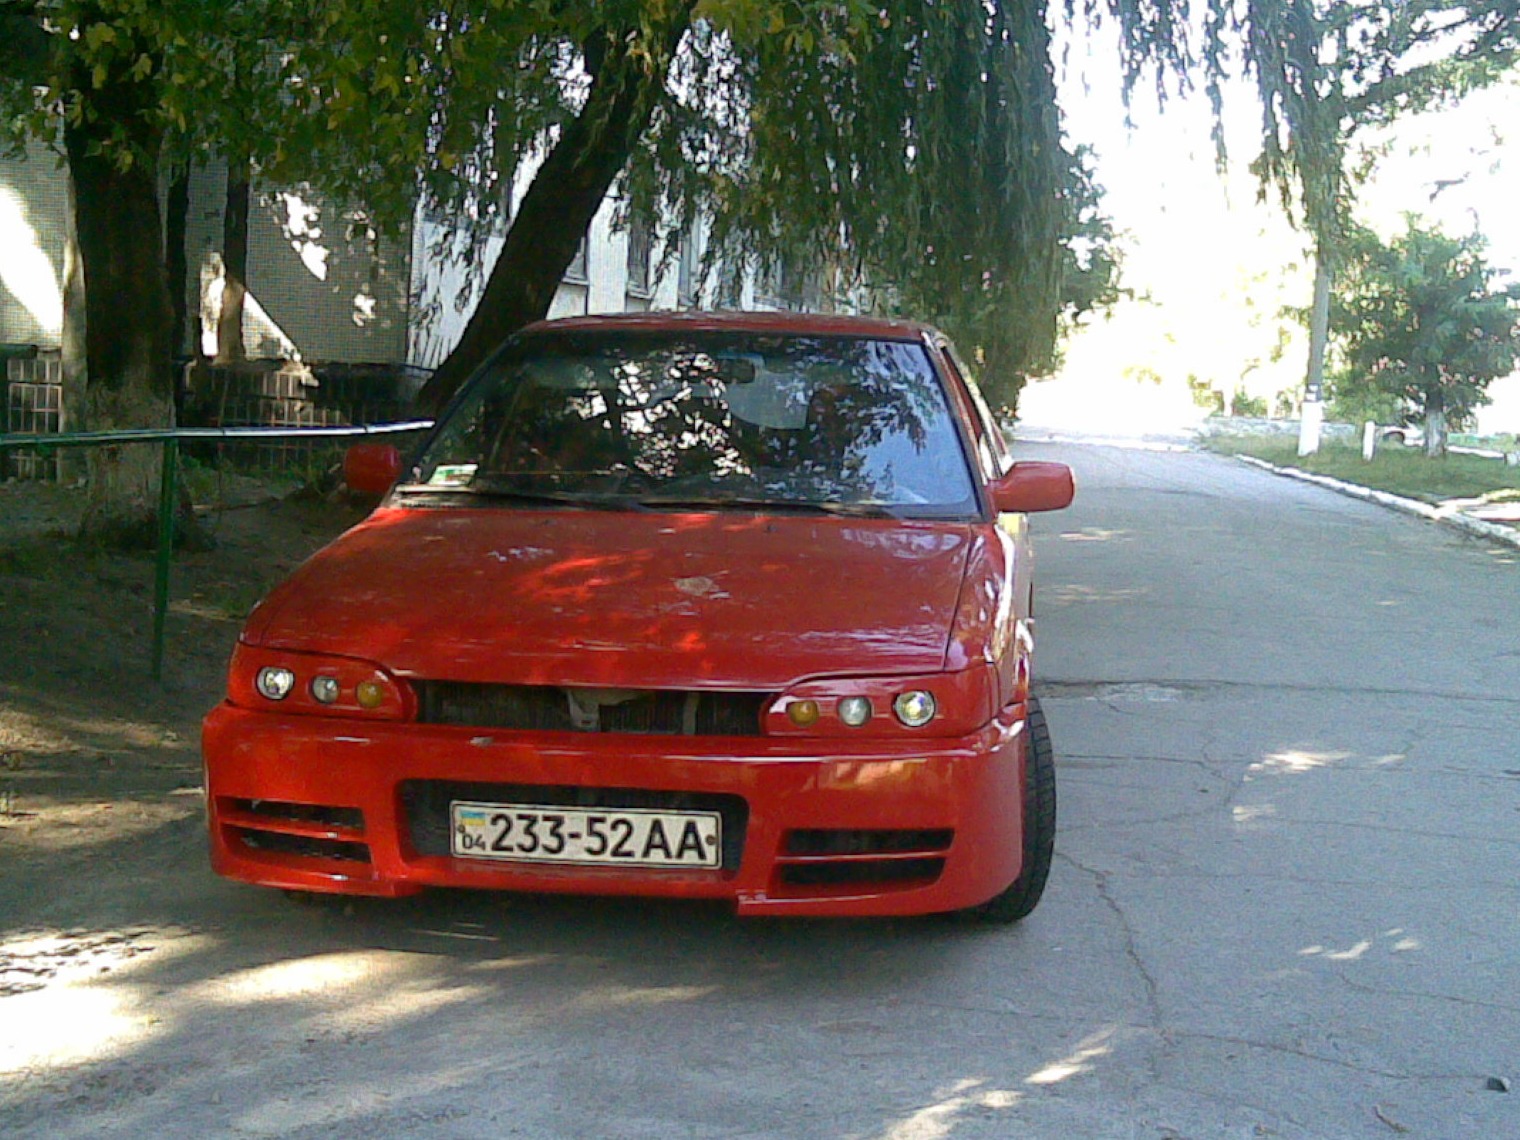
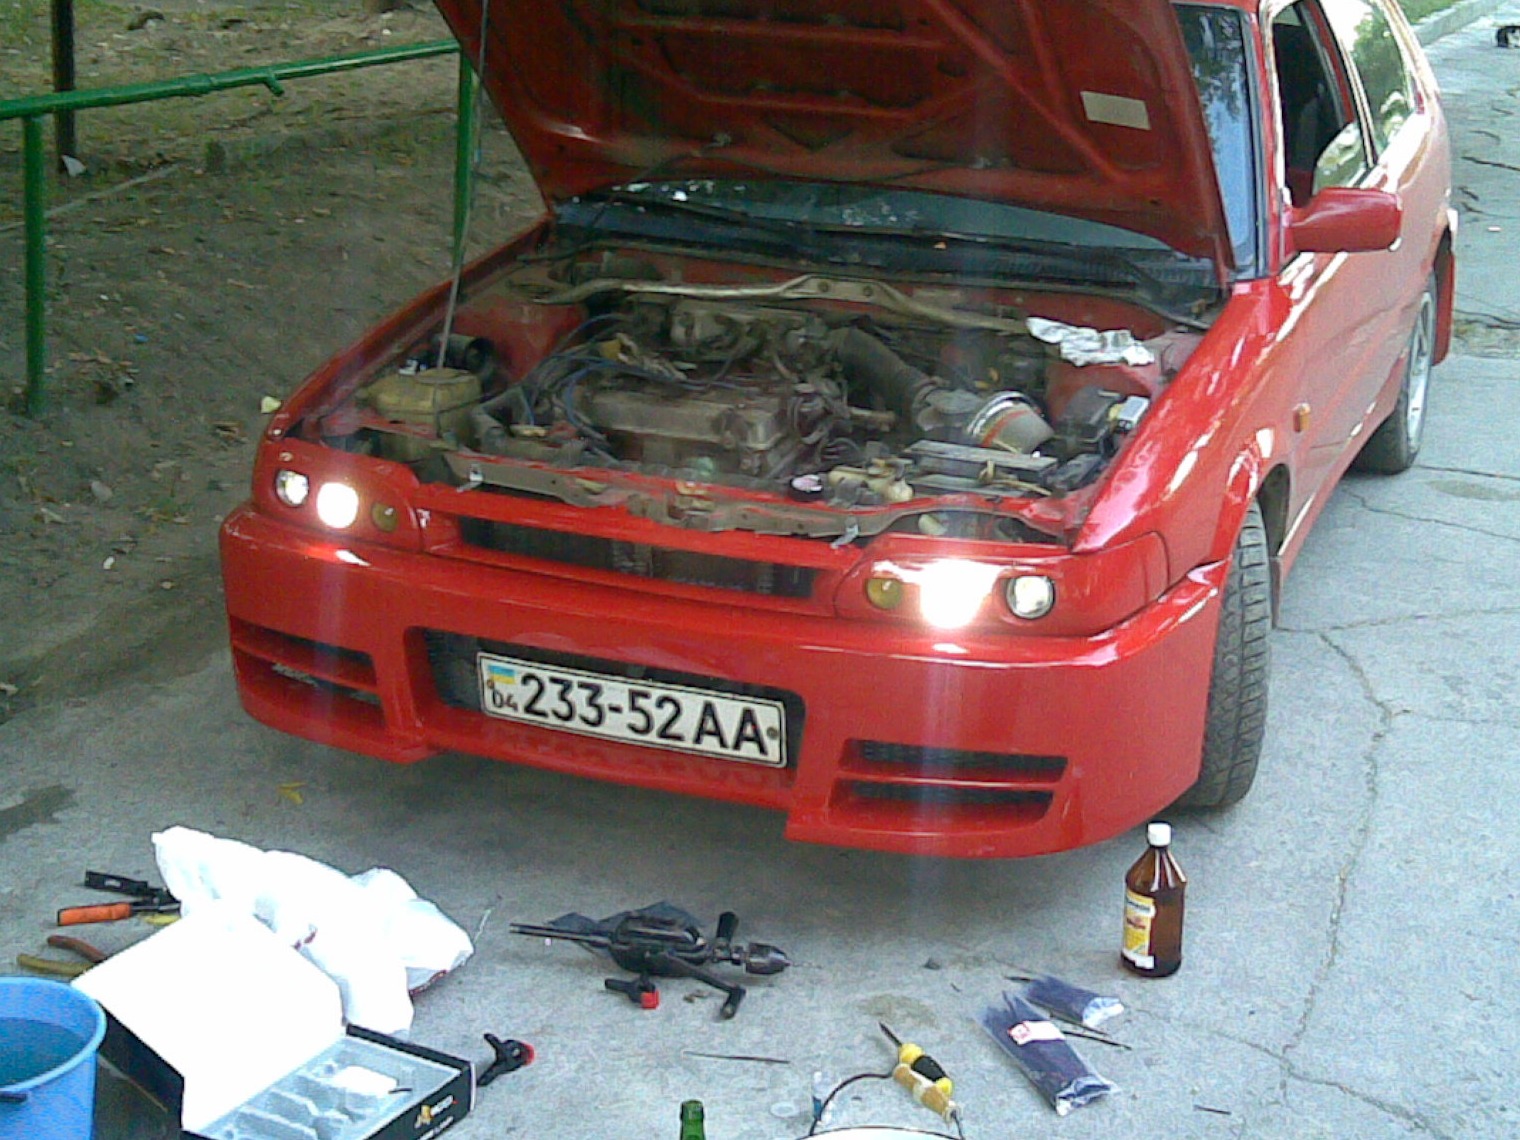
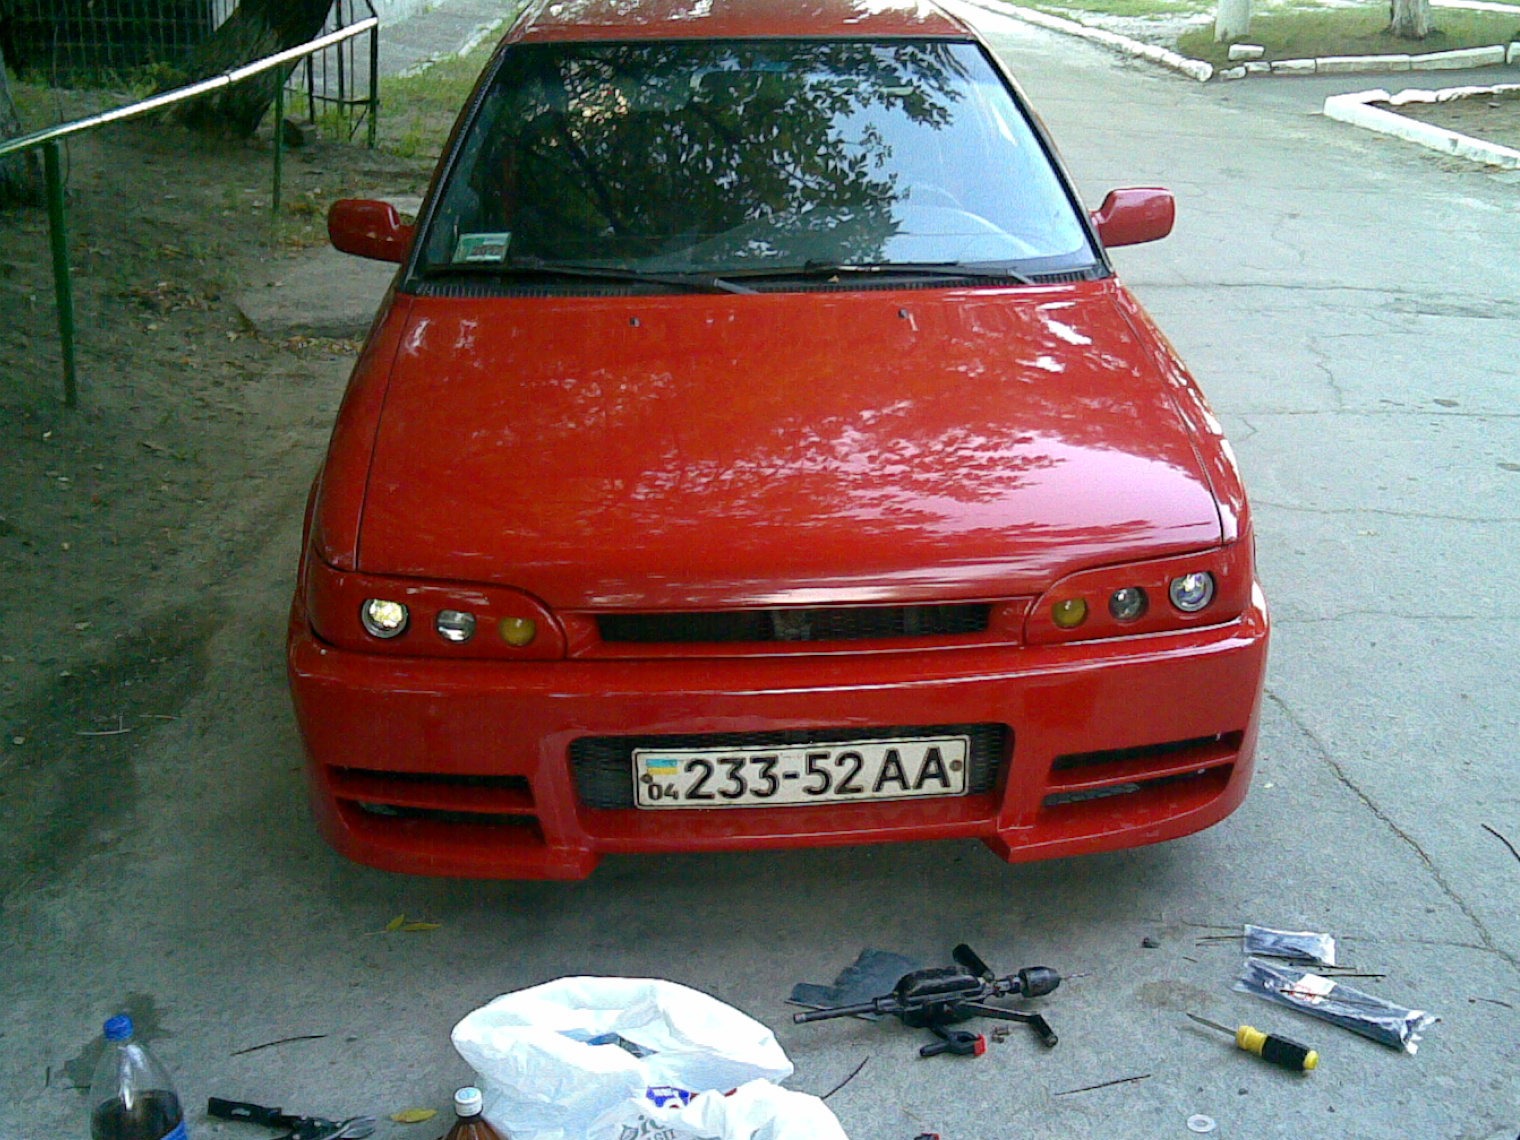
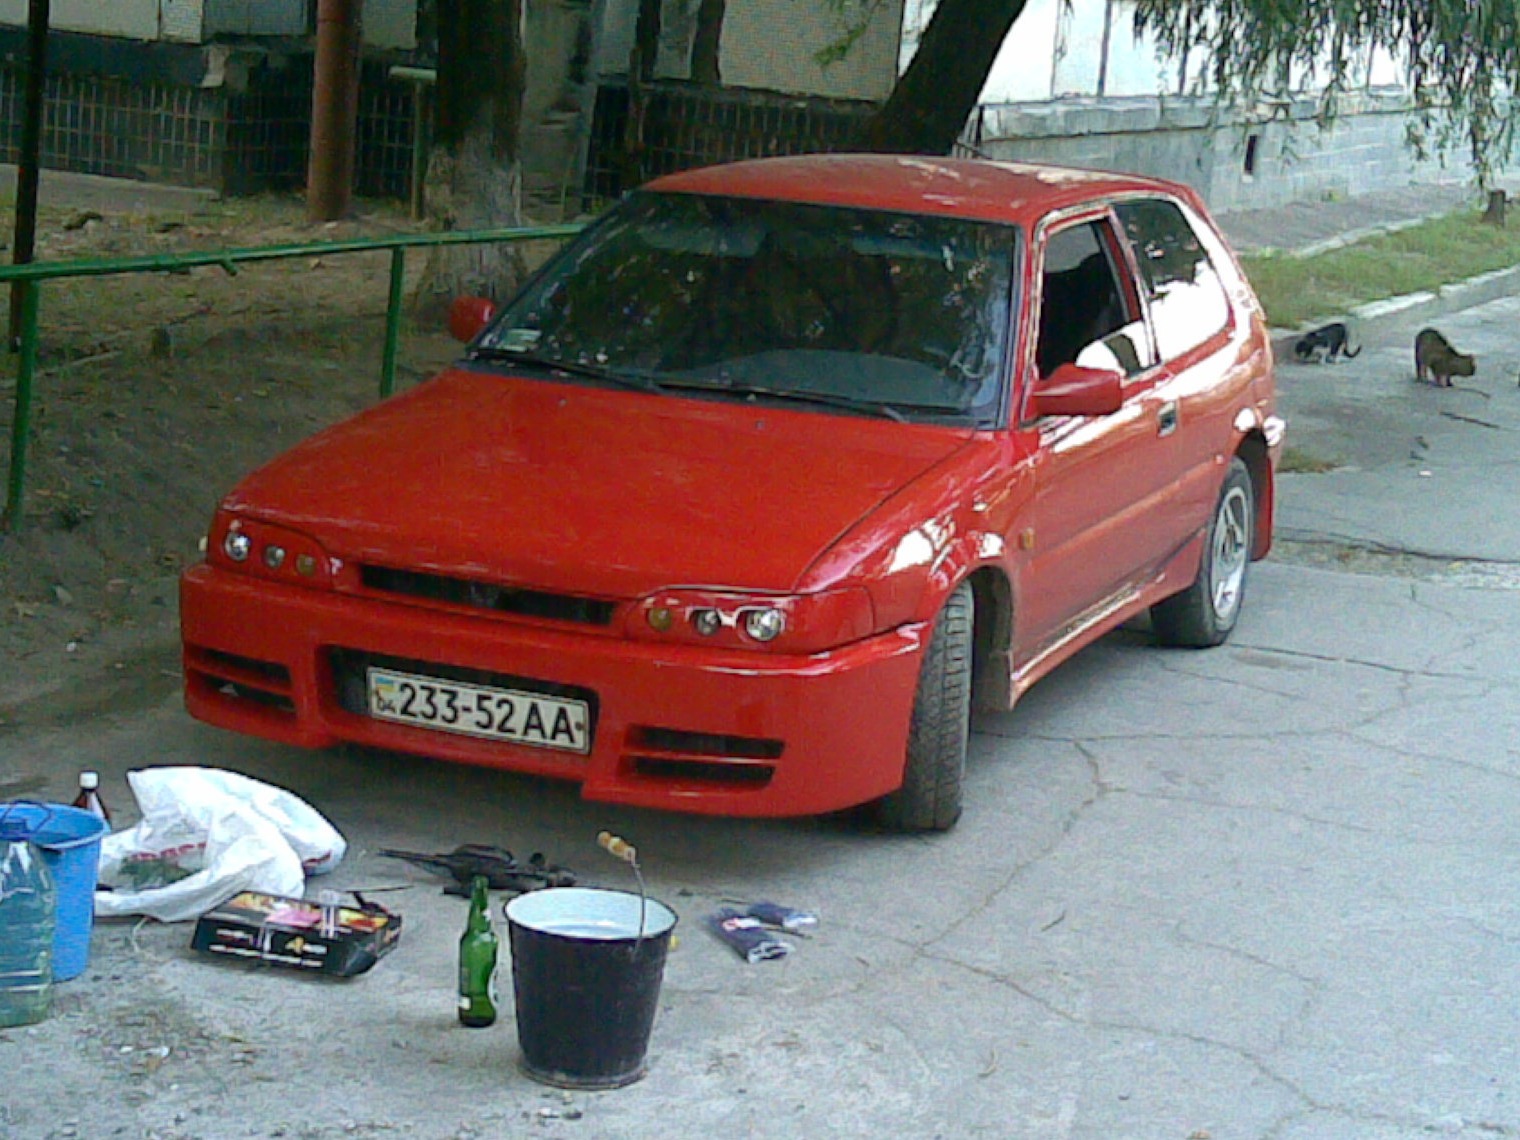
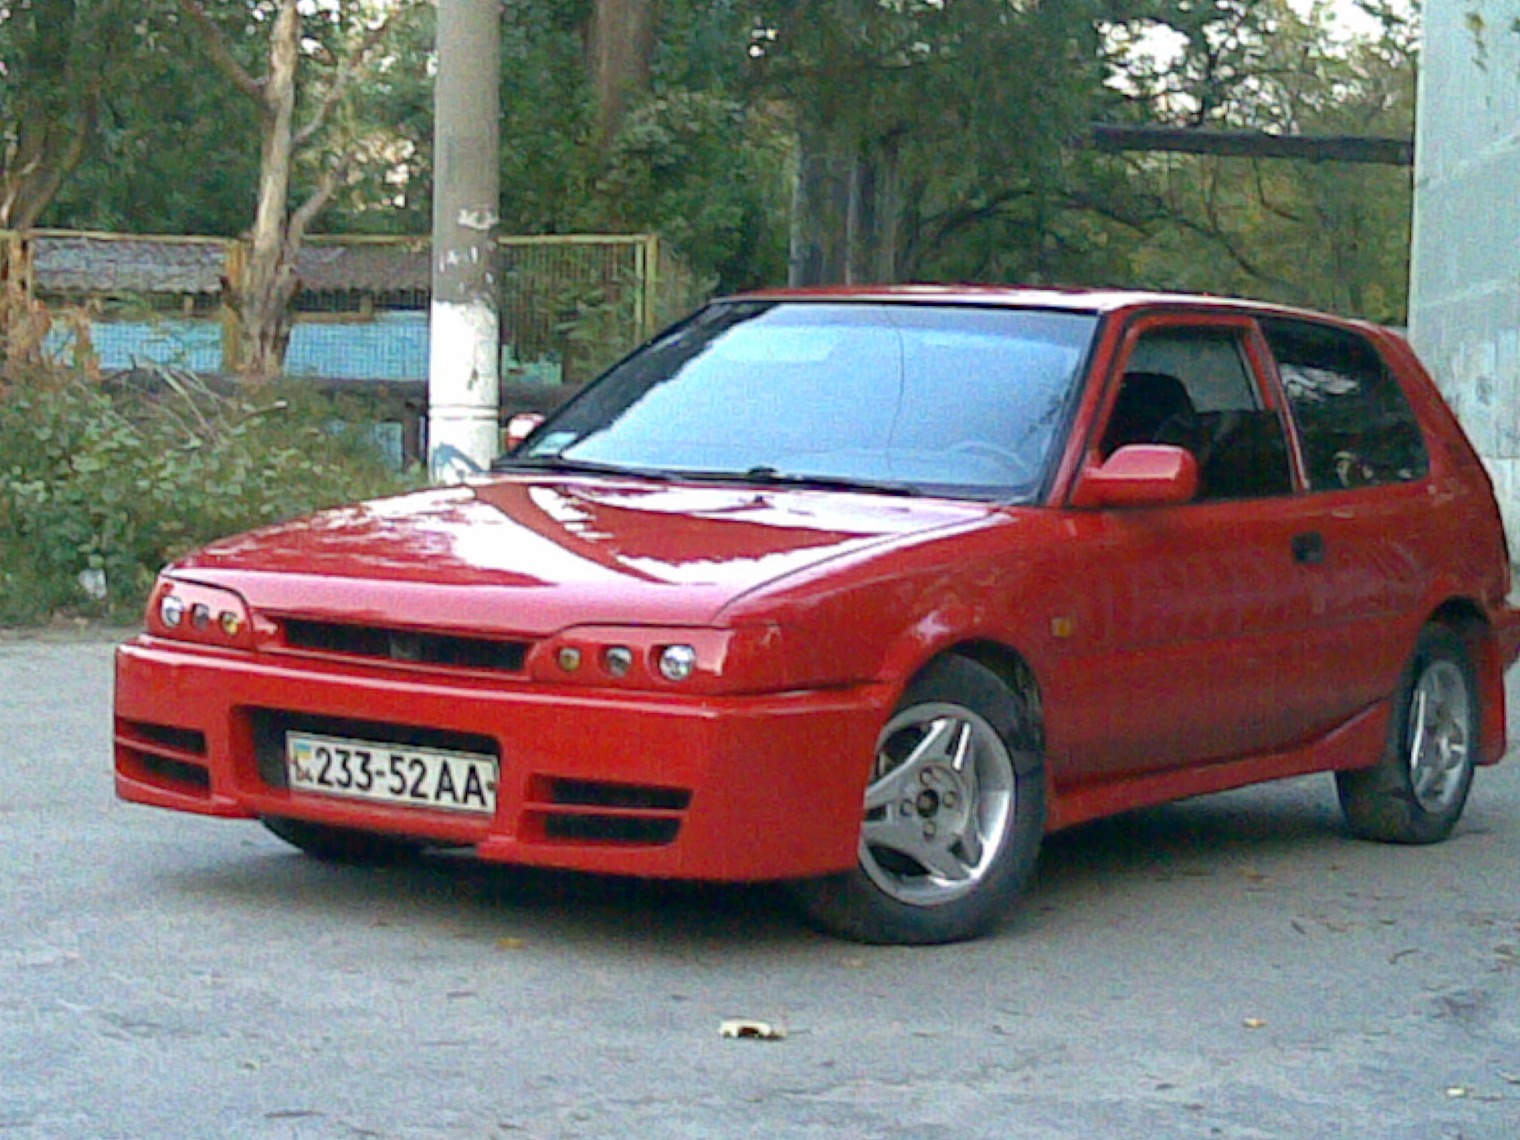
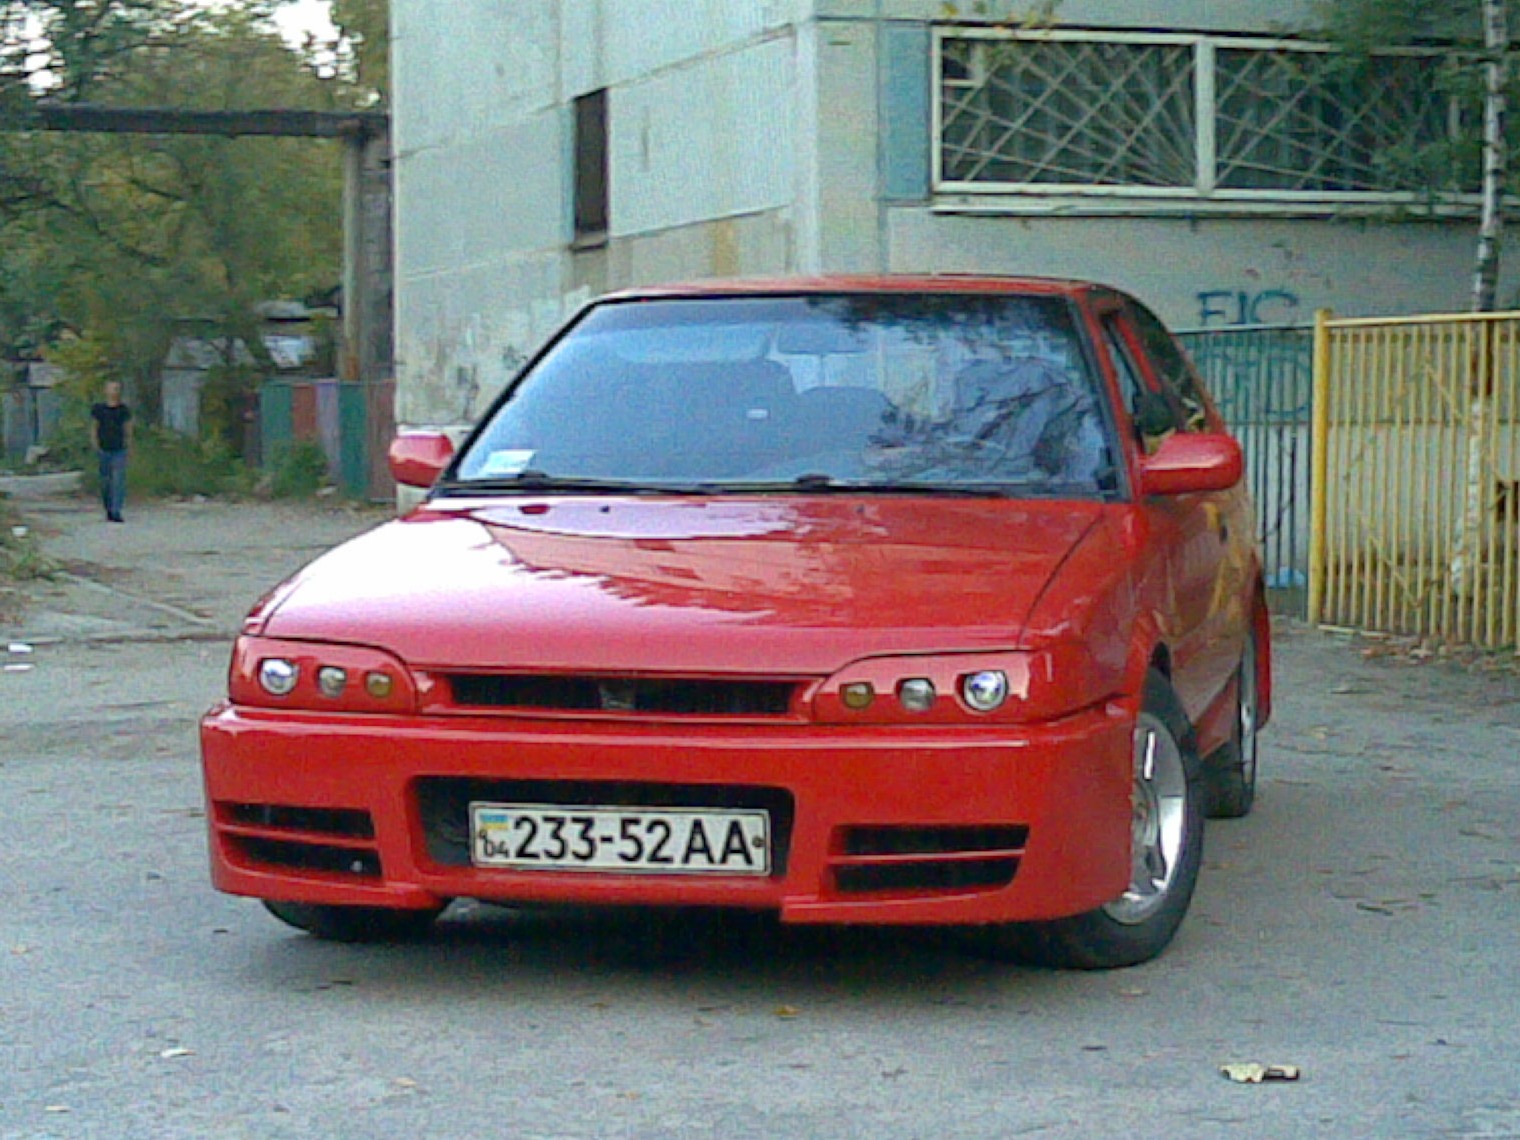
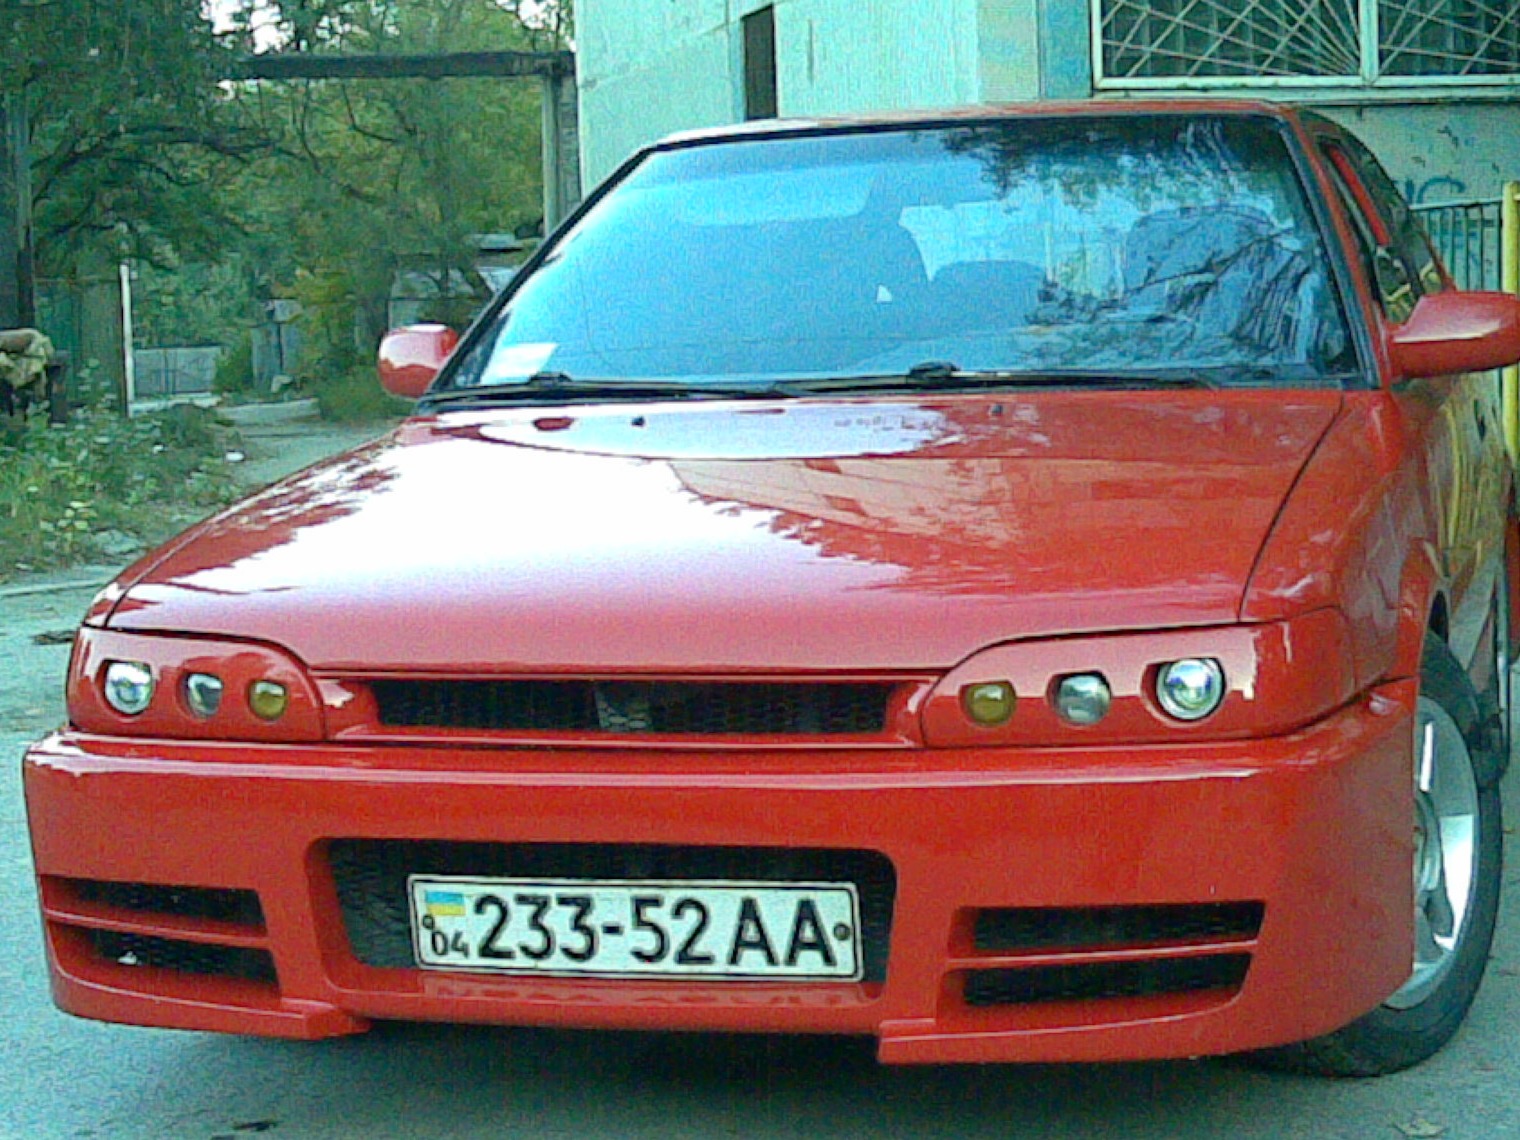
To be frank, I don’t really like it = (
something is missing, roofing felts need to be chemically treated with a hood, in general I’m upset.
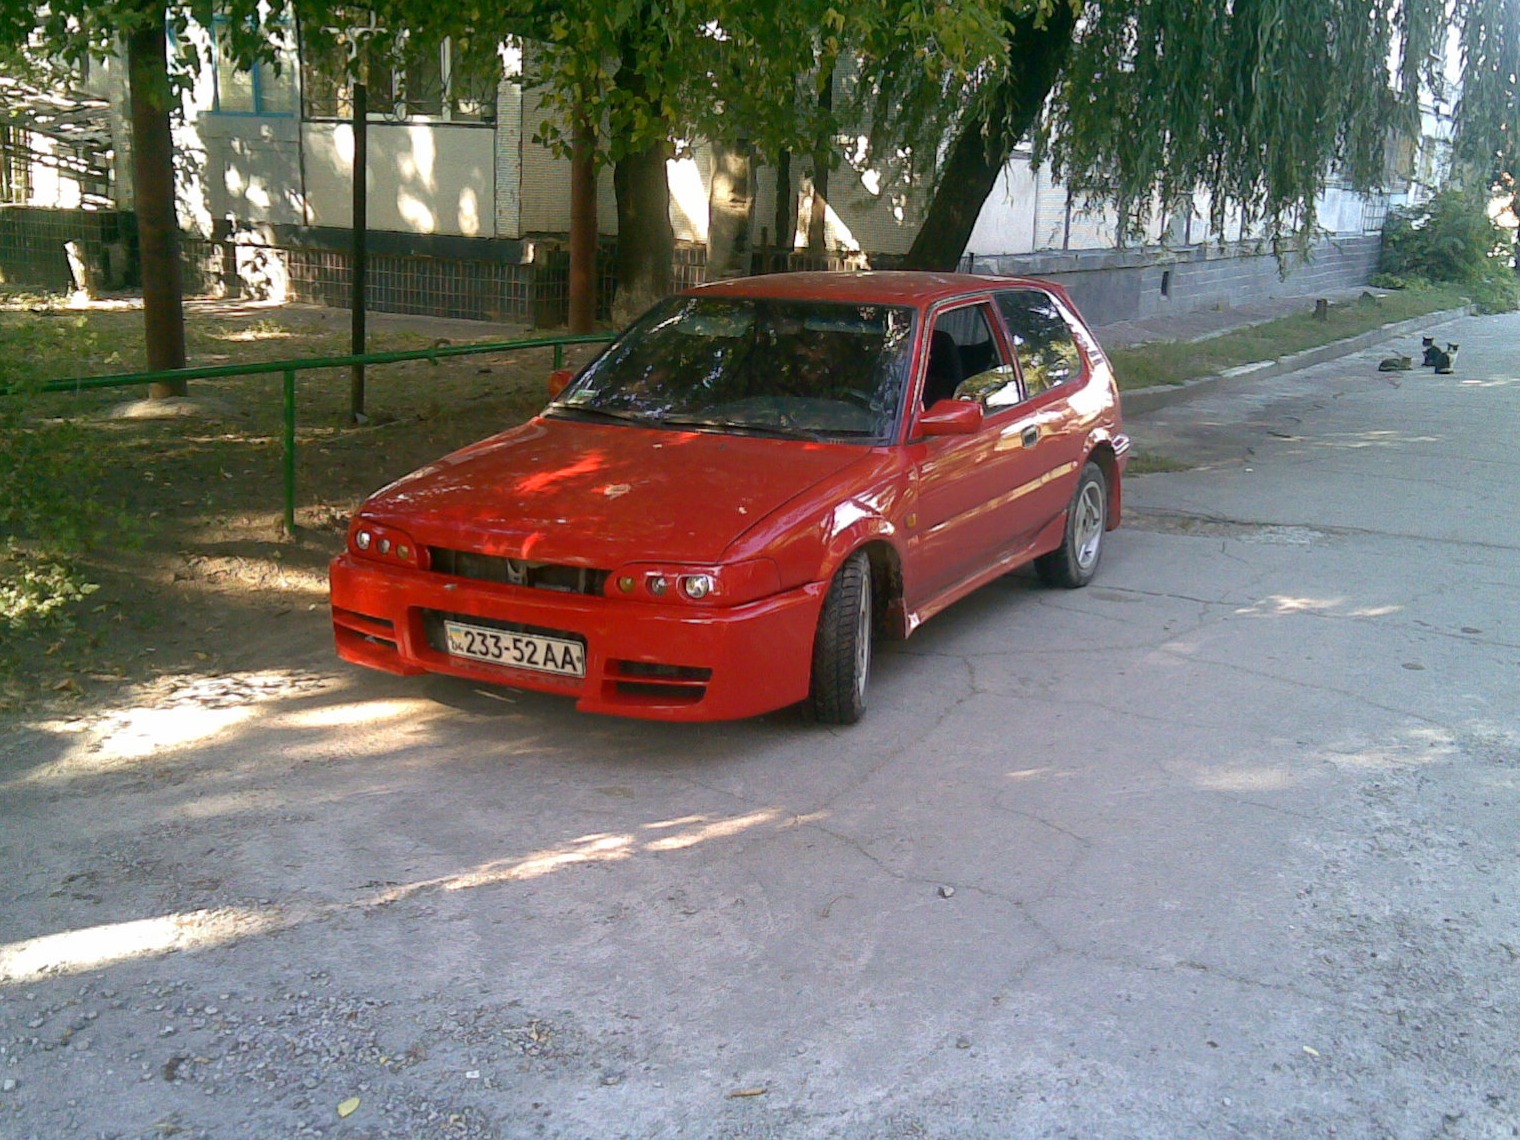
The result is amazing, the headlights are dead, and the bumper really does not look harmonious, if it is necessary to make other thresholds, to give a different shape to the bumper itself, well, the wheels themselves do not fit into the landscape, they are needed more interesting, but otherwise it looks cool, not usually, the best handwork that I saw on this machine!
Well done labor above all praised!
And there is no need to get upset! I think you can think of something!
zizu
Any ideas for the hood? slight indentation?
Like in your logbook about tuning, 3 and 4 from the end
something like this
In short, I decided to do this, I’ll try to remake the hood a little so that it fits into the appearance, if it doesn’t help, then the bumper is in the furnace and we’ll start from 0.
It turned out original, well done! Hands from the right place! I think this view is due to the fact that all other details (hood, fenders) are very smooth, you need to add bumps! Like gills!
Yes, you're right, I'll try to add a little on the hood first, and there it will fail or let it go if it doesn't paralyze =)
I saw what I did with my native bumper =)
so you have to take risks, I already checked how much a new bumper costs in Taiwan, the show-off
price is $ 24
not quite, the hood will be completely new + I think to do something with the side of the bumper, such as air outlets =)
And I would change the mesh grille for another, something like "ala Alfa Romeo", so that it sticks out on the bumper. Thus, the effect of the squareness of the bumper itself will be visually smoothed out, and the gap between the headlights will disappear. And on the hood, try to pick up a full-color volumetric vinyl pattern to match - in my opinion it's worth a try.
Thank you, I’m taking a vacation from Monday, I’ll rest a bit and go into battle, maybe I’ll redo or create something, in general it will be seen =)
Yes, you will not find anything for such machines in stores.
well done because everything is done with your own hands, and this is more important than something that is not harmonious, because you can always fix it somehow, I think that then everything will turn out just like you wanted. Good luck! and I will also follow what is happening :)
I also like JDM, but we need a car for every day, and we have fools and roads as always. So it turned out the way it is.
All markers are different in taste and color. I am a supporter of JDM, so I don’t like it.
It is commendable that he did everything himself. I hope you like the way she looks.
something reminded VAZ 2114. you have to do with the hood. but here's what. and with your imagination it will not be a problem! sure of it!
And who said that I did well?
If you don't try, you will never succeed. Next time (if there is one), I took into account my mistakes and will try not to make them.
I'm certainly not an expert in this matter, but if you need help contact me I'll try to help.
I also think that some strict lines are needed, because the lines are strict in the features of the bumper, I think if you add some kind of air vents to the hood and fenders, it will be super!
The bumper did great!
5 points for creativity, the bumper turned out great, but it looks massive in relation to both the thresholds and the wheels, you need to increase it,)
I blinded myself a grille, it’s separate from the car, it’s super, but you insert it, to put it mildly, not very,) even I didn’t upload the pictures ...
by the way, I can’t imagine how you sculpted all this at home, it stinks, ) I was almost kicked out, )
5 points for creativity, the bumper turned out great, but it looks massive in relation to both the thresholds and the wheels, now they need to be increased,)
I blinded myself a grille, it’s separate from the car, it’s super, but you insert it, to put it mildly, not very, ) I didn’t even upload the pictures ...
by the way, I can’t imagine how you sculpted all this at home, stinks, ) they almost kicked me out, )
Yes, I completely agree about the bumper, thresholds and hood, I think this distortion will be corrected a little. It looked better on photoshop, the main mistake was what I did separately from the car, only later, when the bumper was almost ready, I found an error in size on photoshop, but it was too late =(
There was no stink at home =), I only made a block of plasticine at home , and then removed the gypsum matrix, laid the resin already in the garage. The resin was not polyester, but good quality epoxy, so it had no smell =)
I quote "I only made a blockhead from plasticine at home" and what did you get it from? Machine class! The first pancake is always lumpy =)
I would change the grille like a grill or a Bentley and change the bumper without touching the hood bumper in my opinion is not evil enough! Well, just do from the outside just became the bumper merges with the hood, you need to separate it with something. I myself am racking my brains on what to do with my grille so as not to forget the typewriter!
The whole problem is that there is little space in height, we
tried the options in Photoshop, but nothing sensible so far comes out
It will be interesting to see it seems to me that it would look good ala wrx big round fogs and a large central air intake license plate on the side