Tidy. Complete makeover. Part 1. Dismantling. — Toyota Paseo, 1.5 liter, 1999
I have not written for a long time - I was on a 2-day business trip.
The work is going on, though not every day now.
It was decided to completely replace the backlight tidy.
Here is the interior more or less original:
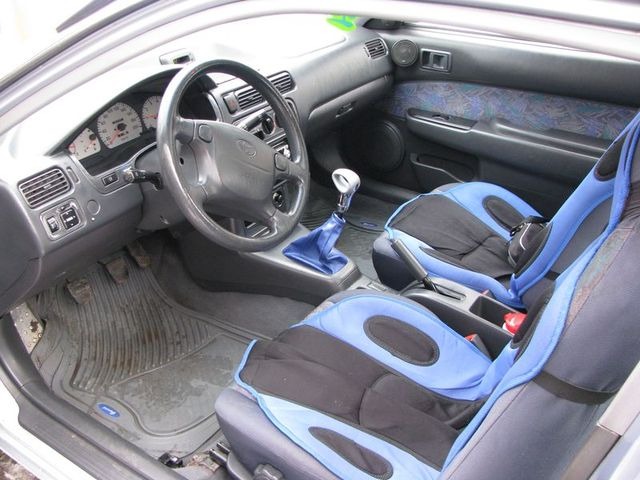
Here is my salon:
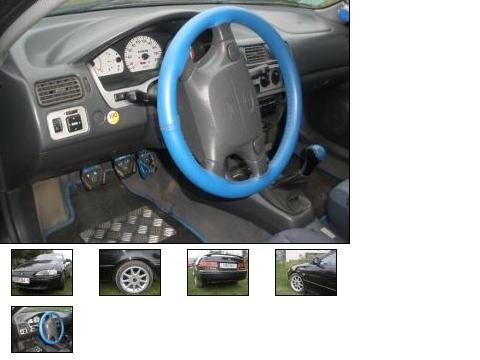
It can be seen that they tried to diversify the salon, but bad taste and a bit of Ketai are clearly visible.
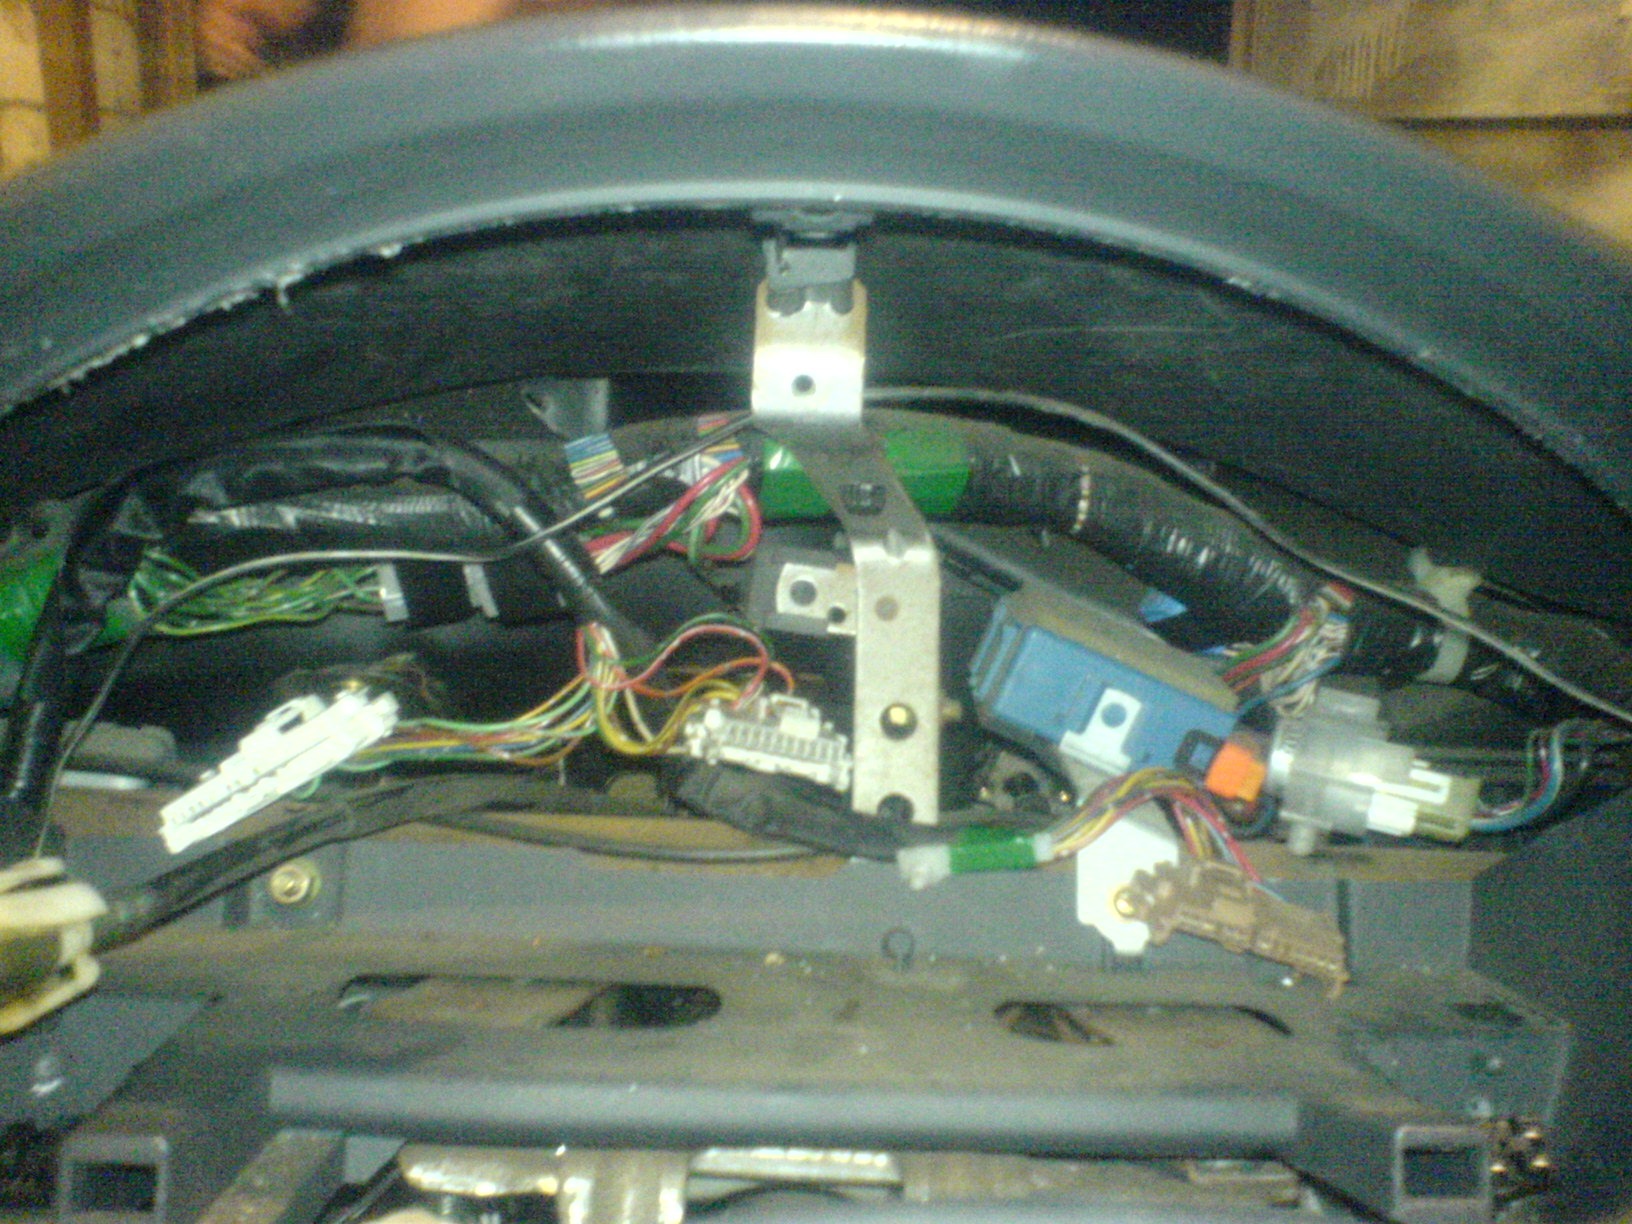
actual dismantling.
1) 1 self-tapping screw at the top of the lining (visible freely)
of tidy sections 3 and 2 buttons under the tidy itself.
2) Disconnect 5 plugs.
3) We disassemble the lining on the steering column (5-6 self-tapping screws)
4) We climb under the hood, unscrew the tube fastening the speedometer cable. (very inconveniently located, unscrewed in 4 hands and with pliers). We feed 10 centimeters of this cable into the cabin and remove the tidy completely.
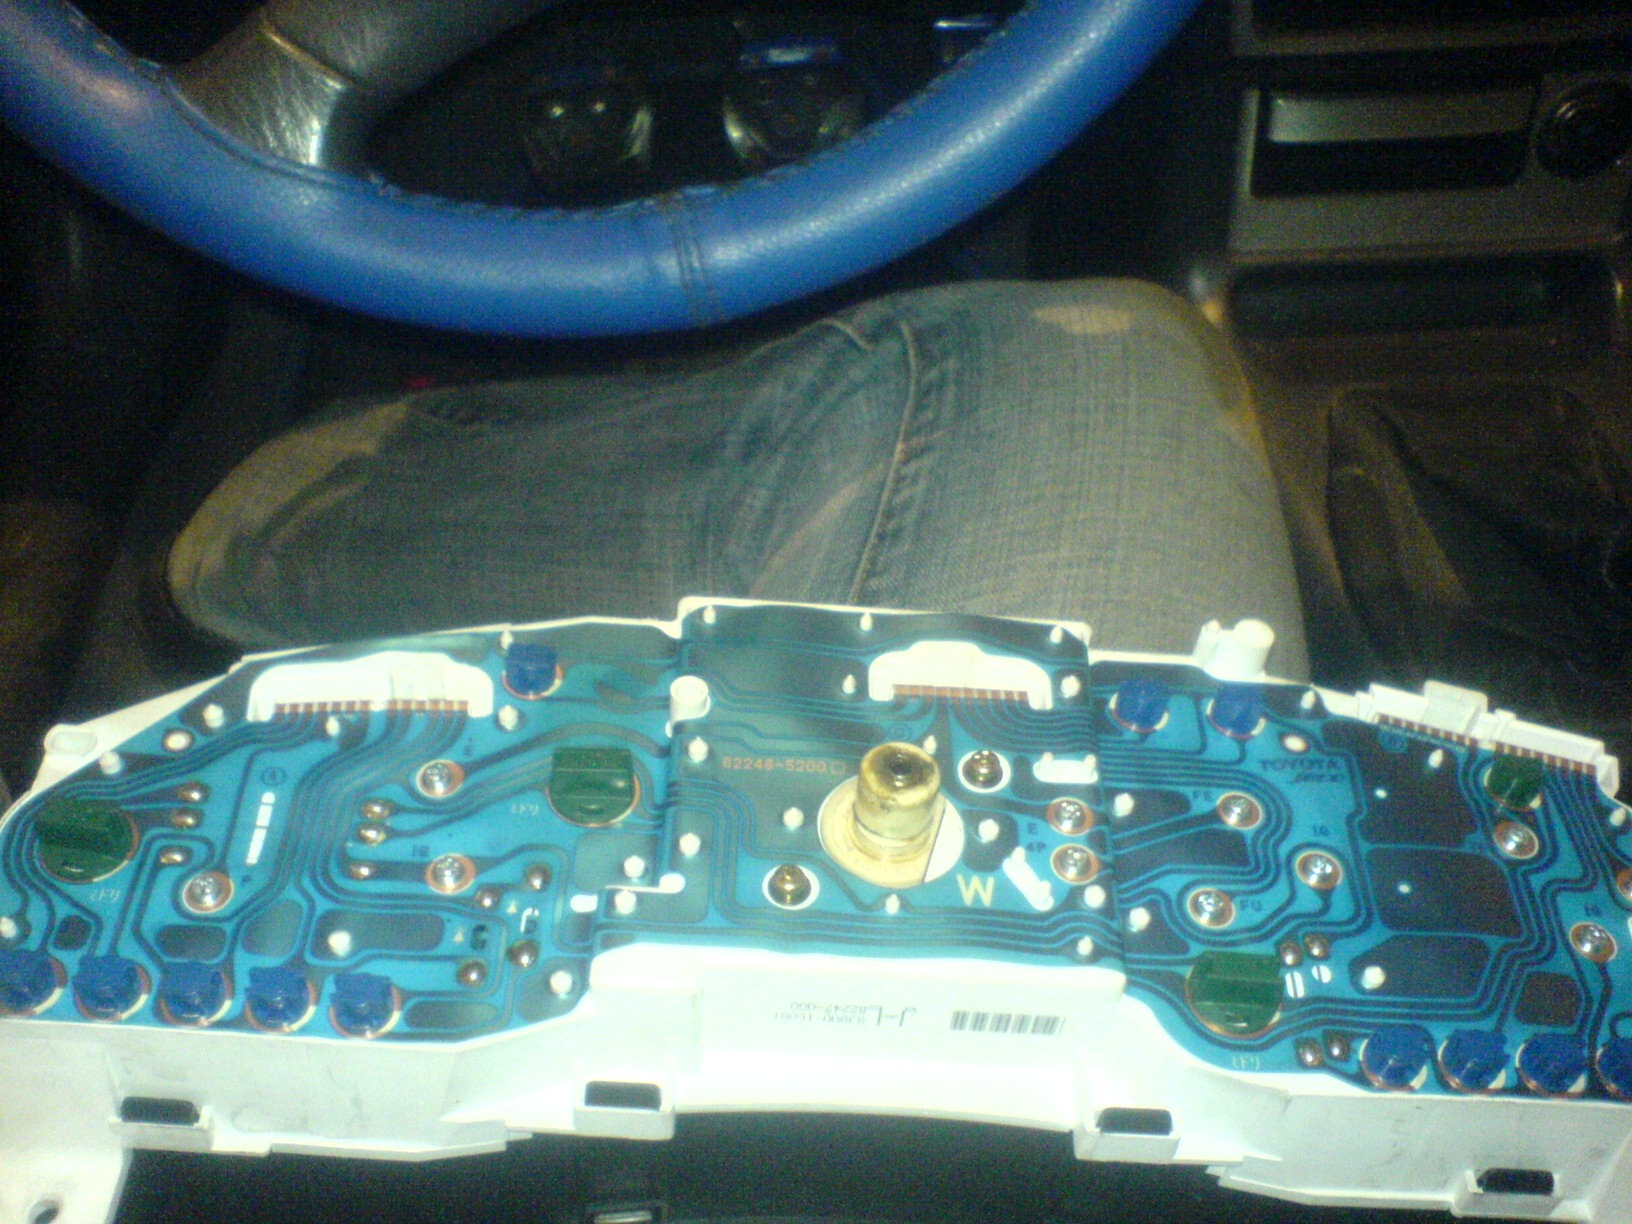
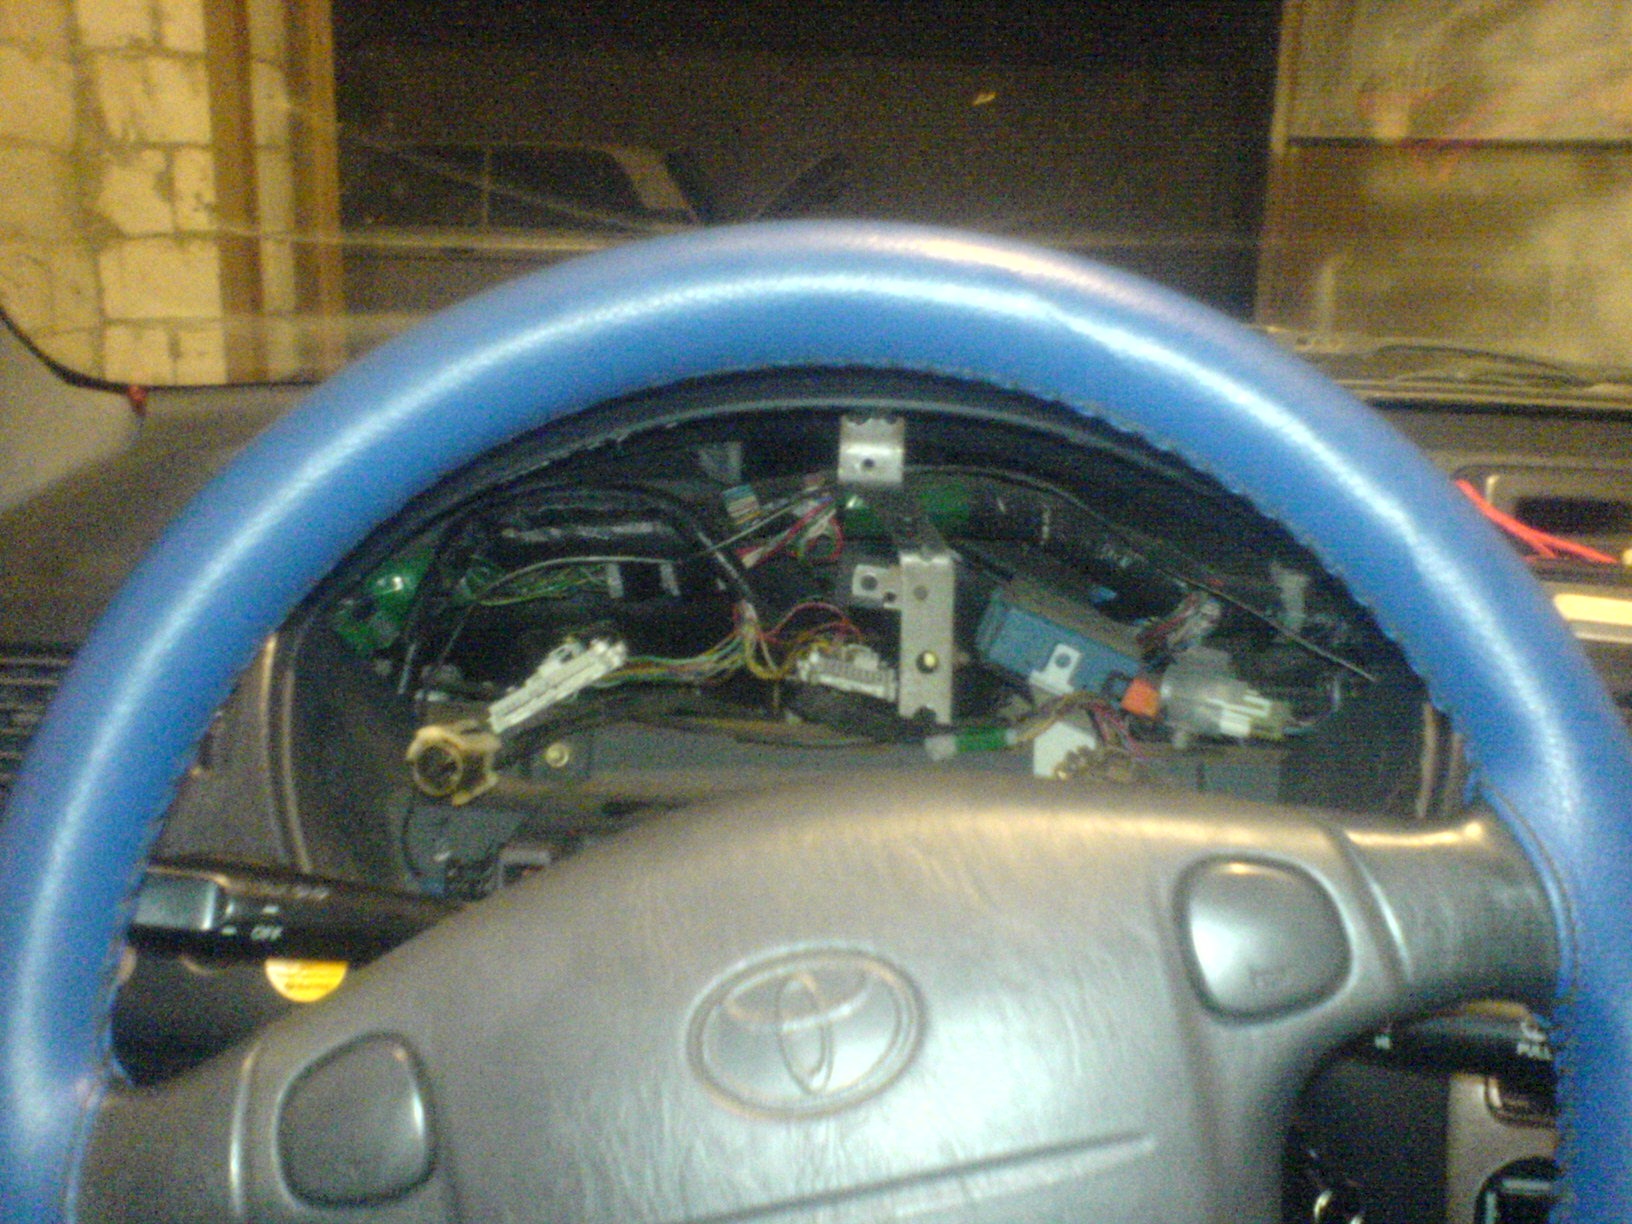
Here she is, the heroine next to my Jedi carrier:
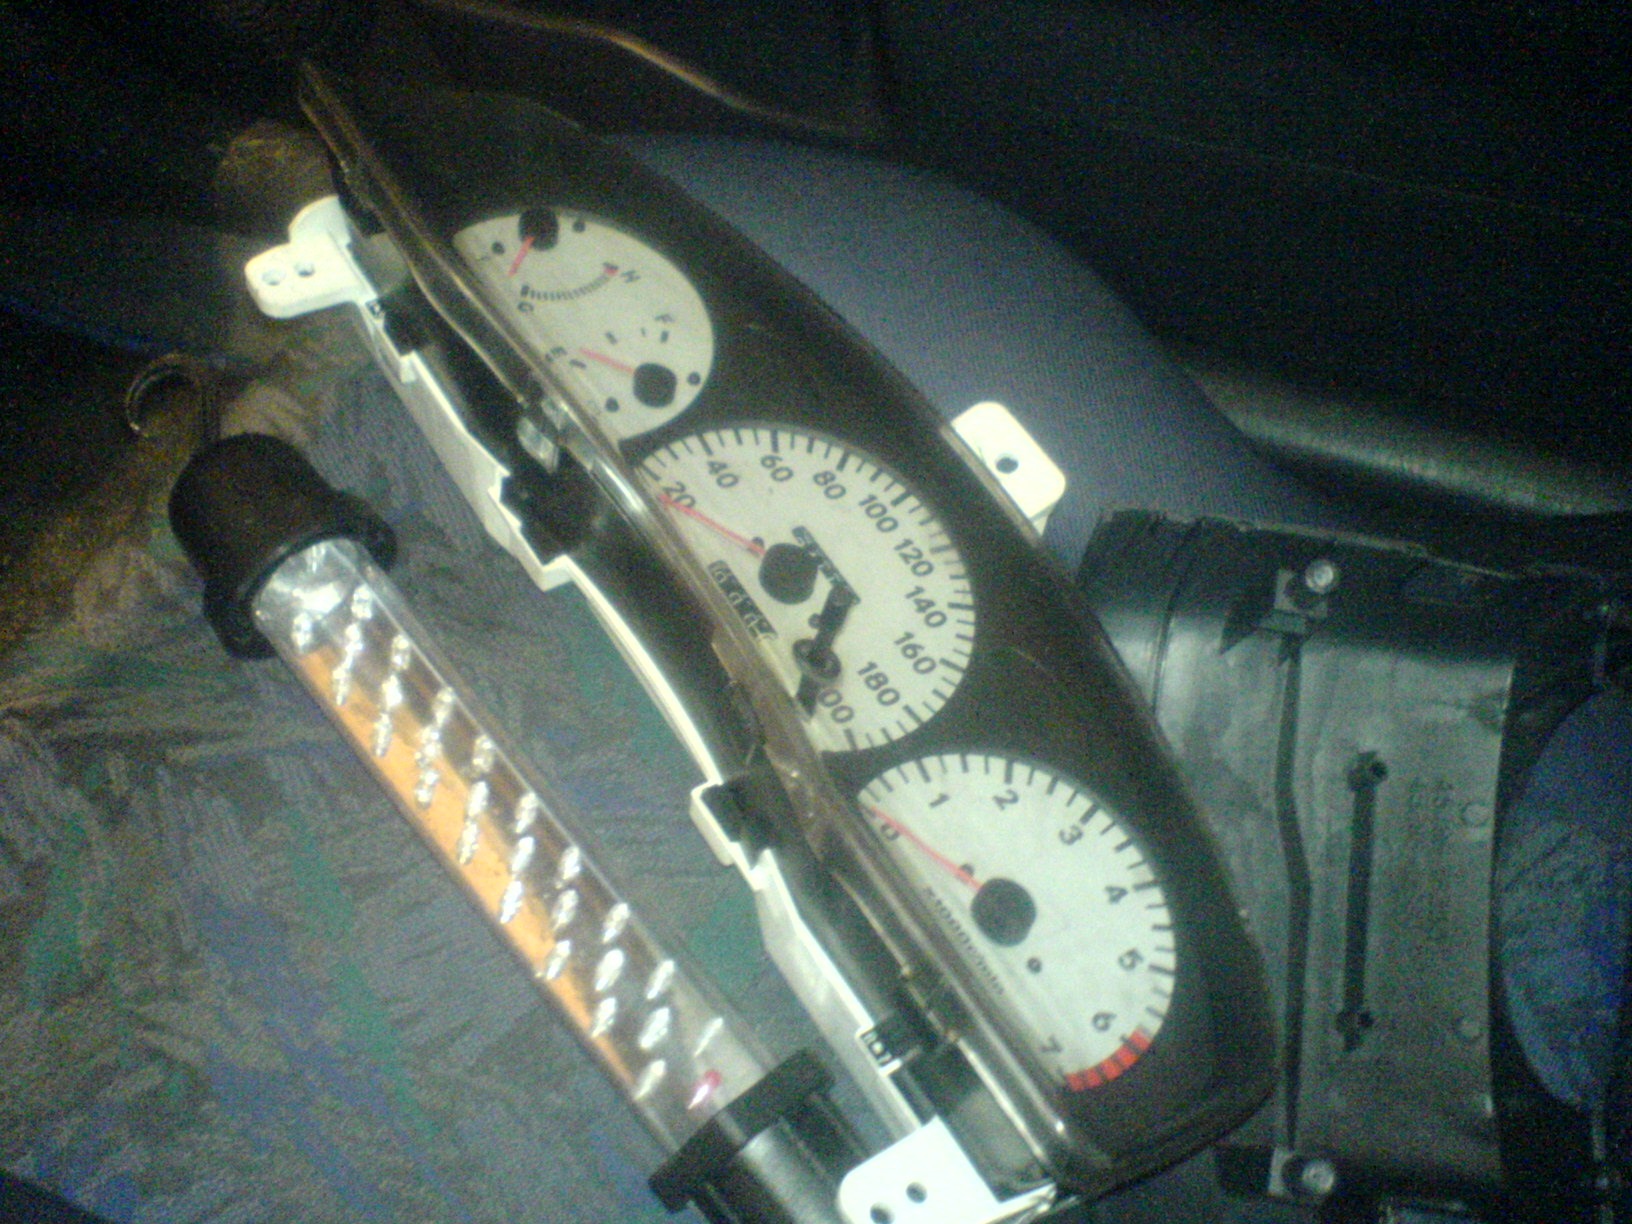
The next day, the tidy moved to work, where it was further analyzed.
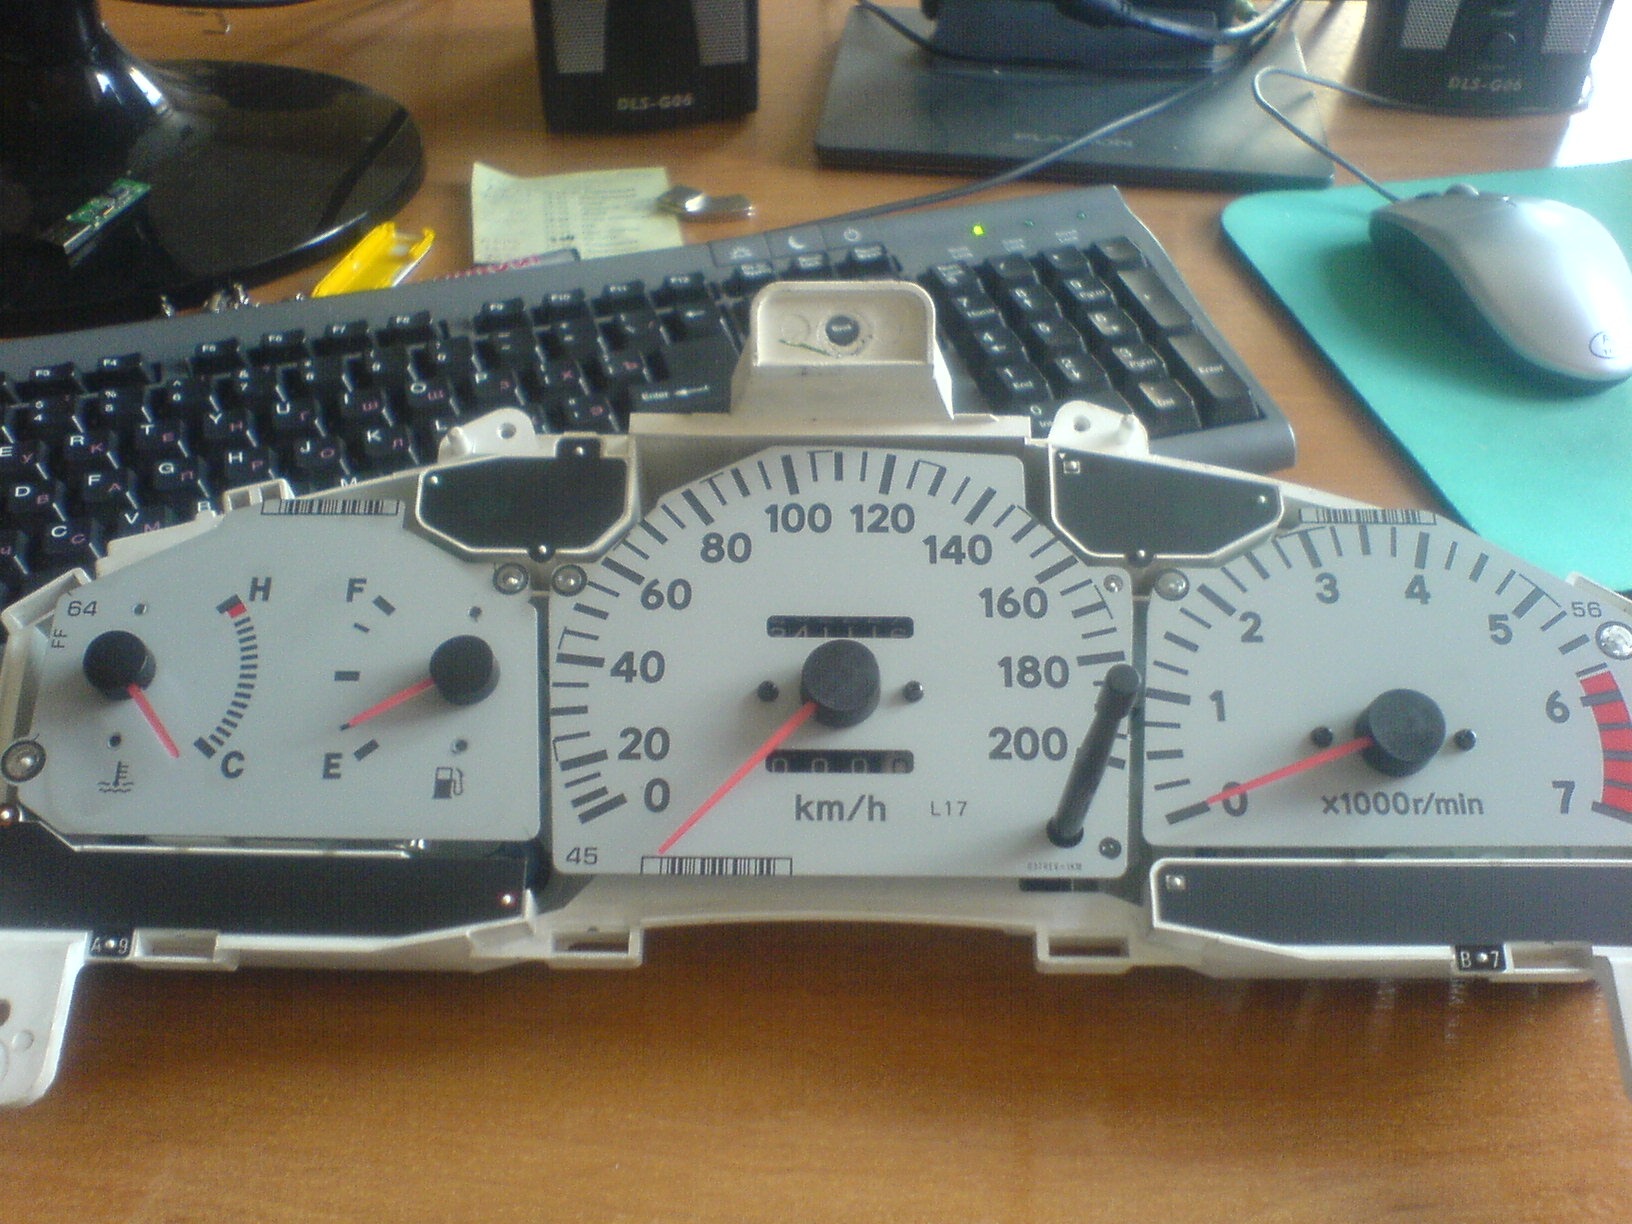
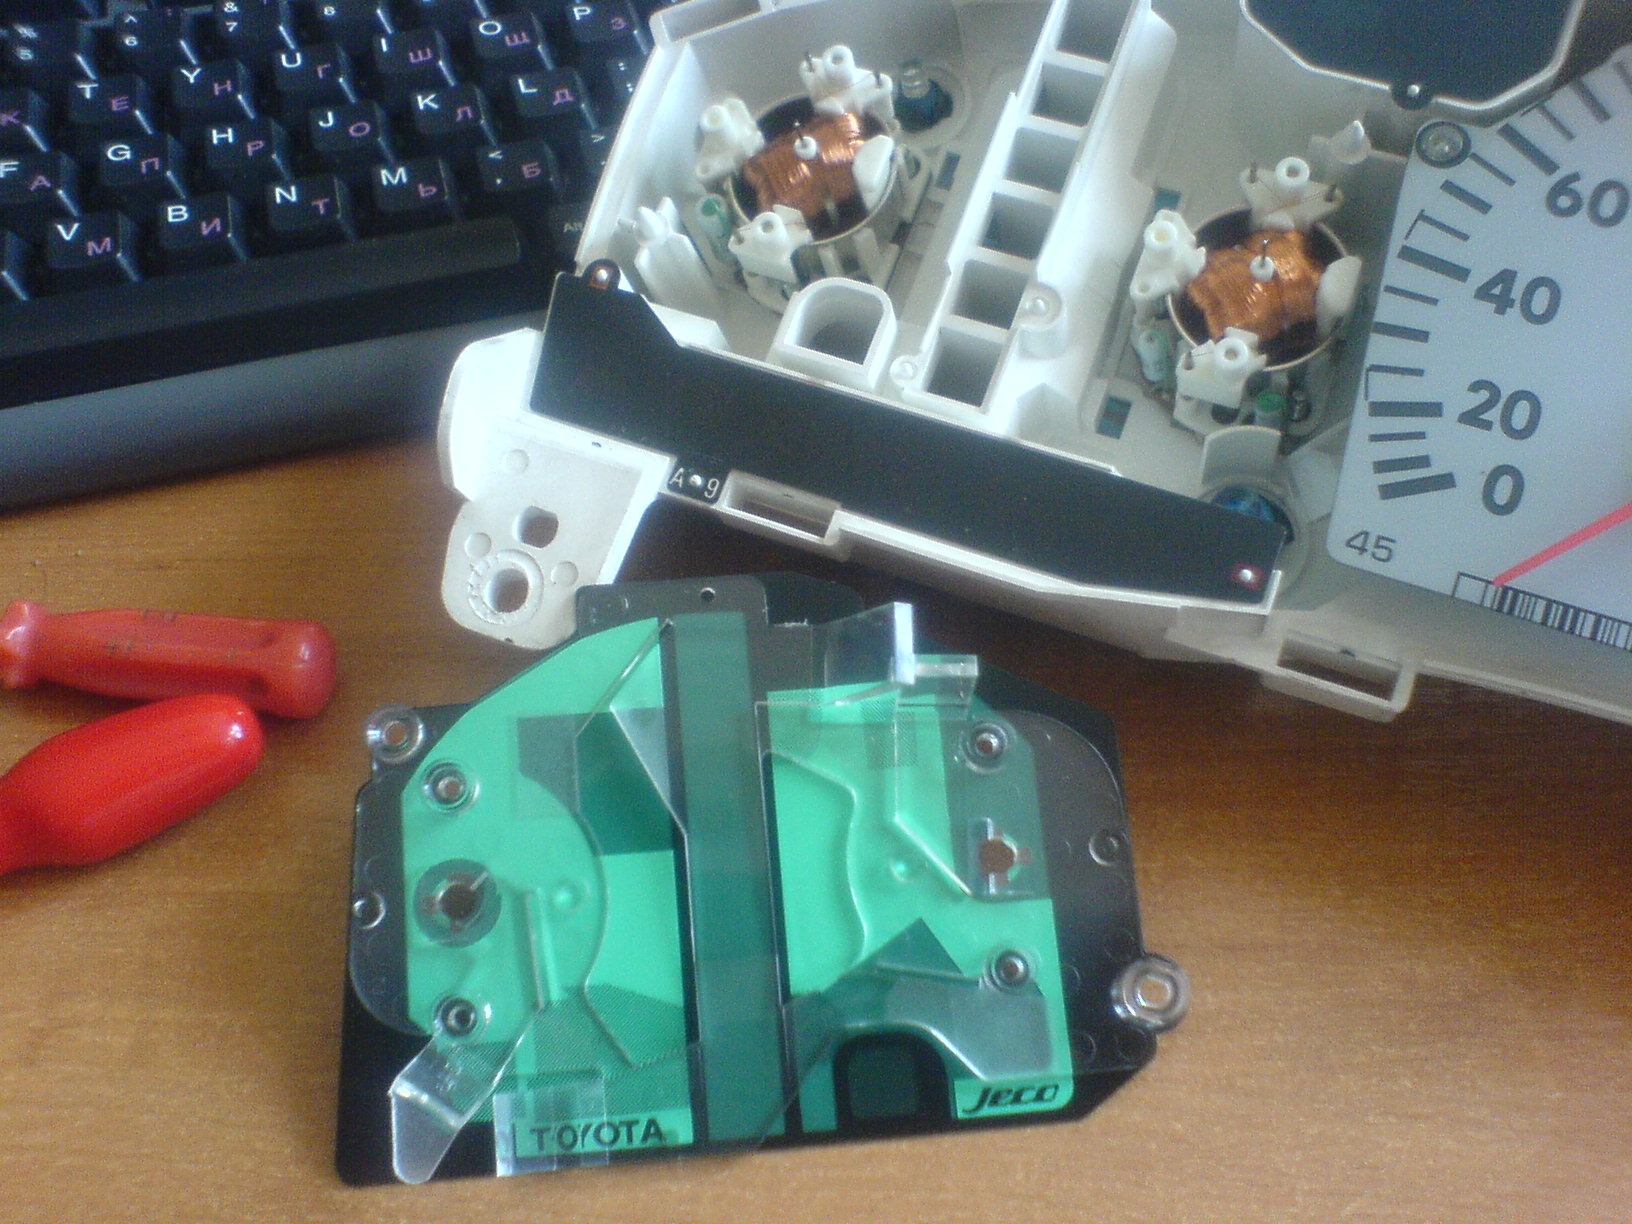
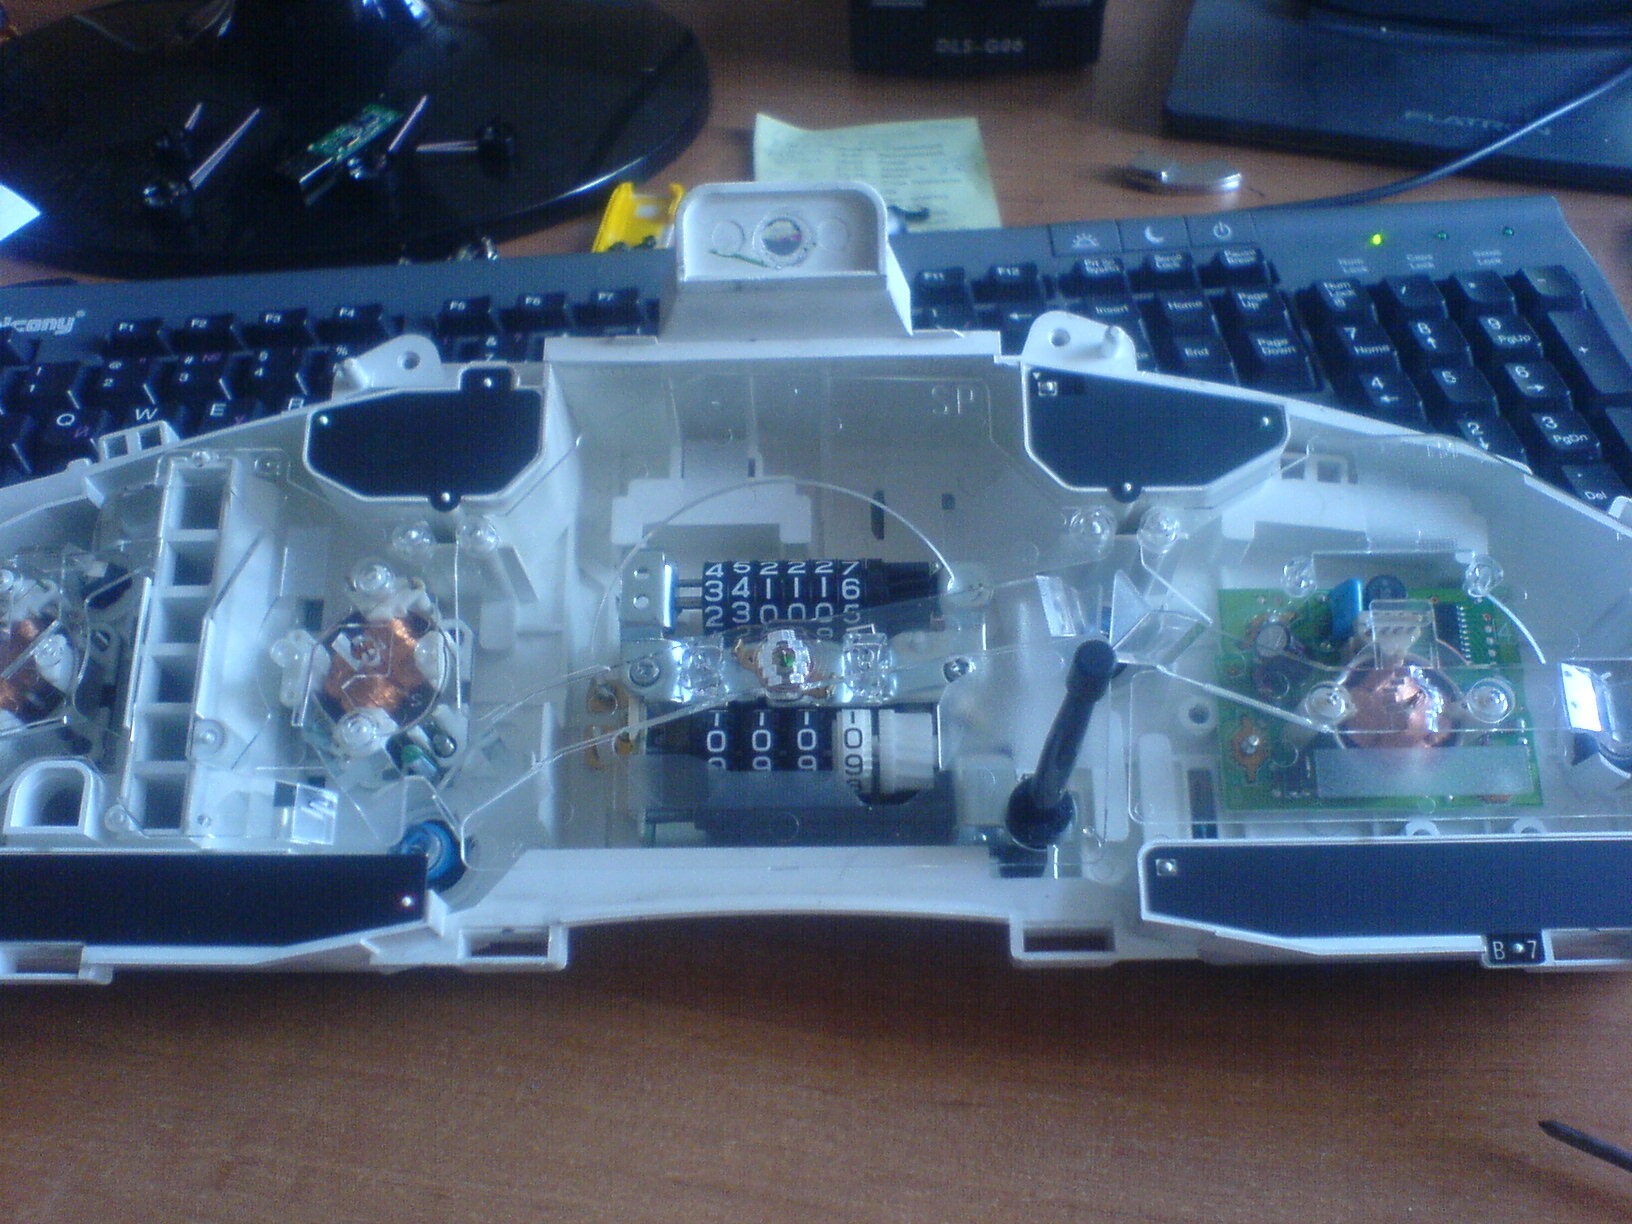
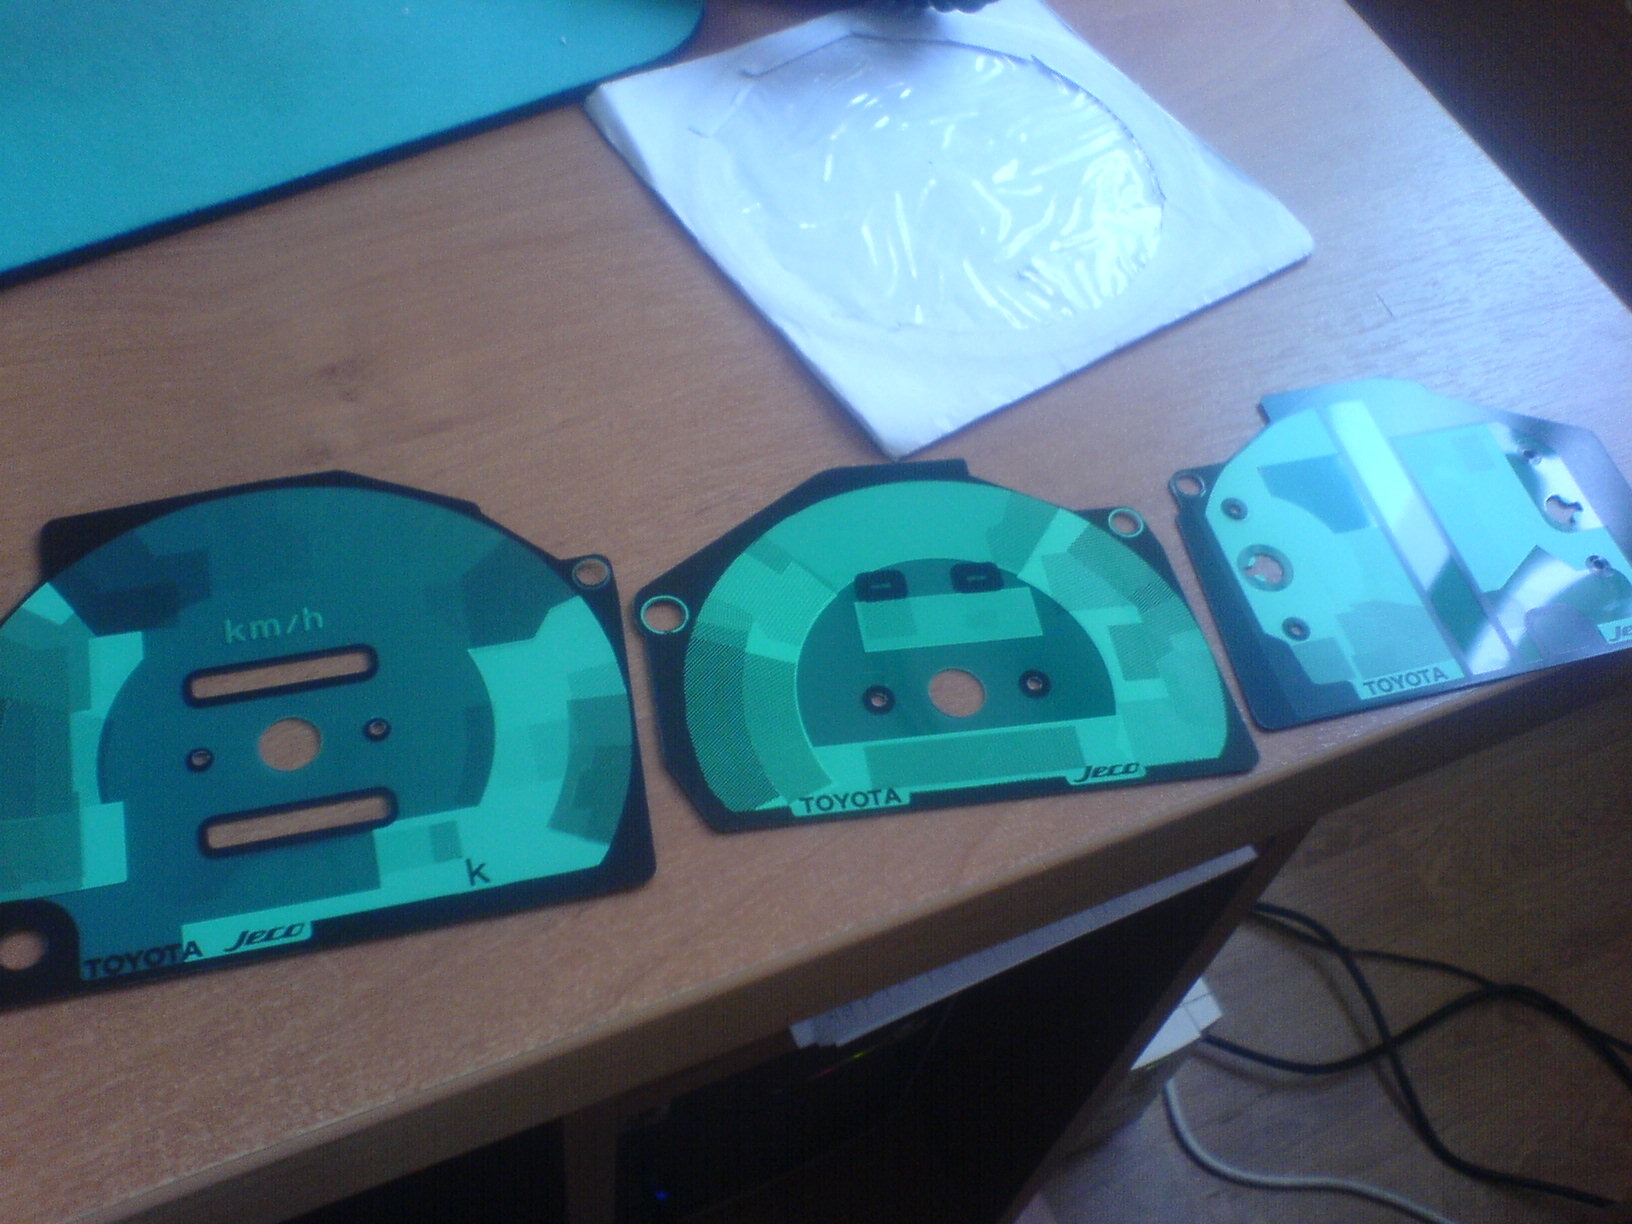
It is very dumb to disconnect the arrows, I was afraid to break it.
In Corel, professionals began processing the substrates.
While looking for a beautiful design and looking after the LEDs.
Offtopic:
Microgrinding machine for knives and screwdrivers at 5400 rpm from an old hard drive =)
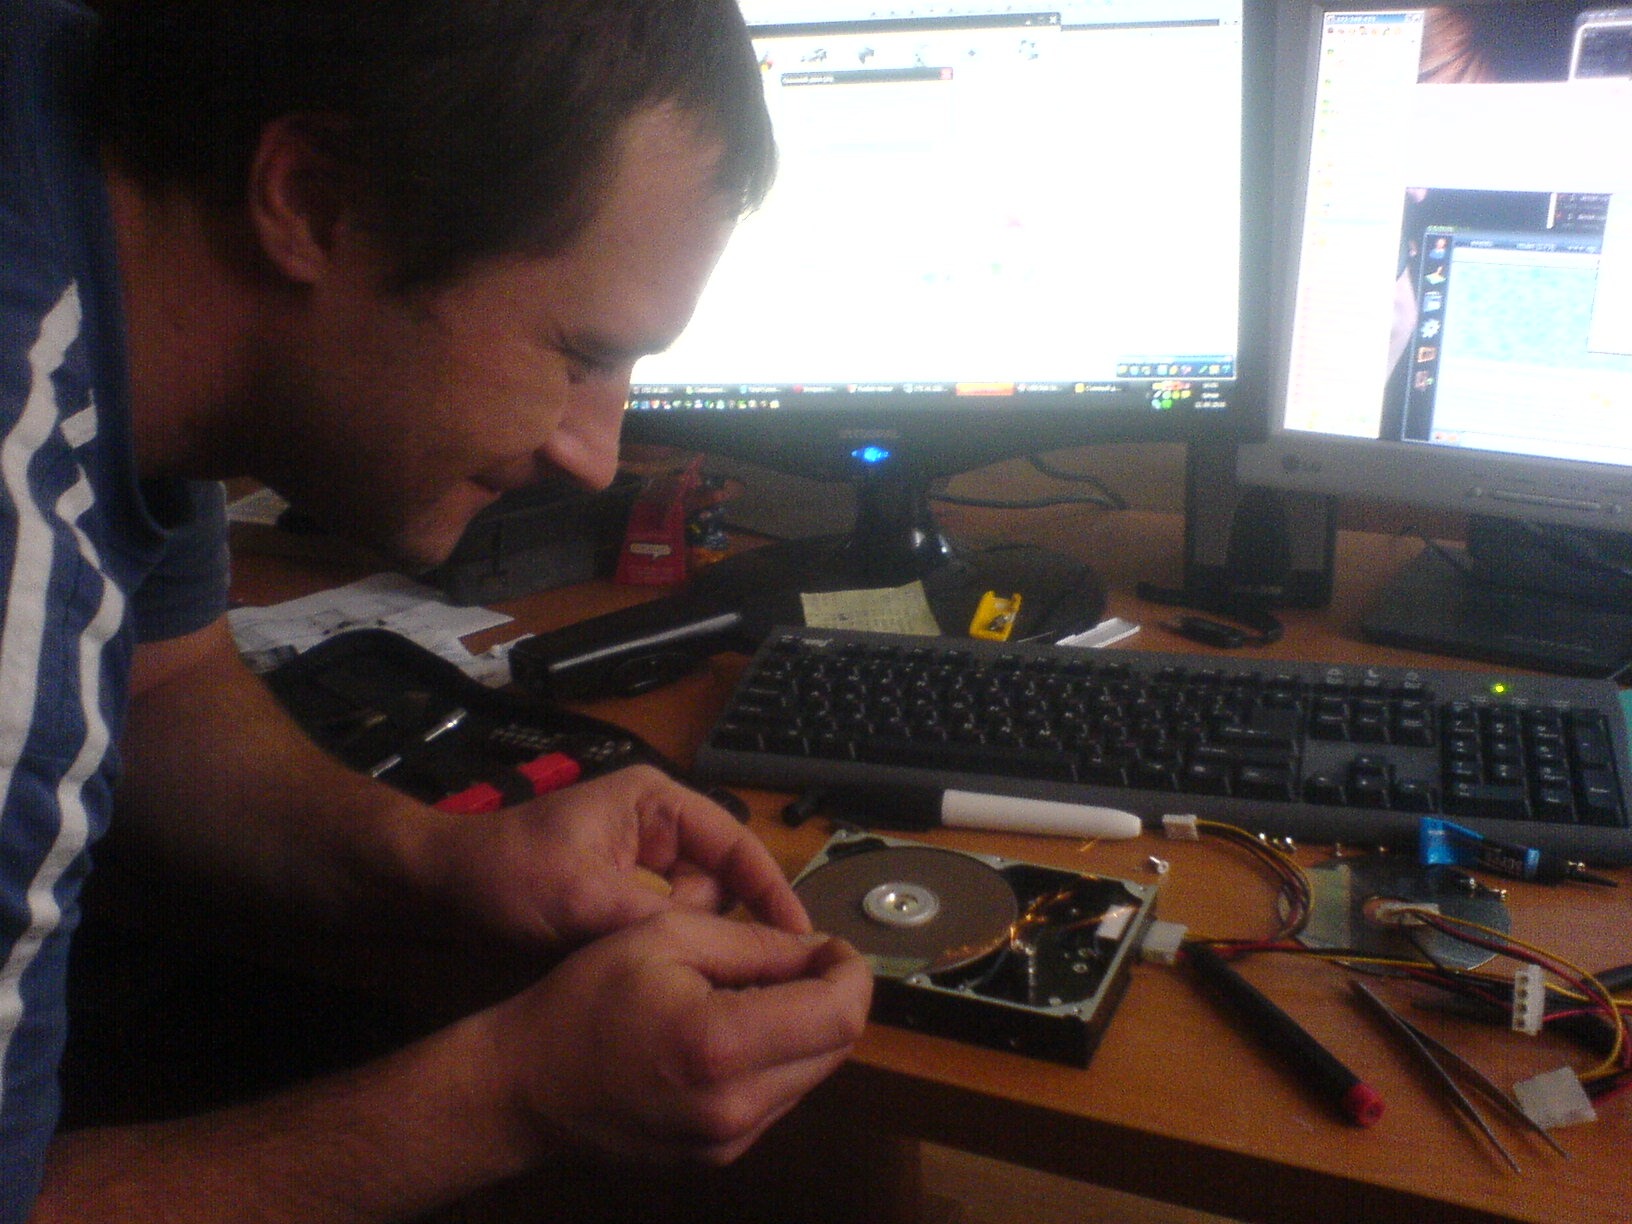
=)
 Issue price: 0 ₽ Mileage: 341 116 km