A little light in the salon 2 - Toyota Carina ED, 2.0L, 1994
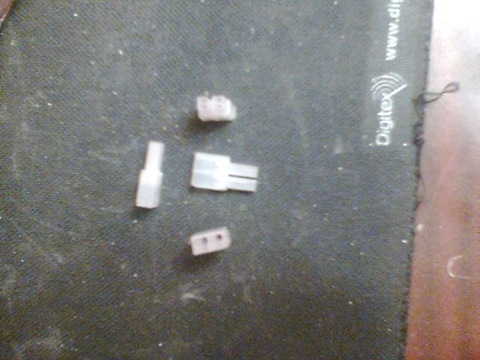
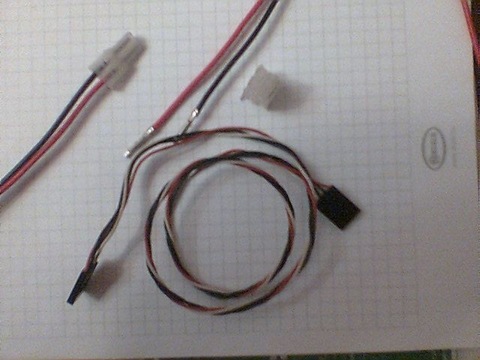
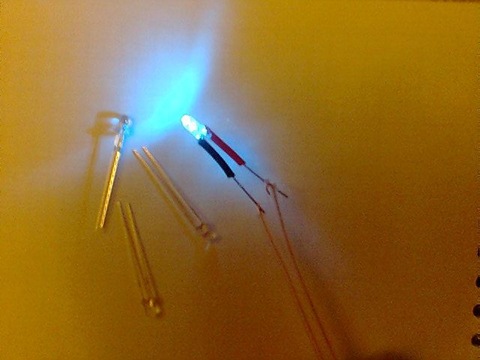
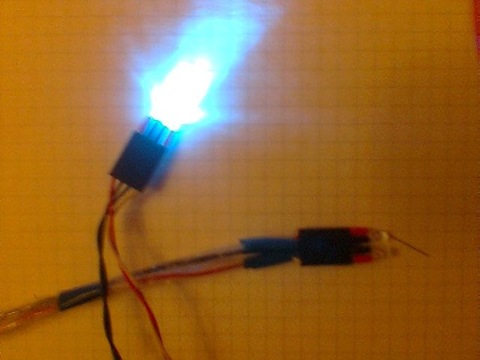
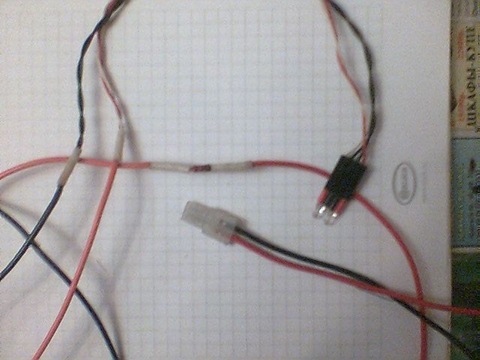
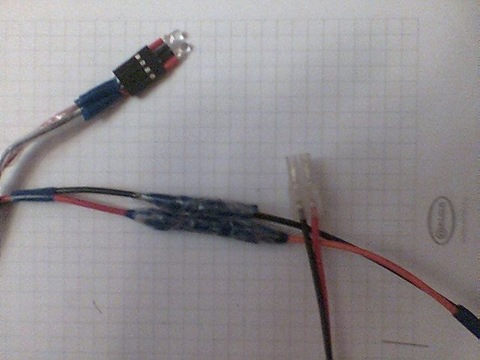
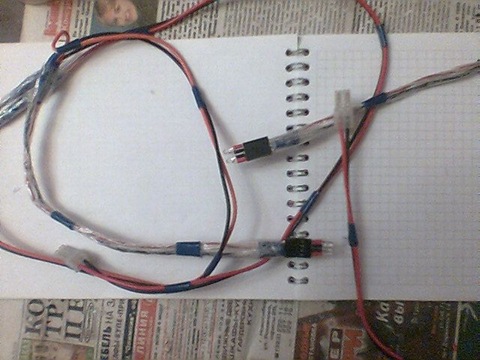
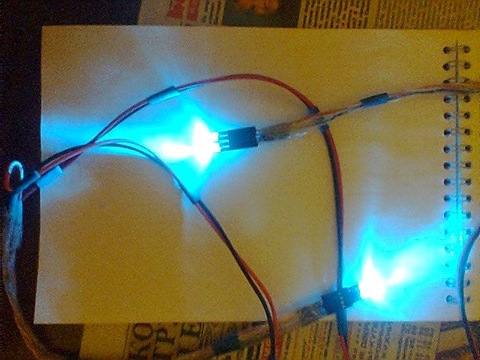
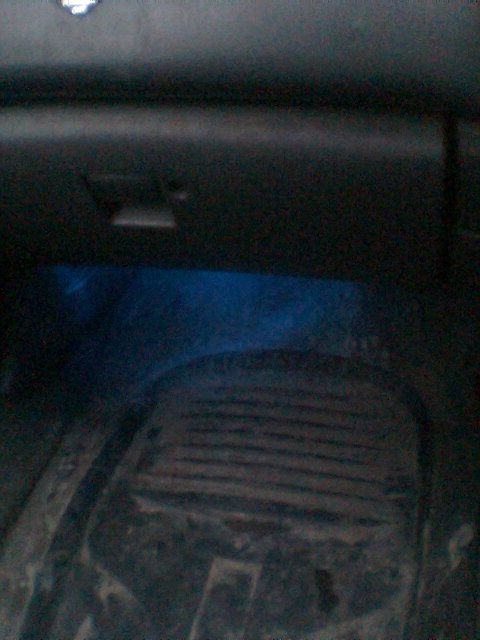
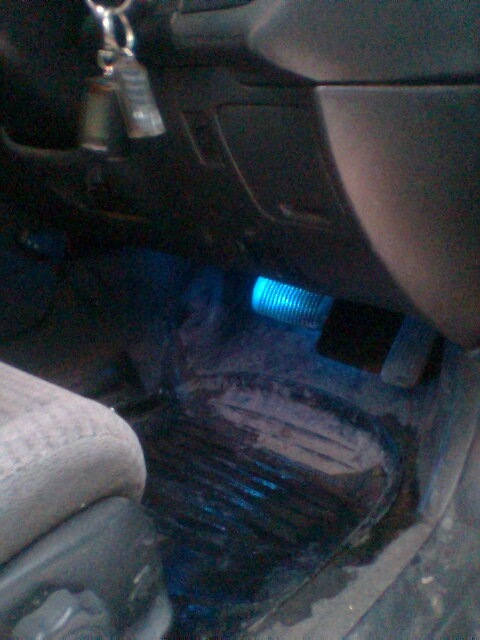
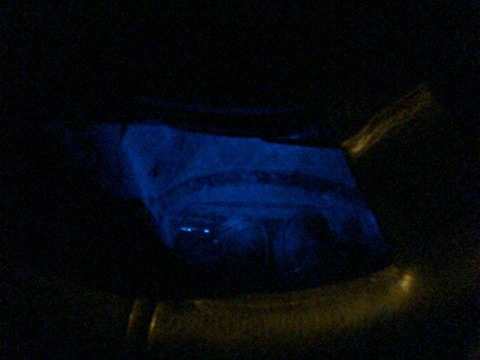
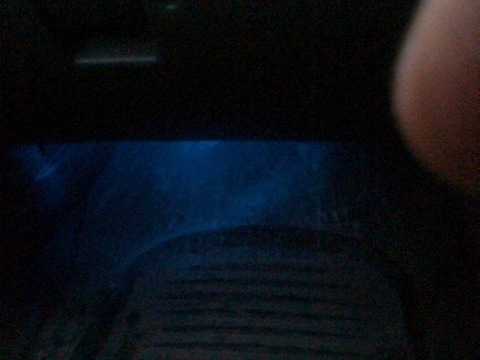
Once I went to a shop of radio components and saw LEDs on the counter. Remembering that I have 9 more free places in the connector and there is room for imagination, I decided to try to make a backlight in my legs. I bought bright blue, green and small greens for experiments. All from the 314th series, only with different letters. The difference in price struck a little - small greens at 1.5 rubles, bright green at 3 rubles, and blue at 15 rubles apiece. All diodes are 3 volt. In the evening, taking two batteries and wires, I went to see how the whole thing would look in the car. Stopped at the blue. To begin with, I decided to try only the driver's and passenger's front lights. The power plug was sawn through double plugs so that each of the wires turned out to be independent in terms of so that any could be disconnected separately. As connectors for LEDs, a regular wire from a CD to a sound speaker without a screen. It easily includes two LEDs, and if there is little lighting, then it can also be used as a connector for connecting another light source. A 1kOhm resistor was soldered in the cut of each wire. I fixed the wires with LEDs with construction tape (for now, because they didn't want to glue anything else in the cold. How warmer I will glue it differently, but at the same time I will decide whether to leave the backlight in this form or change to something else) under the panel, directing forward at the feet so that the LEDs themselves and so that the point from them (LEDs beat directionally) is not visible. Tomorrow or after tomorrow in the plans to stick more lights for the rear passengers. The backlight itself is ready, it remains to figure out how to bring it out and where to place the LEDs themselves. It easily includes two LEDs, and if there is little lighting, then it can also be used as a connector for connecting another light source. A 1kOhm resistor was soldered in the cut of each wire. I fixed the wires with LEDs with construction tape (for now, because they didn't want to glue anything else in the cold. How warmer I will glue it differently, but at the same time I will decide whether to leave the backlight in this form or change to something else) under the panel, directing forward at the feet so that the LEDs themselves and so that the point from them (LEDs beat directionally) is not visible. Tomorrow or after tomorrow in the plans to stick more lights for the rear passengers. The backlight itself is ready, it remains to figure out how to bring it out and where to place the LEDs themselves. It easily includes two LEDs, and if there is little lighting, then it can also be used as a connector for connecting another light source. A 1kOhm resistor was soldered in the cut of each wire. I fixed the wires with LEDs with construction tape (for now, because they didn't want to glue anything else in the cold. How warmer I will glue it differently, but at the same time I will decide whether to leave the backlight in this form or change it to something else) under the panel, forward at the feet so that the LEDs themselves and so that the point from them (LEDs beat directionally) is not visible. Tomorrow or after tomorrow in the plans to stick in another backlight for the rear passengers. The backlight itself is ready, it remains to figure out how to bring it out and where to place the LEDs themselves. then it can also be used as a connector for connecting another light source. A 1kOhm resistor was soldered in the cut of each wire. I fixed the wires with LEDs with construction tape (for now, because they didn't want to glue anything else in the cold. How warmer I will glue it differently, but at the same time I will decide whether to leave the backlight in this form or change to something else) under the panel, directing forward at the feet so that the LEDs themselves and so that the point from them (LEDs beat directionally) is not visible. Tomorrow or after tomorrow in the plans to stick more lights for the rear passengers. The backlight itself is ready, it remains to figure out how to bring it out and where to place the LEDs themselves. then it can also be used as a connector for connecting another light source. A 1kOhm resistor was soldered in the cut of each wire. I fixed the wires with LEDs with construction tape (for now, because they didn't want to glue anything else in the cold. How warmer I will glue it differently, but at the same time I will decide whether to leave the backlight in this form or change to something else) under the panel, directing forward at the feet so that the LEDs themselves and so that the point from them (the LEDs beat directionally) is not visible. Tomorrow or after tomorrow in the plans to stick in another backlight for the rear passengers. The backlight itself is ready, it remains to figure out how to bring it out and where to place the LEDs themselves. I fixed the wires with LEDs with construction tape (for now, because they didn't want to glue anything else in the cold. How warmer I will glue it differently, but at the same time I will decide whether to leave the backlight in this form or change to something else) under the panel, directing forward at the feet so that the LEDs themselves and so that the point from them (the LEDs beat directionally) is not visible. Tomorrow or after tomorrow in the plans to stick more lights for the rear passengers. The backlight itself is ready, it remains to figure out how to bring it out and where to place the LEDs themselves. I fixed the wires with LEDs with construction tape (for now, because they didn't want to glue anything else in the cold. How warmer I will glue it differently, but at the same time I will decide whether to leave the backlight in this form or change it to something else) under the panel, forward at the feet so that the LEDs themselves and so that the point from them (the LEDs beat directionally) is not visible. Tomorrow or after tomorrow in the plans to stick more lights for the rear passengers. The backlight itself is ready, it remains to figure out how to bring it out and where to place the LEDs themselves. so that the LEDs themselves and so that the point from them (the LEDs beat directionally) is not visible. Tomorrow or after tomorrow in the plans to stick more lights for the rear passengers. The backlight itself is ready, it remains to figure out how to bring it out and where to place the LEDs themselves. so that the LEDs themselves and so that the point from them (the LEDs beat directionally) is not visible. Tomorrow or after tomorrow in the plans to stick more lights for the rear passengers. The backlight itself is ready, it remains to figure out how to bring it out and where to place the LEDs themselves.
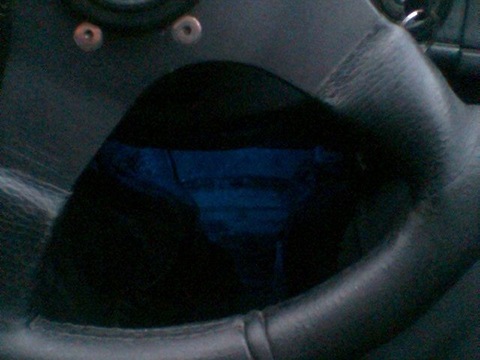
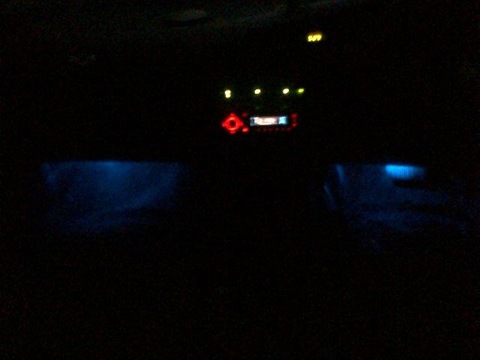
I will take pictures of how it looks in the car a little later. \ 01/24/2009 \ took pictures, but so far only from a mobile phone
