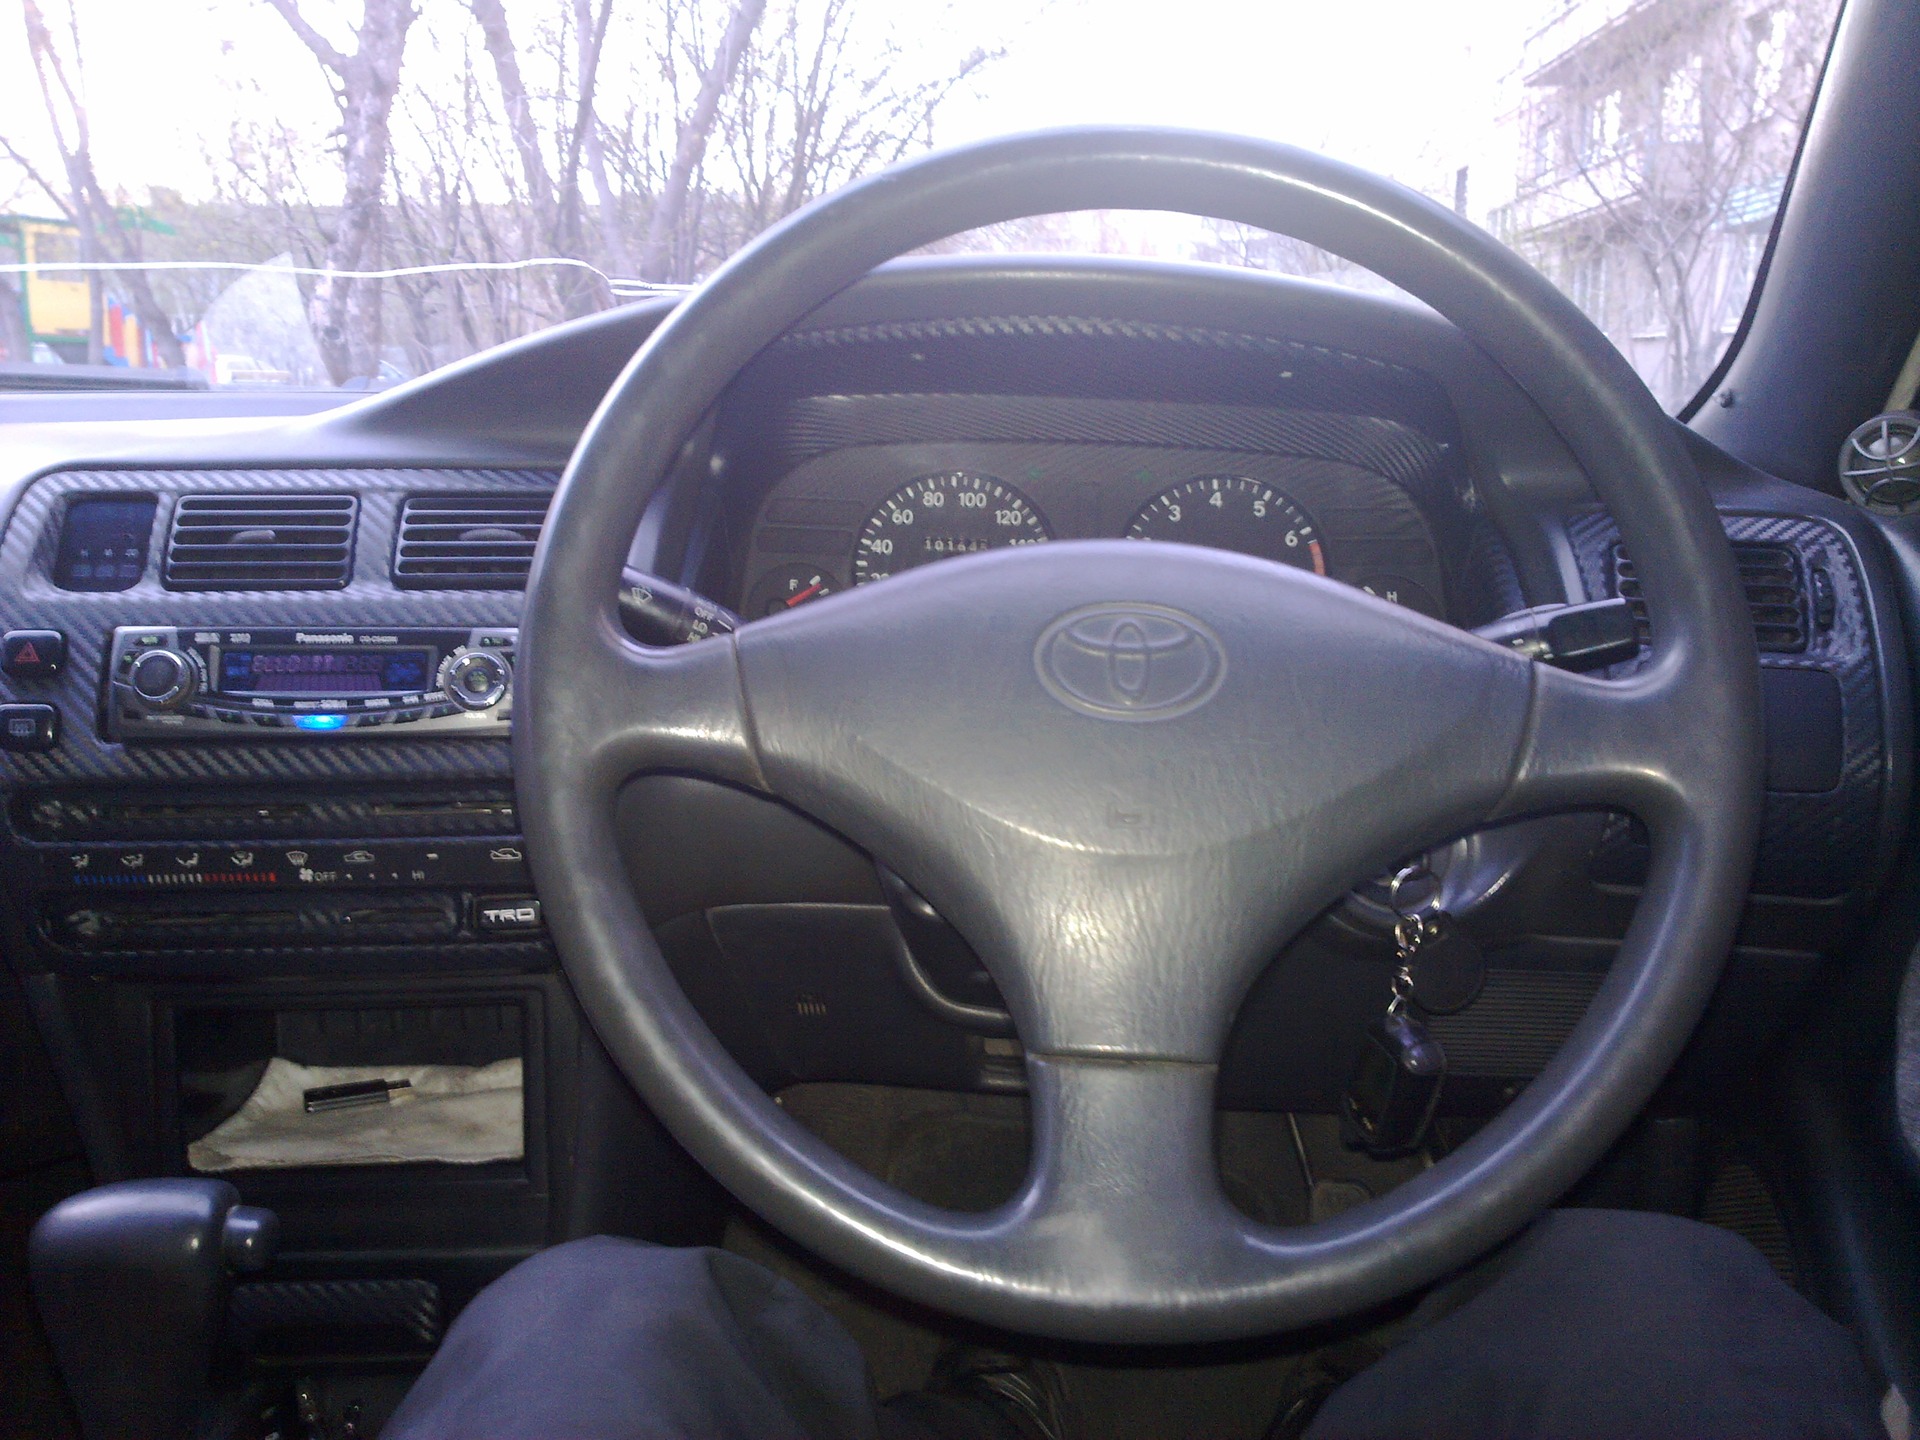
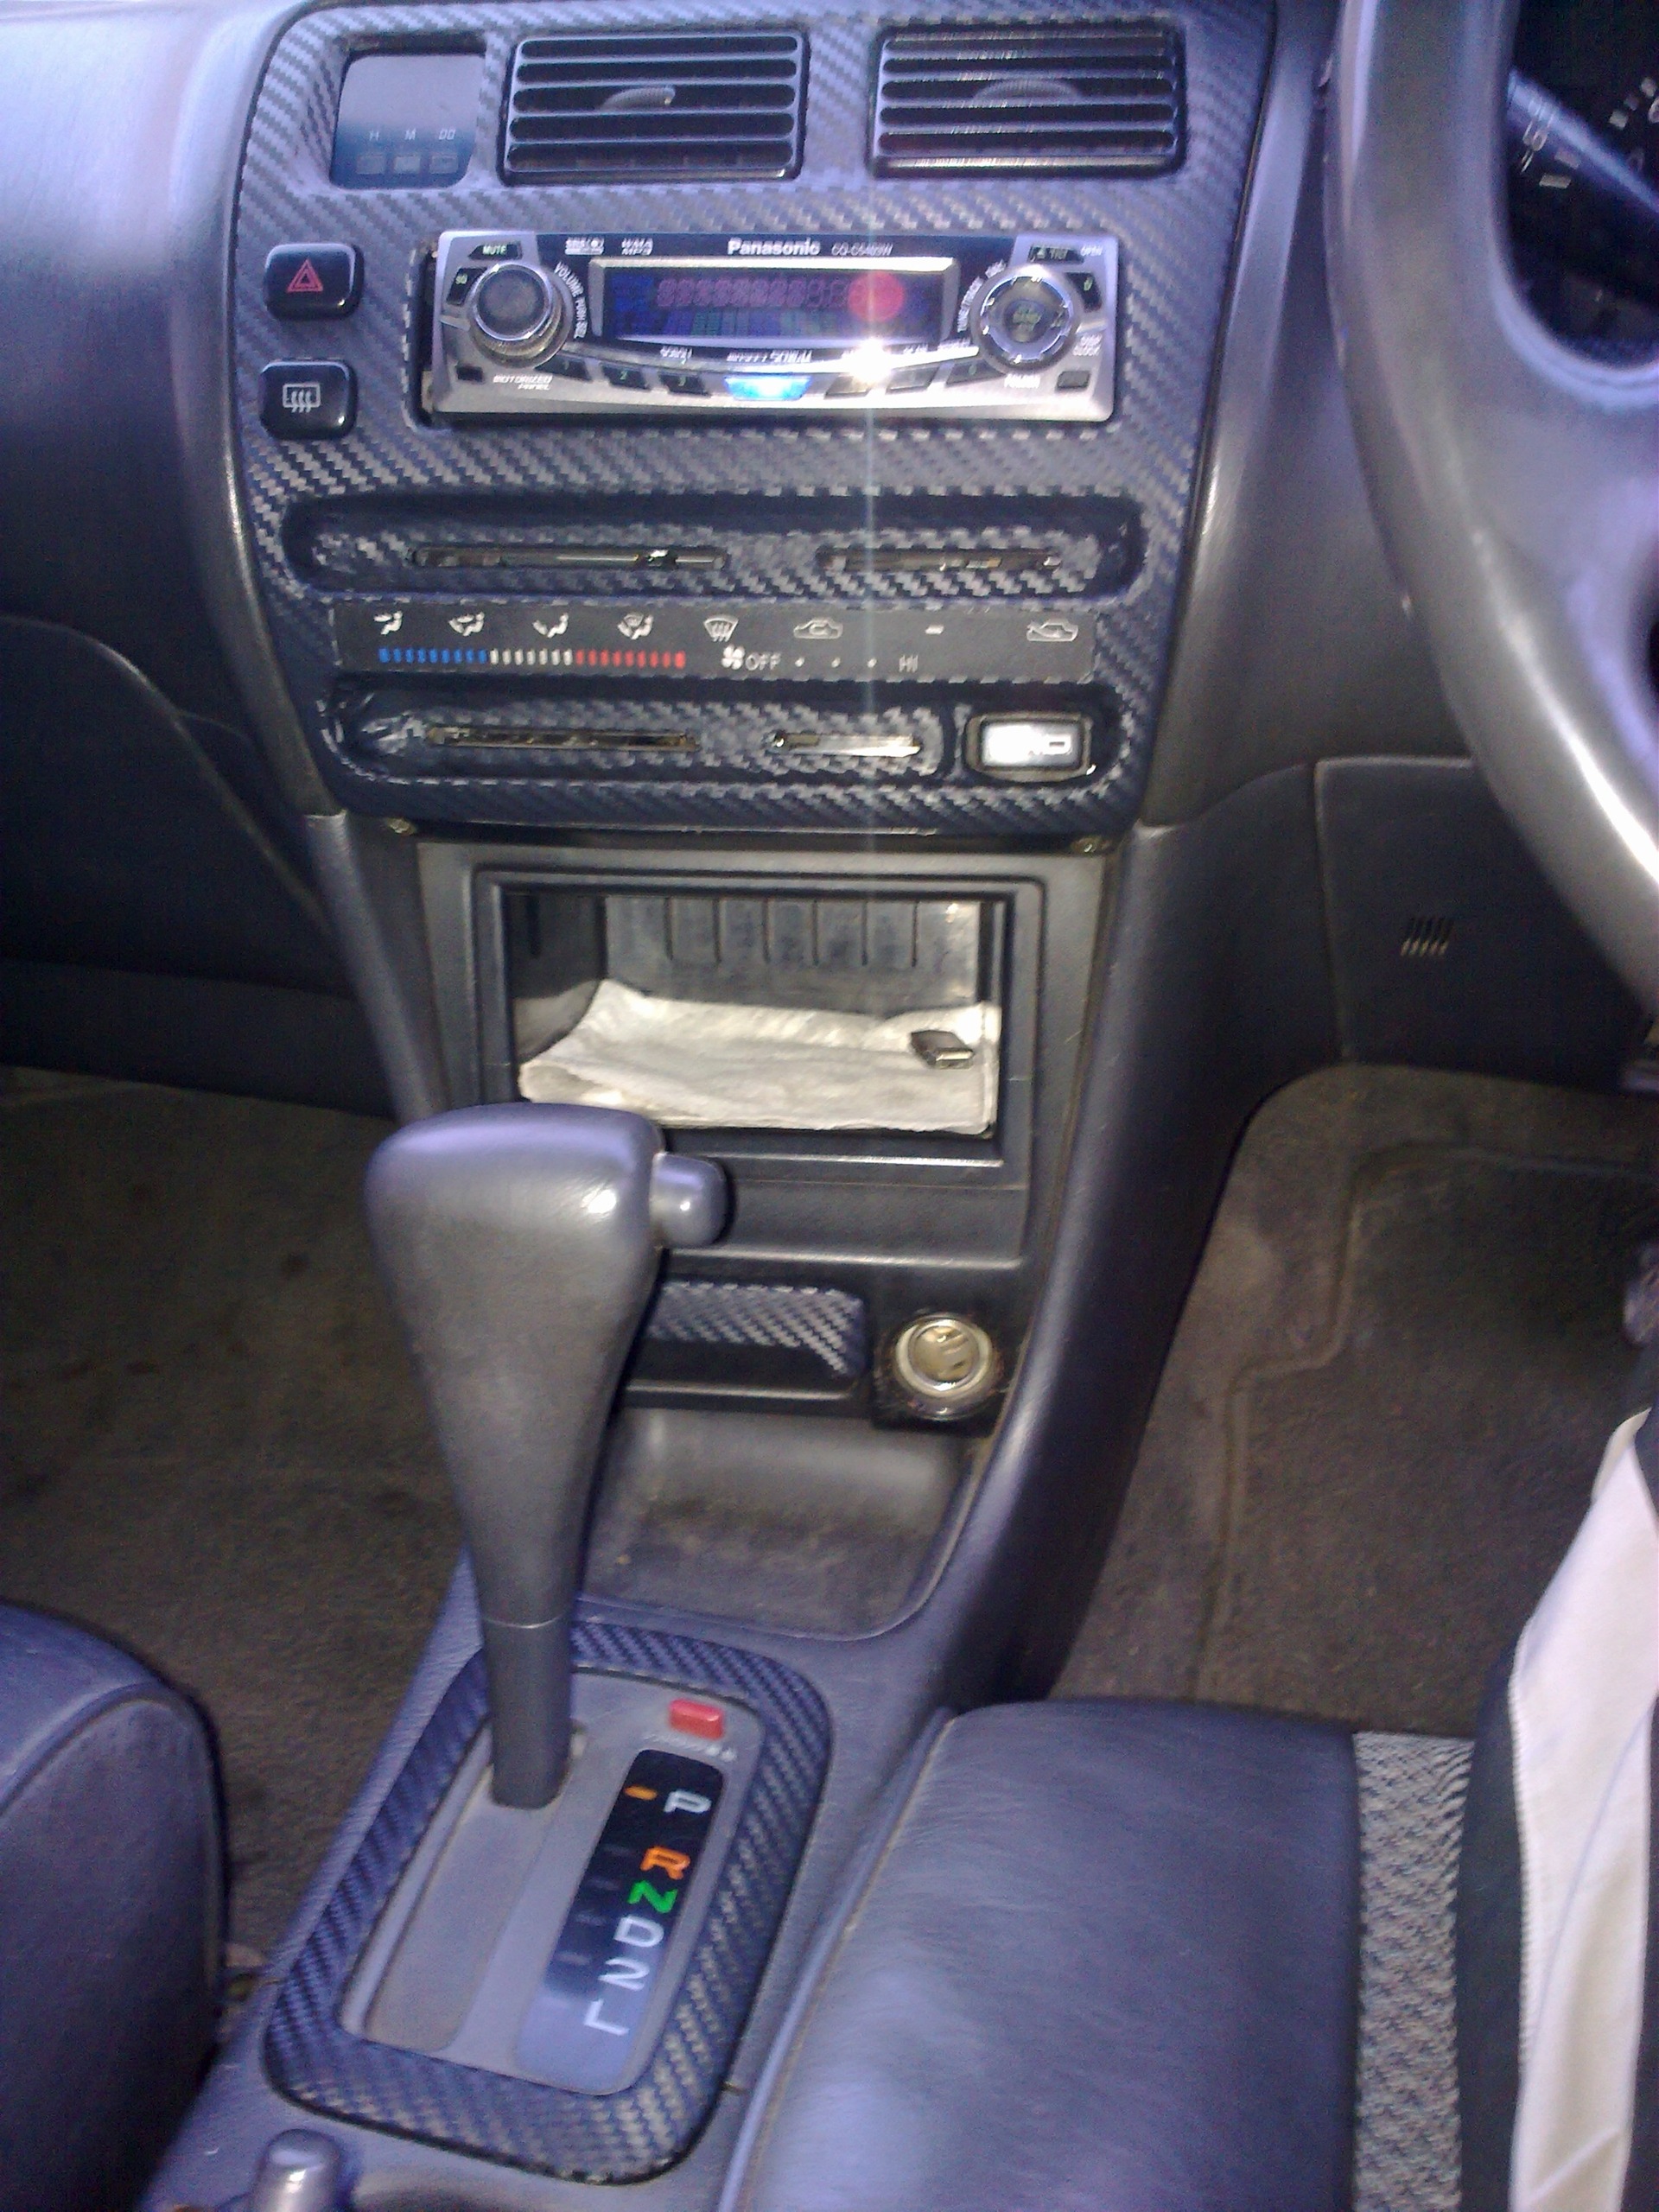
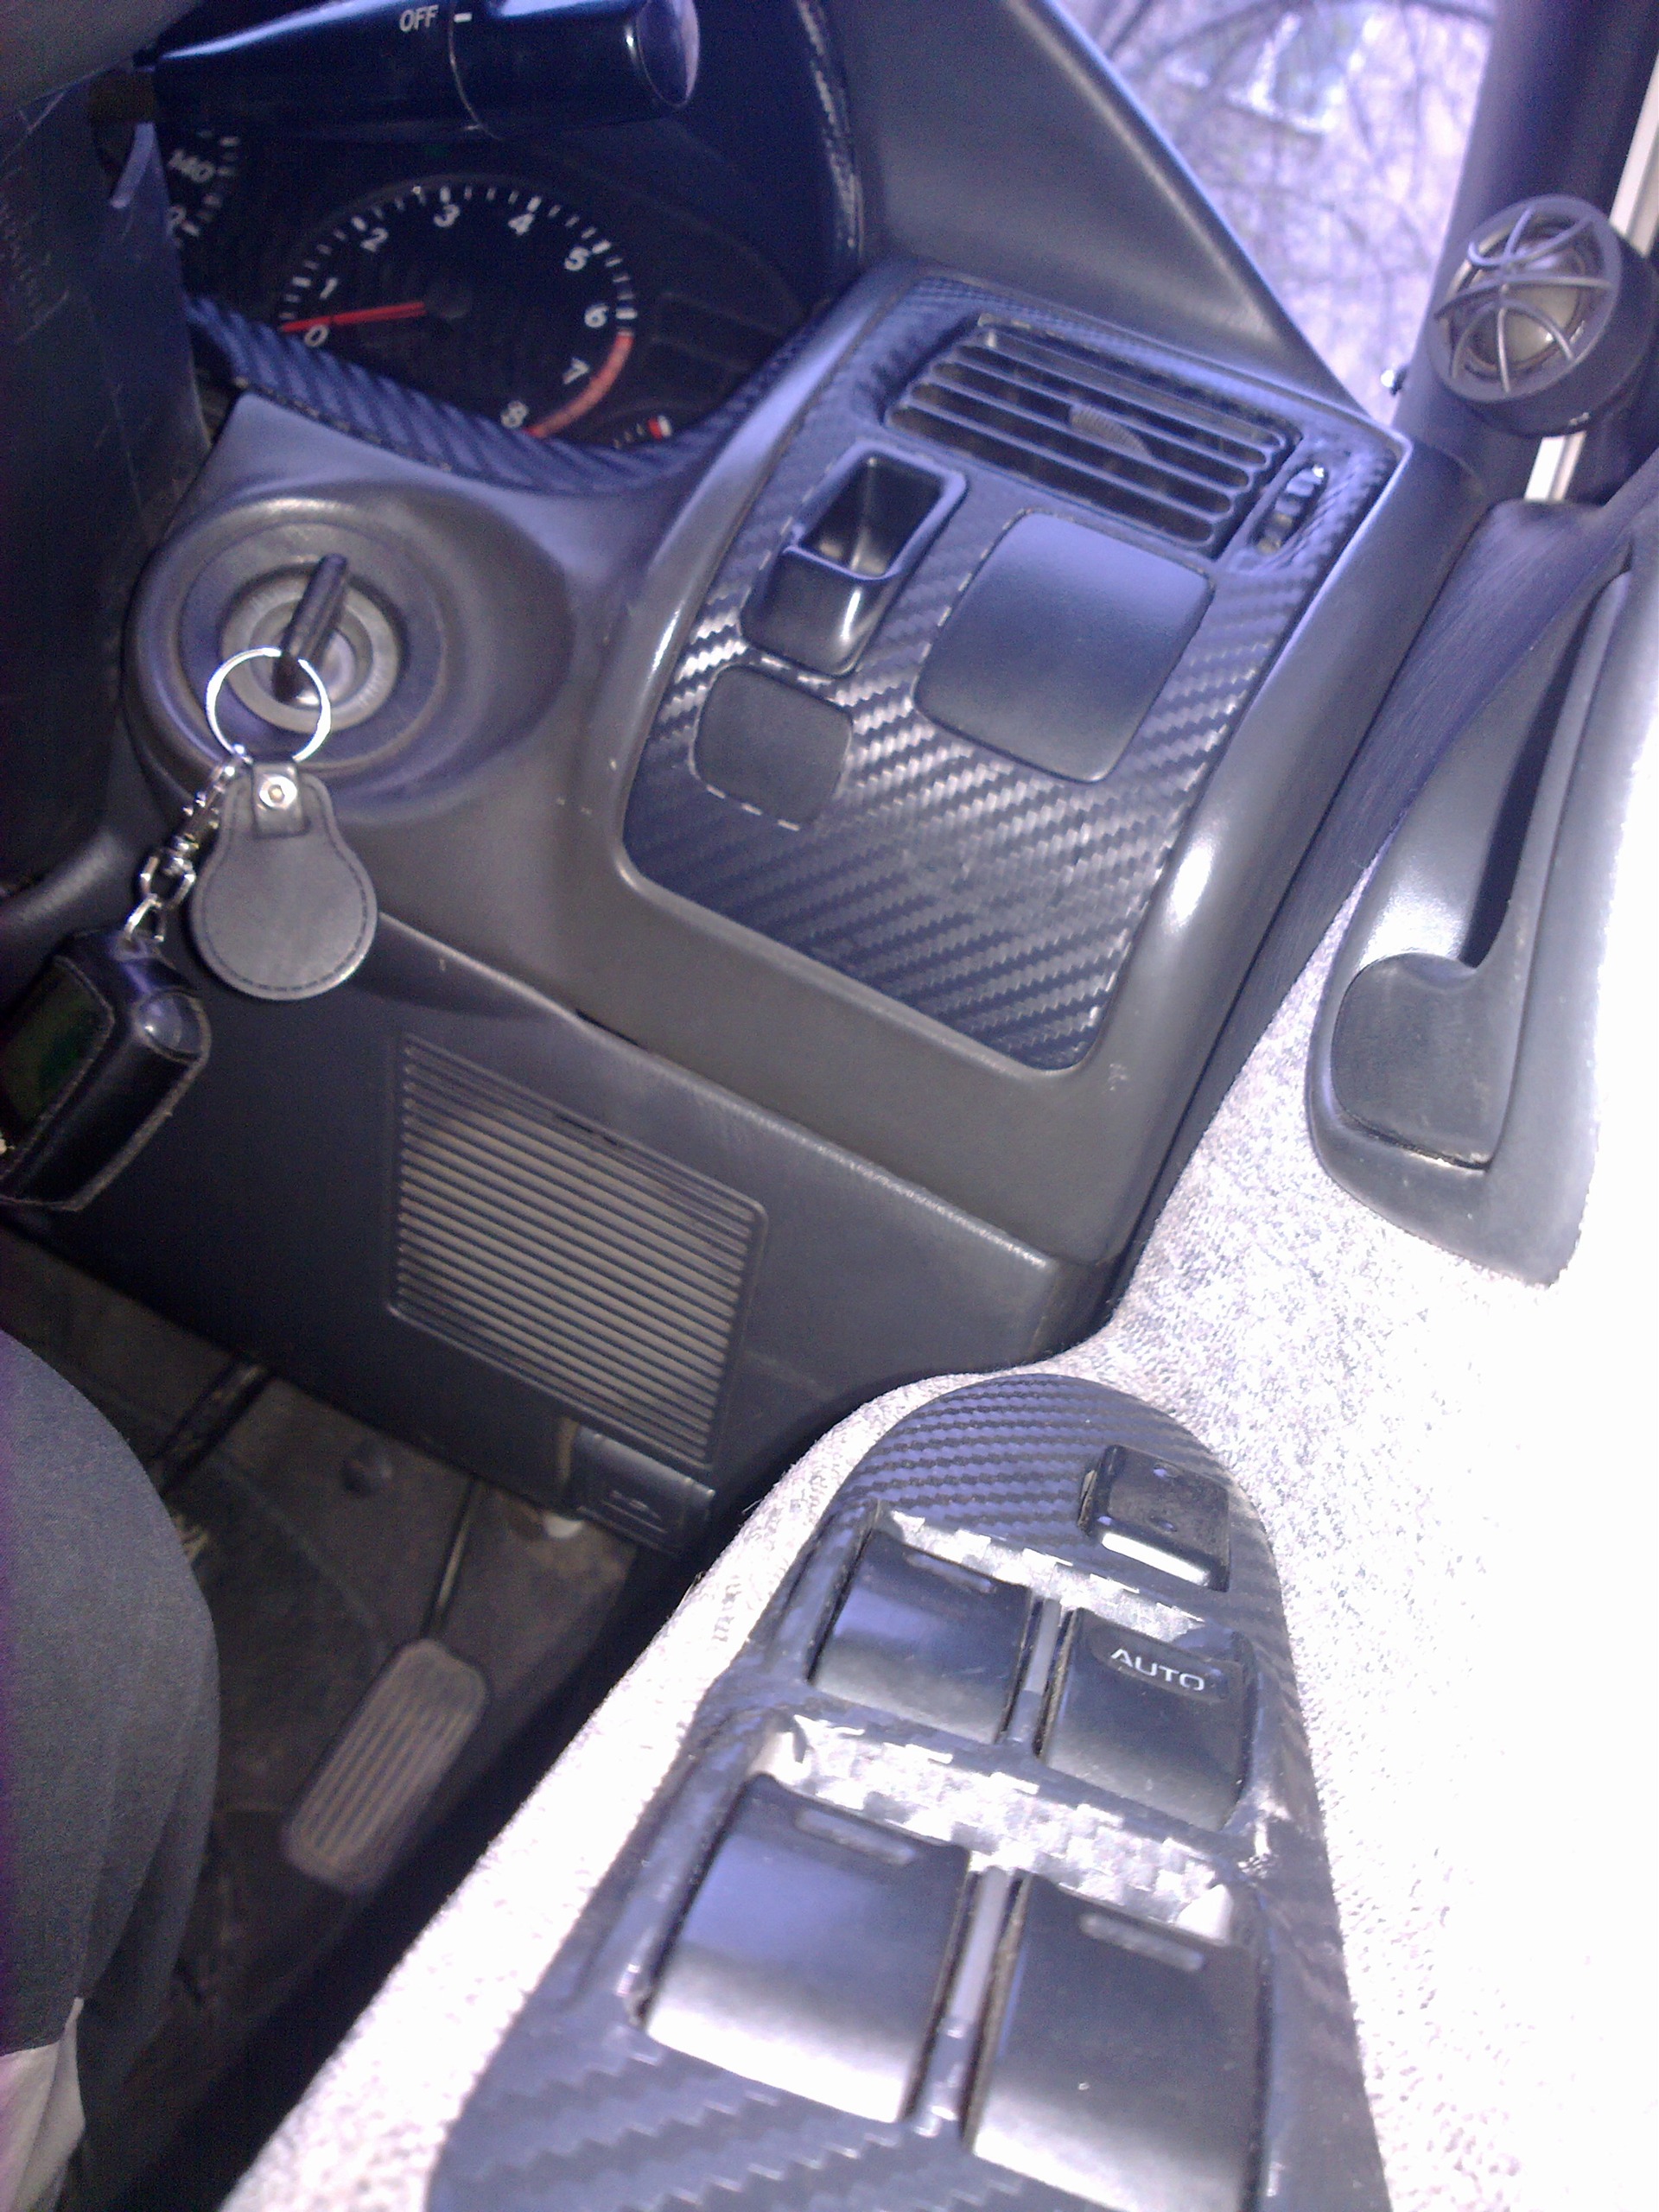
Interior carbonization 3Dcarbon*3M* — logbook Toyota Corolla 1992

After pranks with spray cans of silver paint, macaw tuning!) It was all meaningful, and with the initiative of a relative of alick, dark 3dcarbon was bought. I really didn’t like the light glare on the side glass from the painted panel ...
The process is quite simple, the interior part is dismantled at home with an ordinary hair dryer, it’s really more convenient with a construction hair dryer, we slowly but surely glue it with a film)
The central panel turned out to be the most difficult, it was painfully not comfortable central two cavities … I did some fiddling, but during the operation the shoals came out, especially after hot days, the film heats up and lags behind and shrinks in places, I have to glue it =)
The view immediately changed, I am very pleased.

 Issue price: 1 100 ₽
Yes, you need to learn by experience)
I realized for myself that the paint from the can was not too lazy and removed, because of it a lot of jambs got out)
They say that the film does not shrink and does not lag behind, it must be upset (warmed up well) with a building hair dryer, but I don’t know how this is done :(
I don’t know for sure, not all of the film was mine. Somewhere around a thousand wooden rubles) there is still a piece left.)
At first, yes) but now carbon is already moving into the category of kalhoz! :D But for me this is a very good option to hide the wear of the "time" to give a different look, and it's very pleasant to the touch.
Indeed, it looks cool! Put the frame on the mayfun, otherwise it’s not very good without it.
Sergey26
And why do you need a "hook" to the right of the steering wheel, next to the plugs? I've seen a lot of people like this, but no one says anything intelligibly.
under tokens, the Japanese at customs make payments with them
And why do you need a "hook" to the right of the steering wheel, next to the plugs? I've seen a lot of people like this, but no one says anything intelligibly.