slowly but surely :))) — logbook Toyota Land Cruiser Prado, 2000
Greetings to all :) It has been more than a month since the last entry in the magazine, and nevertheless, only today I managed to devote a day to the car. But this day was quite productive and I can say that I am again full of optimism and enthusiasm in building a show car :) )
Yesterday I did a general cleaning in the garage - took out a bunch of garbage (as usual :)), wiped off almost the entire floor (from the remnants of Shumka, tar, etc.) - so today it was just PLEASANT to work clean and tidy :))))
So, let's go:
first of all, we saw off everything superfluous from the side skins / panels, in general, everything that prevents the back door from closing normally :)
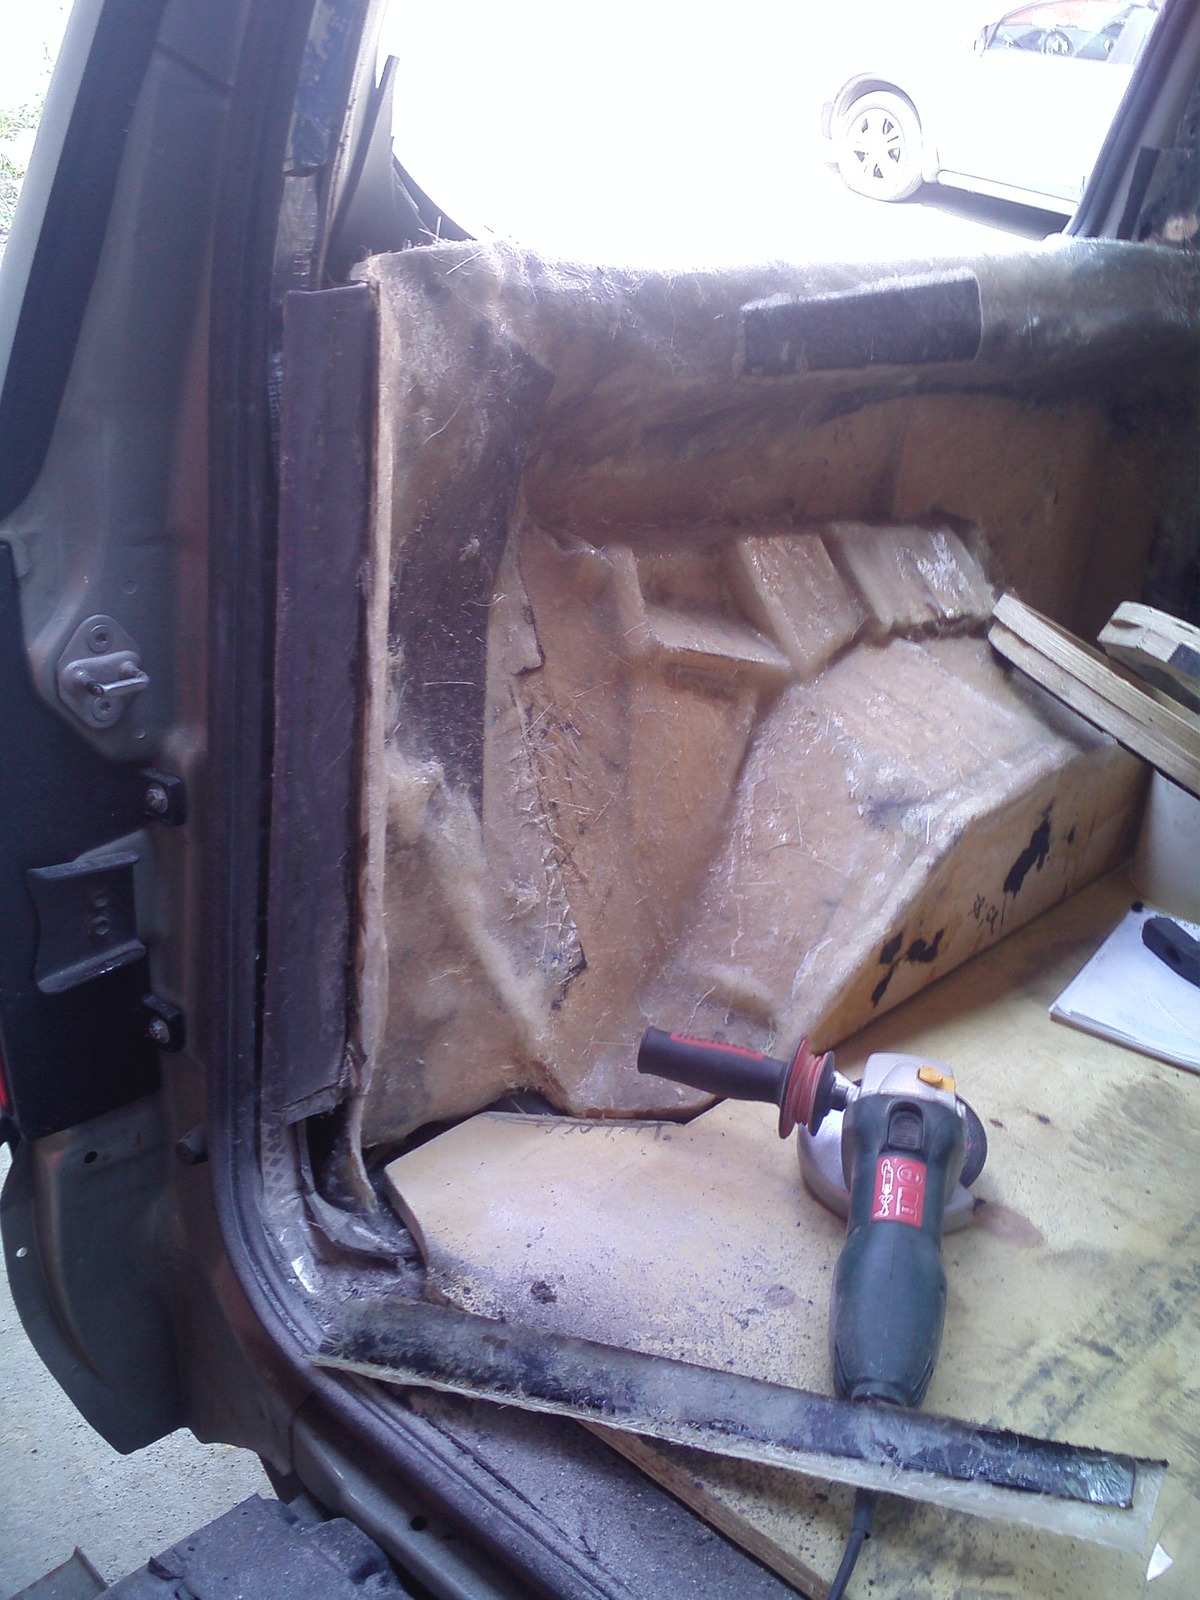
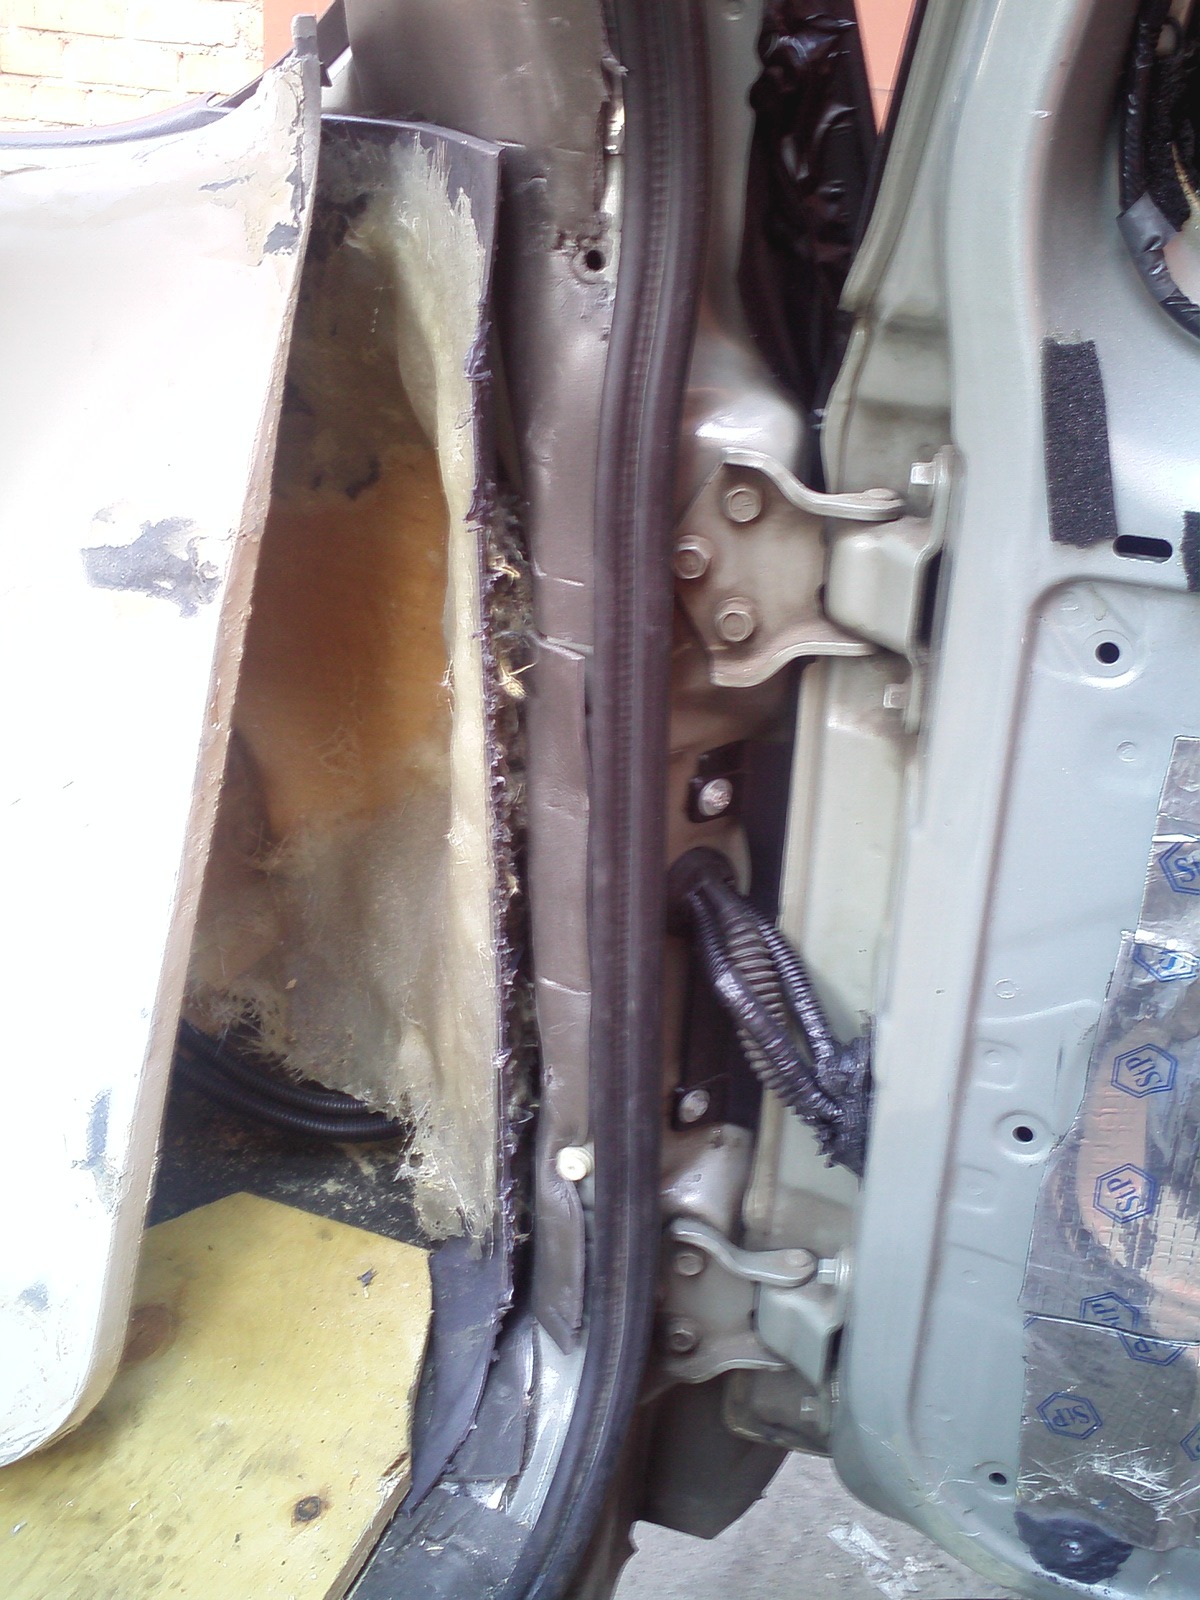
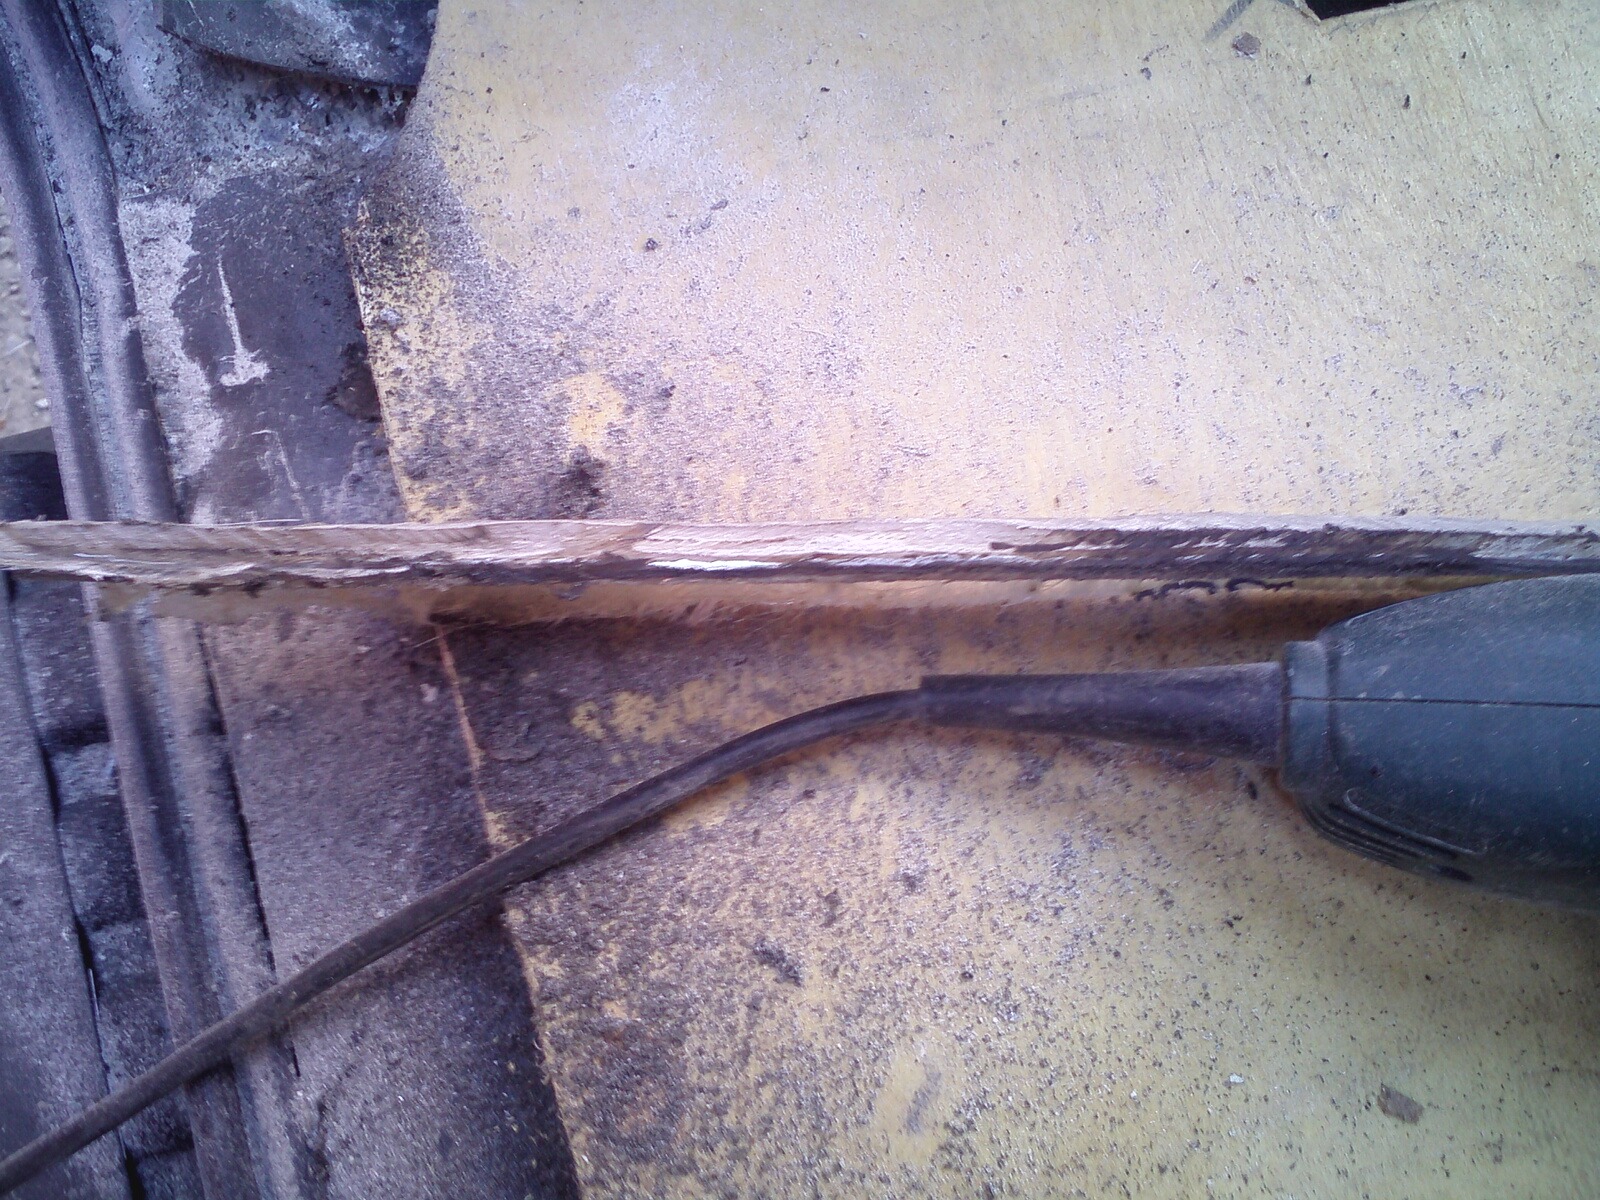
Of course, it's a shame that double work turns out - at first I increased the thickness of these sheathing - now I have to cut it off, but there's nothing to be done ... the thickness turned out to be quite normal, by the way, there was dust :)))
Next, we expose the first ring:
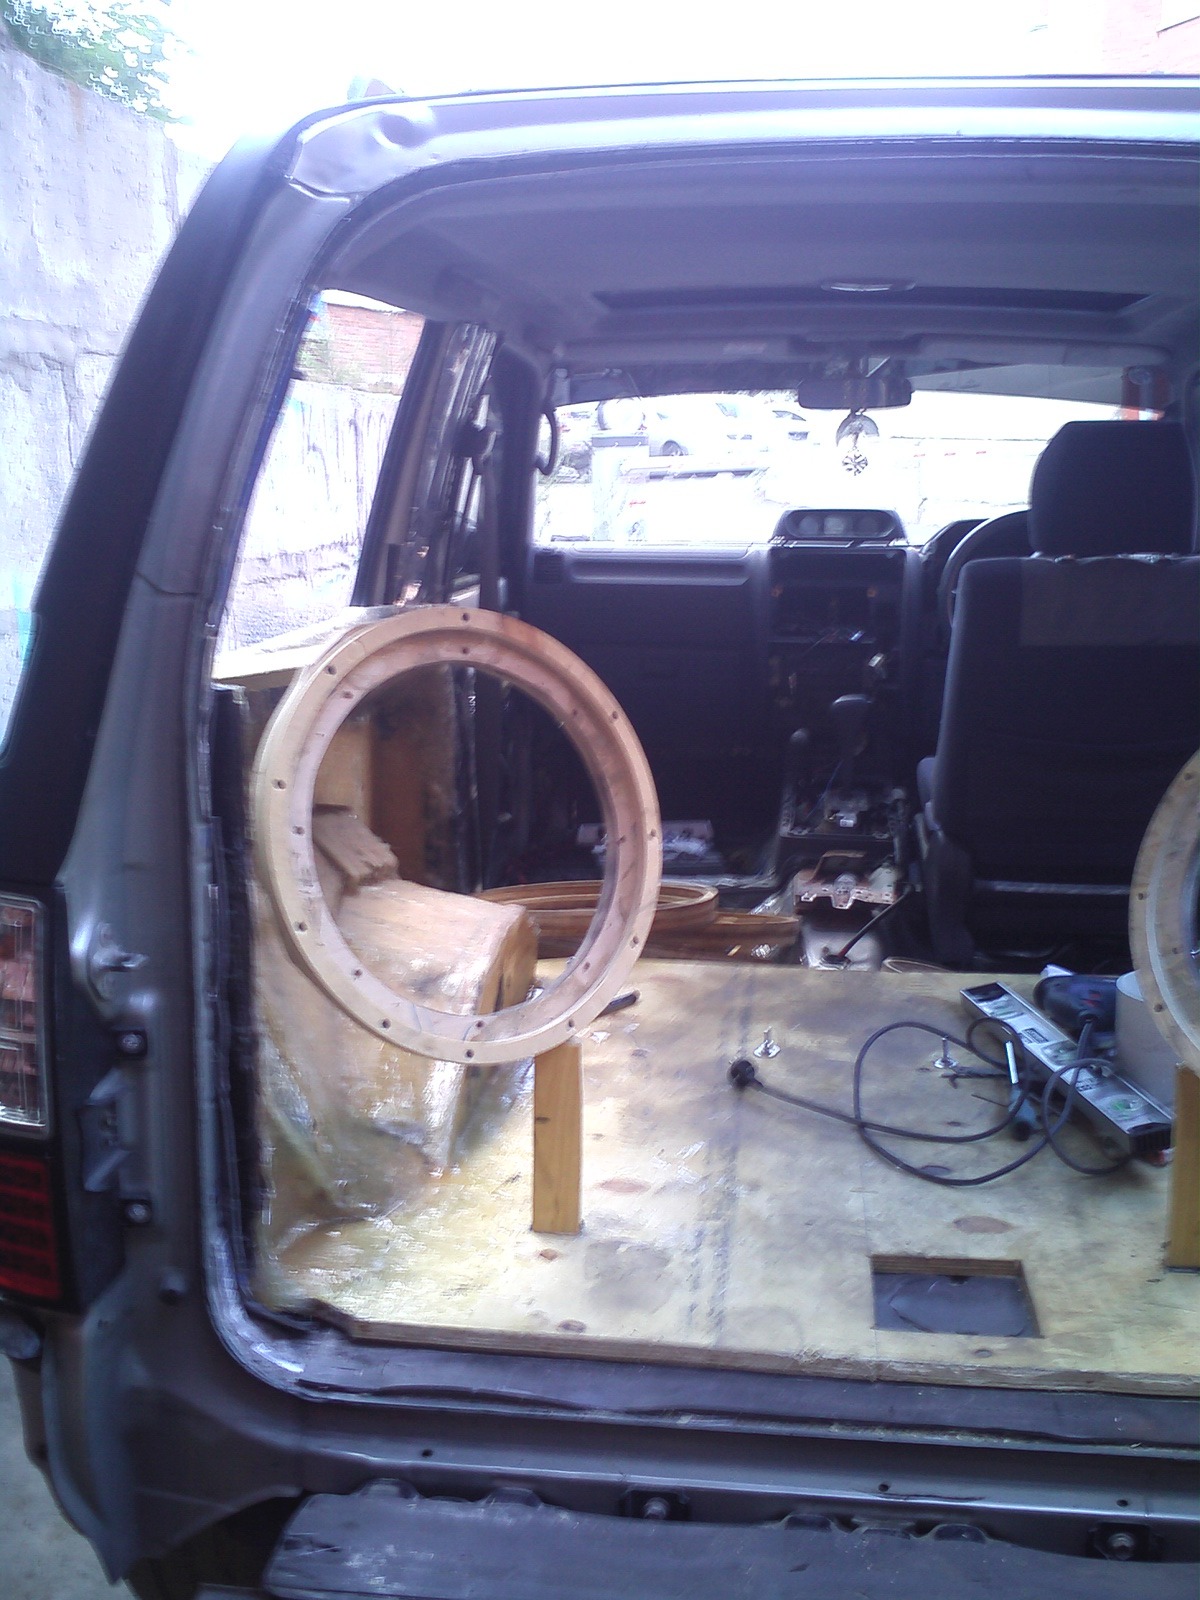
Exhibiting the second
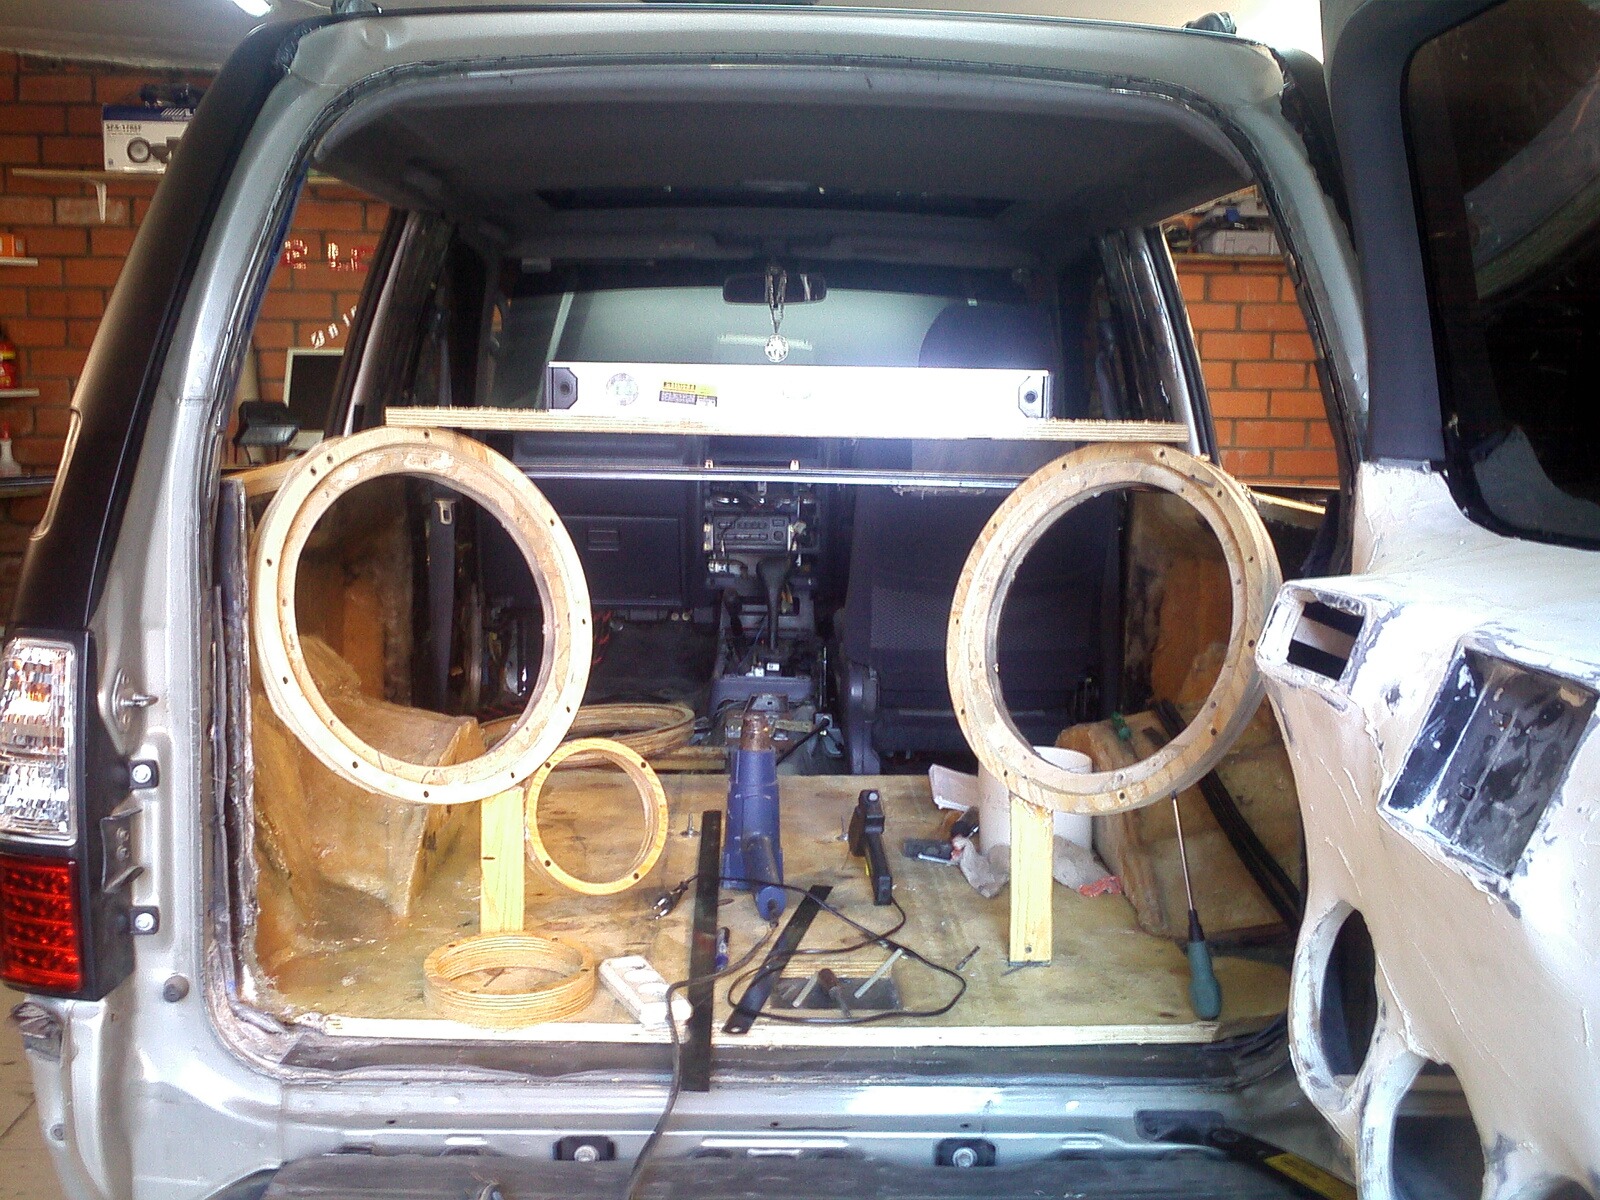
And this is where the specific ass begins ...
because. the skins are not identical, and there’s nothing to attach to (because we don’t have a salon) - it’s QUITE hard to set the rings the same
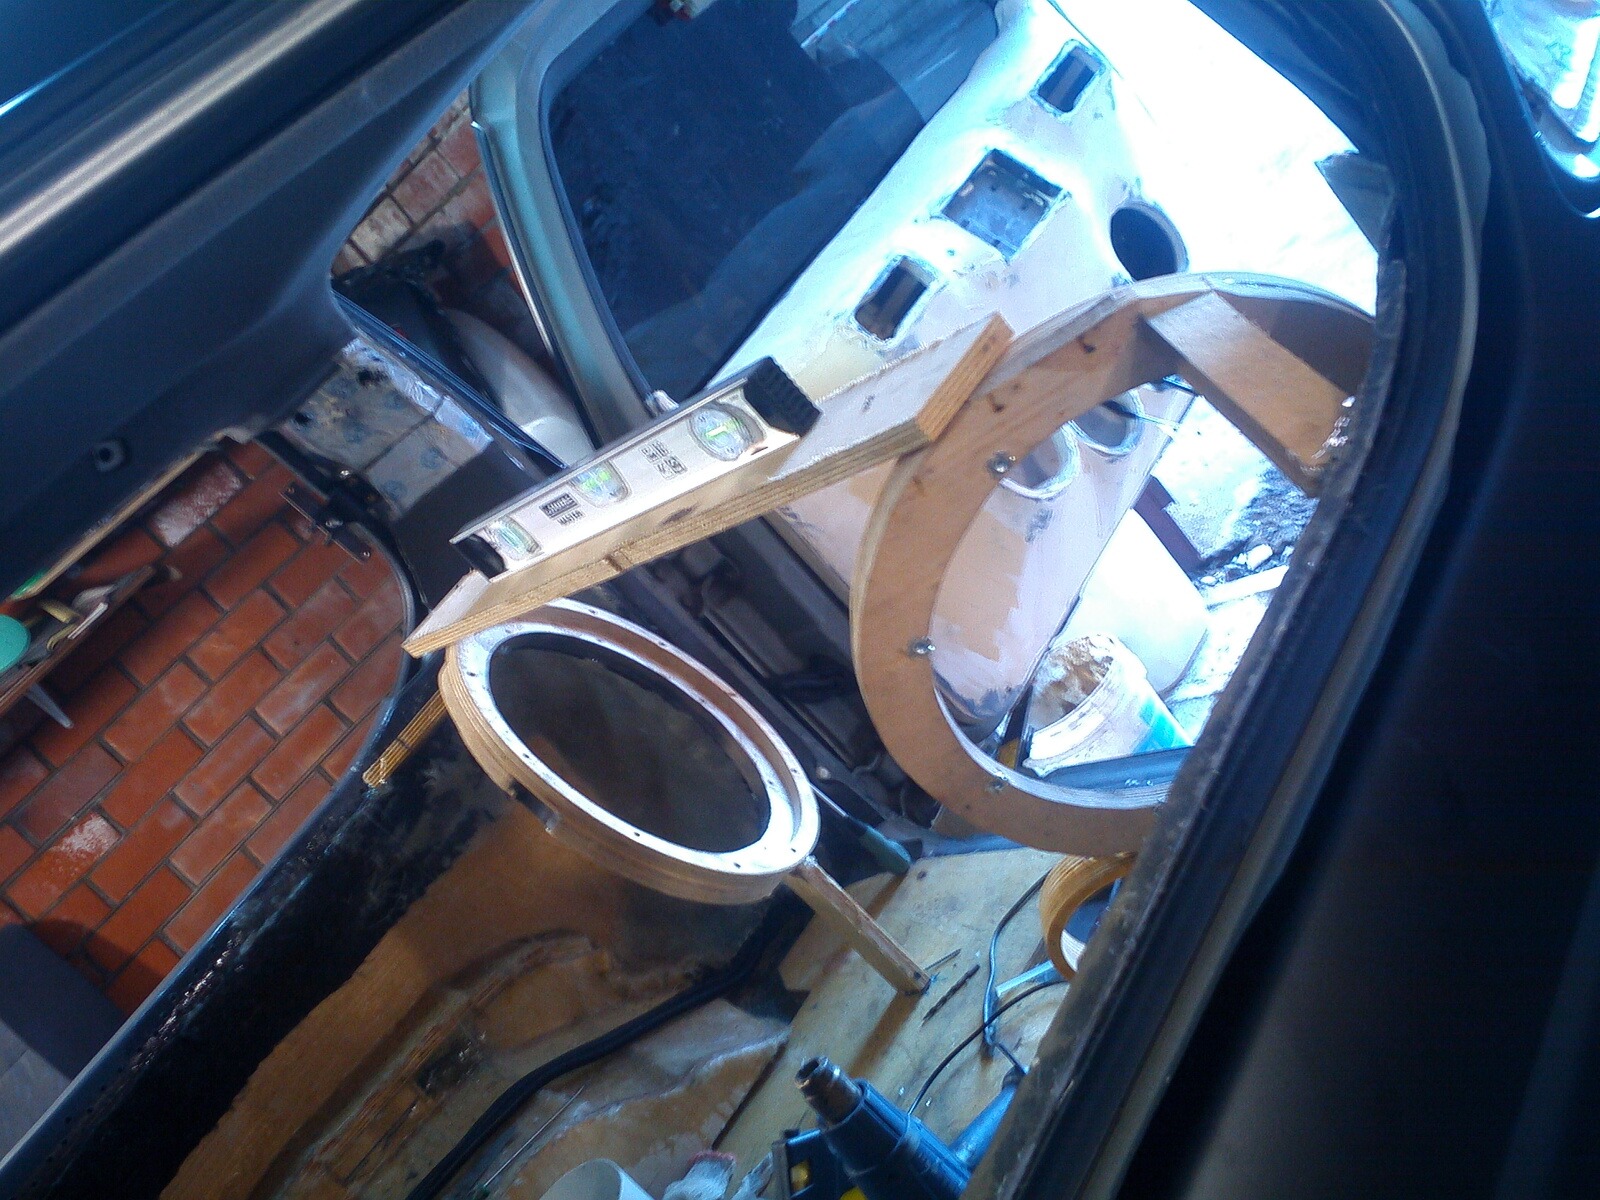
levels, rulers, roulettes, everything that was at hand - everything was in business :) Special thanks to Roma Dziro (here on the site :) ) who came and helped me with this difficult task!
because there weren't enough hands!
closed door view:
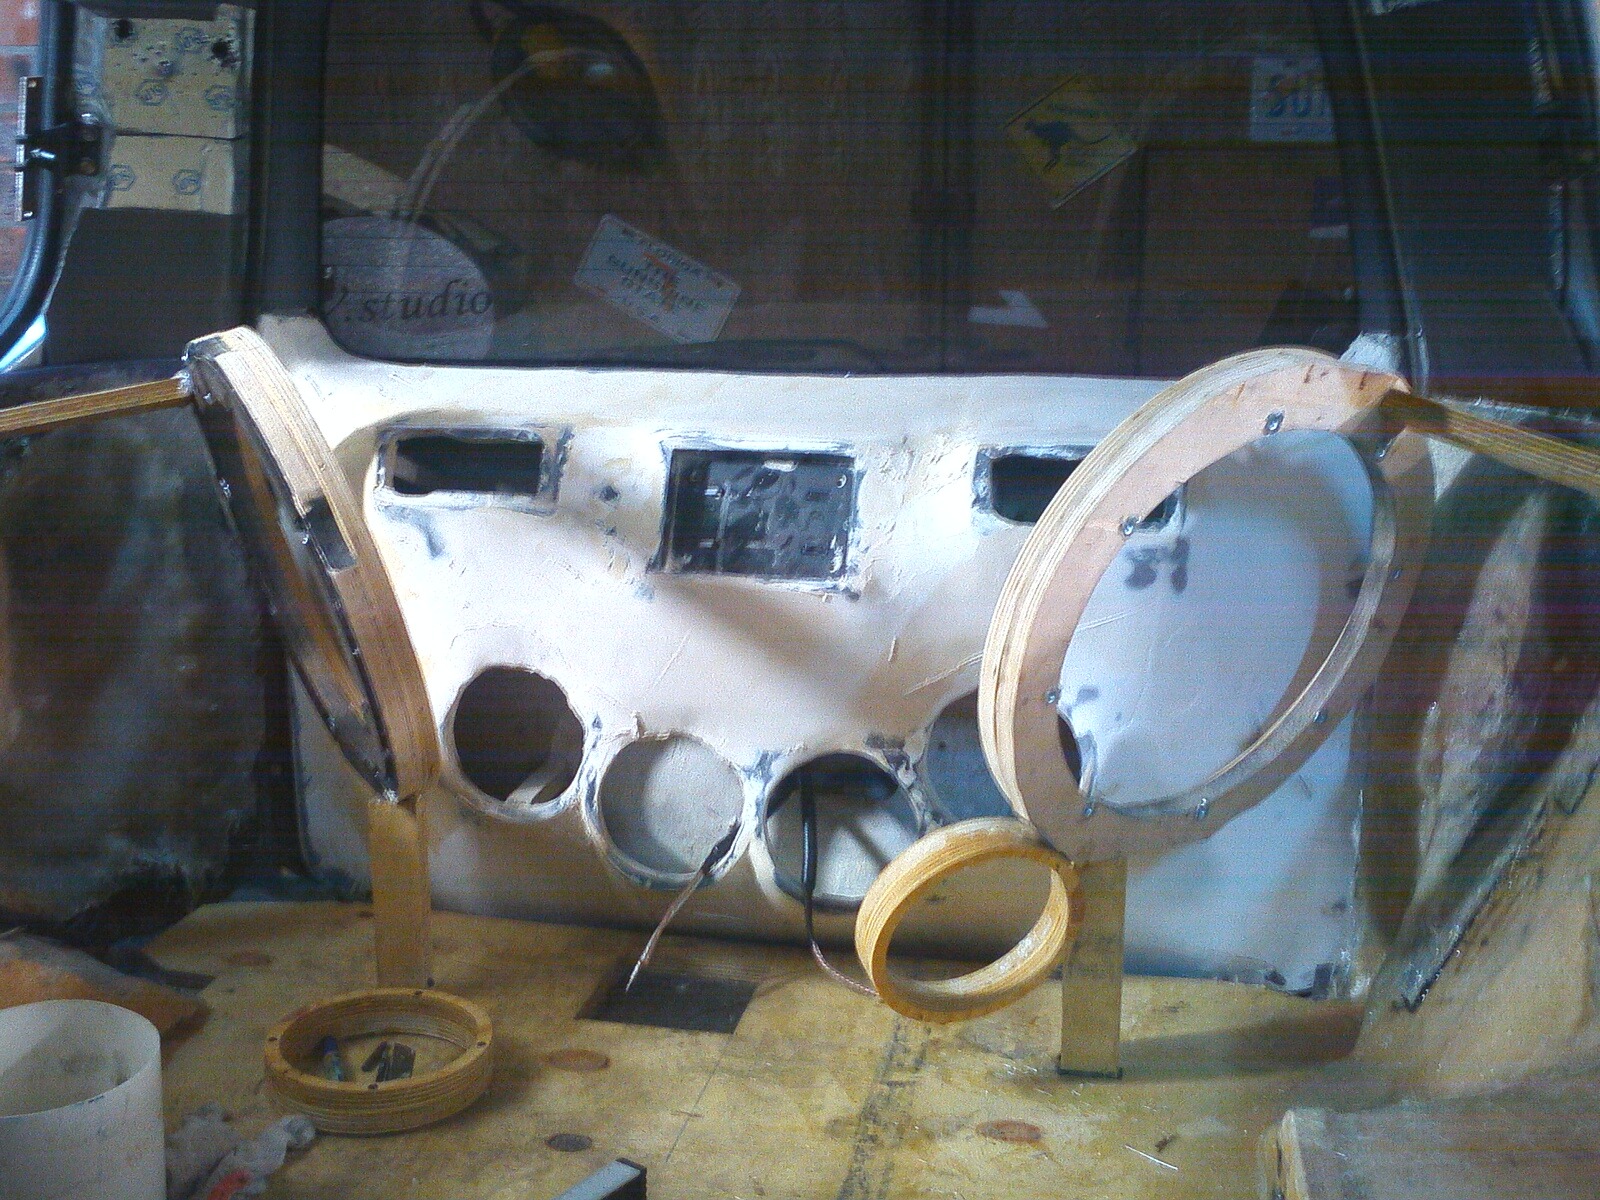
in short, just GOOD :)
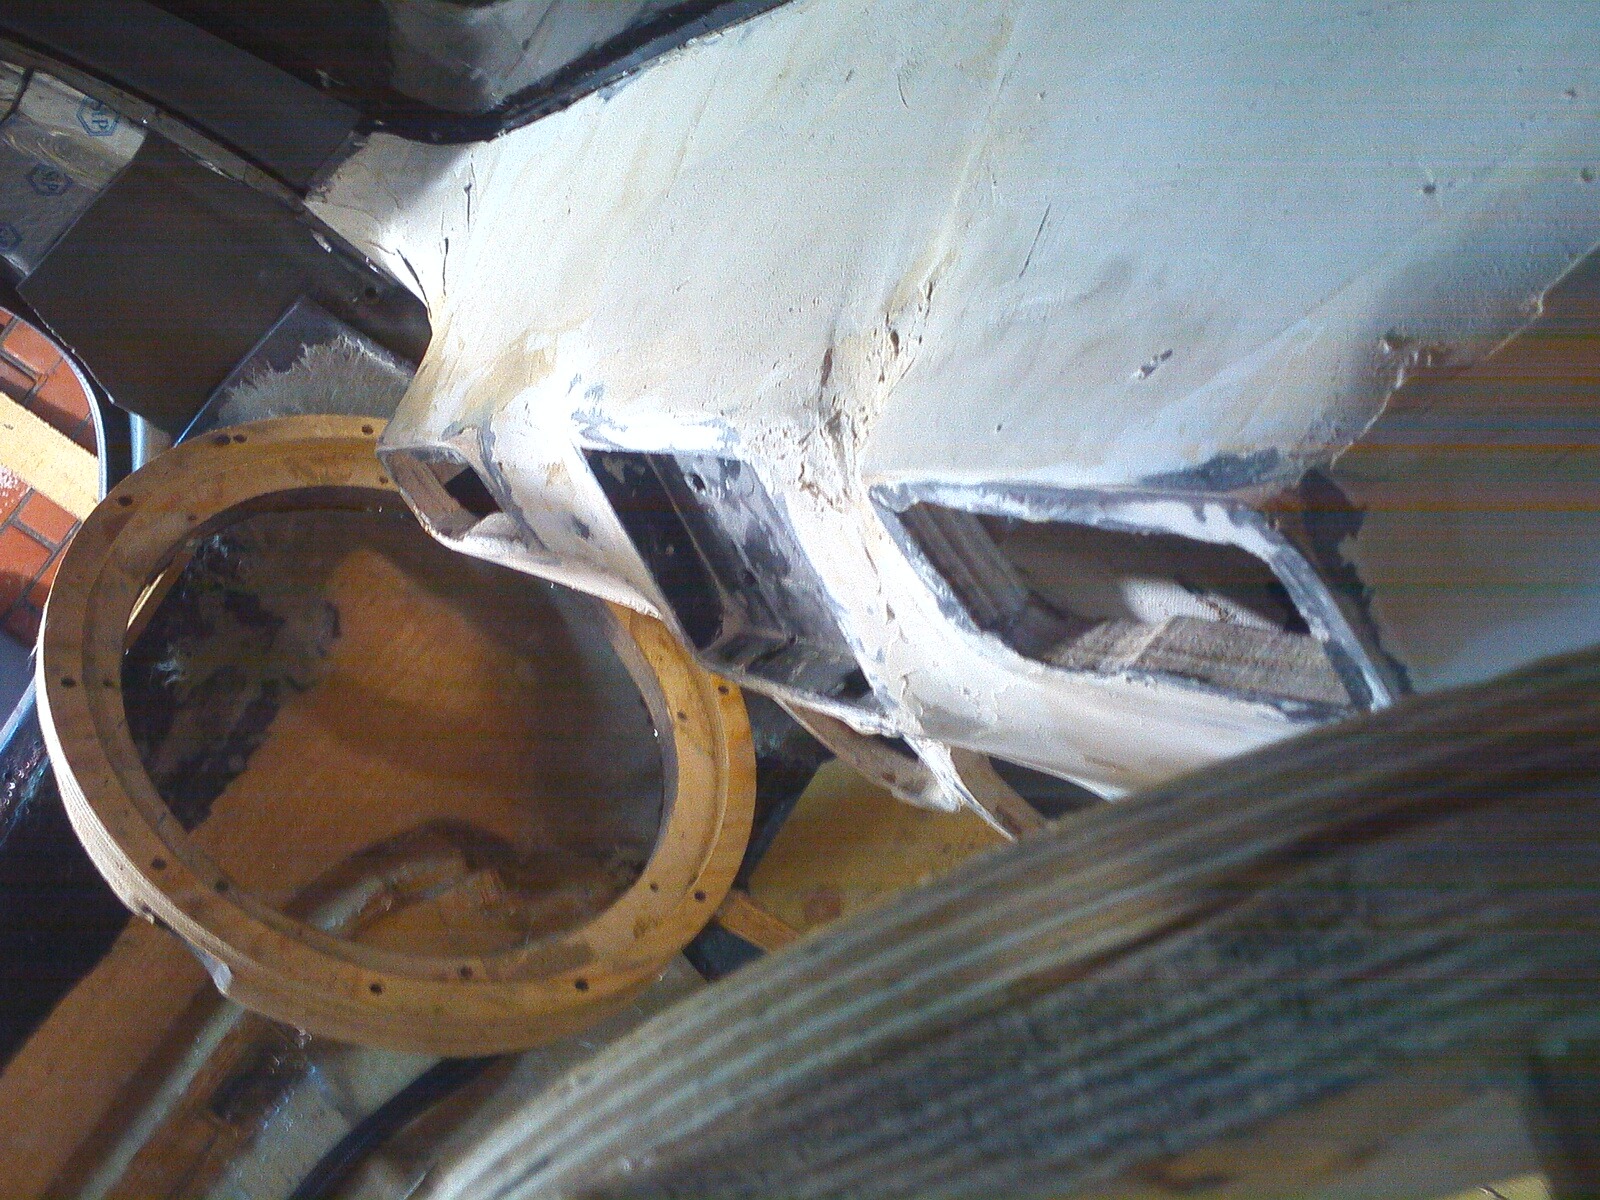
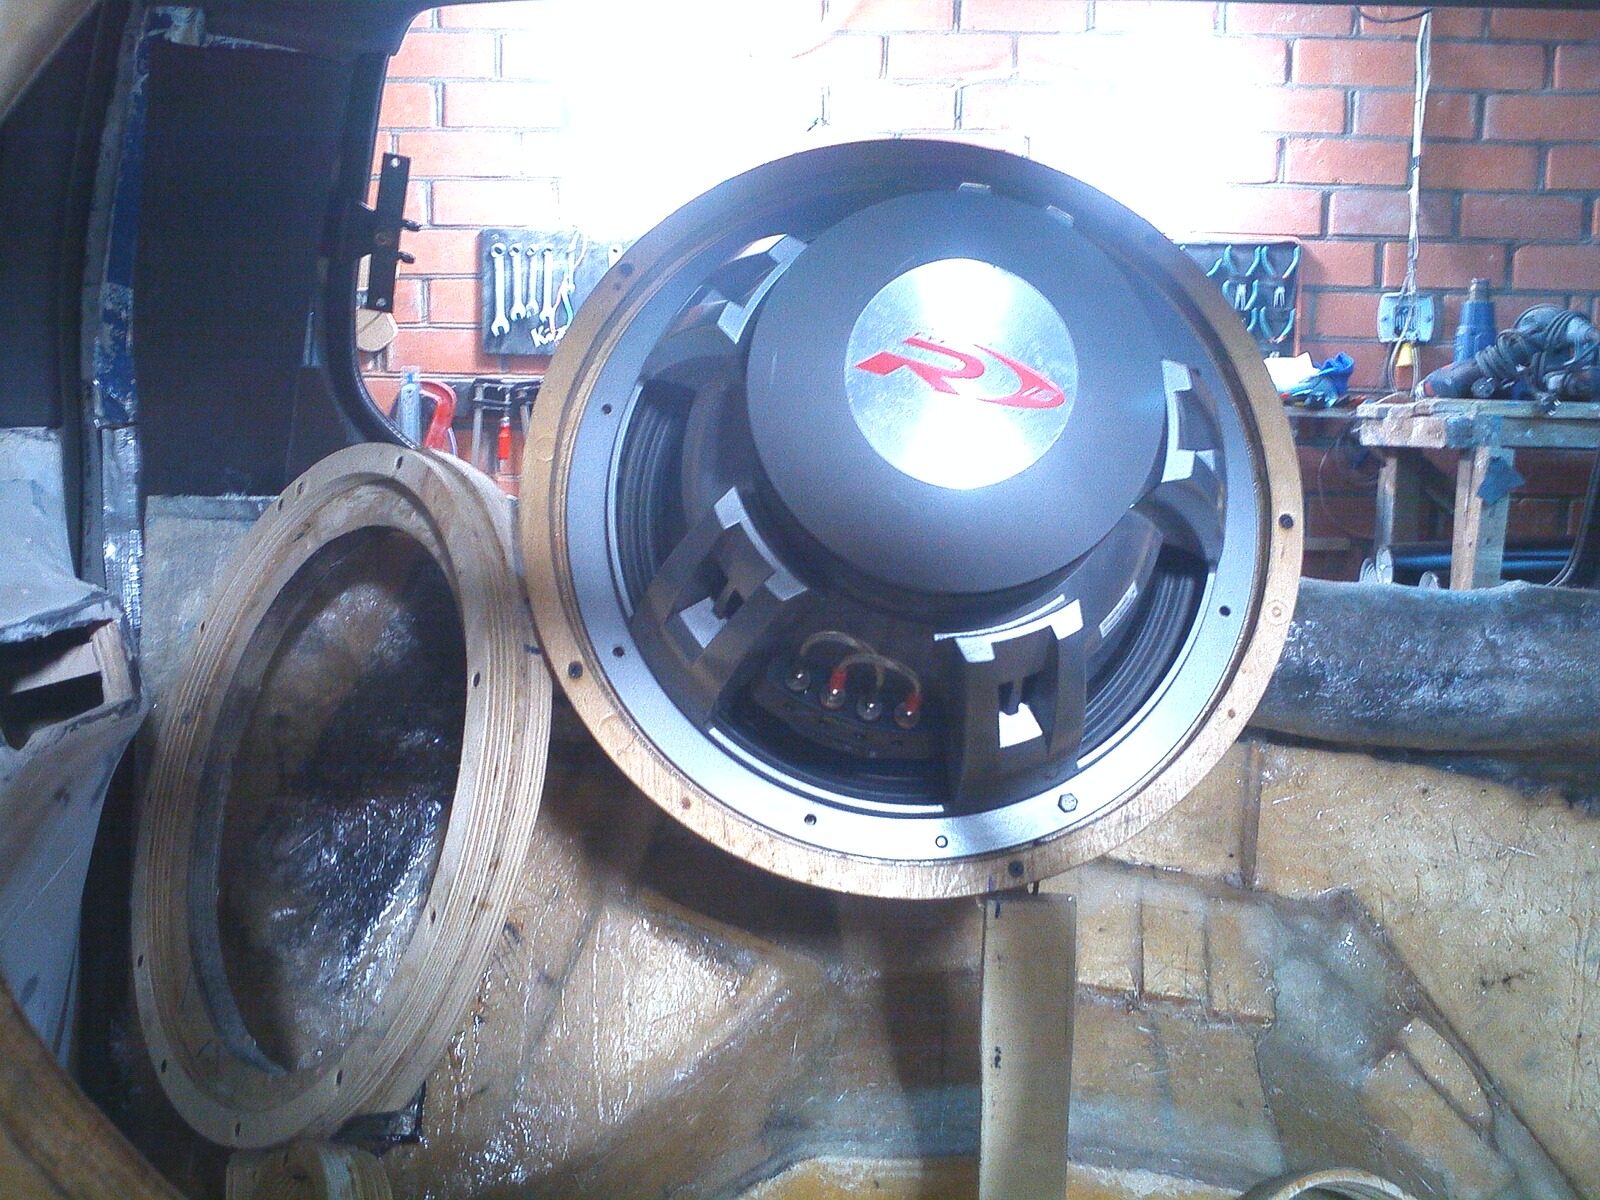
after strengthening the rings (with screws to the floor, sheathing, in short, almost to death) - I try on the speaker
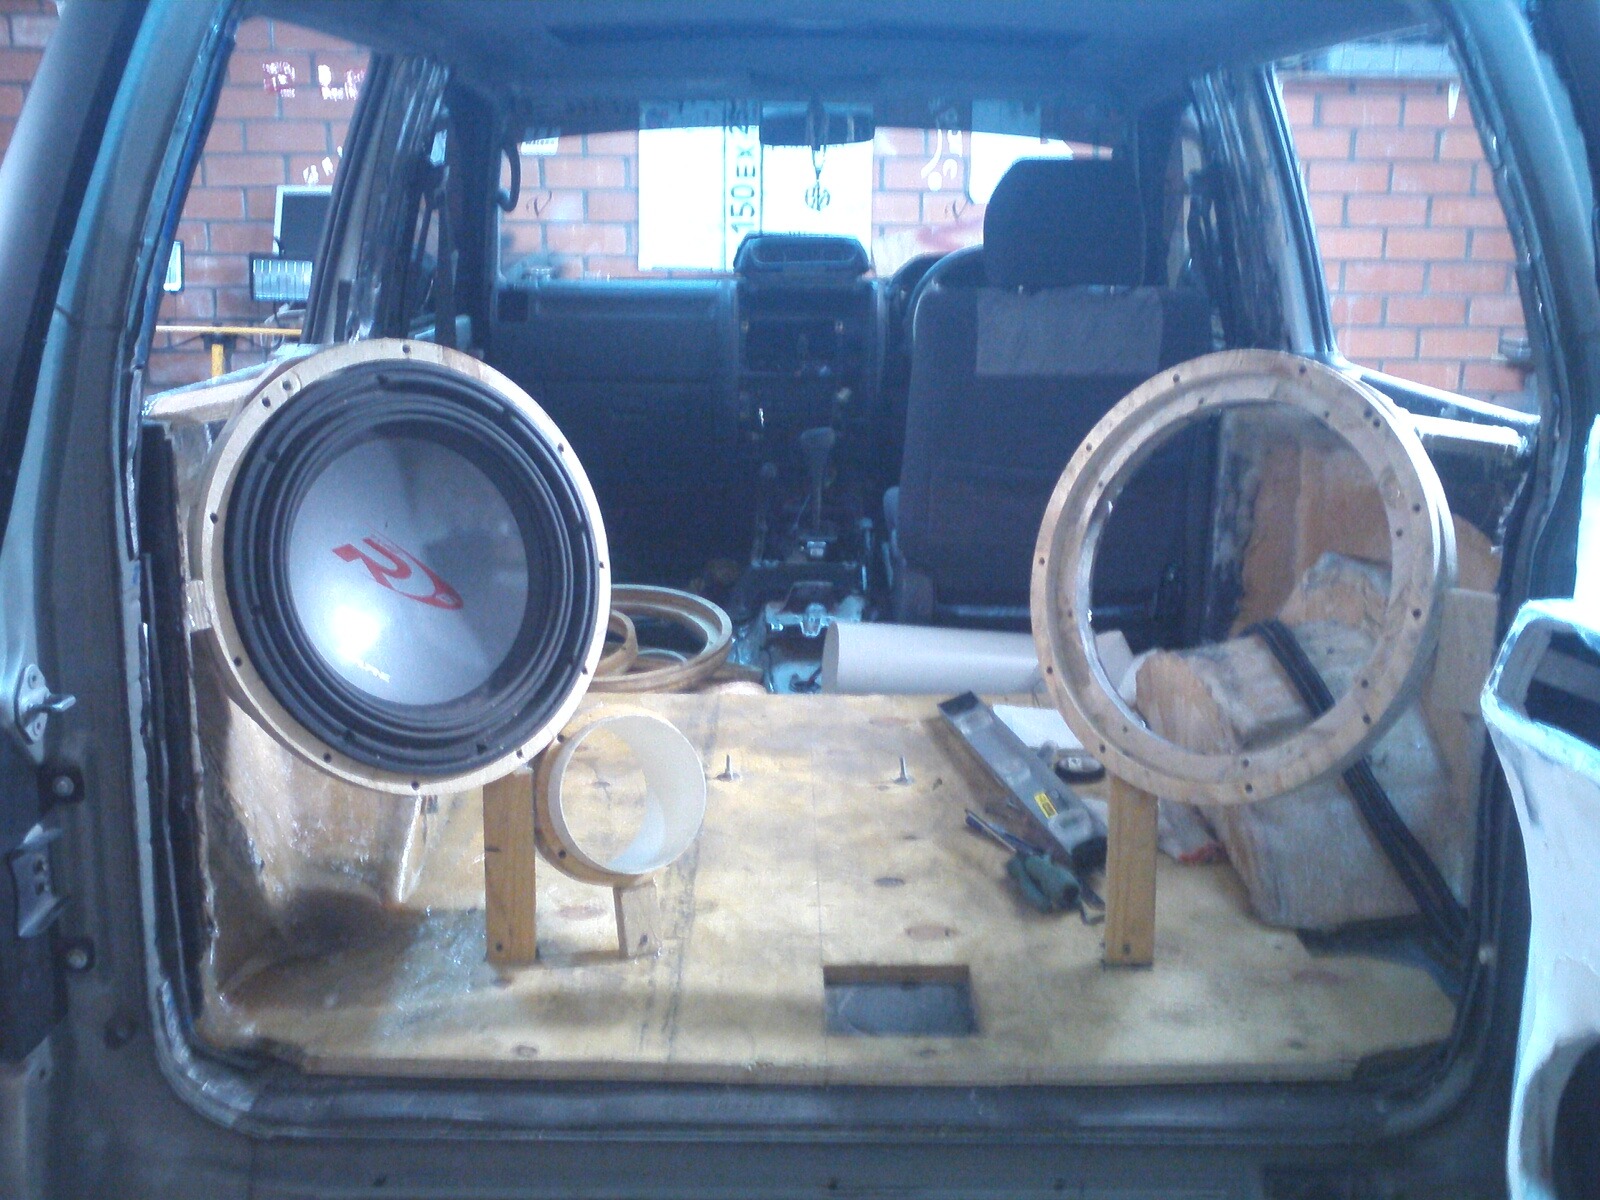
if the ring calmly holds 15kg dyn, then it means that the kmk is strengthened normally, the ring for the fazik is also already in its rightful place!
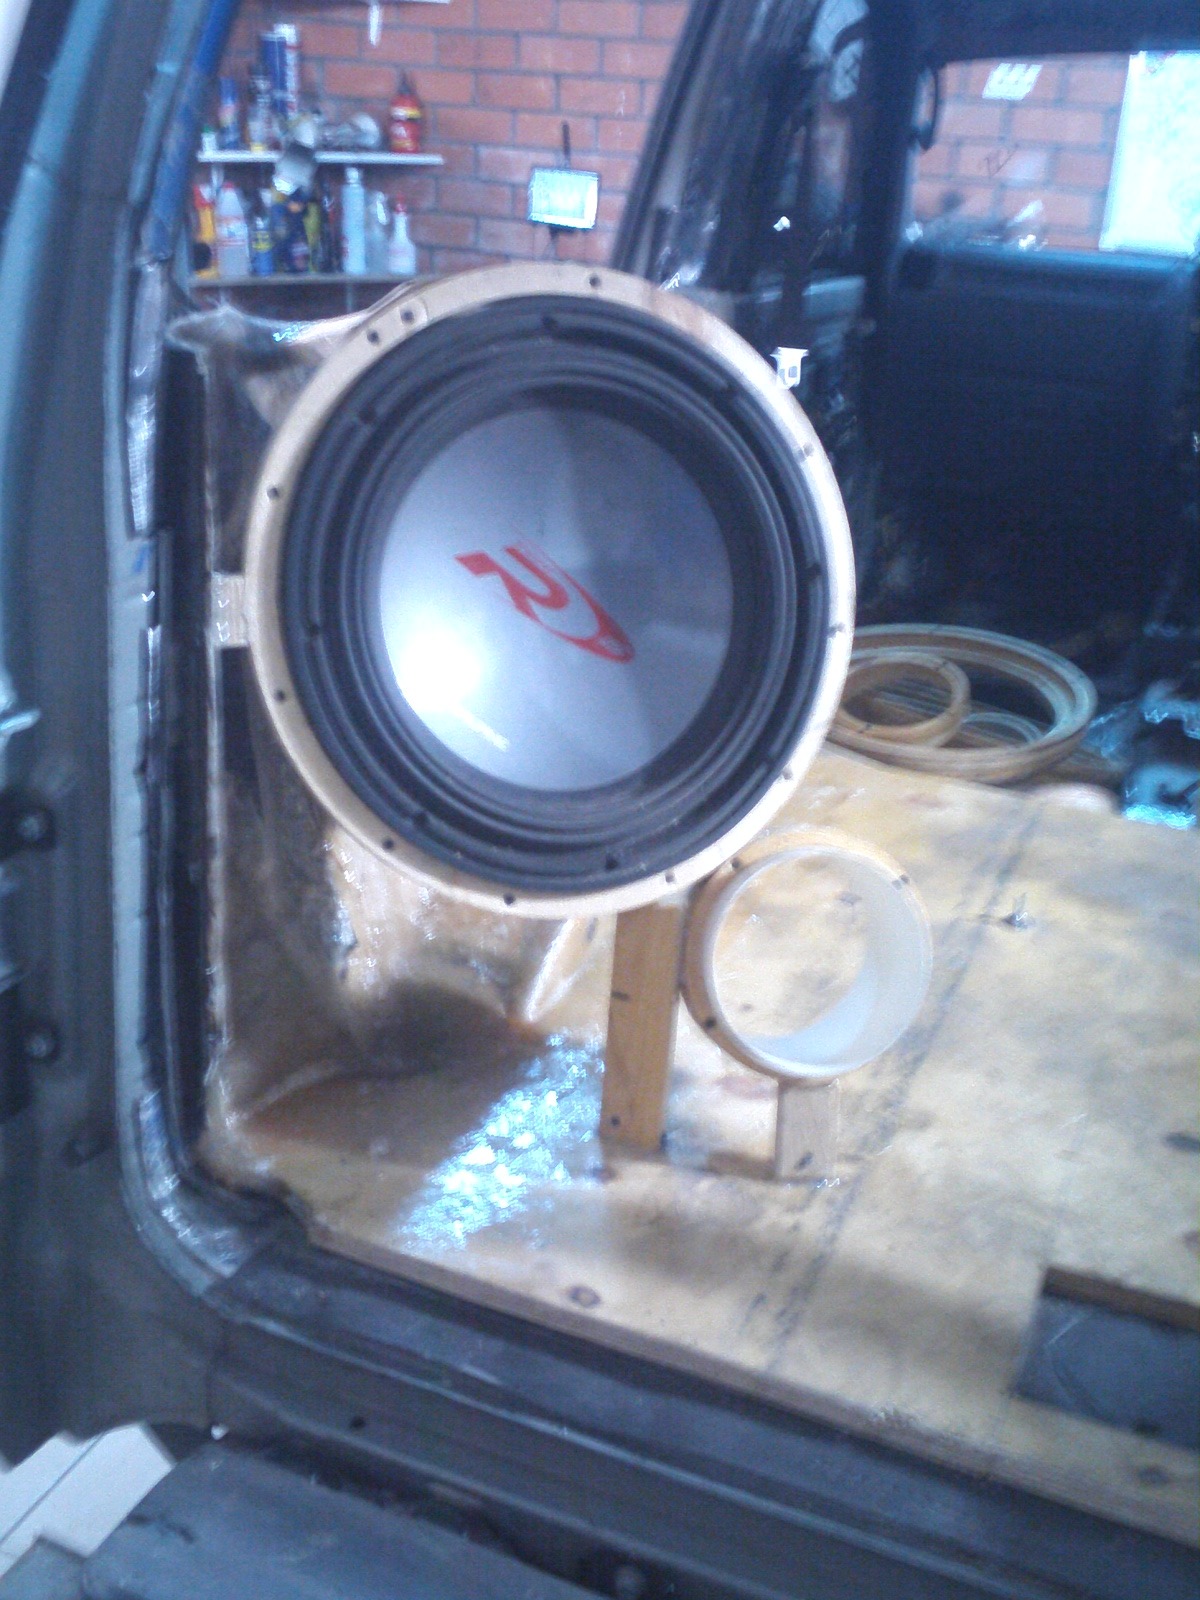
inside view:)
at the same time we strengthen the second ring and put the second ring under the phase
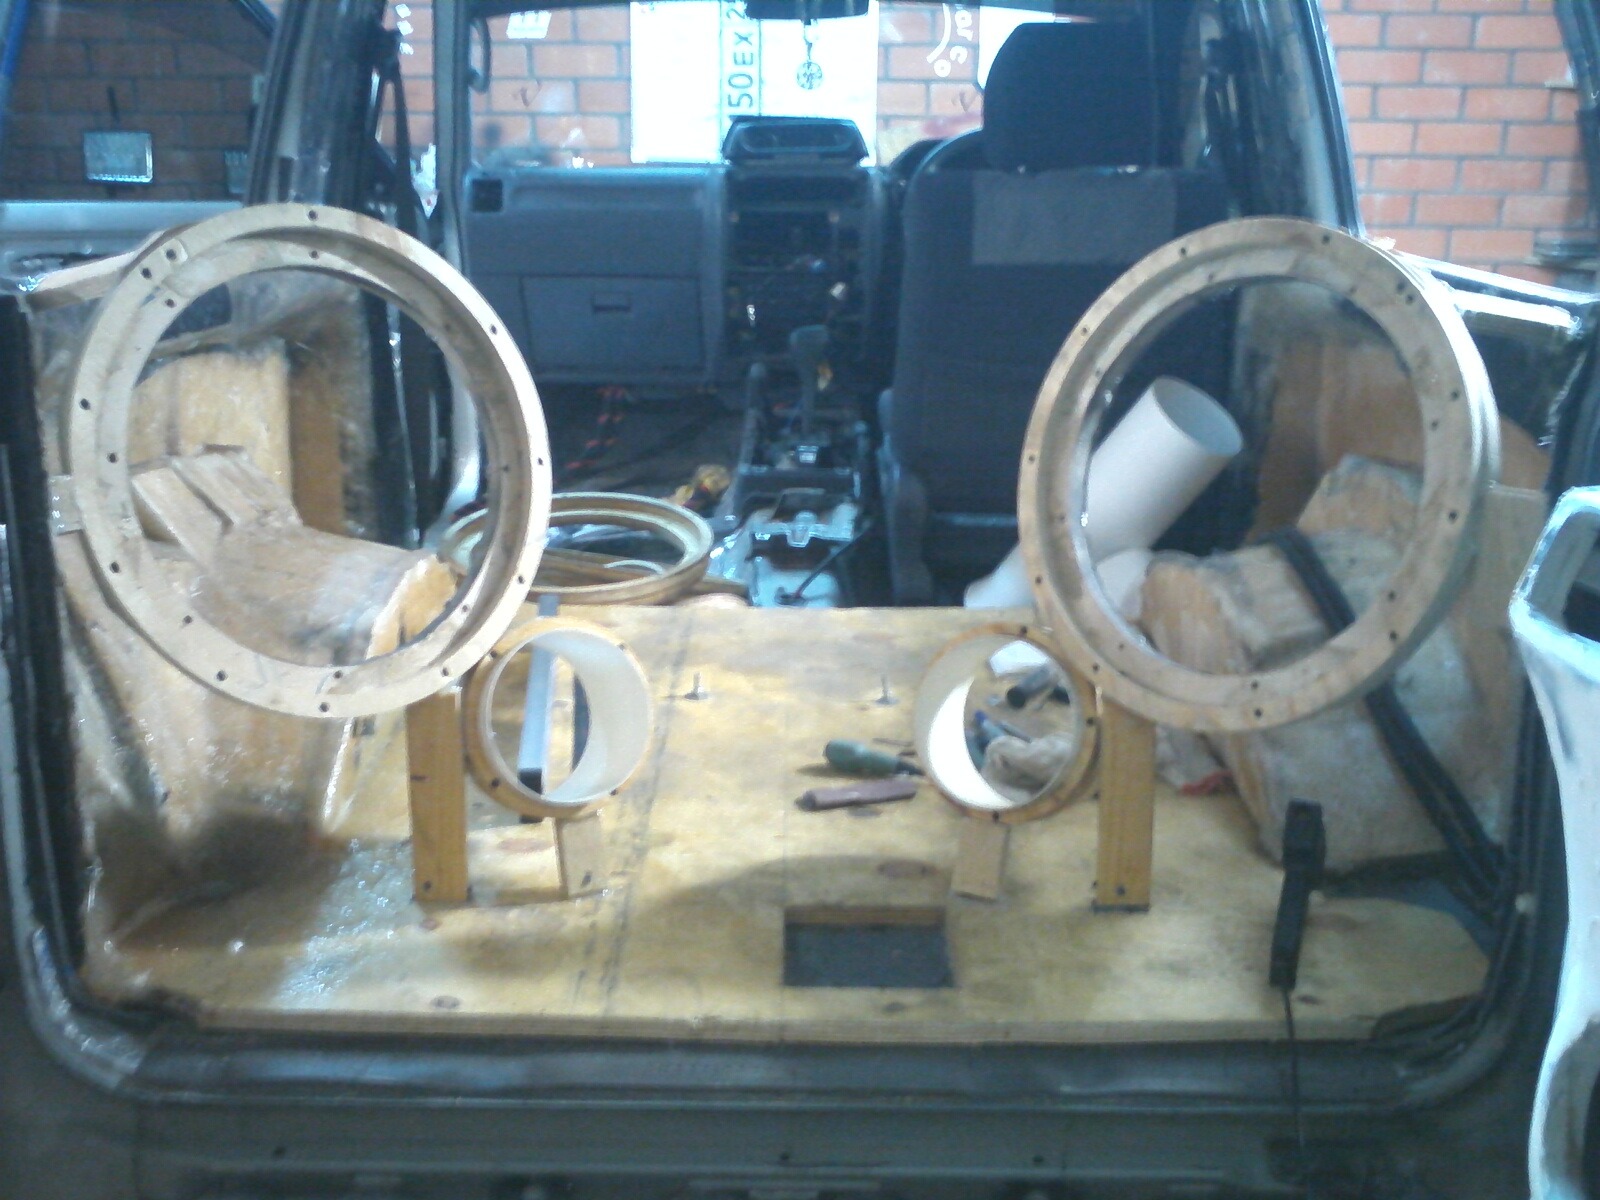
That's it, we figured out the first pair of Rock :))) let's
start the second pair!
here the process is in more detail - first we measure how and where we will put the lower central and main support under the ring. then we clean this place for better adhesion, then we put it on hot melt adhesive, and then we pull it with a pair of three self-tapping screws to the plywood floor, so that it’s tight :) left:
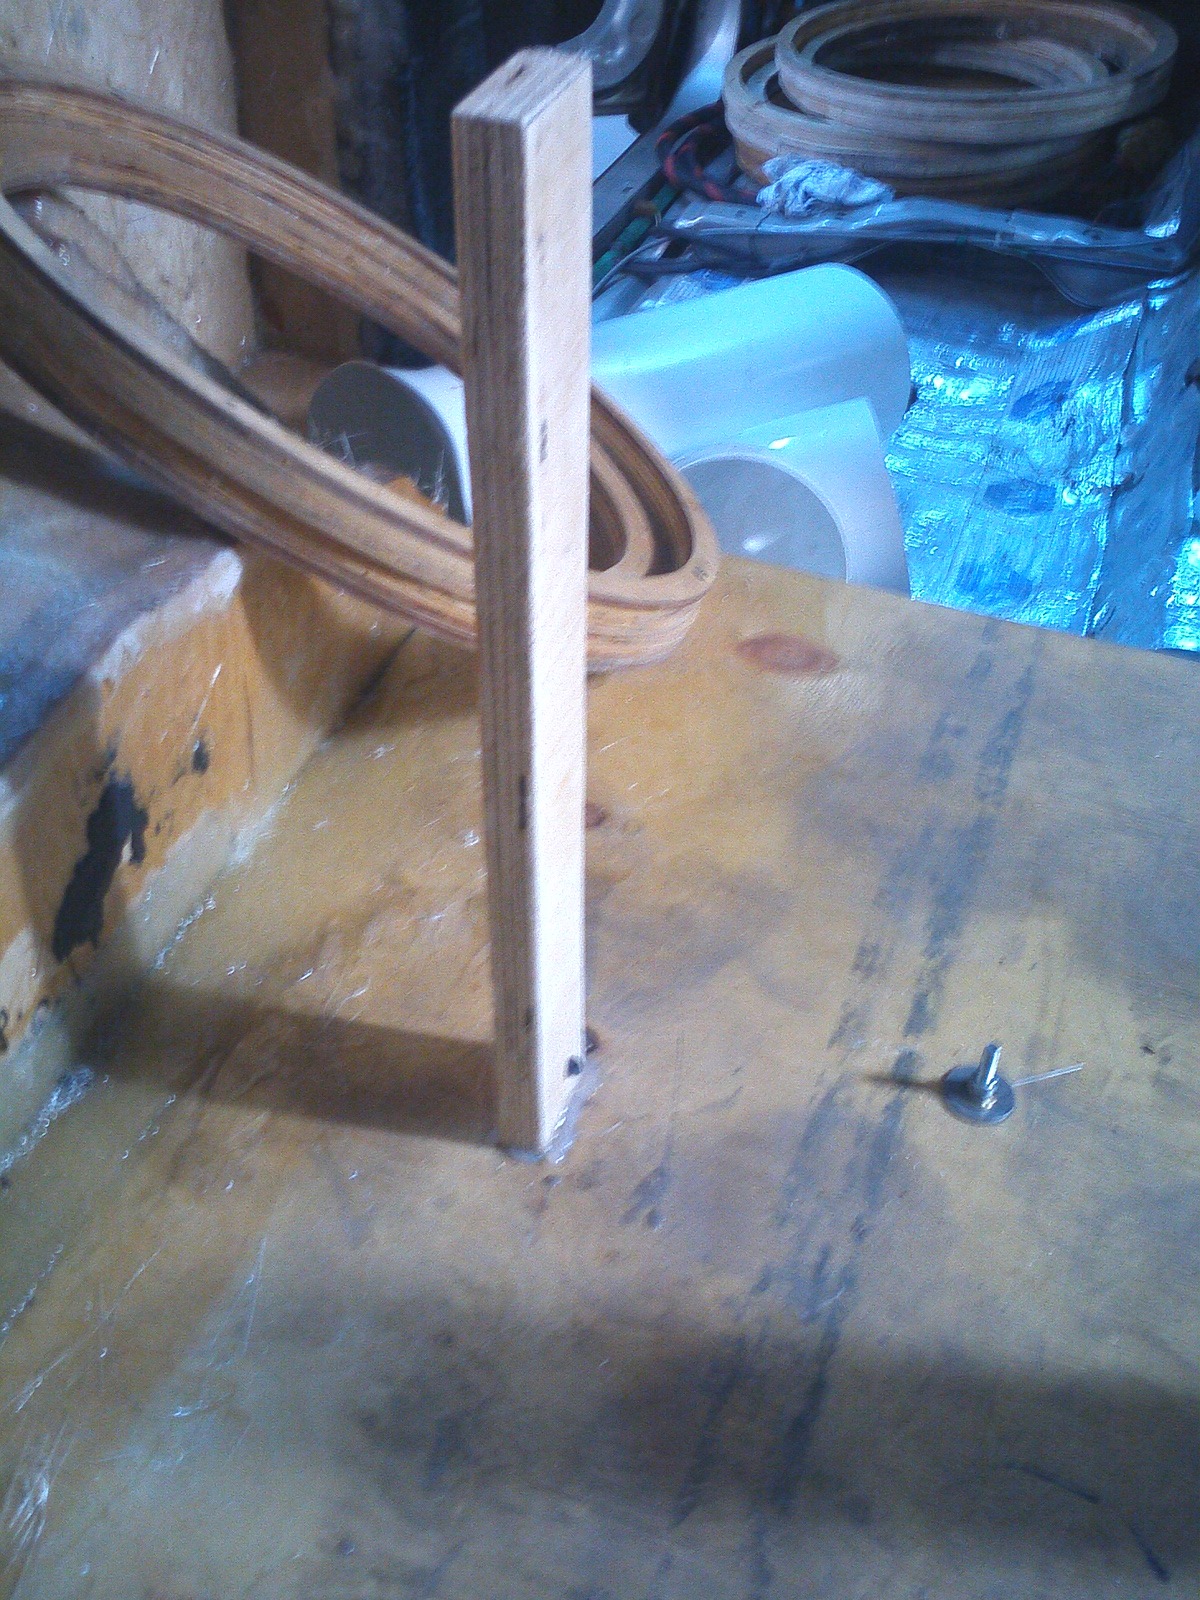
right:
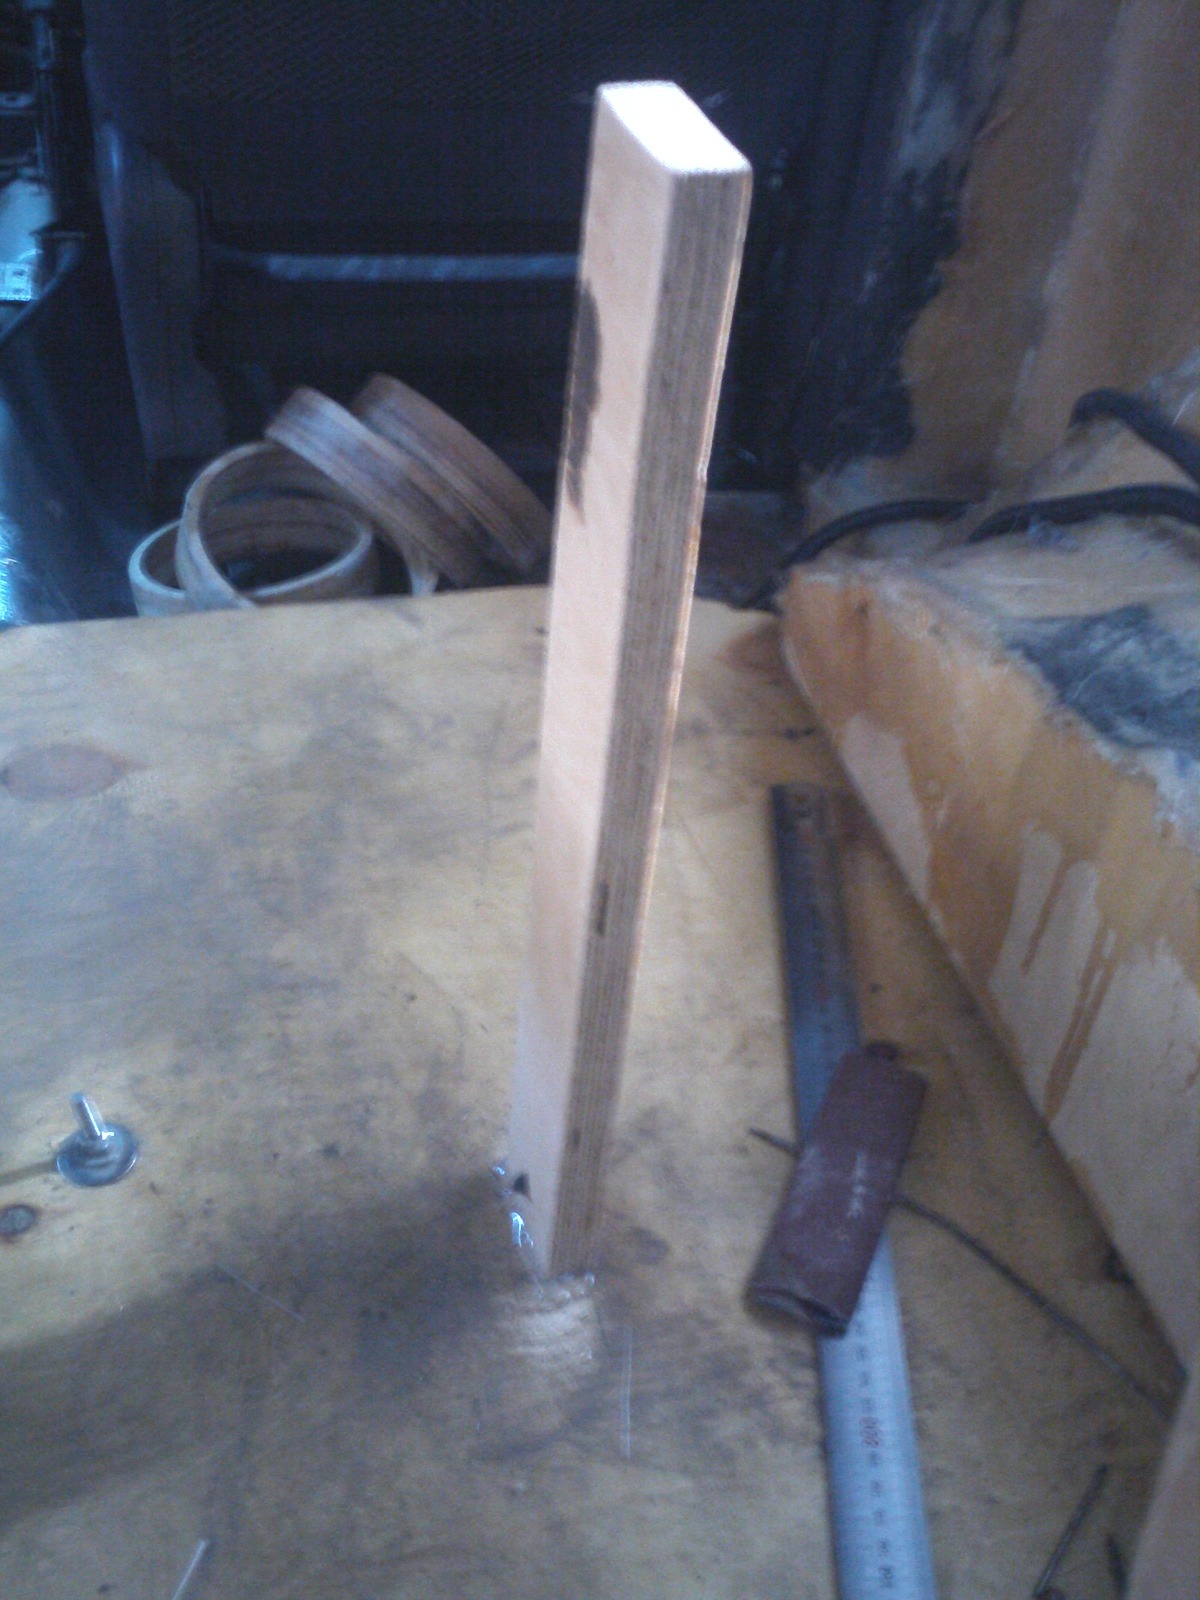
After strengthening the supports, we check their "evenness" - the level shows that you can go further, which we actually do :)
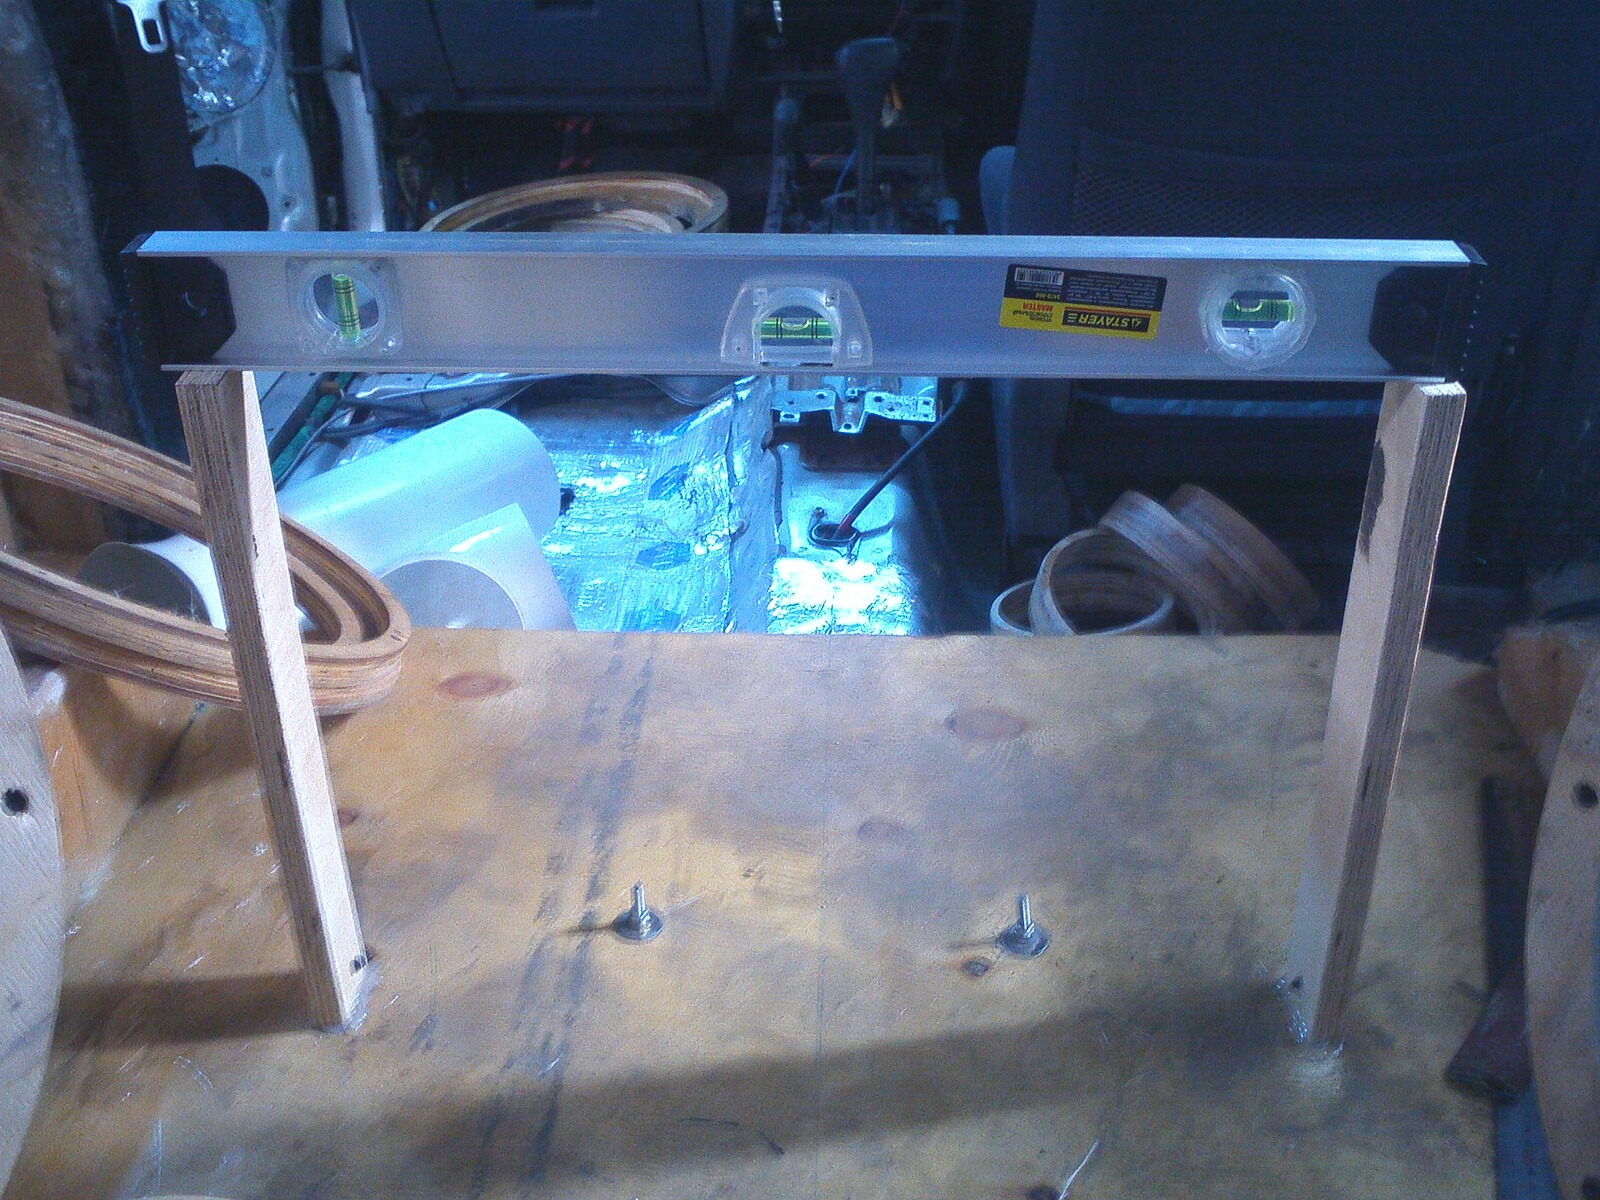
we set the rings, we also measure the level so that everything is "decency, nobility" :)
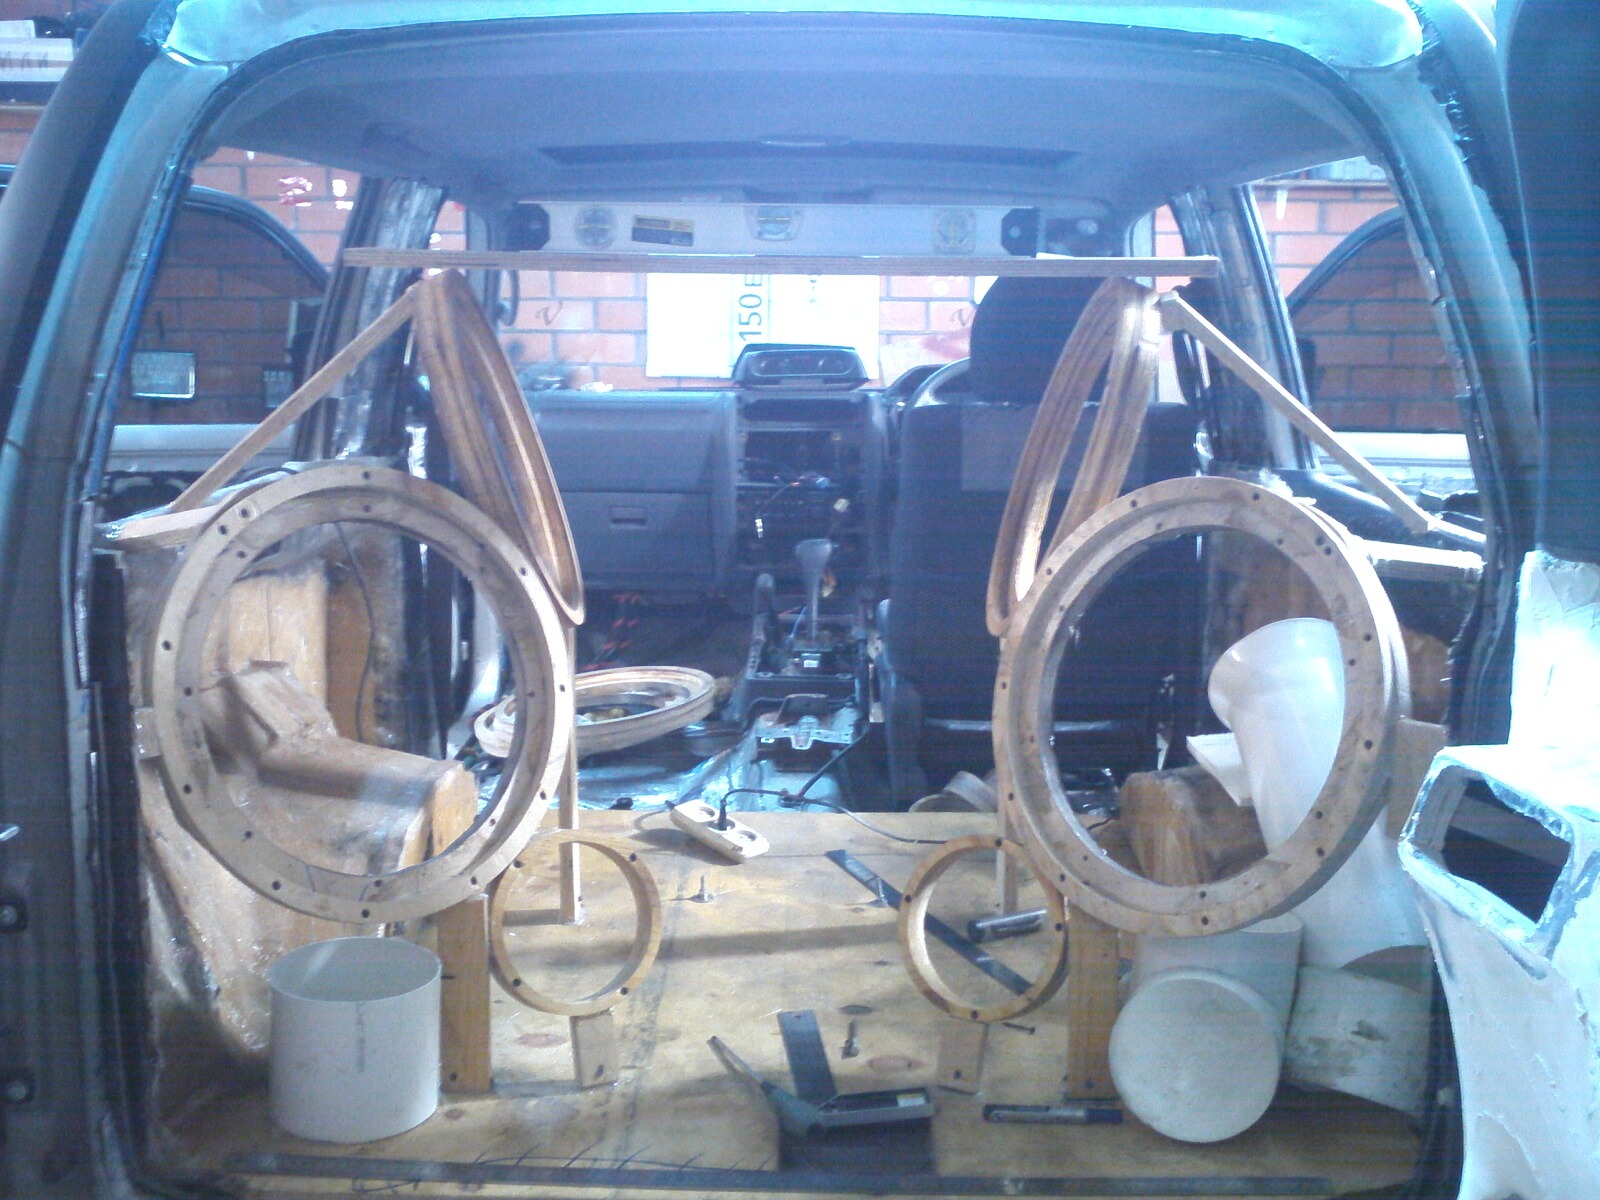
look inside - everything is fine:
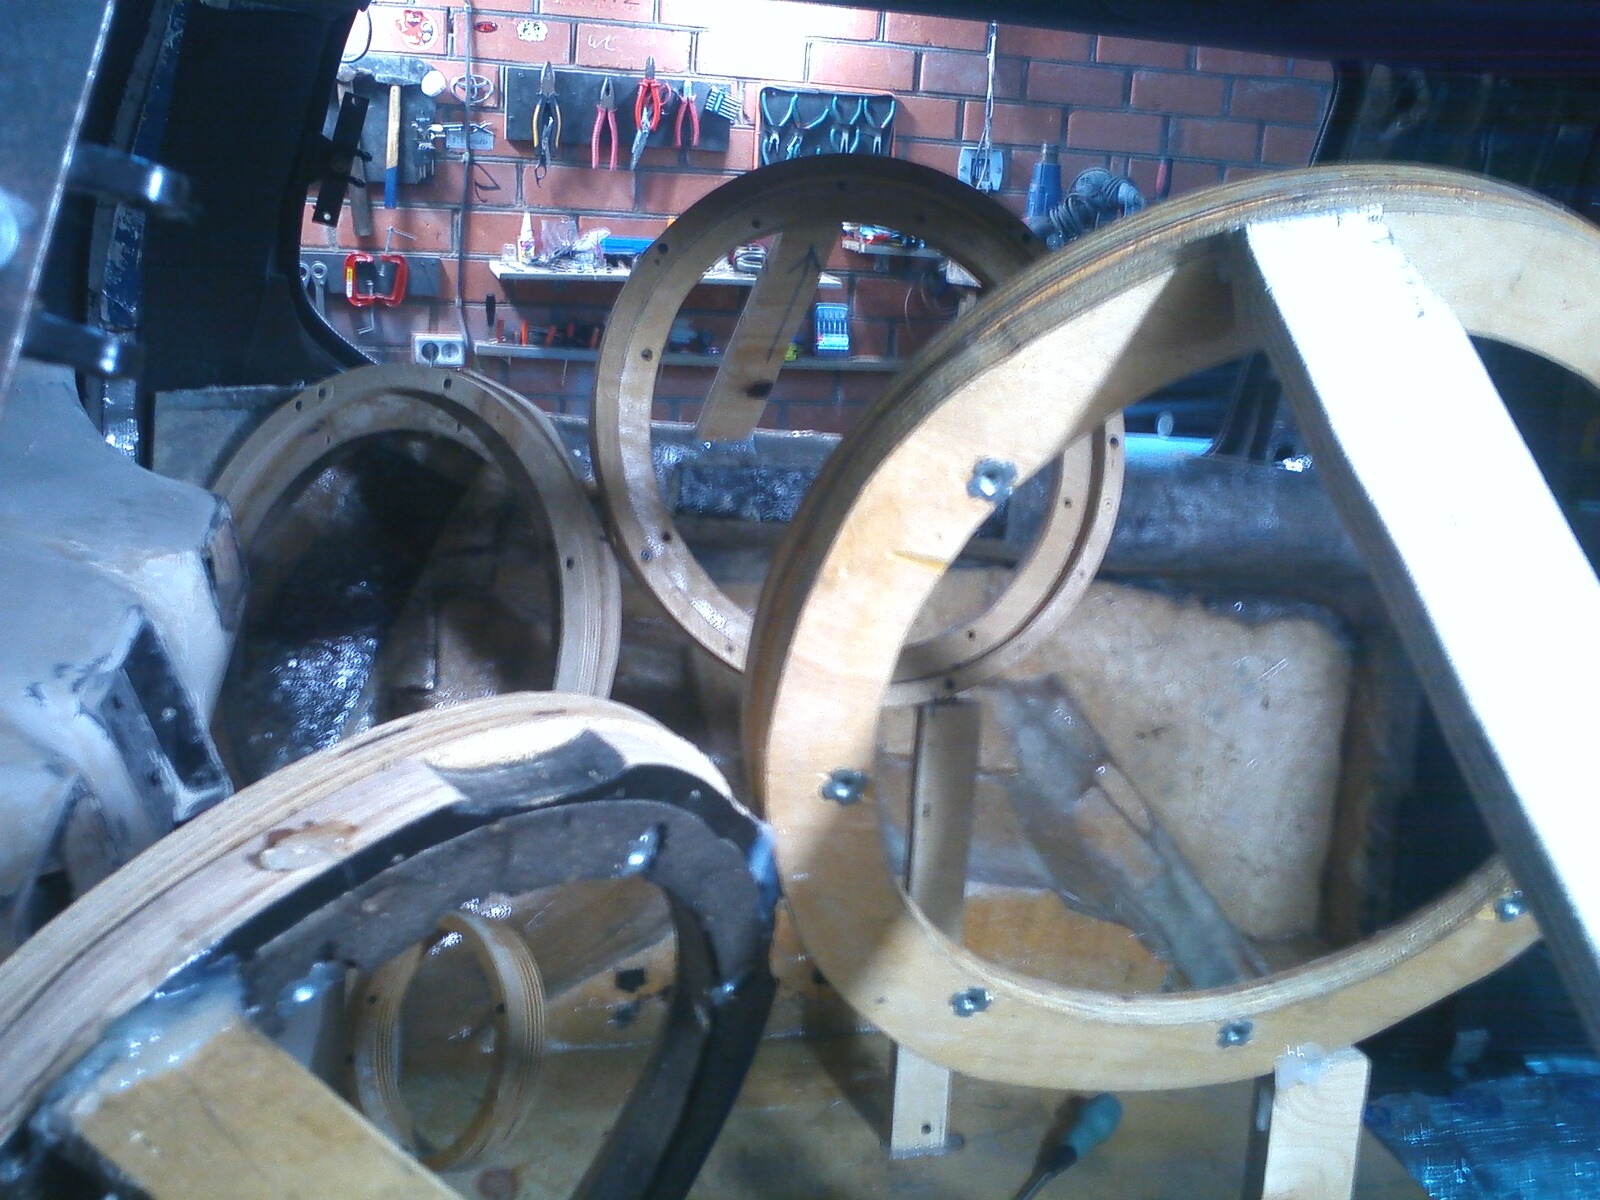
we fasten one ring tightly - then we will put the second one on it, because until it's possible :(
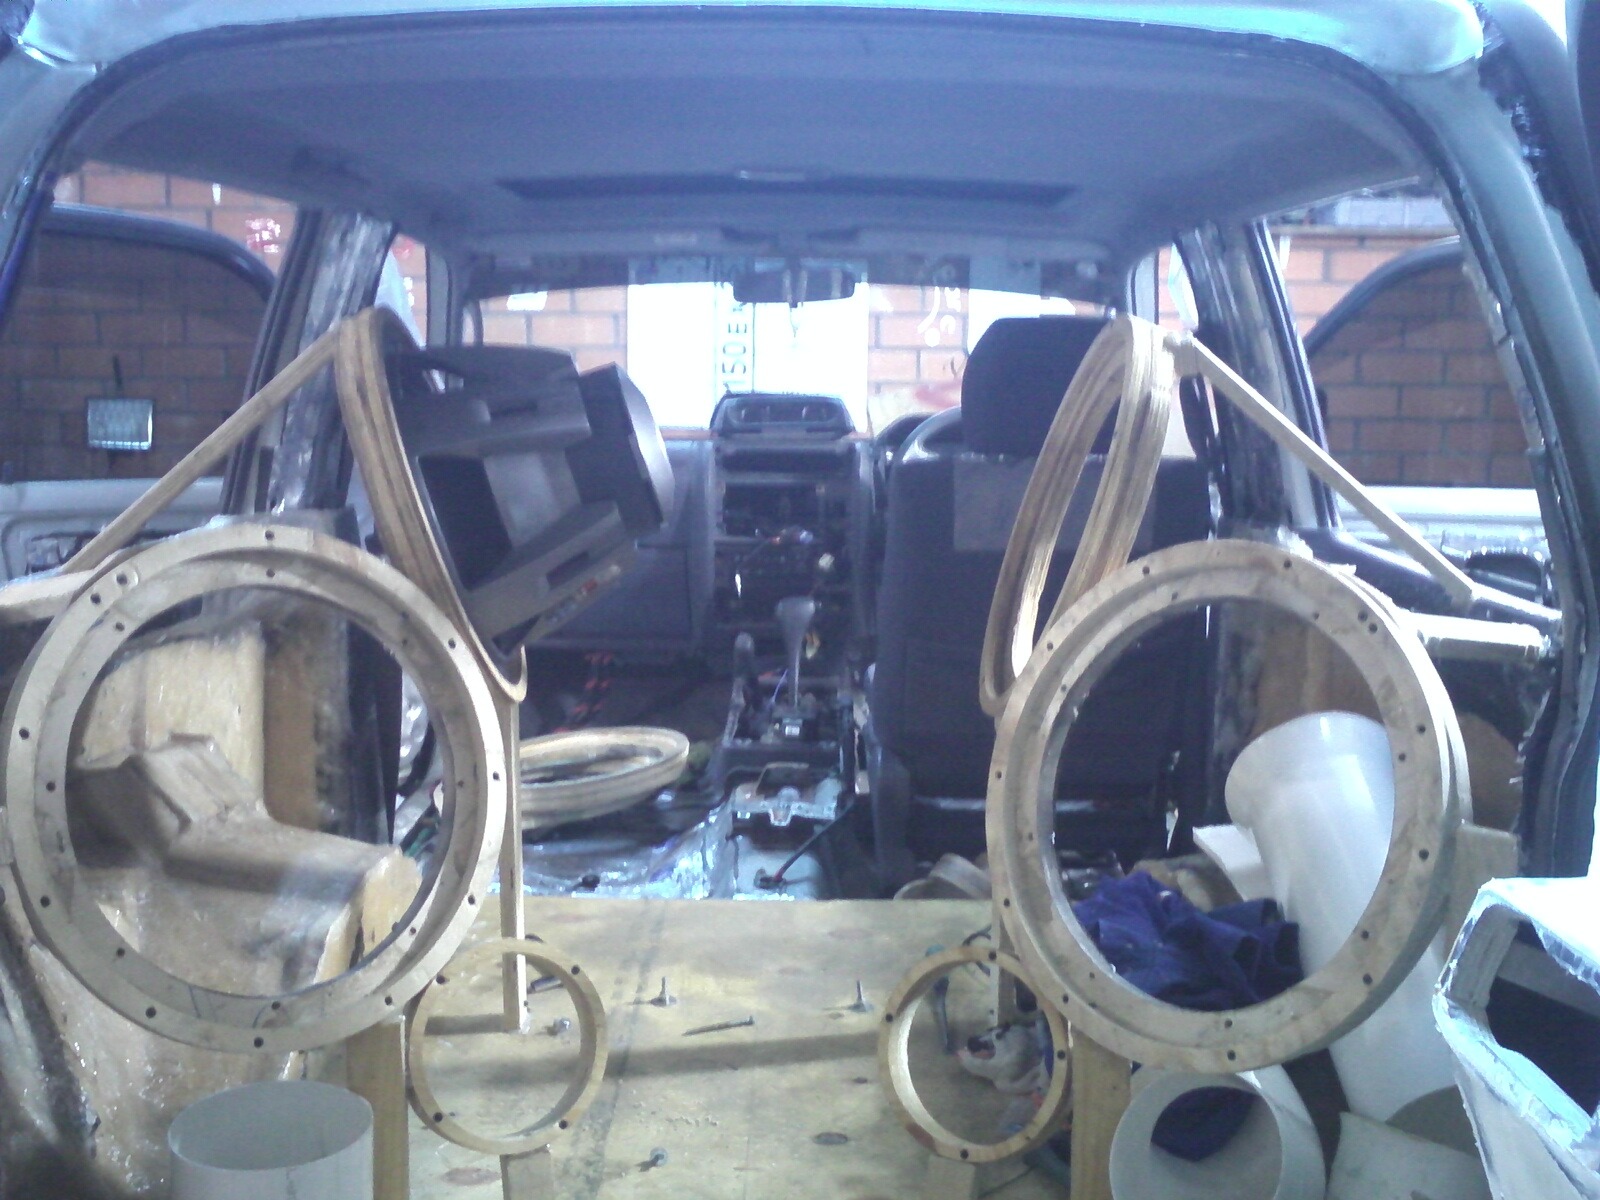
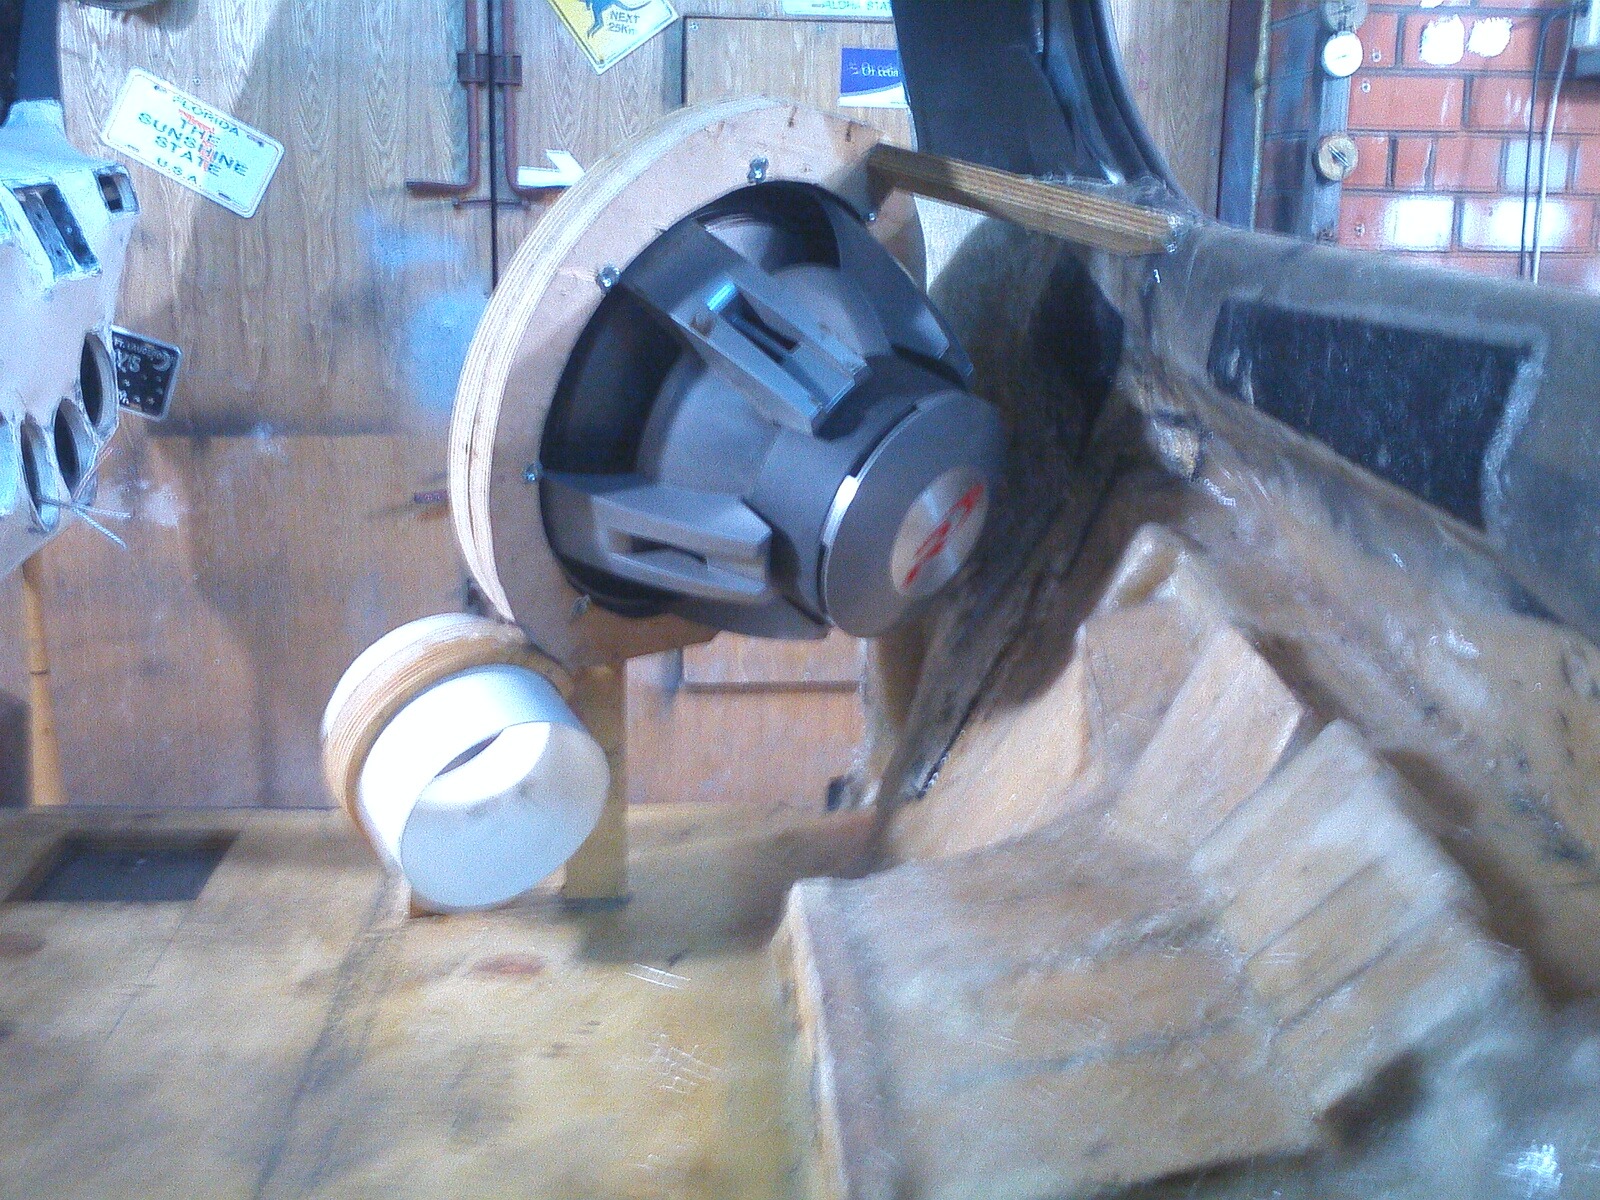
yes, yes, this "pair" of dins will stand exactly like this - with a magnet outward, since Rock's magnetic system is beautiful :)))
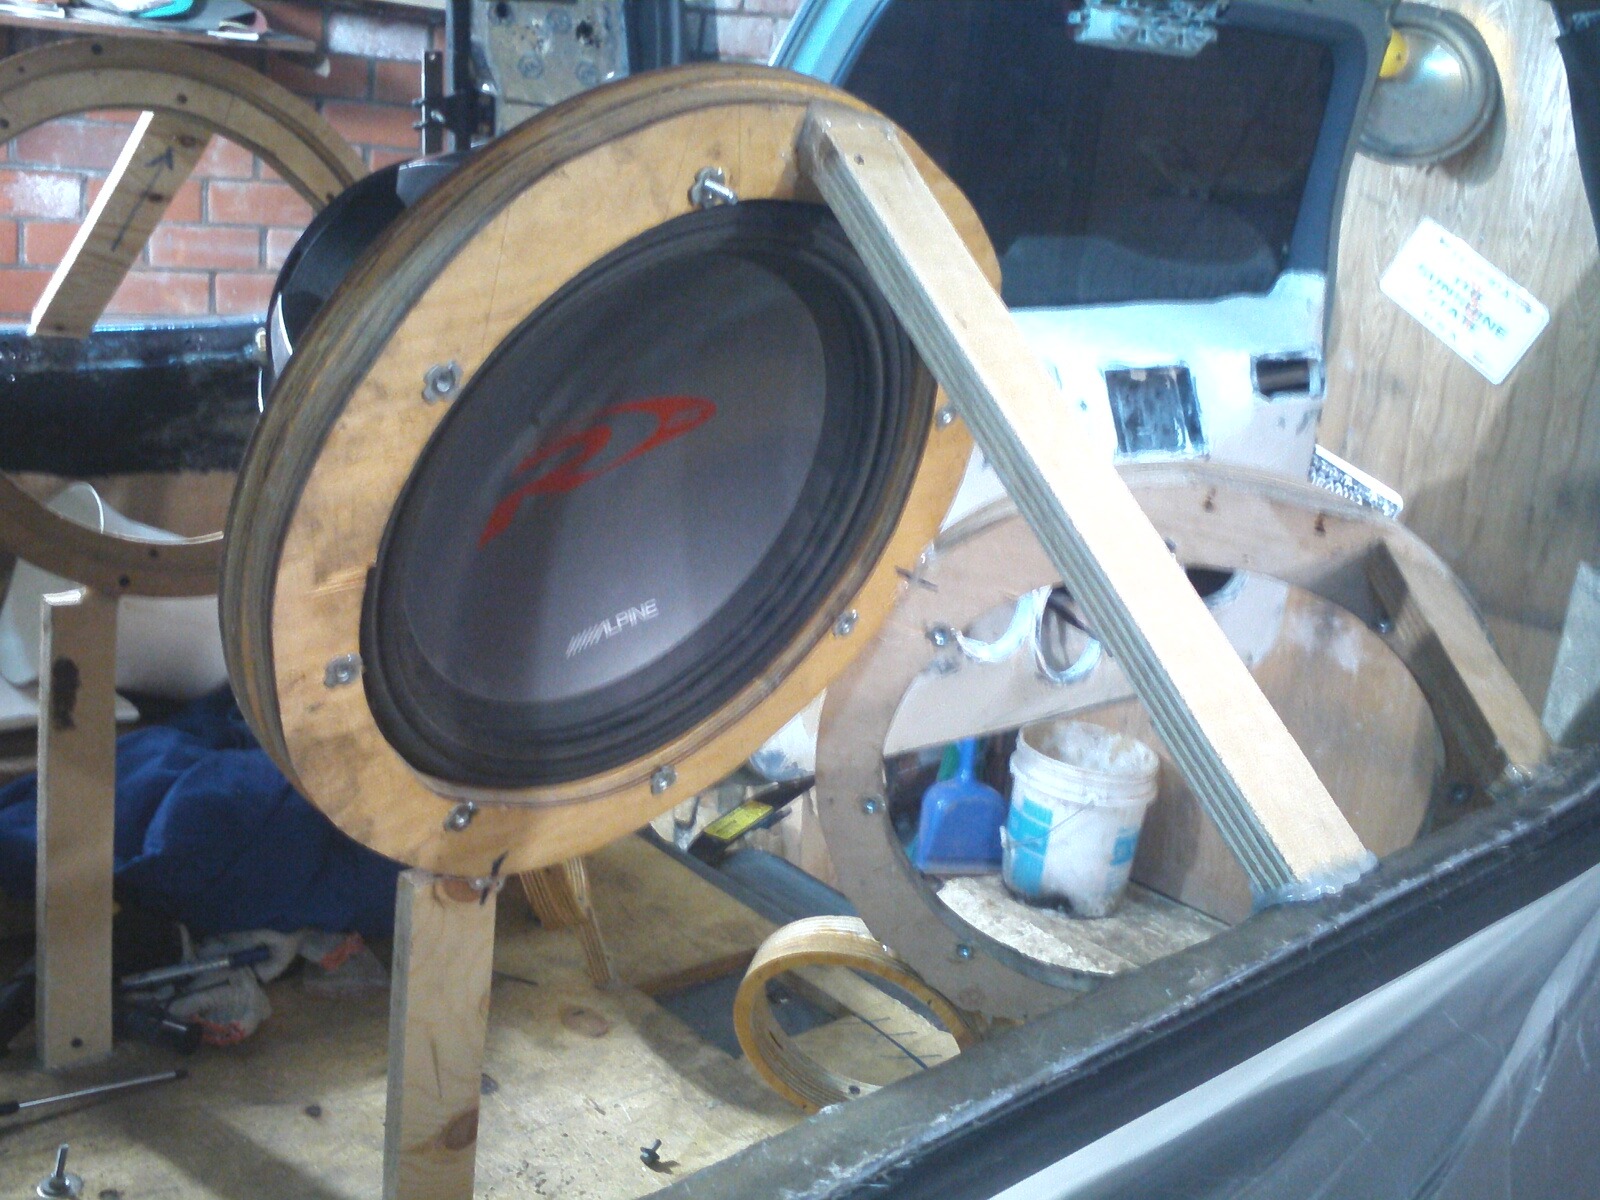
the main thing is that the amp fits between these magnets :)))
For now, that's all - in the near future it will be necessary to place the remaining rings under the third pair and phases, set the false under the main shaft, fill the right side of the floor with resin and proceed to "tightening" all this goodness with a fabric / carpet, and then, as we love, resin our beloved will save the world :)))
See you soon, dear car maniac friends :)
thanks, I really don’t know what congrudulations are or something like that:))) ohhh, how I wait for it to end :))))
Thank you! :) Yes, my pradik himself, too, could not imagine himself in this form :)
Well, you're a maniac! Just go nuts! I wouldn't even be able to imagine mine in this form! Good luck to you!
haha:) but I’ll call you right now to check whether you’re in the garage or not :))) Come on, finish the doors too!
the most offensive - I thought I would be doing pradik on the upcoming weekend - but damn it as usual - there will be no days off along the way: (((n ***: (((
Wow, hi!
I think that VCL just right will stand between the dynamics! magnets won't get in the way.
I looked at the pictures ... and my hands itched! I'll run to my garage tonight!
Behu? No, not by myself - Vermya no! gave it to the sailor! itself is not the current basic form! oh dusty! I have more carpenter in my garage than a sailor! division of labor!
and the molar suffered for a long time! sub — 2 weeks (it works 3 cherz 3) and that's something under the speaker 4-5 weeks!
ok, I follow your news, by the way, I checked out the trunk with podiums not so long ago - it’s very beautiful, did you take it out for painting yourself? suffered for a long time?
clear! Well, I'm looking forward to the sequel! I'll post my work myself in 2 weeks :-) cool "box" for the subwoofer!
:) just a "floor" and it will be in the area between the magnets, somewhere around there. There will be no floor as such in principle ...
mega cool! oh well!
although I strengthened the honey with magnets - I would not do that. put on the floor - Yes!