
Lessons for creating Techniques / Creatures / Buildings / Adventures in Spore (Spore)
In principle, I don't even know why I created this topic on the forum, since my skills in creating anything in a dispute are at an um ... low level to say the least. In short, I will not play around, but I will start with the main thing. As you can see, the activity on the pg is now pre-zero and everything is close to the fact that the dispute page will completely die (((Newbies come here once every 1-2 months and linger for exactly the same number (1-2) posts, and the "oldies" in general, they hammered a bolt (I apologize for my speech, this is not a reproach) and they release something extremely rarely ... I, like you, do not want this, and by virtue of my capabilities I will try, if not to revive the dispute, then at least greatly slow down the process of it killings •_•With the introduction finished, the essence:
Let all the most experienced and skillful of you continue this article and make lessons, write guides on the topics "how to make cool creatures", "lessons on creating realistic equipment", "how to make an adventure with a good plot and elaboration", "master class on construction epic buildings" and so on. etc.
Why did I put it on the shoulders of other users, and I won’t lift a finger myself? -due to the fact that I hand @ n :|
I hope that at least someone will pay attention to this topic and respond to my peculiar request, and this will at least slightly enliven the page of our beloved game.
Requests (rules) regarding the creation and design of guides:
1. The lesson should be as detailed and understandable as possible, but at the same time not stretched out - express yourself in a human language, without any jargon. Do not make long articles, no one will read them.
2. Use pictures in your lessons so that players can learn from a live example.
3. Do not plagiarize - copy-paste straight into the trash. Please provide a link to the original source.
4. Censorship - no mats, naked women and dismemberment. Did you understand everything?))
5. Do not do homework if you are still a beginner or do not fully know all the intricacies of this or that matter in the dispute. Let more experienced players take care of it.
6. Write everything strictly on the topic and without "water".
7. Please, no comments. Questions, clarifications and additions under the topic are welcome, comments like "great lesson, thanks" are not recommended. Off-topic commenting is prohibited!
That's all the rules/recommendations for now. They will be updated and updated over time.
The answer to a possible question: "how will this forum thread increase the activity of the spore page?"
- Very simple, if of course users react to this topic. I take a simple example:
Eminence is making a guide on the topic "How to make a quality adventure with an interesting plot." He does it in detail and clearly, so that anyone (who really wants to learn this) goes into the editor and shoots an app (not a masterpiece, of course, but with good undertakings). Further, interested beginners take the first steps and create adventures for this lesson and post them on pg. Gradually, their skills and experience grow and they begin to post really good adventures on the site. There are enough beginners, and therefore the asset will increase over time and the dispute page will heal fully.
It was an adventure. Well, in short, you understood me and my idea and I hope you will support))
ZY . For questions, please do not clog the topic, but write in PM.
HOW TO CONTROL VEHICLES IN ADVENTURE I
recently found a great way on YouTube how to actually control vehicles in Spore, and no, these are not creatures hung with equipment in the form of armored vehicles. According to the rules of the topic, you can’t plagiarize, but I’ll still do the lesson, because nothing was really described in the original, and for me personally, for the first time, some points were not clear. Original:
1) First we will need to make a suitable captain, any of the sporopedia will not work.
We go into the creature editor and drag the body down to two vertebrae, they also need to be reduced with the mouse wheel, but this is not so important.
.png)
2) We attach the mouth to the belly of the creature, turn it back using the TAB key.
.png)
Our captain doesn't need any arms or legs, as he has to sort of "levitate" in the adventure. Everything else can be hung at will, but do not overdo it, nothing should stick out too much, later you will understand why. Also, do not get hung up on the appearance of the creature. This is secondary, even tertiary.
.png)
.png)
Version with vertical spine.
3) We call and go to the equipment.
Since I will control the tank, I will definitely put a rocket launcher and an accelerator. Install equipment at will, its installation depends on what we will manage in the adventure. Also remember that you need to make the captain as complete as possible, and so that nothing extra sticks out.
For convenience, use TAB and "drive" equipment into the creature.
4) We paint, if we didn’t do it at the beginning and save.
.png)
5) We take a key or a grenade from the "game objects" tab (the explosiveness of our vehicle depends on this) and disguise it as the desired technique, install and increase it to the maximum size using SHIFT.
.png)
6) We reduce our captain to the limit you need. IMPORTANT: a creature that is too small will not be able to "control" a machine that is too large in comparison with the captain.
We start the verification mode and pick up (or rather in the mouth) a disguised key (or a grenade).
And that's it, we, or rather I am in a tank)

It is worth remembering that in order to control aircraft, you will need such equipment as a captain, such as a "launcher" or "antigrav".
Notes: 1) Being in a transport, or rather holding it in our mouths, we cannot fire at objects. Only when an enemy salvo hits us, our "sight" is automatically fixed on the enemy and we can shoot from the tank, but in this case, the captain will throw our vehicle out of his mouth, and you will have to pick it up again (that is, in your mouth). 2) Such a vehicle cannot be destroyed (if you took the key, not a grenade) 3) Sometimes you can accidentally throw your own tank at the enemy), which looks rather strange, remember this and do not click on the opponents again so as not to accidentally throw your car. 4) Tanks can swim and fly, and planes can ride on the ground. Keep this in mind if you're making an adventure using this method. 5) The legs of keys disguised as robots will not move (this also applies to caterpillars,
That seems to be all, if anything I will add later.
In the captain editor, when adding a helmet to a creature's head, it usually sits oddly and sometimes doesn't even make contact with the creature's head.
There is one way to put a helmet on your head so that it looks relatively adequate.

Take a long piece (I prefer this wing) and attach it to the bottom of the creature's head.
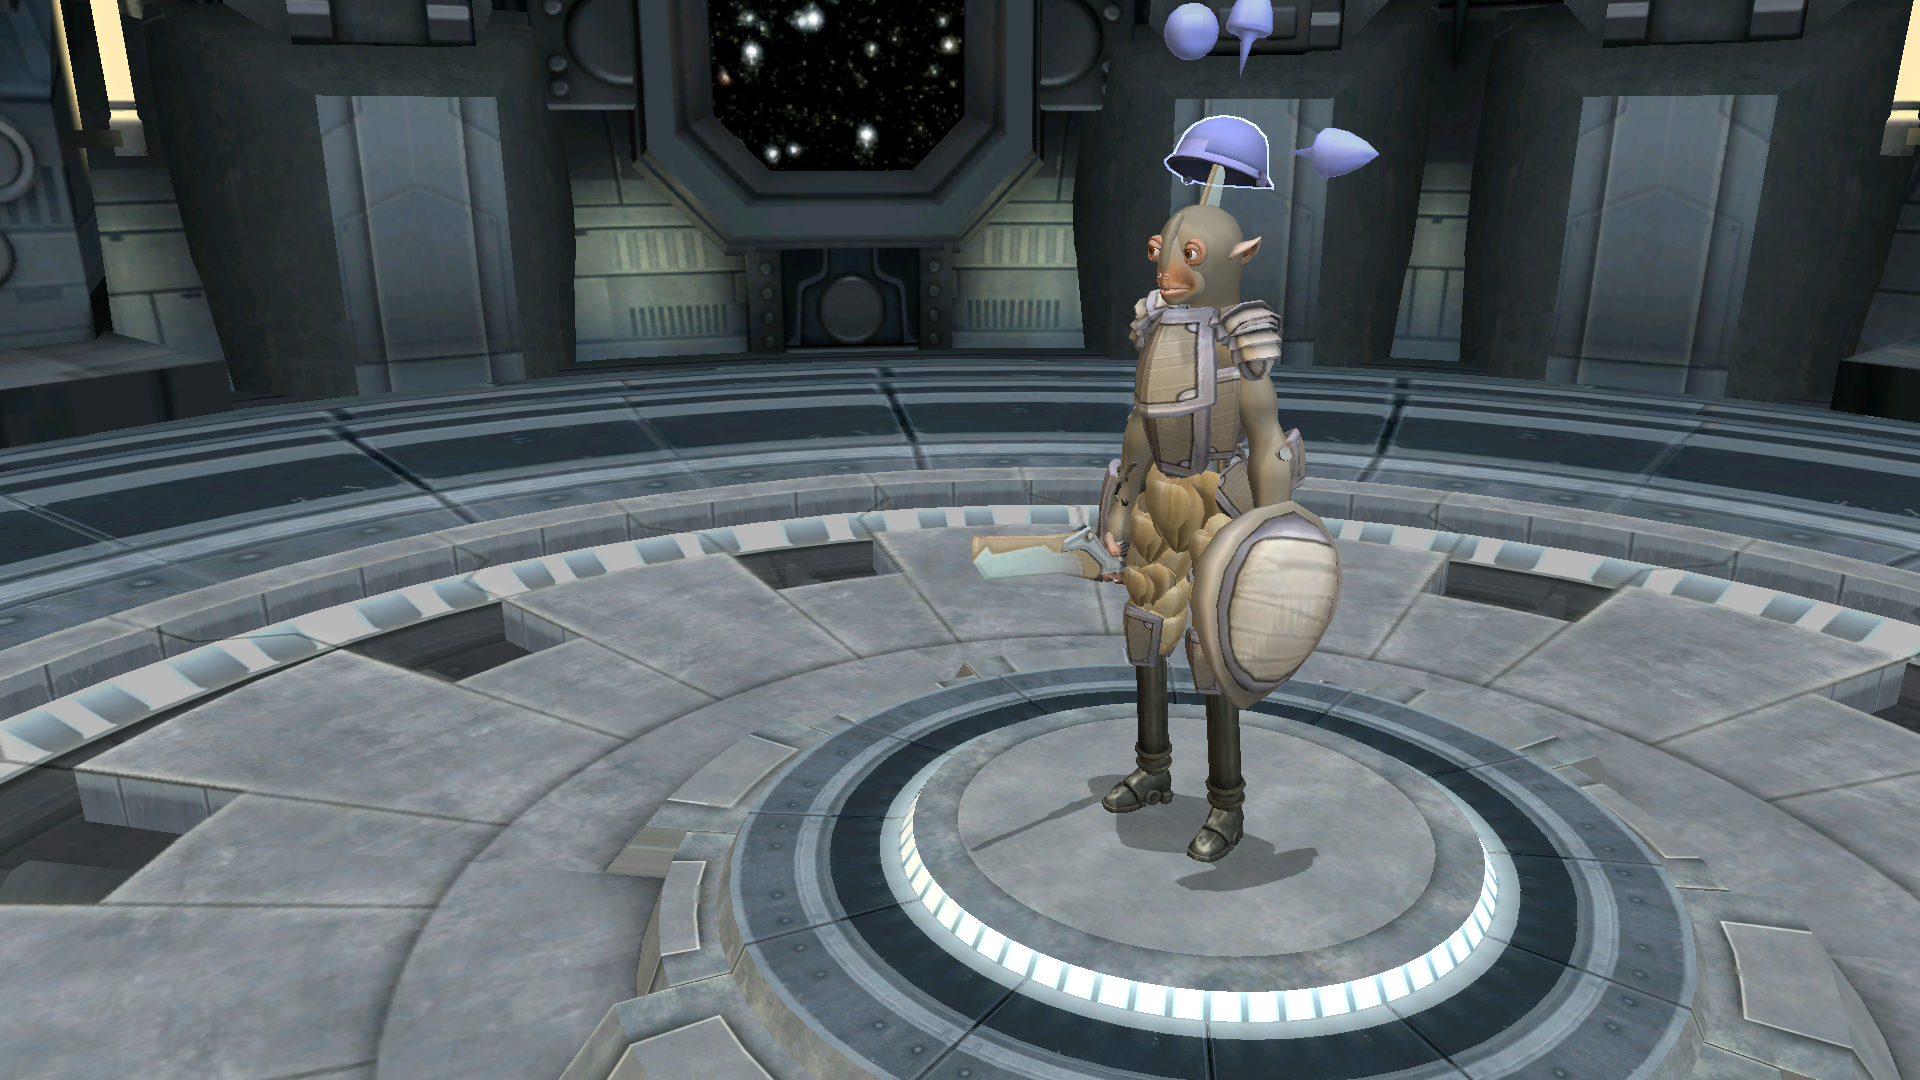
Next, turn the "fastener" so that its end comes out on the top of the creature and put on a helmet on top of the part.

After we reduce the length of the fastener and sink it in the head until the helmet is put on the creature.
Ready. This can be done with any part of the body and any equipment, it depends on the imagination.
I have little to offer myself. I myself do not have much experience in the implementation of anything.
As for the plot: I am a supporter of the fact that when creating an butt, it breaks out of standard patterns like "war of one empire against another empire" or "go and explore this and bring it back." All this has become very commonplace over the long 13 years of creating adventures in Spore GA. The audience should be attracted by something really original and interesting, unique. But what exactly, I can’t say, since this is purely a matter of your imagination.
Here, many will tell me: "but you yourself recently made an adventure with an ordinary war game - the capture of a fortress." I will answer that yes, it is. But this banal plot is only a small part of what I plan to implement in the future, unless, of course, I abandon this business.
You want me to give you some kind of guide on butts... I'll tell you this: the next part, which I'm already 60-70% done at the moment, will really have to surprise you with its uniqueness in terms of atmosphere and environment. I don't remember anyone doing this before me. When you download my future adventure, you see all this, you can safely open the adventure editor and see how it's all implemented. This will be my guide for you. There is nothing difficult about what I will do in the future, no, anyone can do it.
And so I recommend that you look at the YouTube channel "Toy Warrior", there are also a lot of quite interesting guides and ideas.
I’ll also insert my five cents, this information is already known to someone, but for someone it’s new. I don't think it will be redundant.
As we know, to create a gate opening animation, you need two buildings, one with open doors and the other with closed doors or gates. And then you can use the following method at your discretion:
1) The most common and well-known is to make these two buildings appear in two different acts, I think there is no need to explain further here, since this is so obvious.
2) Less well-known - to put closed and open gates in one act at the same time, but in the "Assignments" column, select the "Collect" item, which will in a sense save the whole act))))
3) In general, I have never seen anyone - laser gates can be disguised, for example, as closed doors, and after you open them with a special key, you can find open laser gates in the "Properties" section at the bottom and disguise them as open doors. Thus, an animation of opening doors is created. From the third point, we get the possibility of meager savings not only in the difficulty editor, but also in the game act as a whole.
As a bonus, I will note how to make the laser gates open automatically. To do this, create the smallest possible creature (preferably with two vertebrae), then after placing it in the adventure editor (place it near the gate), reduce it to the very minimum. After that, take and reduce the key from the laser gate, then in the behavior settings of the creature, make it take this key and stand still. If this creature sees a player or another trigger, issue a command to move or patrol towards the gate. Thus, you get the opportunity to create laser gates that will open without your intervention.
HOW TO LOWER VEHICLE DIFFICULTY
Very often we encounter one serious problem in Spore, because of which this or that creation is simply not usable. Neither in adventures, nor in passing, only in sporopedia can we look at the creation. Now I'm talking about the difficulty indicator. How many excellent creations, masterpieces lies in the sporopedia as a dead weight because of him. But not all is lost, any creation can be lightened. Of course, nothing will save equipment or creatures with a serious excess of the limit (except for mods), but creations whose complexity has slightly exceeded the indicator can still be lightened and used.
So, here are some ways to make creations lighter (in this example, any technique) that I and many other creators of creations in Spore use.
1. I just shoot what I consider superfluous, unnecessary, or at least, in the absence of which, the creation will not change much. This method is bad because after editing the model comes out defective, cropped.
2. Asymmetry, a very good way that I learned about not so long ago. Select the desired part (it is best to choose those parts that "eat up" the complexity the most), press the F key and click on the selected part. Now this is a separate detail, but the most important and strangest thing is that the game lowers the complexity of creation by about the cost of this detail (I don’t know for sure). Although, according to the logic of the computer, it would seem that, on the contrary, we added one more separate detail, and did not remove the existing one.
Cons: impossible without asymmetry; reduces complexity not as much as we would like; after using this method, it will be difficult to edit the creation, since you will have to move / stretch / paint the details separately from each other.
3. Replacement parts. Probably almost everyone or even everyone knows that more complexity is spent on "Hulls" and "Cabins" than, for example, on parts from the "Miscellaneous" or "Lighting" sections. I'm not talking about weapons, caterpillars / wheels, wings, etc., these details require maximum complexity.
The essence of this method is to replace more complex parts with lighter ones. In some places you can make a tool yourself, and not take it from ready-made ones, but such a detail as the "Cube"
Cons: the complexity will decrease very slightly, but by replacing, for example, ready-made caterpillars with homemade ones, we will noticeably save complexity.
4. Fashion. The easiest way is to download modifications that reduce the complexity of creations (I personally don't use such mods, because I'm used to the "freedom" command). The simplest and most common is, of course, Dark Injection. Completely removes the standard limit of creations, even the freedom command is not needed here. And most importantly - all these creations can be safely used both in adventures and in passing. But do not rush to go to the editor and make a giant robot with a thousand details. Despite the fact that the mod seems to remove the difficulty, it still remains, but the difficulty indicator will no longer warn us that it is over, and the png file of the creation will turn into a white square. It is impossible to distribute such a "white square", and the game will no longer read this file. Keep this in mind and don't go overboard with the details.
Well, basically everything. If you use some other way to reduce the complexity, then write about it in the comments.
Hmm, I think I can make a mini guide.
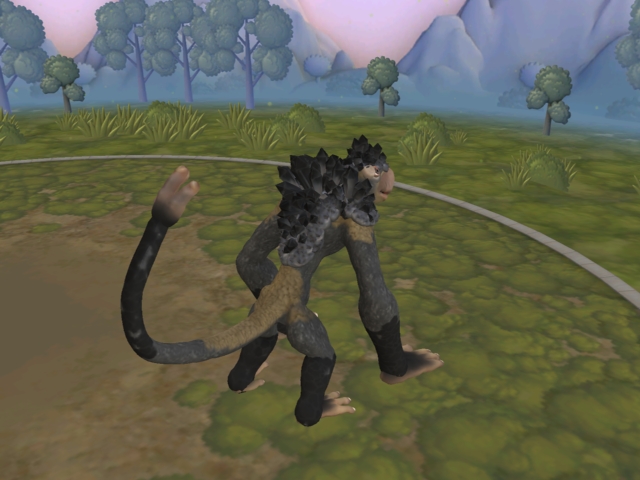
I will tell you useful things from the creature editor that I know, as well as give a couple of tips on creating creatures.
1. Before creating a creature, open the editor, then the console (ctrl + shift + c) and enter freedom, this cheat code will allow you to create more complex creatures.
2. Beginning of creation: Before you start creating a creature, you must first invent it (yes, I'm straight captain obviously). The first step is to create the body of the creature, to create the body, you can use the limbs, this will allow you to exceed the maximum length of the body, as well as make processes (Horns, wings, etc.).
Example:

To make more beautiful processes and limbs, you should use the ctrl key, holding down the button will allow you to take separate parts of the limbs (every two rounds is one part of the limb, one of the rounds holds the parts together) and attach them to others, also if you hold down alt , you can copy any parts of the creature (separate parts of the limbs too), but this will waste DNA. To rotate parts, it is better to use Tab, this will make it possible to rotate the part in all axes (Exception - feet and hands).
Also, when holding the Russian F, it becomes possible to move each part of the creature separately (that is, to make the creature asymmetric).
3. When creating a creature, you will surely encounter a dna problem, initially in the editor you are given only 2000 dna, this problem can be solved in two ways. First: open the console and type adddna, this will give you 150 dna, repeat until enough dna has accumulated. Second: Installing a mod for infinite dna.
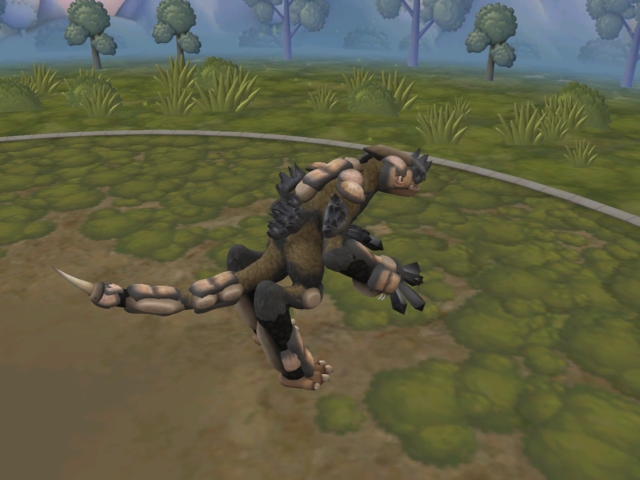
4. Detailing: Point one - Bone plates.
The lower part of the plates, as well as the body of the creature, are easy to paint, thanks to which you can detail individual parts of the creature, a good example is the faces of dinosaurs from the forums. To flip the plate use tab. Detailing the muzzle: We take the most suitable mouth for your creature (example: mouths from the killer whale line for dinosaurs), after which we put the plate, turn it over and copy, along the way, adjusting the plates to the size you need, until we close the entire upper part of the mouth, lower jaw do not touch, since it is animated and will simply pass through the plates. Also, if you do not turn the plates over, you can make something like bone armor.
Example:
Limb Detailing: Plates can be used to give the limbs a more beautiful and menacing look, as well as to make the illusion of bone armor on the hands and claws on the fingers (decor can be attached to some brushes).
Point two - Line of Crystals.
The first and easiest thing to do with crystals is a crystal infection. Using the F button, we concentrate crystals of different sizes in one place, making the illusion of growth, in the middle of the selected places, it is better to make crystals more than others, the farther you put the crystals, the smaller they are. It is also worth rotating the crystals with tab by placing them at different angles.
Example: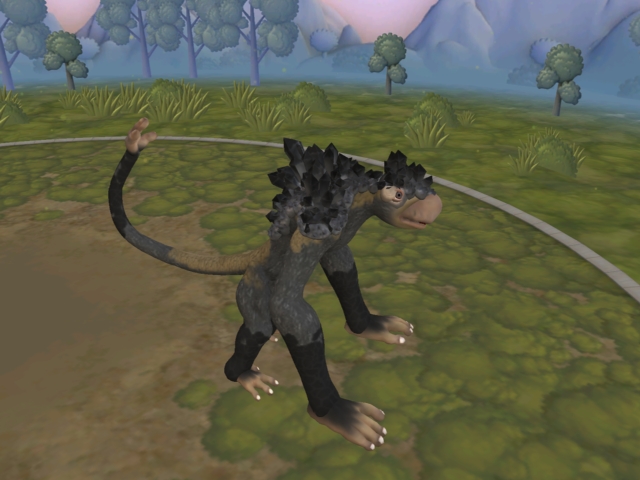
The second thing you can do with crystals is different claws and outgrowths, the outgrowths are made easily, choose a place and use asymmetry in the middle to put the Skin or Bubbles of the size you need, after which you put smaller copies around, you can also use parts from the Whip line. The claws are made even easier, just place the crystals as close as possible to the hands or feet of the creature, lengthening them with the arrows (do not press Tab, as the arrows will disappear) and then twist them with tab to the angle you need.
Example: 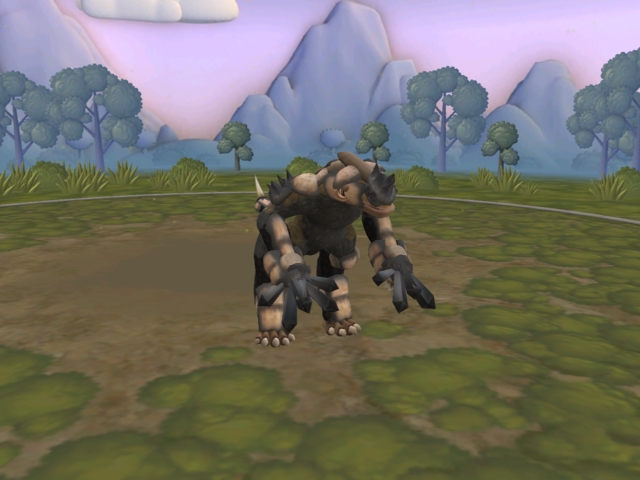
Point three - Veernik and Grass lines.
With the help of the fan line, you can make feathers for wings, as well as to create creatures covered with feathers. The wings are made like this - with the help of parts of the limbs we make the base (we look at the real skeleton of the wings of birds or bats), after which we put the Palmopero or Pavlun, so that there are no gaps between the feathers, for a more realistic look we make several palmoperos or peacocks in one place and rotate them so that they complement each other.
Example:

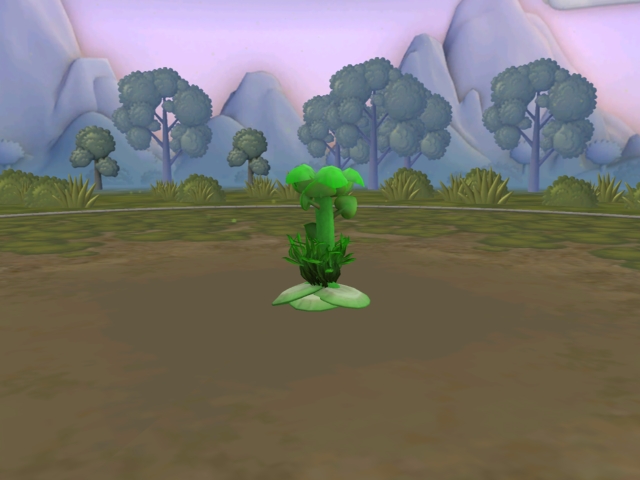
With the help of the grass line, you can make plants and other flora. For example, a simple flower, for the stem we make the body as thin as possible and put it exactly vertically, or just put a limb or part of it. We add grass to the very bottom of the stem and place them at different angles for realism. We put a flower at the very top, just below it we put secret sheets so that it looks like the sheets are holding a flower. You can also put a couple of sheets on the stem itself.
Example: All 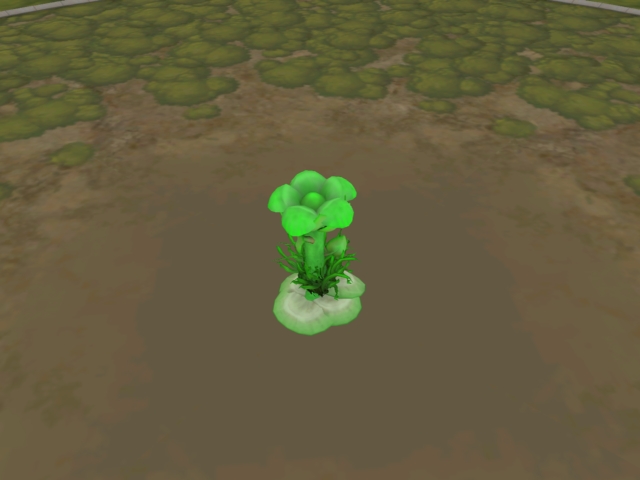
. This is the first part of the guide, I'll write the second later (sorry for my French, but I forgot to write.)
Ps For those who know English well, I recommend watching the DarkEdge tutorials (I think her name is Rebecca)
The second part of the guide will most likely never happen again (That's a surprise), because interest in the dispute has fallen, due to the lack of ideas that do not copy each other, and without ideas to create, at such a thing, almost always crappy creatures. About the desire to write, I generally keep quiet.
Since you've come to the forum, here's a little tip: Don't install mods on new parts right away, better learn how to create creatures using vanilla parts, at least at the level of creatures from maxis adventures.