
Fatality, Babality, Super Kicks More (Mortal Kombat (2011))
In this thread, I will try to provide all the necessary information about fatalities, super hits, combos, etc. Over time, I will replenish the topic with this information more and more. The fact that the game was released on two gaming platforms Xbox 360 and PS3 is not a secret, and it is not practical to describe the combinations of techniques separately. Therefore, we have the encryption, which you will see below.
Decoding of buttons for PS3 and Xbox 360 consoles:
1 - Square / X
2 - Triangle / Y
3 - Cross / A
4 - Circle / B
R2 - Block
X-Ray Attack - L2 + R2 (if there are 3 segments of the scale)
Enhancer - gain super shock. (Super strike) + R2 (if there is 1 segment of the scale)
Breaker - interception of combo and super attacks → + R2 (if there are 2 segments of the scale)
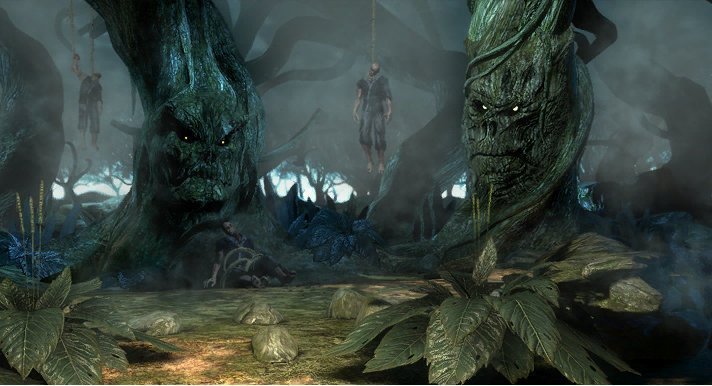
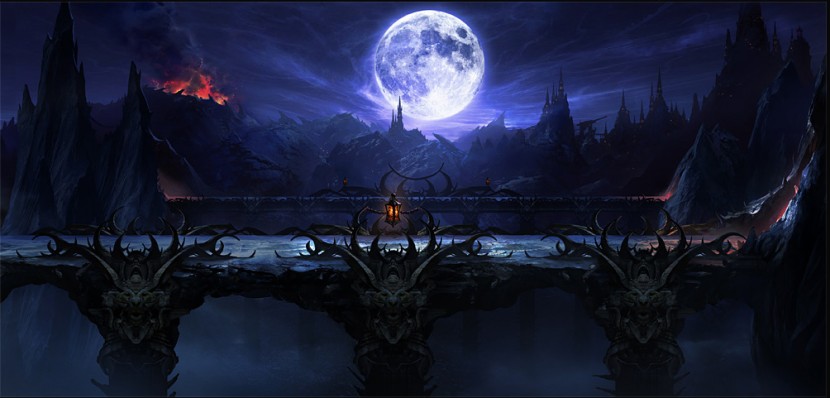
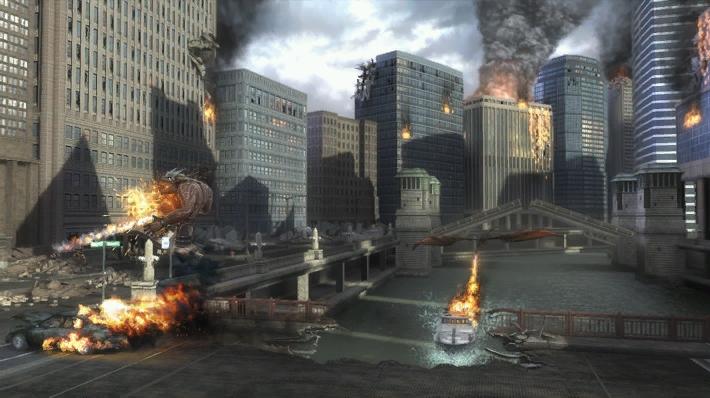
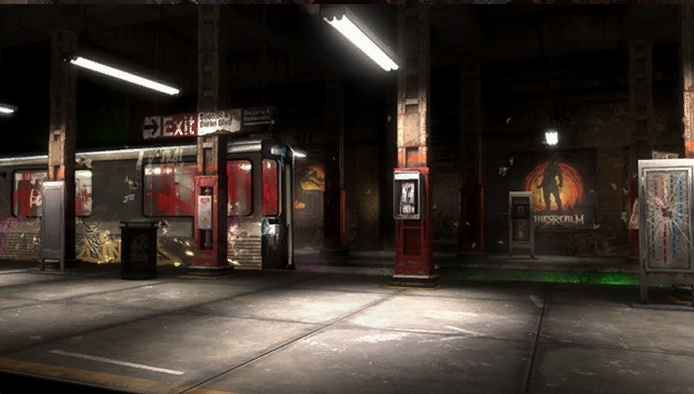
Before showing a list of all the tricks, I want to explain what Stage Fatality is, for those who have not heard about it before. Stage Fatality is a fatality that can be performed in special arenas, there are six of them in the game, here is the list:
Arenas for Stage Fatality:
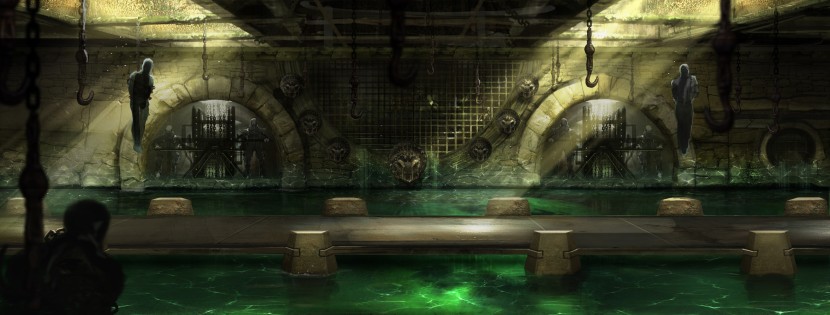
Dead Pool
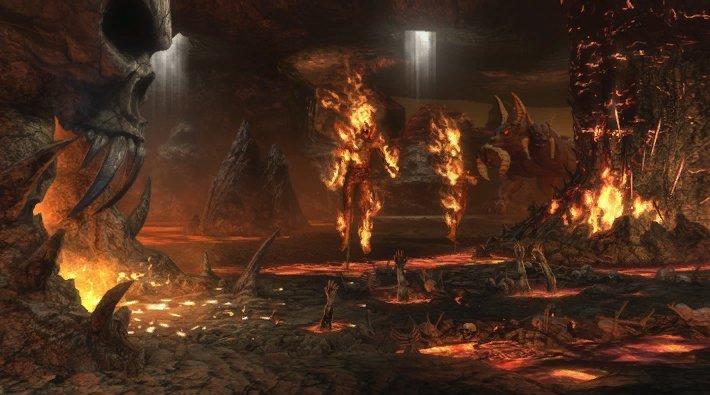
Hell
Living Forest
Pit
Street
Subway

Baraka
Blade Spark: ↓ ↠2
Blade Fury: ↠↠1
Blade Spin: ↓ ↠3
Blade Charge: ↓ → 2
Slicer: ↓ → 1
Fatality 1: ↠→ ↓ → 1 (at hitting distance)
Fatality 2: → → ↓ ↓ 3 (at hitting distance)
Stage Fatality: ↓ ↓ ↓ ↓ 3 (close)
Babality: → ↠→ 4 (jump distance)

Cyber ​​Sub-Zero *
Ice Ball: ↓ → 1
Slide: ↠→ 4
Ice Parry: ↓ ↠2
Ice Bomb Close: ↠↠3
Ice Bomb Middle: → → 3
Ice Bomb Far: ↠→ → 3
Dive Kick Close: ↓ + 3
Dive Kick Middle: ↓ + 4
Teleport: ↓ ↠1 (possible in the air)
Fatality 1: ↓ ↠↓ → 4 (at jump distance)
Fatality 2: ↓ ↓ ↠↓ 1 (at jump distance)
Stage Fatality: ↓ ↓ ↑ R2 (close)
Babality : ↓ ↠→ R2 (at jumping distance)
* To open Cyber ​​Sub-Zero you need to pass 13 level "Story Mode"

Cyrax
Bomb Close: ↠↠4
Bomb Medium: → → 4
Bomb Far: ↠↠→ 4
Net: ↠↠3
Teleport: ↓ ↠1 (possible in the air)
Buzzsaw: ↠→ 2
Reverse Kick: ↓ → 3
Ragdoll: ↓ → 3, R2 (R2 press instantly)
Anti-Air: ↓ → 1 (when the opponent is in the air)
Fatality 1: → ↓ → ↠2 (close)
Fatality 2: ↠↓ ↠→ 1 (at jump distance)
Stage Fatality: ↓ ↓ ↑ R2 (close)
Babality: ↓ → ↠2 (at jump distance)

Ermac
Fireball: ↓ ↠2 (possible in the air)
Teleport Punch: ↓ ↠4
Telekinetic Slam: ↓ ↠1
Telekinetic Push: ↠↓ 1
Ground Slam: ↓ ↓ ↑
Fatality 1: ↓ ↑ ↓ ↓ R2 (at jump distance)
Fatality 2: → ↠→ ↓ 4 (at jump distance)
Stage Fatality: ↓ ↑ ↓ ↓ 3 (close)
Babality: ↓ ↓ ↠↓ 2

Goro
Cross Strike: ↠+ 1
Upward Fist: ↠+ 2
Low Kick: ↠+ 3
Side Kick: ↠+ 4
Fire Ball: ↓ → 1
Stomp: ↓ ↠4
Ground Pound: ↓ ↠3
Taunt: ↠→ 3
Goro Grab: ↓ → 2
Arm Spin: ↠→ 4

Jade
Razor-Rang: ↓ ↠1
Razor-Rang High: ↓ → 1
Razor-Rang Low: ↓ → 3
Glow Kick: ↓ → 4
Shadow Flash: ↠→ 3
Overhead Staff: ↓ ↠2
Staff Grab: ↓ → 2
Fatality 1: ↑ ↑ ↓ → 1 (at the end of the screen)
Fatality 2: ↠↓ ↠↓ 4 (at a distance of 5 steps)
Stage Fatality: ↠→ ↓ R2 (close)
Babality: ↓ ↓ → ↓ 4

Jax
Energy Wave: ↓ ↠2
Dash Punch: ↓ → 2
Ground Pound Close: ↓ ↠3
Ground Pound Medium: ↓ → 3
Ground Pound Far: ↓ ↠→ 3
Gotcha Grab: ↓ → 1
Air Gotcha: ↓ ↠1
Overhead Smash: ↓ ↑ 4
Back Breaker: R2 (in the air)
Fatality 1: ↠→ → ↠2 ( close)
Fatality 2: → → ↠↓ 3 (at hitting distance)
Stage Fatality: ↓ → ↓ 1 (close)
Babality: ↓ ↓ ↓ 3

Johnny Cage
High Ball: ↓ ↠2
Low Ball: ↓ → 2
Shadow Kick: ↠→ 4
Flip Kick: ↓ ↠3
Nut Crunch: ↠↓ 1
Fatality 1: → → ↠↓ 3 (close)
Fatality 2: ↓ → ↓ → 4 (hitting distance)
Stage Fatality: ↓ ↠→ R2 (close)
Babality: → ↠→ 4
Combo 1: → 4 (or jump kick), → →, → 3, 3, 3, ↓ ↠3 (+ R2)
Combo 2: → 4 (or jump kick), → →, 1, 1, ↓ 2
Combo 3: → 4 (or jump kick), → →, 1, 1, → →, ↠→ 4 (+ R2)

Kabal
Gas Blast: ↠→ 1
Nomad Dash: ↠→ 4
Buzzsaw: ↠↠3
Tornado Slam: ↓ ↠2
Fatality 1: → ↠→ ↠1 (at hitting distance)
Fatality 2: ↓ ↓ ↠→ R2 (at 5 steps )
Stage Fatality: ↓ ↓ 4 (close)
Babality: → ↓ ↠3 (at jump distance)
Combo 1: ↠1, 2, 1, ↠→ 4, → 3, 2, ↓ ↠2 (+ R2)
Combo 2: → 3, 2, ↠→ 4, → 3, 2, ↓ ↠2 (+ R2)
Combo 3: jump kick, ↠→ 1, → →, → 3, 2, ↠→ 4, → 3, 2, ↓ ↠2 (+ R2)
Combo 4: 1, 1, ↠4, ↠→ 4, ↠1, 2, 1, → →, → 3, 2, ↓ ↠2 (+ R2)

Kano
Ball: ↠↓ → ↠hold R2 (enemy in the air)
Up Ball: ↓ ↠2
Choke: ↓ ↠1
Knife Throw: ↓ → 2
Air Throw: R2 (in the air)
Fatality 1: ↠↓ ↠→ 1 (at a distance of 5 steps)
Fatality 2: ↓ ↓ → ↠4 (at a distance of 5 steps)
Stage Fatality: ↑ ↑ ↠3 (close)
Babality: → ↓ ↓ 3 (at a distance of a jump)

Kitana
Fan Throw: ↓ → 1
Fan Lift: ↠↠2
Square Boost: ↓ ↠1
Pretty Kick: ↓ ↠3
Cutting Fan: ↓ → 2
Fake Out Kick: ↓ ↠4
Fatality 1: ↓ ↓ ↠→ 2 (at a distance of 5 steps)
Fatality 2: → ↓ → ↠3 (close)
Stage Fatality: → ↓ ↓ 3 (close up)
Babality: → → ↓ → 4 (jump distance)

Kratos
Apollo's Bow: ↓ → 2
Head Of Helios: ↓ ↠2
Hermes Dash: ↠→ 4
Golden Fleece: ↓ ↠1
Zeus Rage: ↓ ↠3
Fatality 1: ↓ ↓ ↠→ 2 (5 steps away)
Fatality 2: ↓ ↠↓ → 1 (at jump distance)
Stage Fatality: ↓ ↓ ↓ 3 (close)
Babality: ↓ → ↠2 (at jump distance)

Kung Lao
Hat Throw: ↠→ 2 (direction ↑ or ↓)
Ground Hat: ↓ ↠2
Dive Kick: ↓ + 4 (in the air)
Whirlwind Spin: ↓ → 1
Teleport: ↓ ↑
Fatality 1: ↠→ → ↠2 (at 5 steps)
Fatality 2: ↓ ↓ → ↠1 (at hitting distance)
Stage Fatality: ↓ → ↓ 3 (close)
Babality: ↓ → ↓ 2 (jump distance)

Liu Kang
High Fireball: ↠→ 1 (possible in the air)
Low Fireball: ↠→ 3
Dragon Kick: ↠→ 2
Bicycle Kick: ↠↠→ 3
Parry: ↓ ↠1
Fatality 1: → ↠↓ ↓ 3 (at hitting distance)
Fatality 2: ↓ ↓ → ↓ 4 (at jump distance)
Stage Fatality: ↓ → ↠3 (close)
Babality: ↓ ↓ ↓ 4 (at jump distance)

Mileena
Sais: ↠→ 1
Drop Kick: → → 3
Ground Roll: ↓ ↠4
Face Chew: ↠→ 2
Fatality 1: ↠→ ↠→ 2 (at jump distance)
Fatality 2: ↠→ ↠↓ 3 (at jump distance)
Stage Fatality: ↓ ↓ ↓ 1 (close)
Babality: ↓ ↓ → ↠2 (Jump Distance)

Nightwolf
Shoulder: → → 4
Lightning: ↓ ↠3
Arrow Shot: ↓ ↠1
Reflect: ↓ ↠2
Ax Swing: ↓ → 1
Choke: ↓ → 2
Fatality 1: ↓ → ↓ ↠4 (at jump distance)
Fatality 2: ↓ ↓ → ↠1 (at strike distance)
Stage Fatality: ↓ ↓ ↓ R2 (close)
Babality: → ↠→ ↠1

Noob Saibot
Disabling Ghostball: ↓ → 1
Teleport Grab: ↓ ↑
Shadow Charge: ↓ → 3
Shadow Upknee: ↓ ↠3
Shadow Slide: ↠→ 4
Black Hole Above: ↓ ↠2
Black Hole Behind: ↓ → 2
Black Hole In Front: ↓ ↠→ 2
Fatality 1: ↠→ ↠↓ 4 (at jump distance)
Fatality 2: ↓ ↓ ↠↓ R2 (at jump distance)
Stage Fatality: → ↓ → R2 (back to back)
Babality: → ↑ → 1 (jump distance)

Quan Chi *
Skeletal Boost: ↓ ↠4
Ground Burst Close: ↓ ↠1
Ground Burst Medium: ↓ → 1
Ground Burst Far: ↓ ↠→ 1
Skull Ball: ↓ ↠2
Sky Drop : ↓ ↠3 (possible when the enemy is in the air)
Trance: ↠→ 3
Fatality 1: → → ↓ ↓ 1 (at a distance of 5 steps)
Fatality 2: ↓ → ↓ → 4 (at a distance of 5 steps)
Stage Fatality: ↠→ ↓ 2 (close)
Babality: → ↓ ↠2 (at jump distance)
* To open Quan Chi you need to pass 16 level "Story Mode"

Raiden
Lightning Bolt: ↓ ↠1
Torpedo: ↠→ 3
Teleport: ↓ ↑
Shocker: ↓ → 2
Vicinity Blast: ↓ ↠2
Fatality 1: ↓ → ↓ → 1 (jump distance)
Fatality 2: ↠→ → ↓ 4 (close)
Stage Fatality: ↓ ↓ ↓ 2 (close)
Babality: ↓ ↠↓ 4 (jump distance)

Reptile
Slow Force Ball: ↠↠1
Fast Force Ball: ↠↠3
Slide: ↠→ 4
Acid Hand: ↓ ↠2
Invisibility: ↓ ↑ 4
Acid Spit: ↓ → 1
Elbow Dash: ↠→ 2
Fatality 1: → → ↓ ↑ 3 (at distance 5 steps)
Fatality 2: ↓ ↓ → ↠1 (at a distance of 5 steps)
Fatality 3 (Reptile Classic): ↠↠→ ↓ R2 (at a distance of a jump)
Stage Fatality: → ↓ ↓ R2 (close)
Babality: ↠→ ↠↓ 3 (jump distance)

Scorpion
Spear: ↠↠1
Teleport Punch: ↓ ↠3
Hell Fire: ↓ ↠2
Take Down: ↓ ↠4
Air Throw: R1 (in the air)
Fatality 1: → ↓ → 2 (close)
Fatality 2: ↠→ ↠3 (close)
Fatality 3 Scorpion Classic: ↓ ↑ ↑ 2 ( at jump distance)
Stage Fatality: → ↑ ↑ 1 (close)
Babality: ↓ ↠→ ↓ 2 (at jump distance)

Sector
Flame Burner: ↠→ 2
Teleport Uppercut: ↓ → 4
Straight Missile: ↠→ 1
Up Missile Above: ↓ ↠3
Up Missile Behind: ↓ ↠→ 3
Up Missile Front: ↓ → ↠3
Fatality 1: → ↓ ↠→ 3 (at the end of the screen)
Fatality 2: ↓ ↓ → ↠1 (at the end of the screen)
Stage Fatality: ↓ → ↓ R2 (close)
Babality: ↠↓ ↓ ↓ 4 (hop distance)

Shang Tsung
Single Fireball: ↠↠1
Upwards Fireskull Above: ↓ ↑ 2
Upwards Fireskull Behind: ↓ → 2
Upwards Fireskull In Front: ↓ ↠2
Ground Fireskull Close: ↓ ↑ 4
Ground Fireskull Middle: ↓ → 4
Ground Fireskull Far: ↓ ↠4
Soul Steal / Morph: → ↠↓ 3
Fatality 1: ↓ ↠↓ → 3 (at jump distance)
Fatality 2: ↓ ↓ ↠↓ 2 (at jump distance)
Stage Fatality: hold R2 ↑ ↑ ↠1 (close)
Babality: ↓ ↠↓ 3 (at jump distance)

Sheeva
Fireball: ↓ → 2
Teleport Slam: ↓ ↑
Ground Slam: ↓ ↠4
Grab And Punch: ↠→ 3
Air Grab: ↓ → 1 (in the air)
Low Grab: ↓ ↠3
Fatality 1: → ↓ ↓ → 1 (at 5 steps)
Fatality 2: → ↠→ ↠4 (at 5 steps)
Stage Fatality: ↓ ↓ ↓ ↓ 1 (close)
Babality: ↓ ↓ ↓ ↠4 (at jump distance )

Sindel
Banshee Scream: ↓ ↠2
Fireball: ↓ → 1 (possible in the air)
Low Fireball: ↓ → 3 (possible in the air)
Levitate: ↓ ↓ ↑
Hair Whip: ↓ → 2
Step Up: ↓ → 4
Fatality 1: ↠→ ↓ → 1 (at 5 steps)
Fatality 2: ↠→ ↑ 2 (at 5 steps)
Stage Fatality: ↓ ↓ ↓ 1 (close)
Babality: ↓ ↓ ↓ ↑ (at hop distance)

Smoke
Teleport: ↓ ↠4
Invisibility: ↓ ↑ 3
Smoke Cloud: ↓ ↠2
Shake: ↠→ 1
Smoke Towards: ↠→ 3
Smoke Away: → ↠3
Air Throw: R2 (in the air)
Fatality 1: ↠→ ↠→ 1 (at 5 steps)
Fatality 2: ↠↠↓ → 2 (at 5 steps)
Stage Fatality : hold R2 → ↑ ↑ 1 (close)
Babality: ↓ ↠↓ → ↓ (at jump distance)

Sonya
Energy Ring Blast: ↠→ 2
Leg Grab: ↠→ 4
Kiss: ↓ ↠1
Arc Kick: ↓ ↠4
Kartwheel: ↓ → 3
Air Drop: ↓ + 4
Air Throw: R2 (in the air)
Fatality 1: ↓ ↓ ↠→ 1 (at jump distance)
Fatality 2: ↓ ↠→ ↠4 (at 5 steps distance)
Stage Fatality: ↠→ ↓ 2 (close up)
Babality: ↓ ↓ → 3 (jump distance)

Stryker
Baton Sweep: ↓ ↠4
Grenade Throw High: ↓ ↠2
Grenade Throw Low: ↓ ↠1
Gun Shot: ↠→ 1
Roll Toss: ↠→ 4
Fatality 1: → ↓ → 3 (at a distance of 5 steps)
Fatality 2: ↓ → ↓ → R2 (at 5 steps)
Stage Fatality: → ↑ ↑ 4 (close)
Babality: ↓ → ↓ ↠2 (at jump distance)

Sub-Zero
Freeze: ↓ → 3
Ground Freeze: ↓ ↠3
Clone: ​​↓ ↠1
Slide: ↠→ 4
Fatality 1: ↠→ ↓ → 4 (5 steps away)
Fatality 2: ↓ ↠↓ → 2 (close)
Fatality 3 (Sub-Zero Classic): → ↓ → 2 (close)
Stage Fatality: → ↓ ↠2 (close)
Babality: ↓ ↠↓ 3 (jump distance)
Download "Collectible Cards for PS3"
Nikolay Zakroiny
In the game there is a certain sheet with combo and hits, select the menu and find the move list there for combo, if you press enter, you will find super hits x-ray and fatality with buybality, about the scorpion you need to go to the butt and make a fatality.
I ask you to help with Shang Tsun. This "good man" doesn’t need a combination to turn into an enemy (you forward, down, back, 2). How to do this ?! Do not refer to the moving sheet, so I know.
Conversation about nothing ... Why are you describing here what you can read in a moving sheet anyway? EMPTY TRAP ...
It would be better if someone made a list of combos, otherwise Liu Kang does such a thing that not a single moving sheet has dreamed of! I want it too!
And another question: how to defeat Ryden in the tower of trials ??? when your character (cyrax) slows down every second! But I'll soon break my joystick on my mountain ...: ((((
The people, and who drew attention to the fact that not all super hits are displayed in the moving list? For example, a smok can not just hit 2 times from different sides, but also apply it from above, the kitana can do it with her fan not only "down - forward - blow" but also "down - back - blow". But this is also not in the mov list .... who knows what thread about this?
Neogroov
You are talking about this blow

This is a "back blow". The mov list is called Uprise. I did not notice any "down - back - blow" in her.
Does anyone know how to do "Wake up attack"? Sometimes it turns out by accident, but I just can't figure out how to do them.
And how to do FAST TAGS, TAG KOMBOS, ENHANCED ATTACK, TAG SPICIALS, I have been in training mode for several hours, as soon as I have not tried, none of them come out, and how many did not try, below the first two fatalities (in a scorpion), not went out, I don't know what to do anymore, help a noob, please)
Ekubka
Play in the TUTORIAL training mode. Stage fatality is done only on certain maps (Metro, Hell, Street, Living Forest, Acid Pool, Bridge). To do Babaliti, you must not use the block in the last round. Neither one nor the other can be done in training.
dushadushadusha
Thank you, and those groups of attacks that I wrote above, in addition to fatalities, you can describe in more detail, please, I mastered one type, there they are like ordinary attacks, only with amplification they go, but the rest do not ...
Ekubka
FAST TAGS, TAG KOMBOS, TAG SPICIALS These are techniques for team combat. To practice them, choose the TAG TEAM PRACTICE team workout. I myself didn’t get too worn out with them, as I almost didn’t fight in the team.